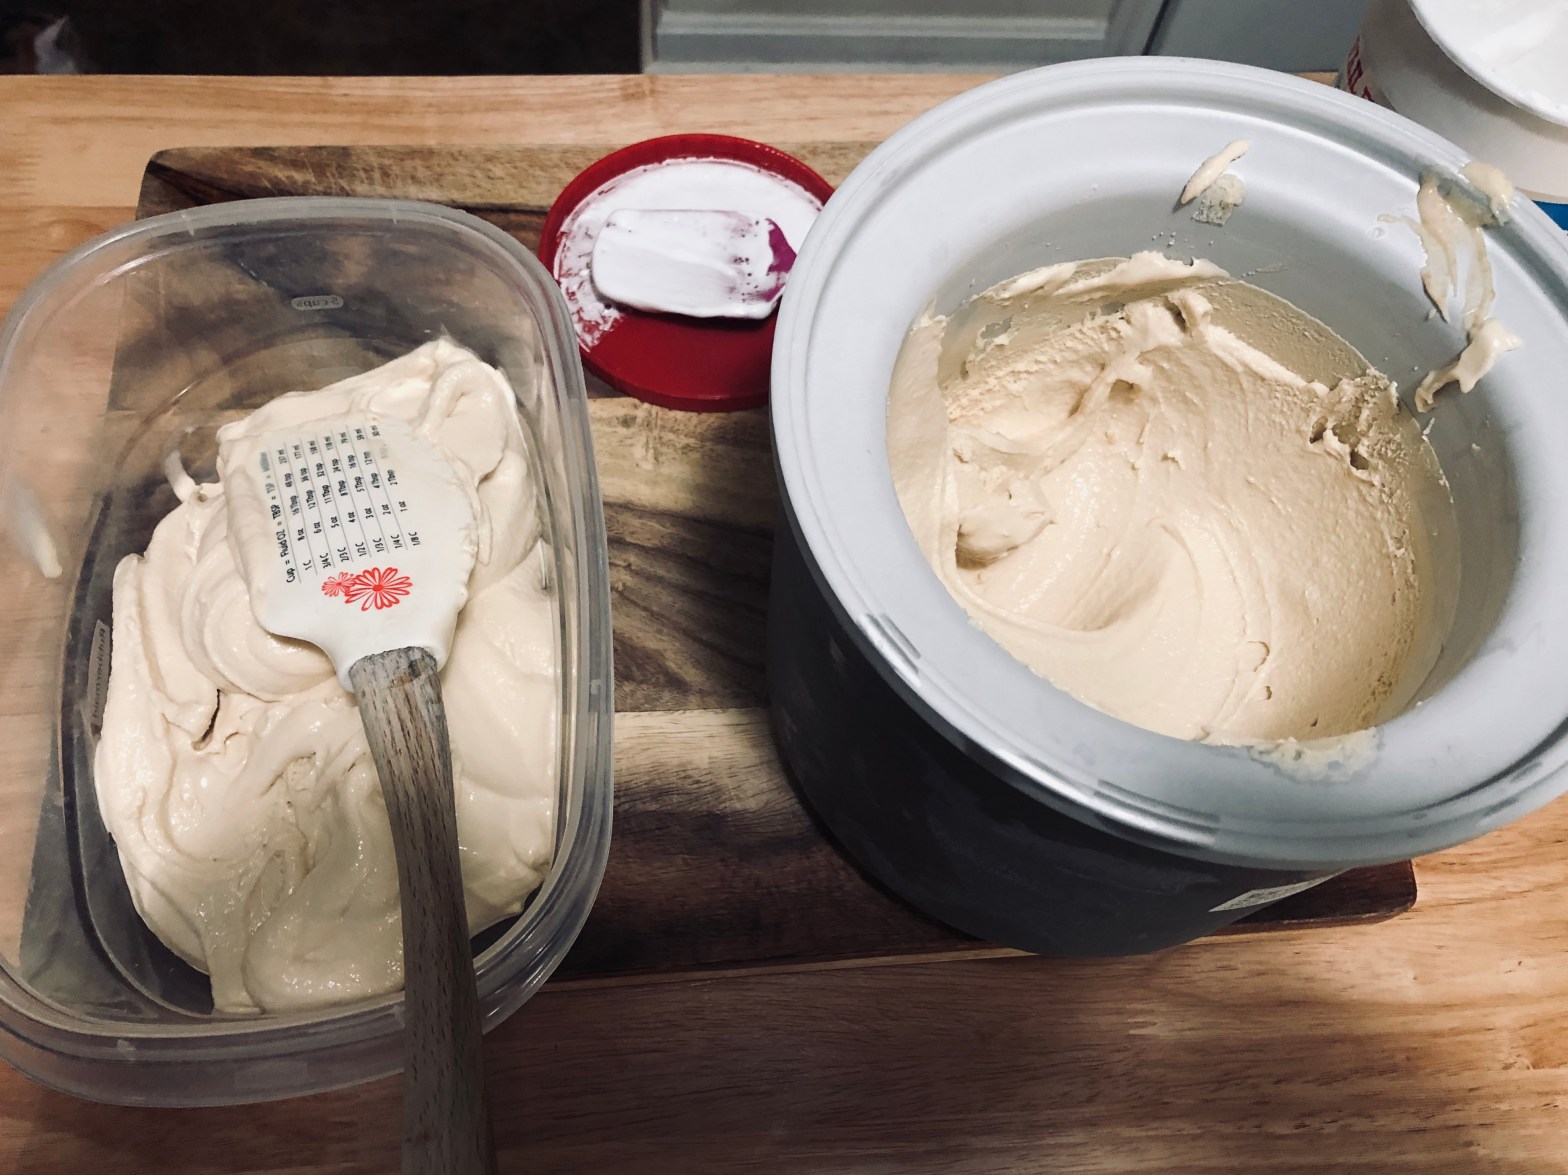
Hey, did you know it’s National Ice Cream Day TODAY? So, I made ice cream, and you can, too!
This is one of Dan’s absolute favorite recipes, because it combines two of his favorite things- ice cream and marshmallows. Toasted marshmallow ice cream is a SUPER step up from your average vanilla ice cream. This stuff is addictive and just screams to be sandwiched between two graham crackers and then dipped in chocolate (do it, for me).
If you’ve never made ice cream, there exists no better time than during a heat wave from the fiery pits of hell. Don’t be scared- I’ll walk you through it!
Note: Be prepared to wait for your completed custard base to cool in the fridge for several hours or overnight. This recipe is worth it, promise.
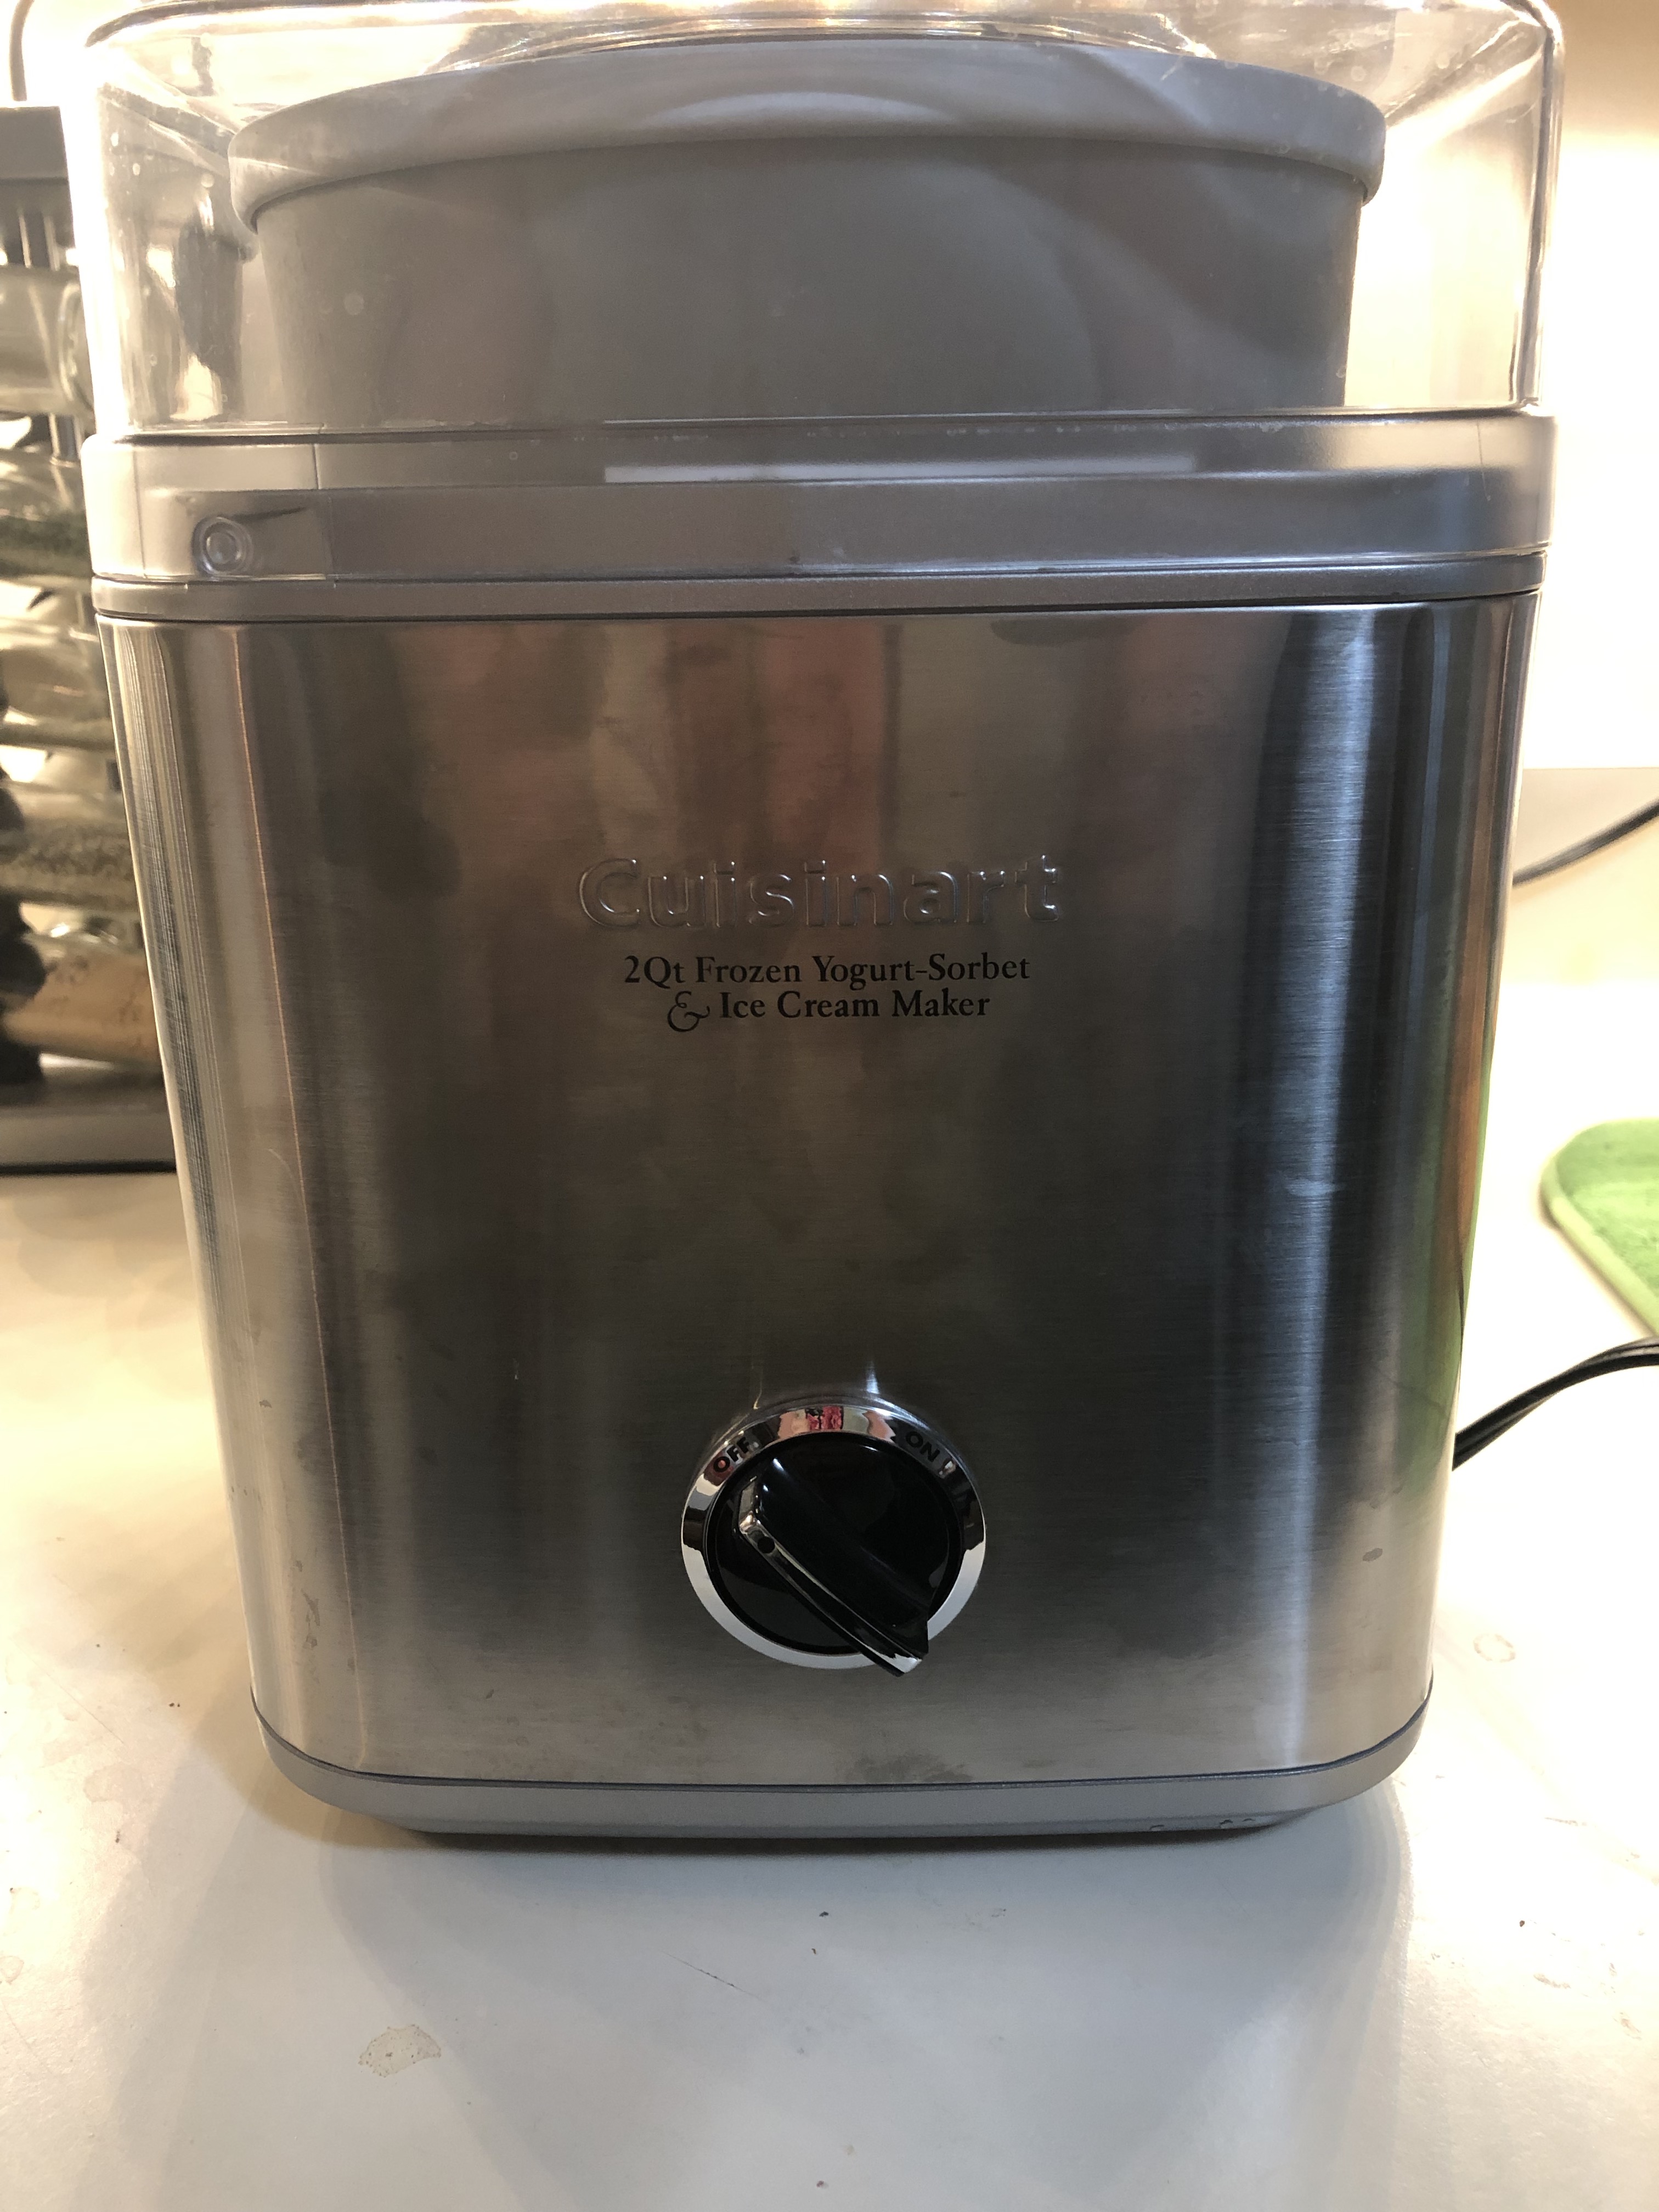
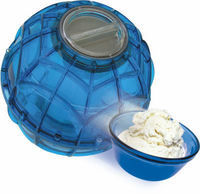
Let’s talk about equipment first. Unfortunately, this is not a “no churn” ice cream recipe, so you can’t really skip the ice cream maker. I have a Cuisinart 2-Quart stainless steel ice cream, frozen yogurt, and sorbet maker and it works wonders. However, almost any countertop electric ice cream maker or mixer attachment churner will do, as long as it’s not one of those hamster balls that you fill with ice and then roll around your house. These, sadly, do not work at all.
Note: Your bowl insert must be totally frozen, ideally for a couple days in the freezer, in order to get a proper churn.
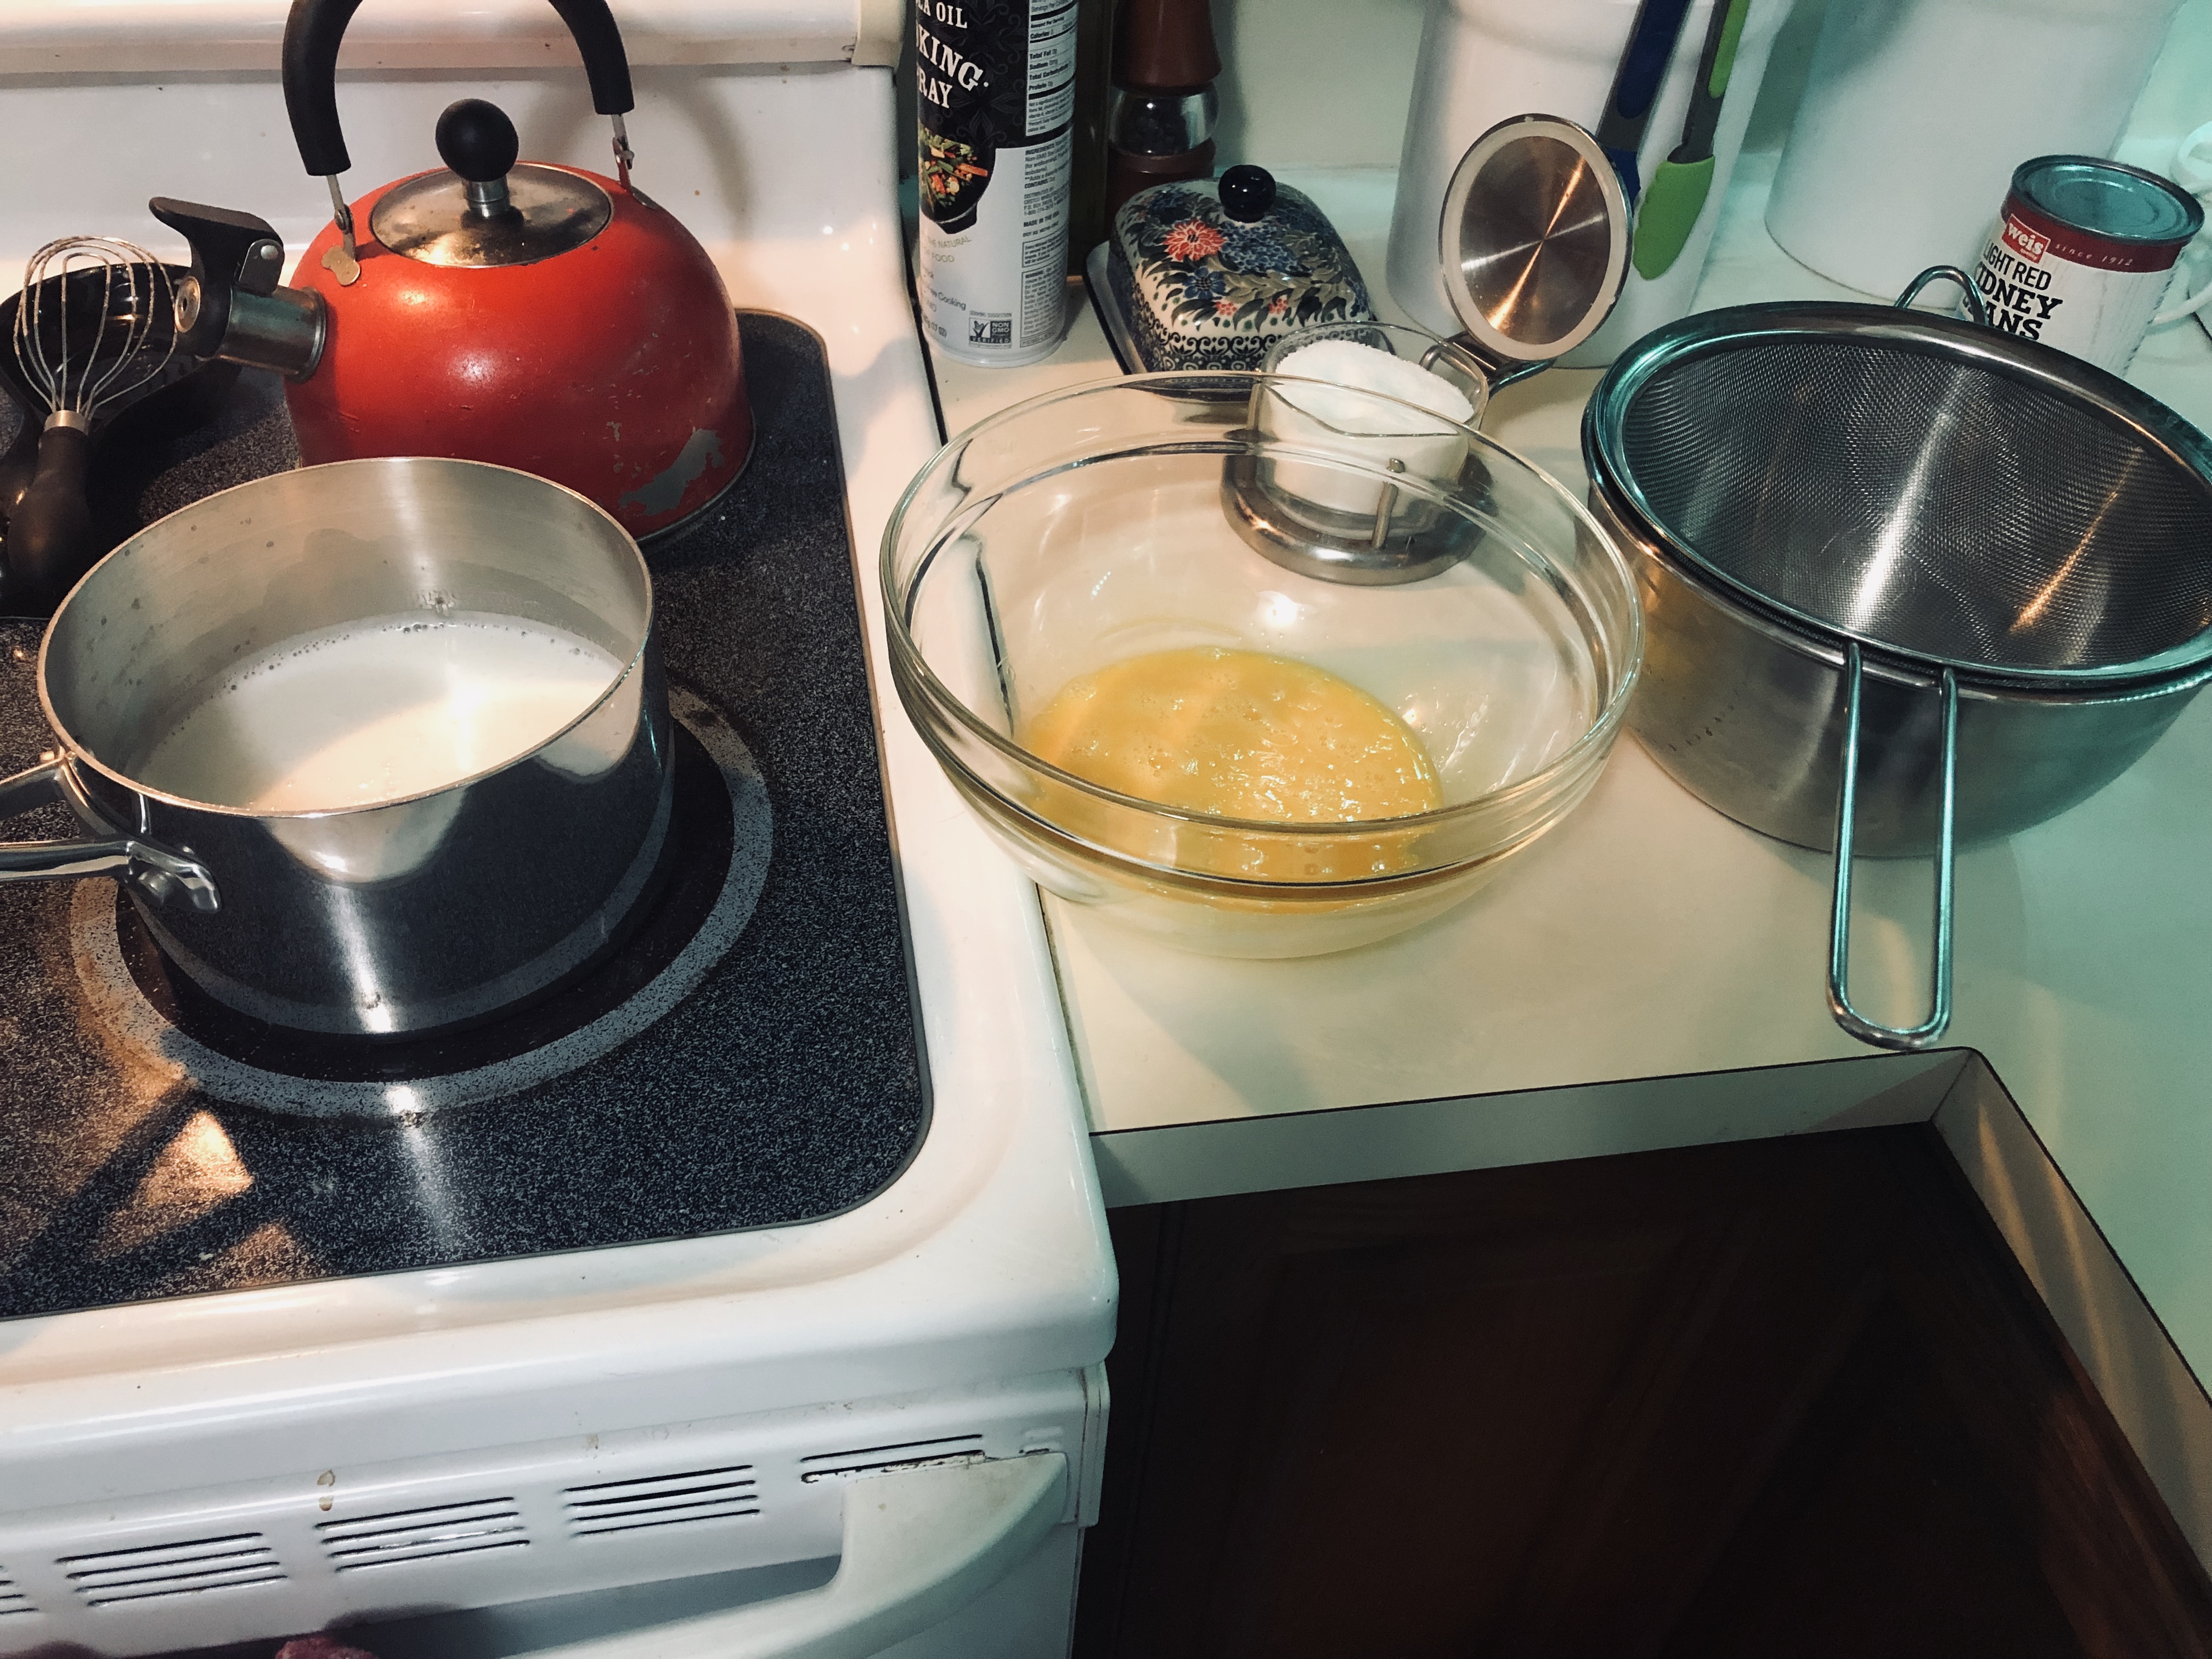
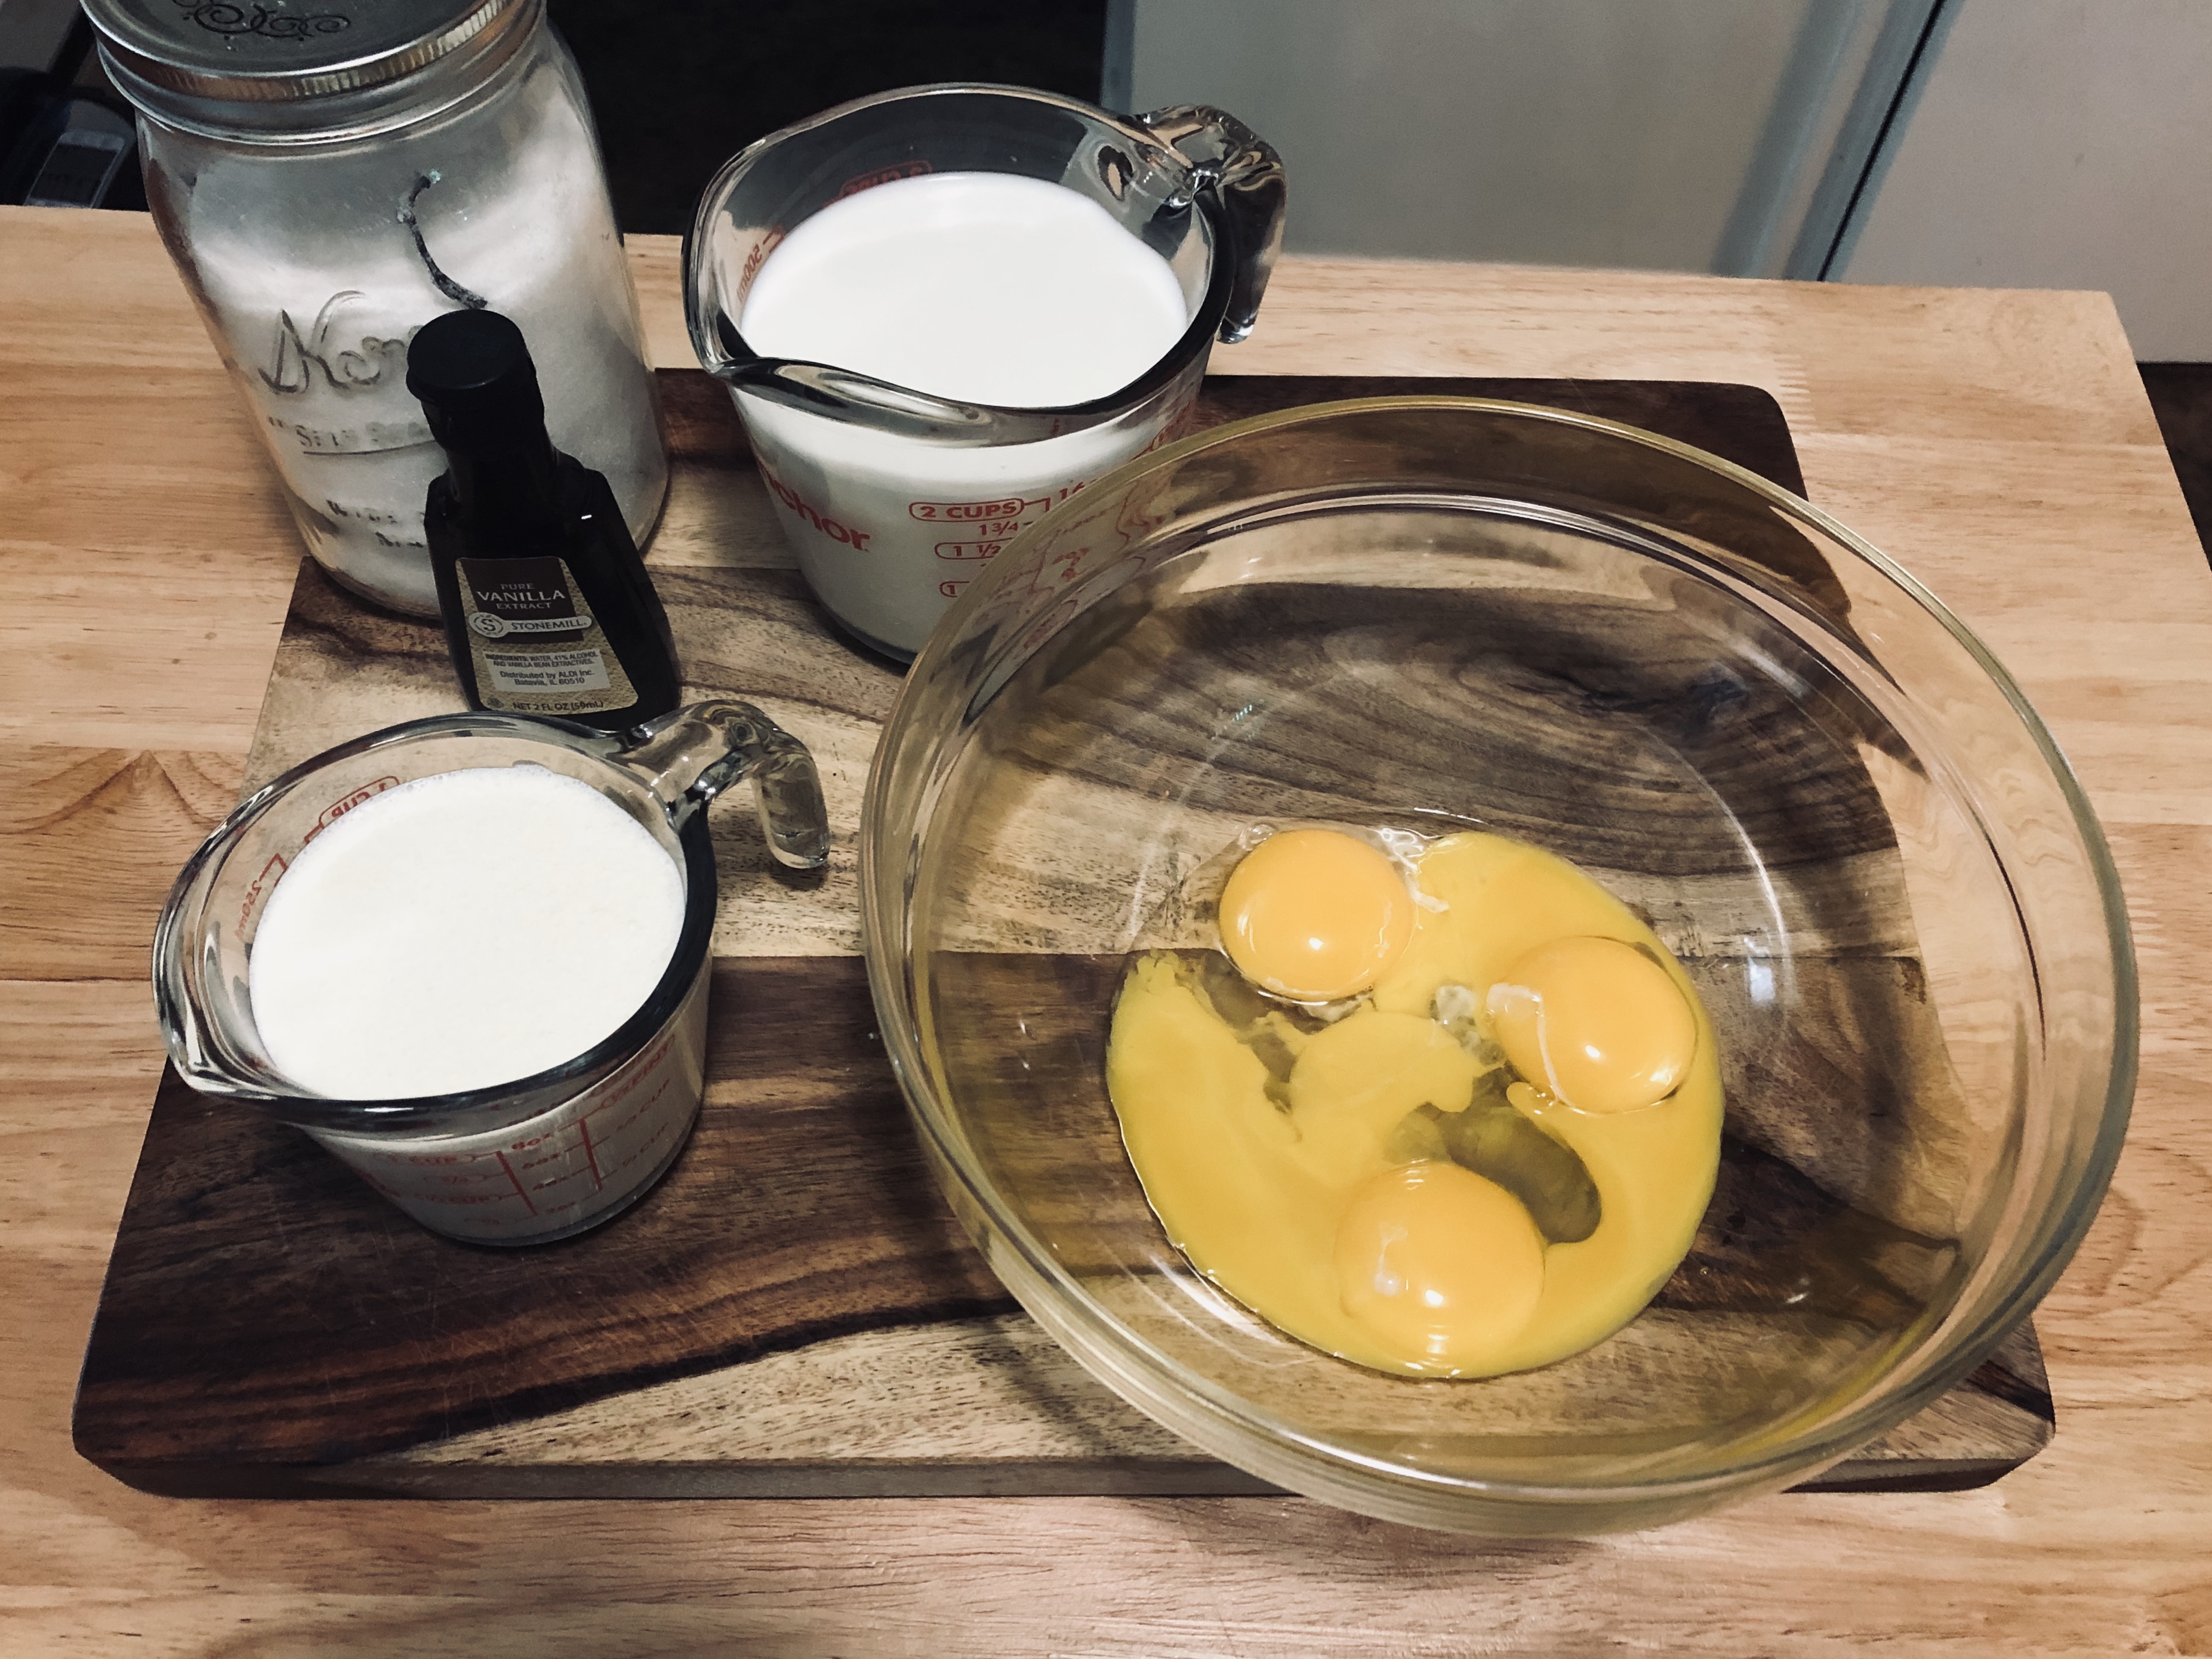
It’s also a good idea to gather all of your yummy ice cream ingredients and tools beforehand, like I did below. The process happens quickly once you begin the custard, which can curdle very quickly if it gets too hot. Have your egg yolks whisked in a nearby bowl, along with a second bowl set up with a fine mesh strainer, and have a rubber spatula and whisk at the ready. Feel like a pro baker yet?
Now let’s get to ice cream-making!
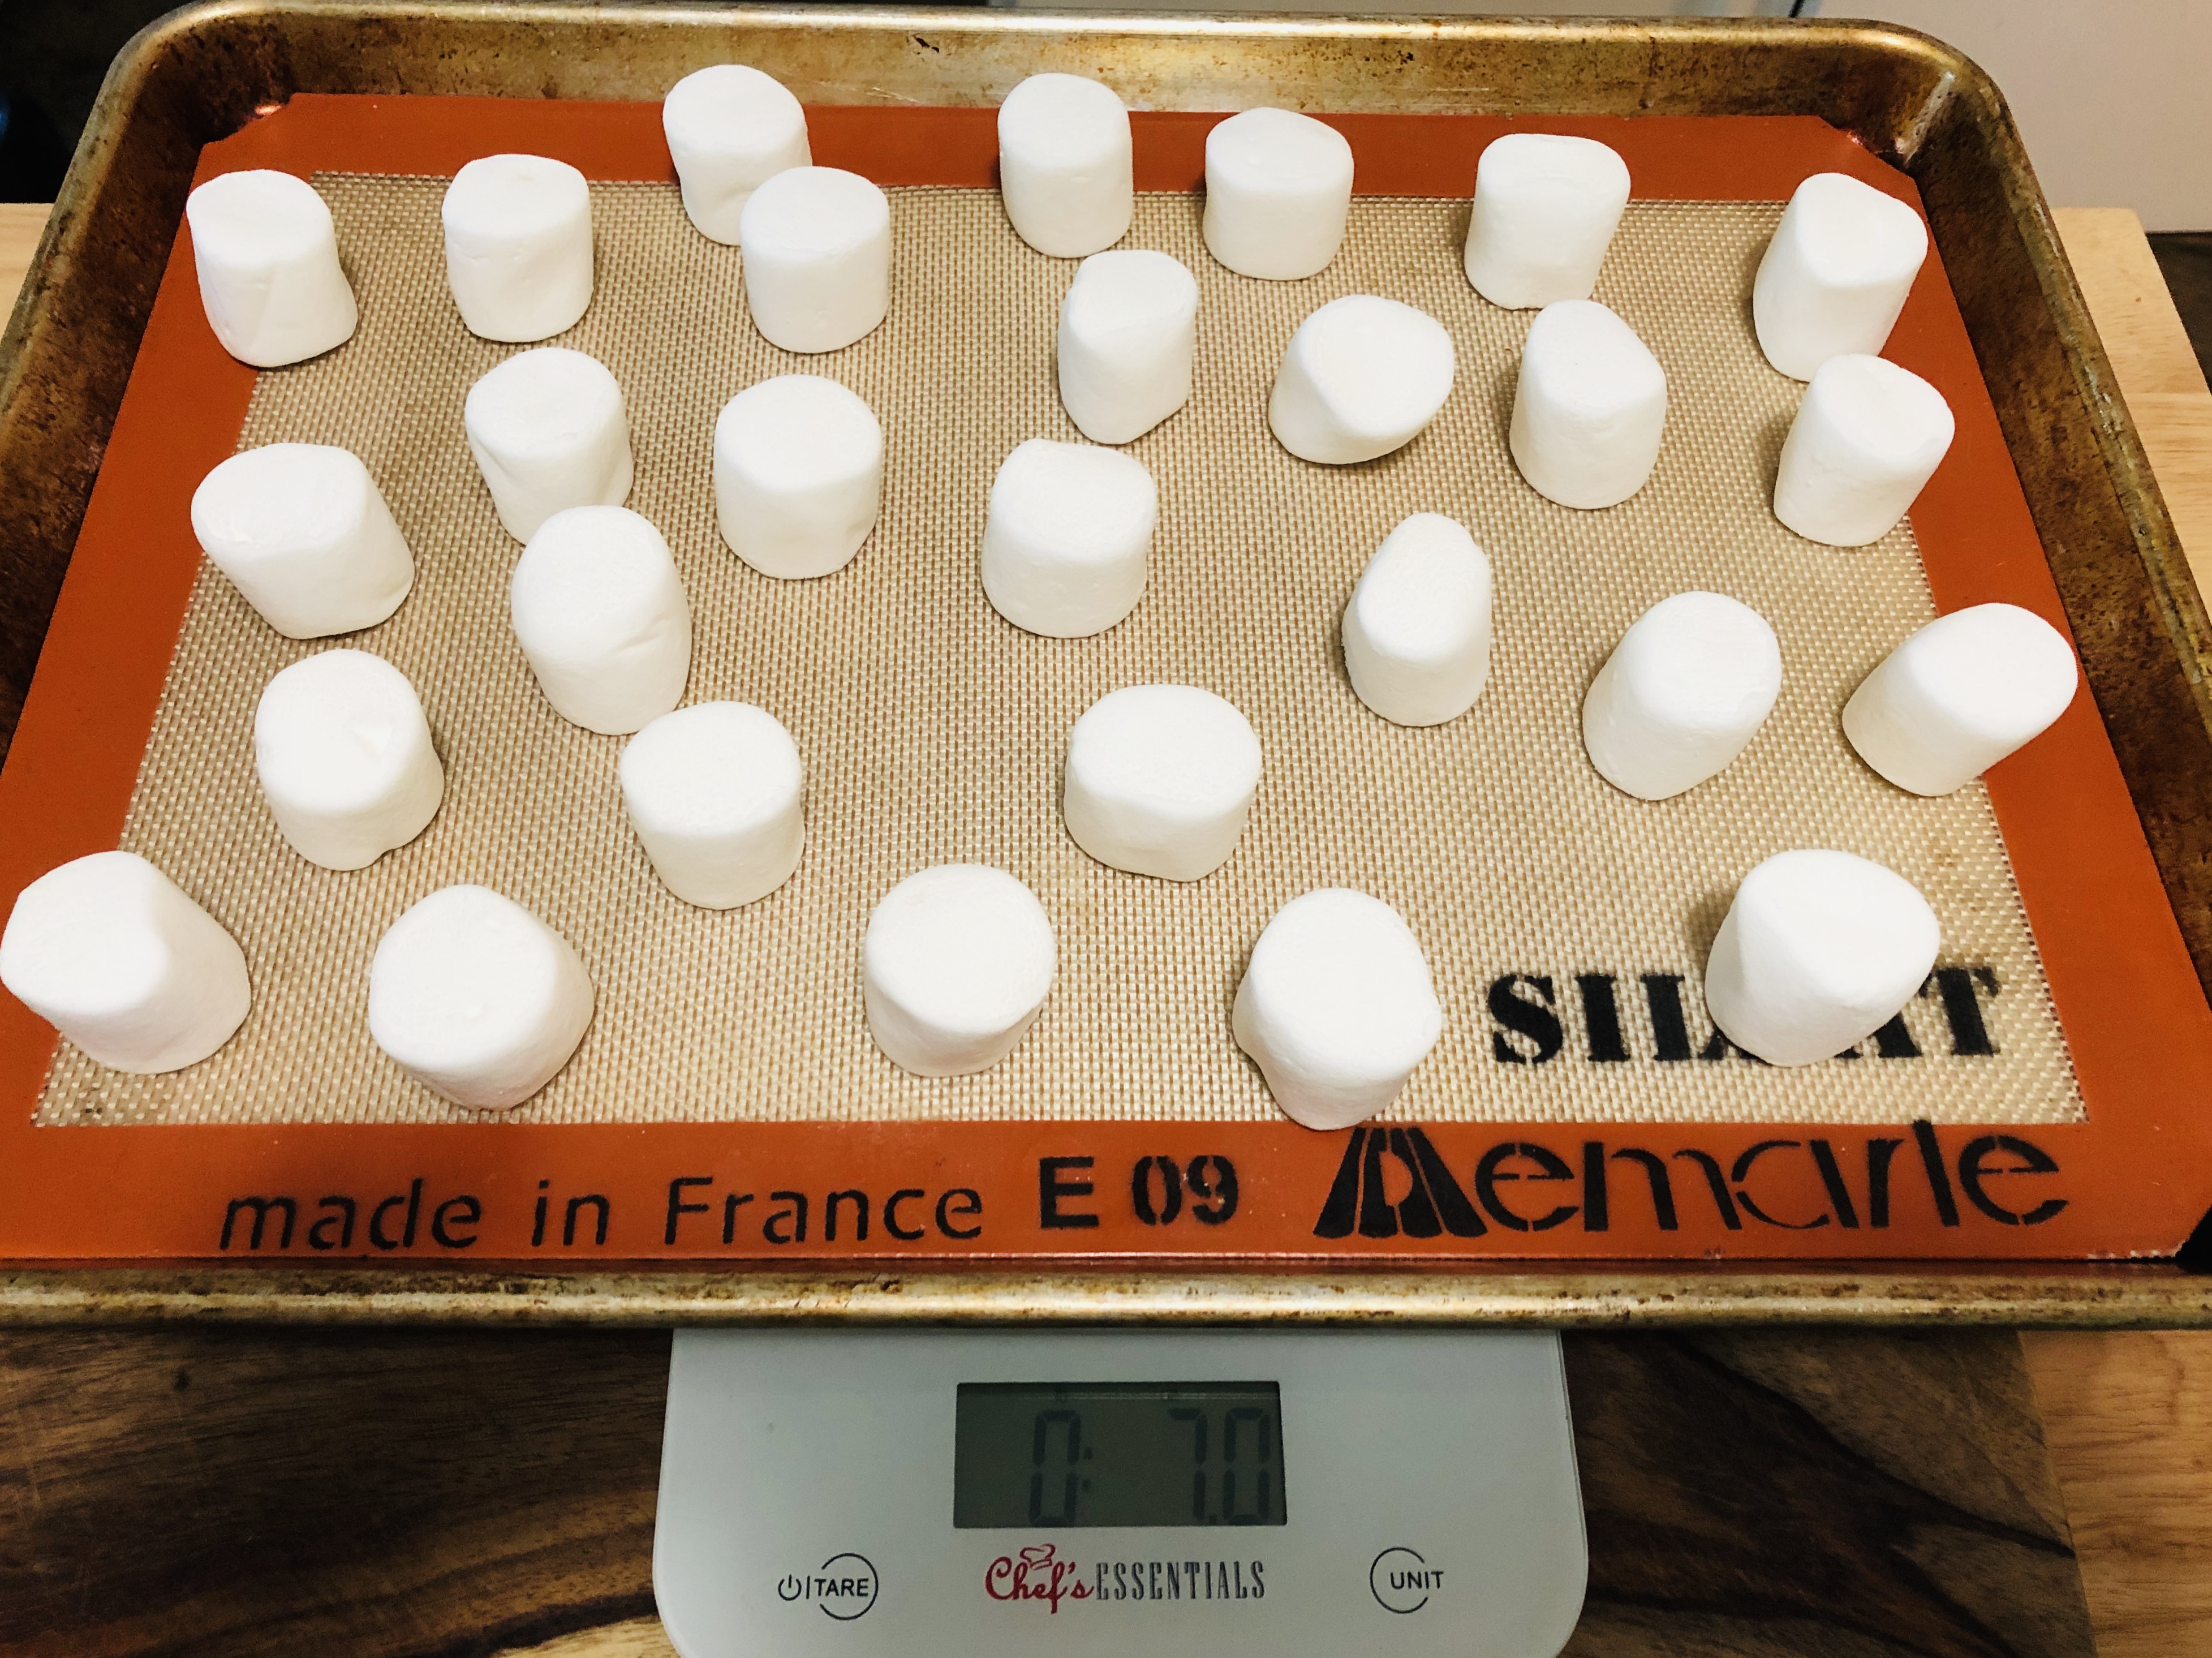
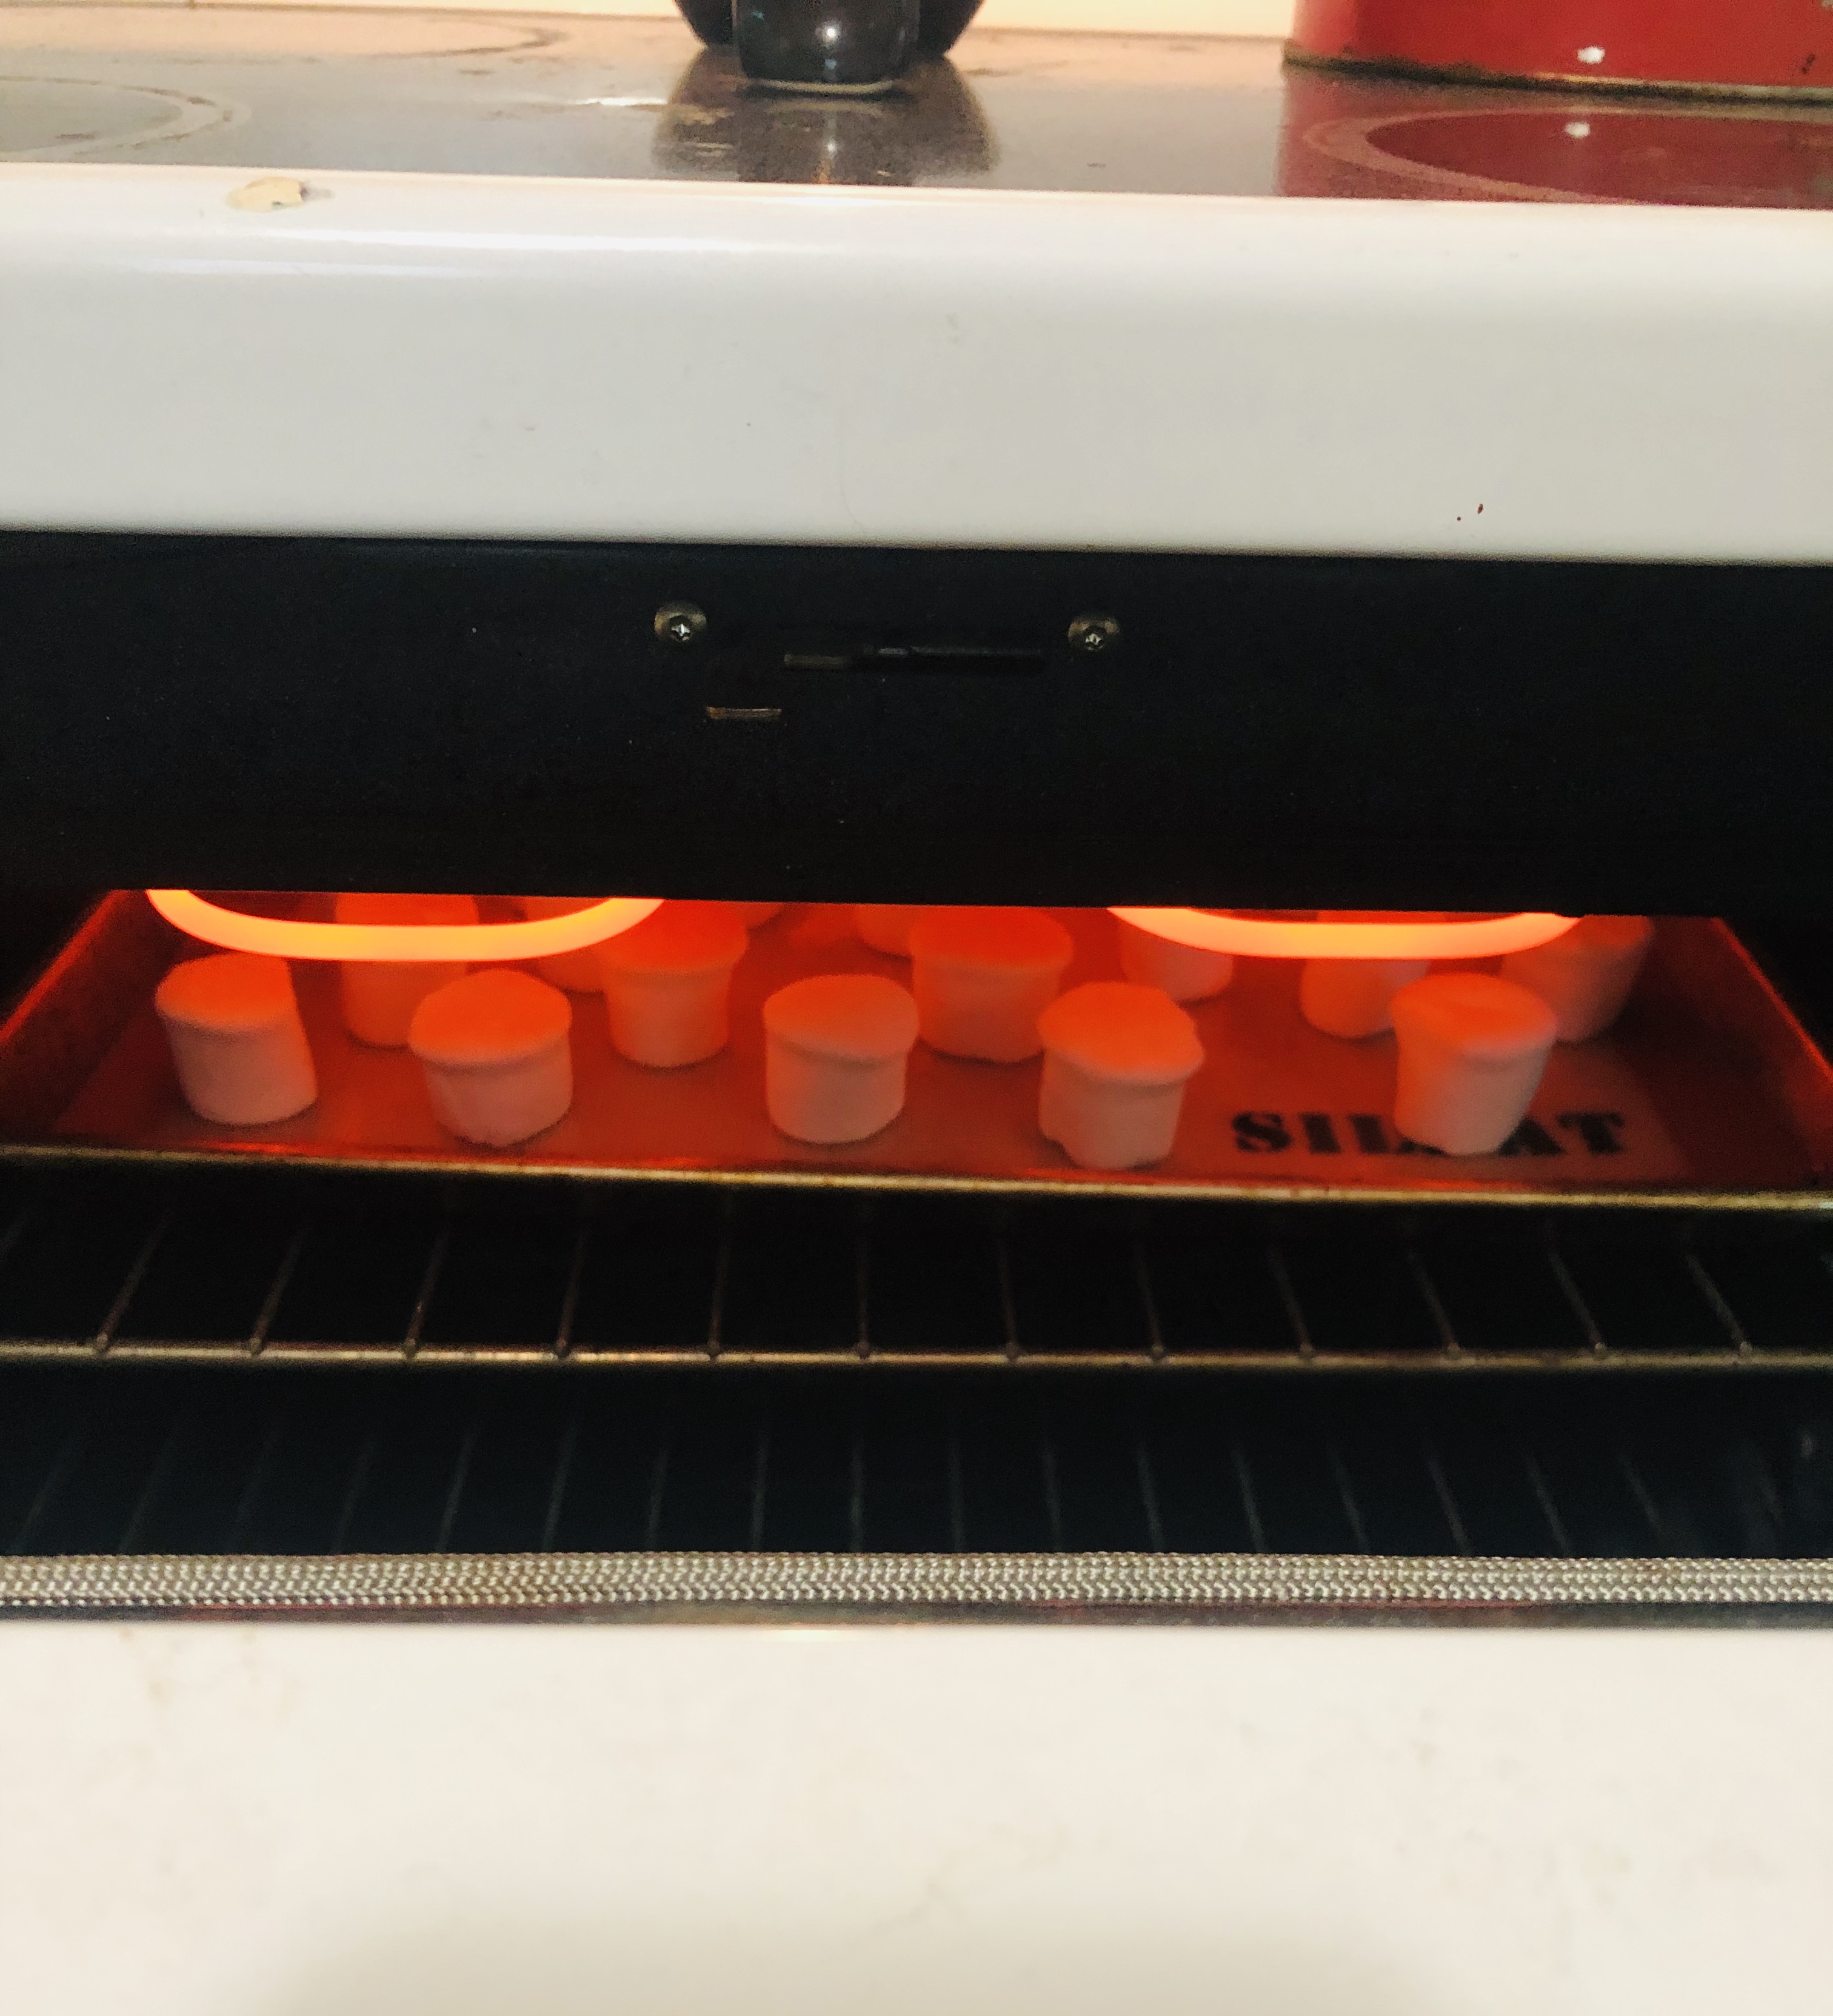
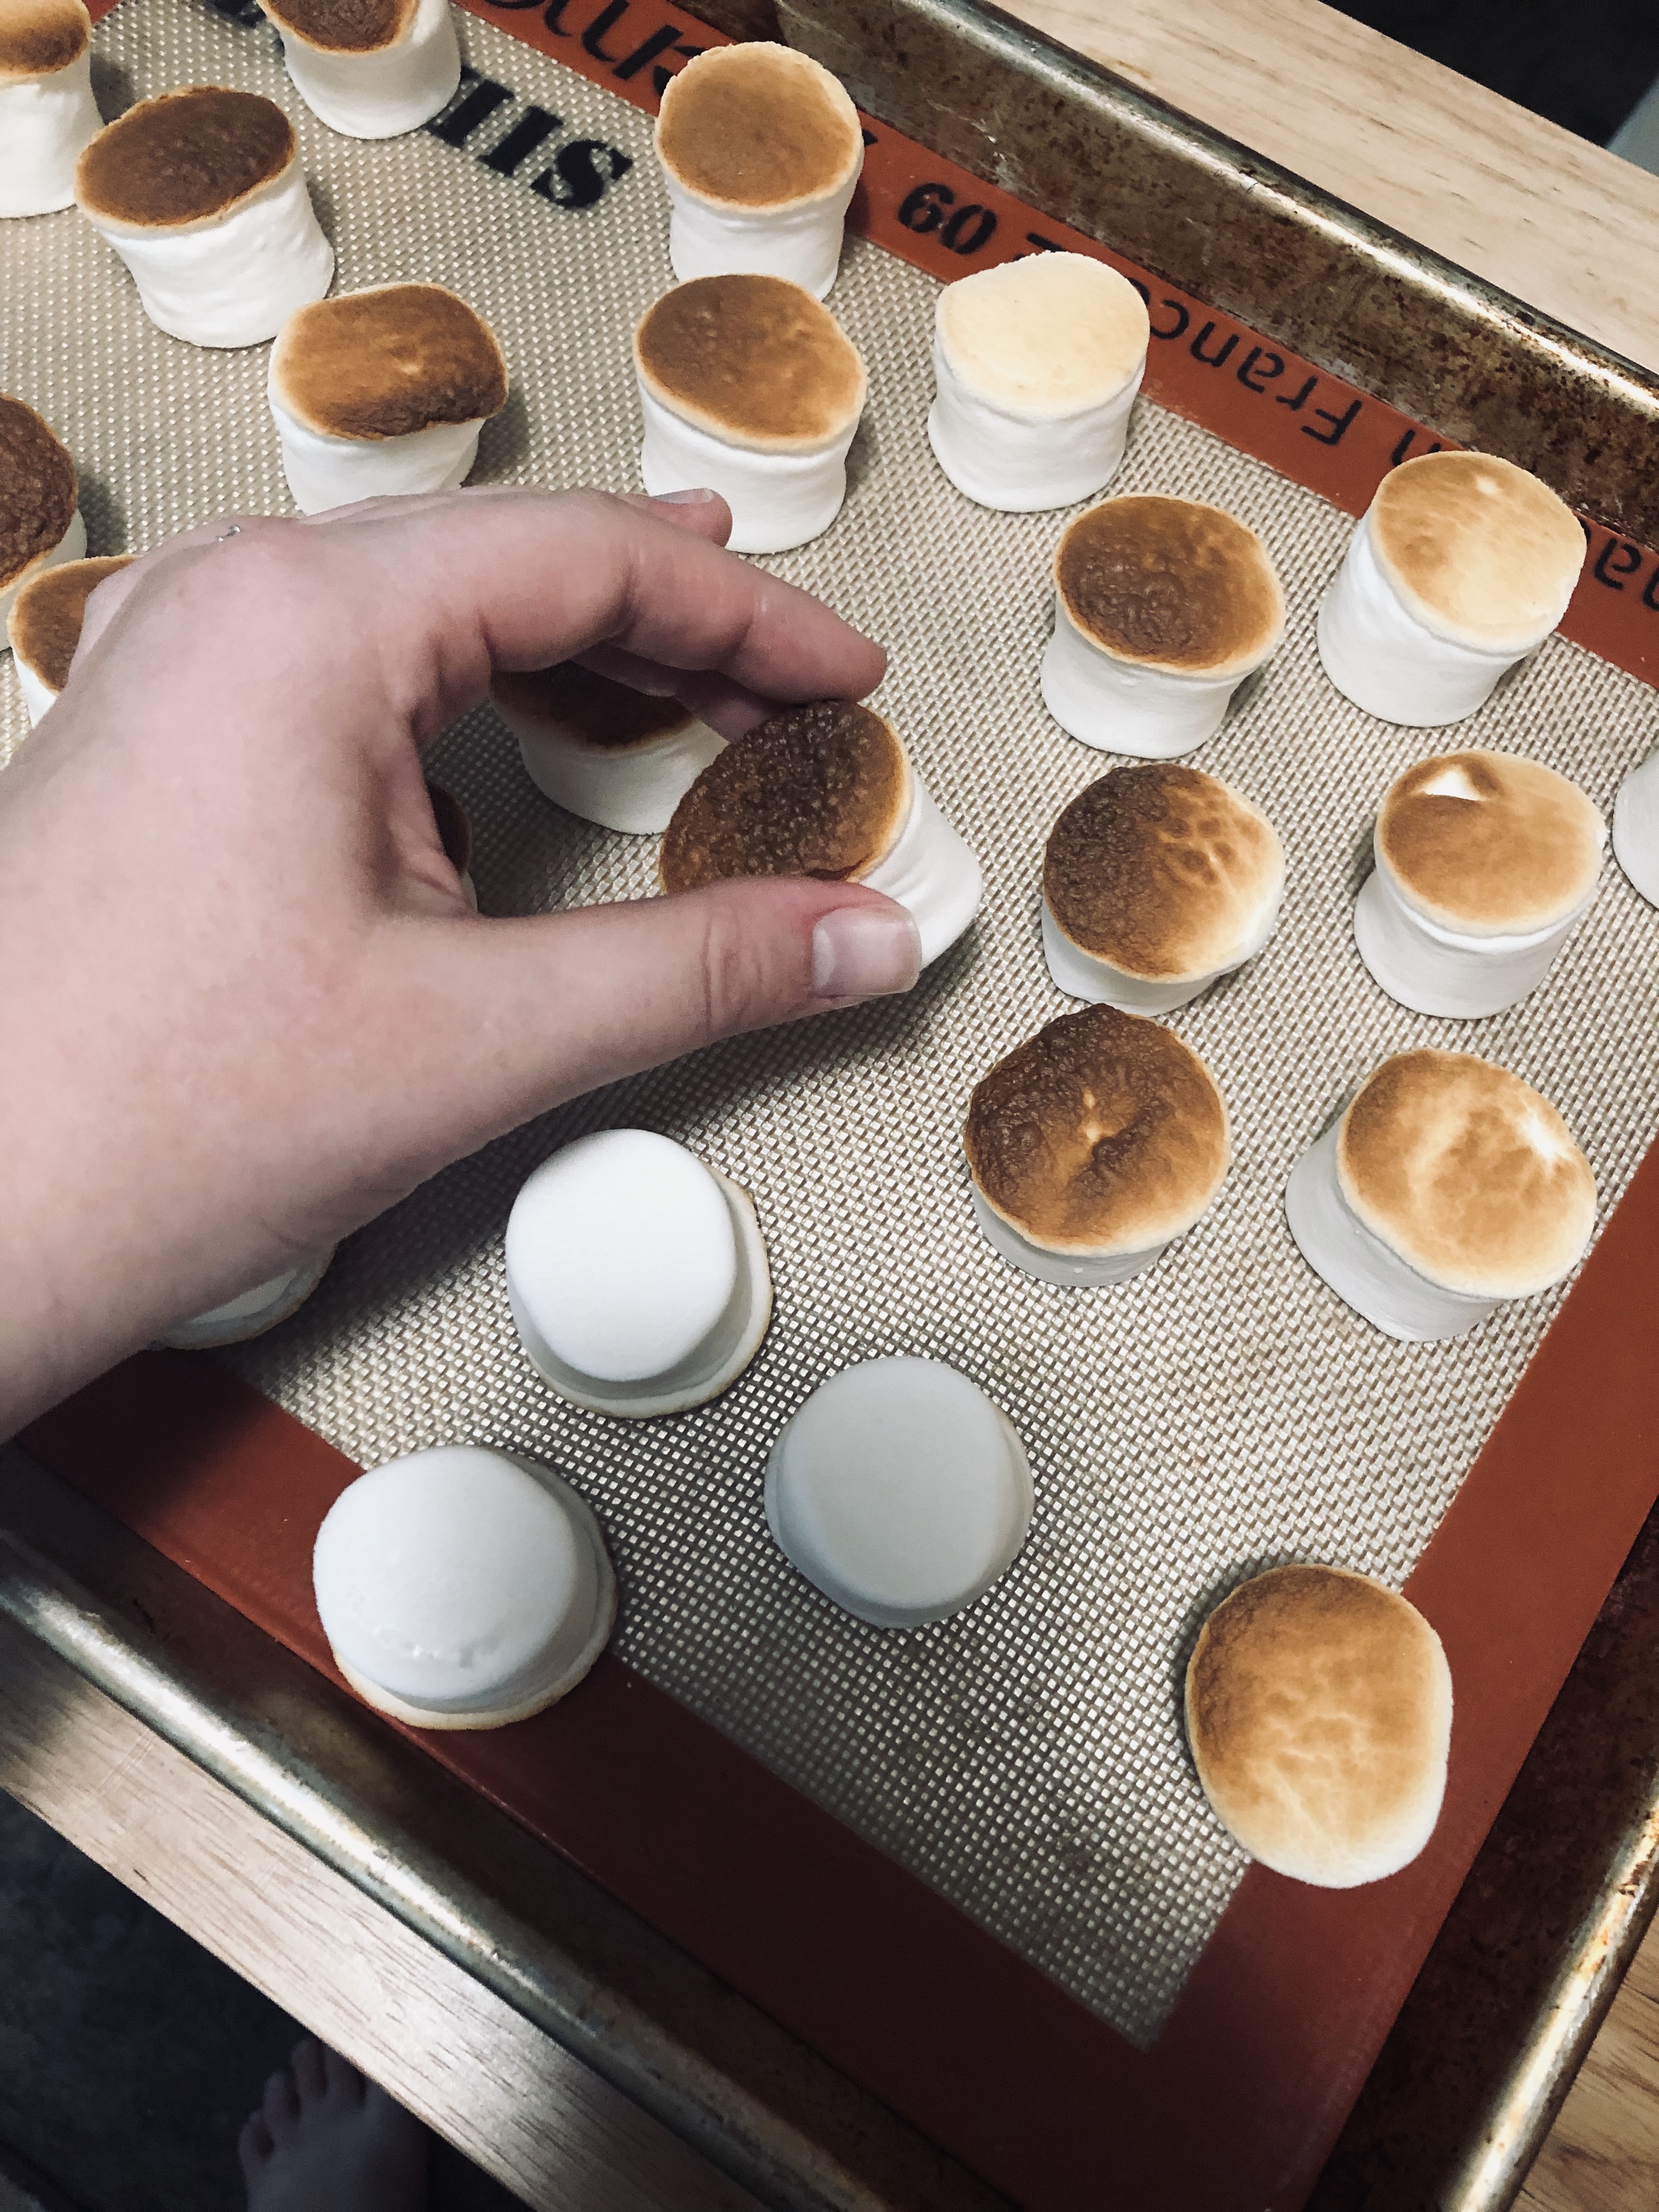
Toast the marshmallows: Preheat your oven to its broil setting and move the top rack to the position closest to the source of heat, whether in a gas or electric oven. Line a baking sheet (have you gotten your aluminum baking sheets yet?!) with a Silpat (a French non-stick rubber baking mat for extra sticking security) or your trustworthy parchment. Line the marshmallows up neatly, which seems ridiculous but you’ll see how much easier it is to flip them over when the time comes. Slide the baking sheet into the piping hot oven and watch your mallows like a hawk. I leave the door cracked open and watch them the whole time, turning the pan around to make sure all the marshmallows get nice and brown. Remove the pan when you’re satisfied with their toastiness and flip each marshmallow over to toast the other side. (They cool pretty quickly, so I just brave it and gently flip them with my hands, or else they’ll start sticking to any tools you use.) It only takes a minute or two on either side to brown them. Set the pan of mallows aside to cool.
Yes, this smells amazing in your kitchen. Feel free to do this toasting at your leisure, for a toasted marshmallow snacky treat any time you want.
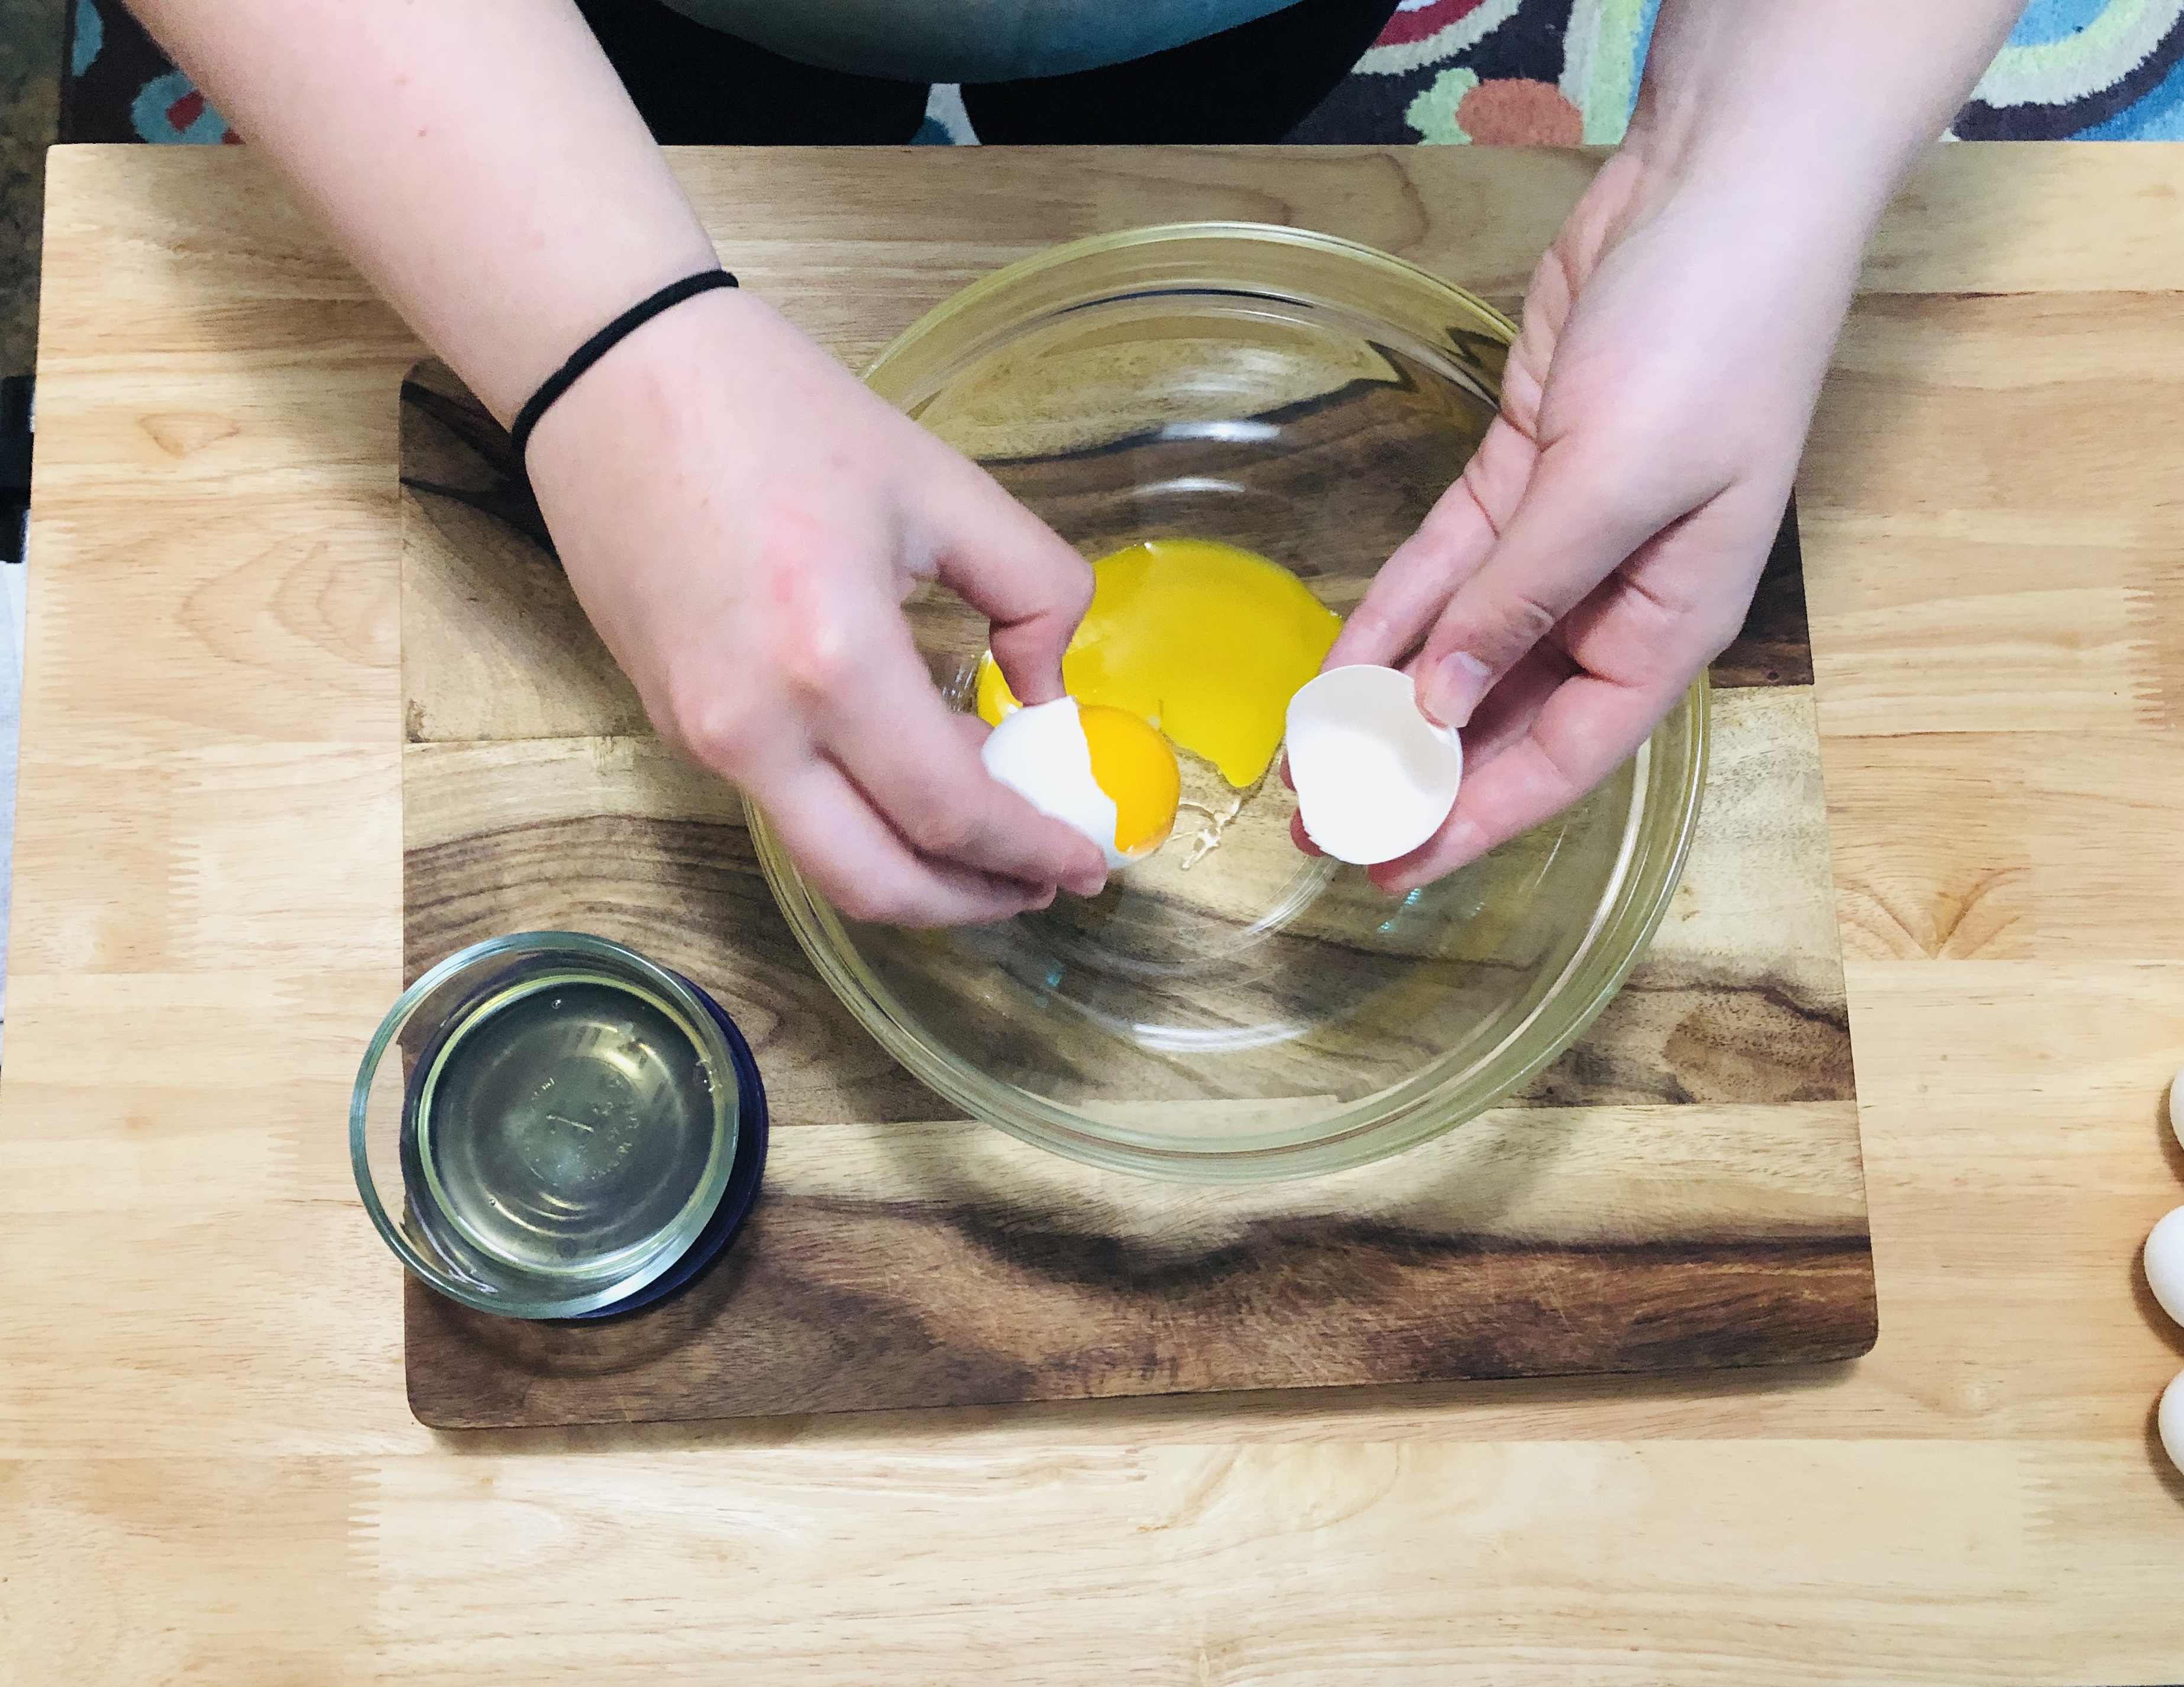
Prepare the custard: Separate the 5 egg yolks into a medium-sized bowl and save the whites for another use (Dan likes to add them to his scrambled eggs- what a health nut). The whites will keep in the fridge for a week or more. Whisk the yolks to combine them and set them aside.
In a medium saucepan over medium-low heat, whisk together the whole milk and sugar until the mixture is steaming, but not boiling. Be patient- you don’t want anything getting boiling hot in this process.
Tip: I used vanilla sugar, which is just sugar I put aside in a jar with some dried out vanilla beans. The result is a lovely, vanilla-fragranced sugar that you can just keep topping off as you use it.
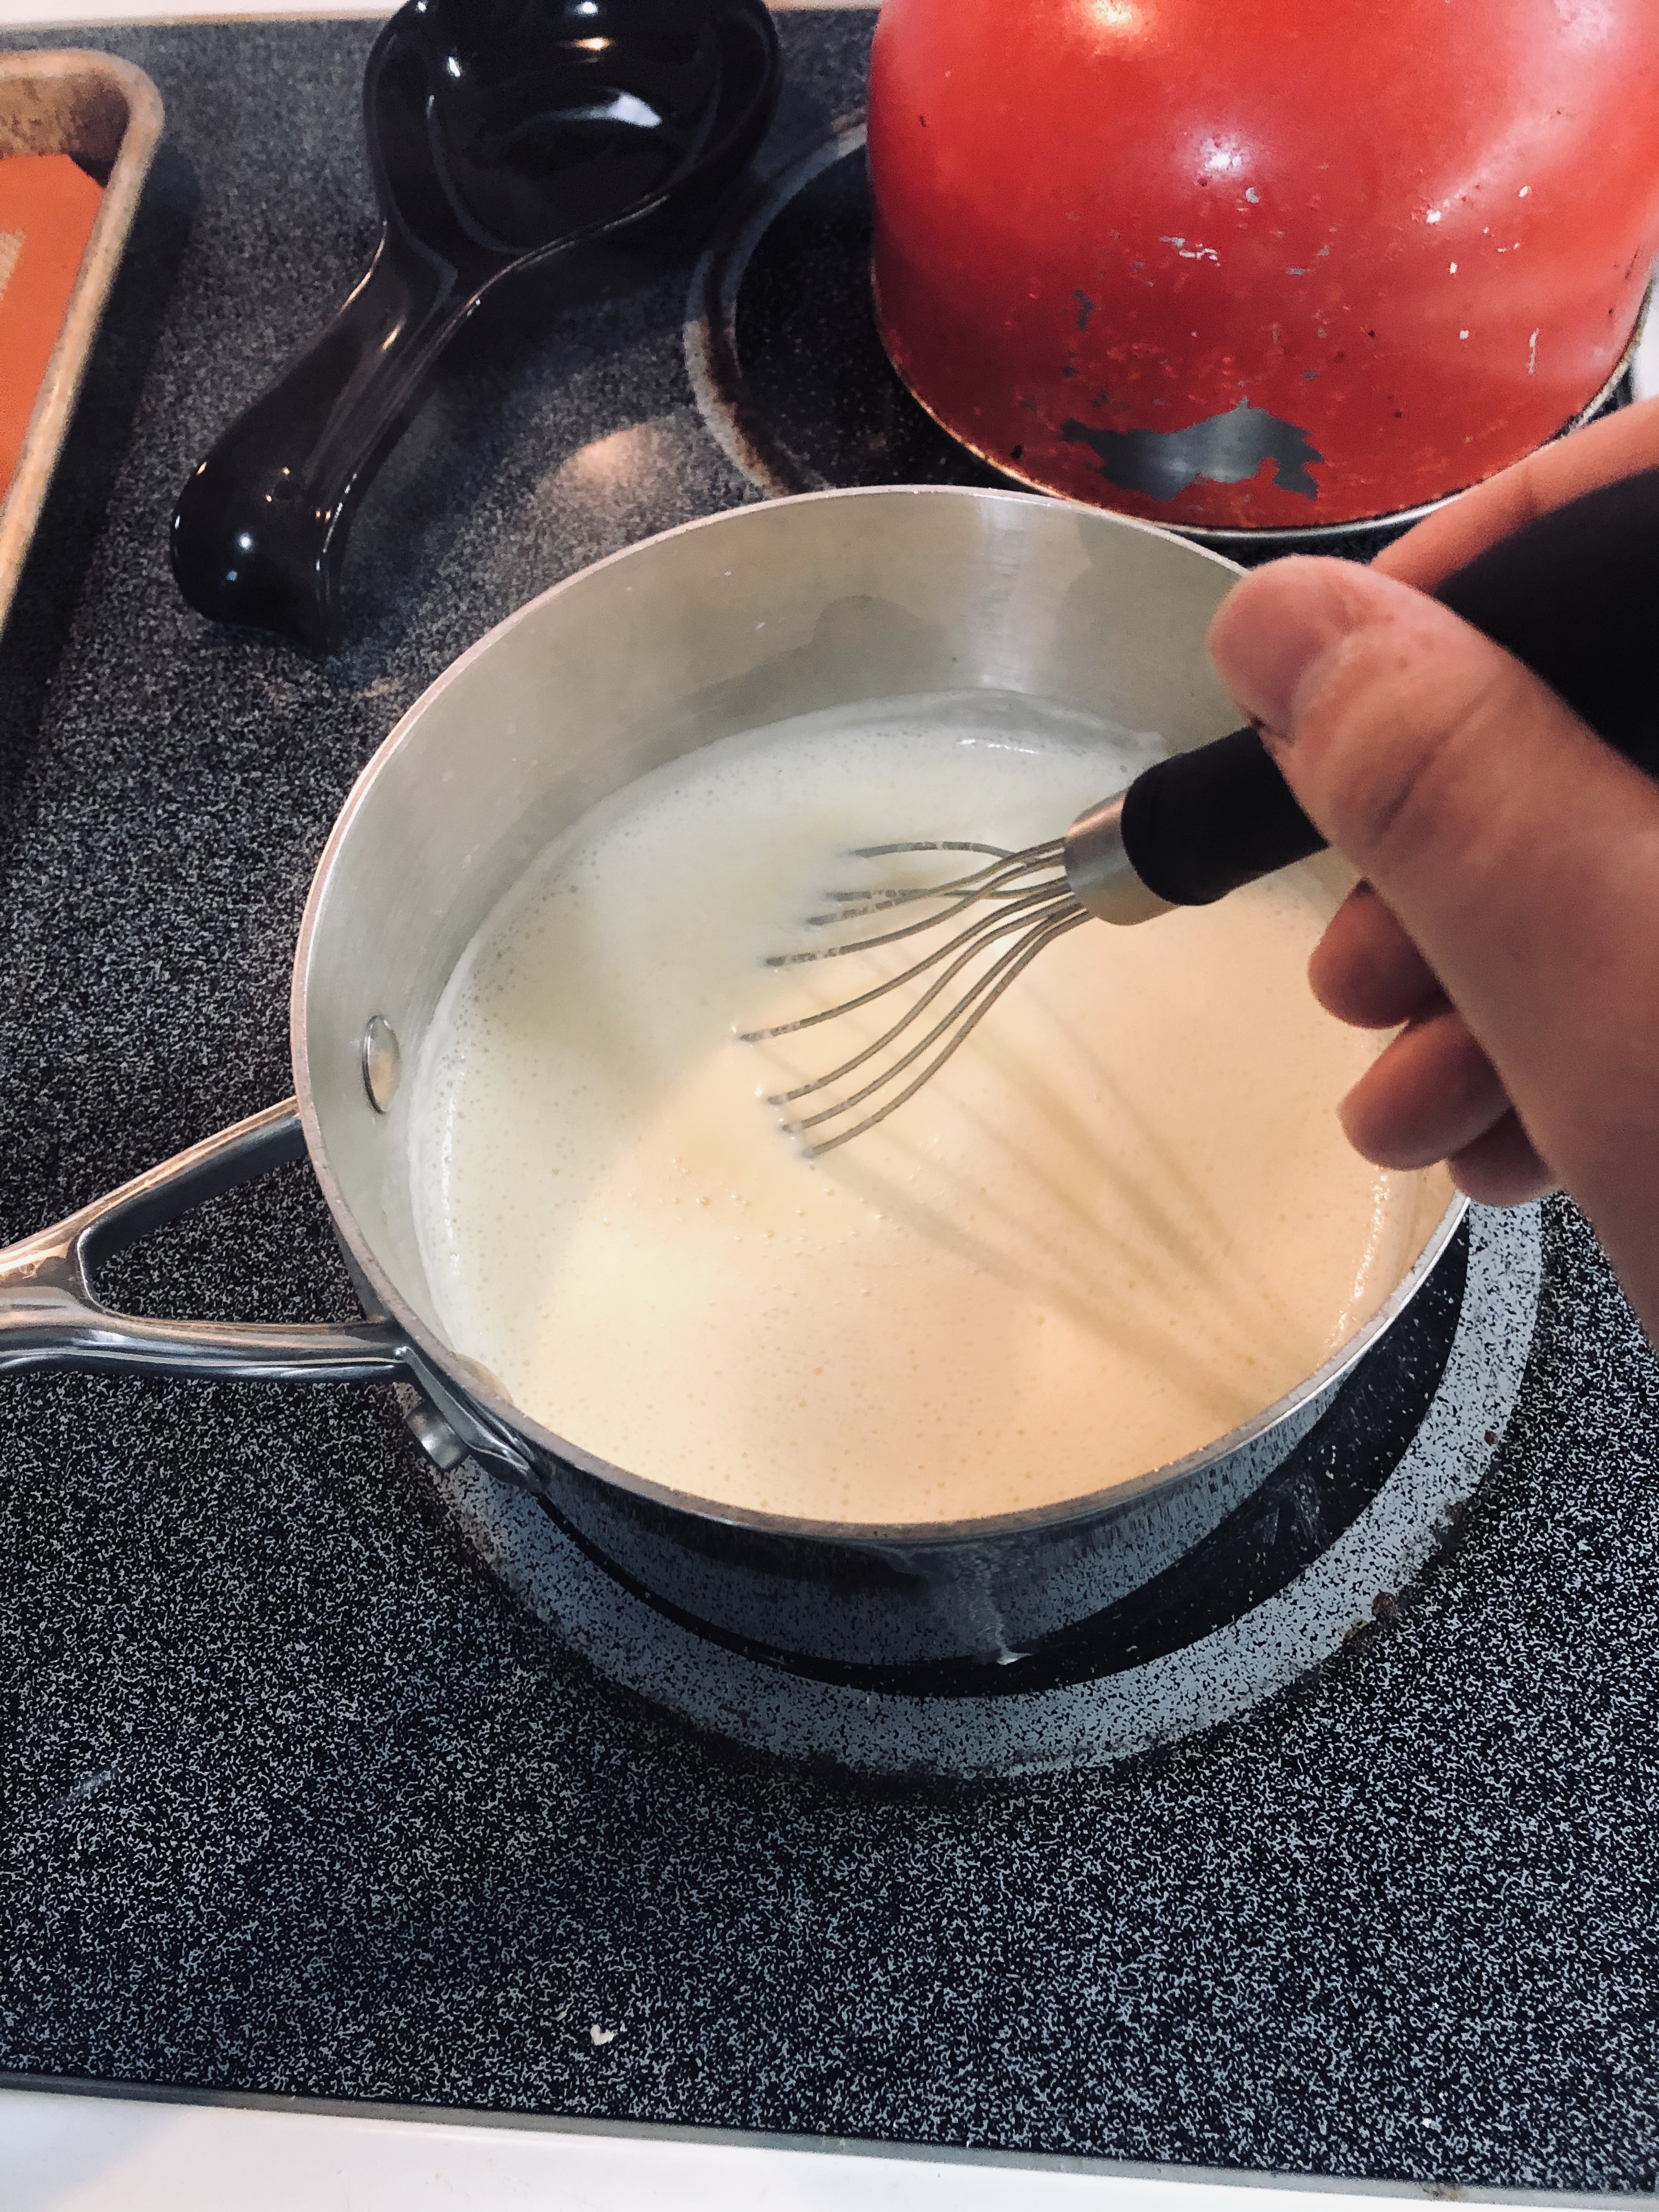
Slowly and carefully pour the hot milk and sugar mixture into the bowl with the egg yolks, whisking vigorously the whole time. This will temper the egg yolks- or bring them up to temperature- SLOWLY so you don’t end up with scrambled eggs. Pour that mixture back into the saucepan, still over medium-low heat. Whisk the mixture or switch to a rubber spatula to stir, and keep the mixture moving constantly. All you want is to see that the custard is steaming. Anything further than that and you risk curdling the eggs, which looks like this:
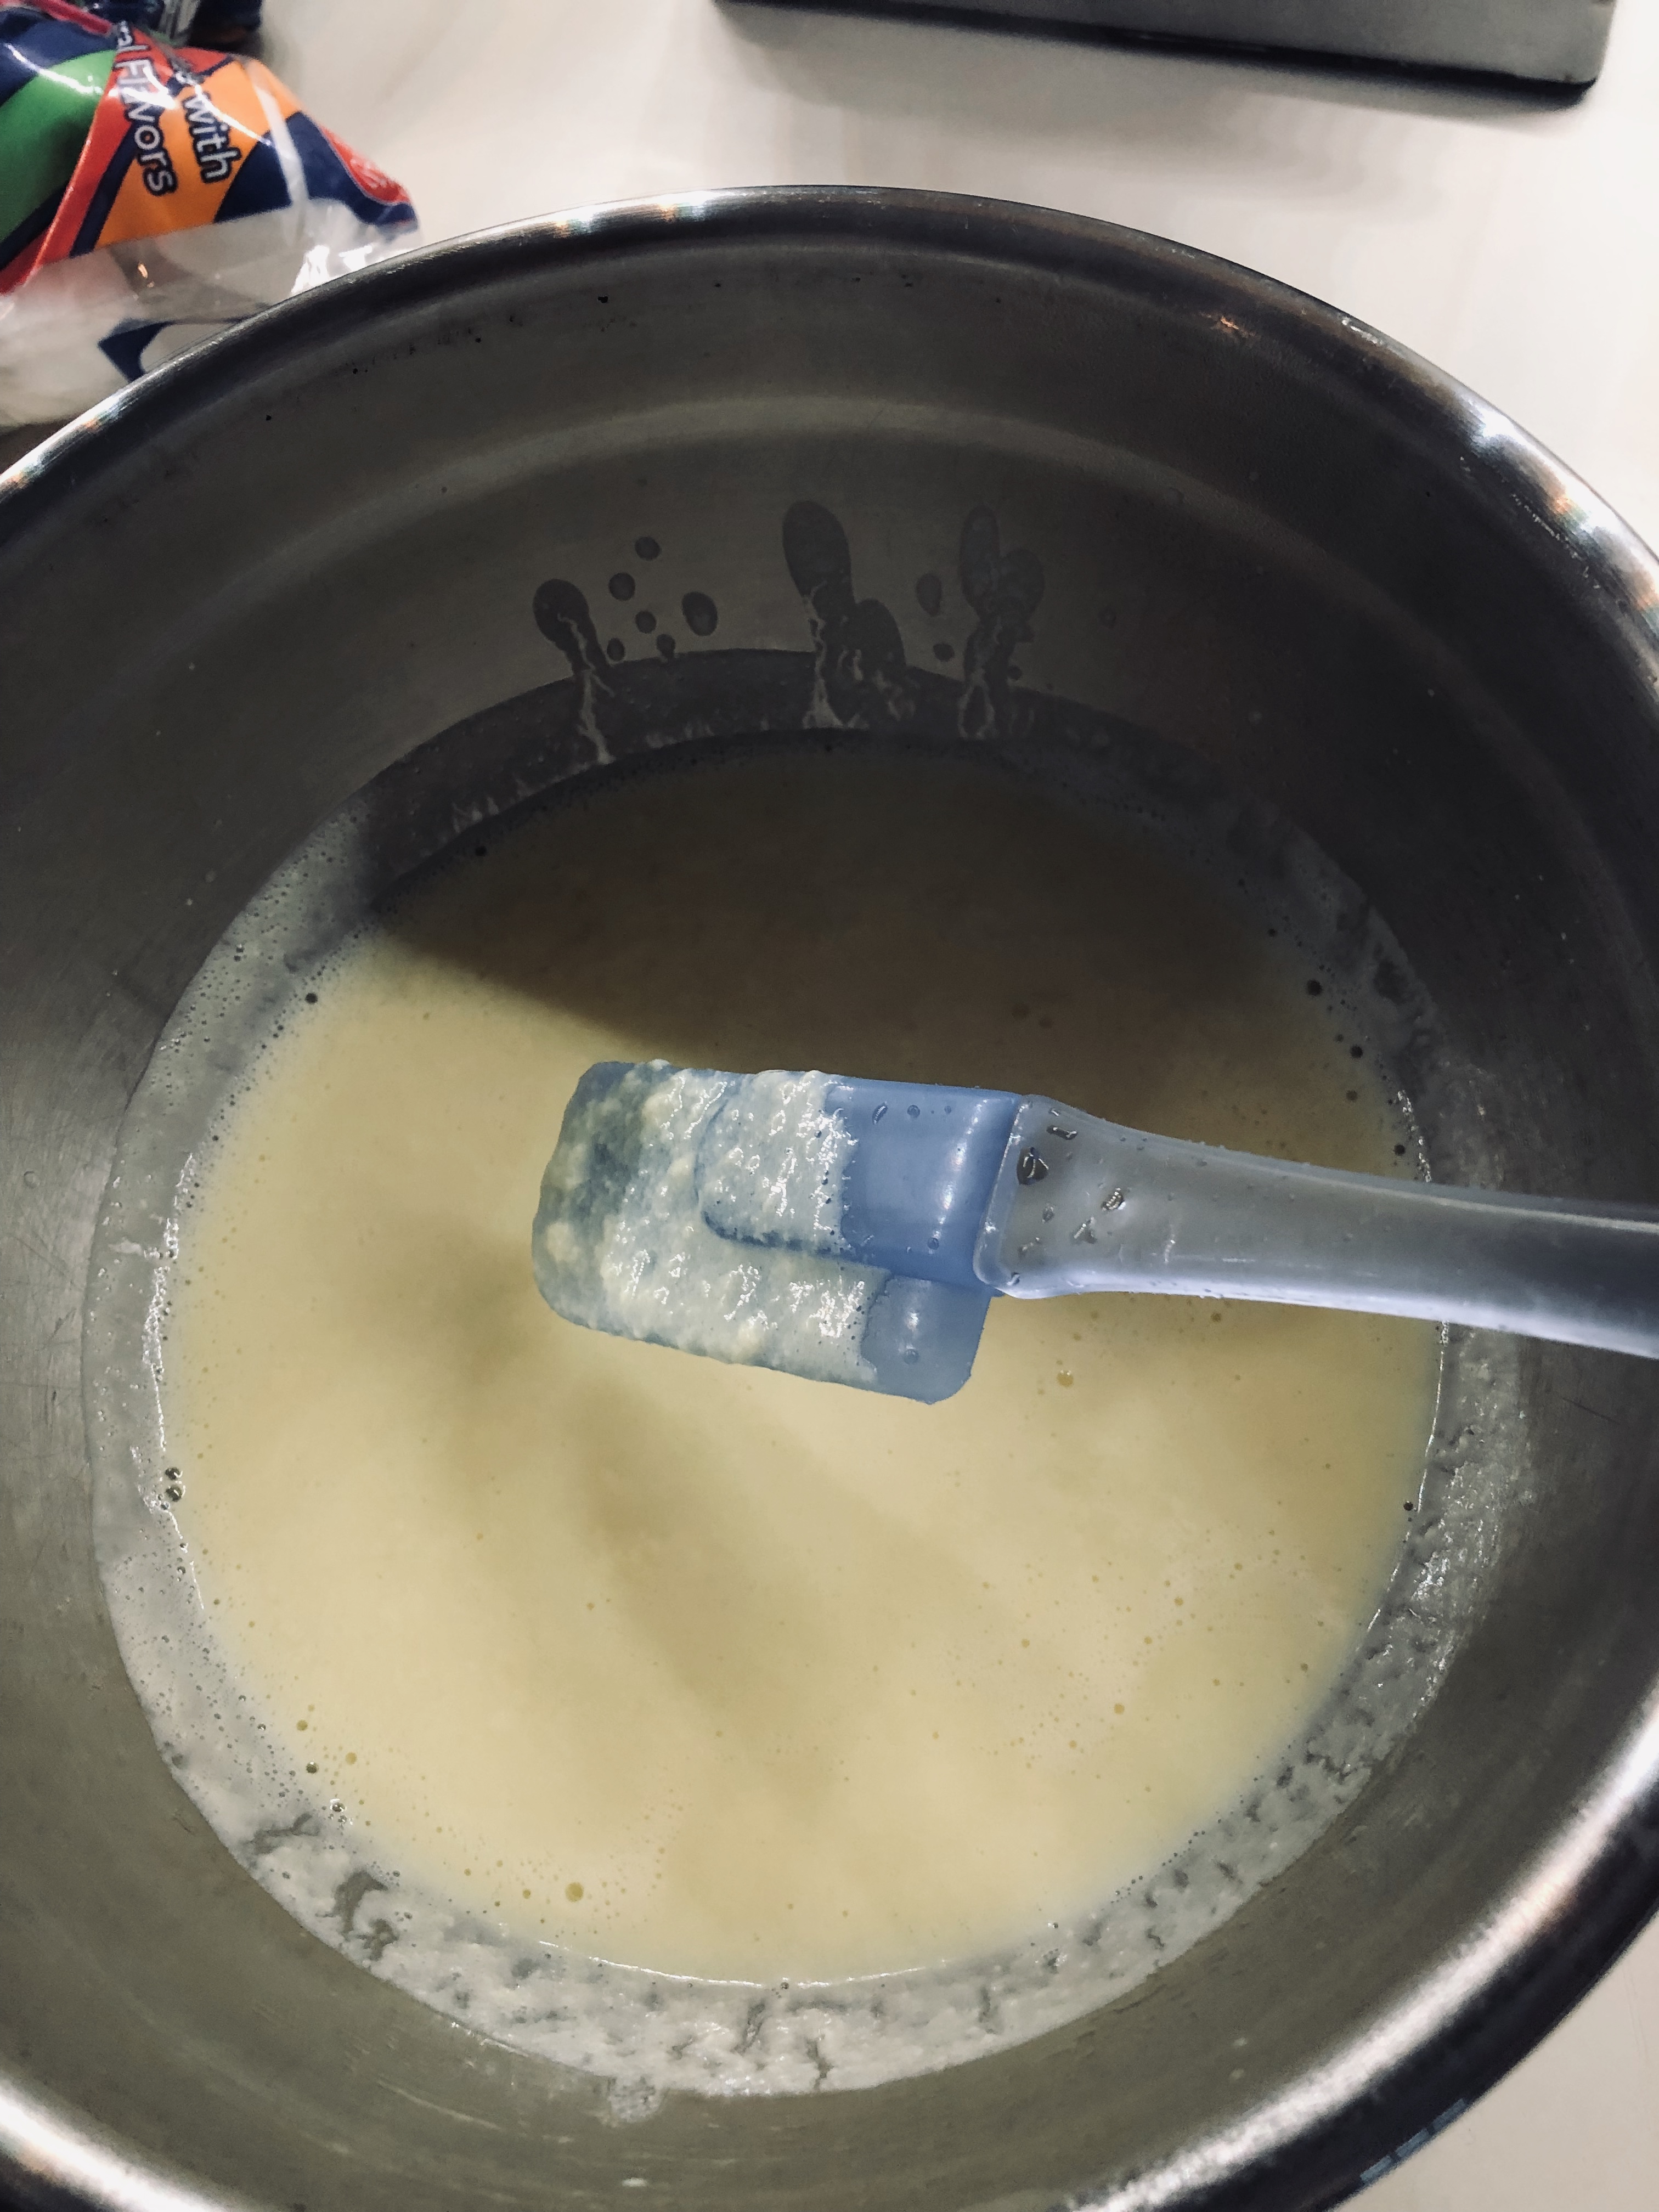
The mixture has separated and is filled with egg yolk solids. However many times I’ve made ice cream, I still get overzealous with the heat sometimes and curdle my mixture every once in a while. It’s an excellent idea to have a surplus of ingredients on hand for this very reason. Don’t be like me.
Here is my second batch:
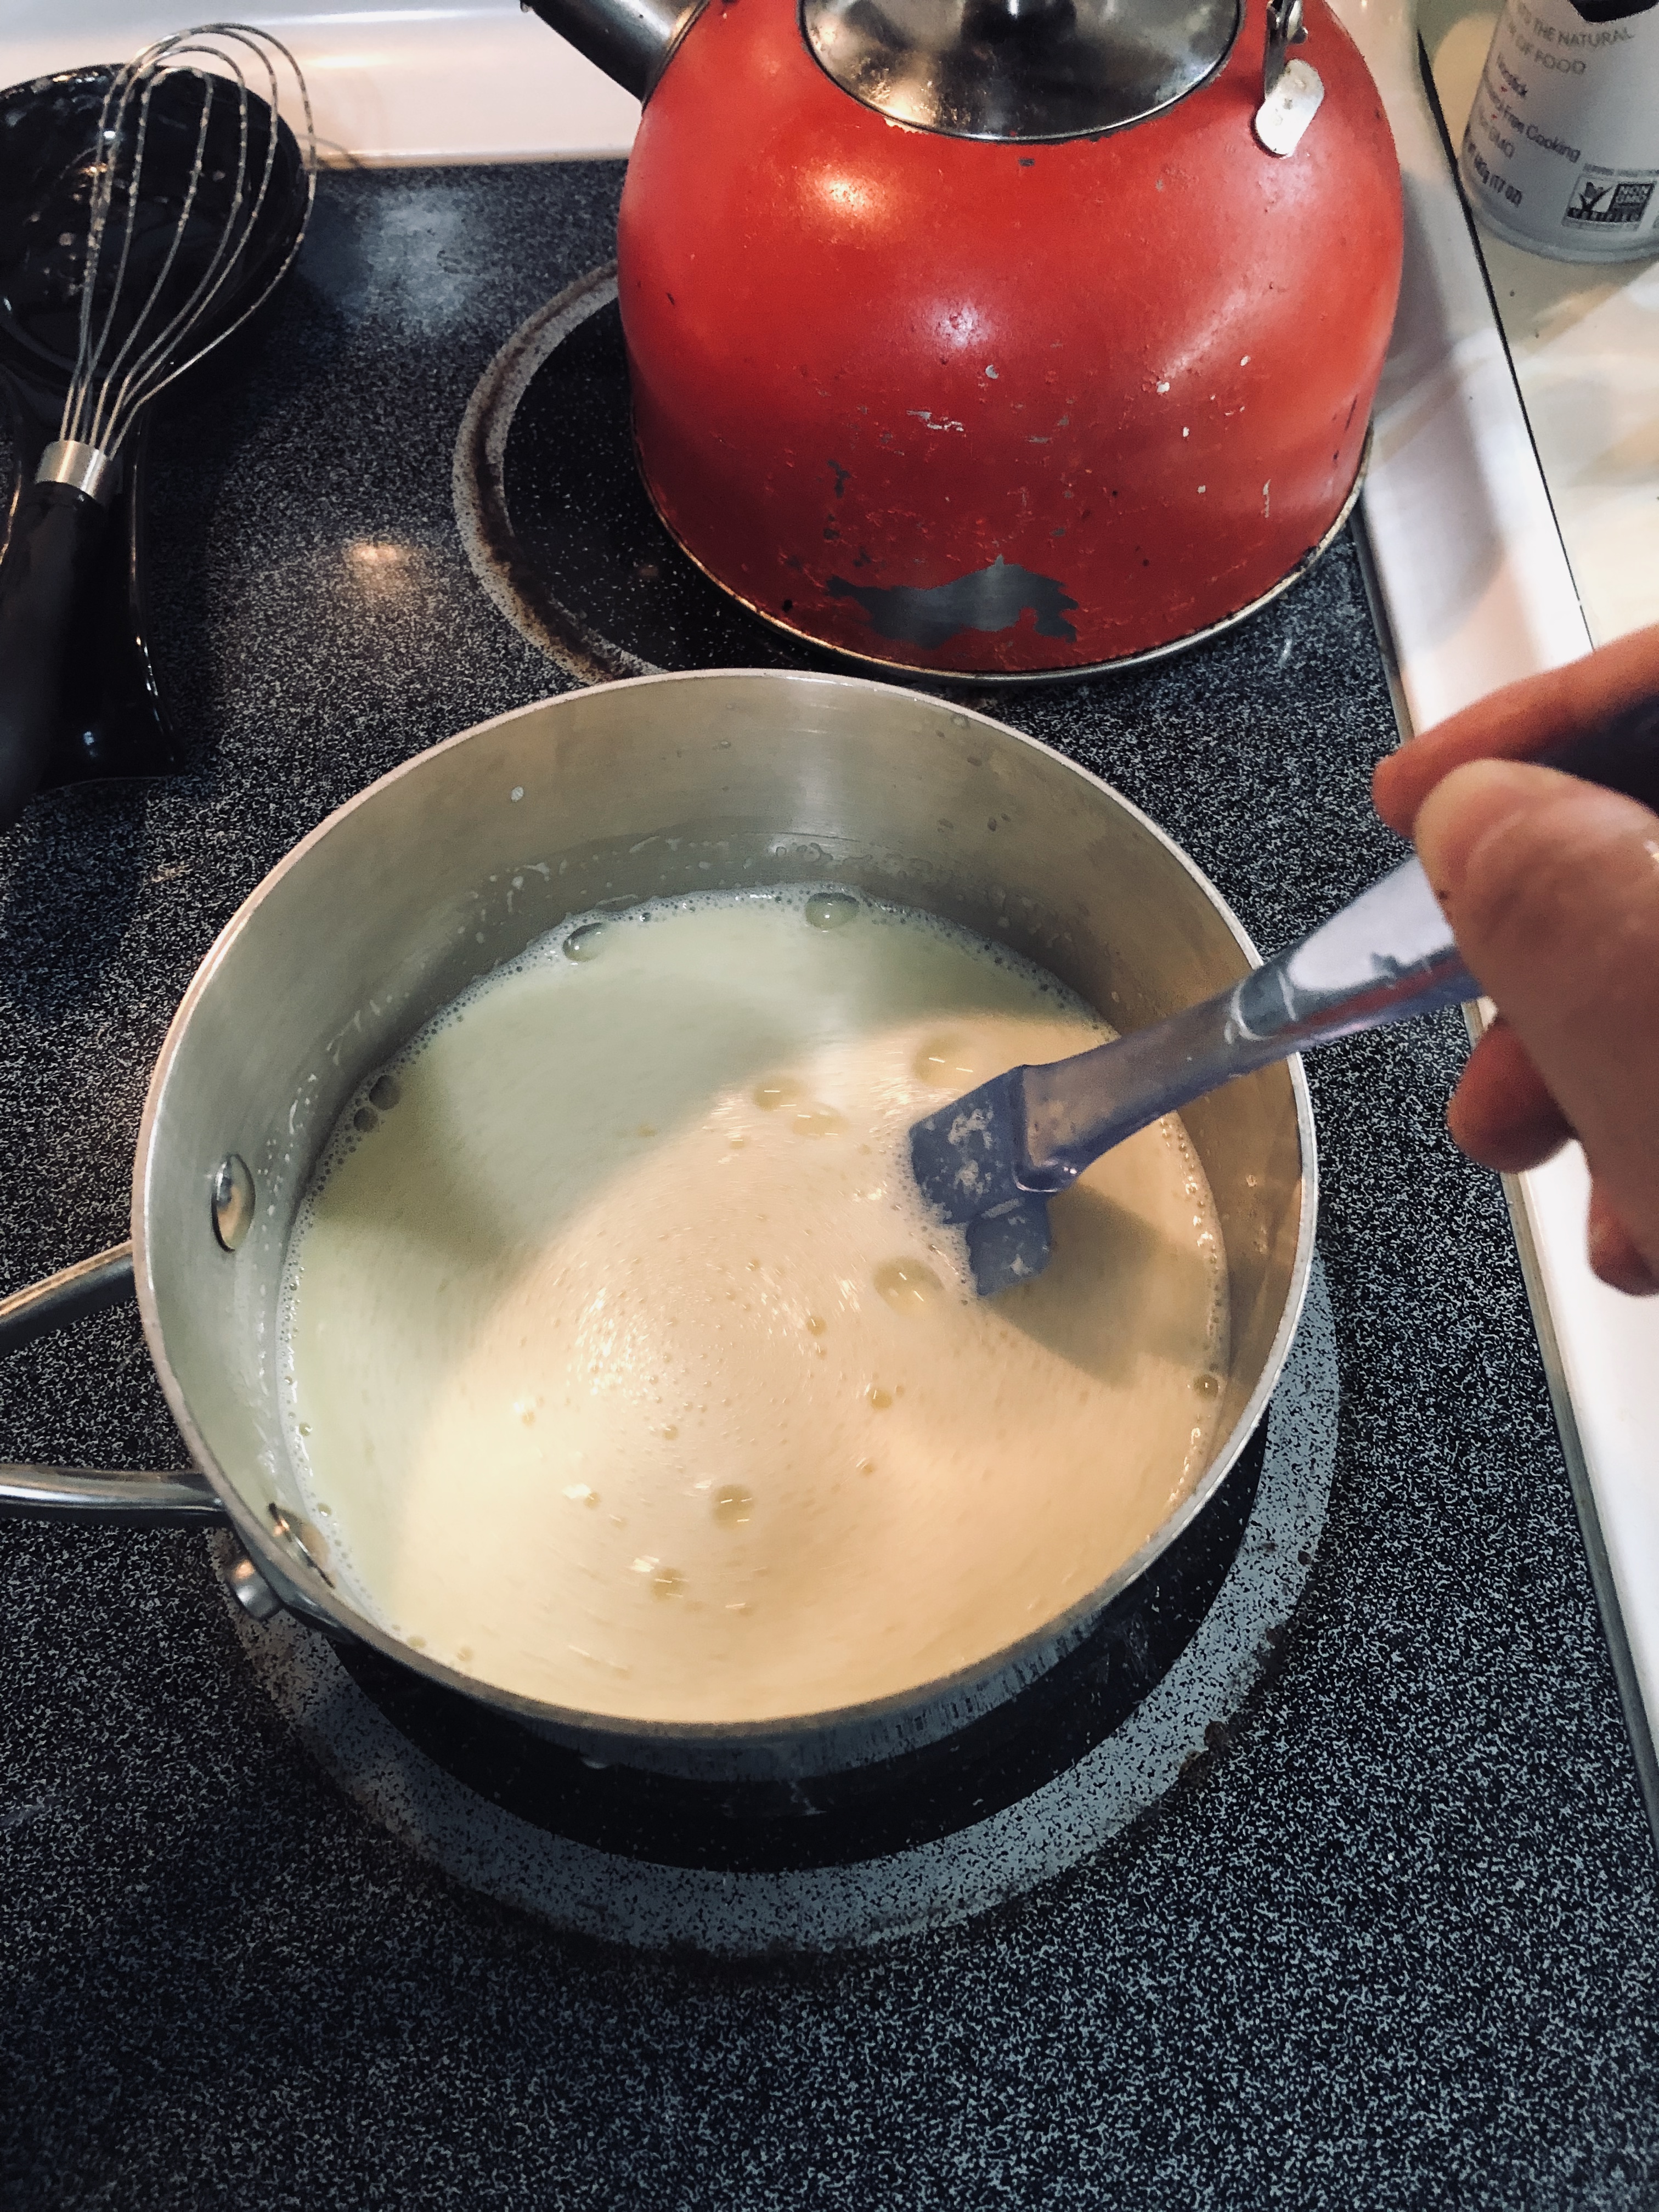
It is frothy because of the vigorous whisking, which is just fine. The rubber spatula allows you to see the texture of the mixture much more easily, as it sits on the spatula. Once your custard is hot and steamy (ay-oh!) pour it immediately into the bowl fitted with the fine mesh strainer. There is almost always a small collection of solids at the bottom, which you don’t want in your ice cream.
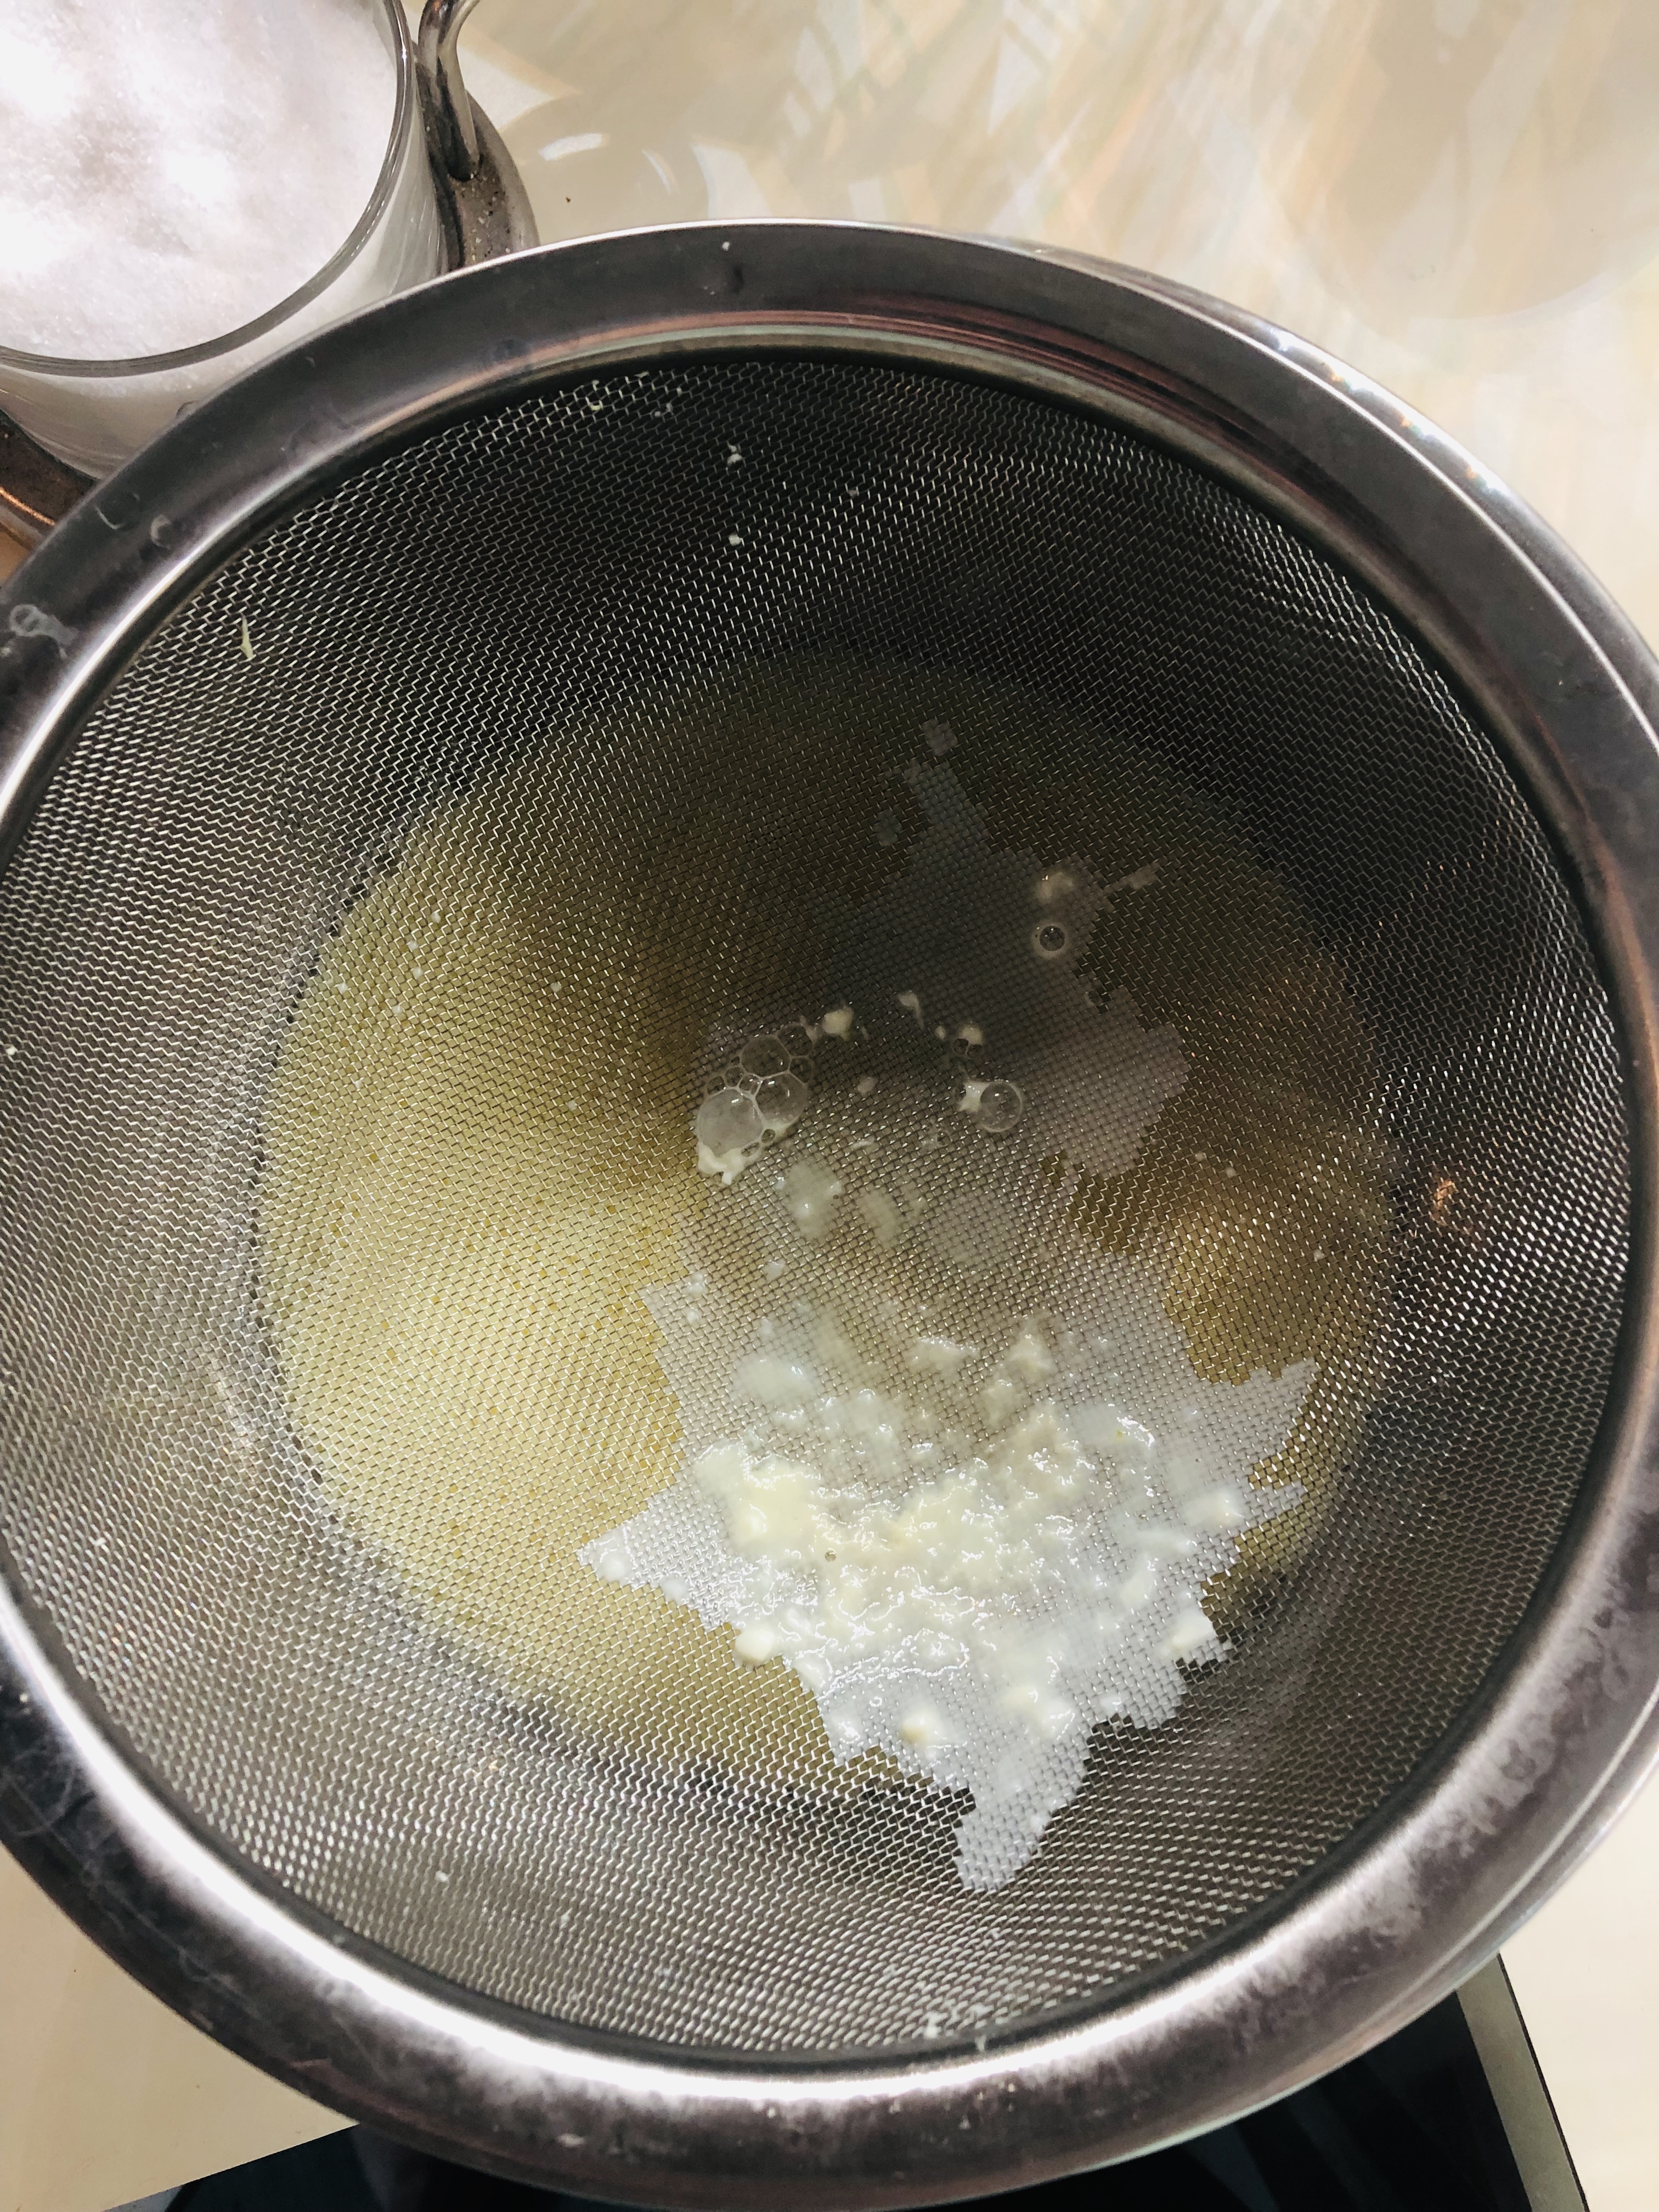
Remove the strainer and stir in the heavy cream, vanilla, and a pinch of salt.
Blend the custard: This is when the true magic happens. Carefully pour your smooth, silky custard base into a blender or food processor (check your appliance’s liquid capacity BEFORE you do any pouring, just in case) and plop in the cooled, toasted marshmallows. Then blend, blend, blend! You’ll still see tiny specks of toasted marshmallow, but otherwise the mixture should be totally blended and smooth. Then pour your ice cream base into a bowl with a lid or an airtight container and stick in the fridge until it is completely cold. I know, you thought you’d be eating ice cream within an hour or two. Sorry…
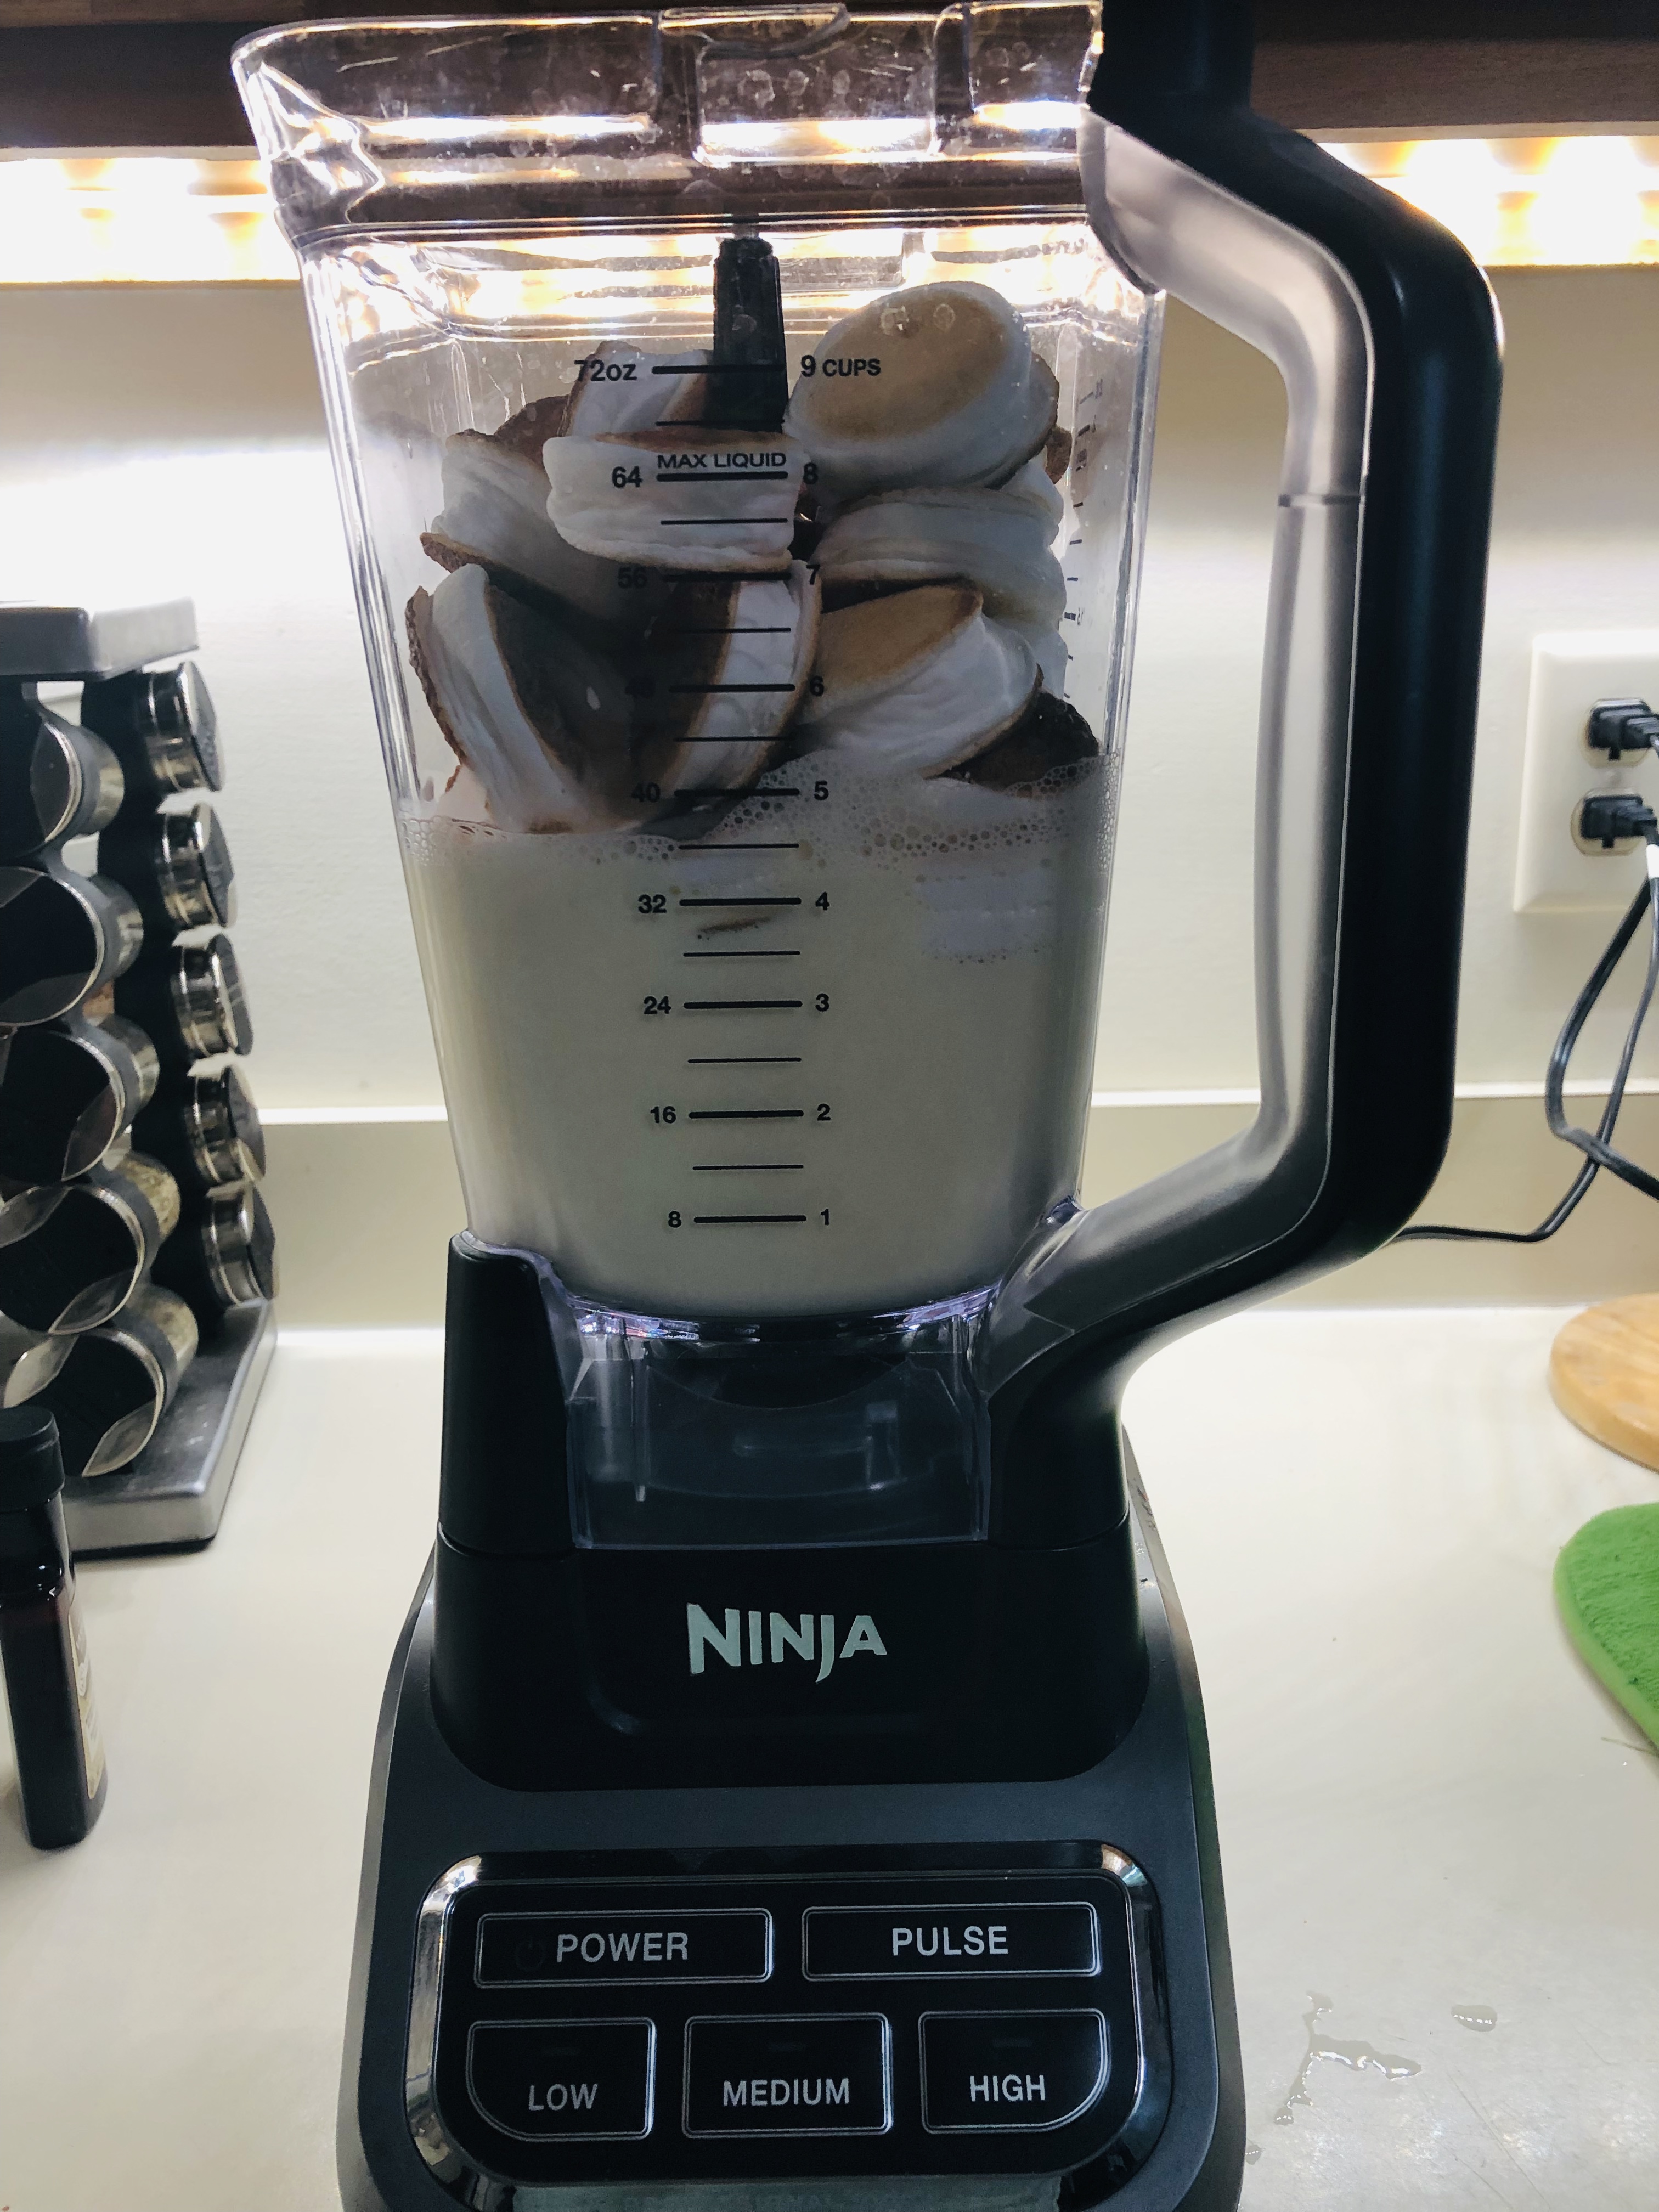
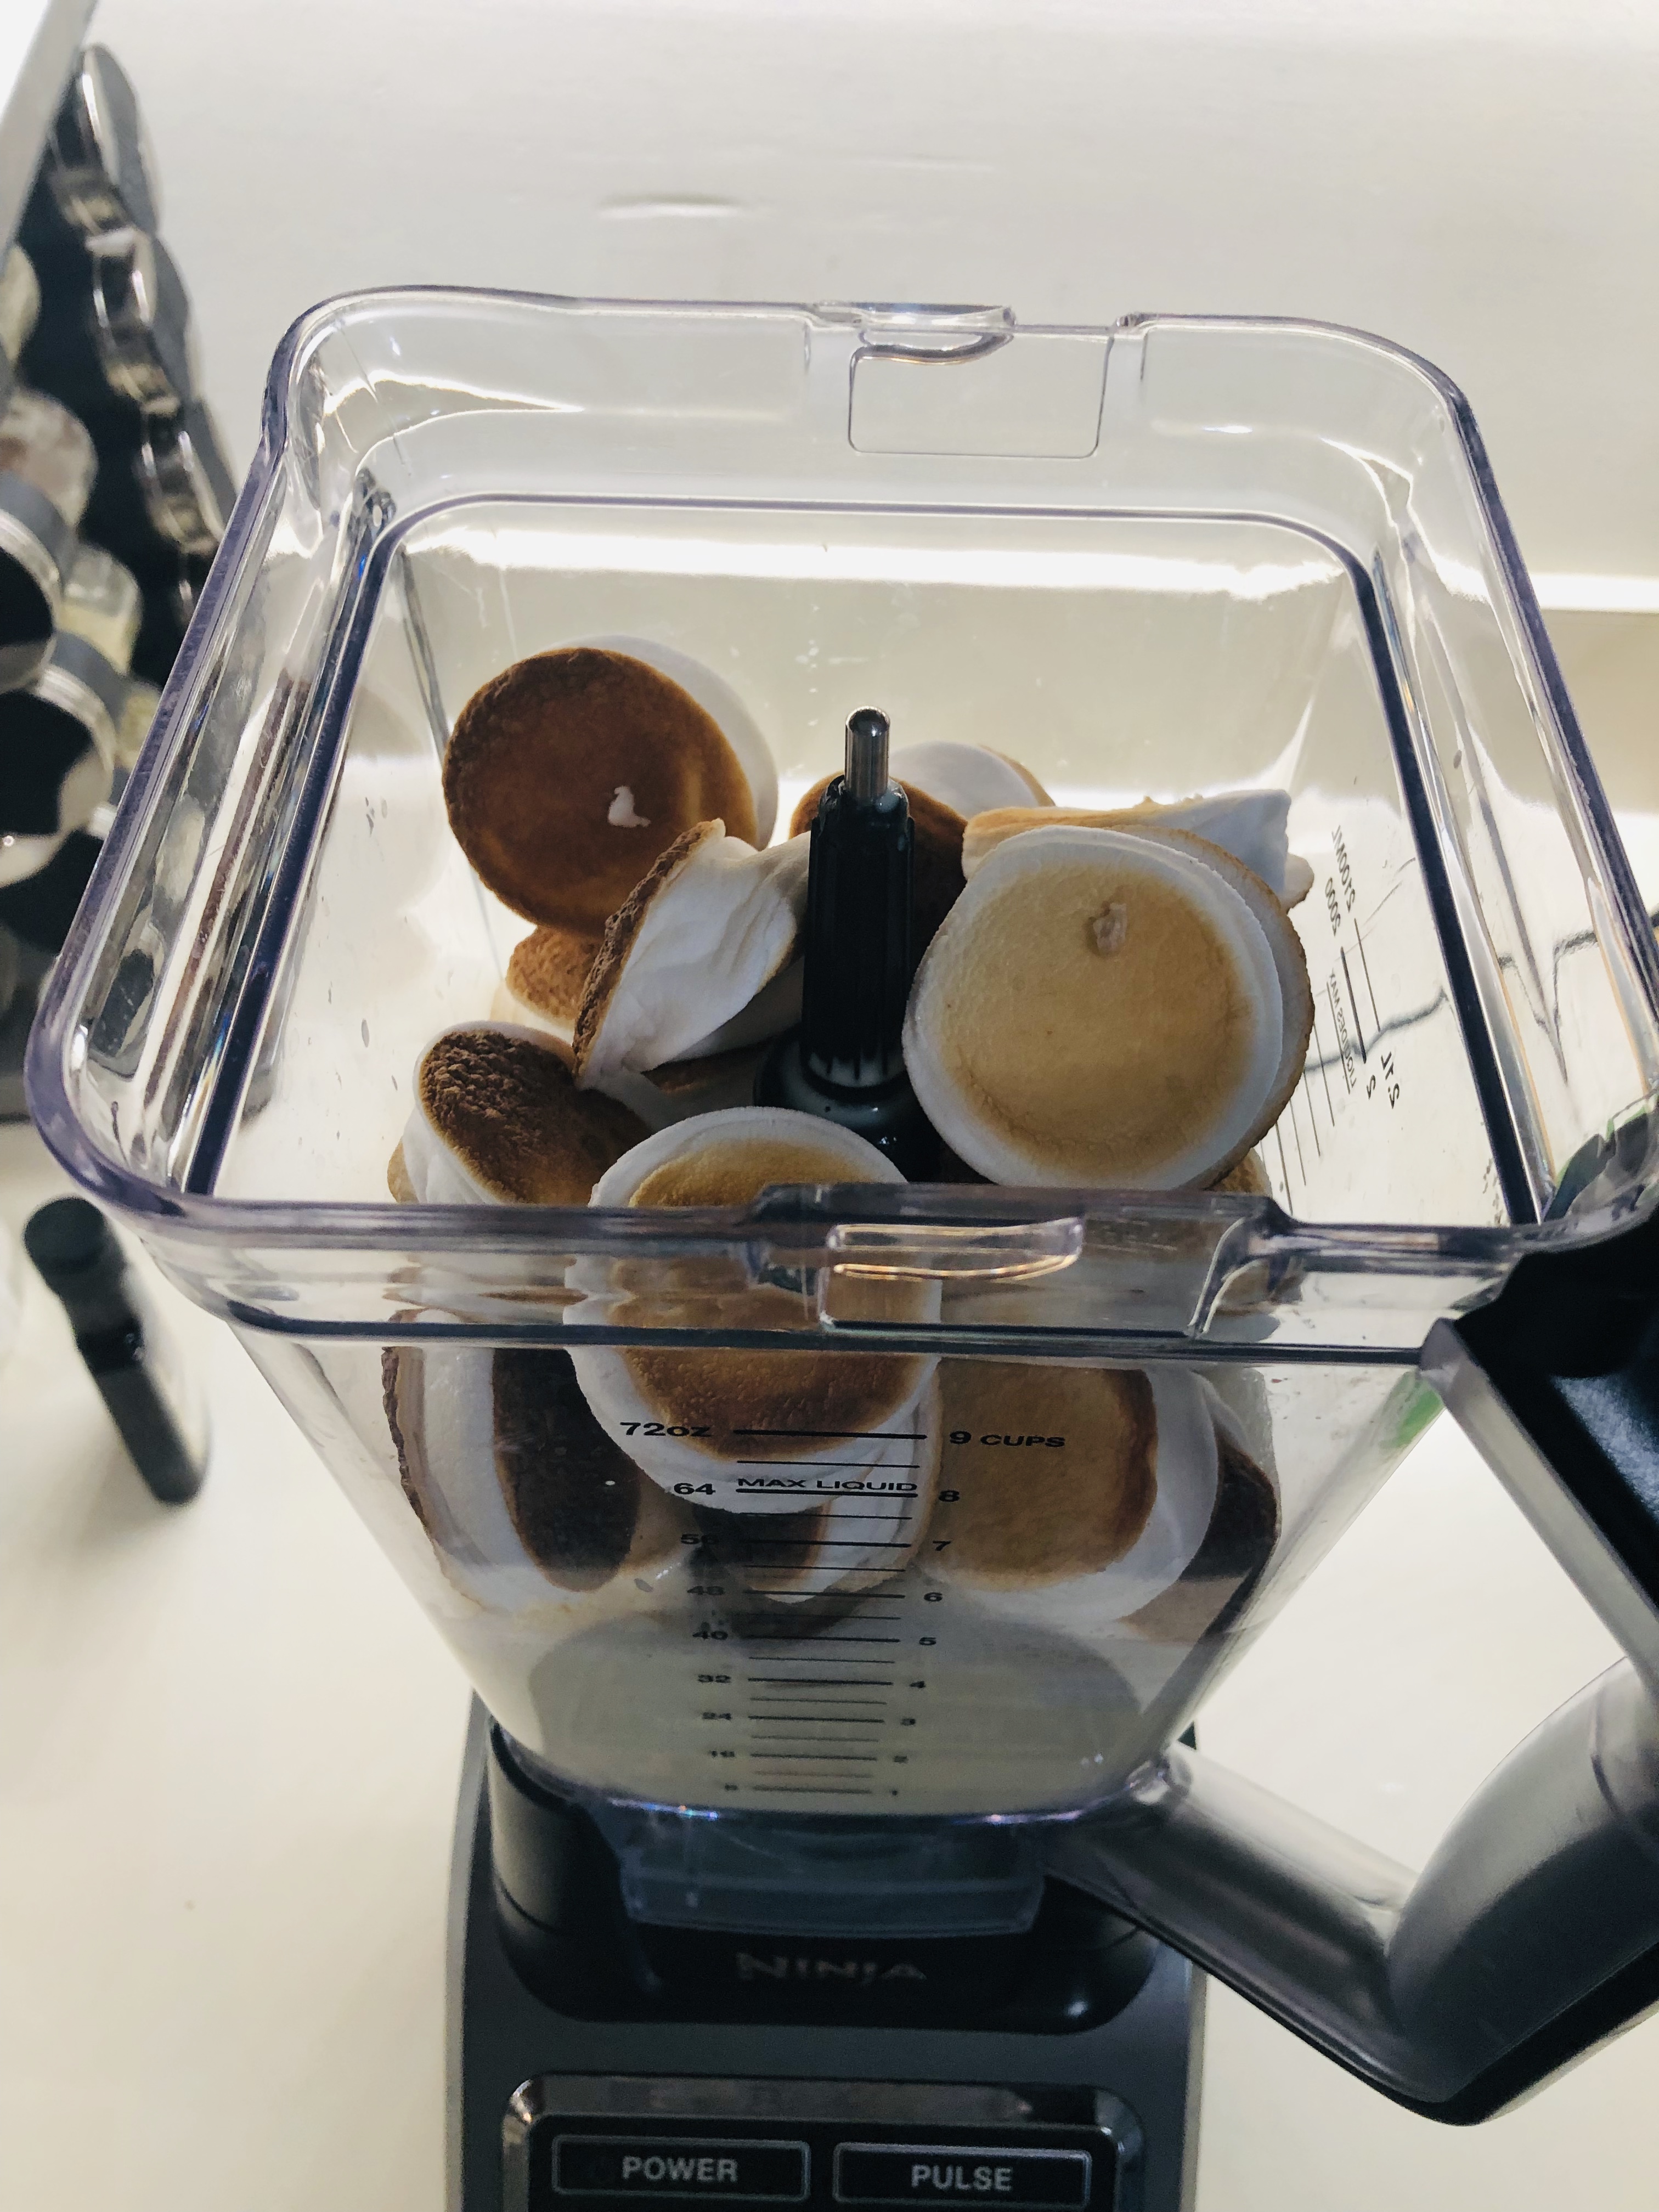
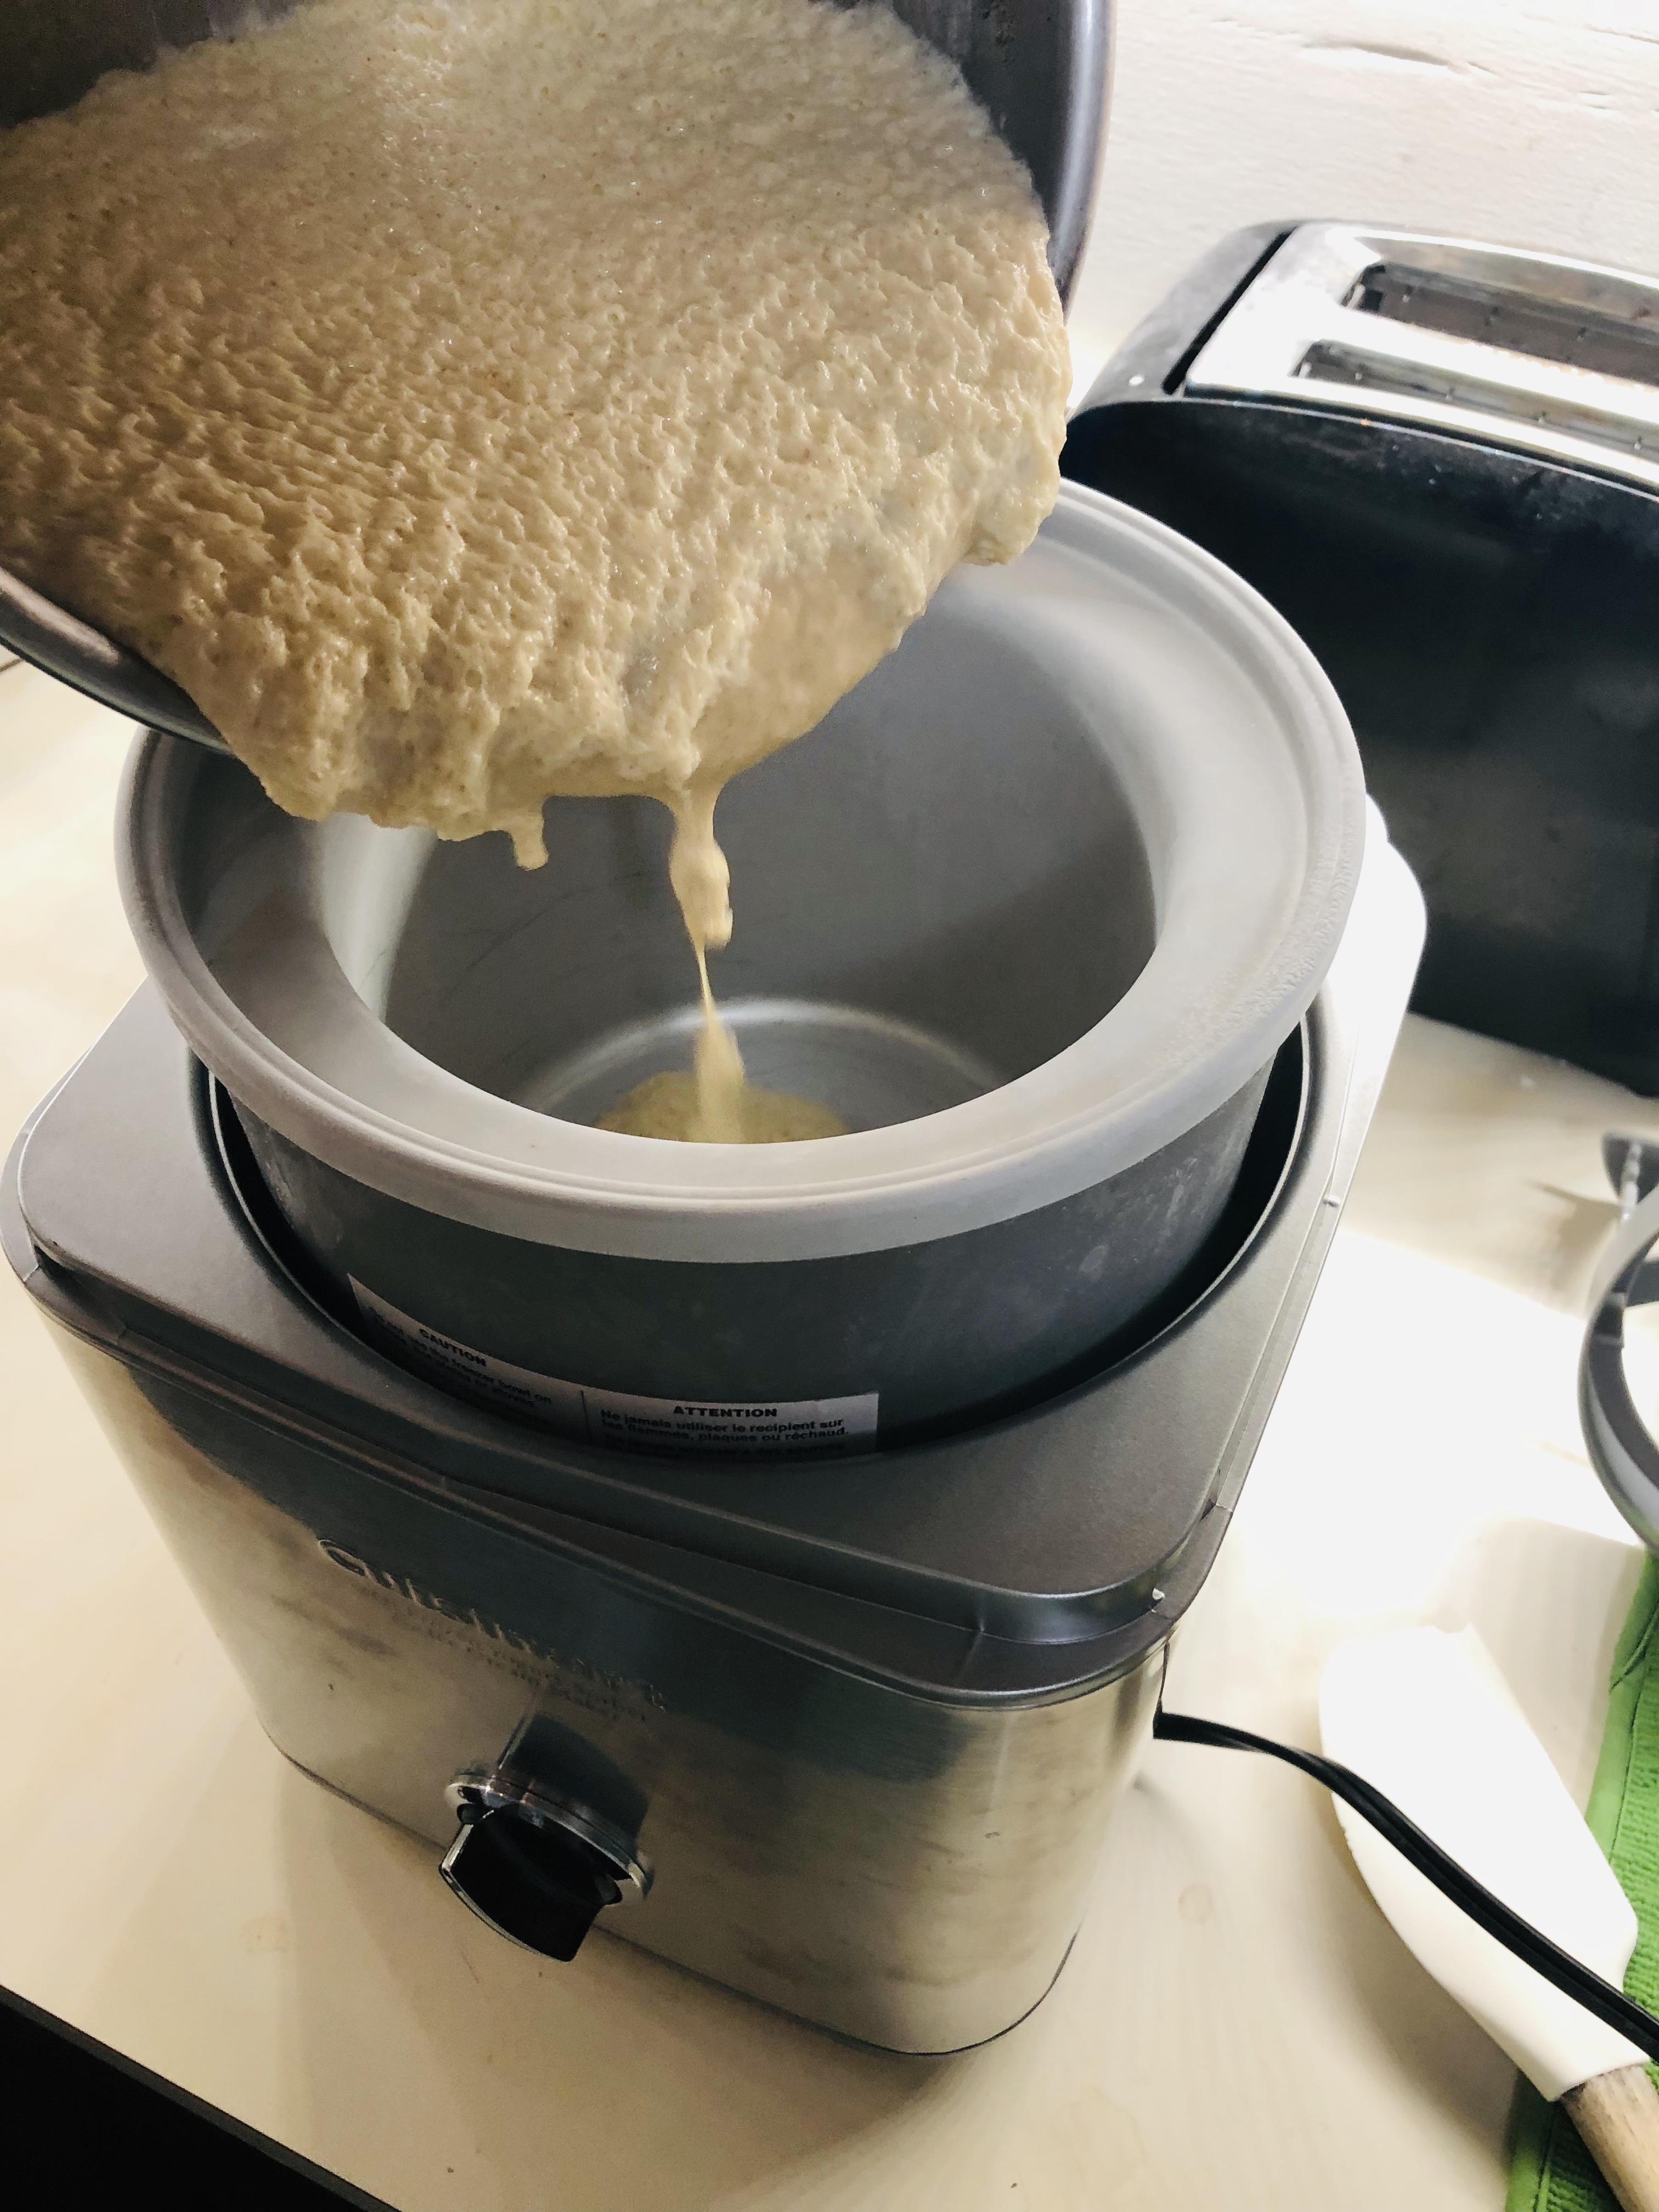
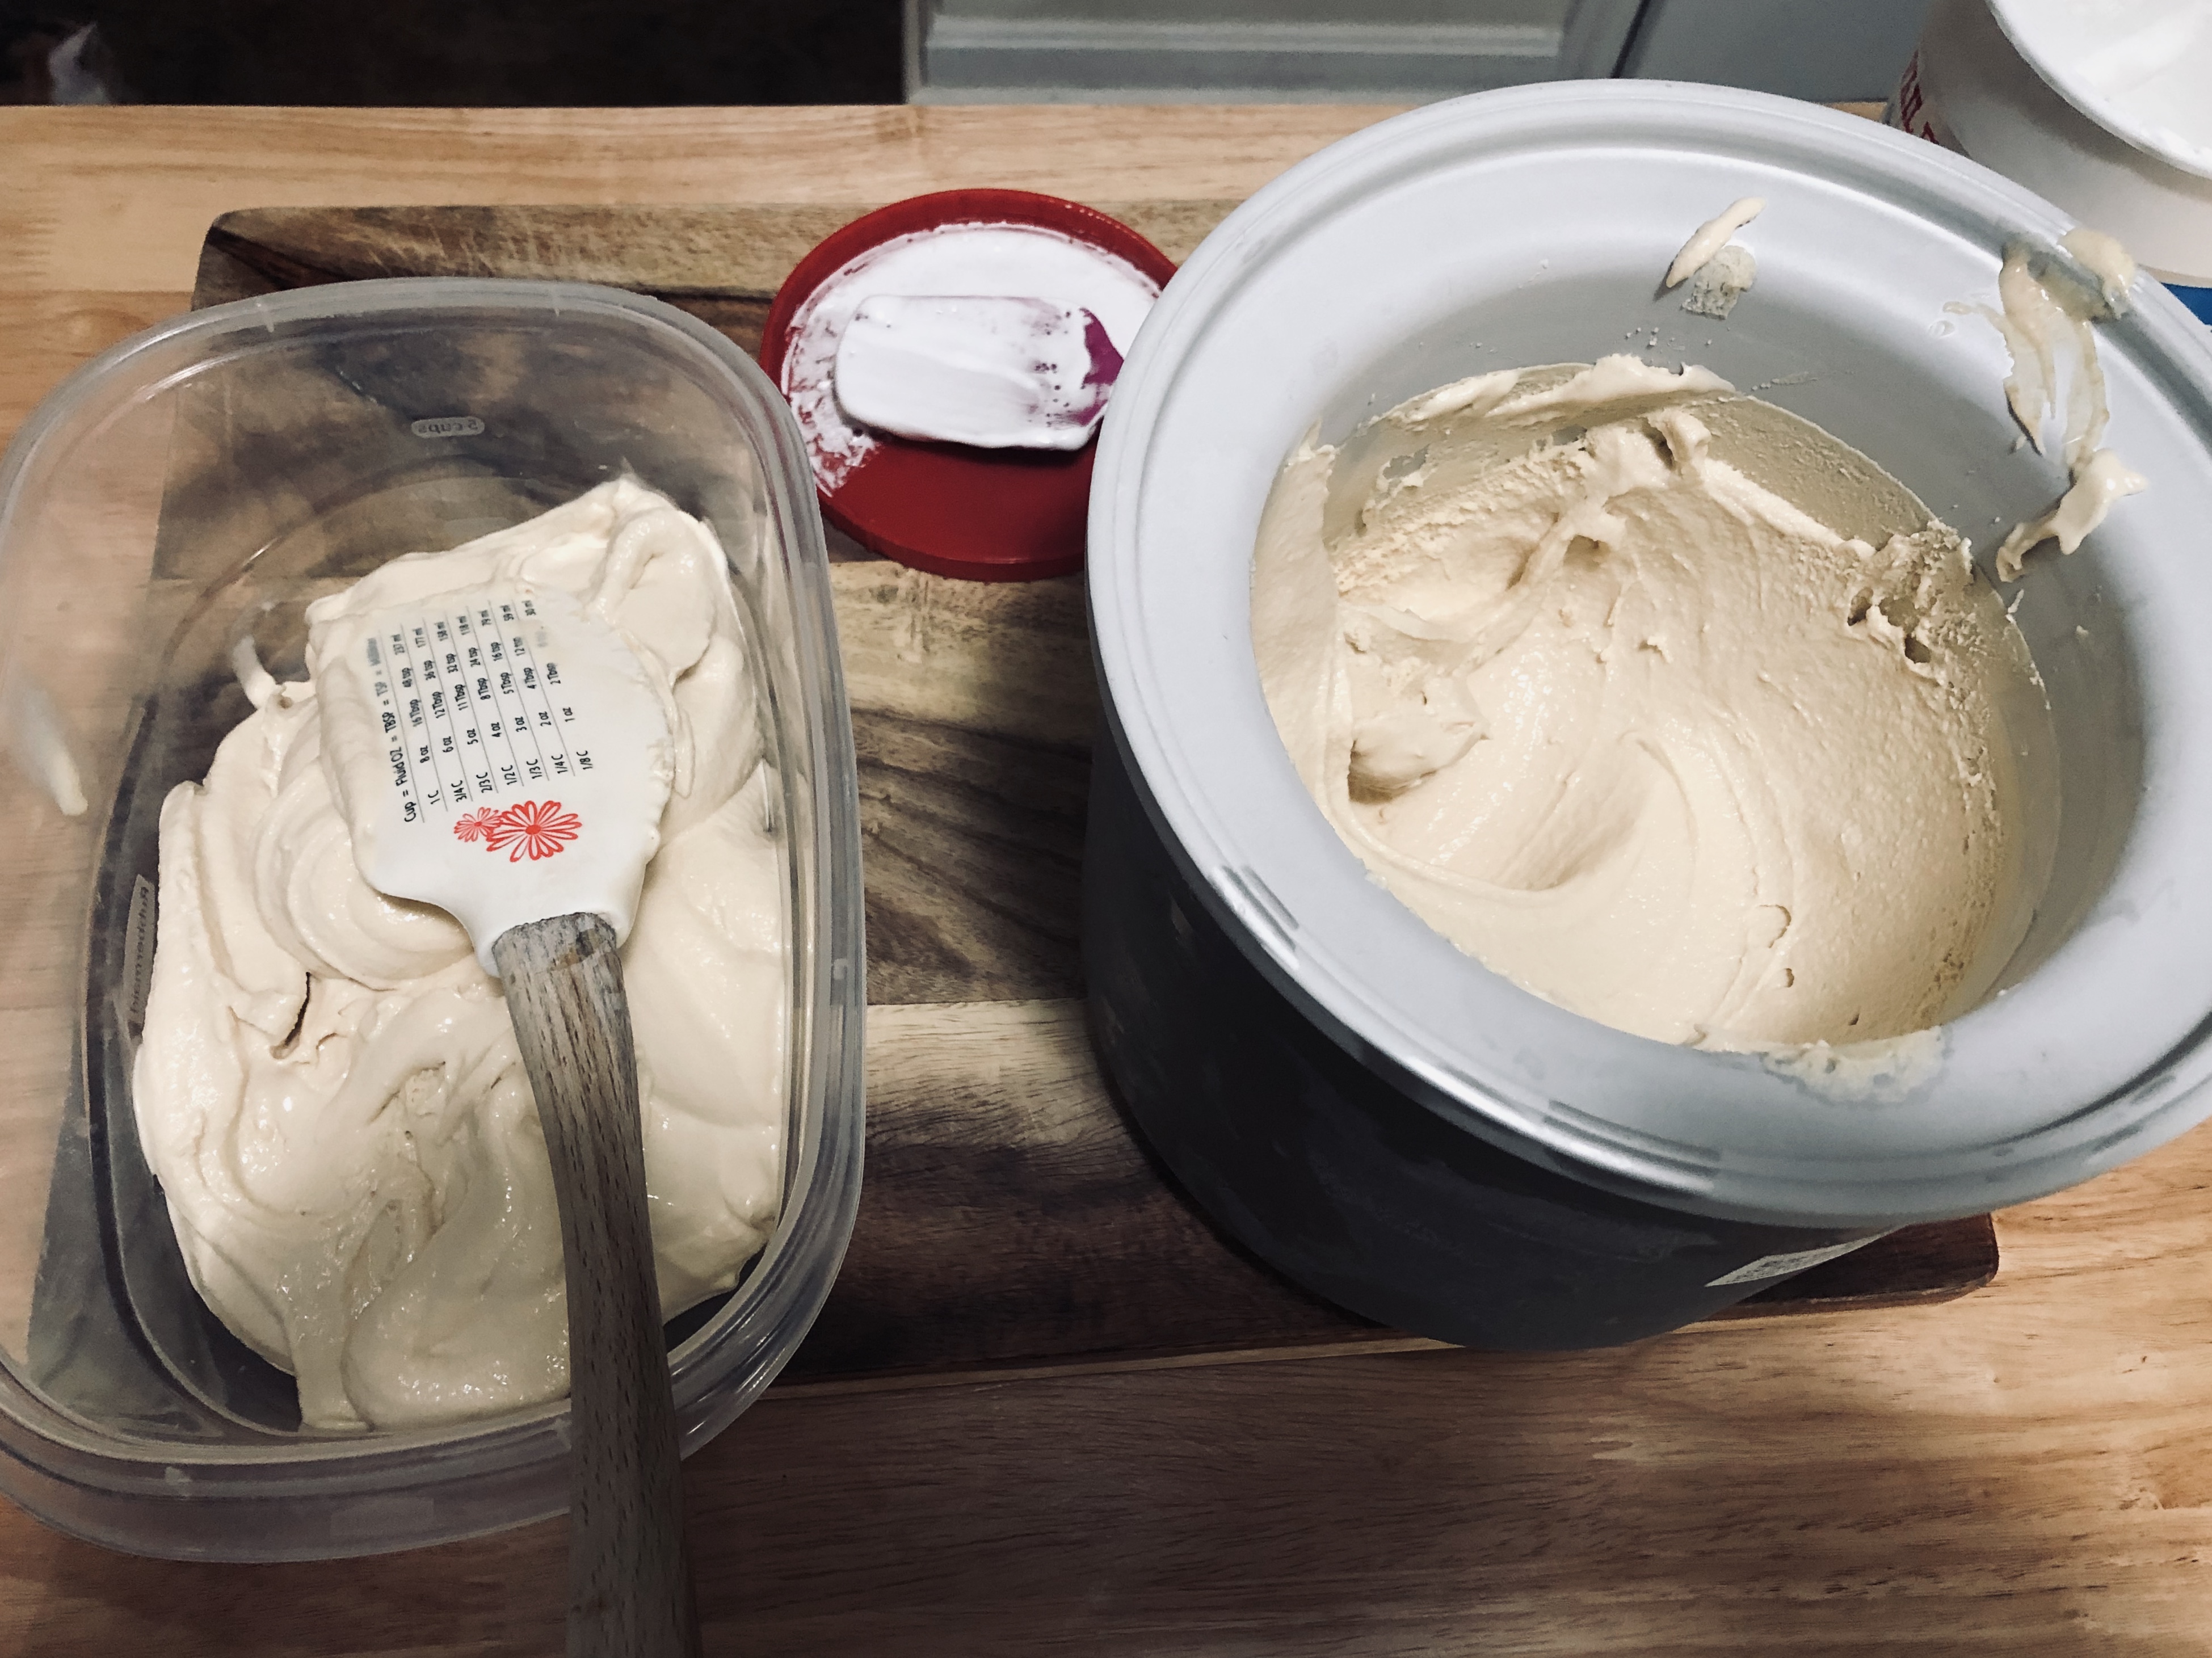
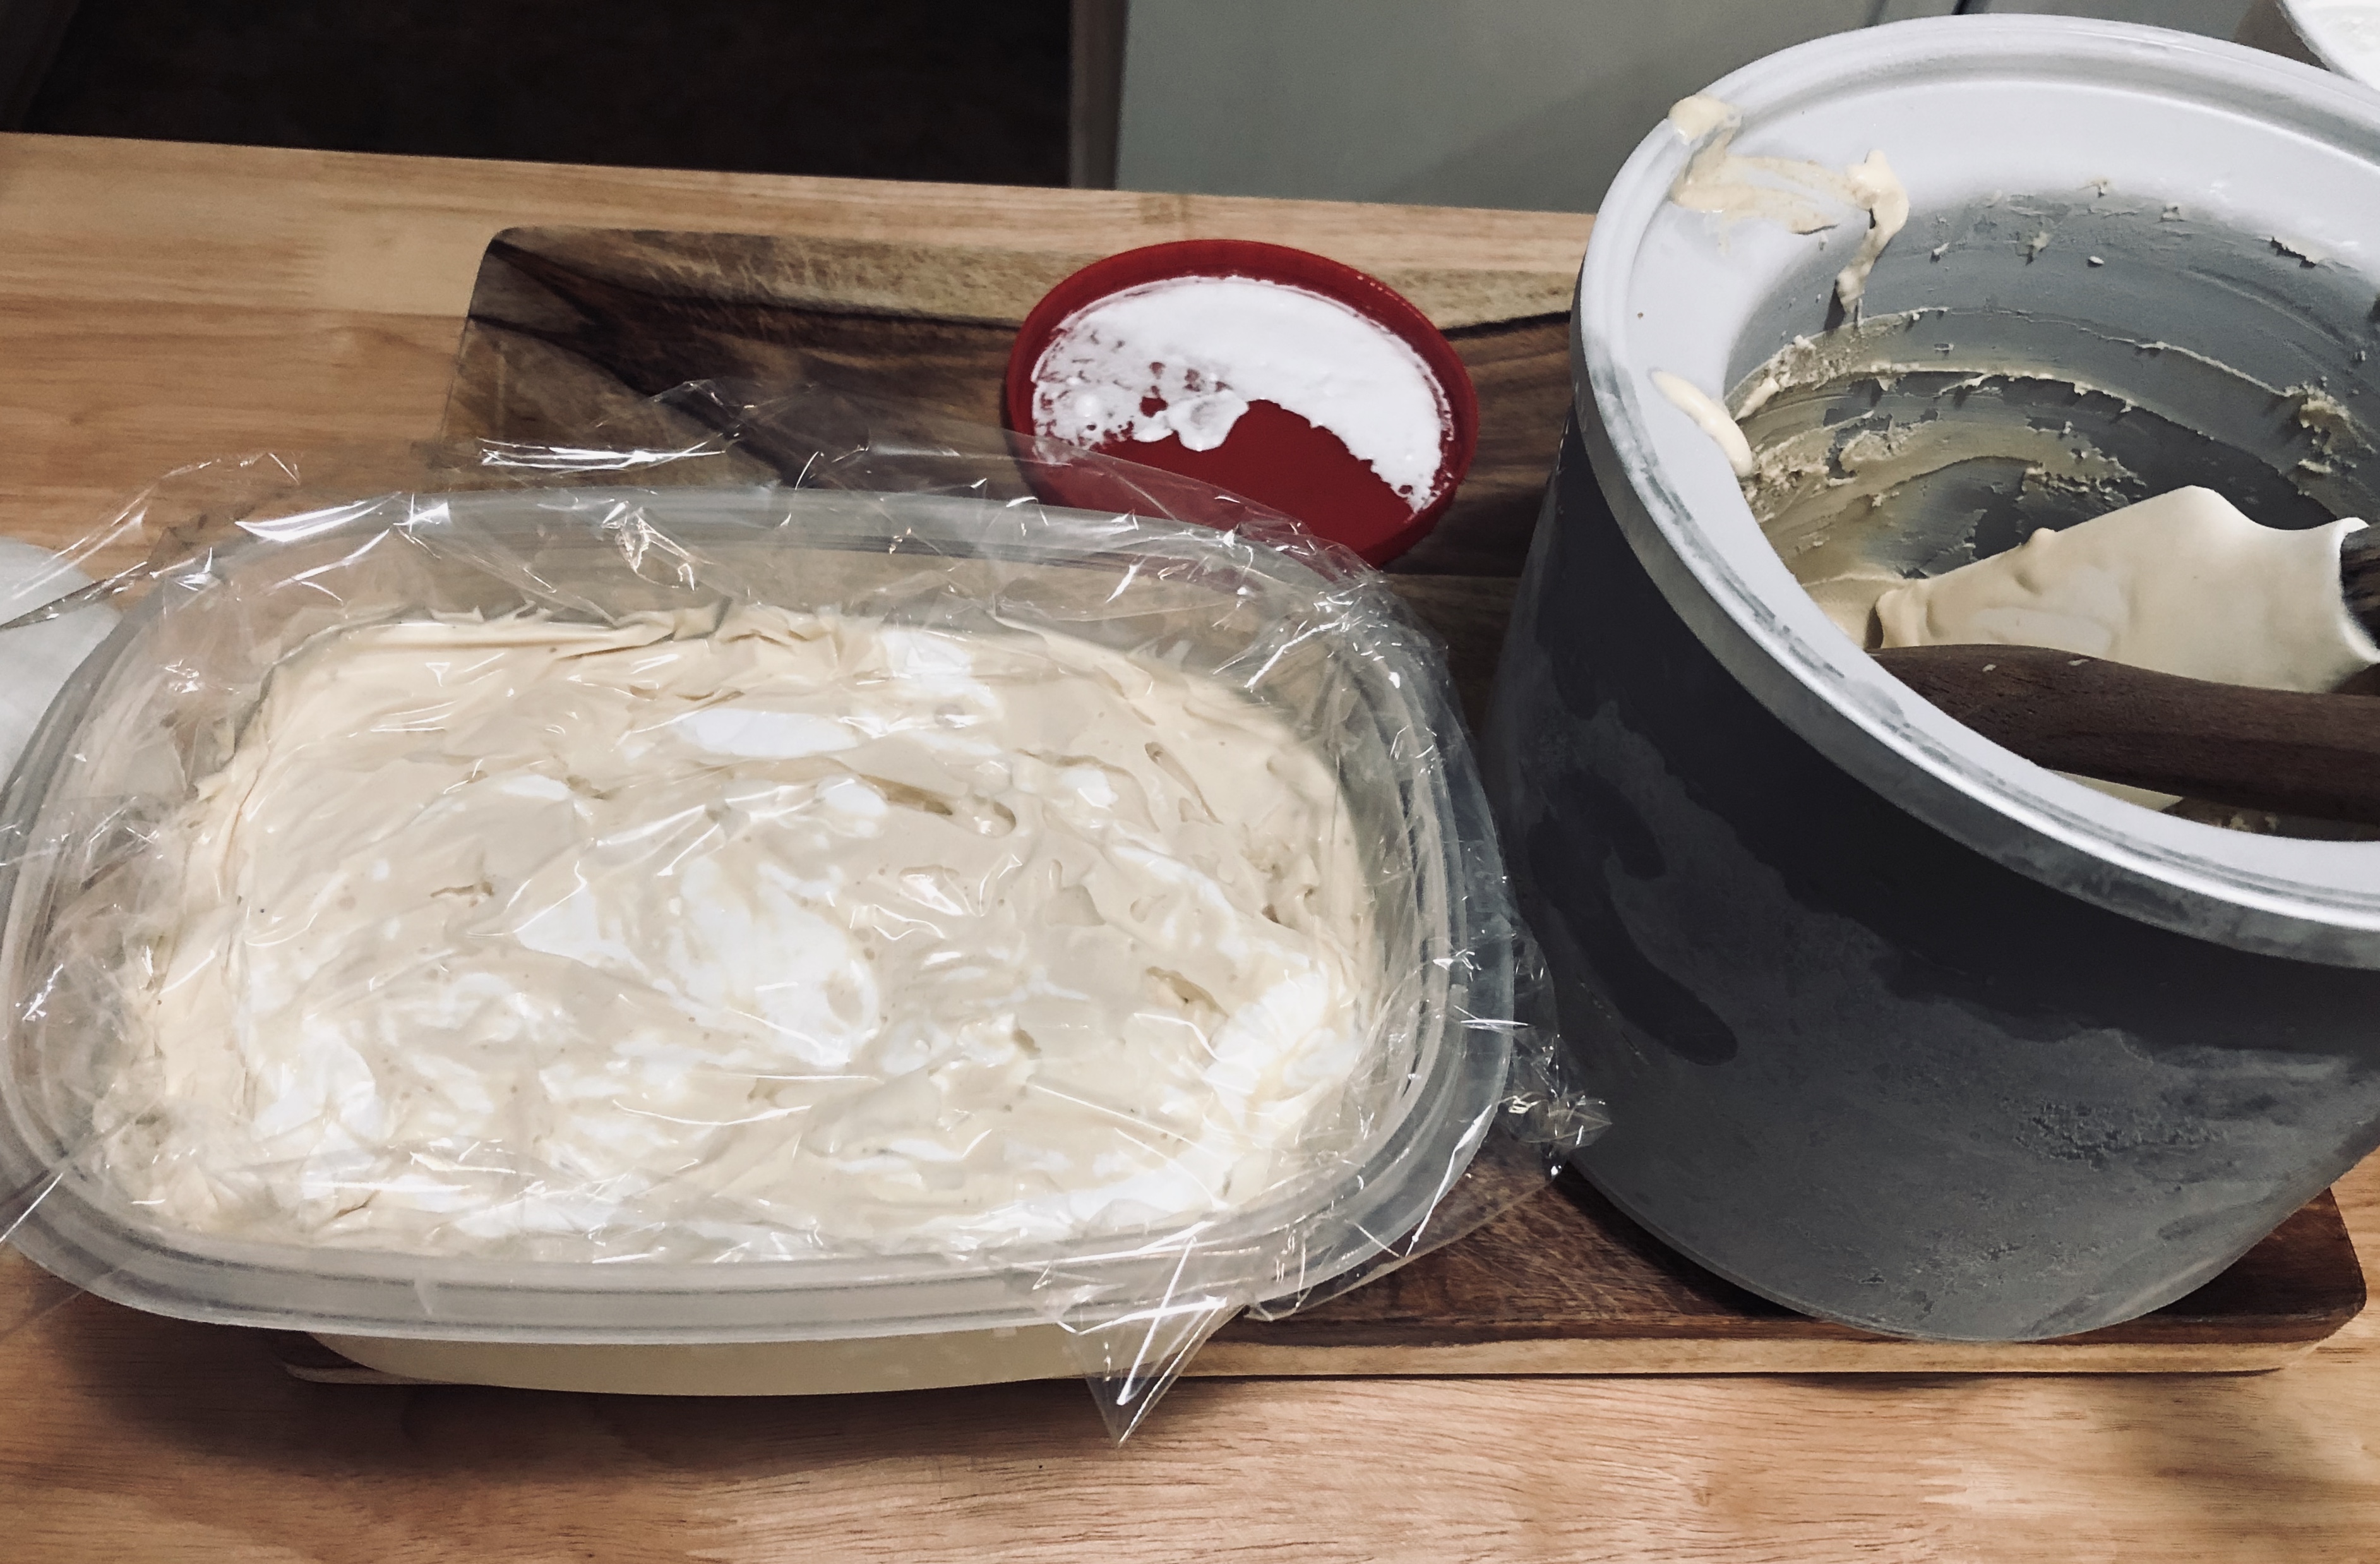
Churn and freeze the ice cream: Pour the completely cooled custard into your frozen insert and churn according to the manufacturer’s directions. Once it looks like soft-serve, scoop and scrape the ice cream into a quart-sized container or larger (glass or plastic is fine, as long as it has an air-tight lid). Put a piece of plastic wrap directly on top of the ice cream surface to prevent freezer burn as much as possible. Freeze the ice cream until firm or to your liking. Oh, and make sure you grab two spoons and a friend to scrape the last bits of heaven out of the ice cream maker. This is a waste-free zone!
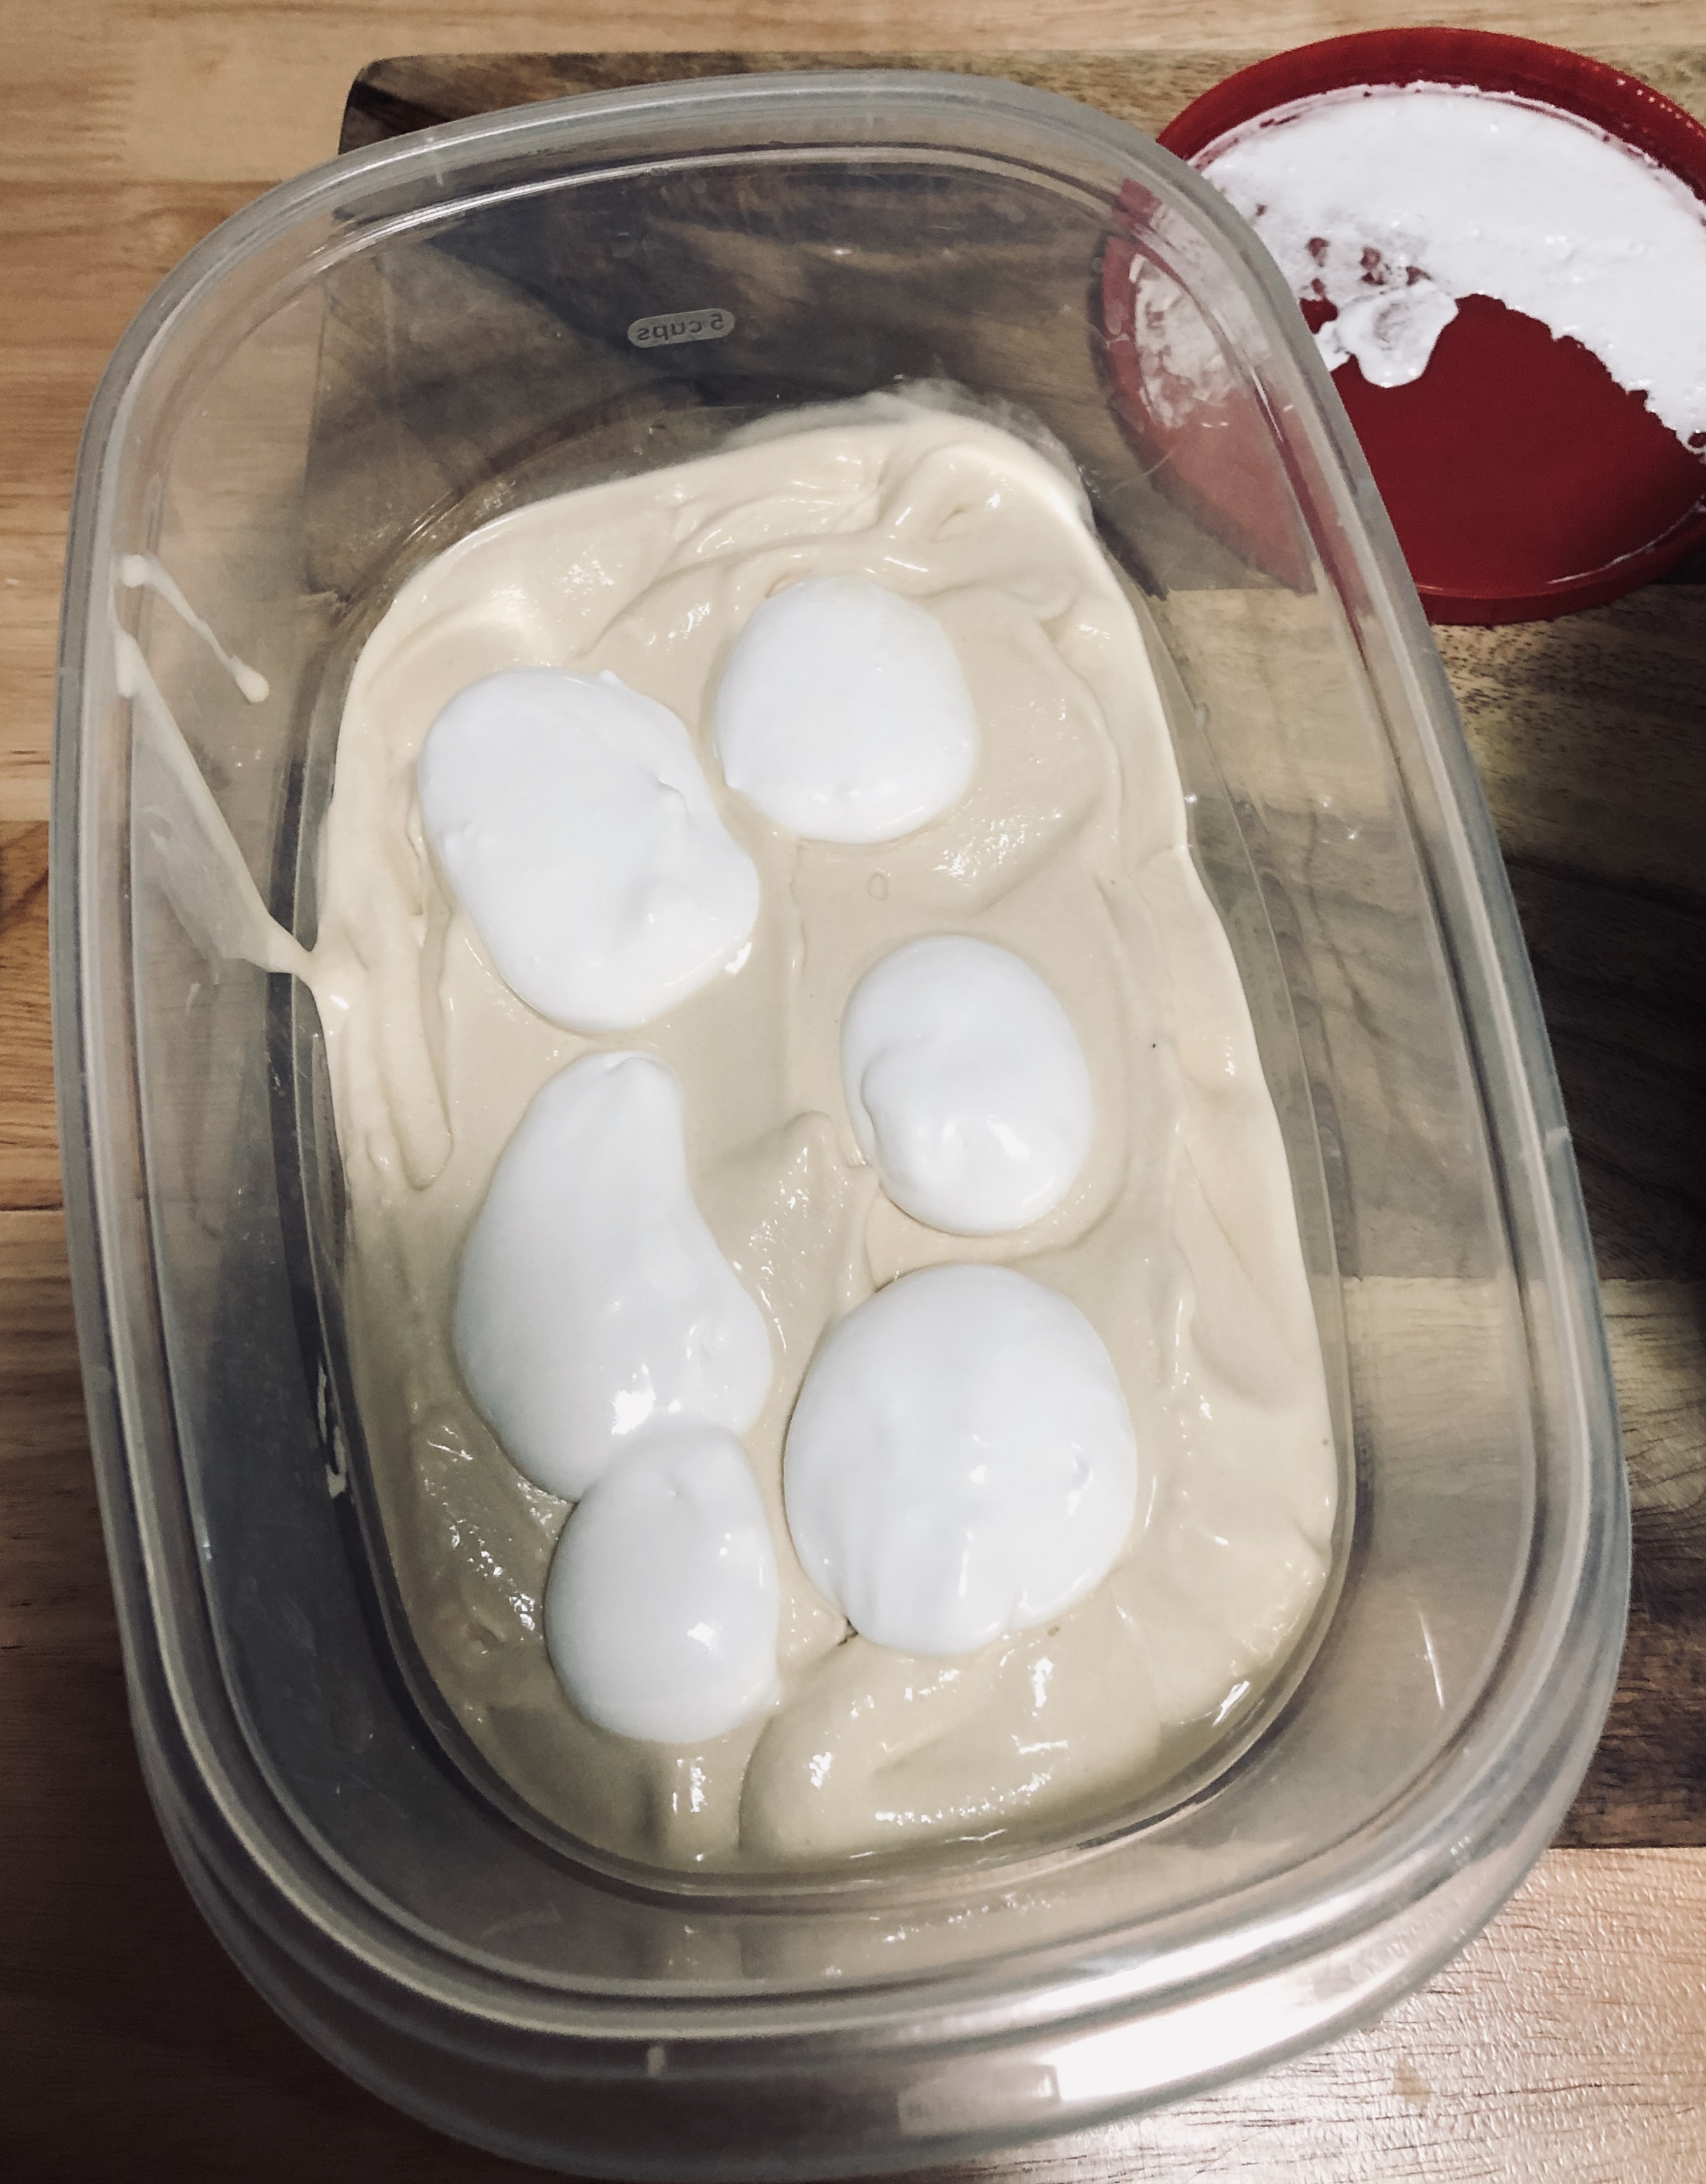
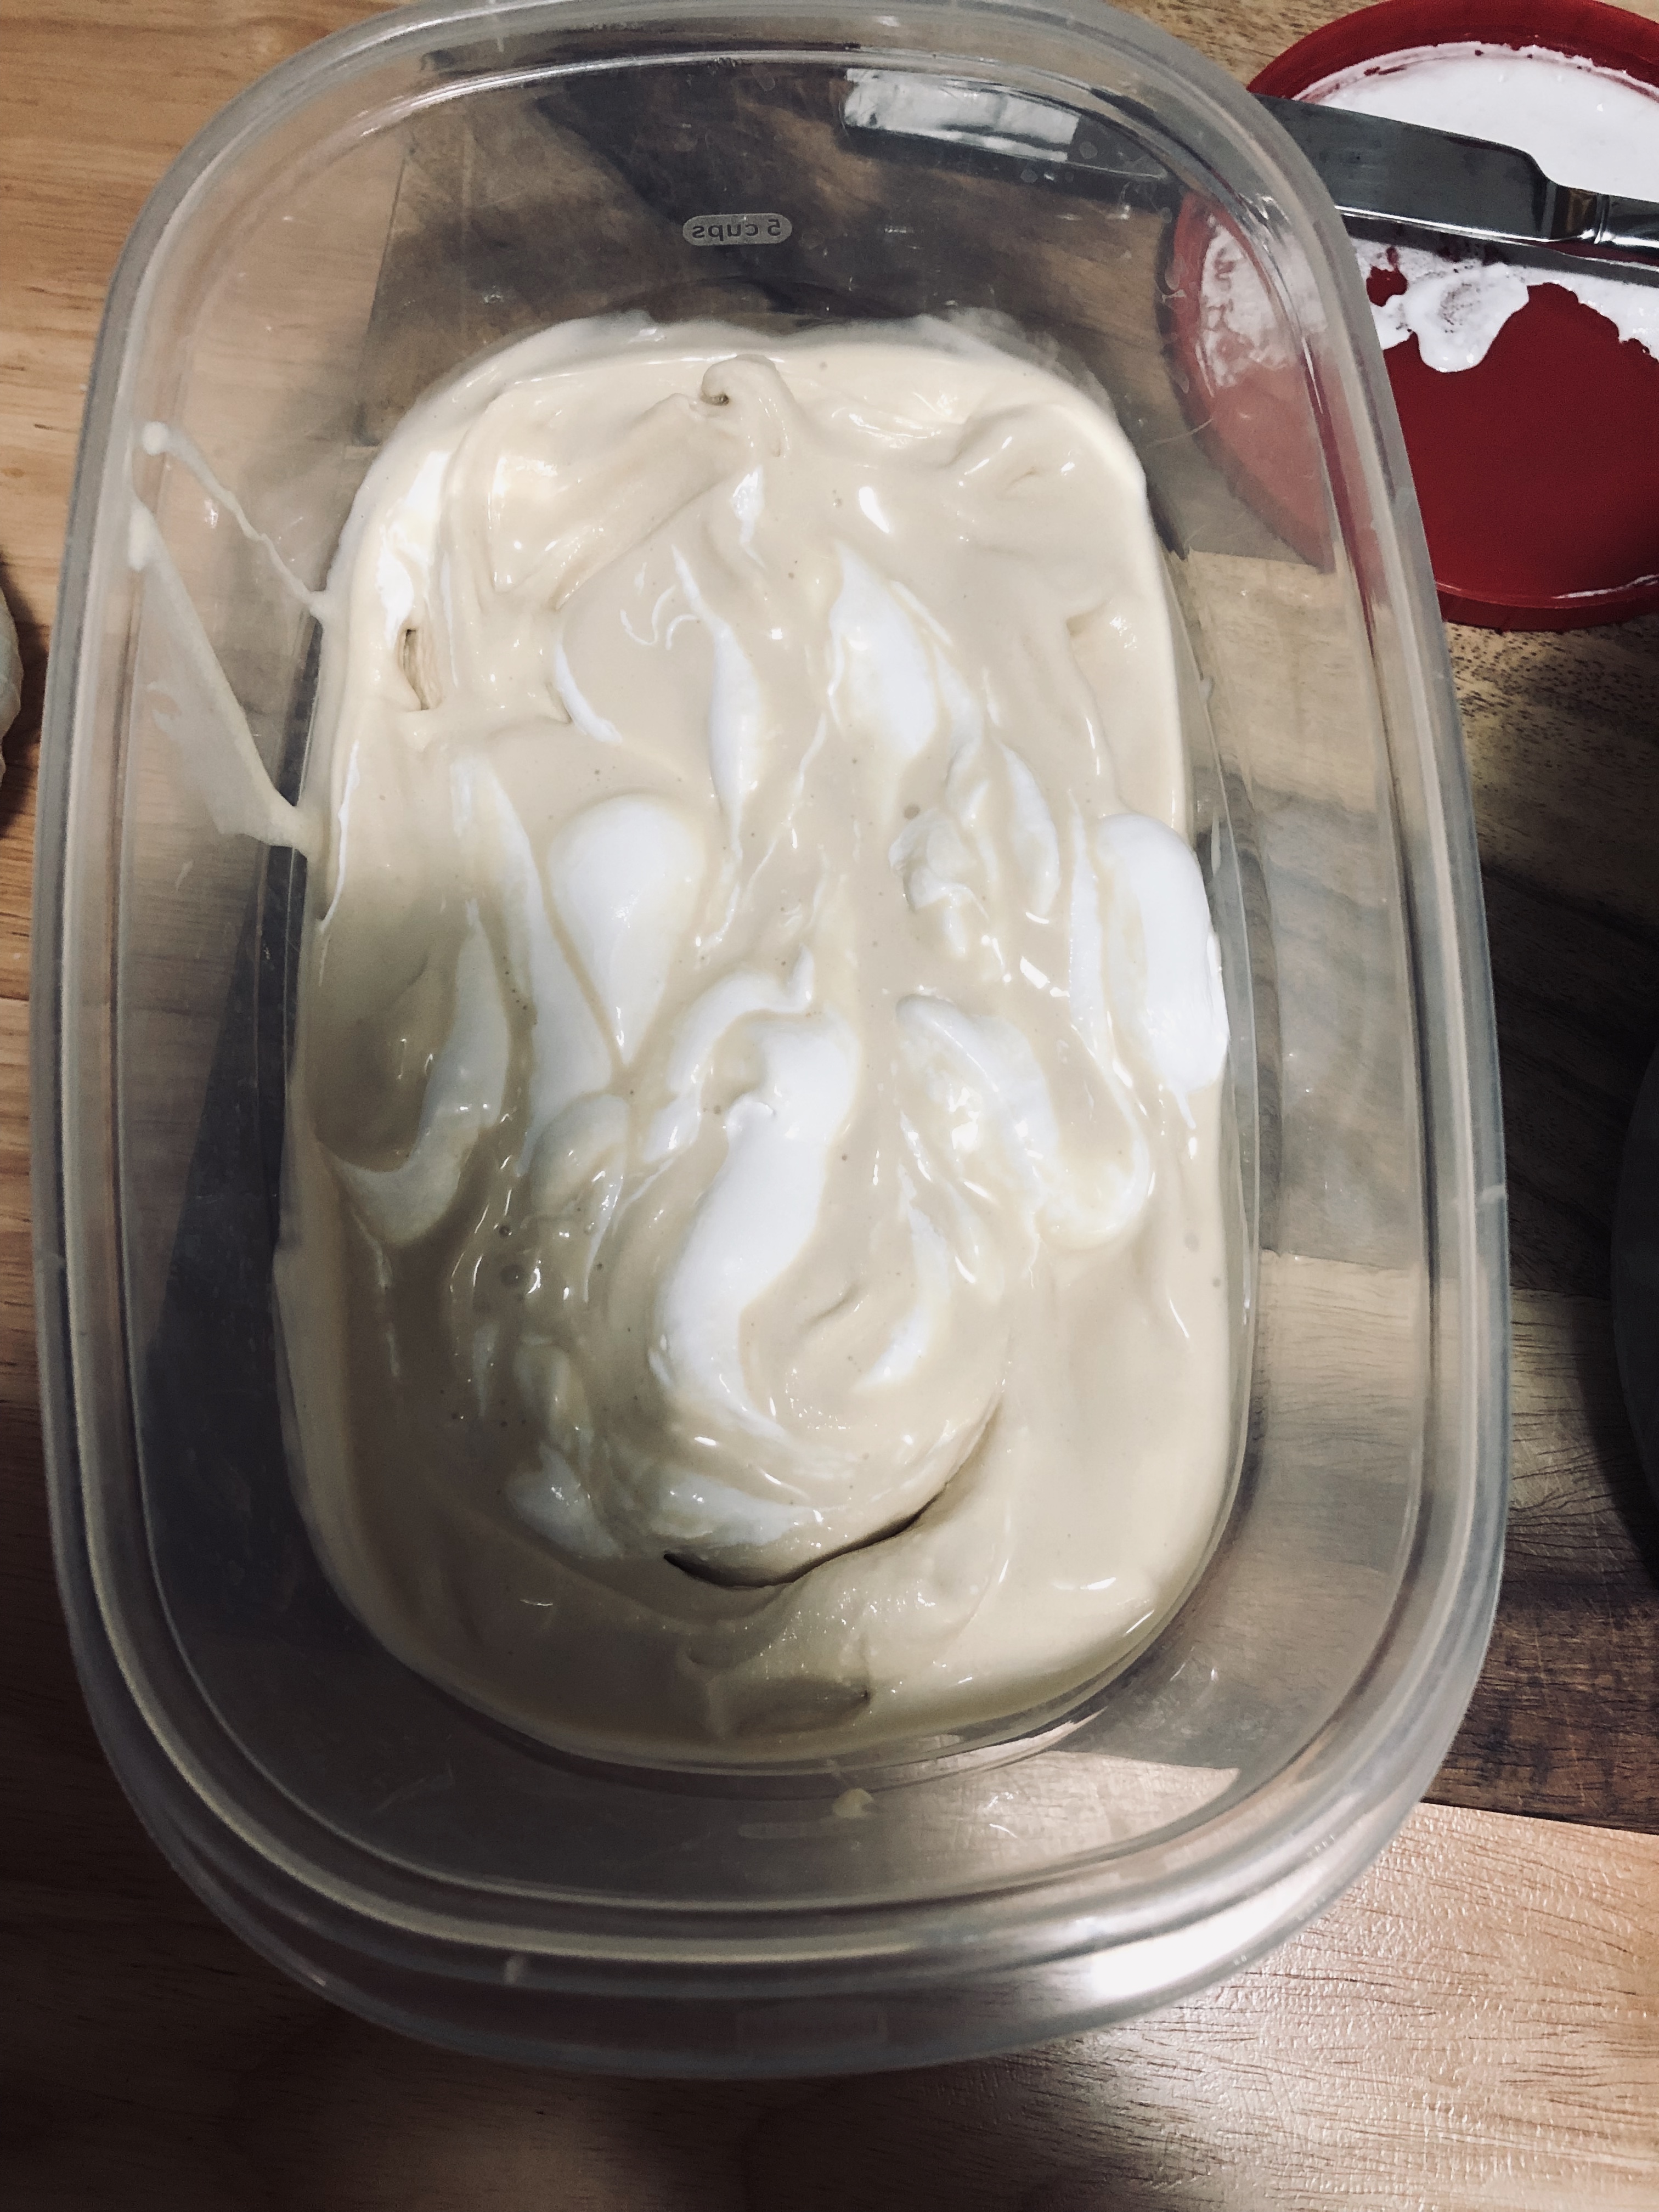
Tip: If you want an extra marshmallowy boost, swirl in some marshmallow fluff or creme that has been softened a bit in the microwave. I did this in two layers- half the ice cream, swirl of fluff, topped with the other half of ice cream, and another swirl of fluff. Just dollop on top of the ice cream and swirl it in with a butter knife, so you see pearly white streaks of marshmallow. The warm fluff will seize as it hits the cold ice cream, but be diligent and just work it around with your butter knife. It’ll look pretty no matter what.
Here it is! Smooth, creamy, rich, and begging to be topped with hot fudge, crushed graham crackers, and whipped cream. Cherry optional.
Enjoy and celebrate your ice cream accomplishment! Comment below with questions, comments, or recipe trials.
-Jess

