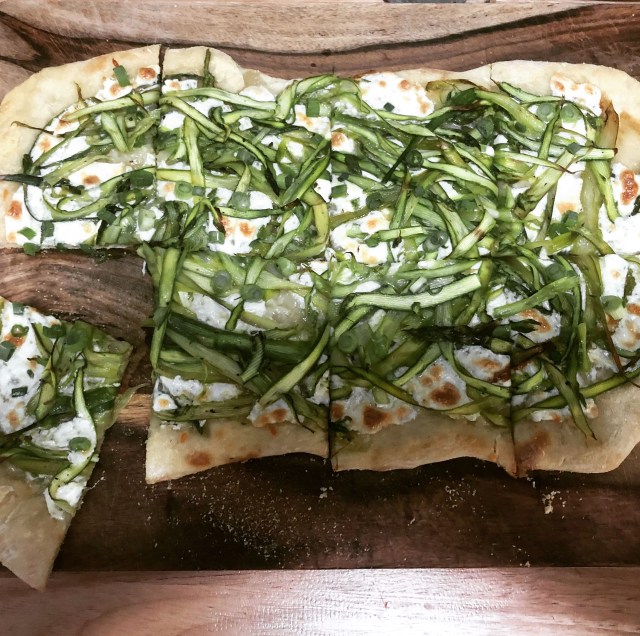
I’m going to come right out and say it- this pizza dough is made for one thing and one thing only: thin, crispy, chewy pizza (or flatbread). It holds its shape when cut, it crunches when you get down to the crust, and it ALMOST tastes like a wood-fired pizza. If you read Dan’s post about our weeknight veggie flatbread, he linked Smitten Kitchen‘s Lazy Pizza Dough as what we used. I’m going to walk you through this recipe the way I like to put it together, because Dan refuses to work with it. (You’ll see why later). This pizza dough is worth every step, and it results in my favorite kind of pizza. Maybe it will become your favorite, too!
Thin, Chewy Pizza Dough
Makes 2 9×13 rectangular pizzas (that Dan and I usually completely devour, without shame)
- Overnight Dough Schedule: Put together dough between 8 and 9 p.m the evening before for dinner between 6 and 8 p.m., or shift accordingly for a later or earlier dinner (approx. 22-hour dough)
- All-Day Dough Schedule: Put together dough between 6 and 8 a.m that day for dinner between 6 to 8 p.m., or shift accordingly for a later or earlier dinner (approx. 12-hour dough)
- Part-Day Dough Schedule: Put dough together around noon that day for dinner between 6 to 8 p.m., or shift accordingly for a later or earlier dinner (approx. 6-hour dough)
3 cups (375 grams) all-purpose or bread flour
Slightly heaped 1/8 tsp (Overnight), 1/4 tsp (All-Day), or 1/2 tsp (Part-Day) active dry yeast
1 1/2 teaspoons kosher salt (we’ve been loving Diamond Crystal)
1 1/4 cups water, plus an additional tablespoon or two if needed
nonstick spray or oil, flour, and cornmeal, for assembling and baking
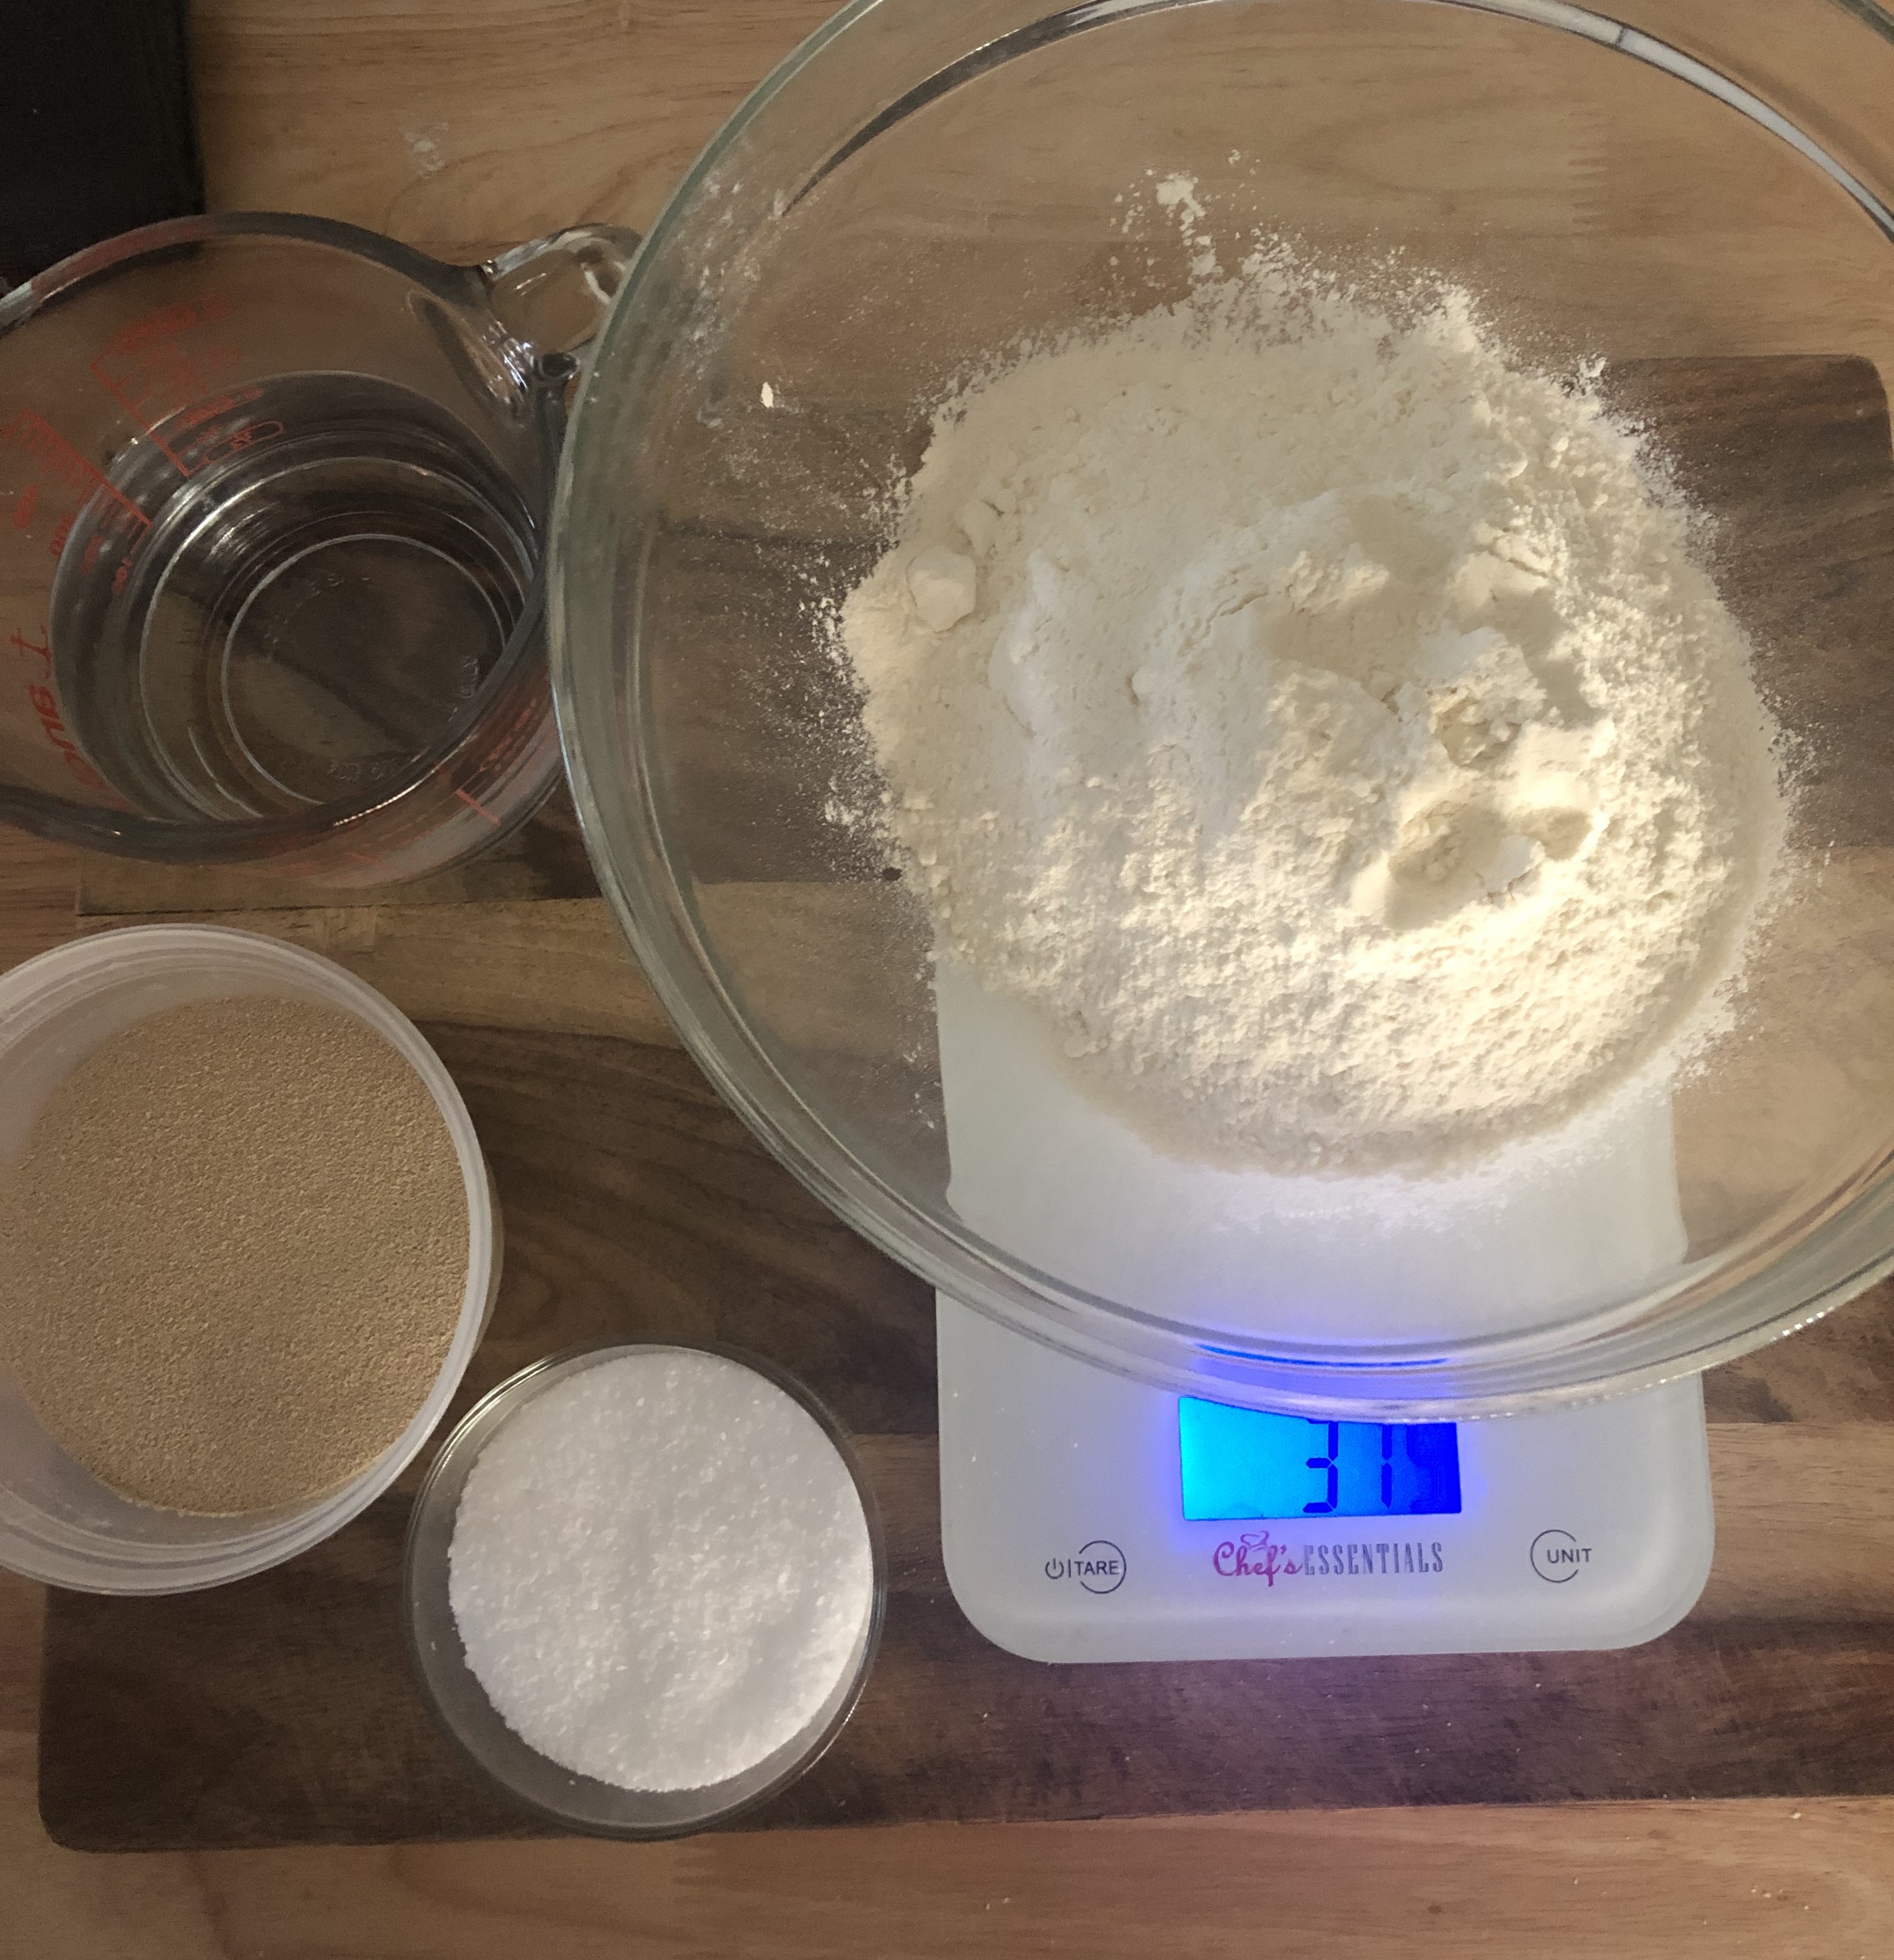
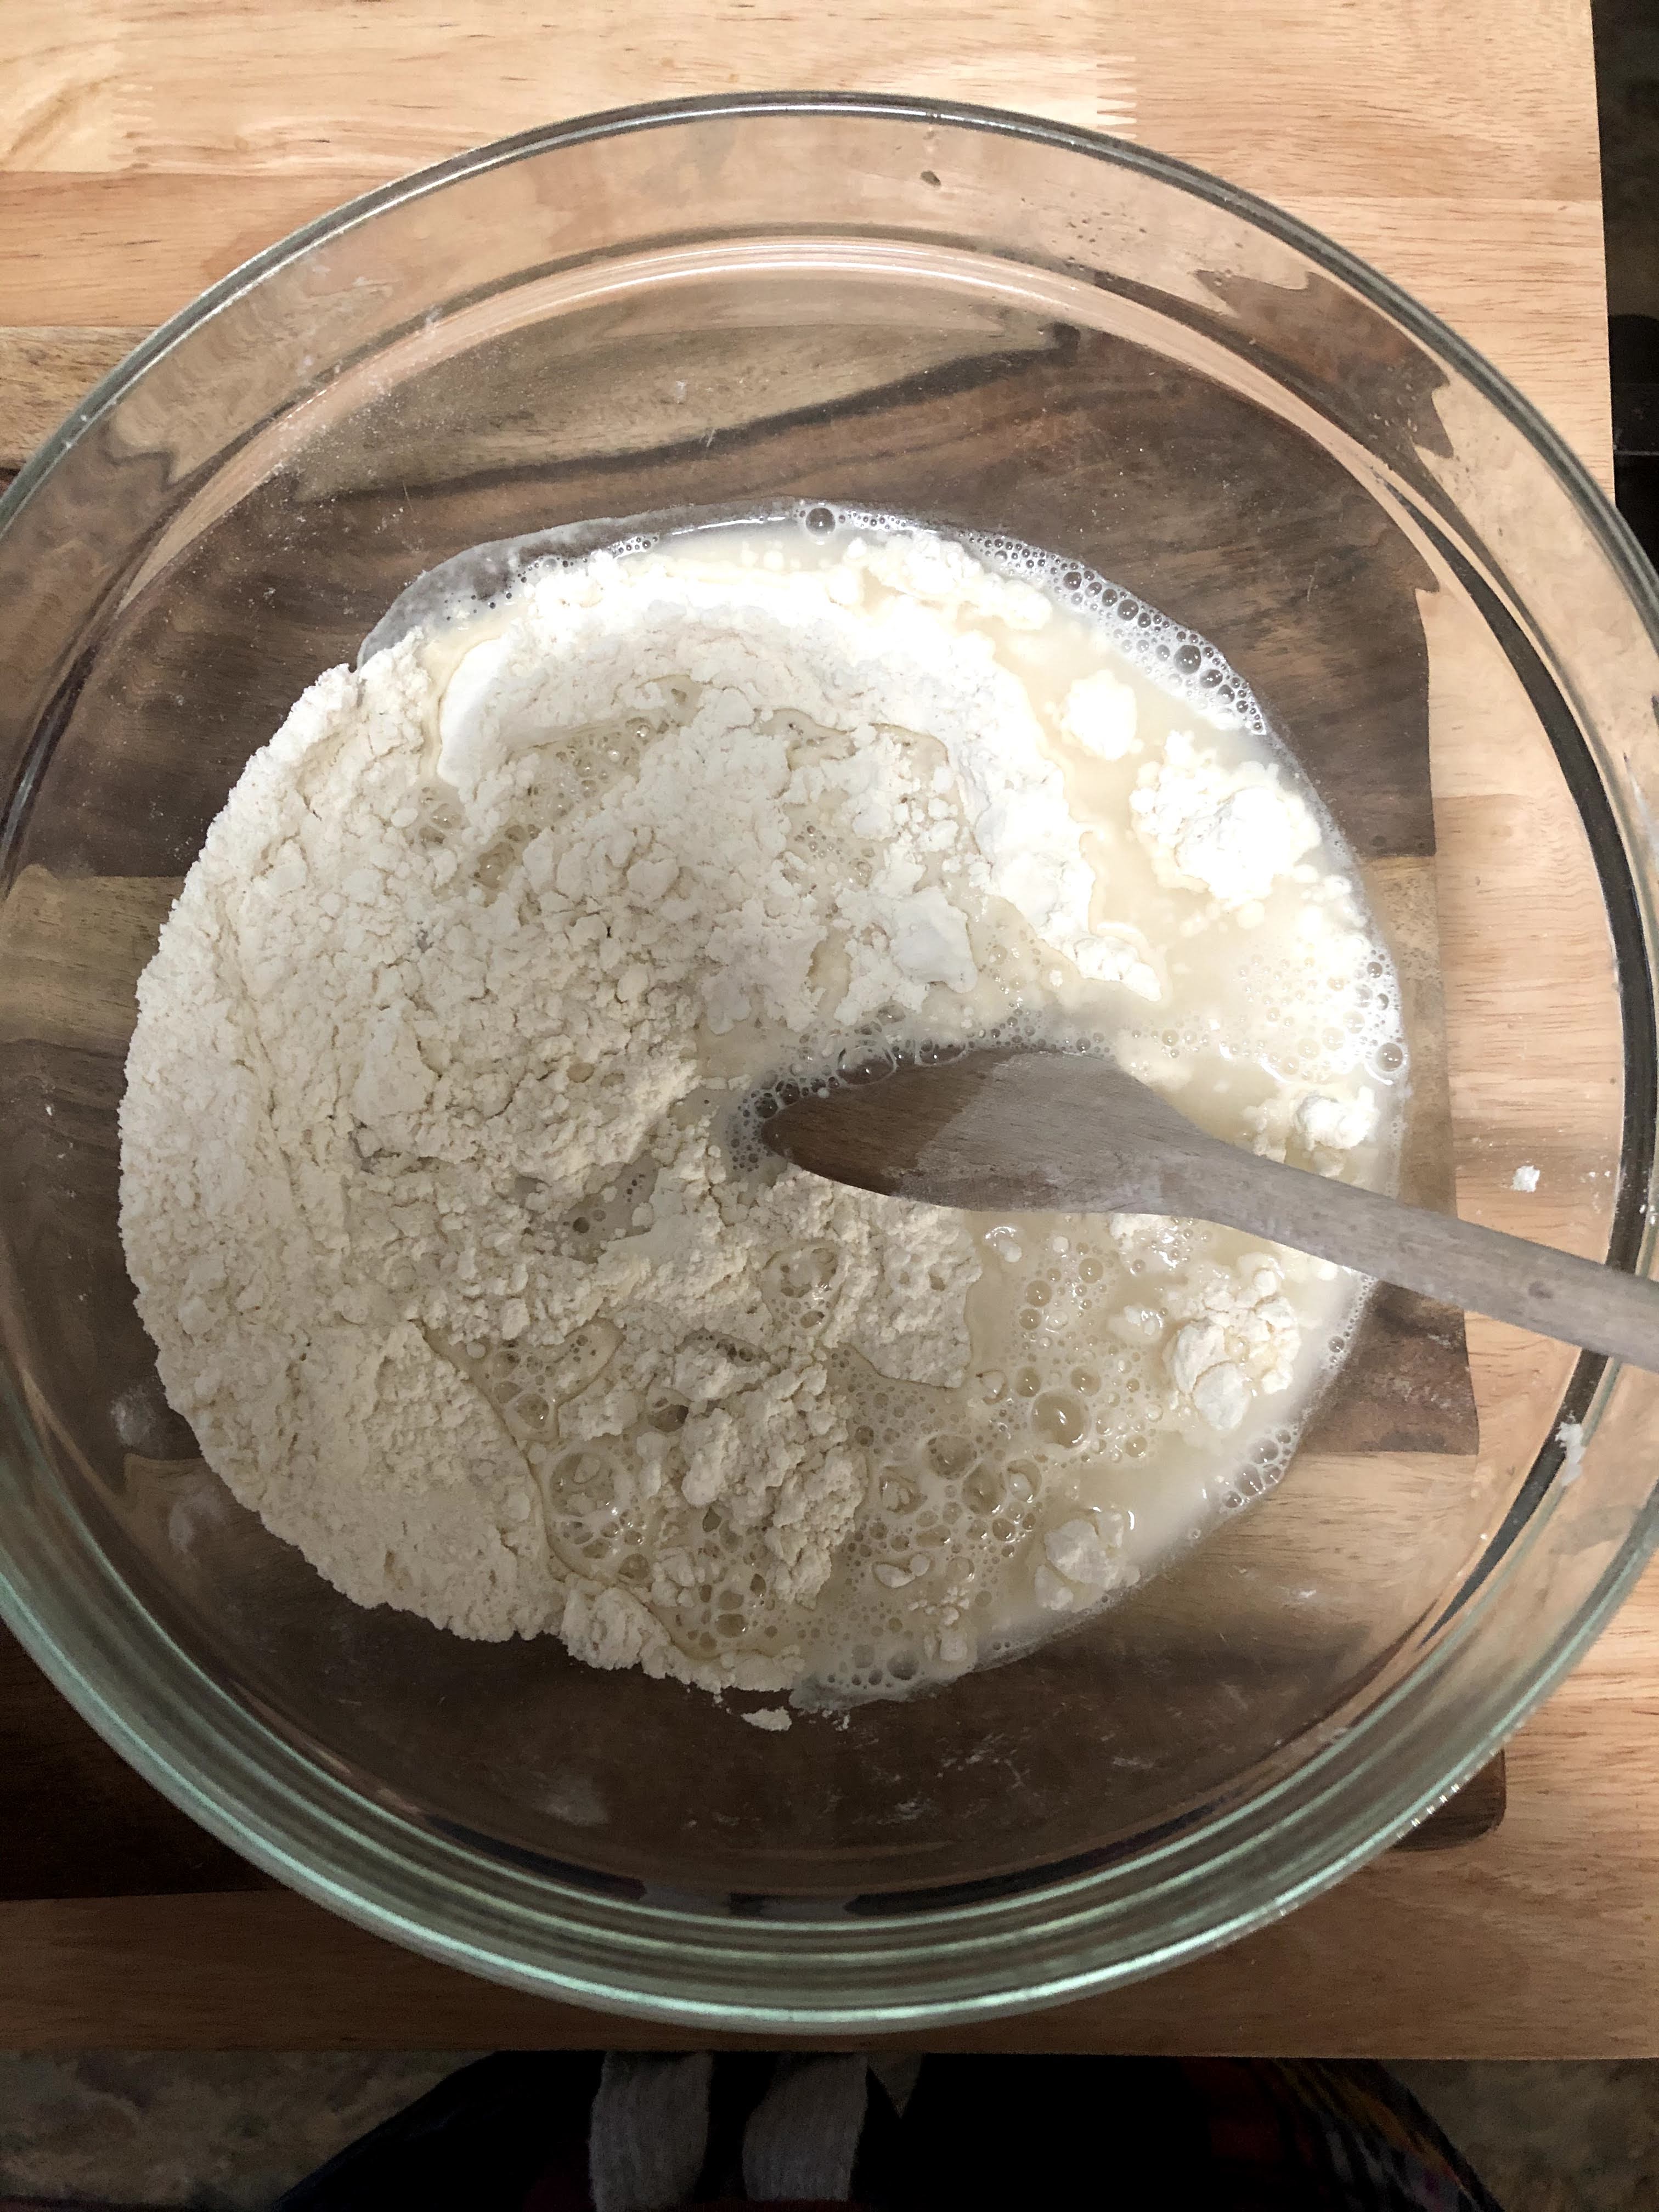
Mix the dough. In a large bowl whisk together the flour, yeast, and salt. Stir in the water with a strong wooden spoon until it’s mostly absorbed and there aren’t any super dry spots. If there are, you can add a tablespoon or two of additional water. It will look like a mess- craggy and wet and you’ll think this cannot possibly turn into a pizza, but it will! Have faith.
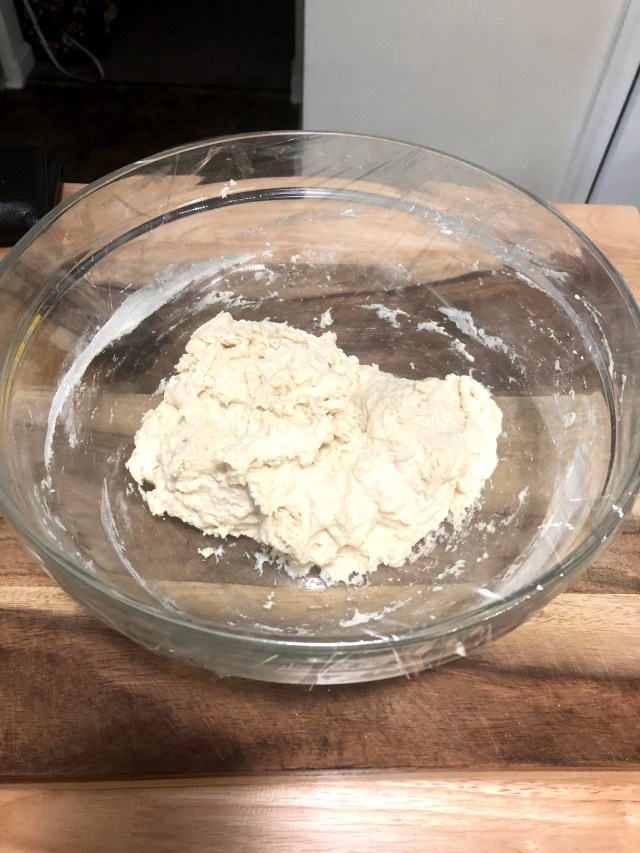
Proof the dough. Cover the craggy dough with plastic wrap and set aside at room temperature according to your chosen schedule. The long rest is necessary- it allows flavors to develop and achieves a chewier texture! And that’s it. No proofing of yeast, no warming of water, no kneading. Crazy, right?
Prepare the pans and shape the dough. When ready to put together the pizzas, set oven to 500 degrees F. It seems excessively hot, but it’s necessary for a crispy, chewy crust.
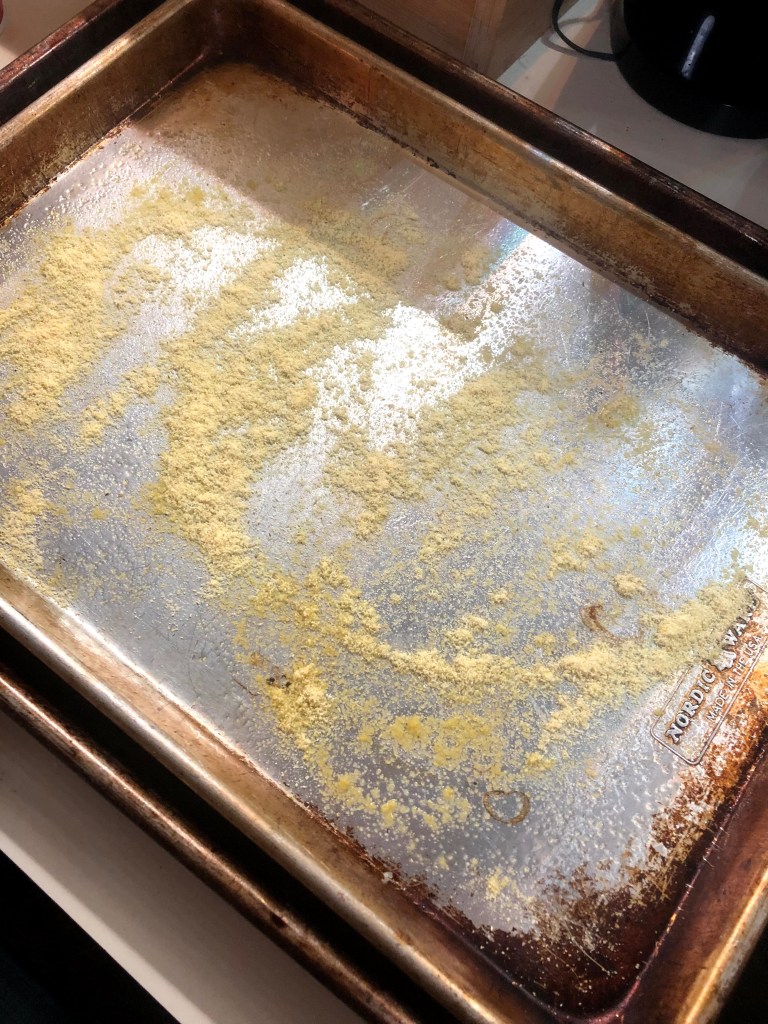
The pizzas will bake on metal sheet pans. As long as they are 9×13 or larger, you will be just fine. This dough is very forgiving and not particular with pan size. Spray 2 sheet pans with nonstick spray (or brush with a light coating of neutral oil), sprinkle with cornmeal, and set aside .
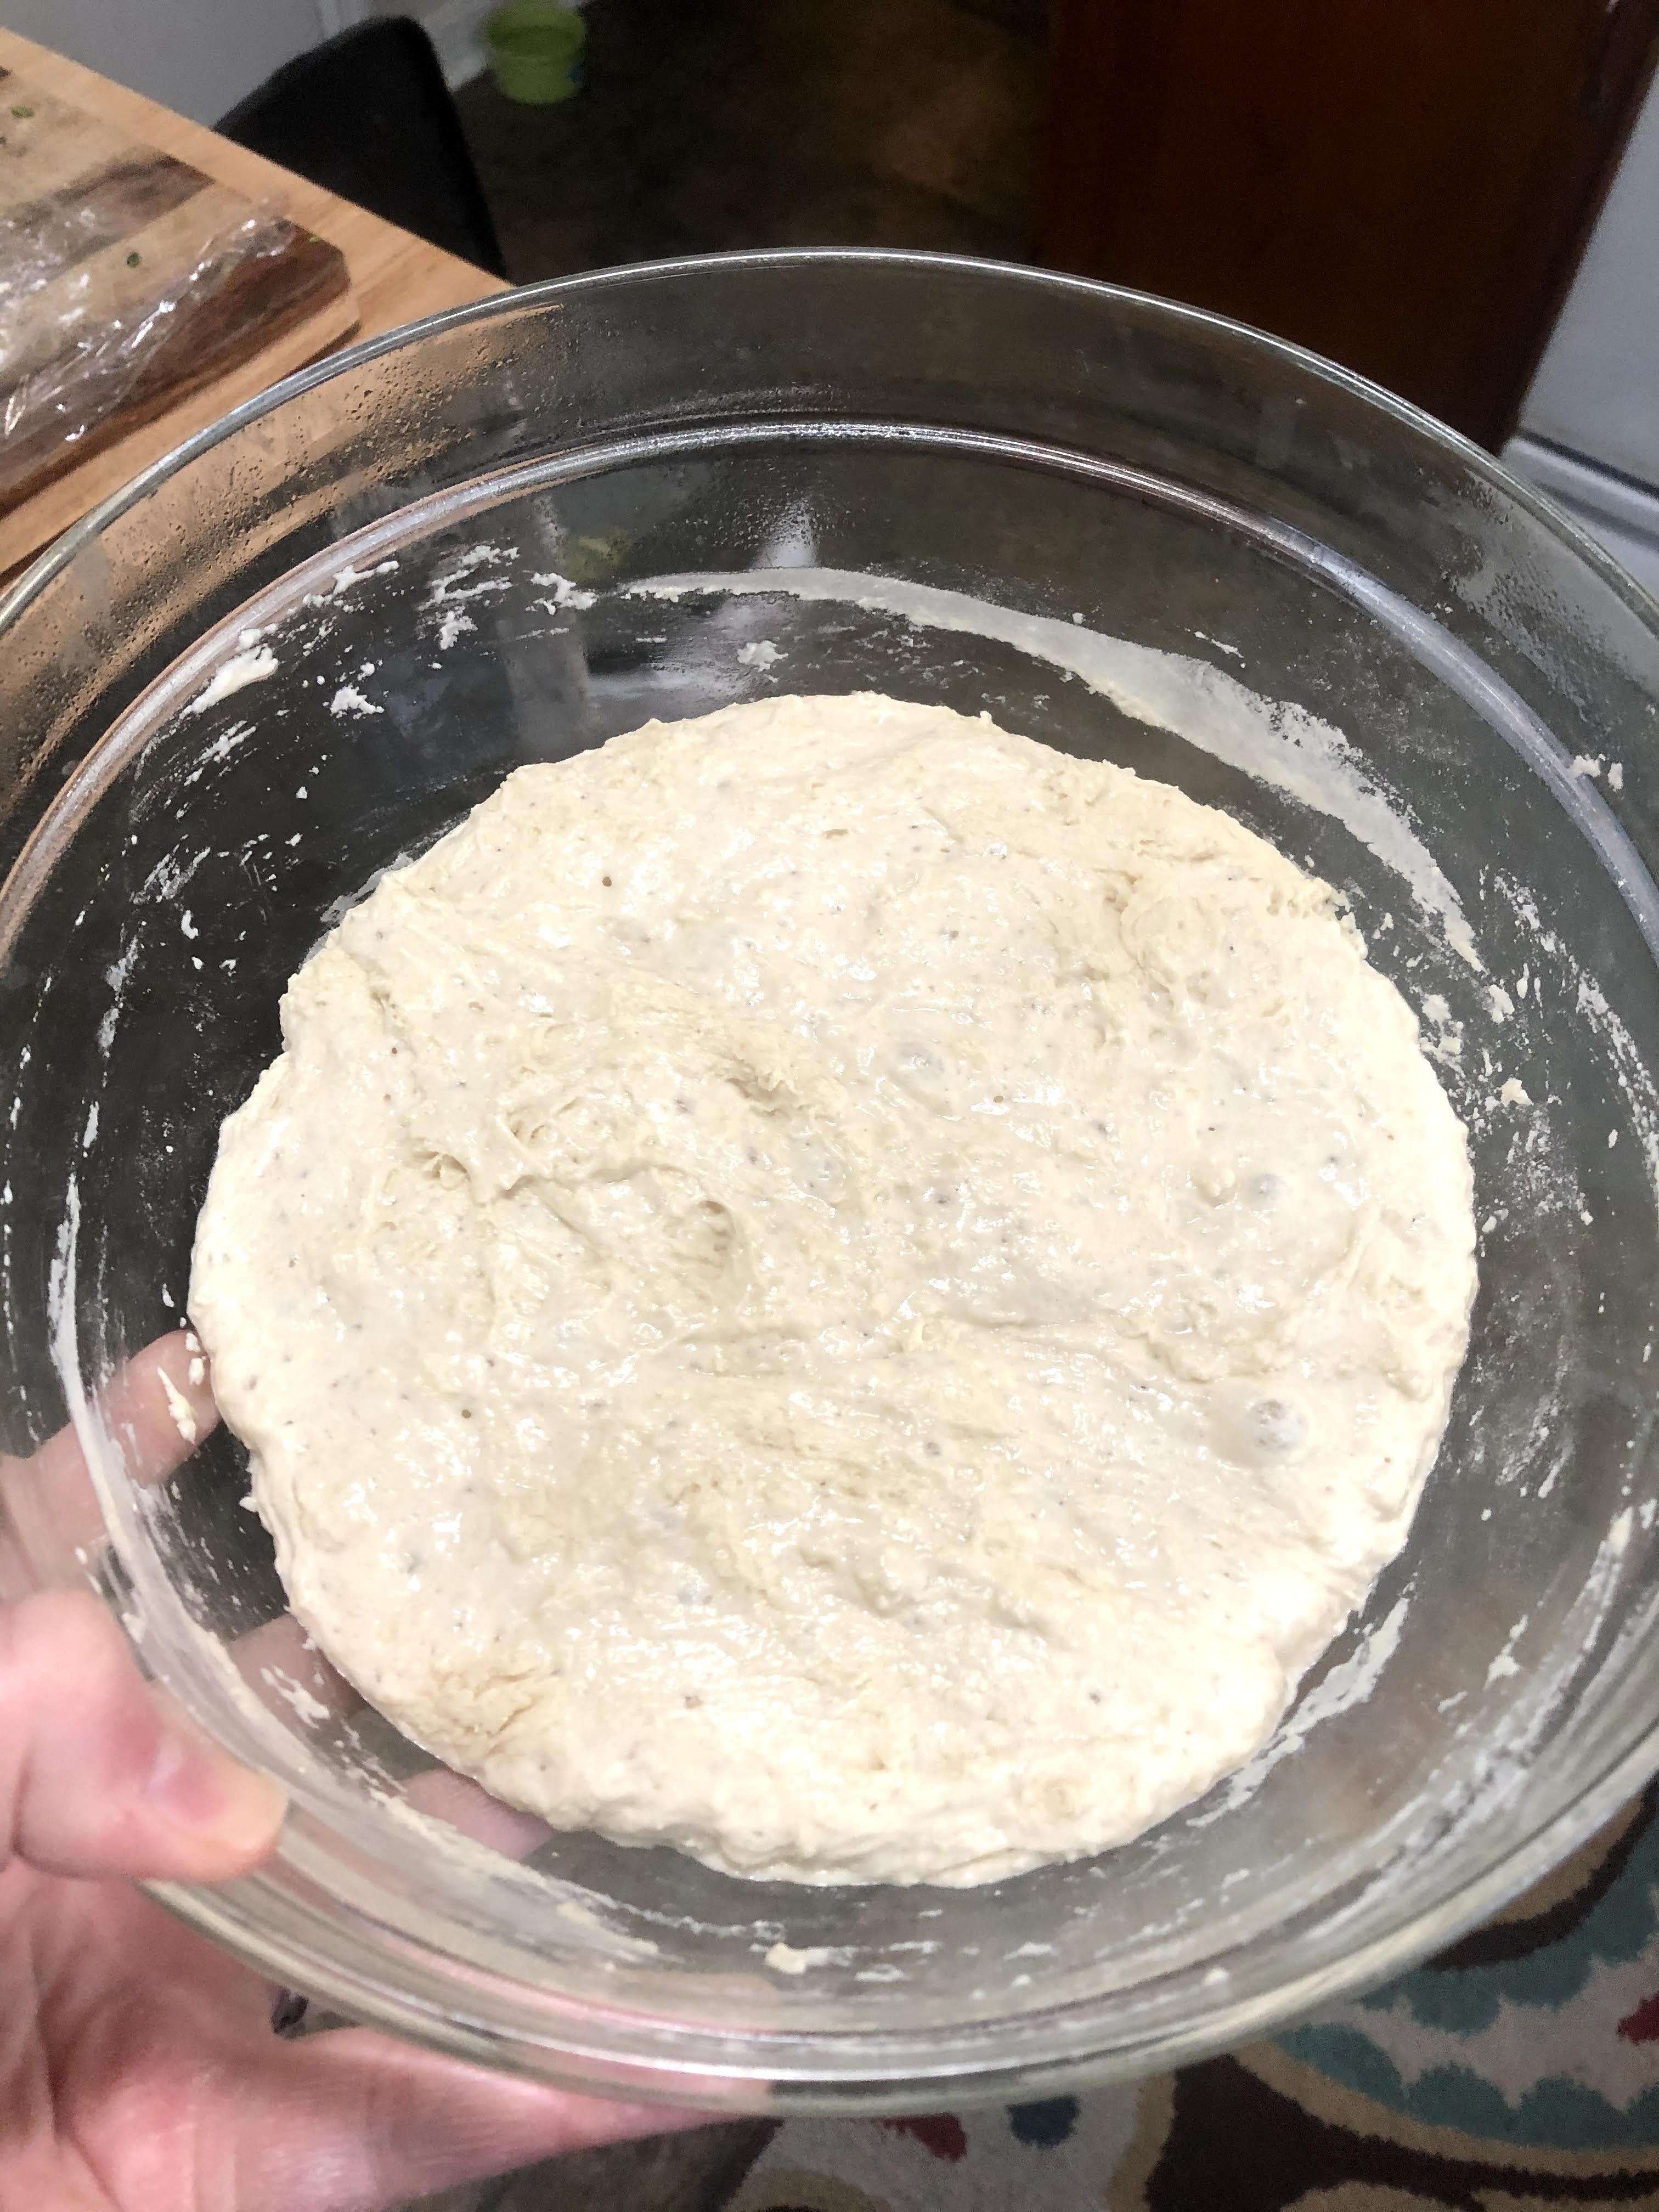
After proofing, the dough should be puffed, doubled (or more) in size, bubbly, and still quite wet. Sprinkle the dough with flour, flour your hands, and dump the dough onto a very well-floured surface. You will most likely need a rubber spatula or spoon to scrape all of it out. Slice in half for two pizzas.
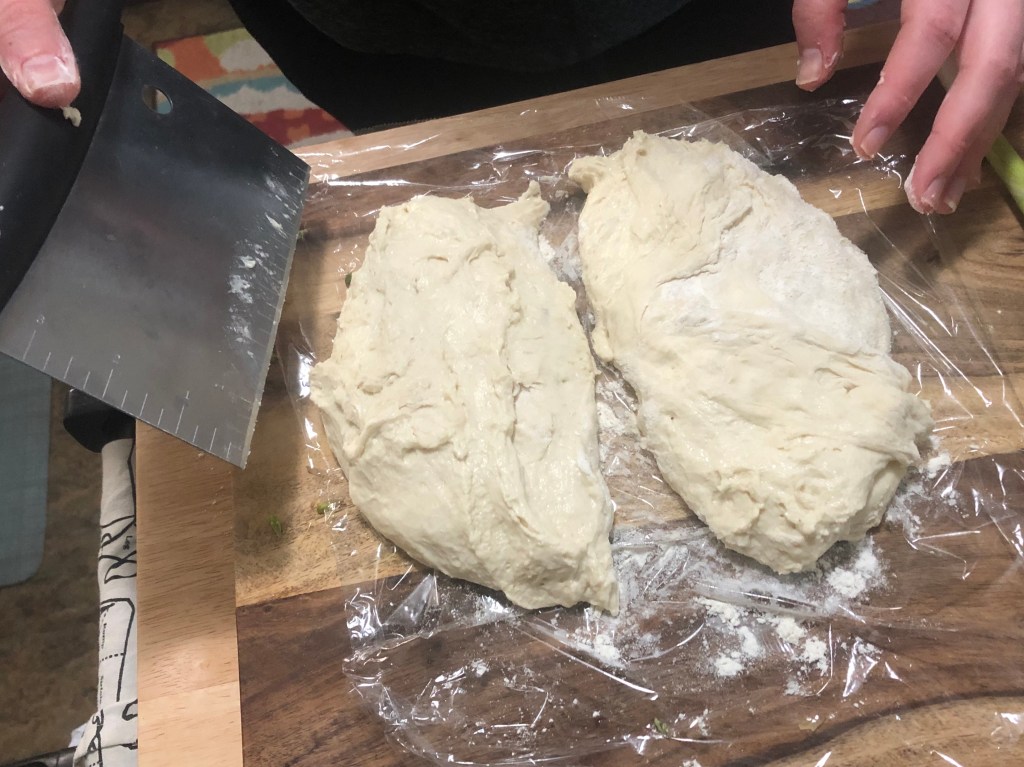
Note: I’ve successfully halved this recipe to make only one pizza. The All-Day or Part-Day schedules work best, only because how in the world will you measure 1/16 of a teaspoon of yeast?!
I’ve also frozen half of the dough with great results. After proofing, wrap half of the dough in a sprayed or lightly oiled piece of plastic wrap, then put it in a small freezer bag. Defrost overnight in the fridge (or longer- I waited up to 2 days and it was still perfect) and use as directed.
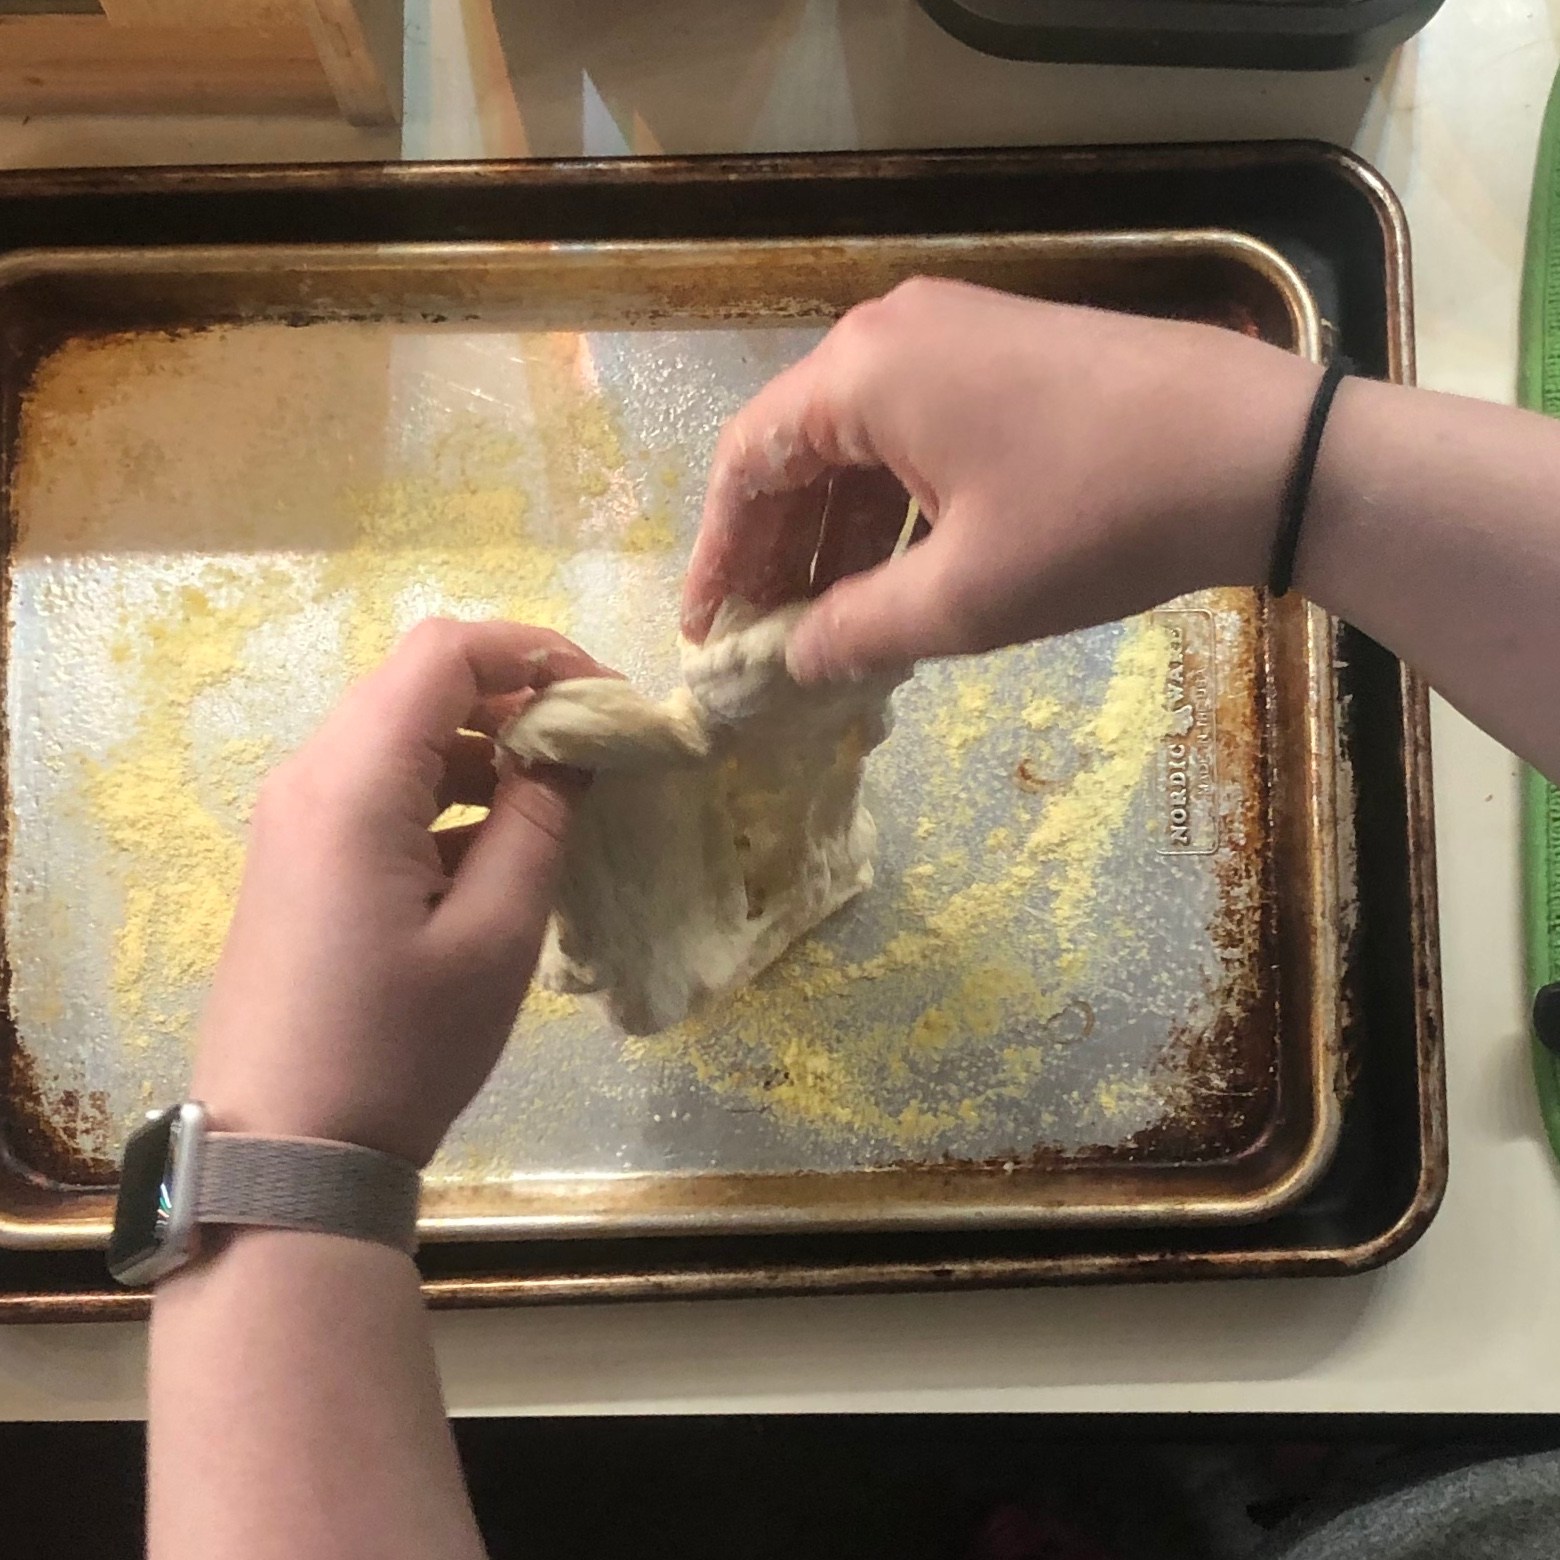
You may be panicking at this point, because the dough is so unruly and sticky. Or you may be cursing with frustration, as Dan usually does. But it will all be worth it, I promise.
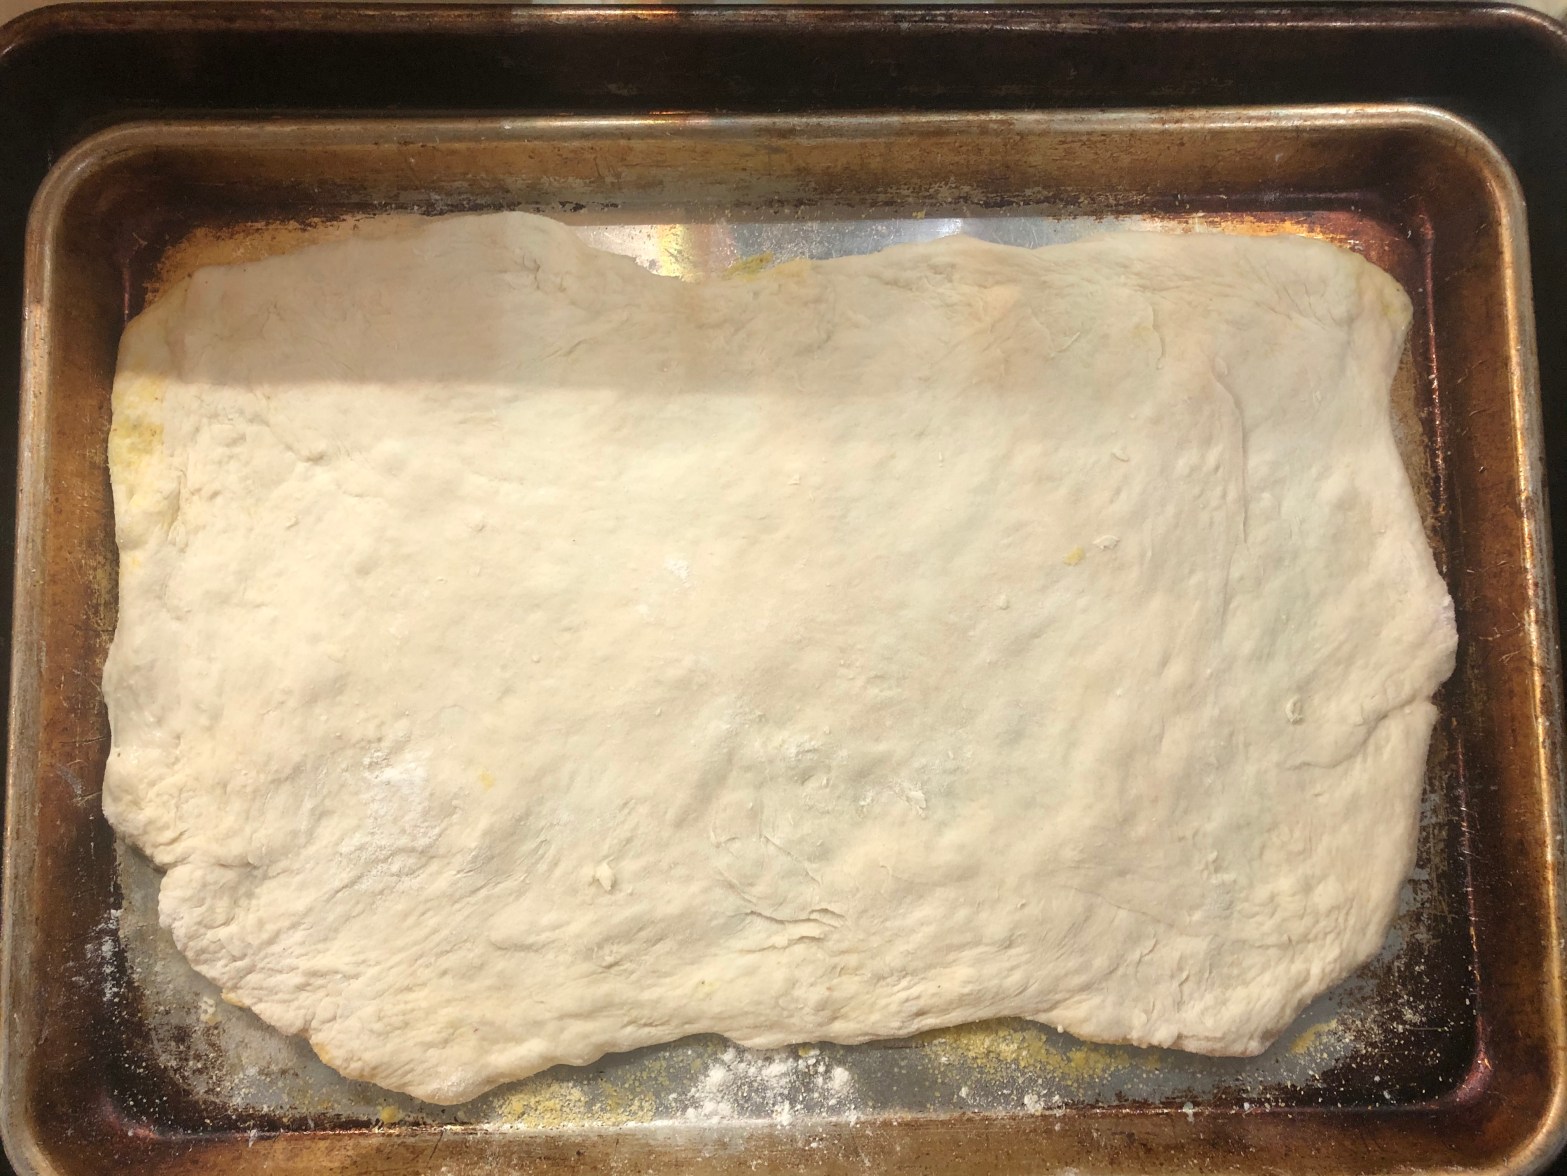
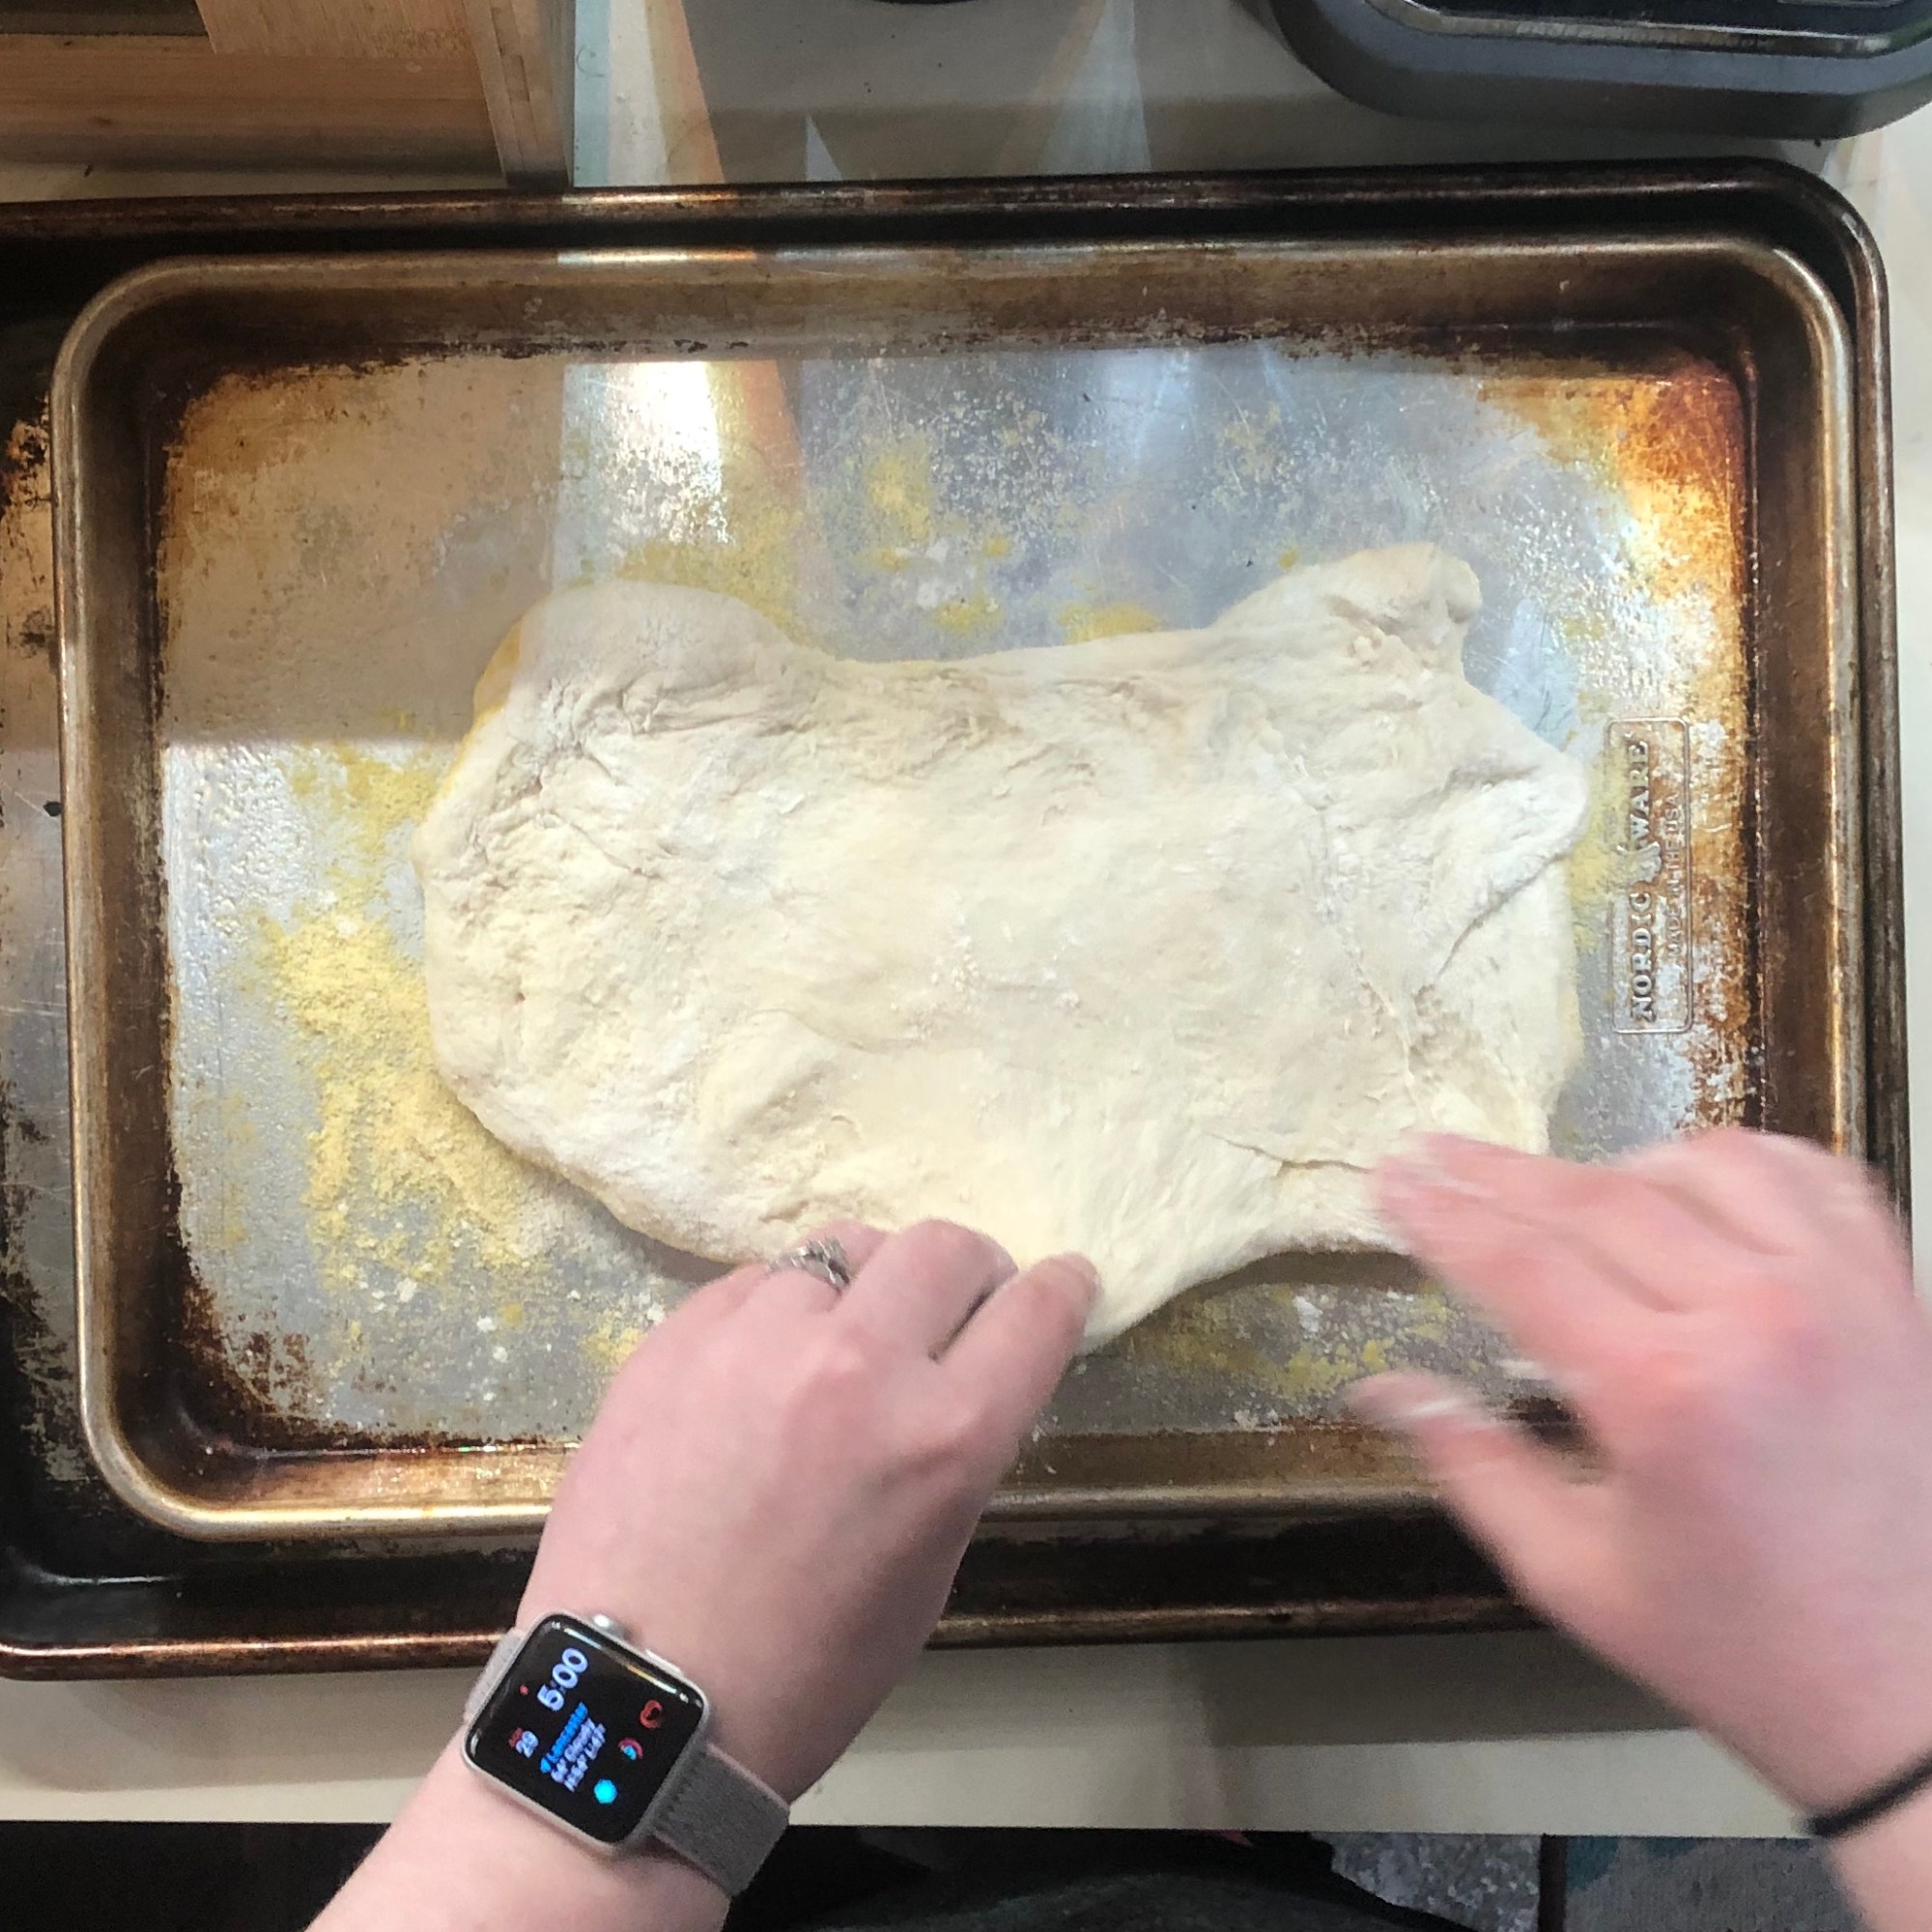
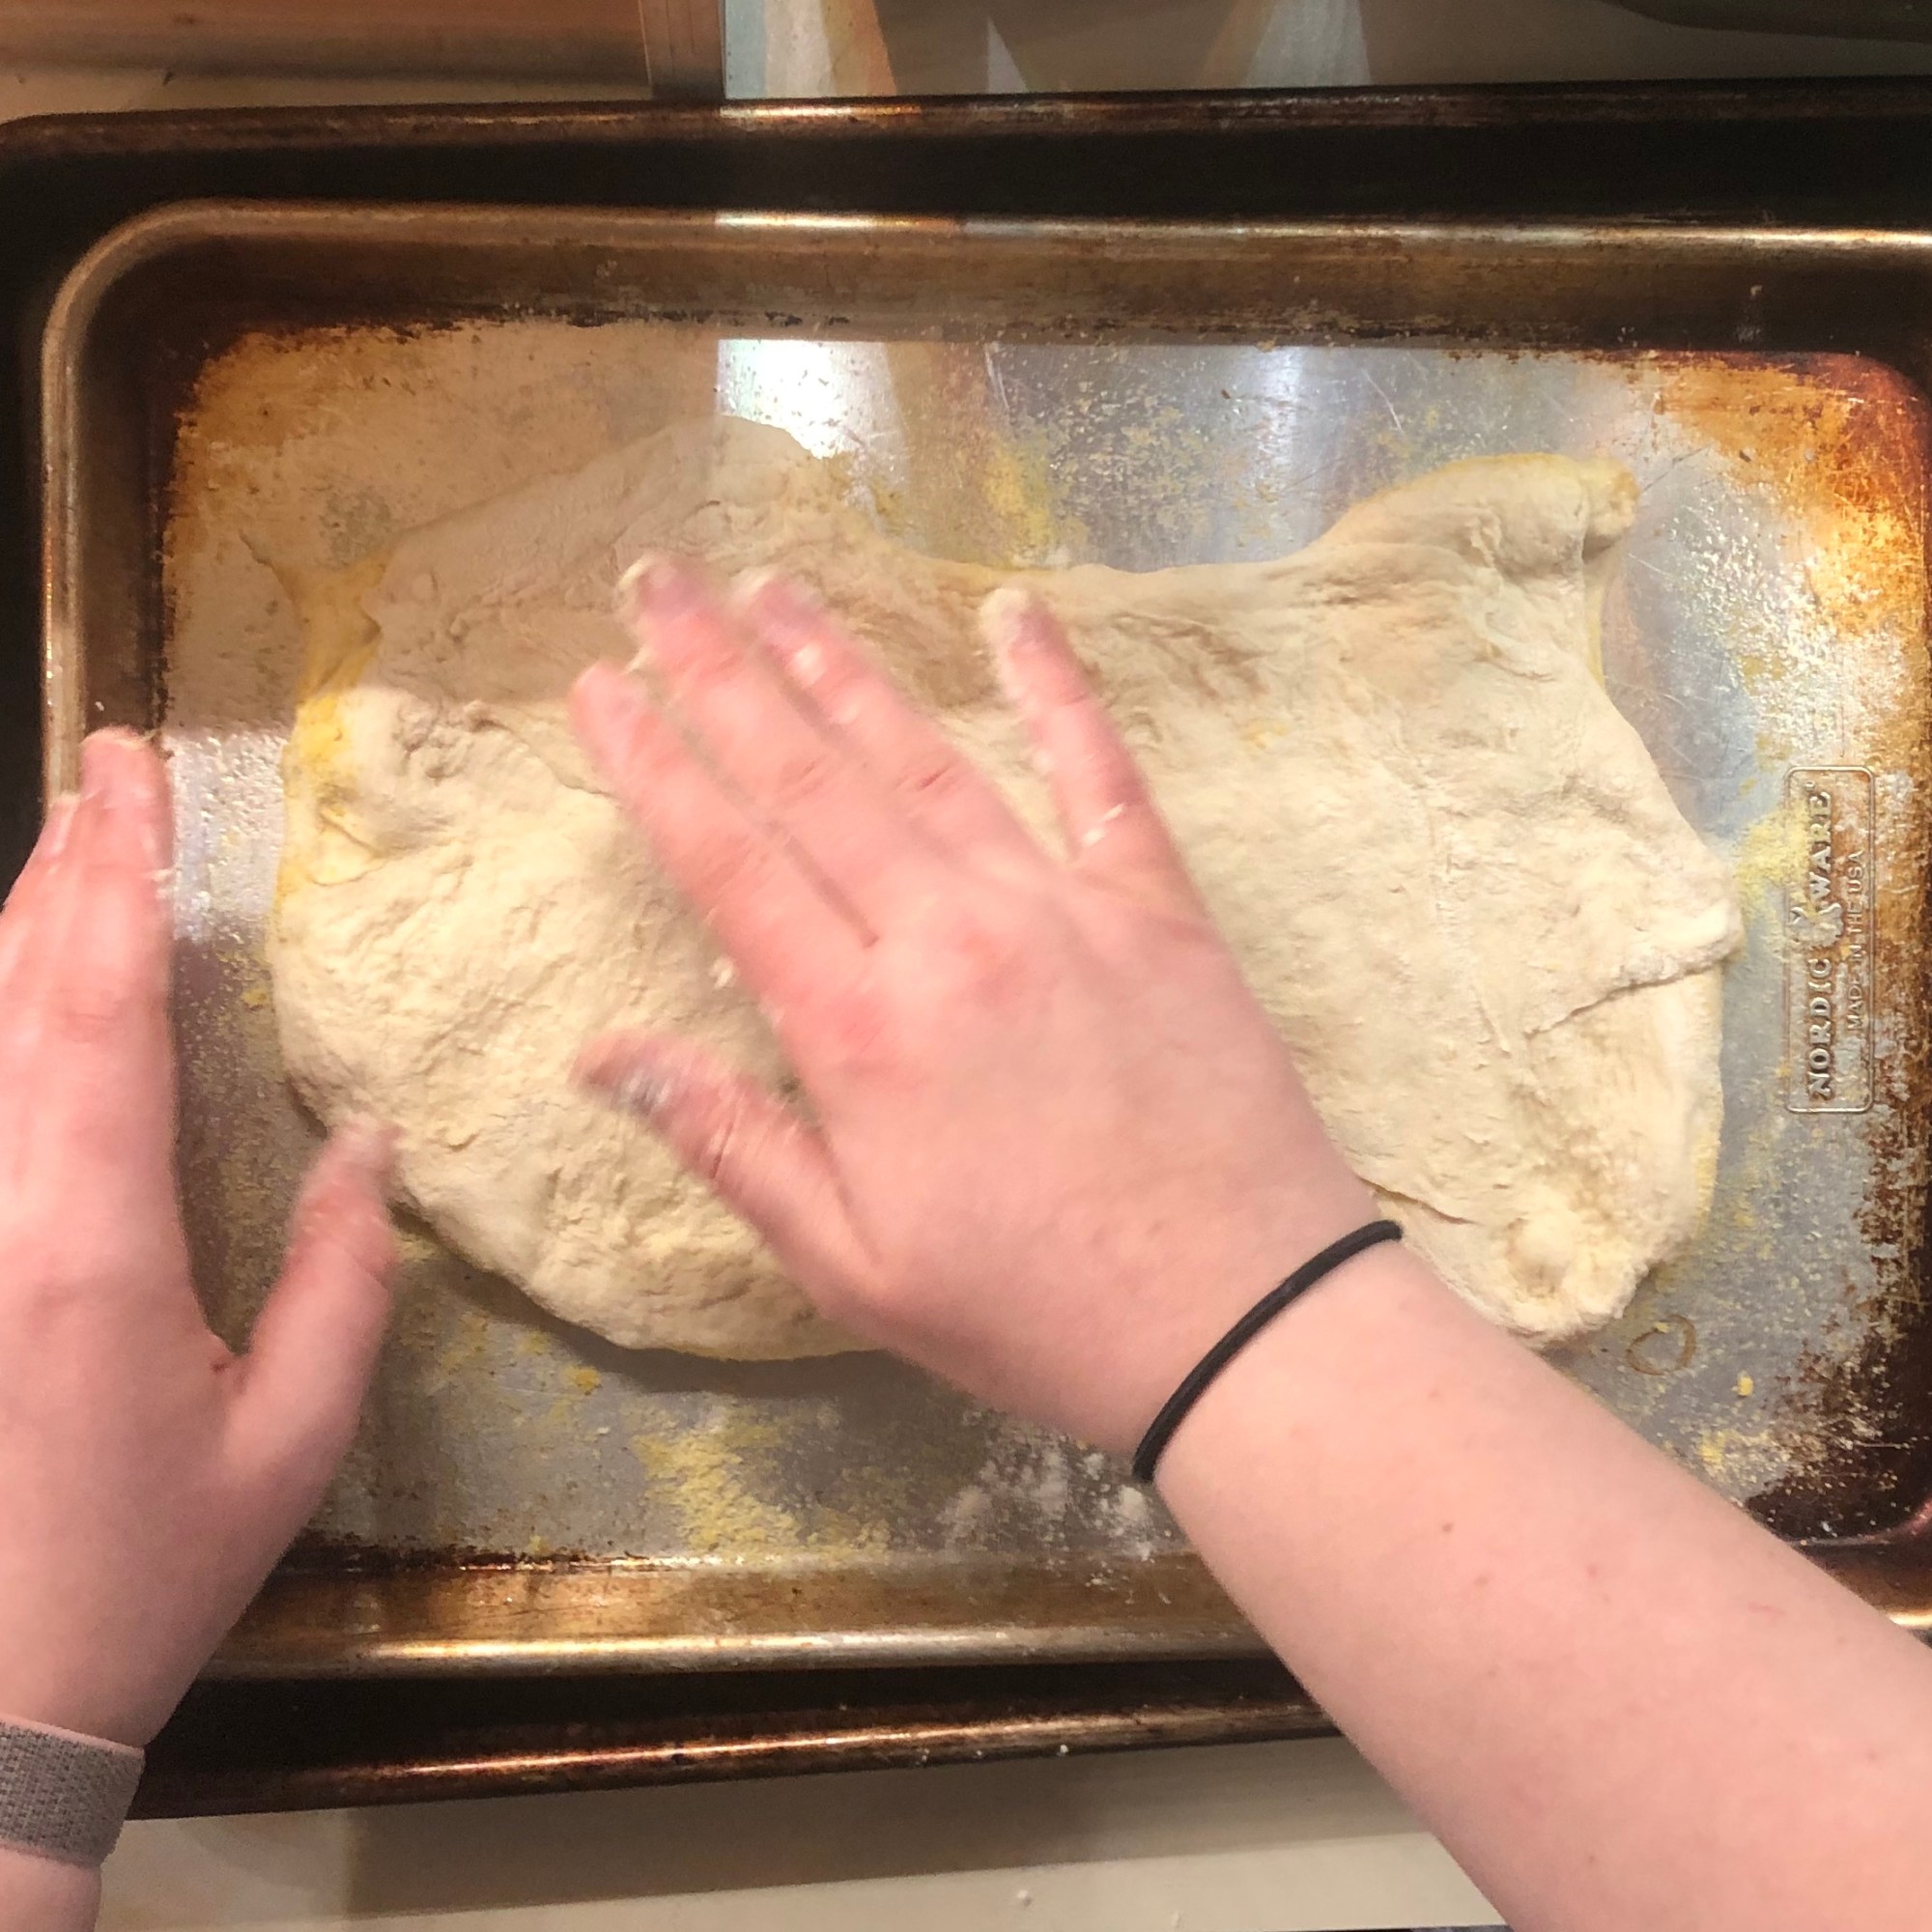
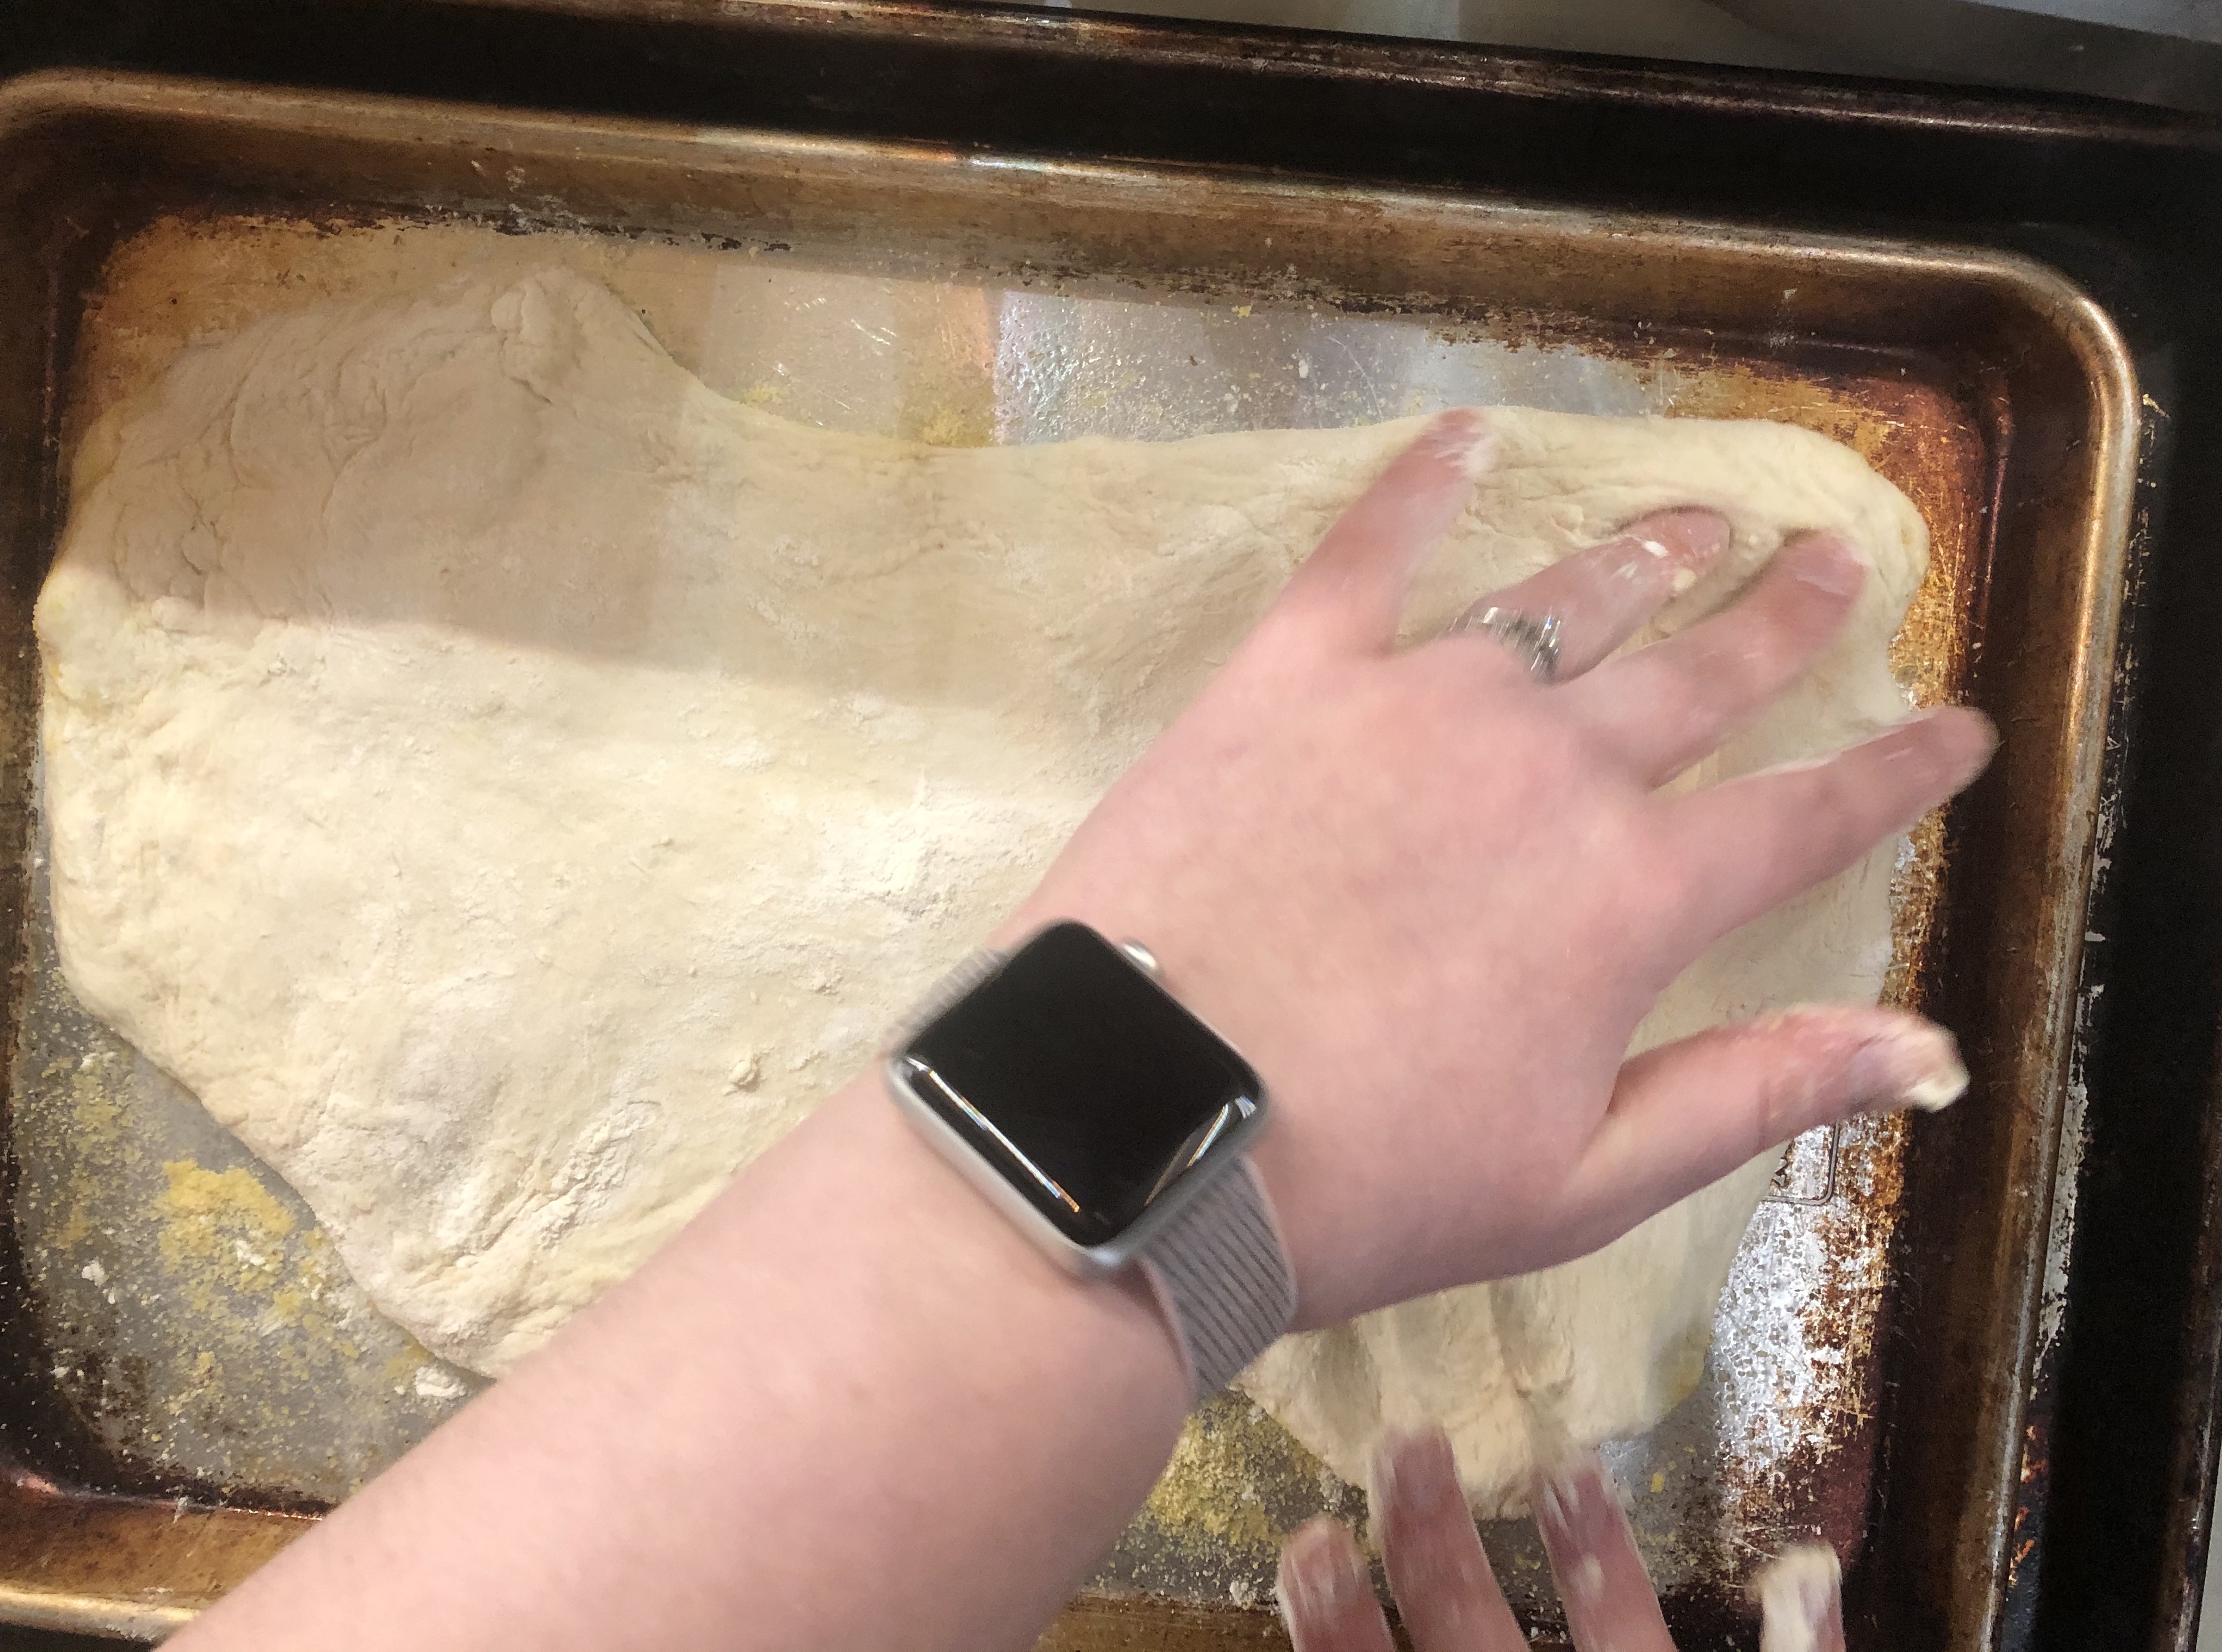
With well-floured hands, grab a piece of dough and put it onto one of the prepared pans. Things will get messy quickly, but just keep sprinkling with flour as you go. Stretch and work the dough into a roughly 9×13 rectangular-ish shape. It’s important here not to stretch the dough too thin, because you won’t get the chew that is so delicious here. If you rip a hole in the dough, no worries! Just pinch it back together. Use more sprinklings of flour as you stretch, push, and shape, and please don’t worry about getting a perfect rectangle. No matter how strange it looks, it will come out exactly as it should. Repeat with the remaining dough.
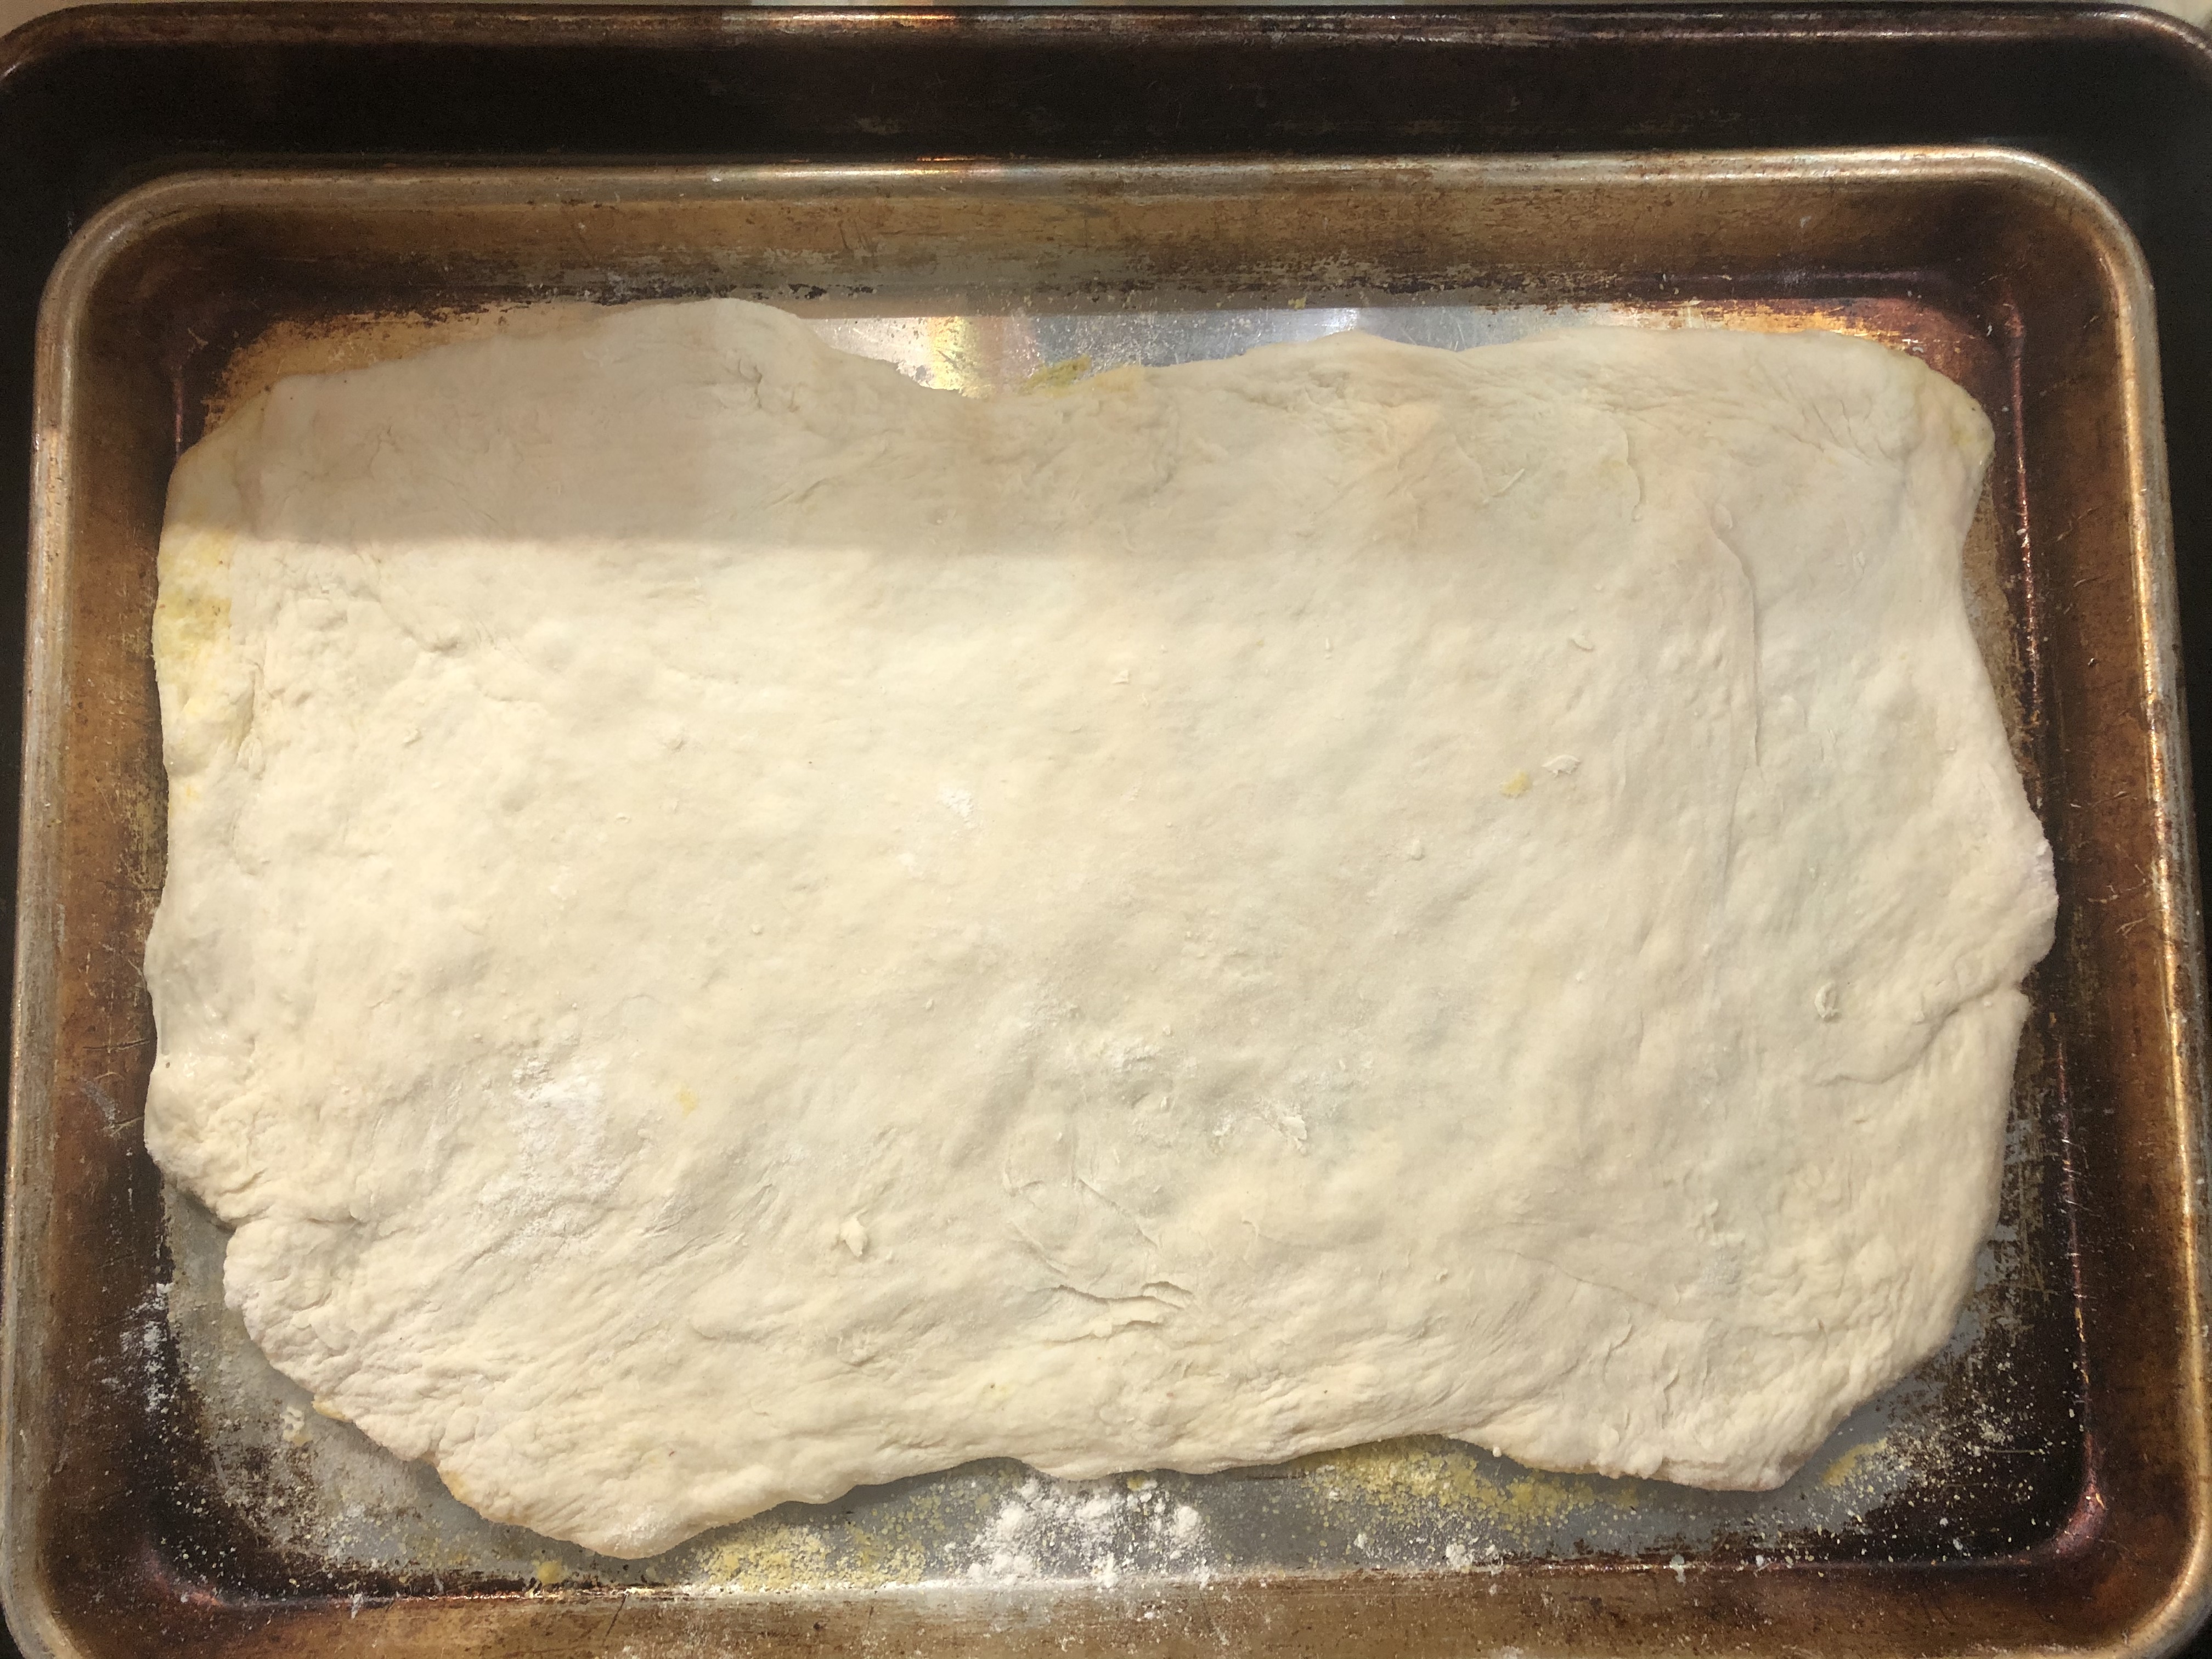
Assemble and bake the pizzas. Top the pizzas with whatever you like, but don’t overload it. A thin, crispy crust will not appreciate toppings that are too heavy. We really like a simple tomato sauce, muenster cheese, and torn mozzarella for a basic cheese pizza. (Why muenster, you say? Dan has always used muenster and I have gown to love it, too. It’s delicious on a pizza.)
Bake the pizzas in your now very hot oven for 10 to 15 minutes, checking the bottom crust by gently peeking under it with a spatula. You want to make sure there is some browning happening. Because I don’t trust my oven to bake evenly, I usually bake one pizza at a time. If you are confident in your oven’s abilities, go ahead and bake the pizzas together, on the upper and lower thirds of the oven. Switch them halfway through to ensure even baking.
The pizzas are ready when the bottom has browned in spots and the top is bubbly and blistered. Transfer pizzas to a large cutting board one at a time, unless you have two very large cutting boards. The pizzas slide right off of the sheet pans thanks to the oil and cornmeal, plus the cornmeal adds even more crunch and a slightly wood-fired taste- yum!
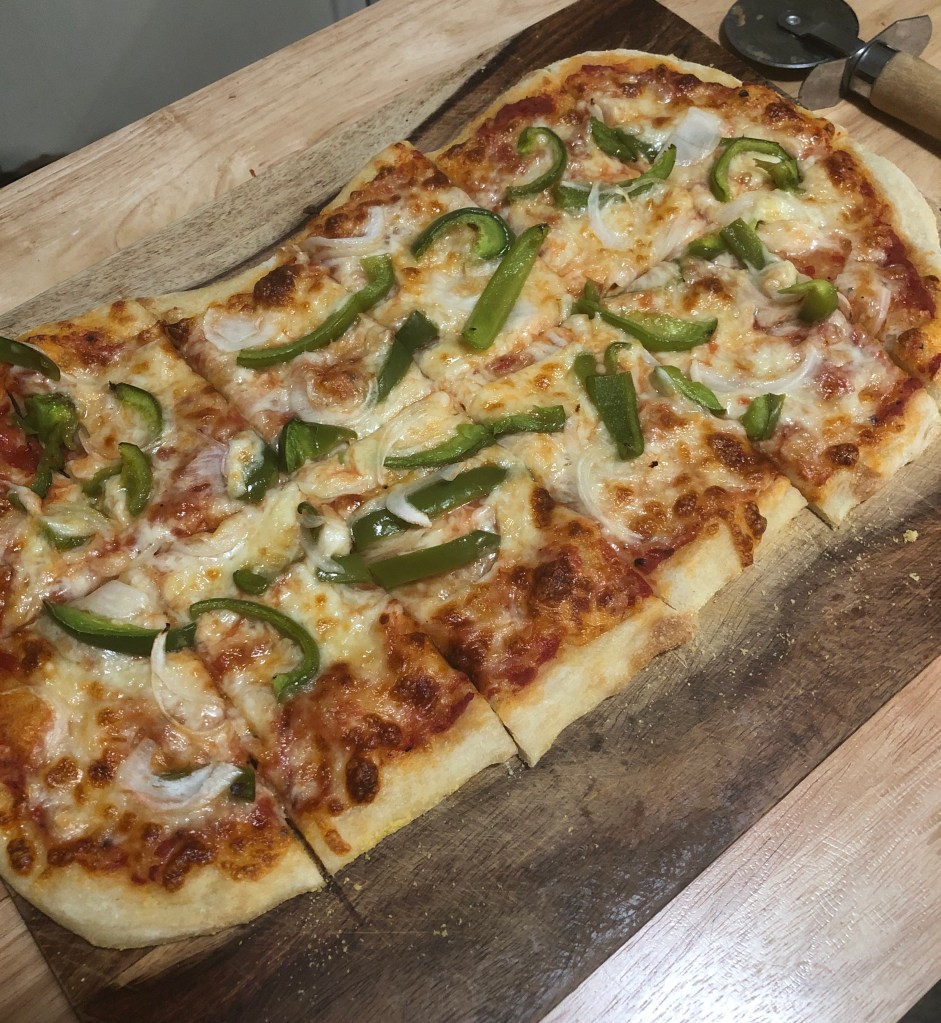
Slice and enjoy with the loved ones surrounding you. And I am deeming it okay in these times to eat an entire pizza by yourself. You deserve it.
Let me know how yours turns out!

