If you’re like me, you scour the internet for food- savory, sweet, both- anything at all that makes you think, “Oooooh, that looks amazing.” But how do we make those delicious creations with technique and success? After lots of years of trial and error and LOTS of failure, plus me scouring the internet for my favorite recipes, inspiration, and my own tweaking, I bring you my top tips for baking. Dan might come back to give you some cooking tips- that’s his deal. But I want to share some of my tried and true ingredients, tips, and tricks that help me every time I drag out the KitchenAid (more on that magical appliance to come). I’ve linked some equipment and ingredients within the text for your shopping convenience.
First off, let’s talk equipment:
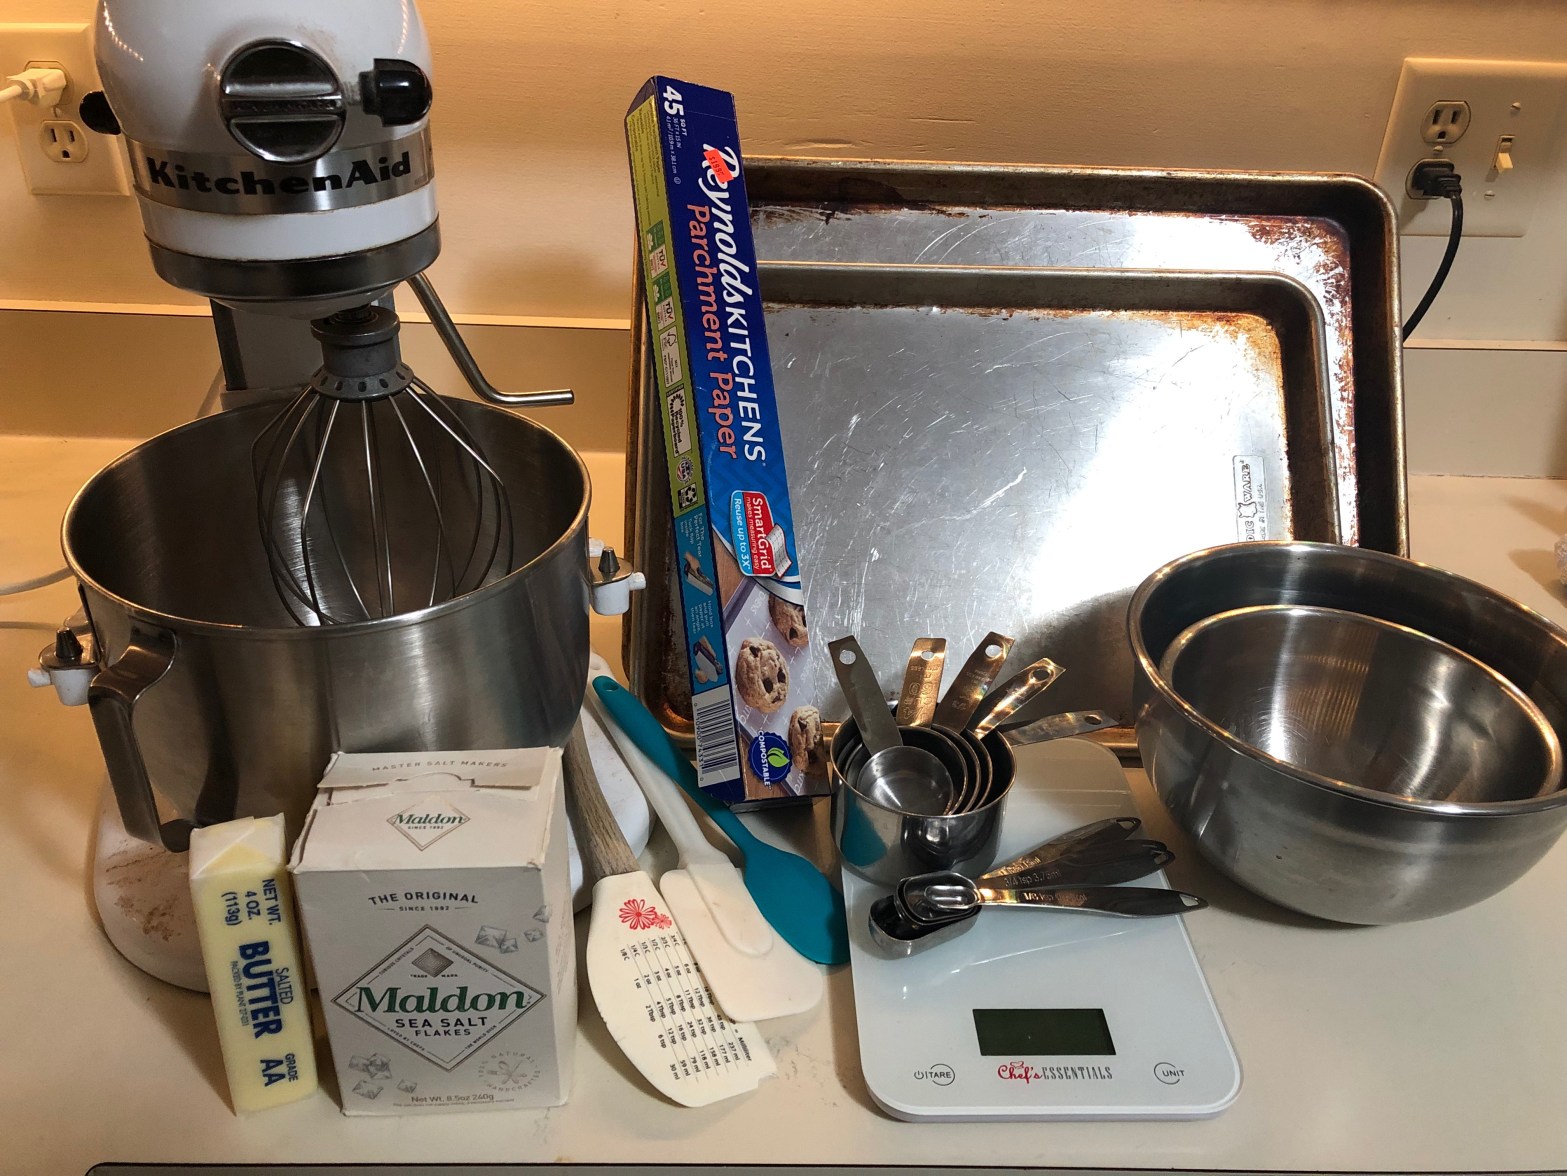
- Get yourself a good, heavy duty mixer. The KitchenAid mixer is a magical beast that I use weekly, from stirring up cake batter to whipping egg whites to making homemade marshmallows (thanks, Mom, for giving yours up all those years ago!). They are versatile, easy to clean, and gorgeous on your countertop. I highly recommend investing in the Professional Series 5-quart model, with the crank handle that lifts the bowl up to the mixer. It is durable, heavy duty, and just amazing to work with. But worry not! If a KitchenAid isn’t in your budget quite yet, you can absolutely find worthy hand mixers. I have this one, which is one of the best I’ve used (another thanks to Mom!).
- Aluminum baking sheets will save you from burnt, unevenly baked cookies, every time. I have two half sheet pans plus one jelly roll pan, and I wish I had about 10 more. Be warned- they are hand wash only, but oh so worth it.
Tip: You can use them to make large sheets of cookie or cake bars, too, because of their handy rim.
- Rubber spatulas for the win! These flexible spatulas are a godsend when it comes to scraping your bowls and getting every last bit of batter. Of course, you want to purposely leave some behind to eat, otherwise what’s the point? These are a great set.
- Stainless steel is the way to go for bowls, cups, AND spoons. Stainless steel is easy to clean, durable, and sexy as heck in your kitchen. Stop buying plastic measuring cups, spoons, and bowls, and invest in some sturdy stainless steel. All you need are two or three bowls of varying sizes (make sure one of them is nice and big, especially if you’re using a hand mixer for your baking), but take advantage of this awesome set on Amazon that has SIX BOWLS! Amazon also has very affordable sets of stainless steel measuring cups and spoons.
Sidebar: I also really love glass mixing bowls. I use both kinds in my kitchen.
Now that we have some solid baking equipment to work with, let’s take a look at some general tips that I’ve learned throughout my years of baking:
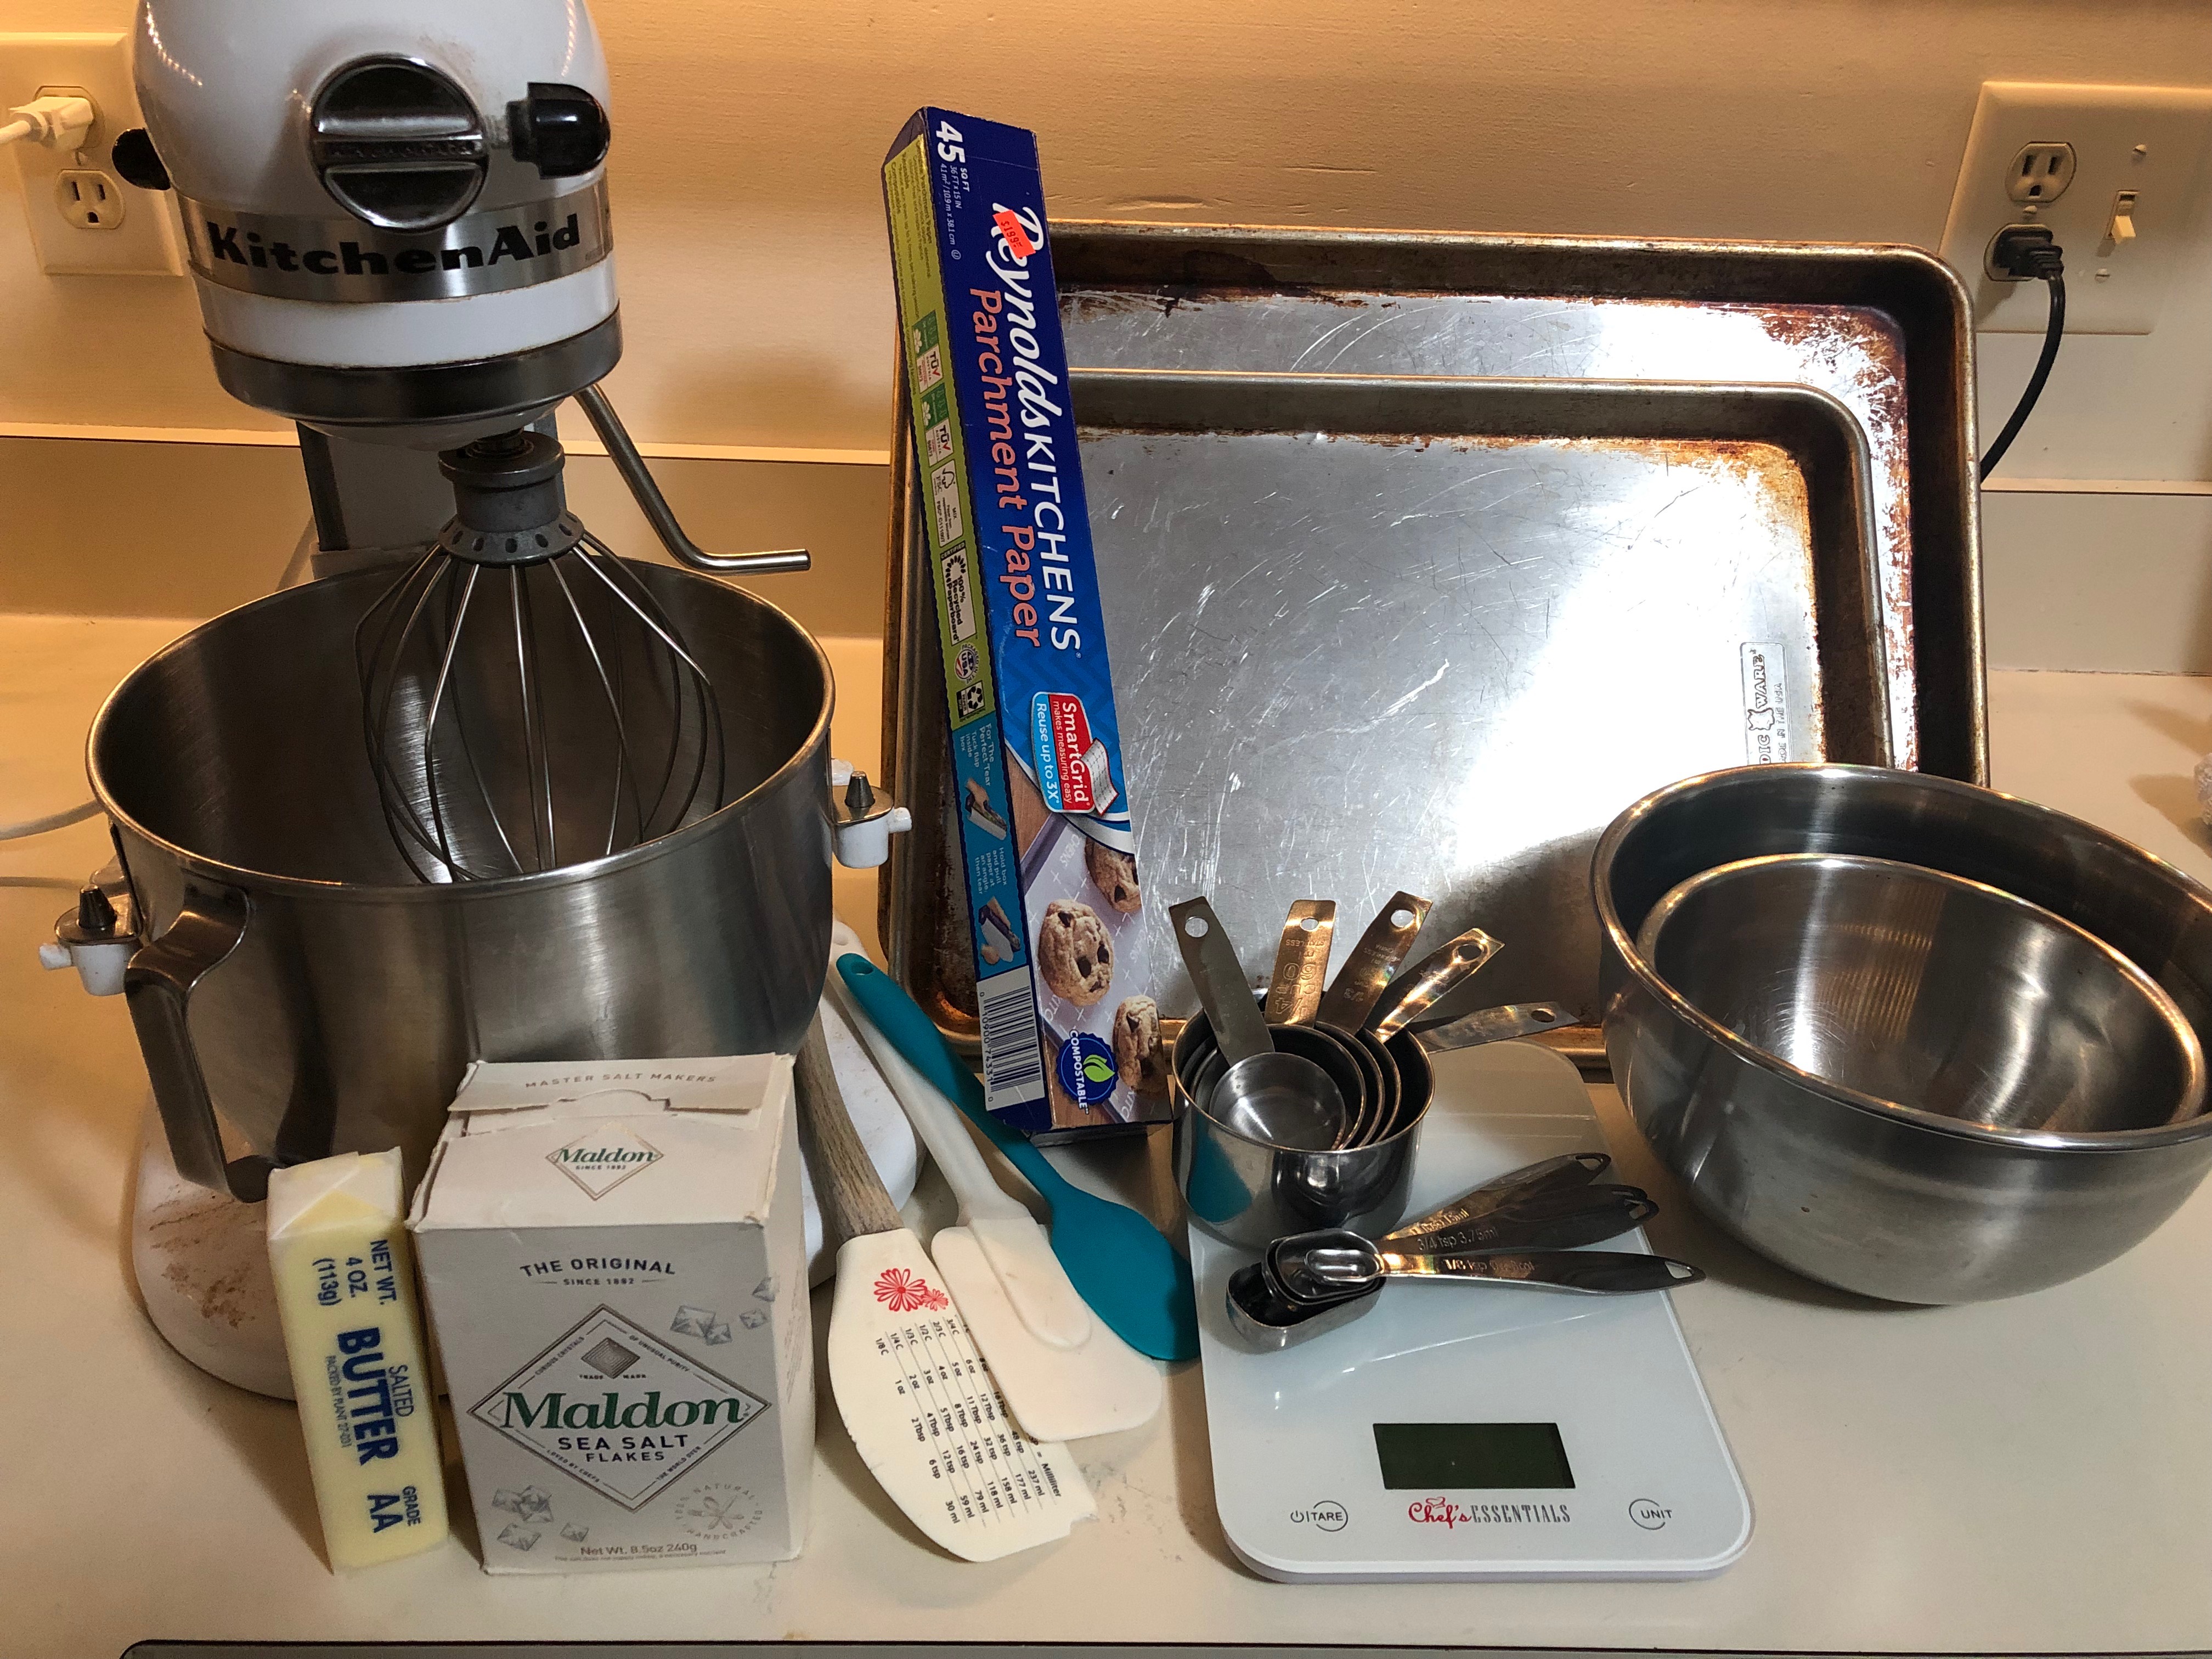
- Greasing isn’t always necessary if you have the most amazing product ever created in the baking world- parchment paper. If you’re thinking that parchment paper is the same as wax paper, YOU ARE VERY WRONG AND WILL HAVE MELTED WAX IN YOUR OVEN. Phew. Now that we’ve gotten that clarification out of the way, we can start using parchment for any and all baked goods. Line your baking sheets, pans, and casseroles with it to not only prevent sticking, but to protect your bakeware for years to come. I’ve never had anything stick to parchment paper. It is a very sad day here when we run out of it.
- Beat that butter and sugar WAY longer than you think you should. If you have any baking experience, you’ve probably seen the start of the recipe read “Beat the butter and sugar until fluffy.” But very few recipes tell you how long to beat them or what the heck “fluffy” should look like. I beat butter and sugar together for a solid 3 minutes, at least. I even set a timer, because I’m anal that way (I set timers for everything to the amusement of my husband). Three minutes feels longer than you would expect! But I assure you that 3-5 minutes of beating at medium-high speed will result in truly creamed butter and sugar and will be the “fluffy” you need for proper texture and blending of your batter.
- Don’t be afraid of salt. I’m talking to you, Julie! Just kidding. My sister has an aversion to overly salty things. Anyway, any baked good will be taken from good to great with the addition of salt. A lot of recipes will call for it in very miniscule amounts, but don’t be afraid to up that amount to your tastes. Or, sprinkle some coarse salt on top of your cookies, brownies, or blondies before baking. You’ll be amazed at the complexity it adds to anything sweet. I primarily use Morton Coarse kosher salt, but have recently tried Diamond Crystal kosher salt and really like that it doesn’t contain any additives that could in the slightest chance alter a recipe (especially candy-making). For fancy sprinkling and a pretty, flaked look, I use Maldon Sea Salt Flakes.
Note: Table salt and coarse kosher salt are very different products, besides the iodine addition. Kosher salt is less intense and can be used in larger amounts, as opposed to table salt which is very intense and extra salty. Keep this in mind when substituting them in recipes.
- I think salted butter is great, and you should, too. I’ve pretty much always used salted butter for baking, because I don’t feel the need to get TWO types of butter at the store. I’ve never noticed huge differences and I’ve already told you how good salt is in baked goods, so unless you’re watching your sodium intake, just use salted butter. If you’re really worried about the saltiness and you only have salted butter on hand, decrease the added salt in the recipe a bit to make up for it.
- Baking is an exact science, which I’m sure you’ve heard before. But, be really anal retentive with anything you’re baking. Follow the recipe directions exactly (at least the first time), ALWAYS measure, and set all the timers. If you want to get even more serious with your baking, consider buying a digital kitchen scale, especially for measuring dried goods like flour, chocolate, and nuts. Flour in particular is very difficult to measure accurately with measuring cups because of the variation in packing, tossing, sifting, and leveling. Your results will be more accurate with a kitchen scale and you’ll rest easy knowing that you measured everything exactly. A little extra flour or a drop more milk could truly alter your baked goods. I have this scale, thanks to my wonderful sister. However, it seems to be unavailable now, so look for something similar.
Note: Not all recipes have measurements in grams or ounces. In those cases, just be as accurate as you can with hand measuring.
Now go forth and bake something! I’m here for you through your successes and failures.
Questions? Comments? Leave them down below.


That was great. ❤️
LikeLiked by 1 person
I would be lost without my kitchen aid too! I also use a scale and I have 6 USA bakeware half sheet pans…I use them every day! Finally, I am a timer girl too. I set them for everything! Happy Baking.
LikeLiked by 1 person
Today I learned I shouldn’t put those aluminum sheet pans in the dishwasher… no wonder mine look deformed and discolored, haha!
LikeLiked by 1 person
Good stuff Jess. Keep on baking!
LikeLiked by 1 person