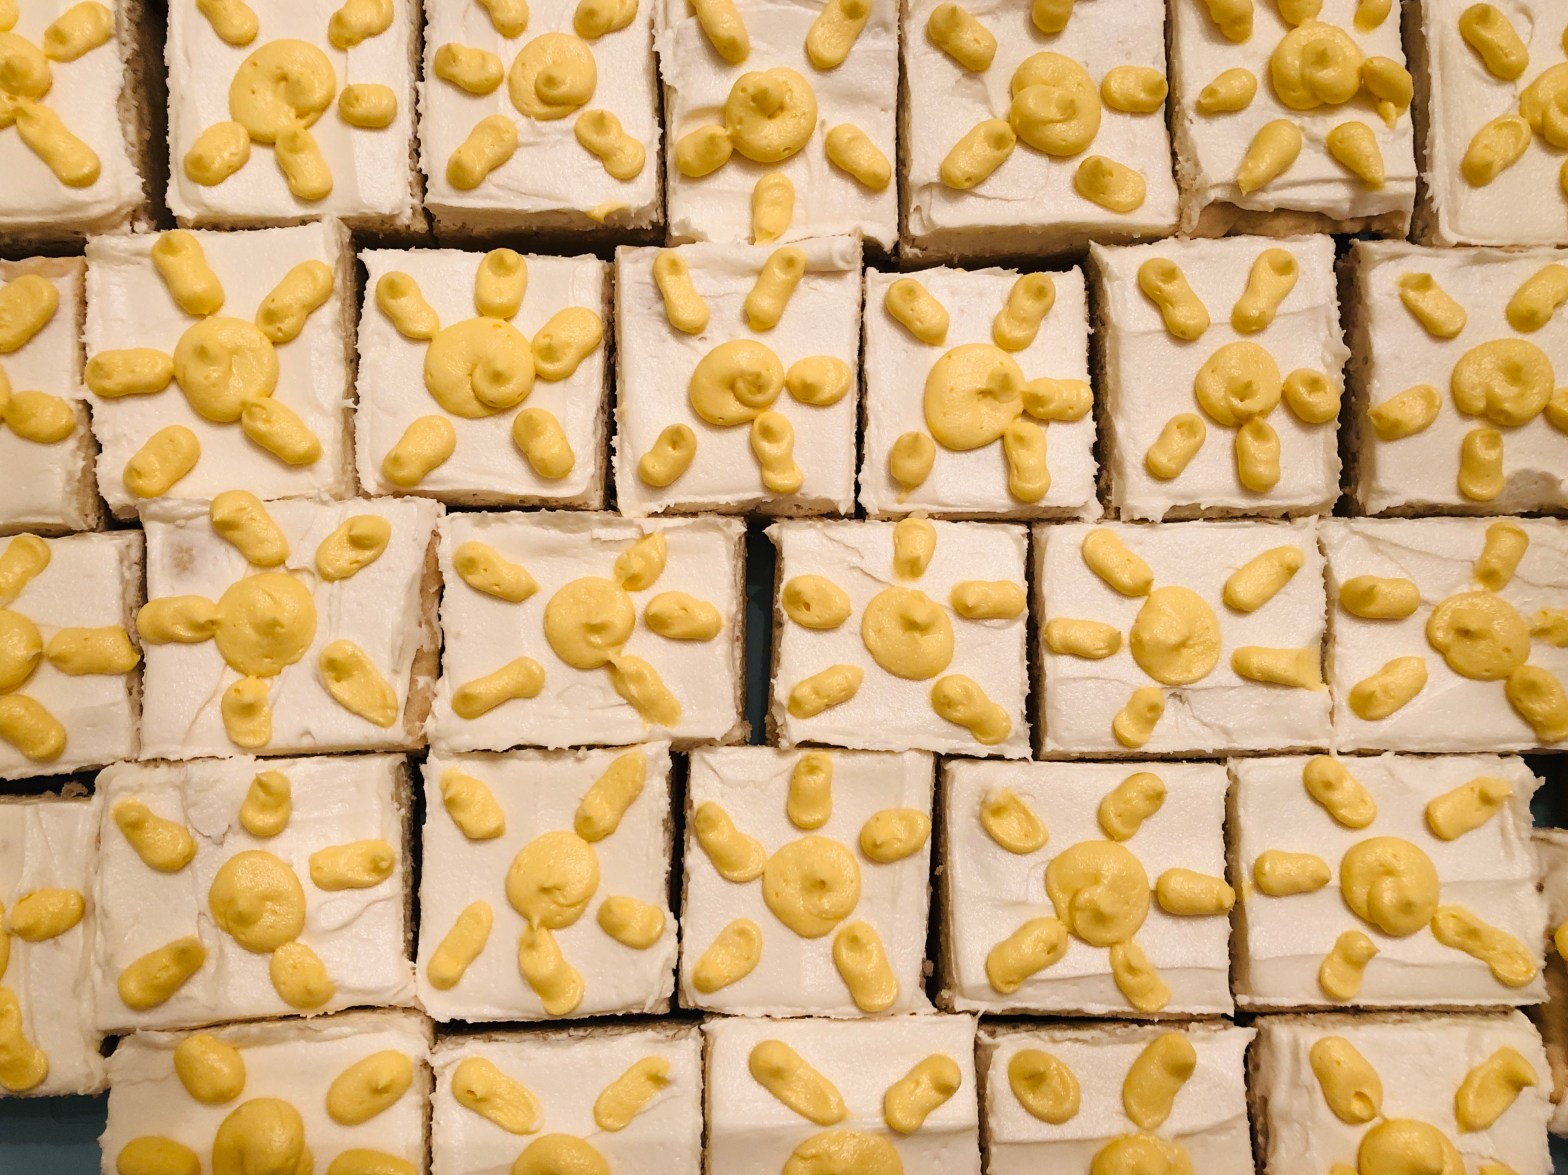
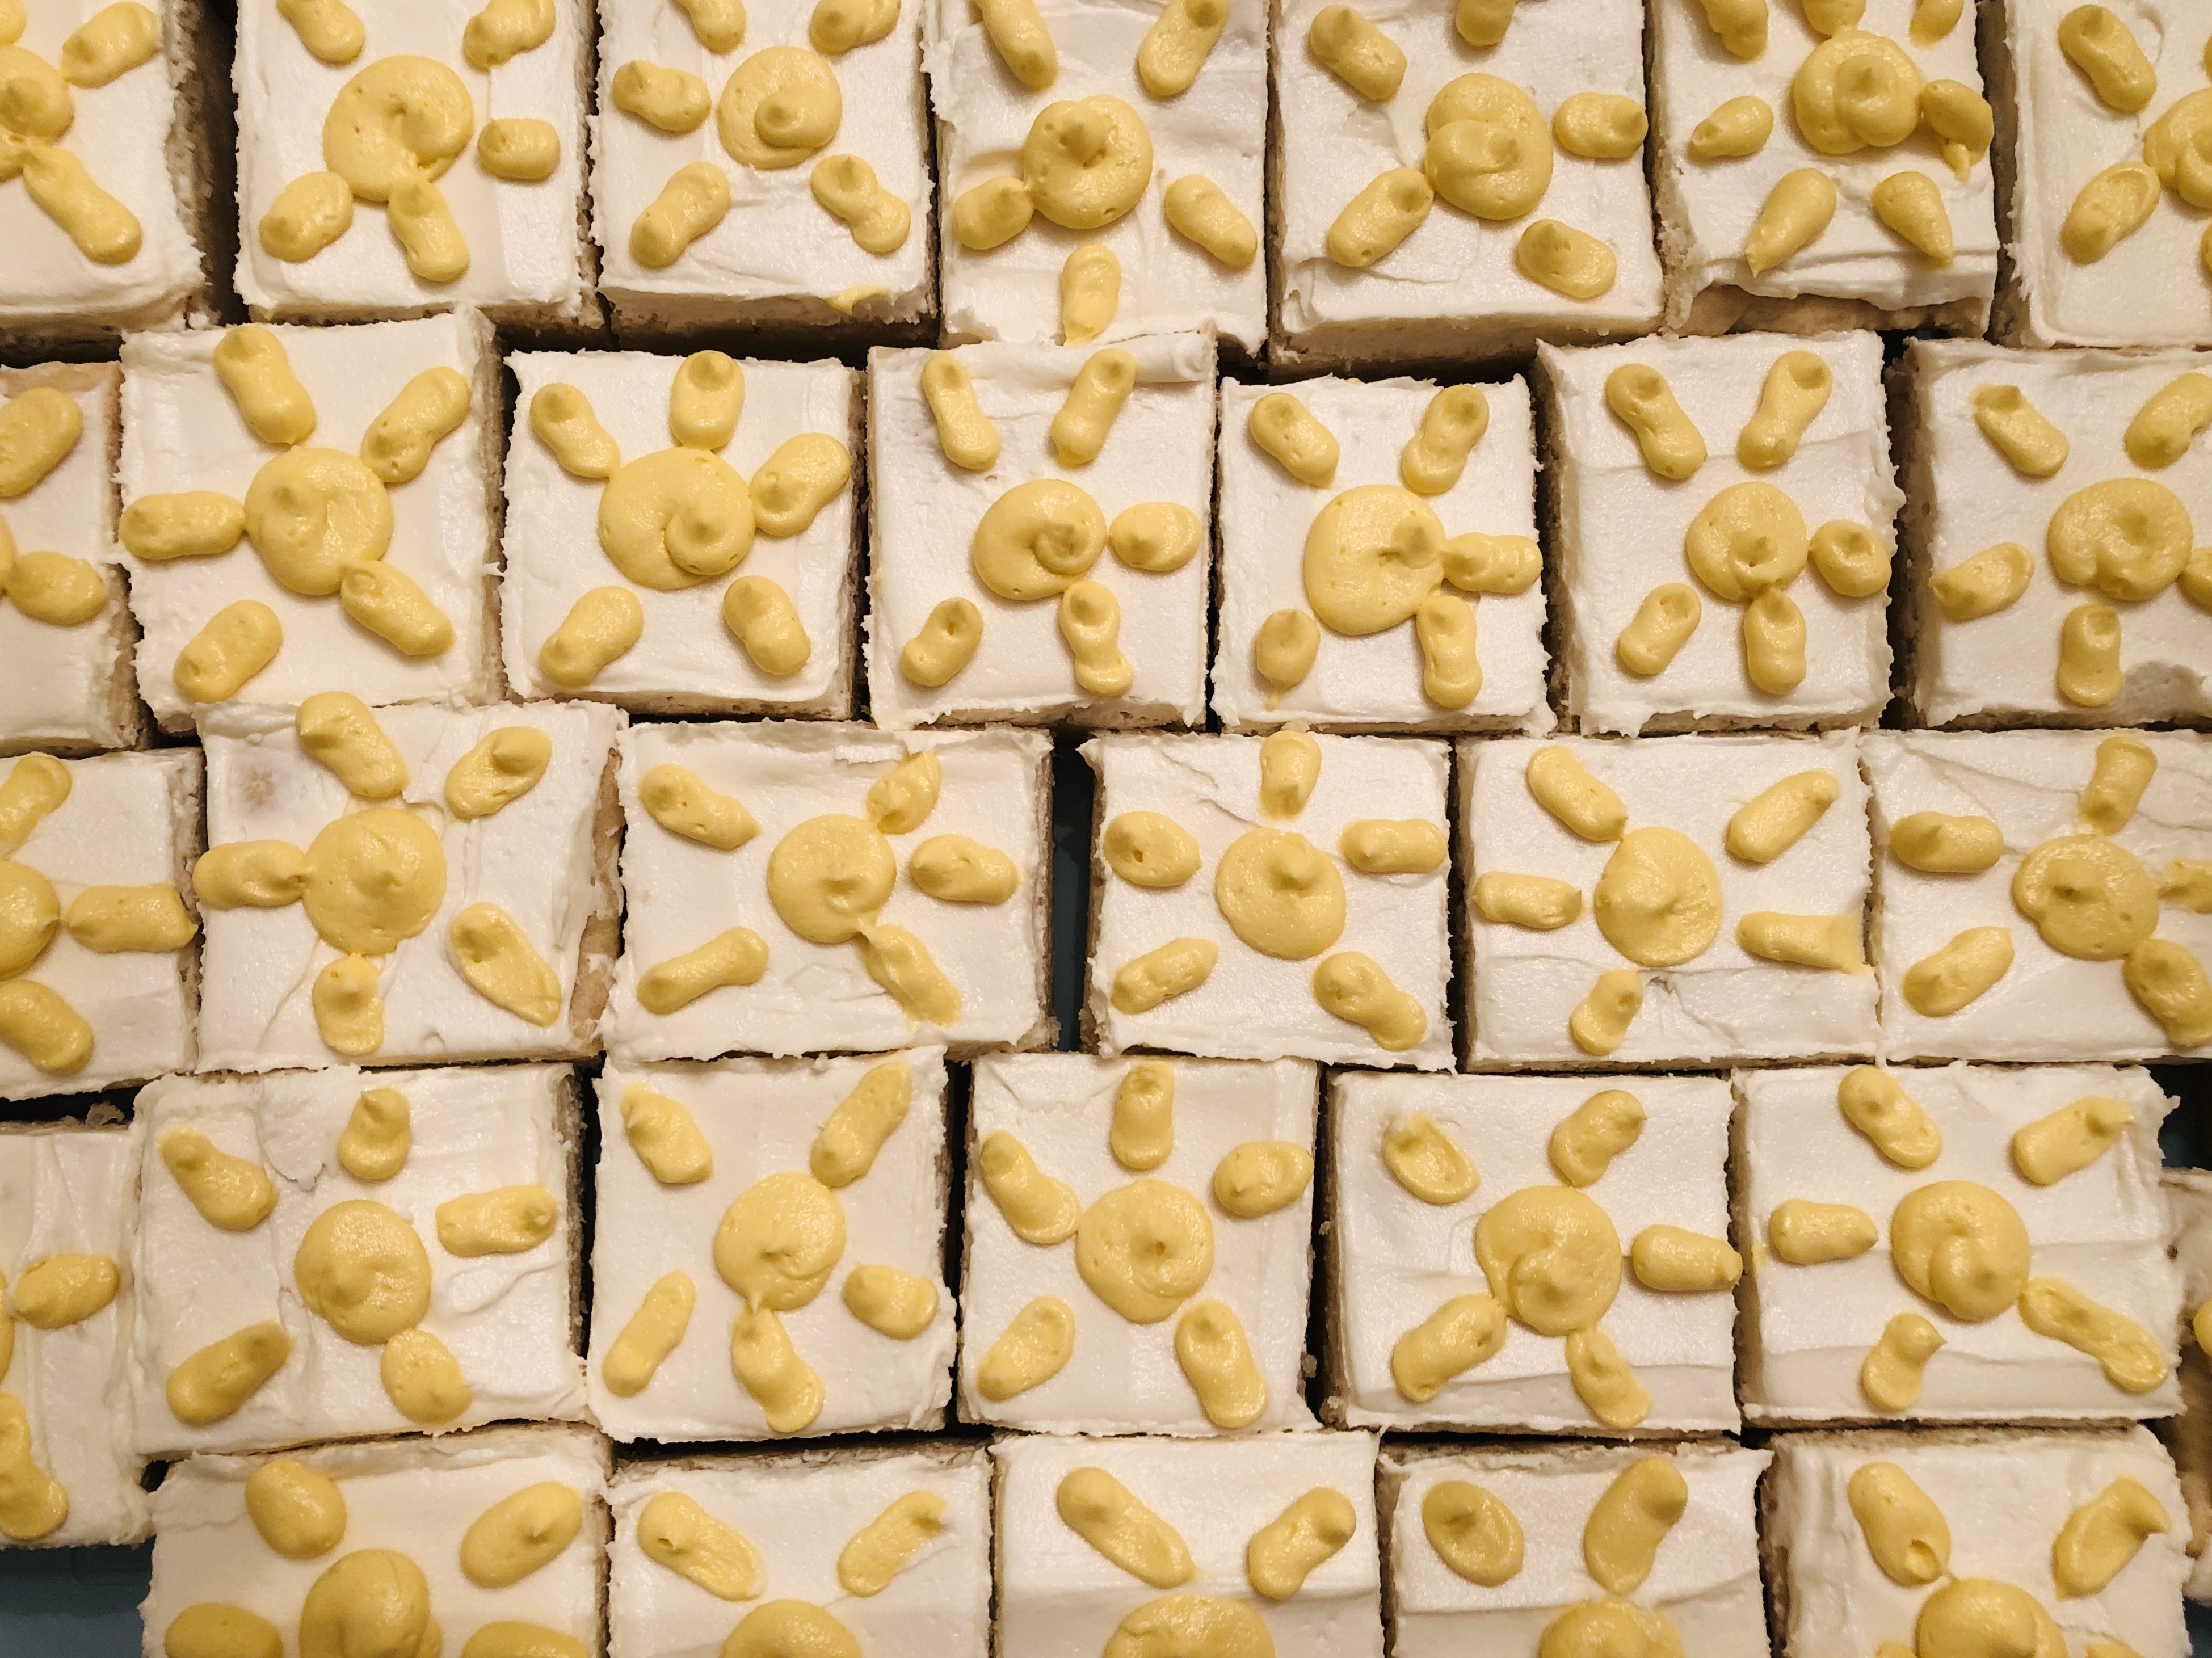
I love a good bar cookie, and these have shown to be so preferred by others that they have adopted the name “crack bars.” They are dense, rich, moist, and as satisfying as a pretty cut-out sugar cookie with half the work. I use my favorite frosting here, made with a high ratio of butter to sugar plus heavy cream for that signature whipped creaminess. Decorate however you like and enjoy cookie bliss.
Frosted Sugar Cookie Bars
Makes 48 squares
For the cookies:
2 cups sugar
1 cup butter
3 eggs
6 tablespoons milk, any percentage will due
2 teaspoons vanilla
5 cups all-purpose flour
1/2 teaspoon salt
3 teaspoons baking powder
For the frosting:
1 cup (2 sticks) butter, at room temperature
2 1/2 cups powdered sugar, sifted if lumpy
Pinch of kosher salt
1 teaspoon vanilla extract, plus more to taste
2-3 tablespoons heavy cream
Food color, sprinkles, etc. for decorating
Make the cookie bars. Preheat the oven to 350 degrees. Prepare an aluminum 15” x 10” jelly roll pan by spraying it with nonstick spray, lining it with a sheet of parchment paper that hangs over the sides (for easy transfer), and spraying one more time on the parchment. Make sure to spray the sides well that aren’t covered with parchment.
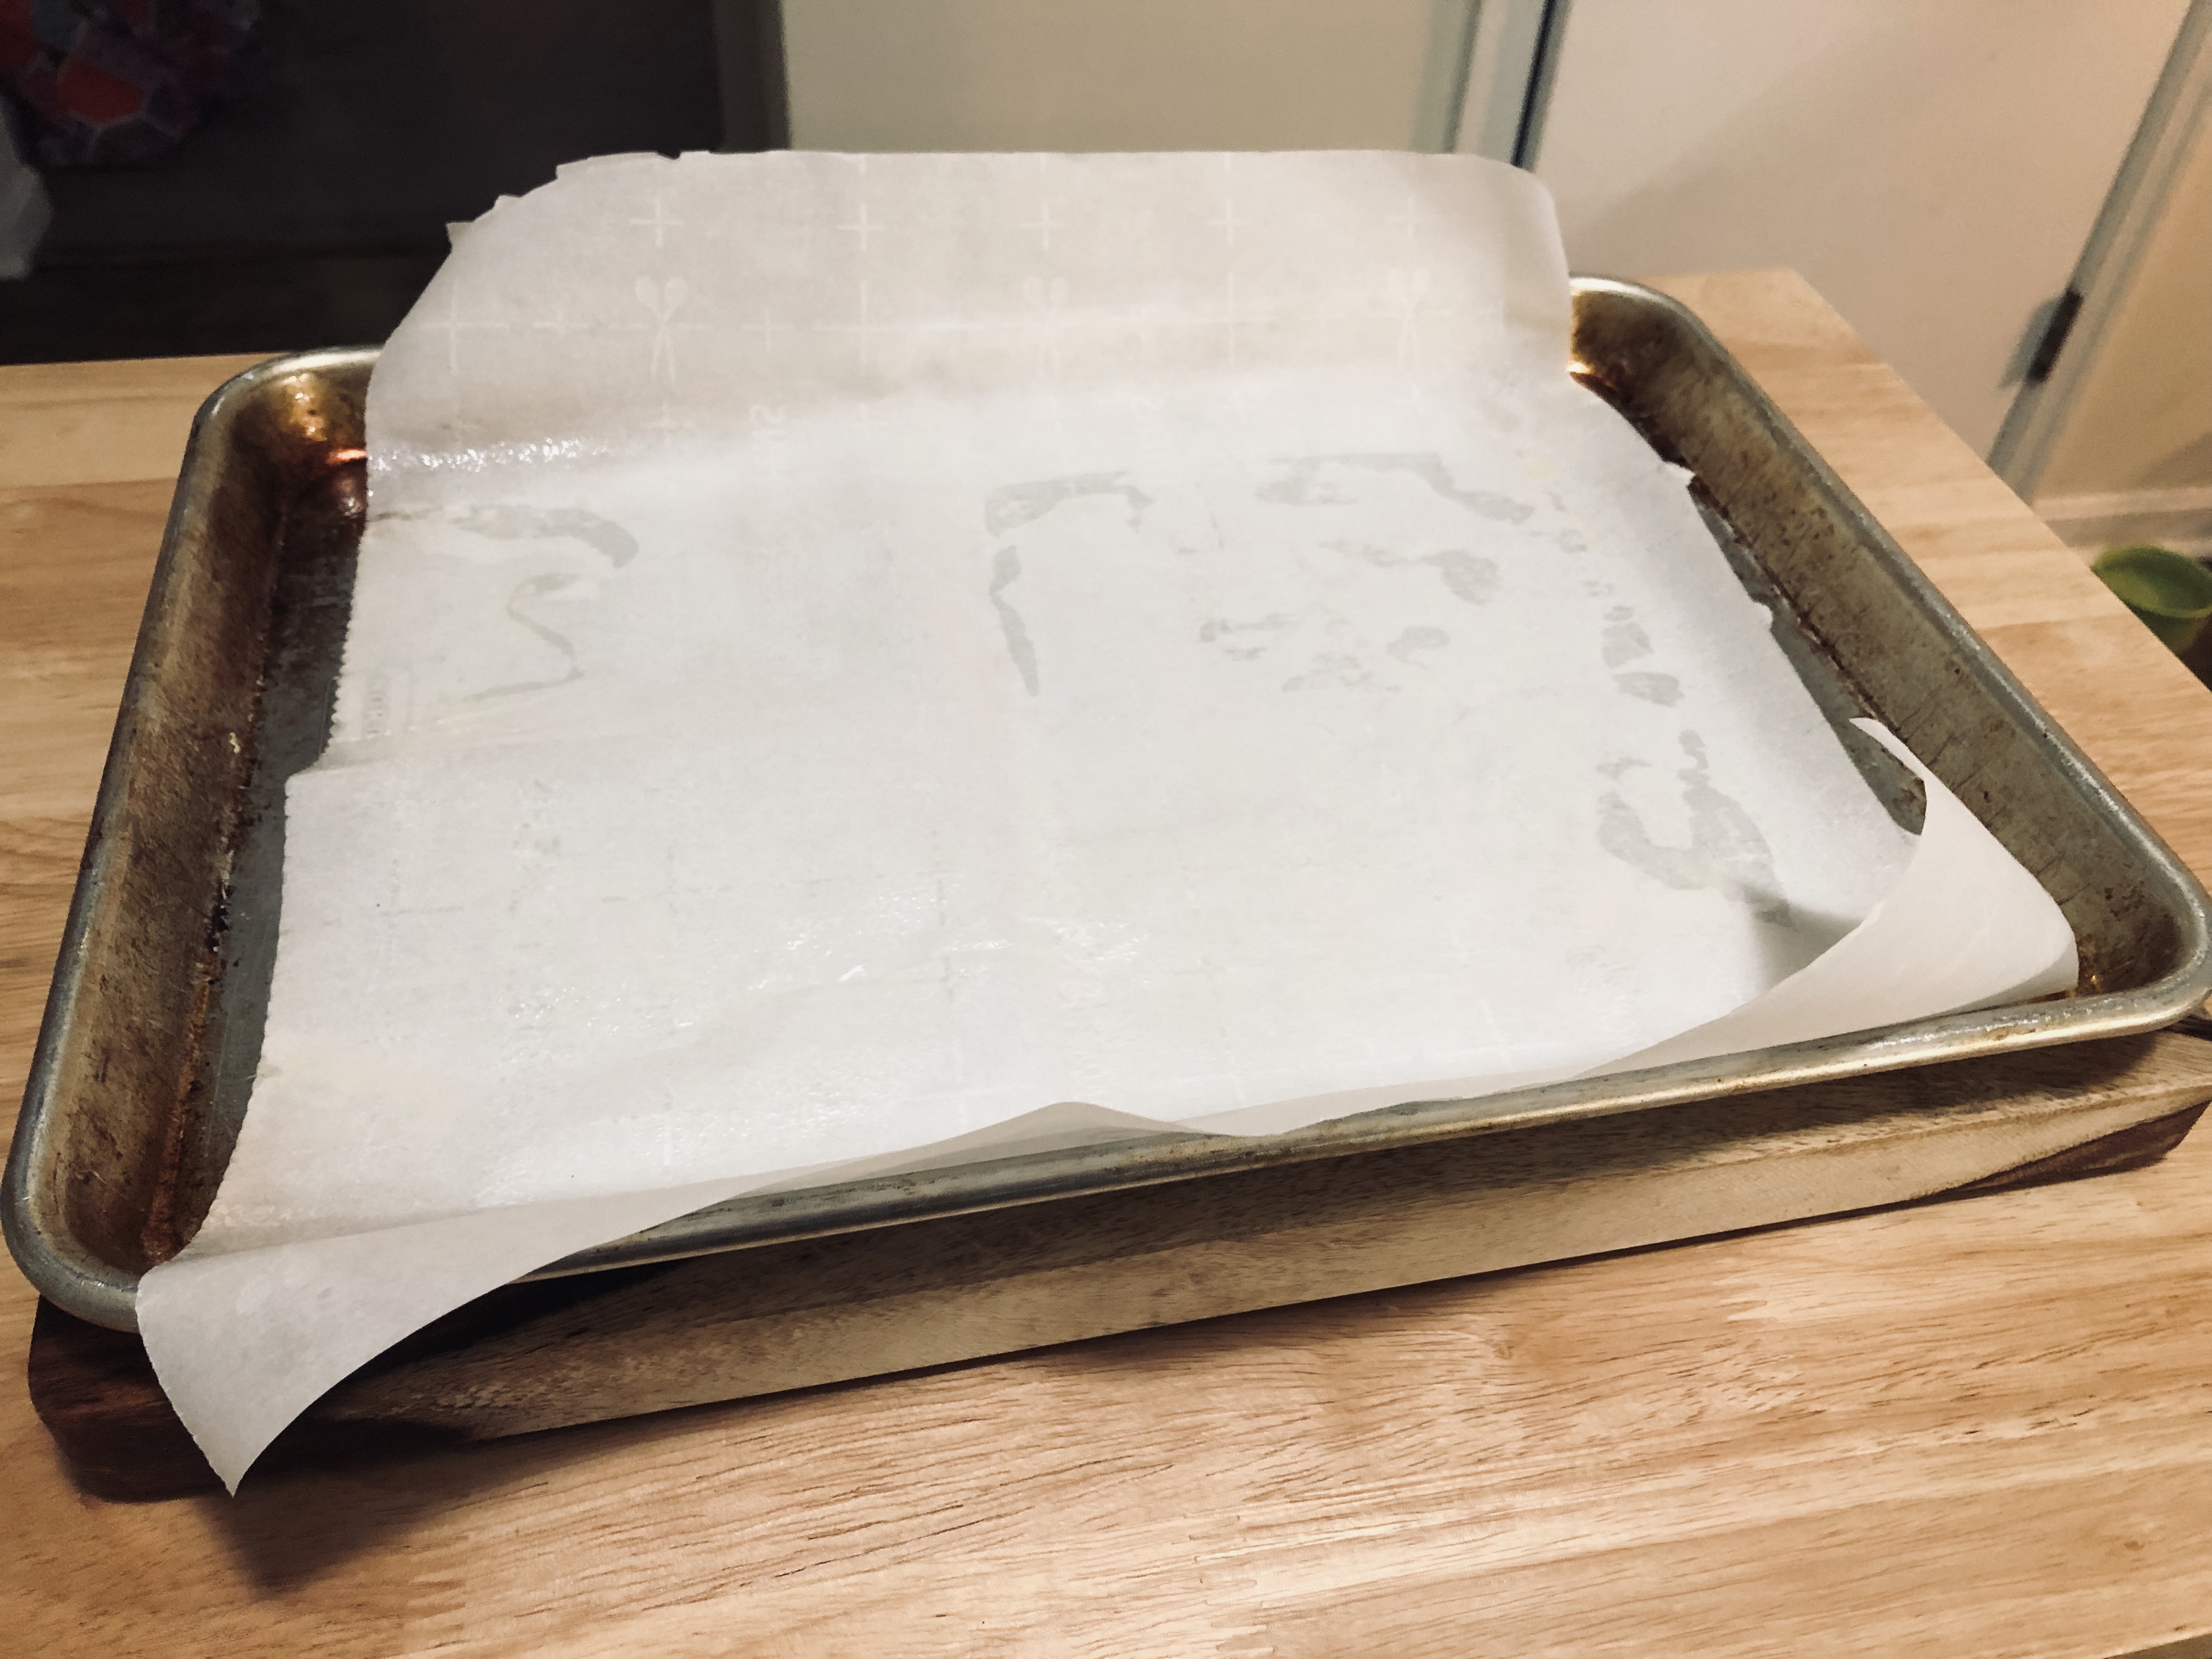
A note about the baking pan: If you don’t have a jelly roll pan, you can use something else with the same measurements, i.e. a metal or glass dish with at least a one-inch high side. You can use a pan or dish that has similar (though not the exact) measurements, but be mindful that a different sized pan can result in thicker or thinner bars and different baking times.
In a large bowl, whisk together flour, salt, and baking powder. Set aside.
With a stand or hand mixer, cream the butter and sugar together for 3-5 minutes on high speed until light in color and fluffy. Scrape down the sides of the bowl and add the eggs and vanilla. Beat well until combined and fluffy. Beat in the milk until well combined. The mixture might look curdled which is totally okay- it will come together once the dry ingredients are added.
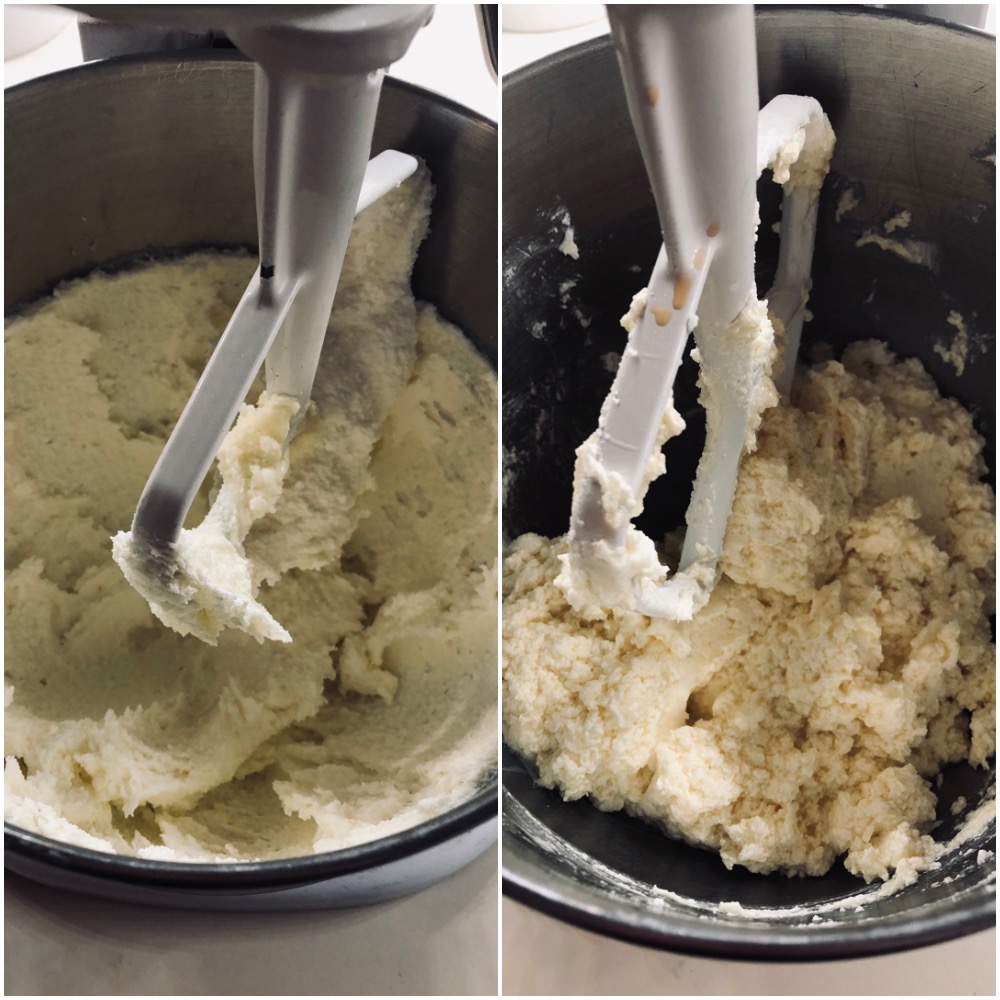
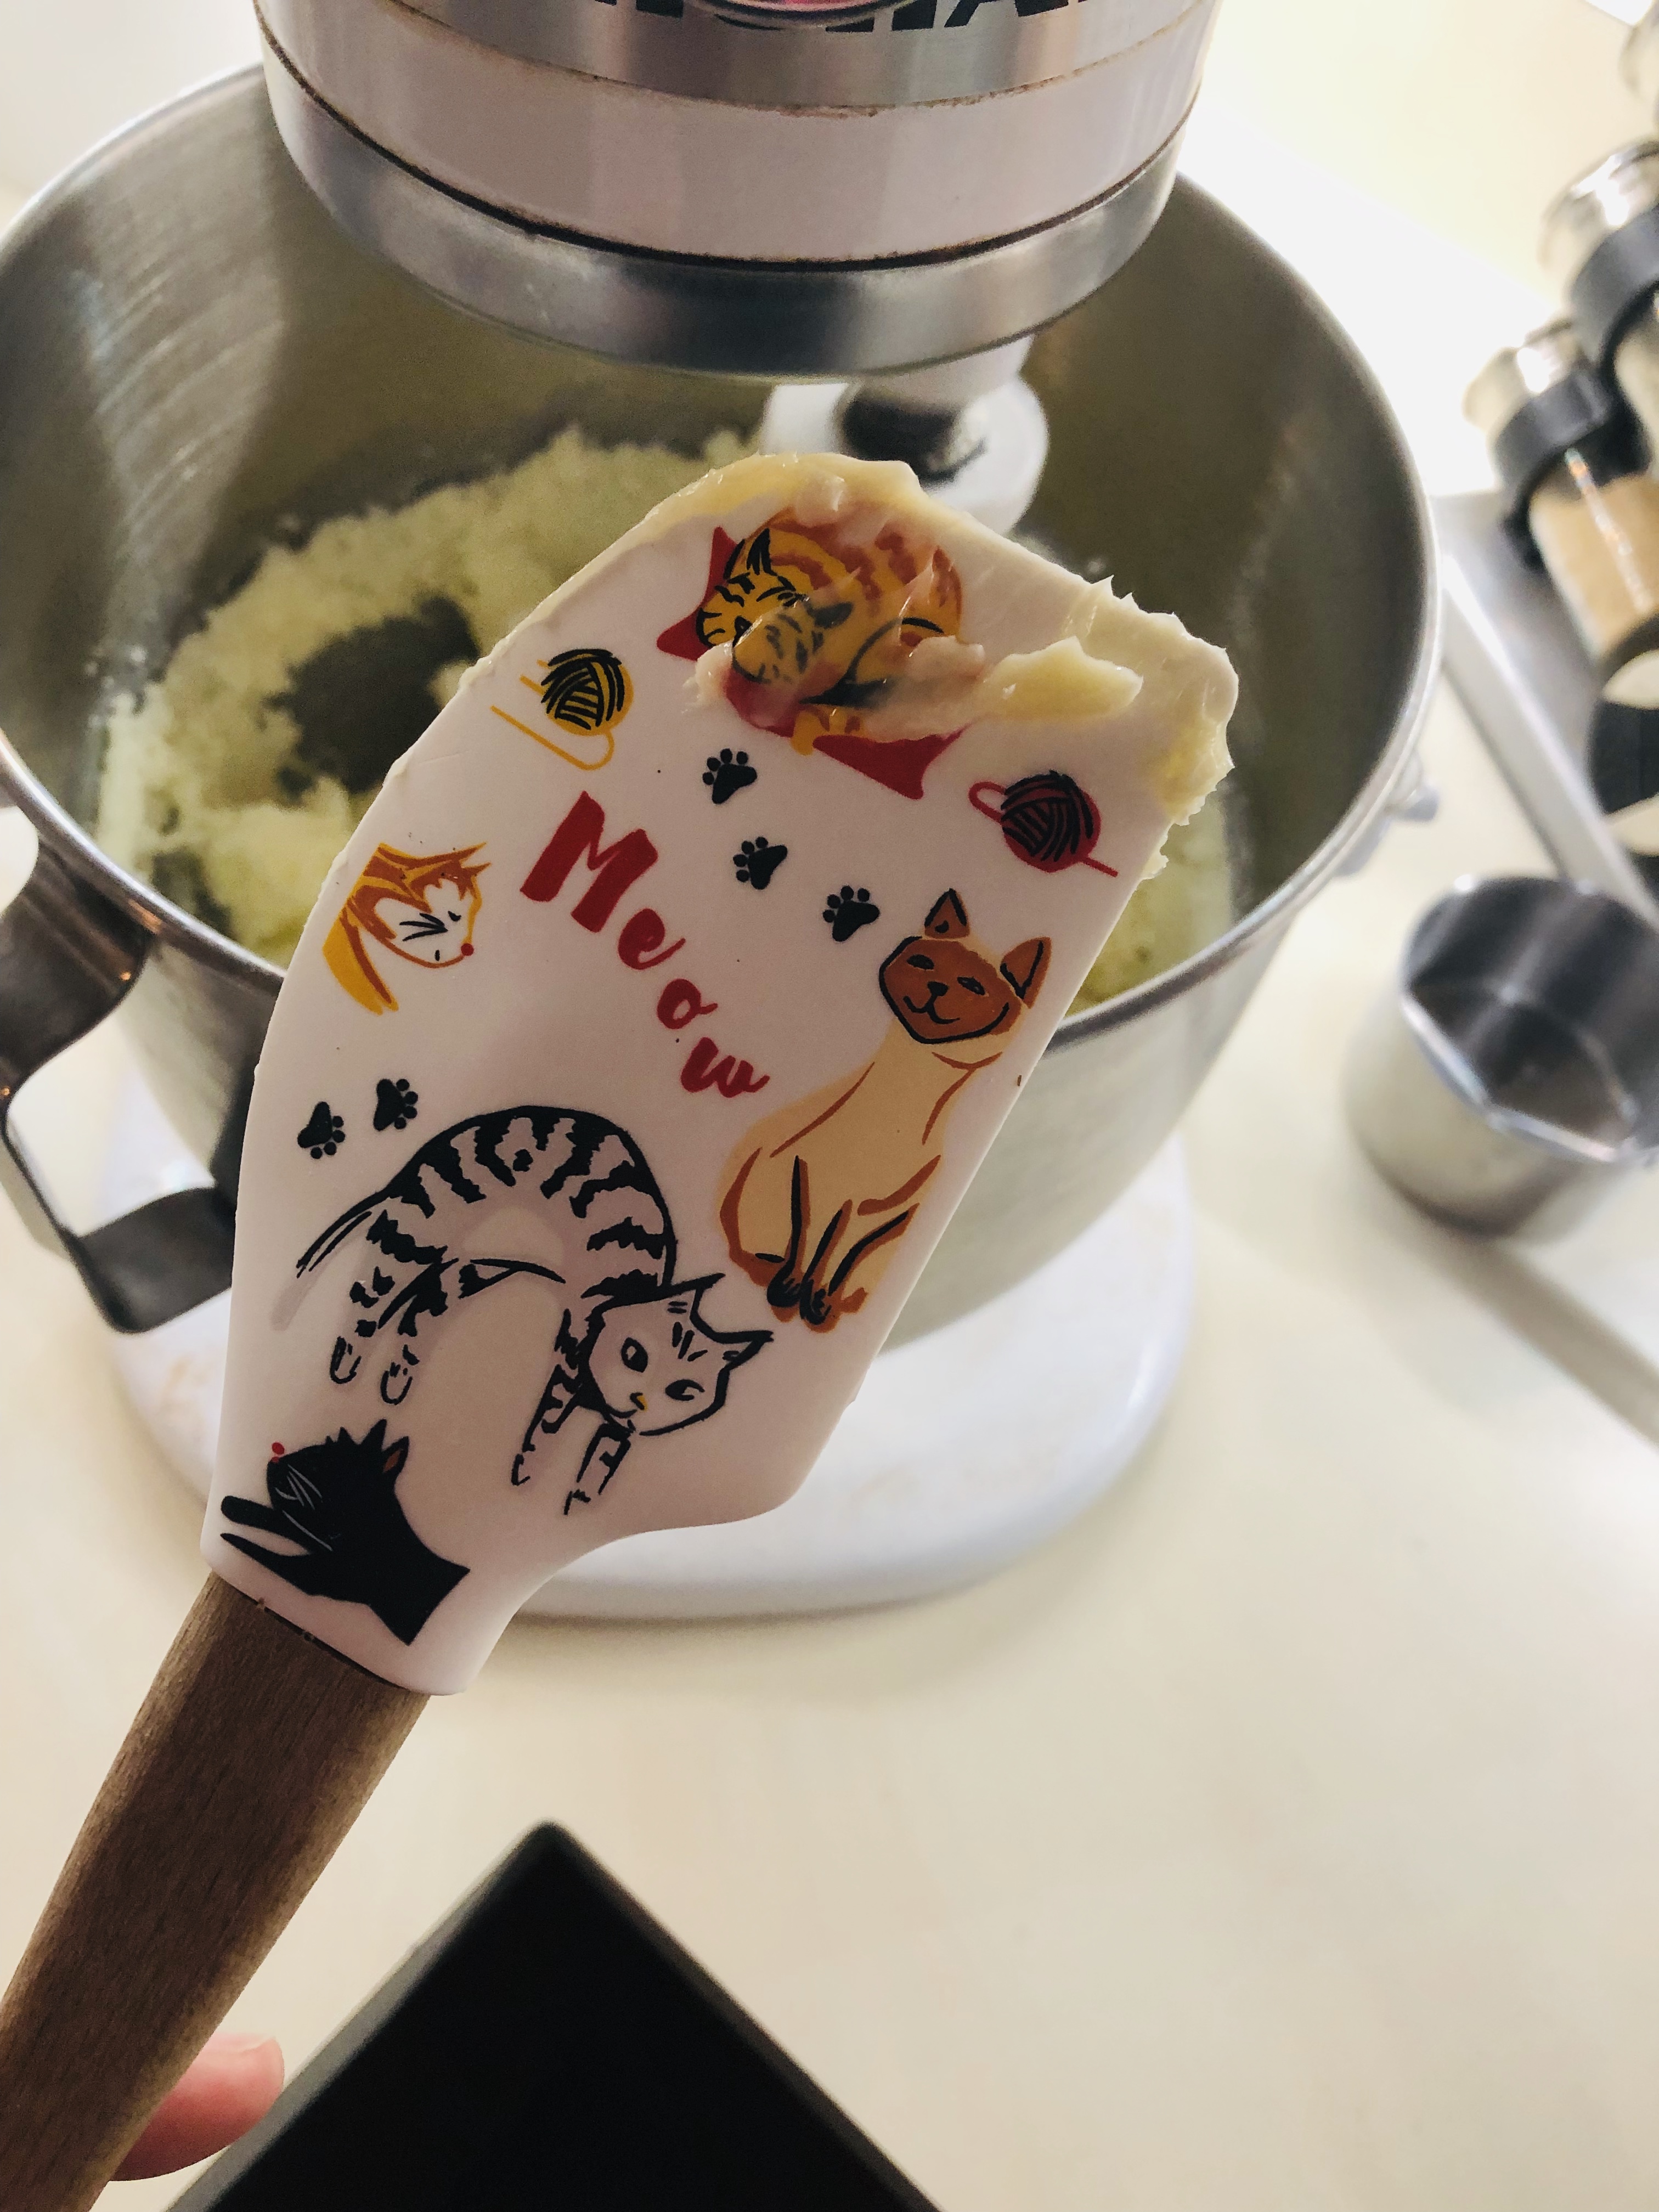
Scrape the sides of the bowl one more time and add all of the flour mixture. There is a lot of it, so pulse your mixer to start to avoid becoming covered in flour. I do this by moving the slider of my KitchenAid back and forth in low bursts to slowly incorporate the flour. Once it looks more combined, you can turn your mixer on low speed and mix the rest of the way, JUST until all the flour is absorbed. Overmixing will make your cookie bars tough. Don’t worry about any bits of flour on the edge of your bowl- you will hand mix those in.
Give your dough one final mix with a rubber spatula, taking care to scrape the very bottom of the bowl. I often find unmixed butter at the bottom as well as flour on the sides of the bowl, which you can mix the rest of the way by hand. Be gentle and only mix until your dough looks homogenous with no more bits of four or streaks of butter.
Press the dough into your prepared pan in an even layer using your hands. You can spray your hands with nonstick spray to help with any sticking. Slide the pan into the preheated oven and bake for 20-25 minutes, until they are just barely browned on the edges and the center feels firm and set when gently touched. Overbaking will dry your cookie bars out, so set your timer for 20 minutes to start and keep checking back in 2-minute increments after that.
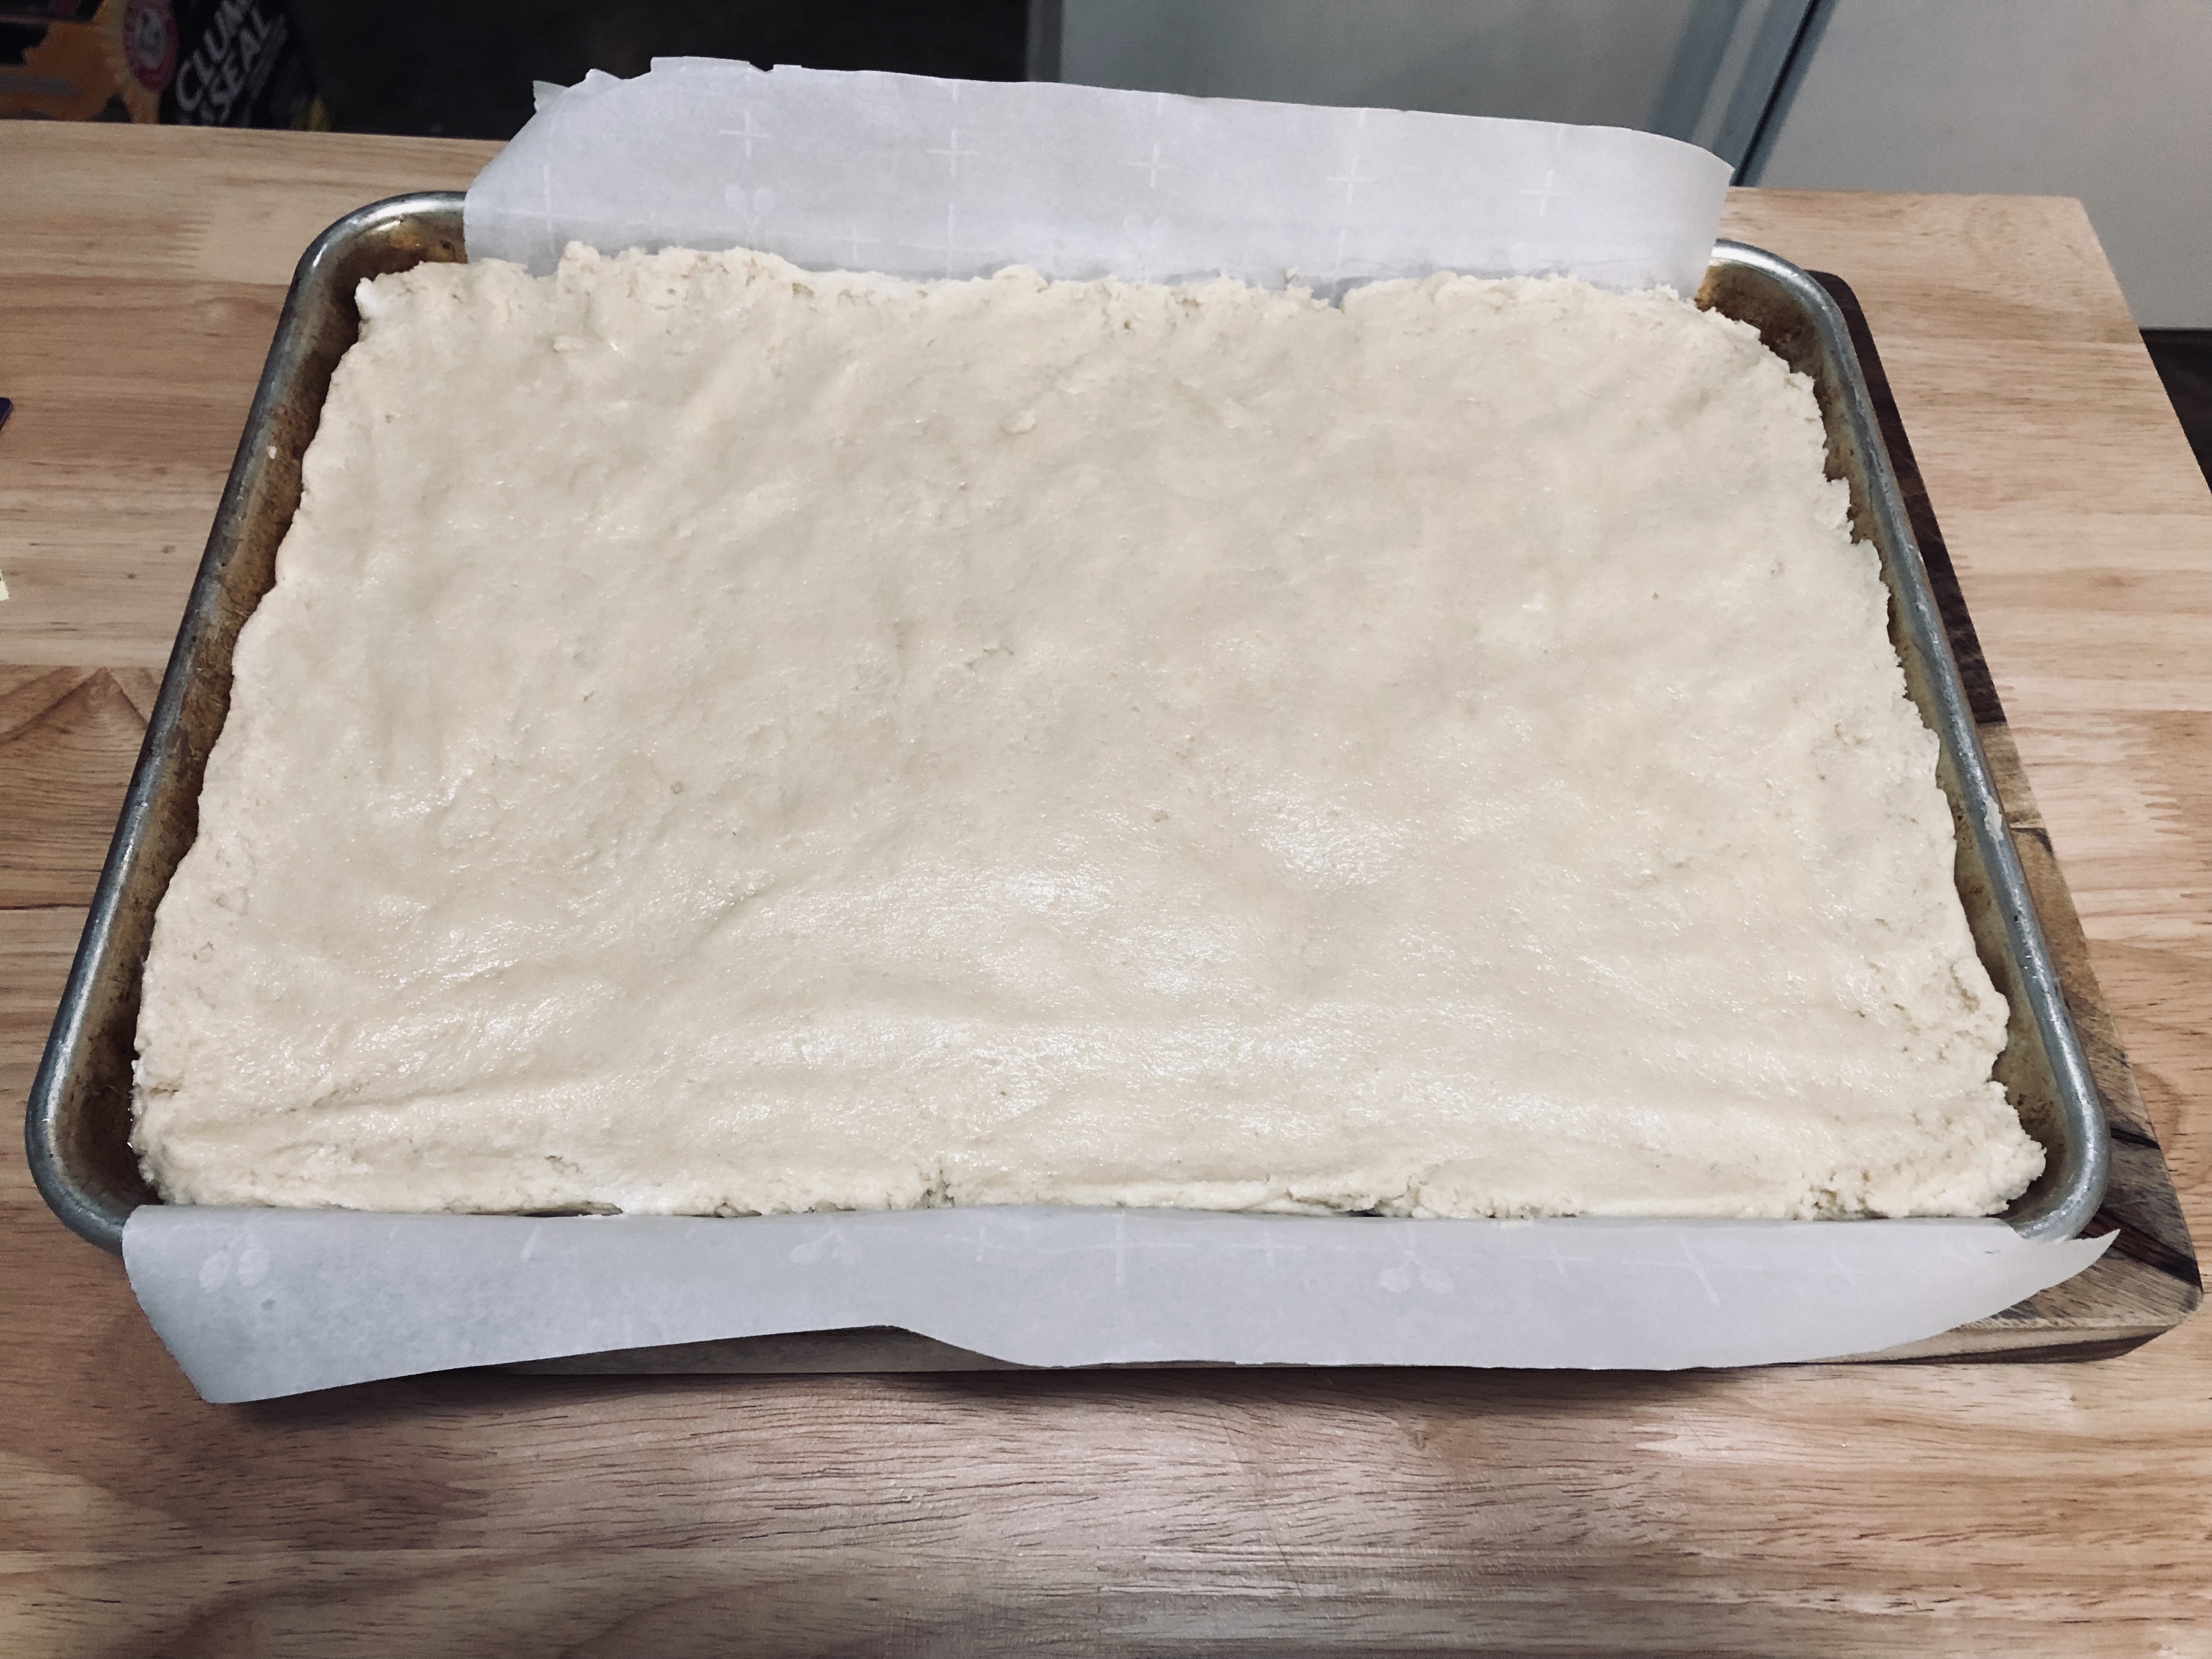
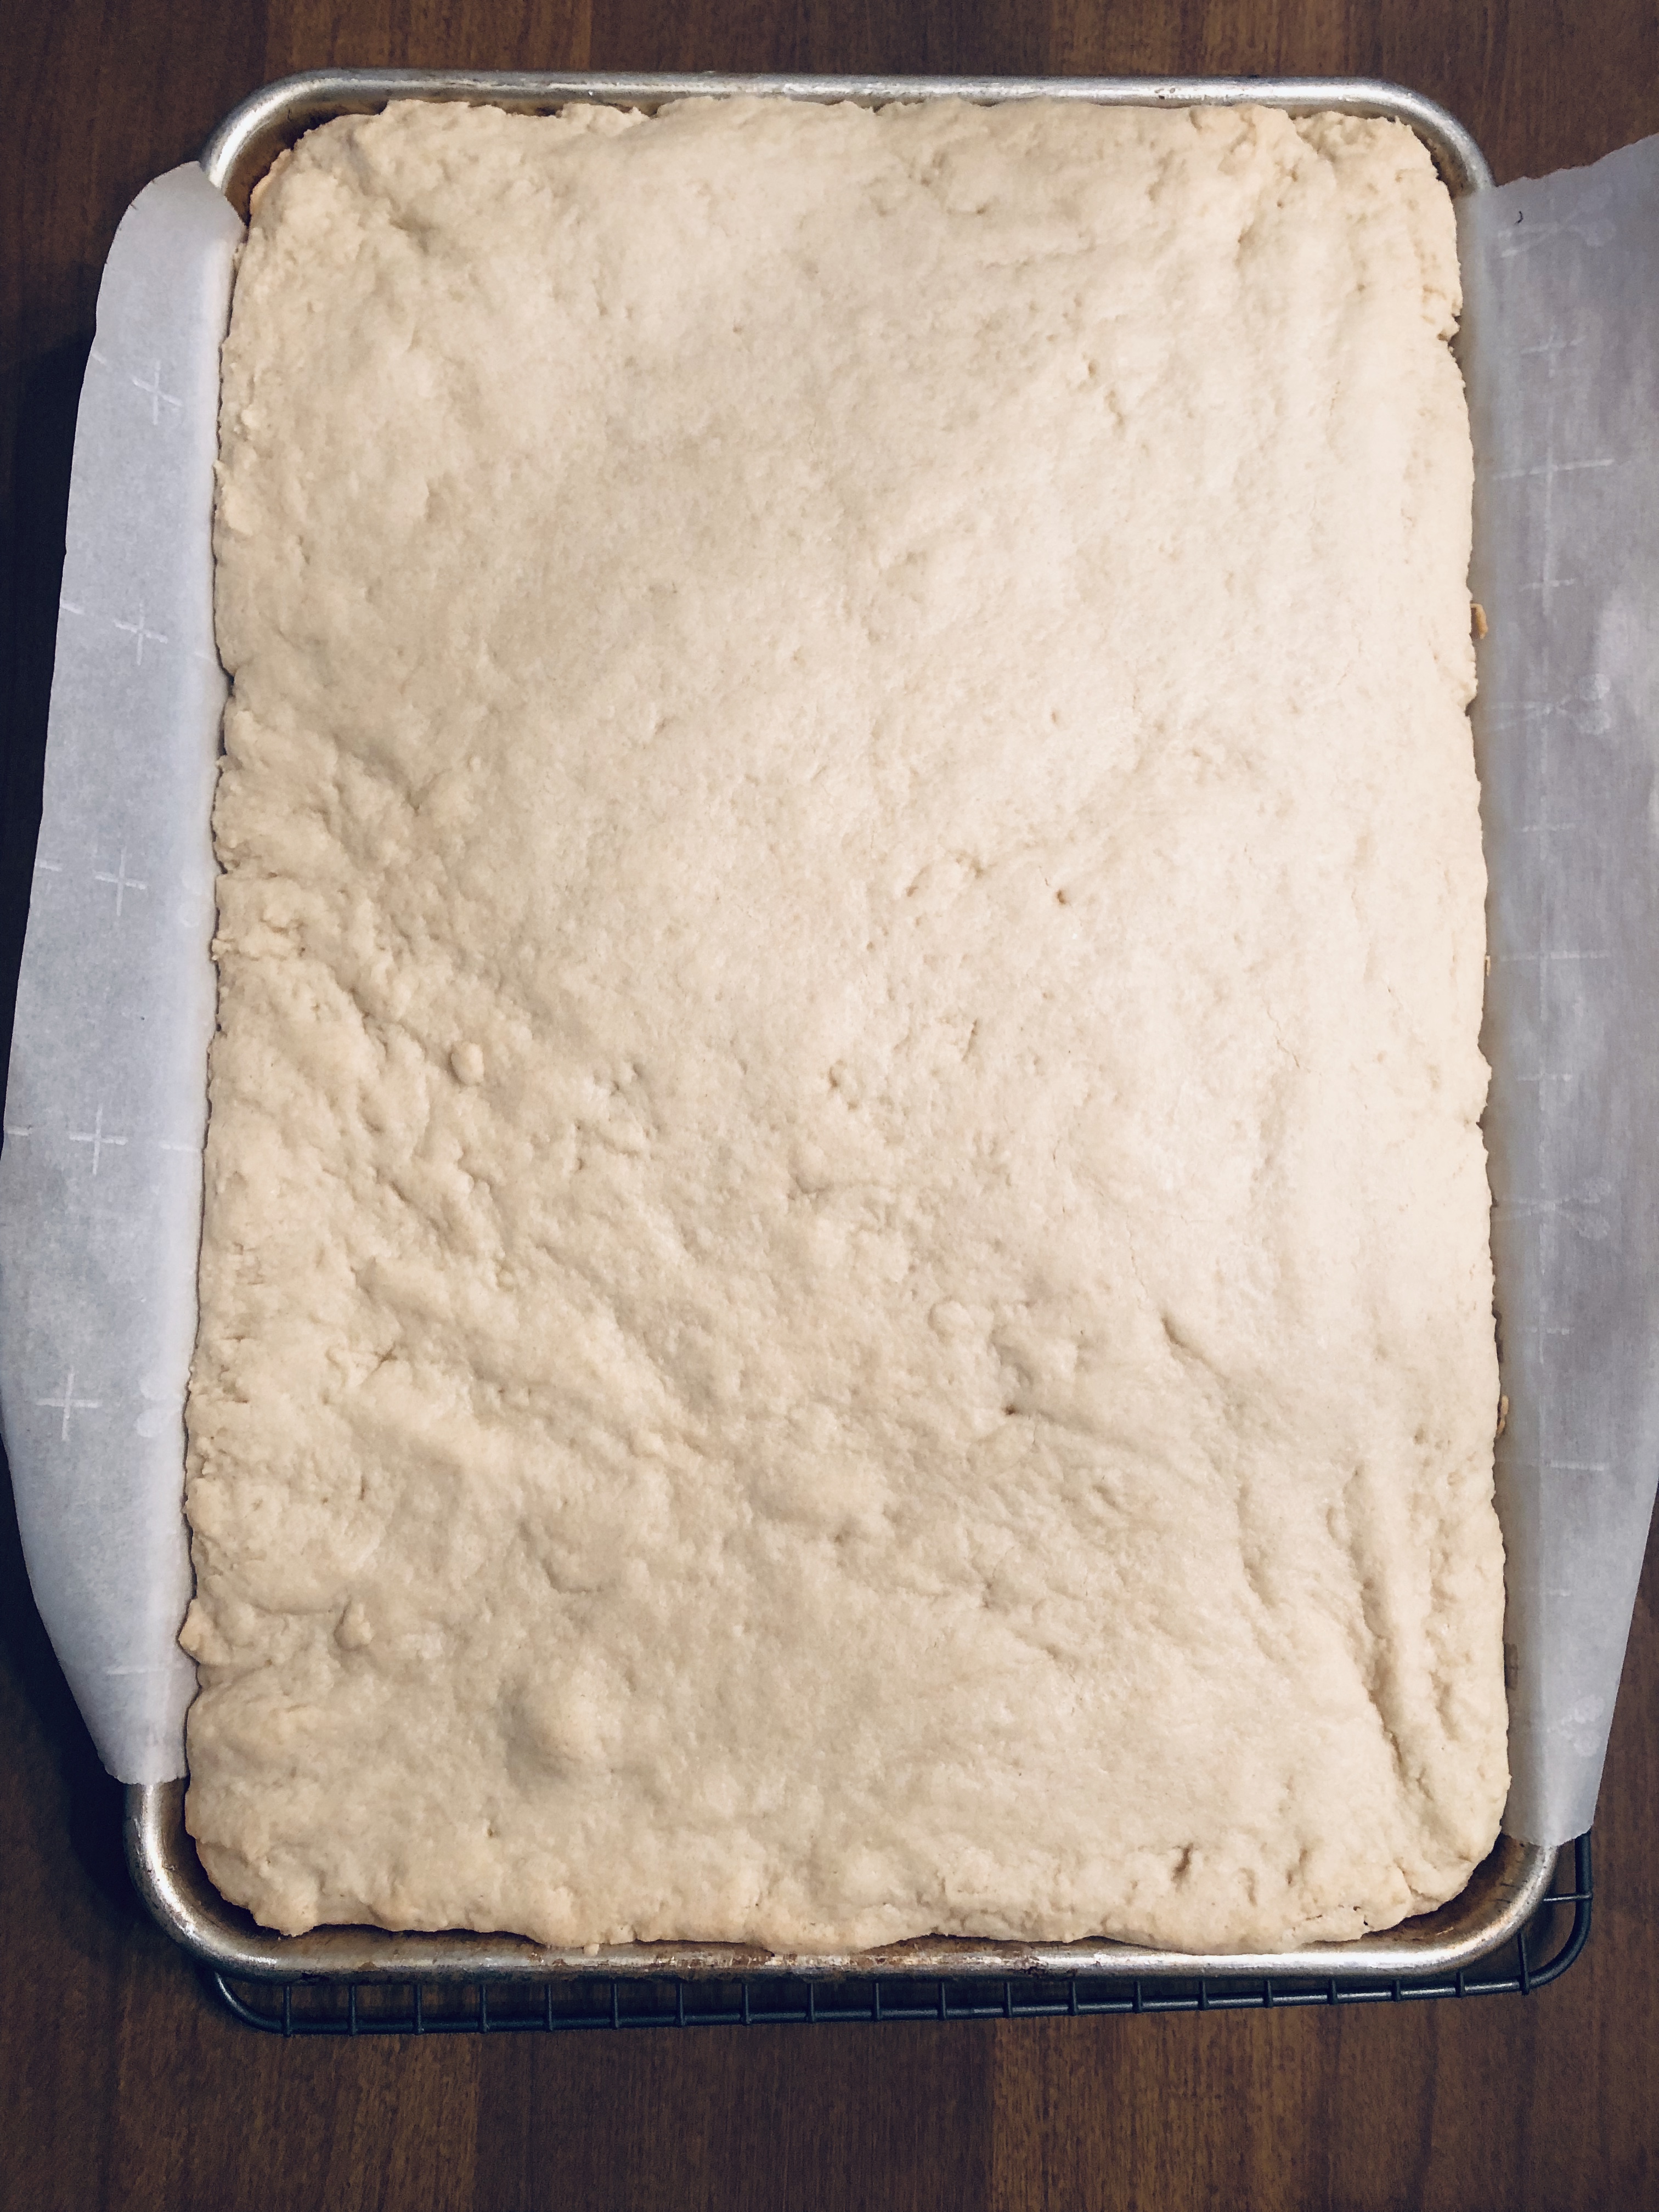
Set the cookies on a wire rack to cool completely.
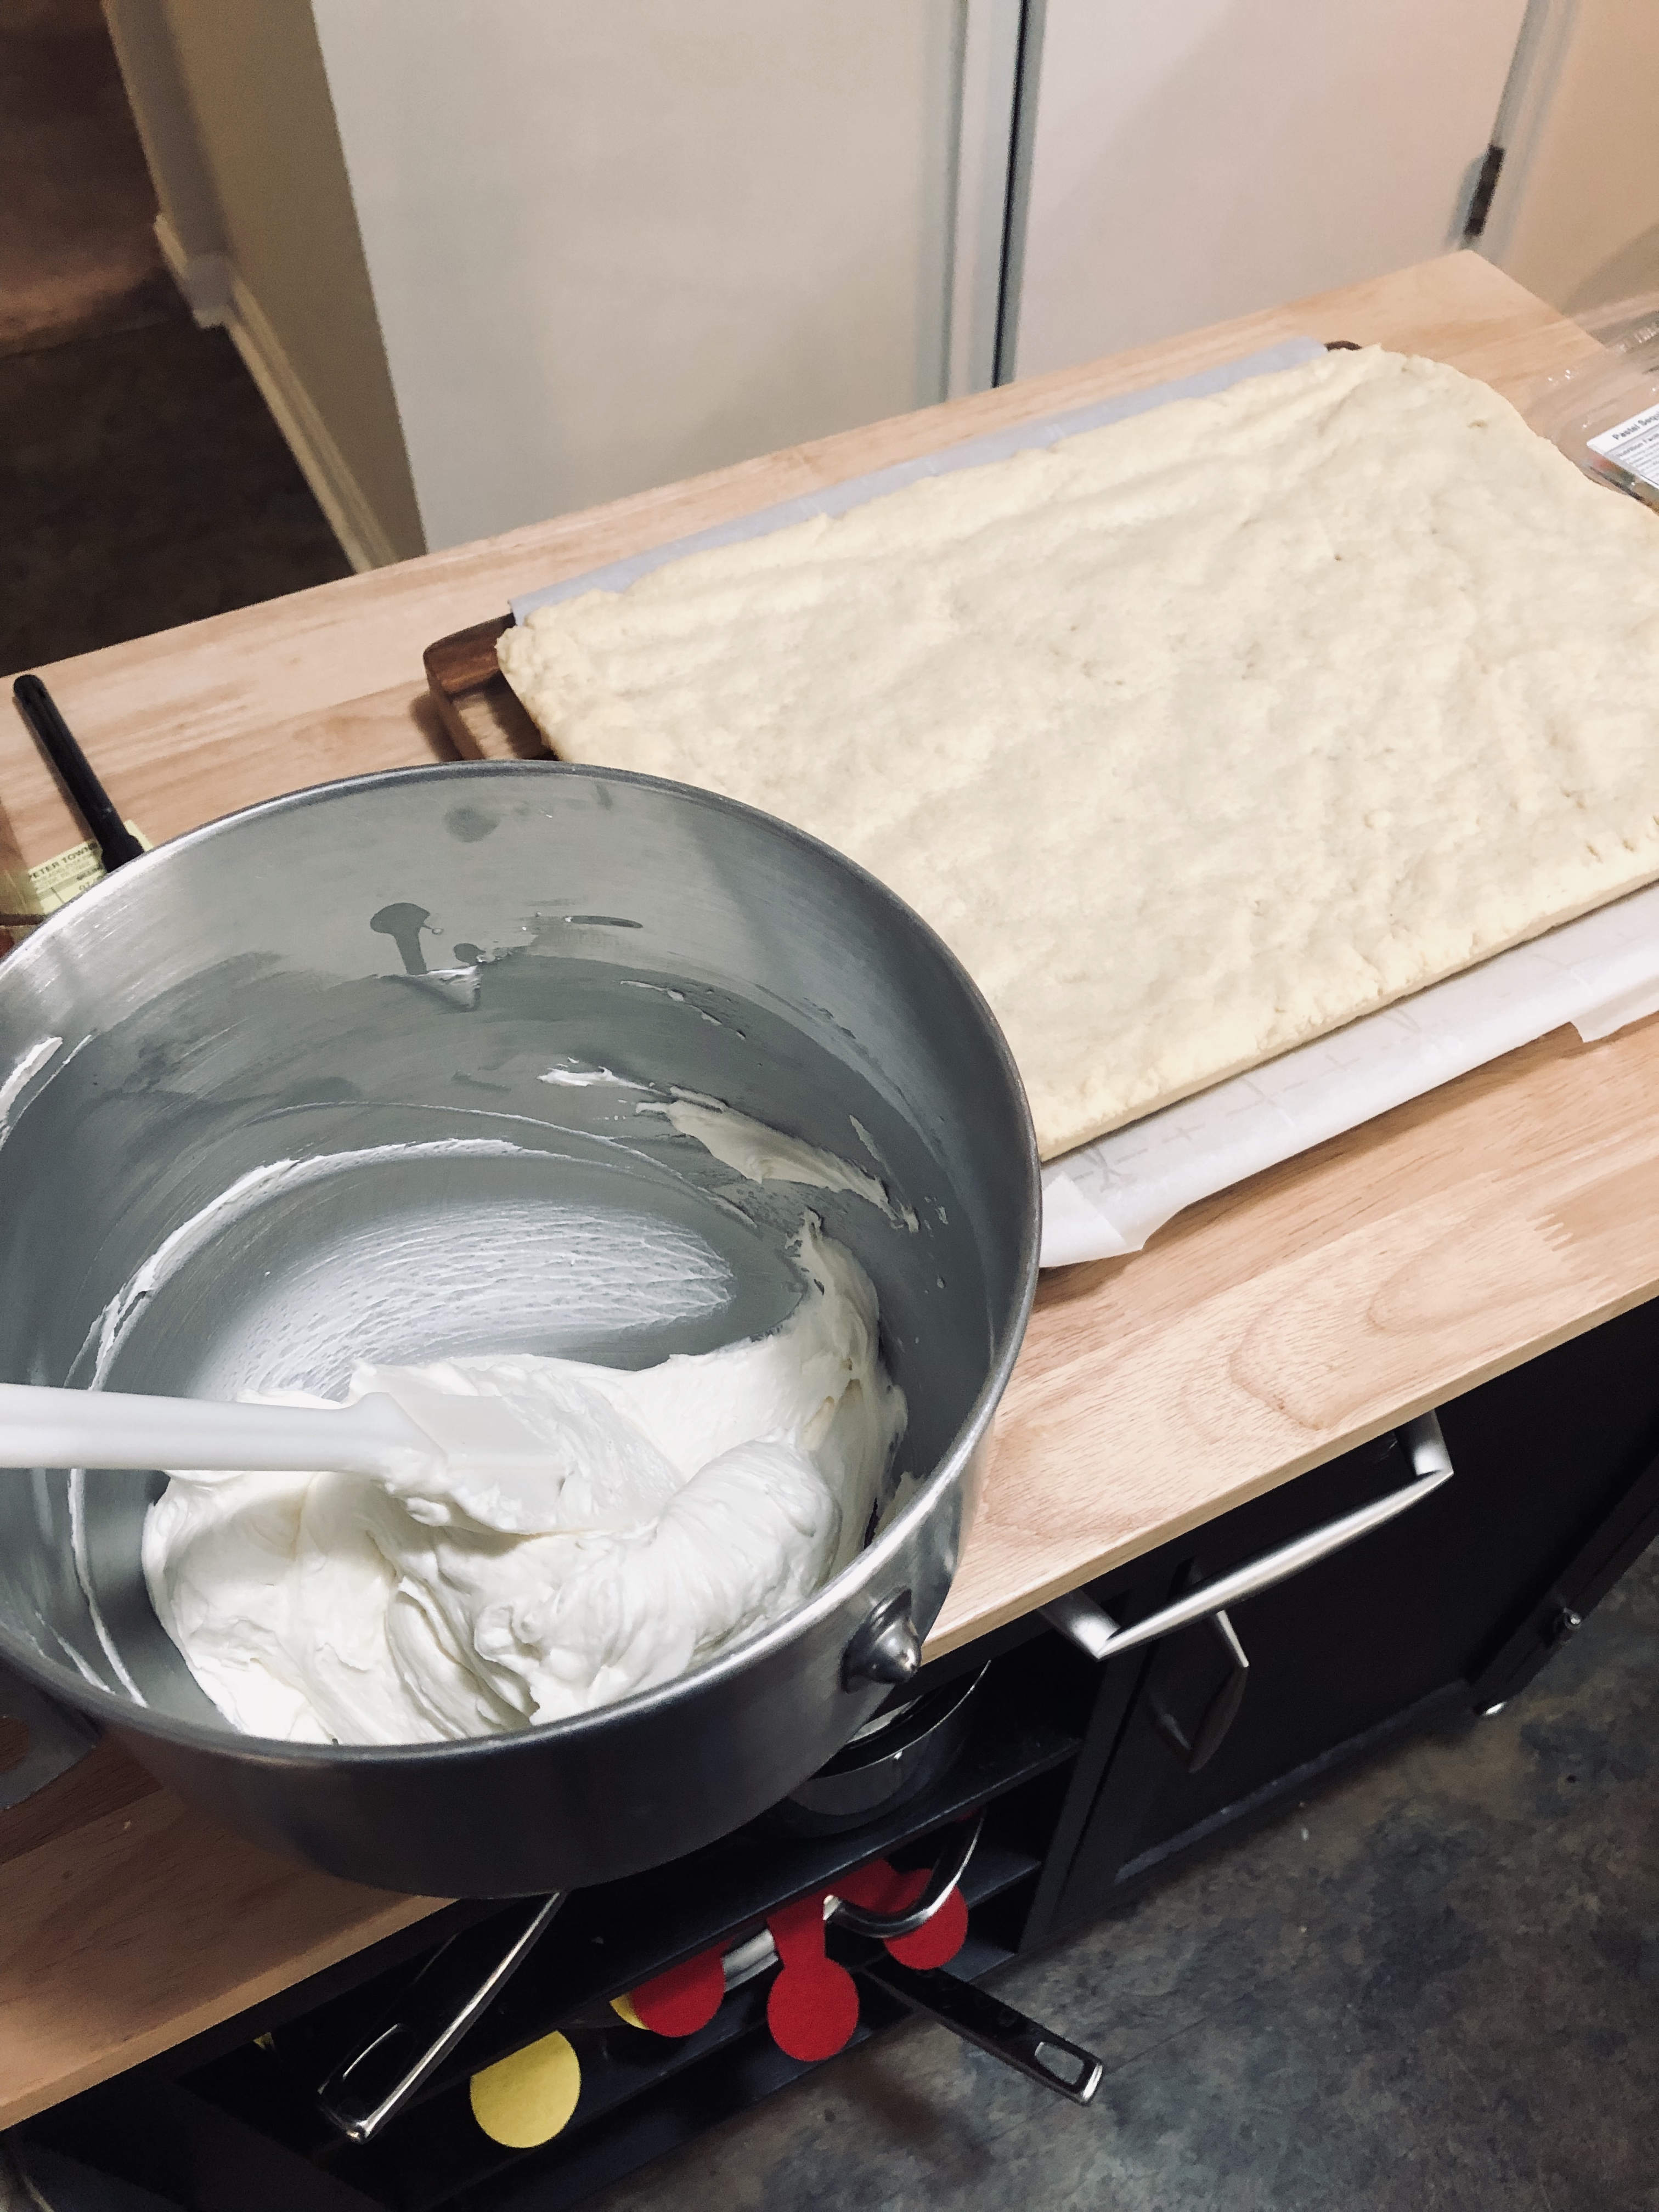
Make the frosting. Beat the butter until creamy, then add the powdered sugar, vanilla, salt, and 2 tablespoons heavy cream. Beat on low speed for around 30 seconds to moisten, then turn the mixer to medium-high and beat the frosting for 2-3 minutes until light and creamy. Taste and adjust vanilla and salt to your liking. Add more heavy cream and beat on medium-high to combine if your frosting seems too thick. Add any food coloring you’d like at this time, beating until it reaches your desired color.
Gently lift your cookie bars out of the pan using the overhanging parchment, placing them on a large cutting board. Spread the frosting onto the cooled cookie bars, making decorative swoops with an offset spatula or butter knife, and decorate with all kinds of sprinkles.
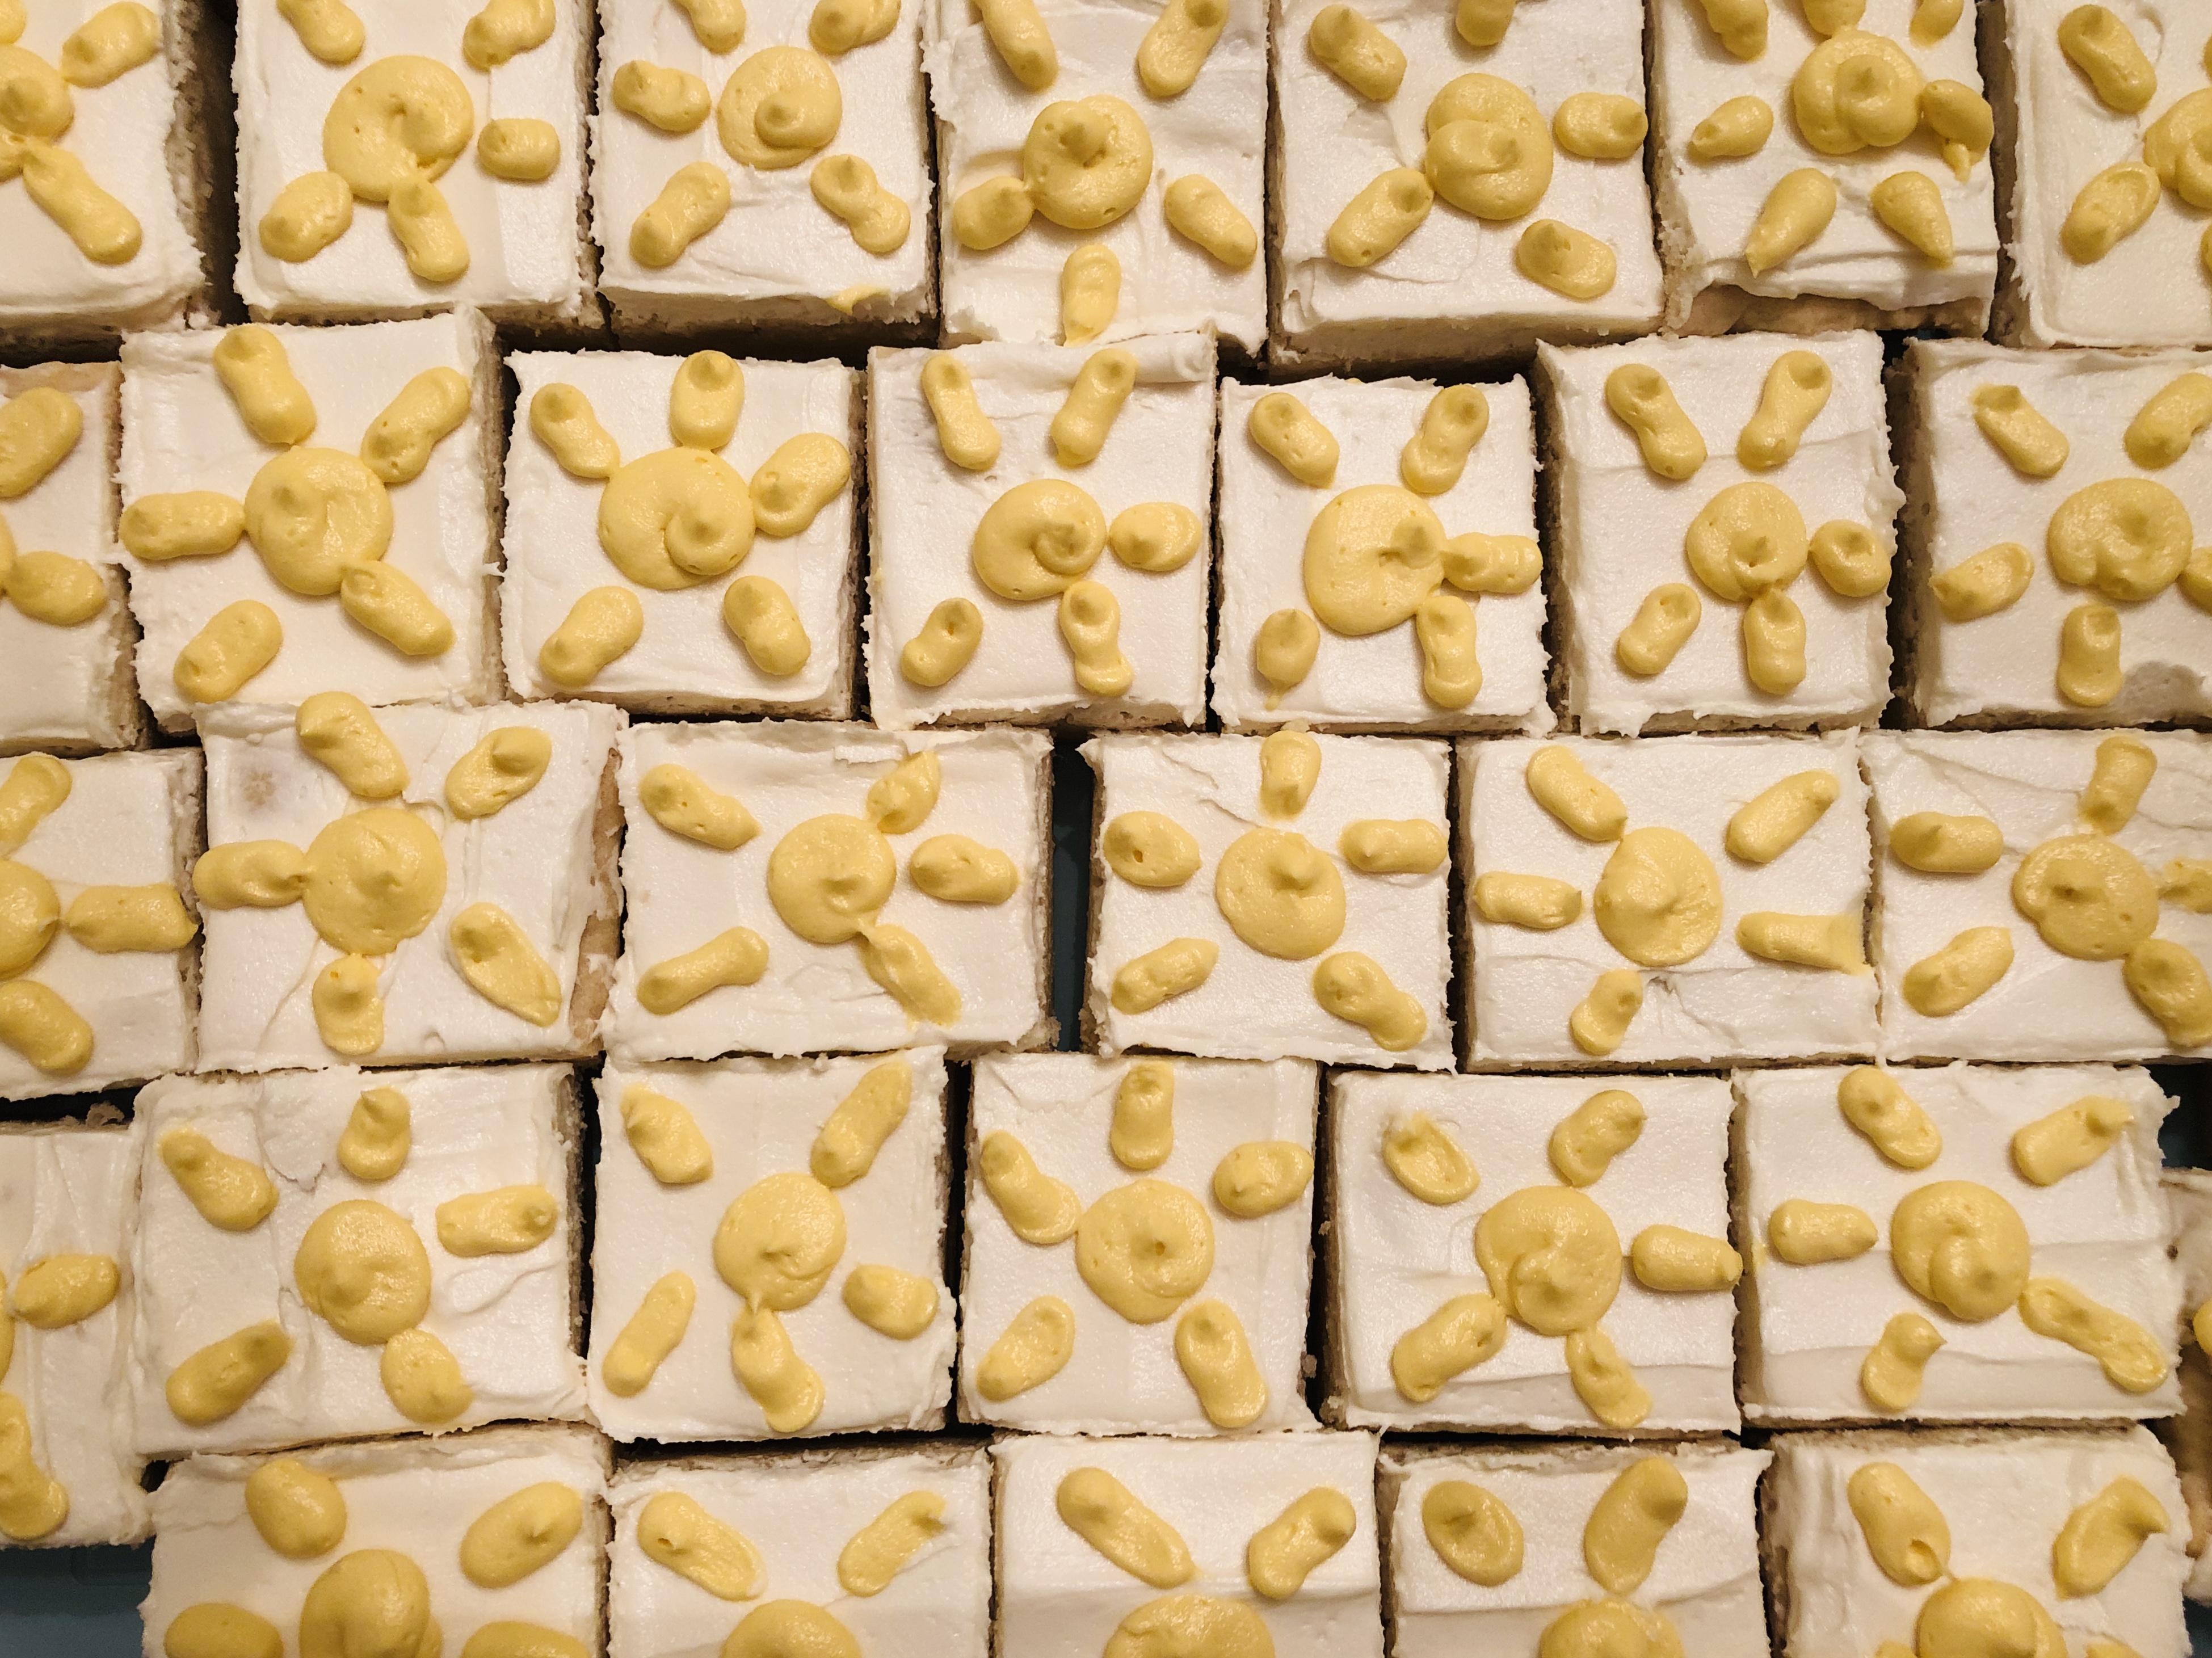
I baked this batch for my last day of my summer job at Sunshine Corners Preschool and Daycare, hence the suns. To make designs like I did, spread a thin layer of white frosting onto the bars and color the rest of the frosting with your desired color. Use a piping bag with a very small round tip to pipe designs onto the bars. To get individual designs on each cookie, cut the cookie bars first, then pipe your designs onto each cookie.
To get 48 squares, slice the sheet of cookies into 8 columns by 6 columns. This achieves a really nicely sized cookie bar- not too big and not too tiny.
Note: I have not attempted to halve this recipe because I’m usually baking it for a crowd, and I’m not quite sure what size pan would be best. If you do try this, let me know how it goes!
Enjoy your work of art, take them to your next party or cookout, and watch them disappear!
-Jess

