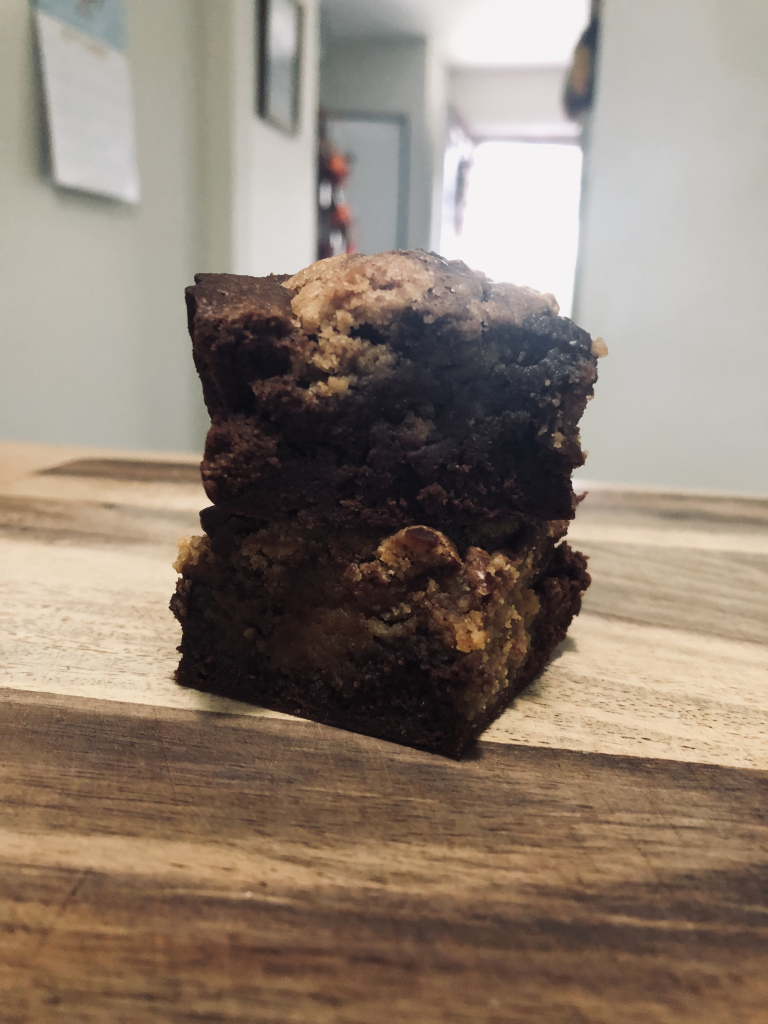
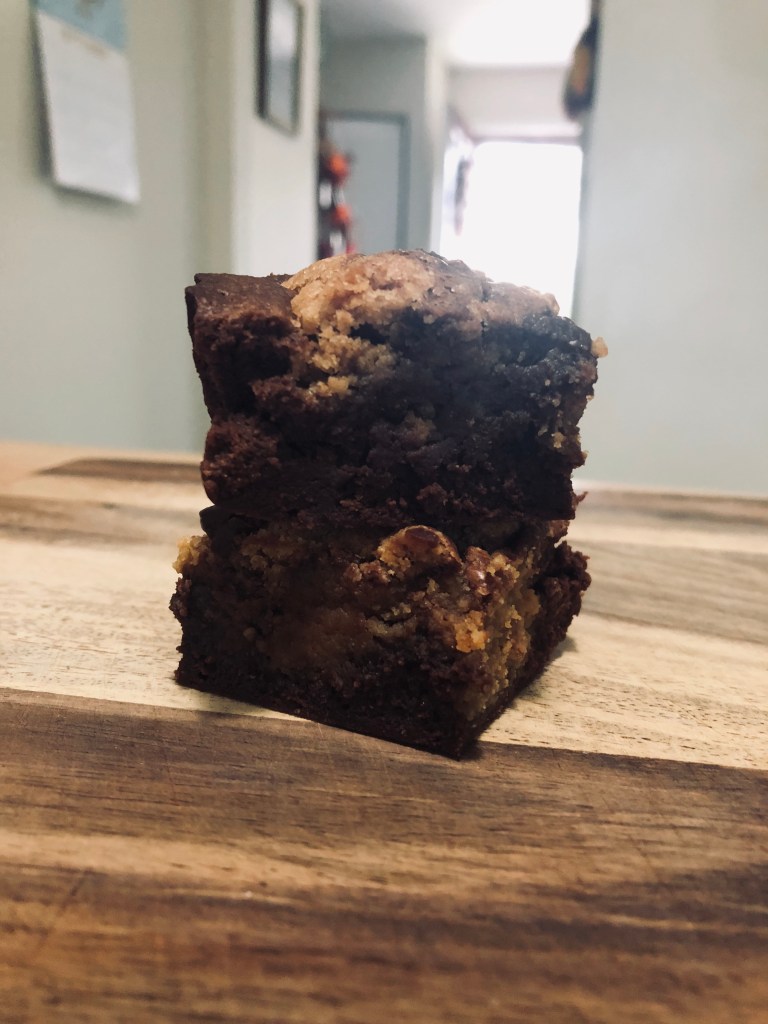
The combo of peanut butter and chocolate will never get old in this house. For this classic combo in brownie form, look no further than Smitten Kitchen’s recipe for peanut butter swirl brownies. Salty, deeply chocolatey, and fudgey, these are my favorite brownies to make. Don’t fight the unsweetened chocolate- I promise it results in the most perfect brownie.
Peanut Butter Swirl Brownies
For the peanut butter swirl:
- 3/4 cup (190 grams) smooth peanut butter (not natural)
- 2/3 (135 grams) cup granulated sugar
- 1 large egg
- 1/4 teaspoon vanilla extract
- A few pinches of flaky or coarse sea salt
For the brownies:
- 3 ounces (85 grams) unsweetened chocolate, roughly chopped or broken into pieces
- 1/2 cup (115 grams or 4 ounces) salted butter, cut into tablespoons
- 1 1/4 cups (250 grams) granulated sugar
- 2 large eggs
- 1 teaspoon (5 ml) vanilla extract
- 1/2 teaspoon flaky or heaped 1/4 teaspoon of coarse sea salt
- 2/3 cup (85 grams) all-purpose flour
To finish:
- 1/4 cup (40 grams) semisweet chocolate chips
Preheat oven to 350 degrees. Line an 8″ x 8″ pan (glass or metal both work) with a rectangle of parchment paper, making sure you have an overhang on either side so you can lift your brownies out later. Spray the parchment and sides of the pan with cooking spray, or coat with butter.
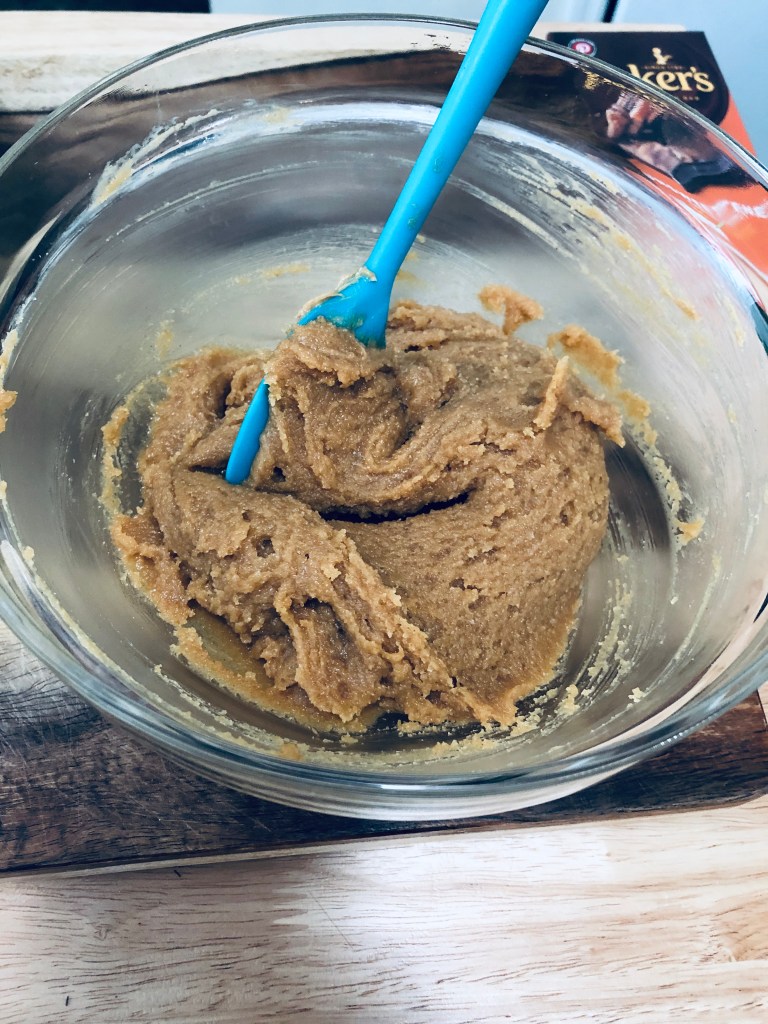
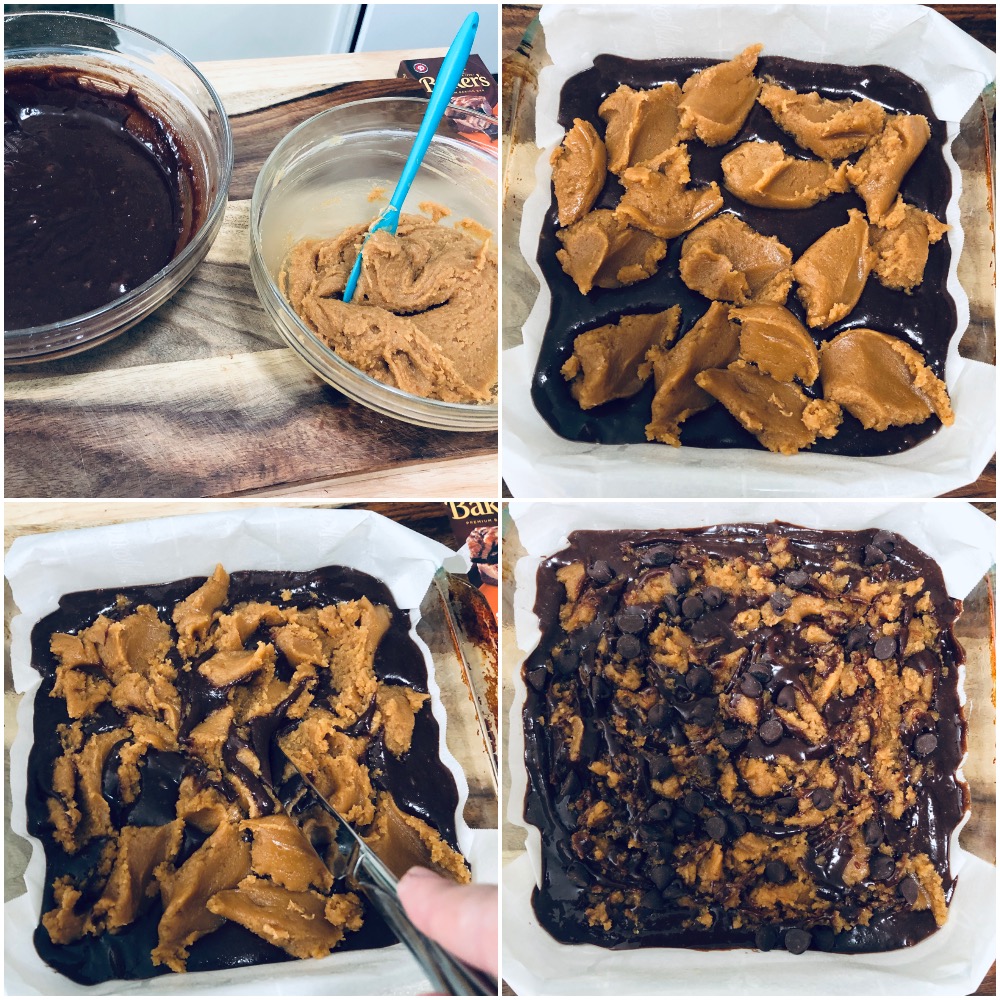
Make the peanut butter swirl. In a small bowl, whisk or stir together all swirl ingredients until smooth and combined. Set aside.
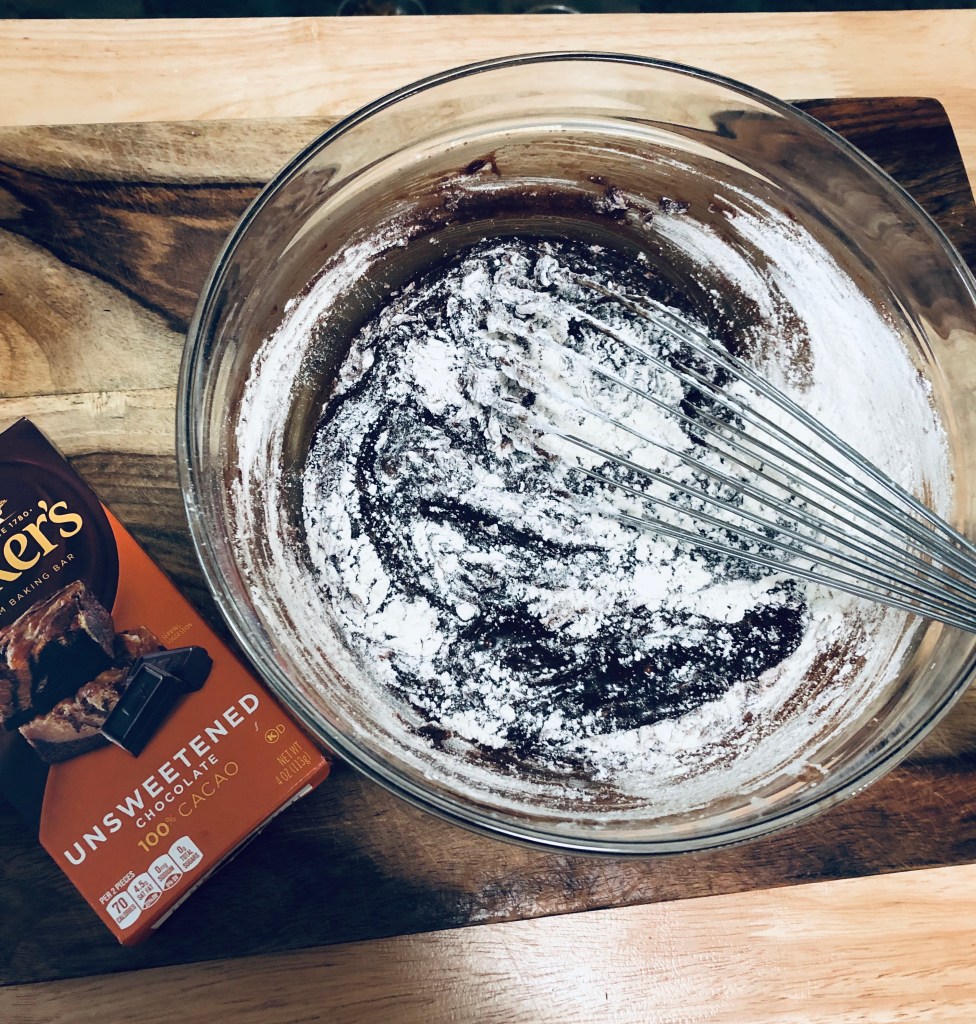
Make the brownie batter. Put the butter pieces and chopped chocolate into a medium microwave-safe bowl (glass works great here). Microwave in 30-second increments, stirring in between with a rubber spatula, until the chocolate is just about melted. Mine usually takes two bursts in the microwave. Use a whisk to vigorously stir and melt the mixture the rest of the way.
Note: You can also do this with the double-boiler method: place the glass bowl over a pot with one inch of barely simmering water and stir frequently until everything is melted. Be sure the bottom of the bowl does not touch the water.
Whisk the sugar into the chocolate/butter mixture. At this point, the mixture should be cool to the touch. If it still feels very hot, pop it in the fridge for a few minutes and check back, so as not to scramble your eggs.
Whisk in the eggs, vanilla, and flaky/kosher salt throughly. Sprinkle the flour over the batter and whisk until just combined and no lumps of flour remain. Scrape into the prepared pan. Don’t forget to lick the spatula and bowl.
Swirl and finish the brownies. Using a tablespoon, drop heaping mounds of the peanut butter mixture on top of the brownie batter. Gently swirl the peanut butter around with a butter knife until you get a desired look. Don’t go overboard- you don’t want the peanut butter to become completely incorporated into the brownie batter. Mine never looks as pretty as Deb’s on her site, but they’ll still look great out of the oven. Sprinkle the chocolate chips over the top.
Bake the brownies. Place the pan in the preheated oven and bake for 30-40 minutes, rotating the pan halfway through. Begin testing the brownies after 30 minutes with a wooden skewer or toothpick. The tester should come out with a few moist brownie crumbs attached.
Why the large time variation? Because these brownies tend to take much longer for me (near 40 minutes) when I bake them in my usual glass 8″ x 8″ pan. However, they tend to bake faster in metal pans, so check them early just to be safe. No one likes an overbooked brownie.
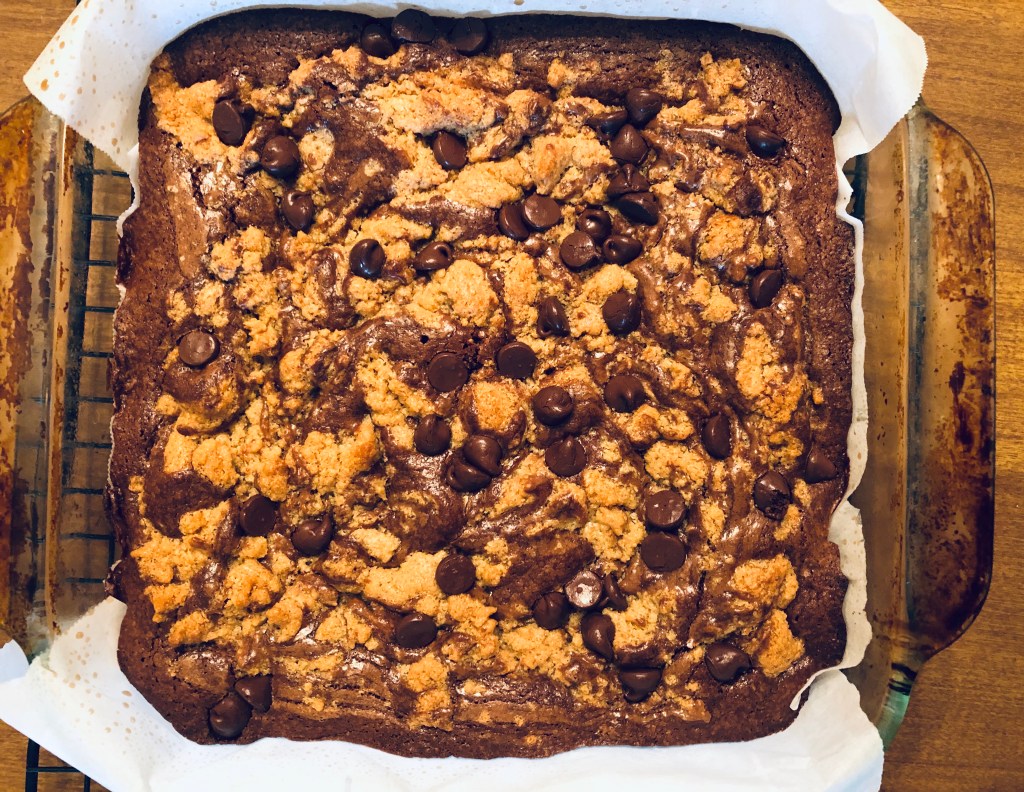
Place the pan on a wire rack to cool and set for a bit before lifting them out with your parchment handles to cool the rest of the way. These are easiest to cut when completely cool, but nothing says you can’t cut a tiny square from the end when they are still warm to taste test…I’ve definitely never done this…
The brownies keep well at room temperature for 5 days and even longer in the fridge.
Let me know how you like them. Enjoy!
-Jess

