Featured

Soft Pretzels

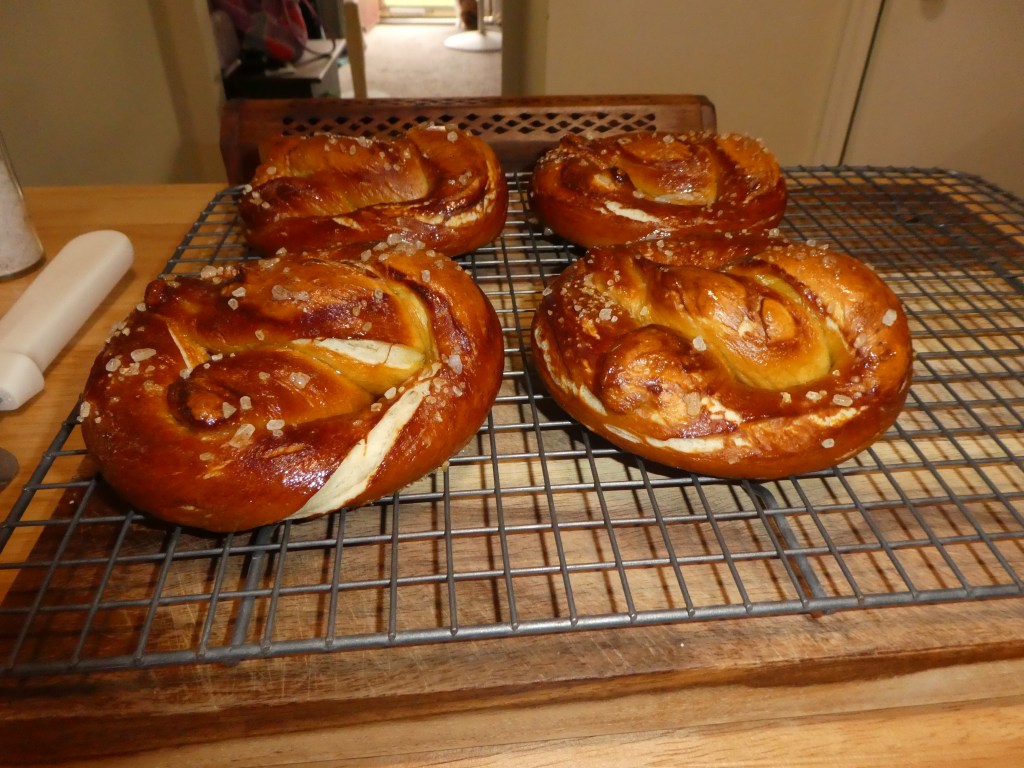
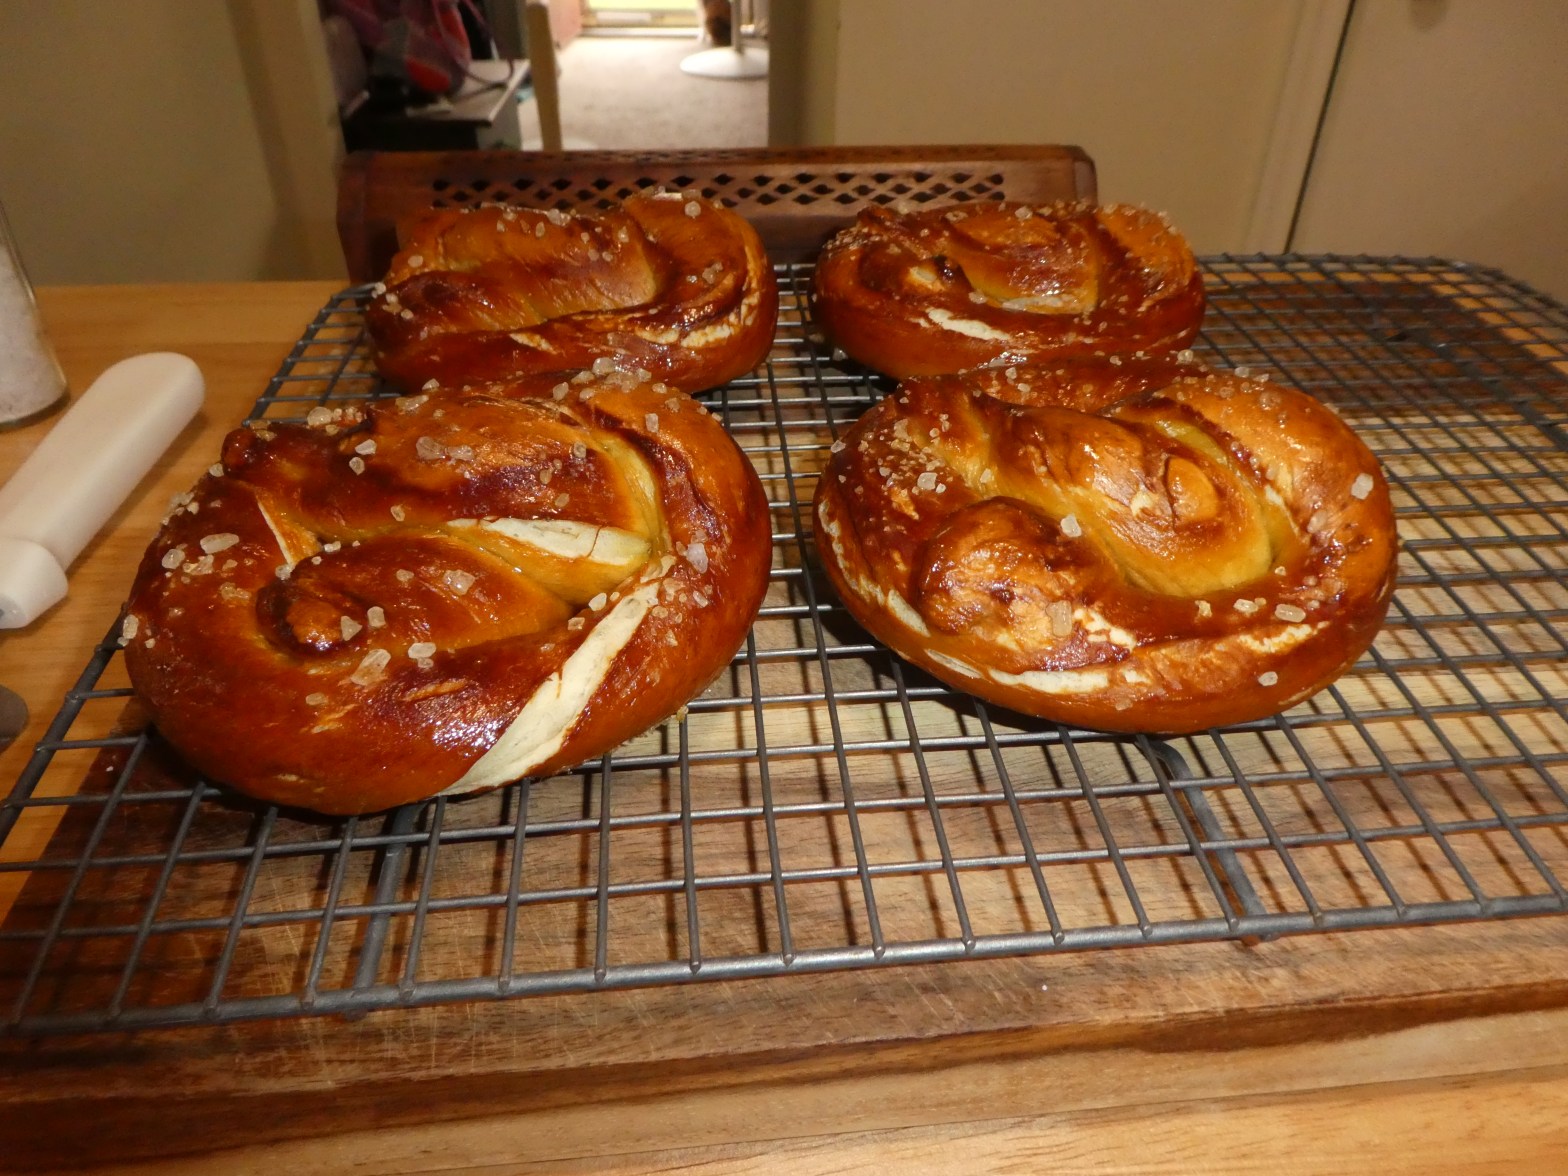
One of our favorite snacks, whether it be a sporting event or a trip to the mall, is a soft pretzel! Since we’re all staying safe and staying home we thought we’d try out a recipe from one of our favorite TV cooks, Alton Brown. This may seem like quite the process but it was really easy and made for some great time together at home!

Here’s what you’ll need:

  • 1.5 cups warm water (110 degrees F)
  • 1 tbsp sugar
  • 2 tsp kosher salt
  • 2.25 tsp active dry yeast (or one prepackaged envelope)
  • 4 tbsp (2 oz) butter – melted
  • 5 cups water – recipe called for 10 but we used 5
  • 1/3 cup baking soda – recipe called for 2/3 but we didn’t have enough, so we halved it
  • 1 egg yolk + 1 tbsp water, for egg wash
  • Cooking spray
  • Pretzel salt – we used course sea salt and it tasted the same
  • Stand mixer – optional
  • Straight sided saute pan

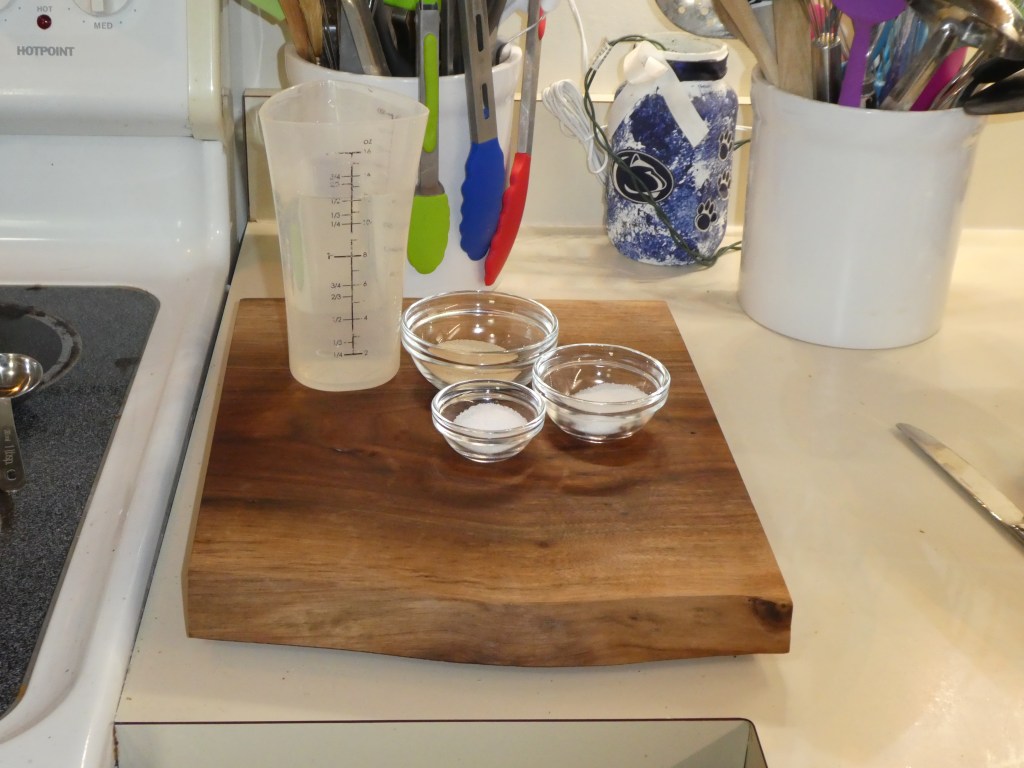
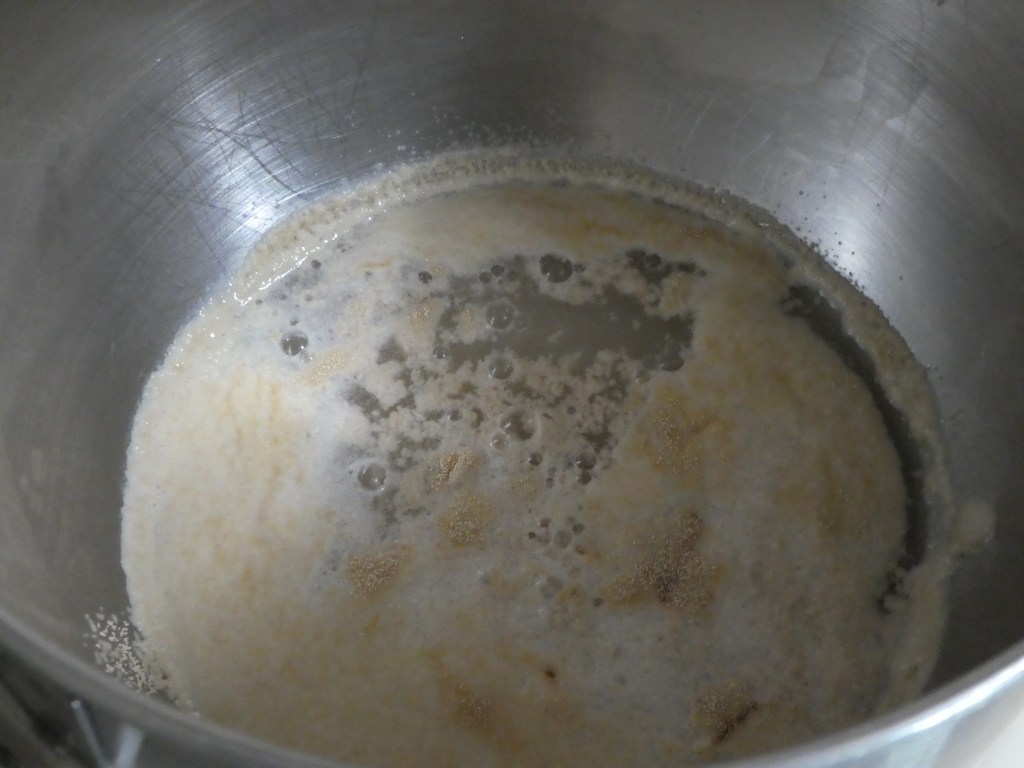
To begin, combine the warm water, sugar, and salt in a bowl. We have a stand mixer so we used the bowl of the mixer. Once the water, sugar, and salt are combined sprinkle the yeast on top and let sit for 5 minutes.
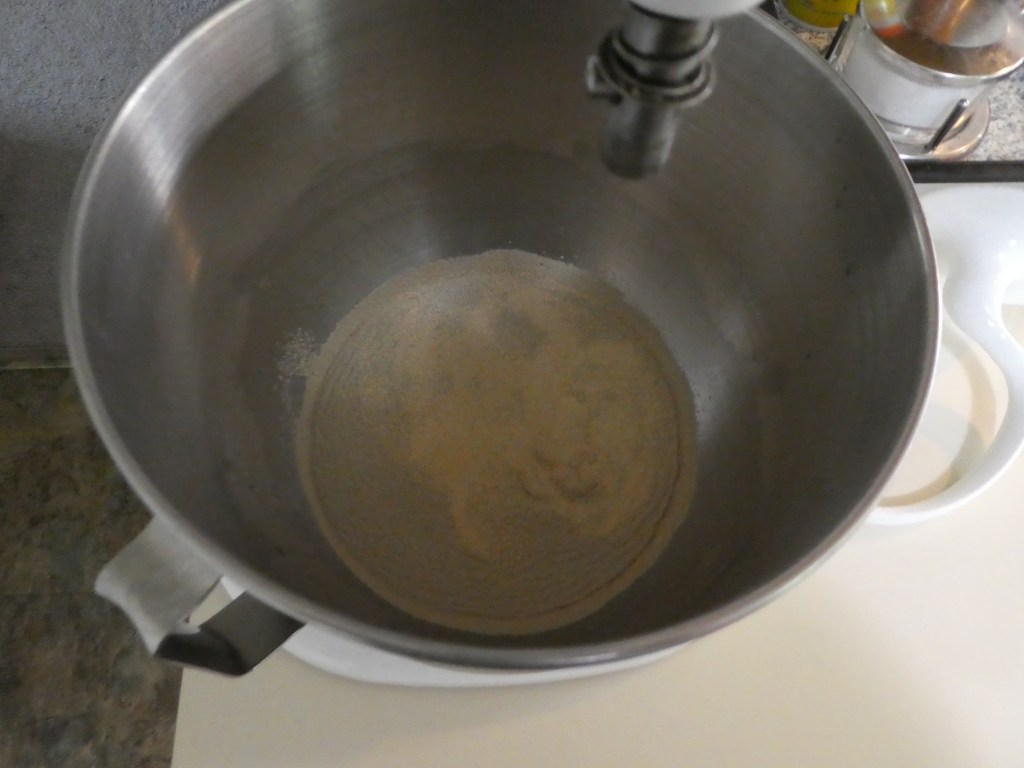
After 5 minutes you’ll notice that the yeast woke up and started “blooming.”
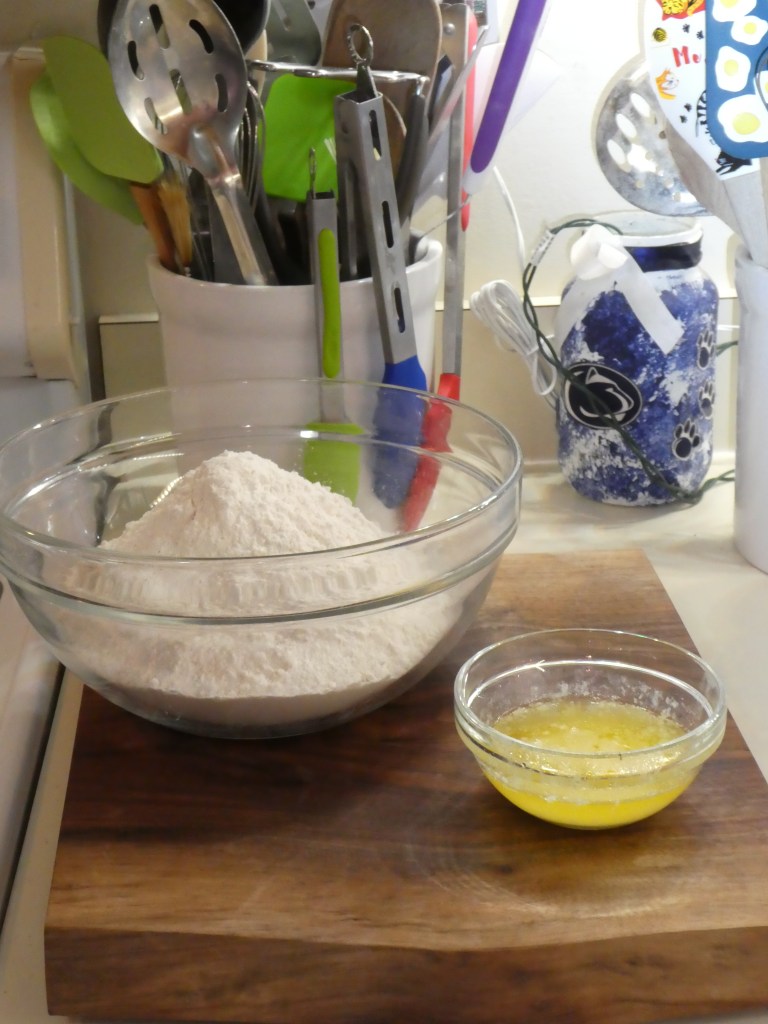
Now that the yeast is ready to go to work, add the flour and melted butter to the bowl. If using a stand mixer add the dough hook attachment and mix on low speed until all the ingredients are combined.
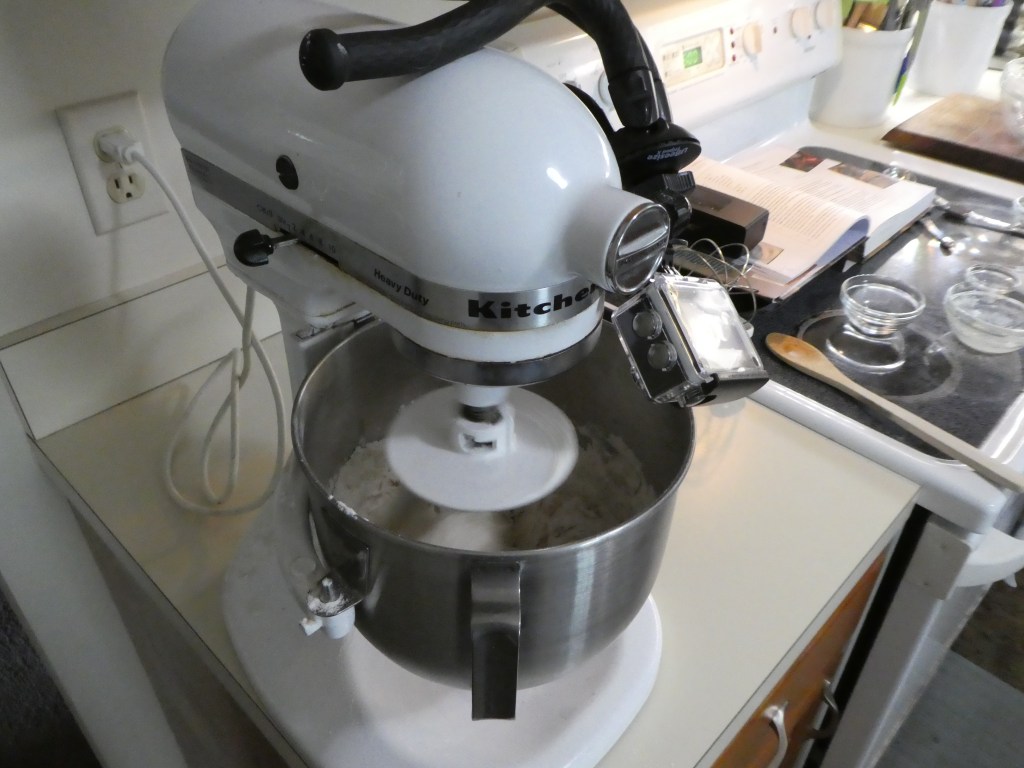
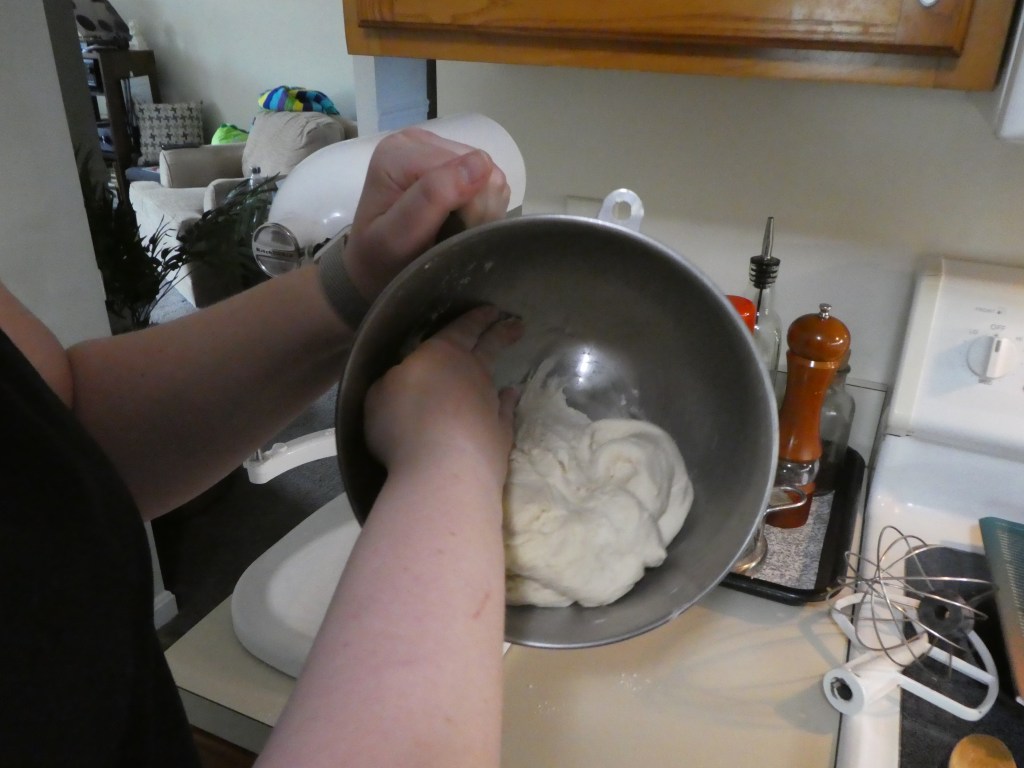
Once combined, crank the mixer up to medium-low and knead for 5 minutes or until the dough is smooth and pulls away from the bowl. I tried being fancy with my new camera but the footage came out pretty shaky. Next time! If you don’t have a stand mixer you can knead by hand. It might take a little longer than 5 minutes to get the dough nice and smooth but it will come out just the same.
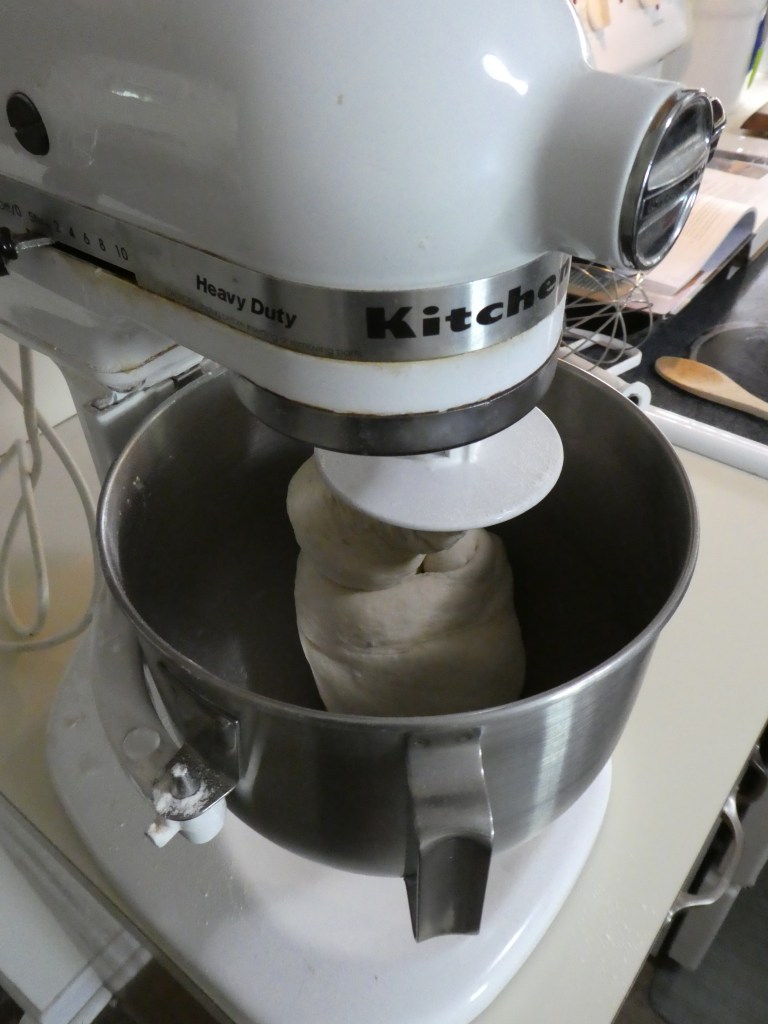
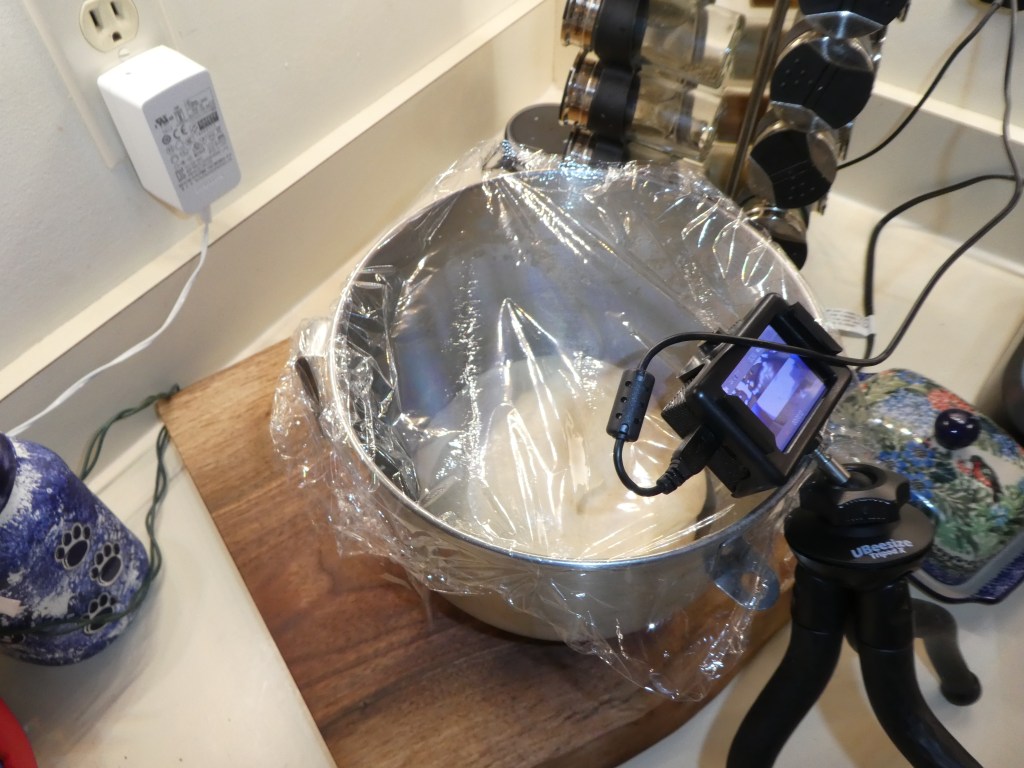
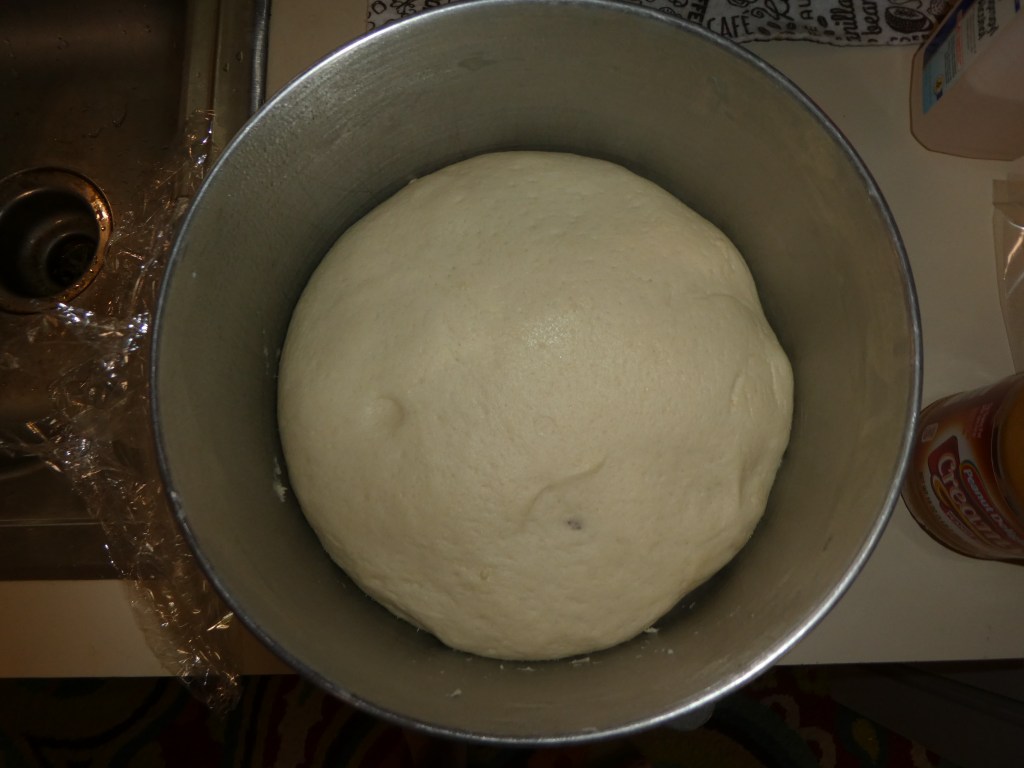
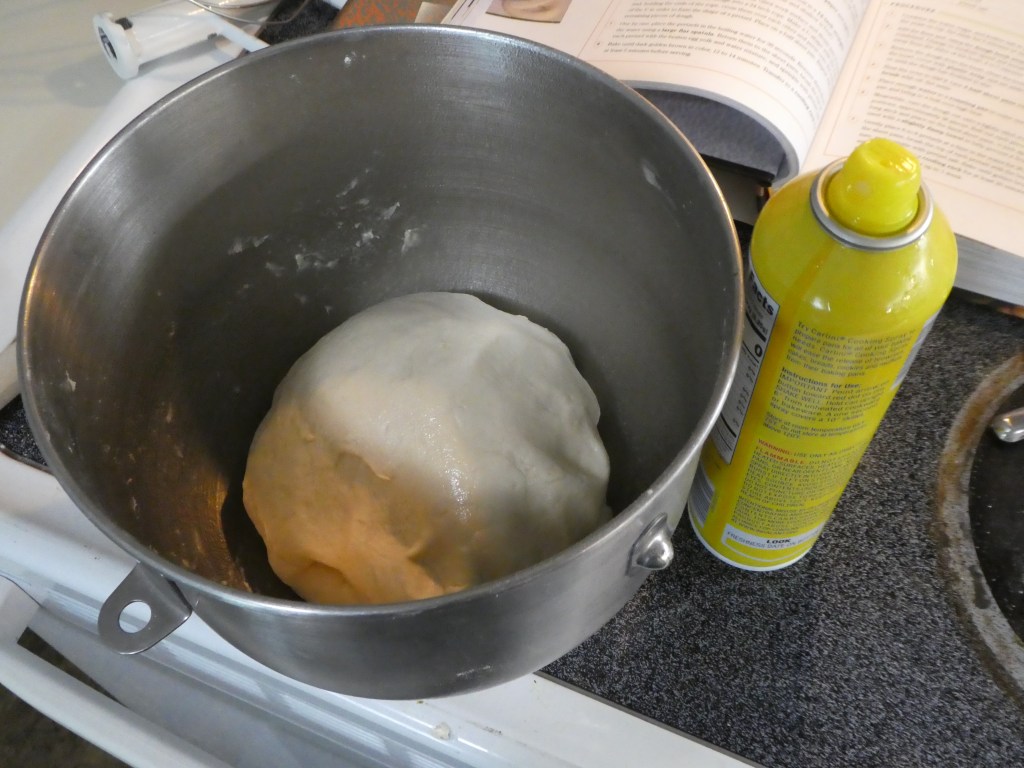
It is now time to let science take over for a little bit. Take your dough out of the bowl, coat the bowl with cooking spray, put the dough back in the bowl, and flip the dough over so that all sides are now coated with oil. Cover the bowl with plastic wrap and set in a warm part of your kitchen for about an hour or until the dough doubles. Ours only took about 45 minutes since it was pretty hot out when we made ours. Again, I tried to take a cool video but I’m still figuring out my camera. You can test the readiness by gently poking the dough. If your finger leaves an indent and doesn’t really fill back in, it’s ready! If the indent quickly fills back in and doesn’t leave a mark in the dough, it’s not quite ready.
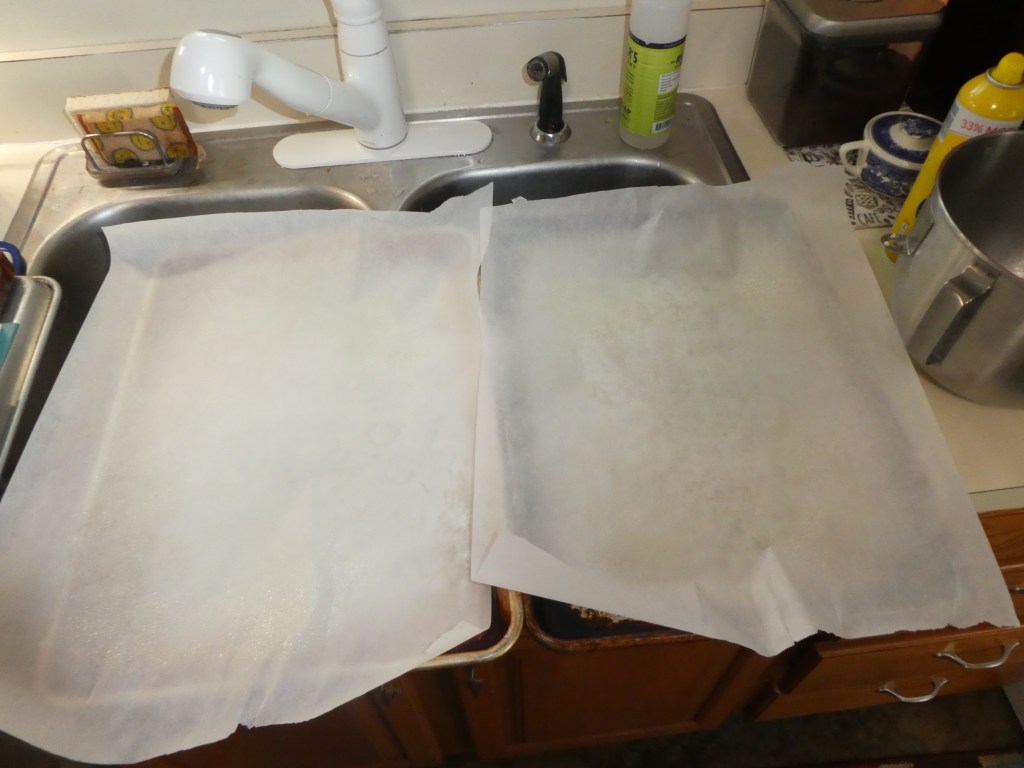
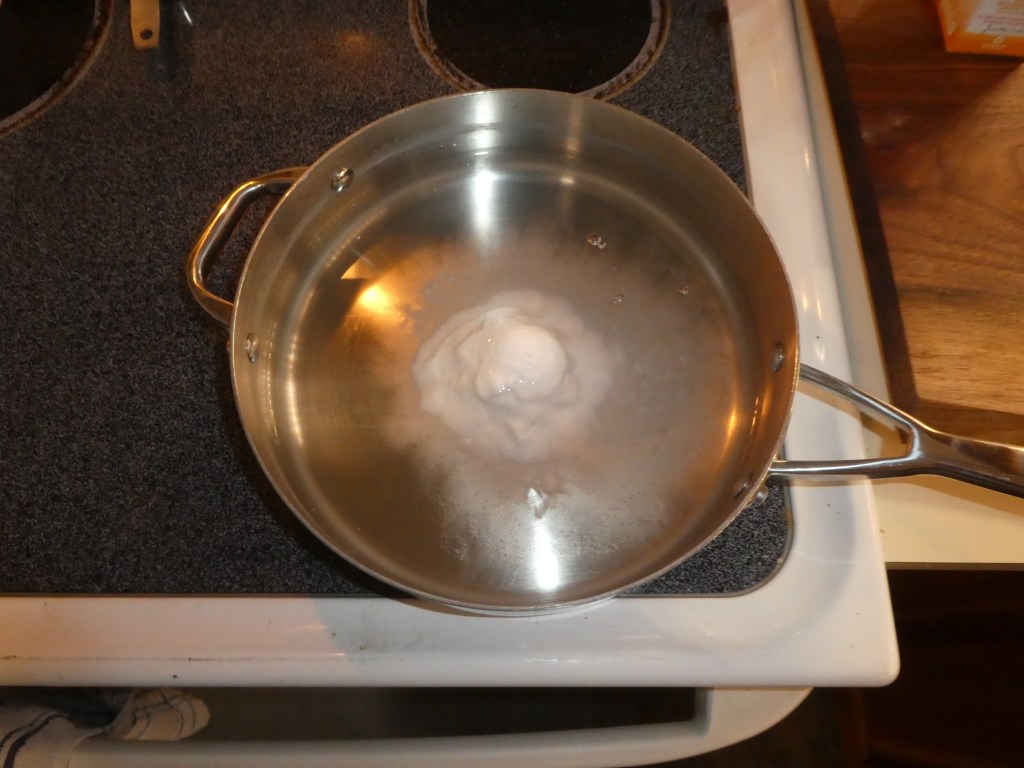
Before you start forming your pretzels, preheat your oven to 450F. You’re also going to put 5 cups of water and 1/3 cup baking soda into your straight sided saute pan and put that over high heat to boil. If you don’t have a straight sided saute pan anything wide and shallow will work. You’re also going to need to line two sheet pans with parchment paper, have your salt/toppings nearby, and mix up the egg wash so everything is ready to go.
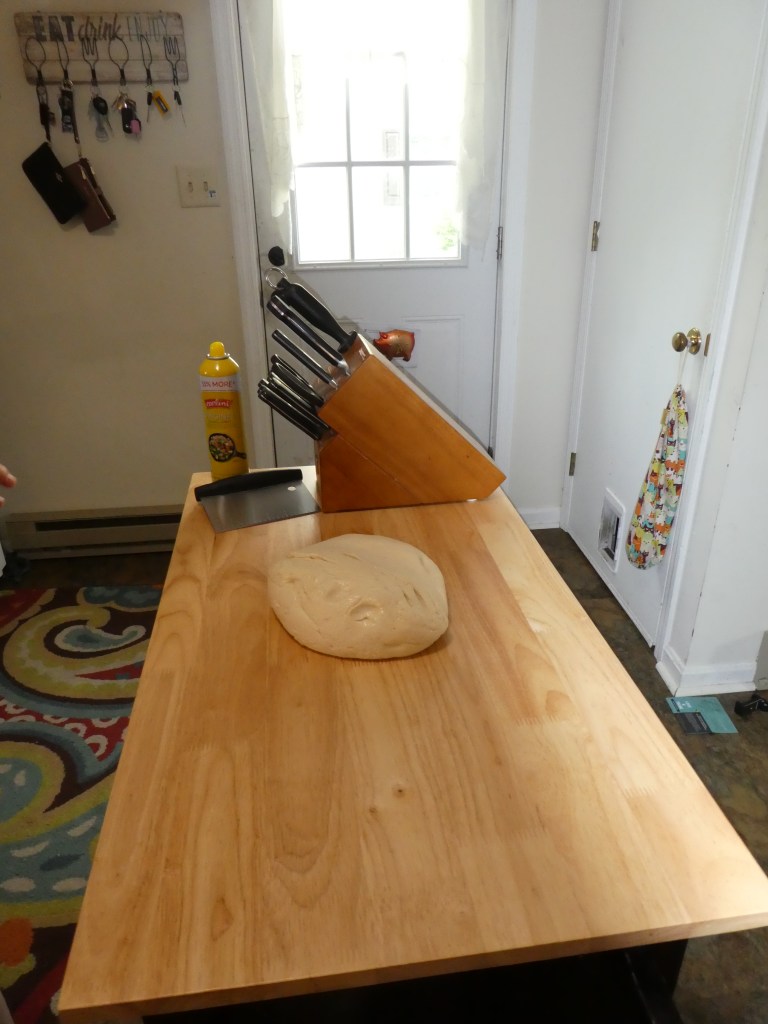
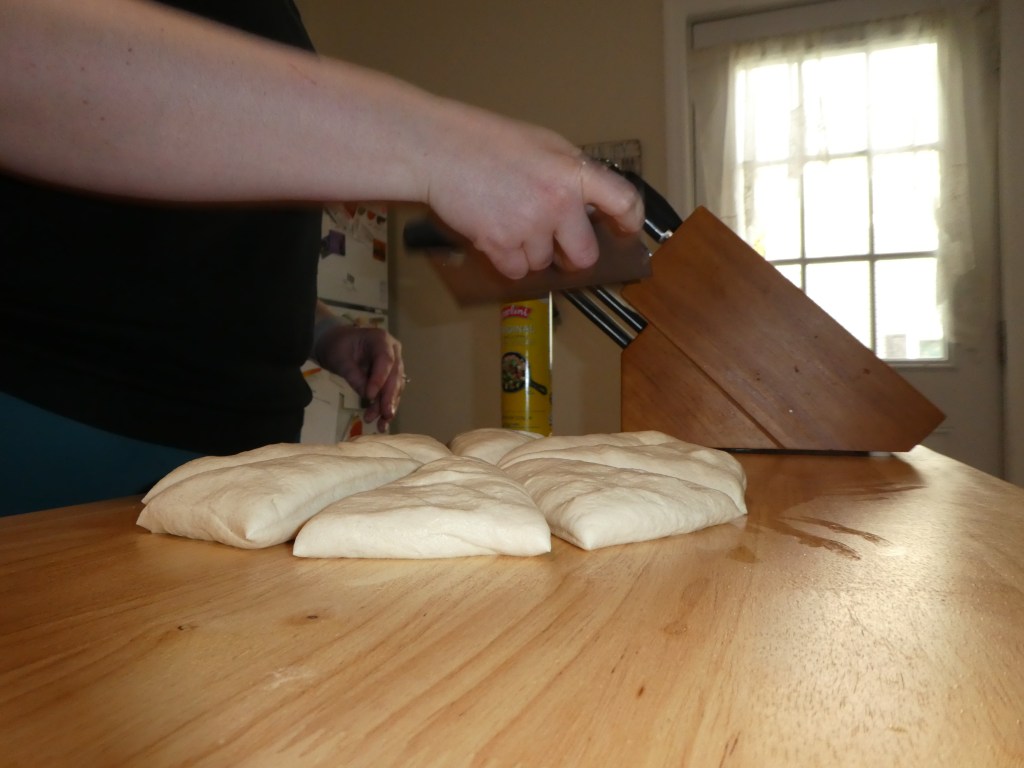
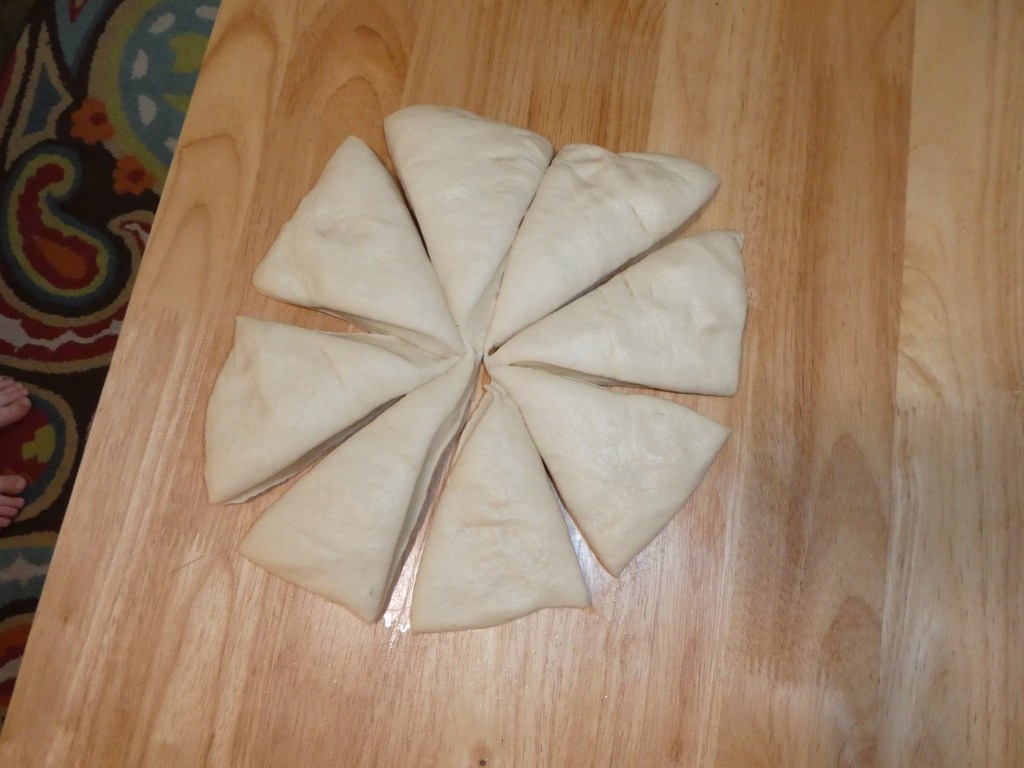
Turn your dough out onto a clean and lightly oiled work surface. Cut the dough into 8 equal pieces.
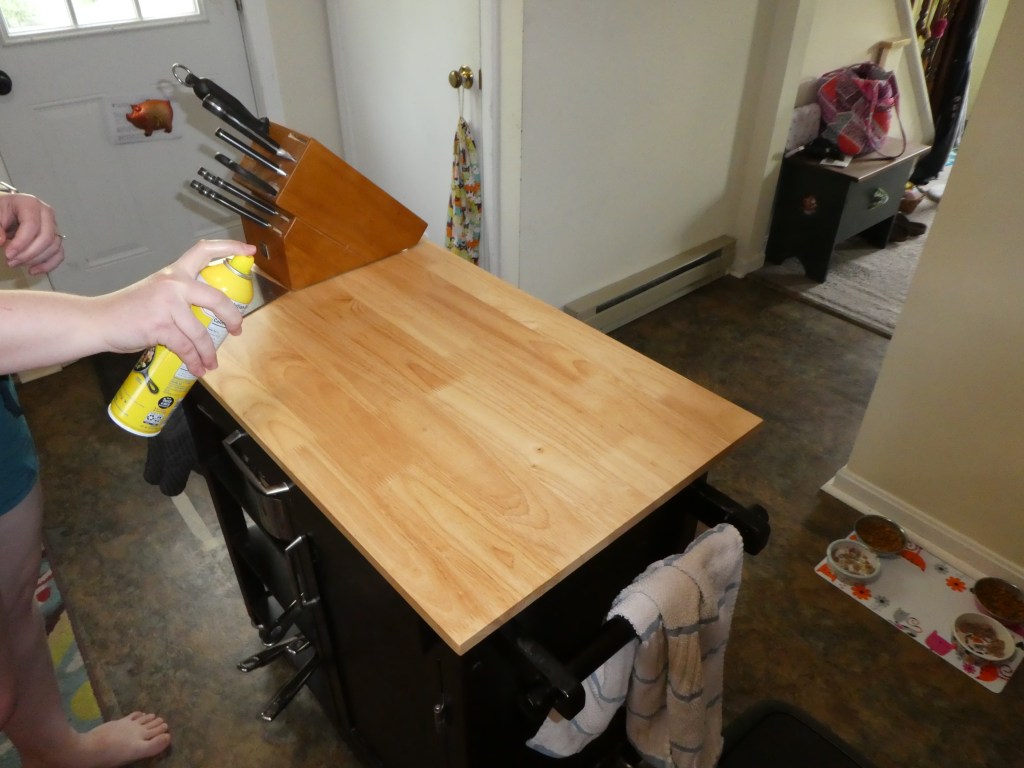
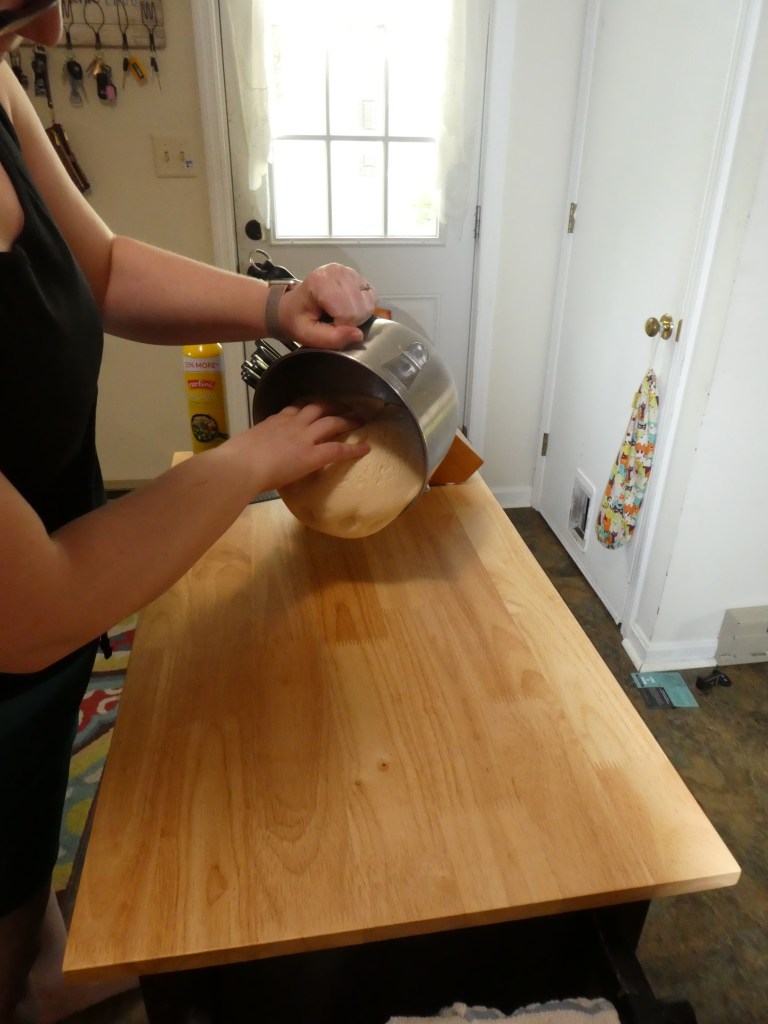
Now the fun begins. I so wish we were cool enough to do that fancy thing the folks at the mall can do where you flip the dough into the air and it lands making a perfect pretzel, but we can’t. So instead, roll each piece into a 24-inch snake and make a u-shape with the snake. Then cross each end over each other twice and press onto the bottom of the u. There you have it! We put some videos together to help you out!

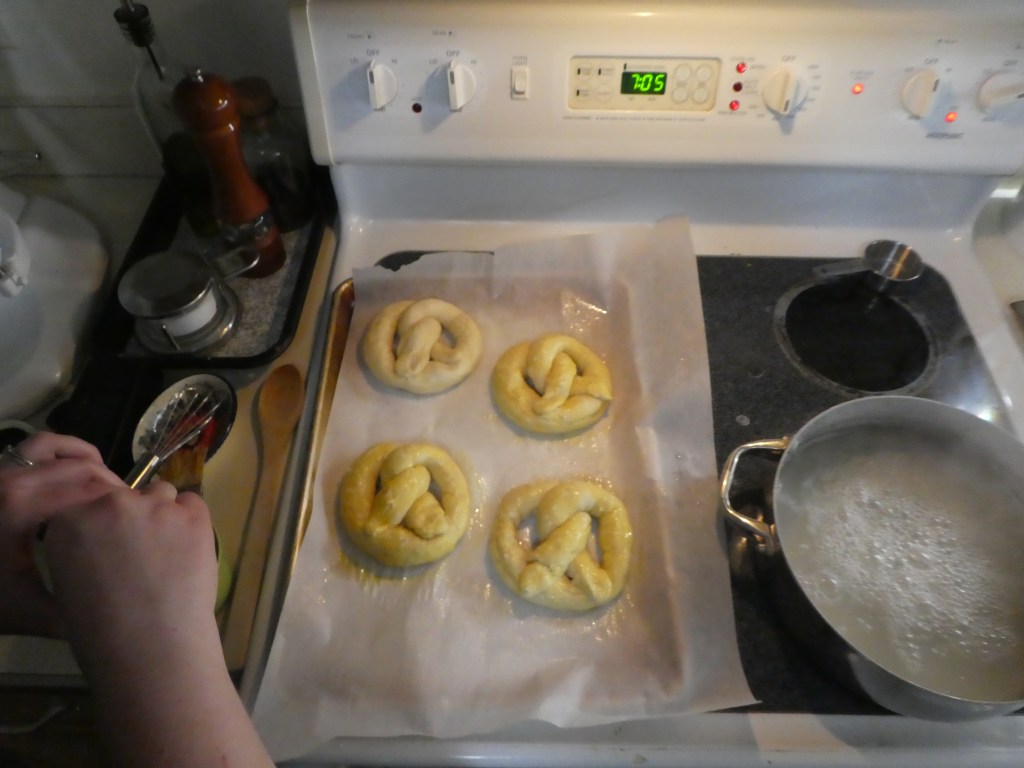
Place the pretzel on a sheet pan and repeat with the remaining pieces of dough. Make sure they’re all at least an inch or two apart on the sheet pans.
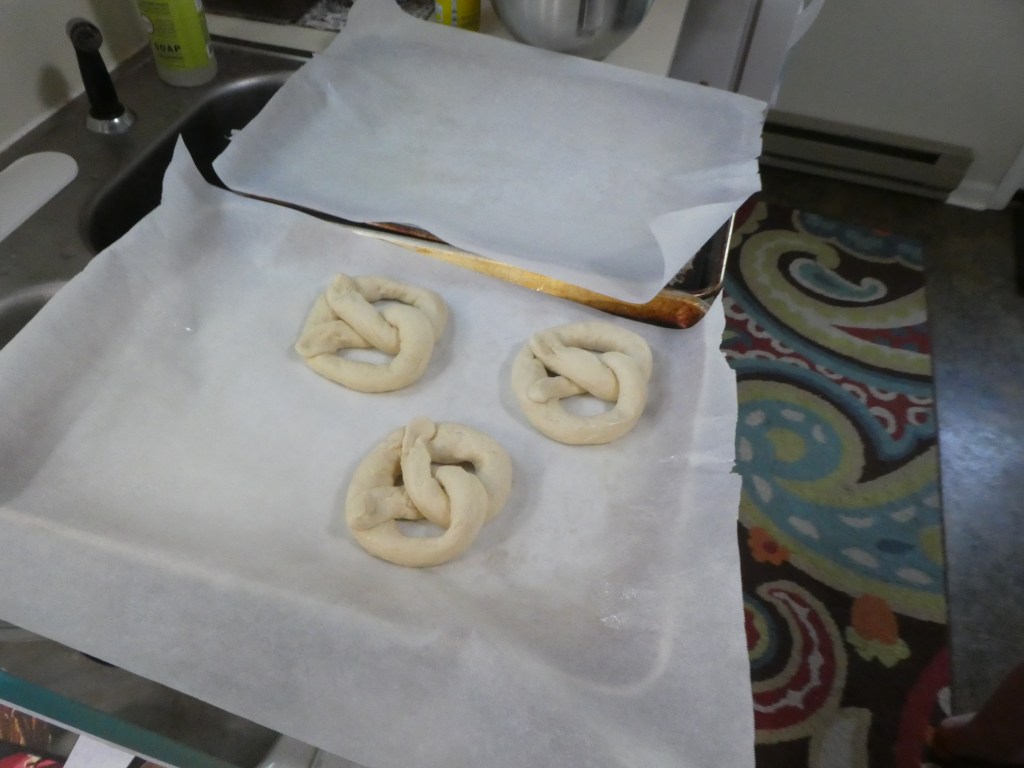
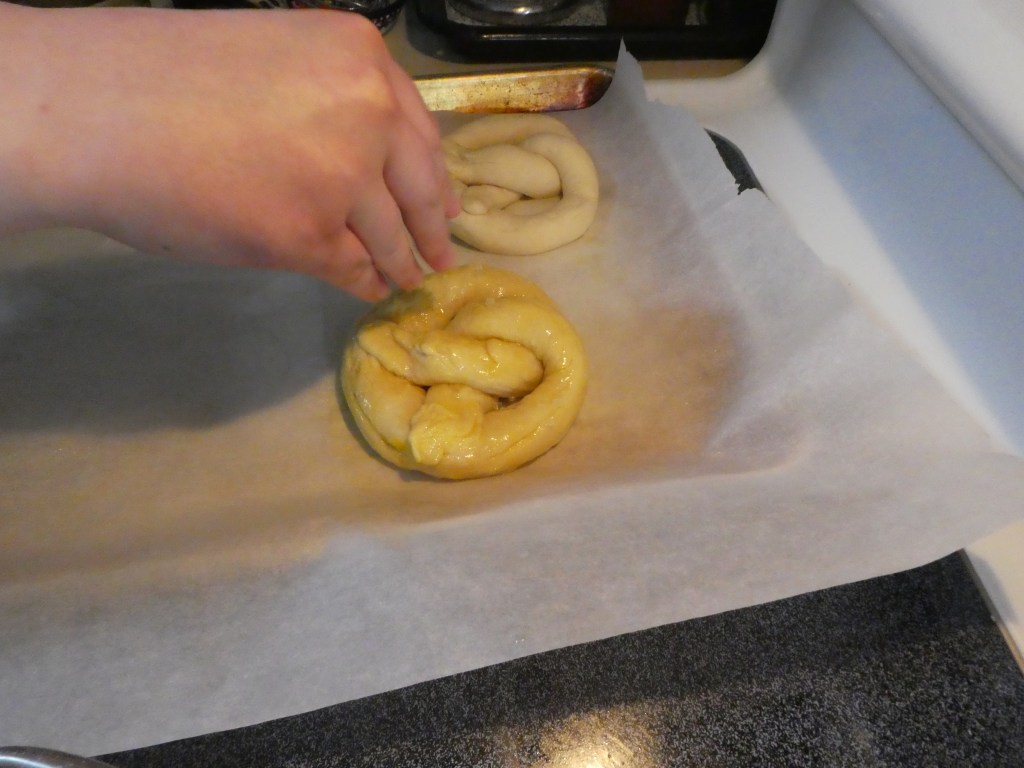
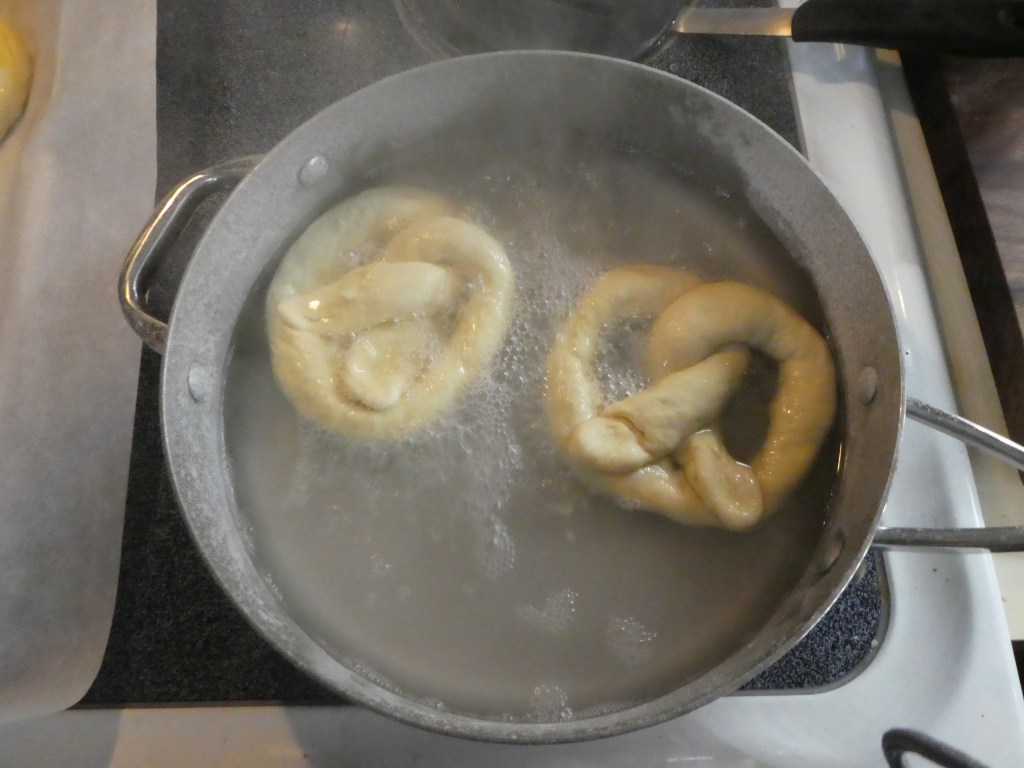
Once all of your pretzels are shaped, its time to boil them in the baking soda hot tub we created for them. This will give them that distinct pretzel taste and color. Place as many pretzels as can fit without touching into the boiling water for 30 seconds (you can usually boil 2 at a time). Using a large spatula, return them to the lined sheet pan. Brush each pretzel with the egg wash you made before and sprinkle with pretzel salt or what ever pretzel topping you prefer.
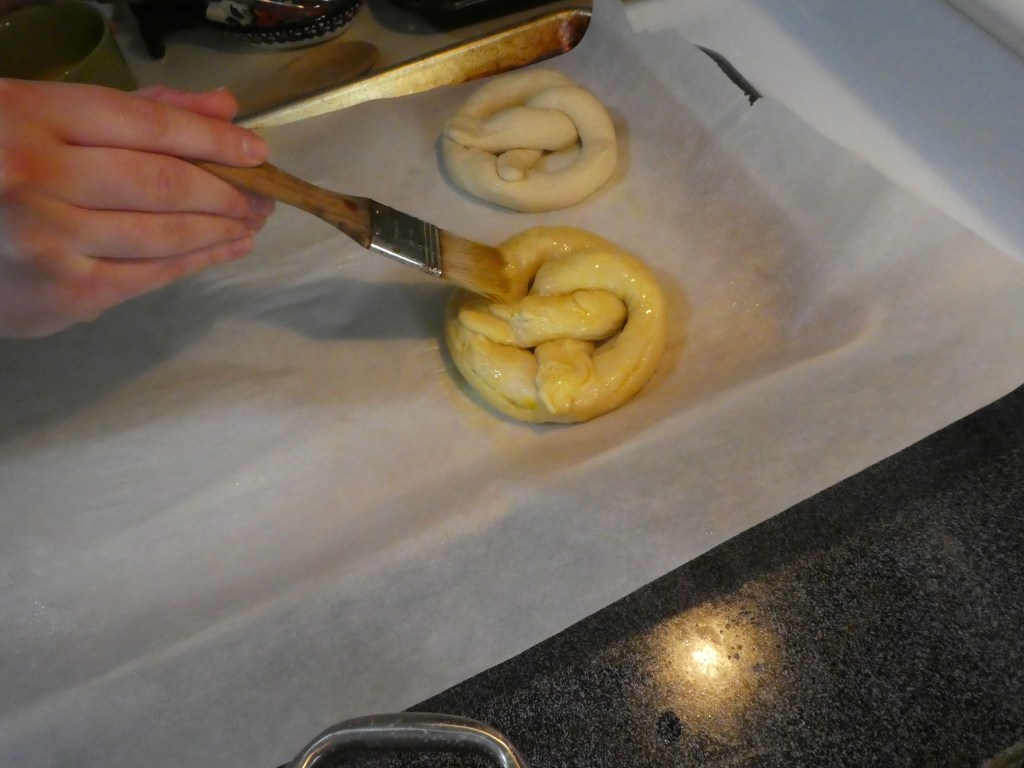
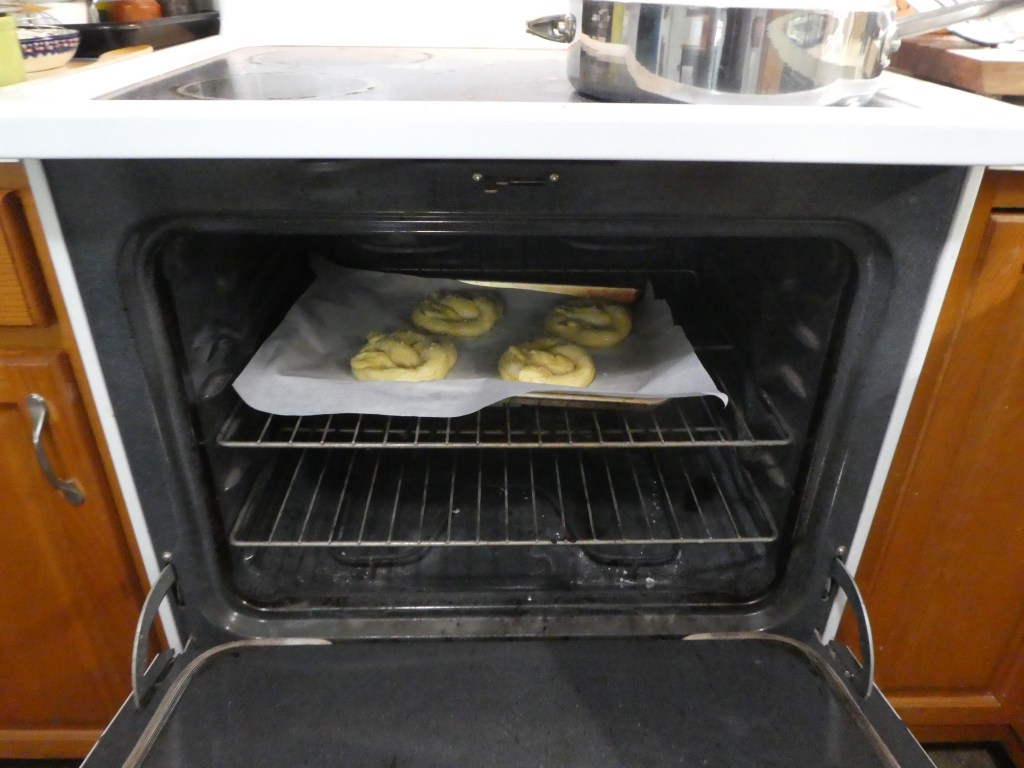
After you egg and salt all your pretzels, it’s time to bake! Put them in the middle rack in your preheated oven for 12 minutes. About 6 minutes in give the sheet pan a turn to ensure even baking.
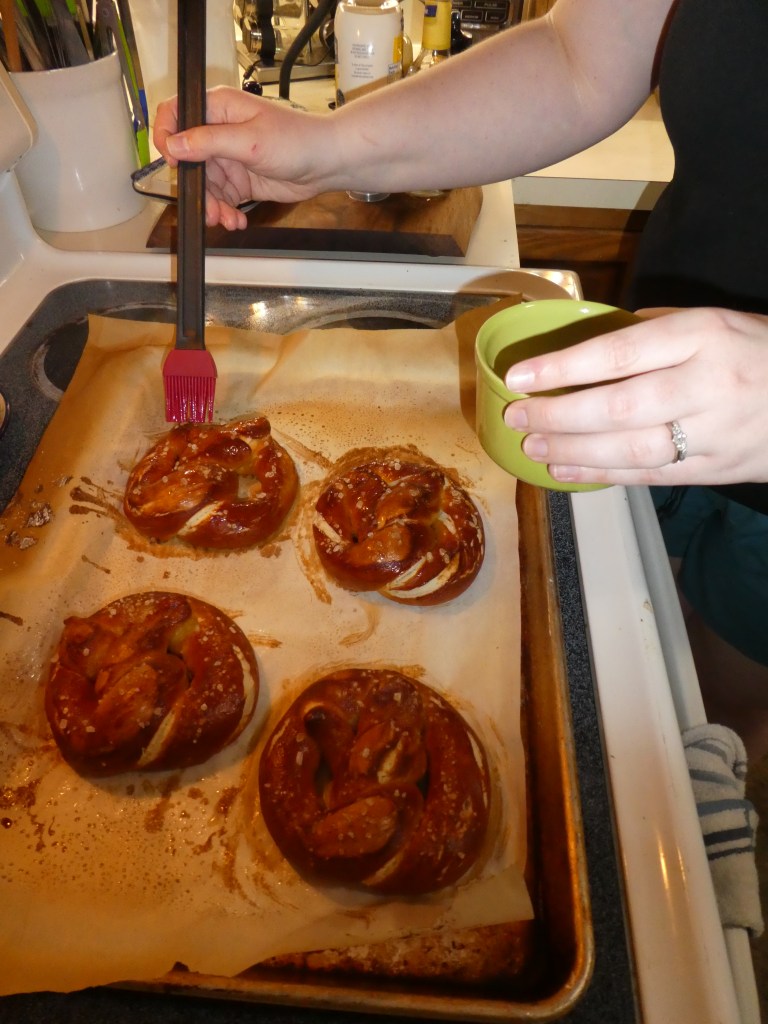
When the 12 minutes is up, take the pretzels out and brush with melted butter. This step is optional but let’s be honest. Is it even a soft pretzel if it isn’t brushed with melted butter?
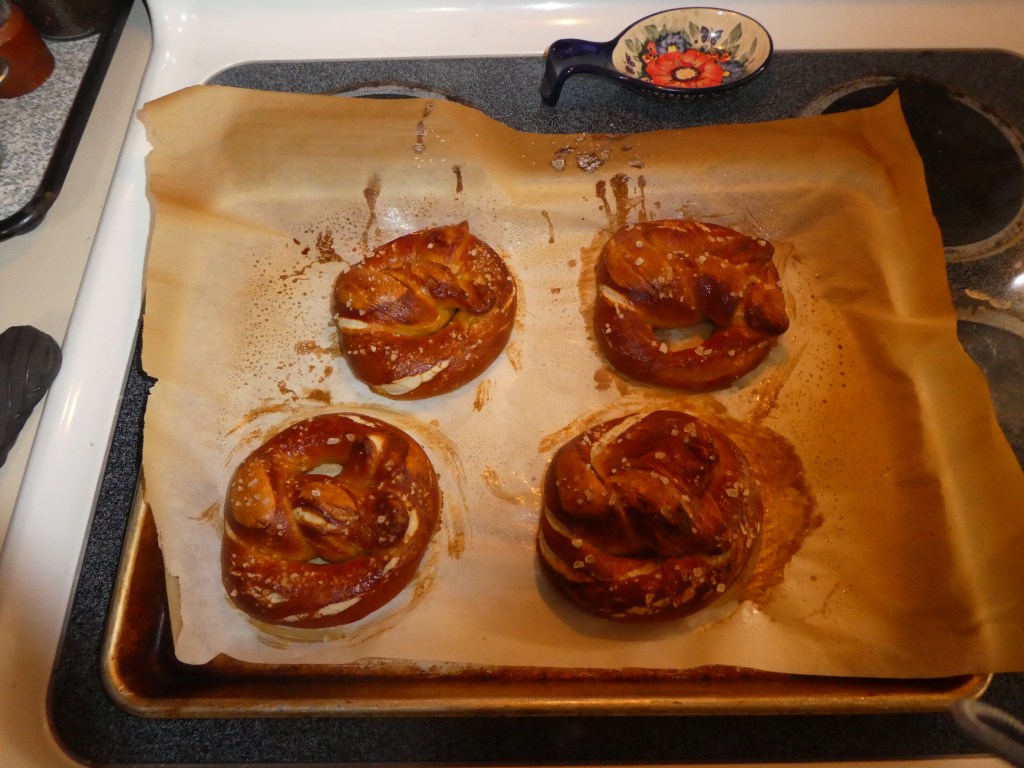
Serve with your favorite dipping sauce and enjoy! We made a hot honey mustard dipping sauce by mixing 1 tbsp mayo, 2 tsp Dijon, 2tsp hot honey, 1 tsp salt, .25tsp white wine vinegar, and a pinch of pepper!
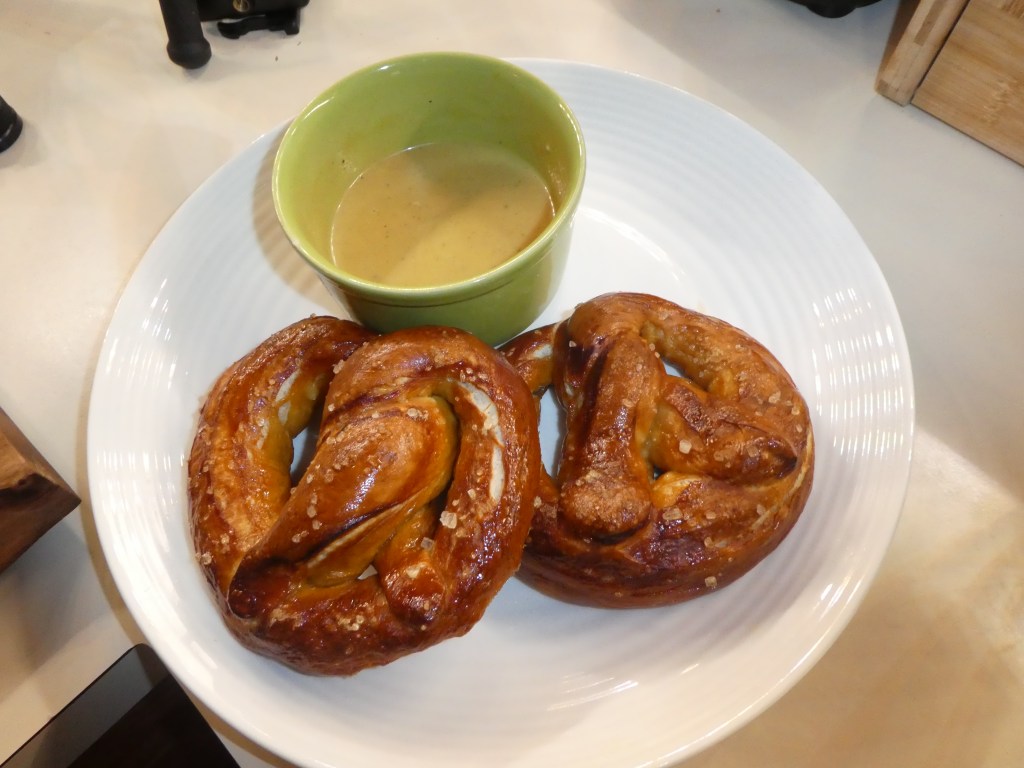
We hope you give this recipe a try and have as much fun as we had making our very own soft pretzels.

Enjoy!

Dan & Jess
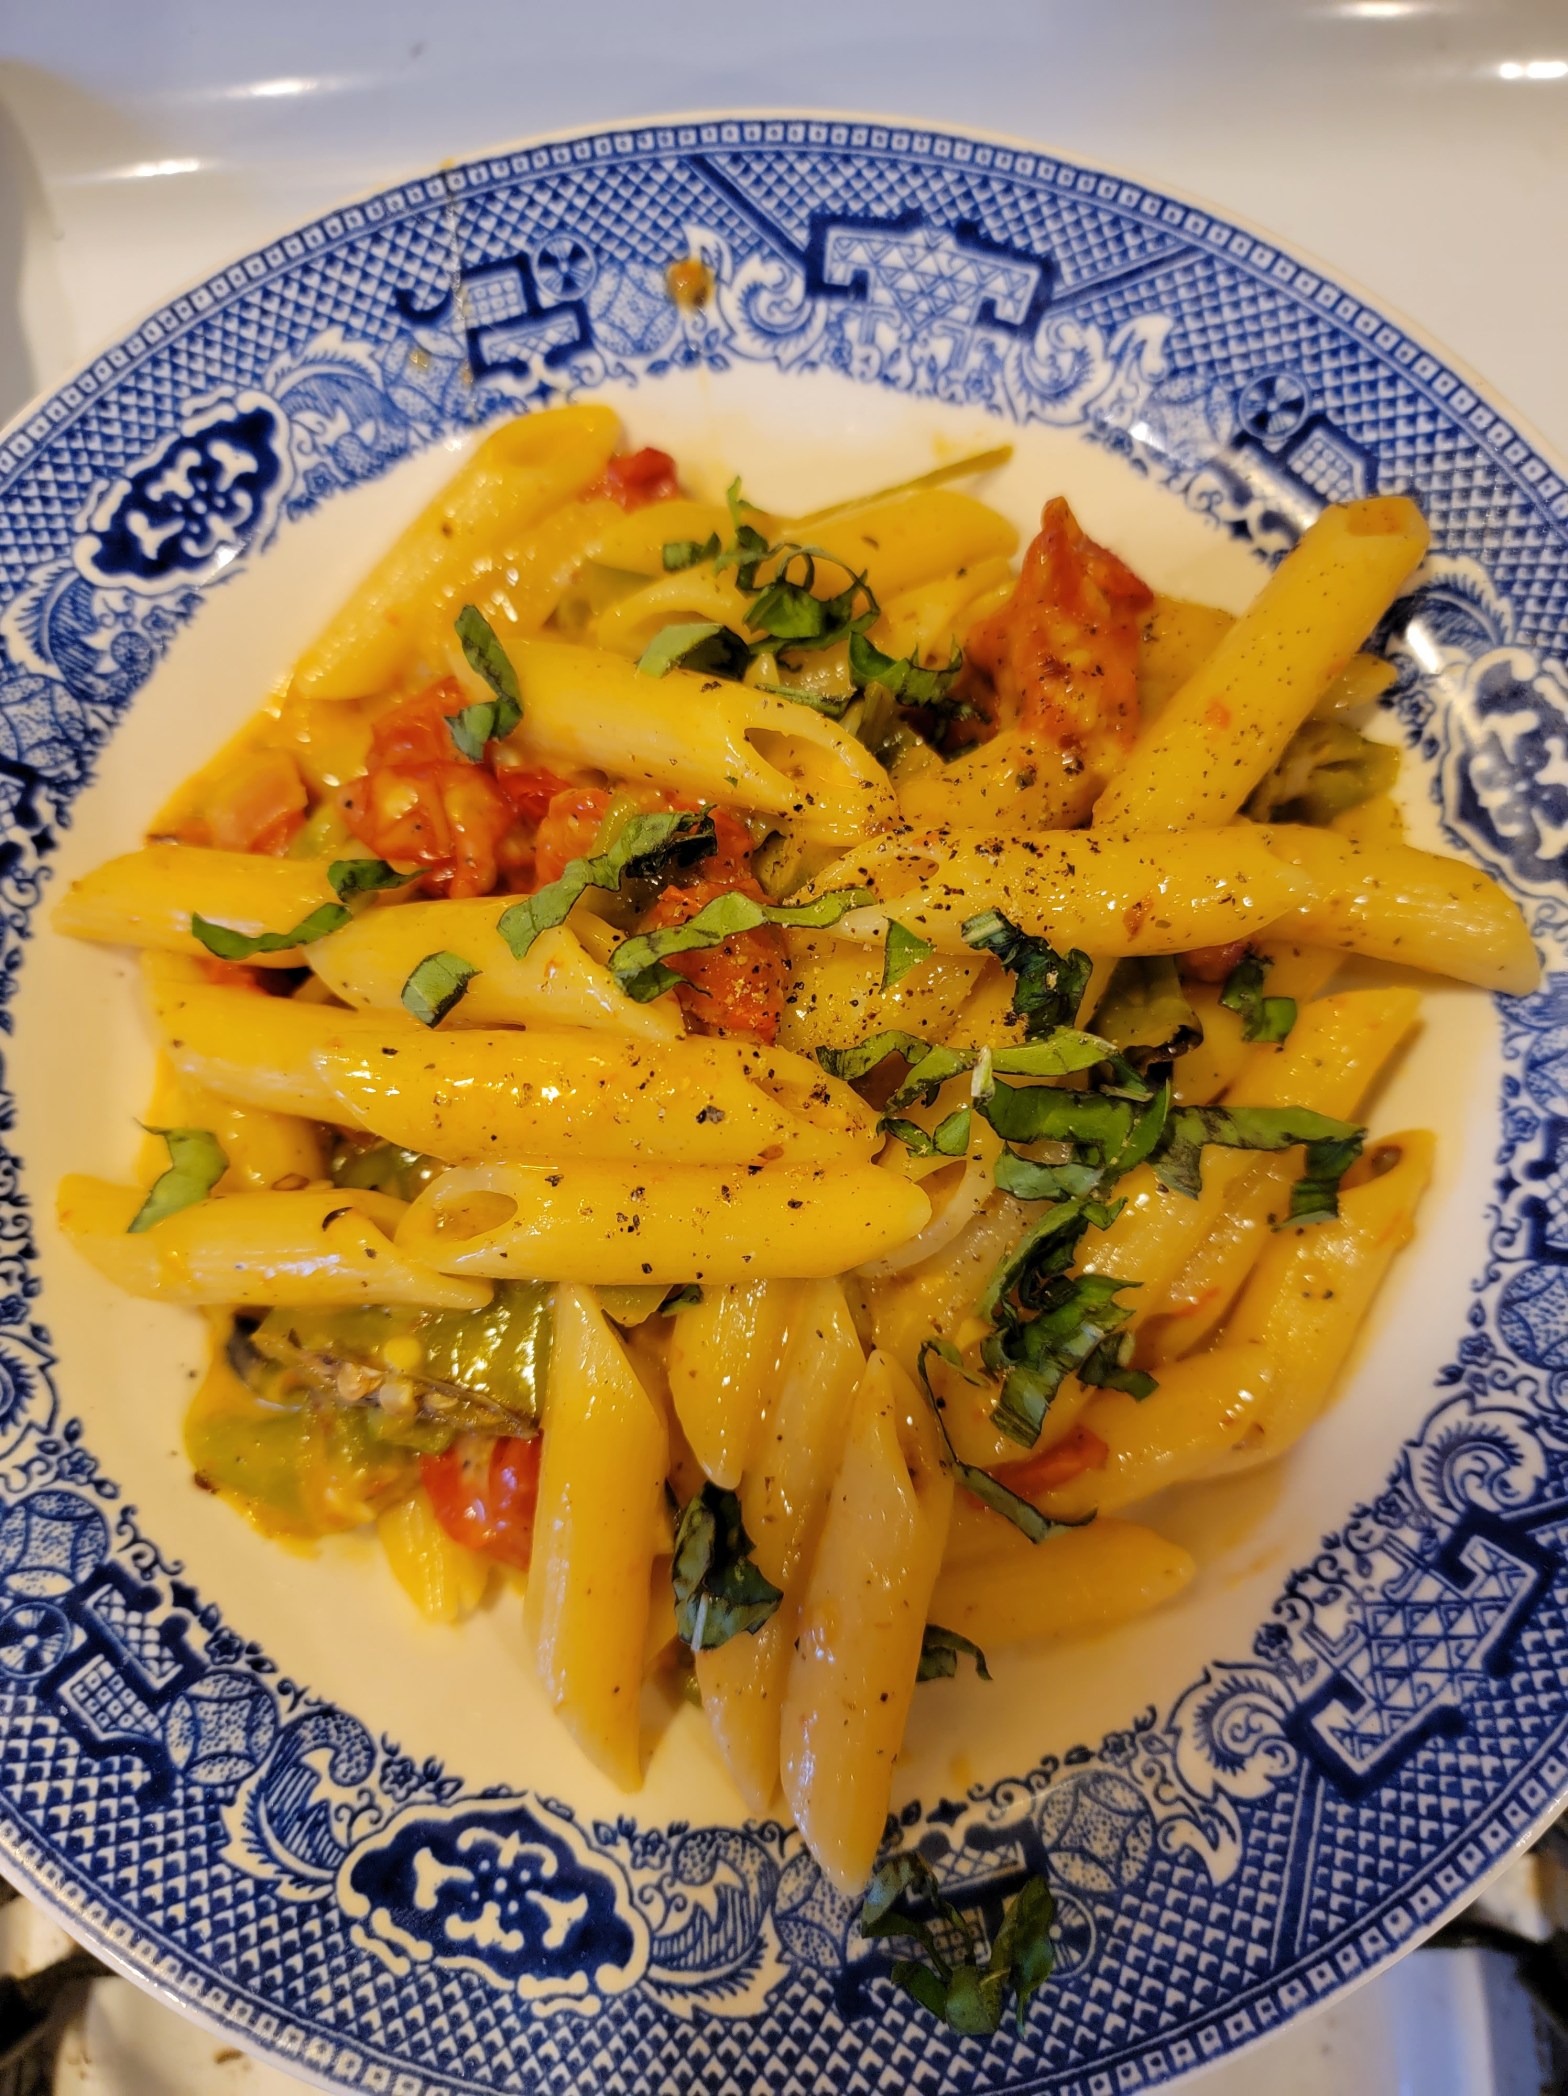
Creamy Tomato and Pepper Pasta

Don’t know what to do with all those cherry tomatoes growing in the garden? Here’s a quick and easy dinner recipe!

Here’s what you’ll need:

  • About 10oz of Cherry Tomatoes
  • About 5oz of Peppers (we used shoshitos)
  • 1.5 tbsp of olive oil – separated into 1 tbsp and 0.5 tbsp.
  • 1/4 of an onion
  • 1 clove of garlic
  • 6 oz of penne pasta
  • Dried oregano
  • Dried red chili flakes
  • Milk (we used almond) – 0.5 cups
  • 1oz parmasean cheese
  • Basil for garnish

This recipe serves 2

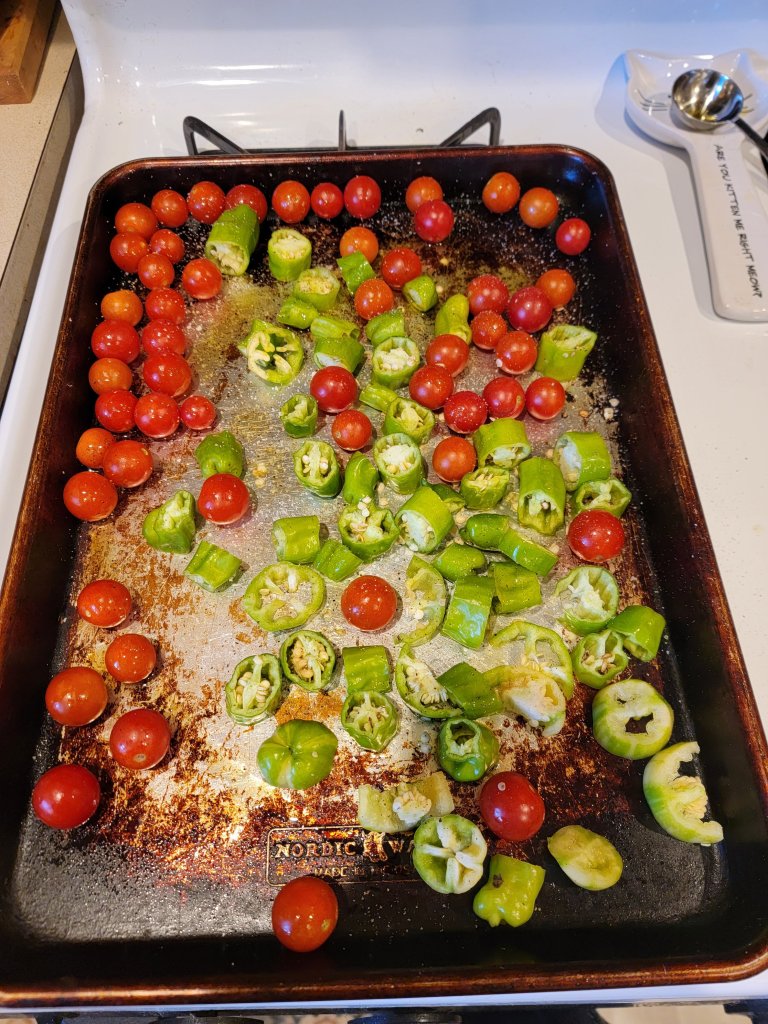
To start, pre-heat your broiler. Chop up the peppers and put them on a sprayed baking sheet with the cherry tomatoes. Drizzle over 1 tbsp of olive oil and season with salt and pepper. Put the peppers and tomatoes under the broiler for 6-8 minutes or until the peppers start to char and the tomatoes start to burst.

While the tomatoes and peppers are cooking, boil your pasta per directions on the package. Then in a large frying pan over medium high heat add the remaining 0.5 tbsp of olive oil. Add the onions, dried oregano, and chili flakes. Once the tomatoes and peppers are cooked add them to the pan along with the garlic.

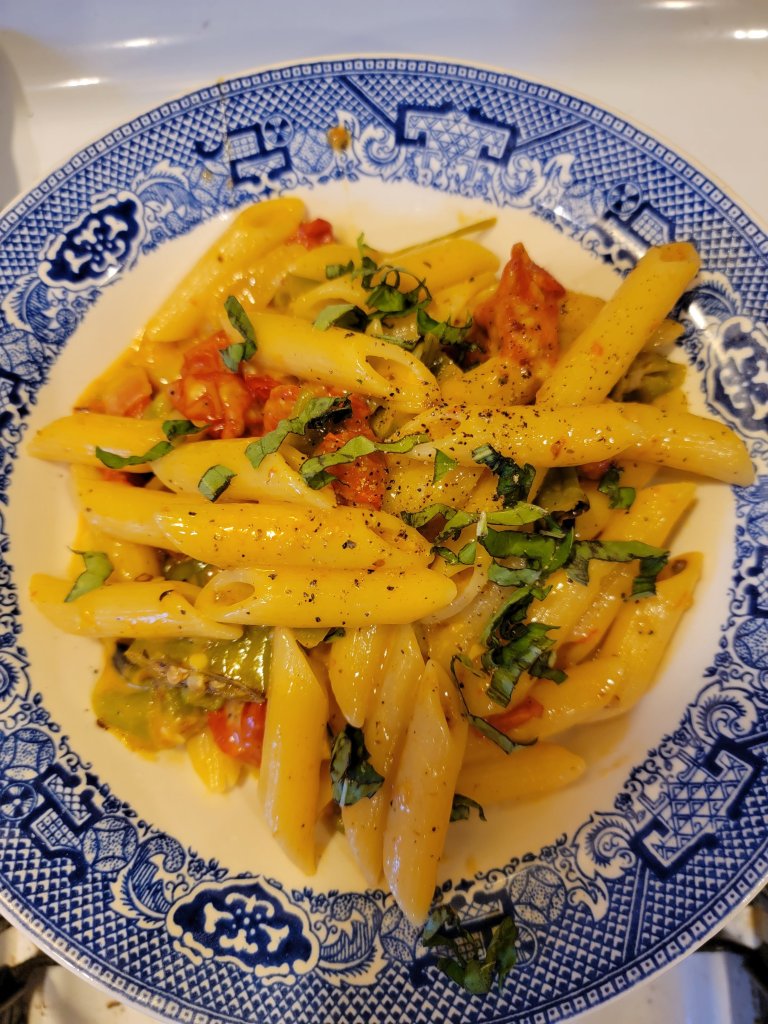
When the pasta is done cooking, save about .25 cups of the pasta water and pour into the pan with the tomatoes and peppers. Add the pasta to the pan. Then add the milk and parmasean cheese. Taste, then season with salt and pepper as needed. Cook for another 3-5 minutes stirring occasionally until the sauce thickens, adding more salt and pepper if you wish.

That’s it! Serve the pasta in your favorite bowls and top with fresh basil.

Enjoy!

One Pan Chicken Dinner

With Thanksgiving right around the corner no one wants to spend too much extra cooking now! Here’s an easy one pan roast chicken dinner.

Here’s what you’ll need:

  • 2 bone in / skin on chicken thighs
  • 1 tbsp Olive oil – split into 2 half tbsps.
  • About 11 ounces of potatoes
  • 1/2 a yellow onion
  • 1 clove of garlic
  • 8 oz – green beans
  • 2 tsp – honey
  • Large cast iron skillet
  • Salt and pepper

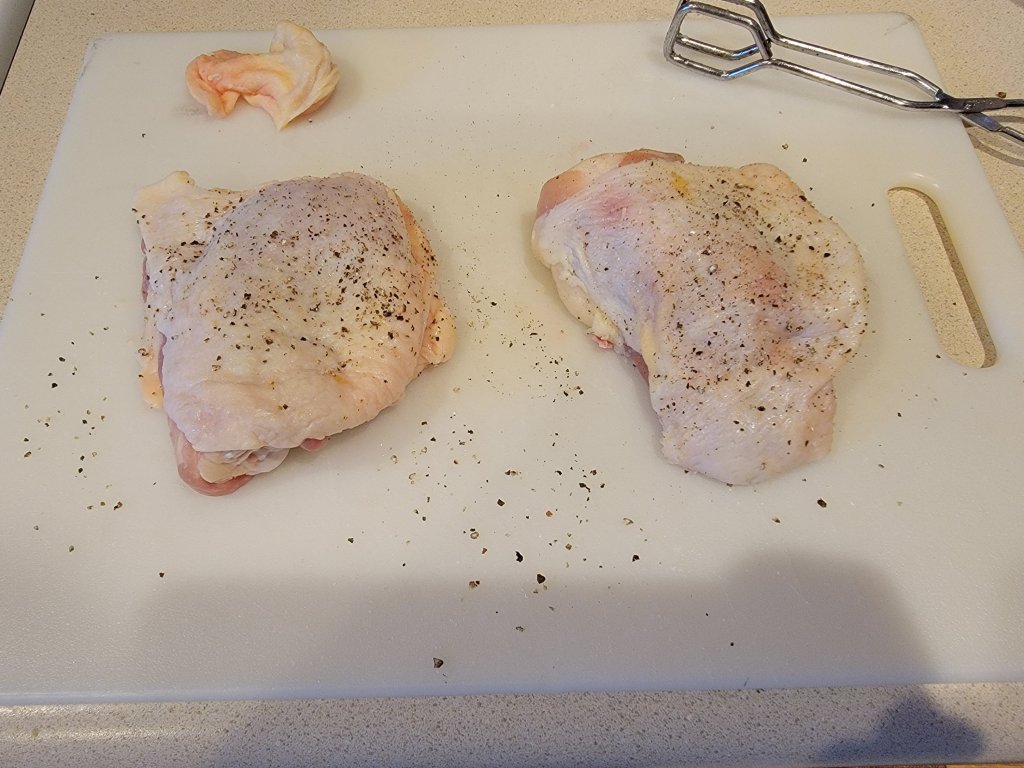
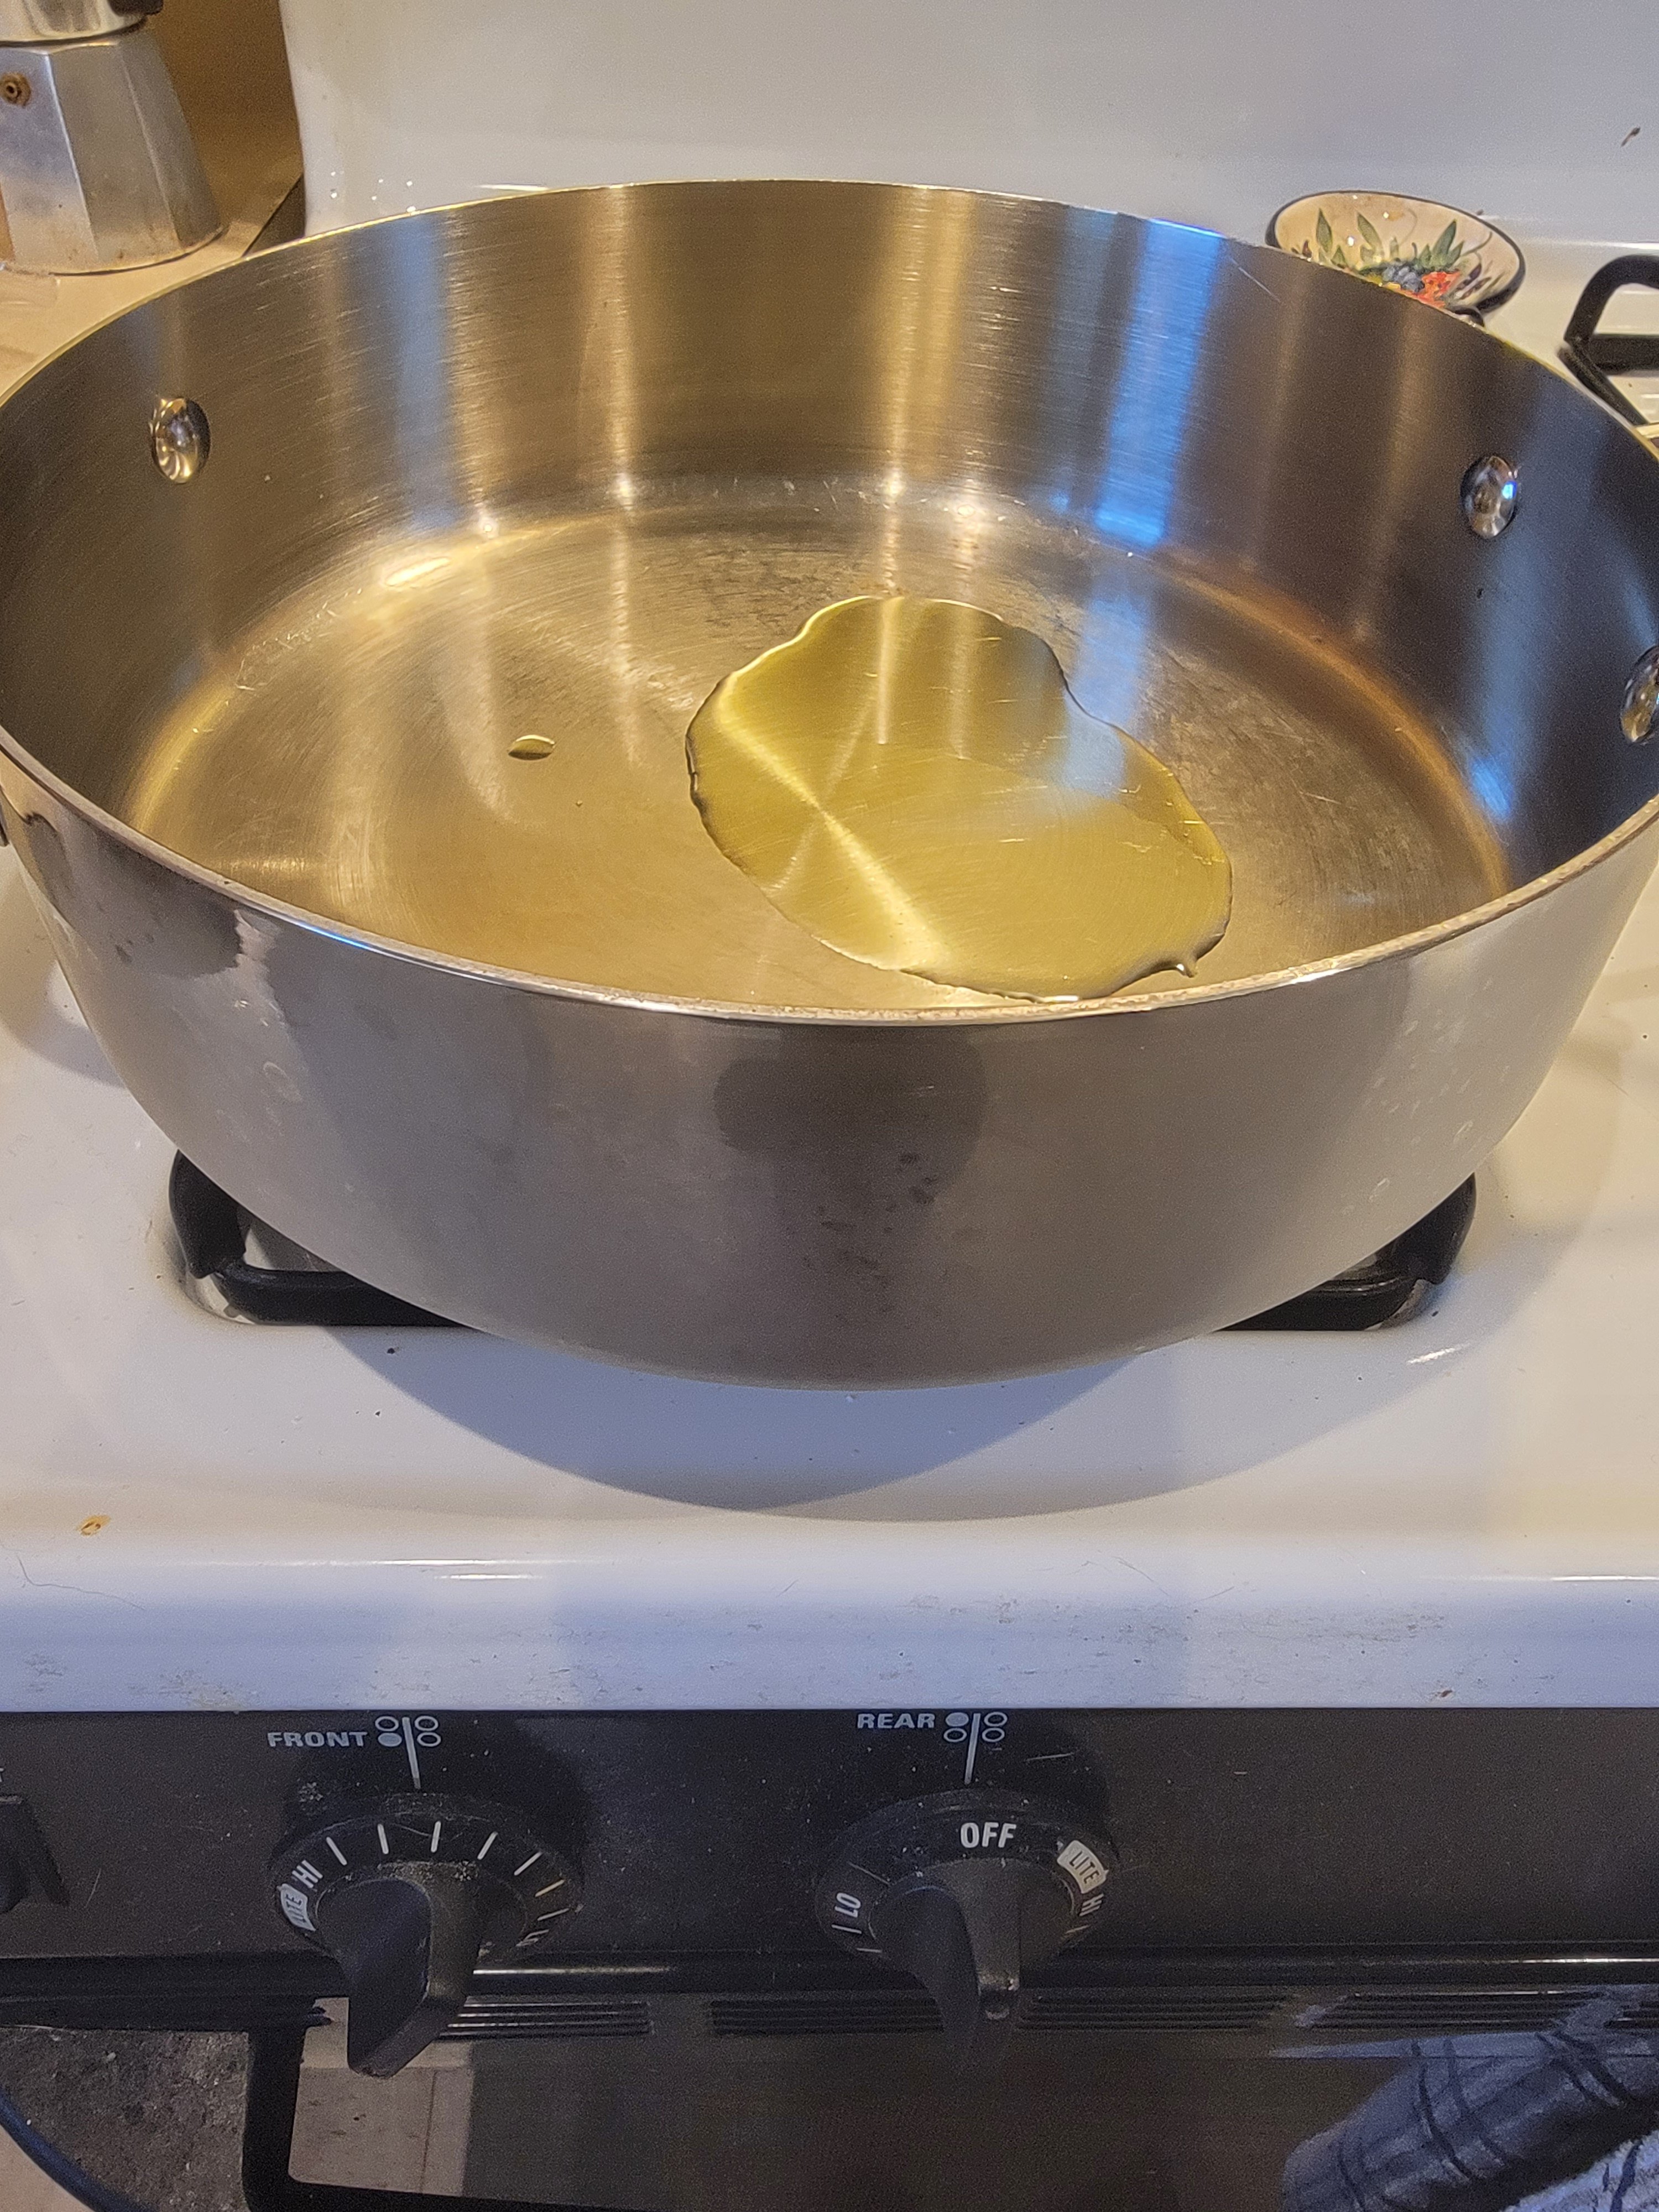
To start, preheat your oven to 375F. Then put half a tablespoon of olive oil in the cast iron skillet over medium high heat. While the pan is heating up remove any access skin from the chicken thighs and salt and pepper each side.
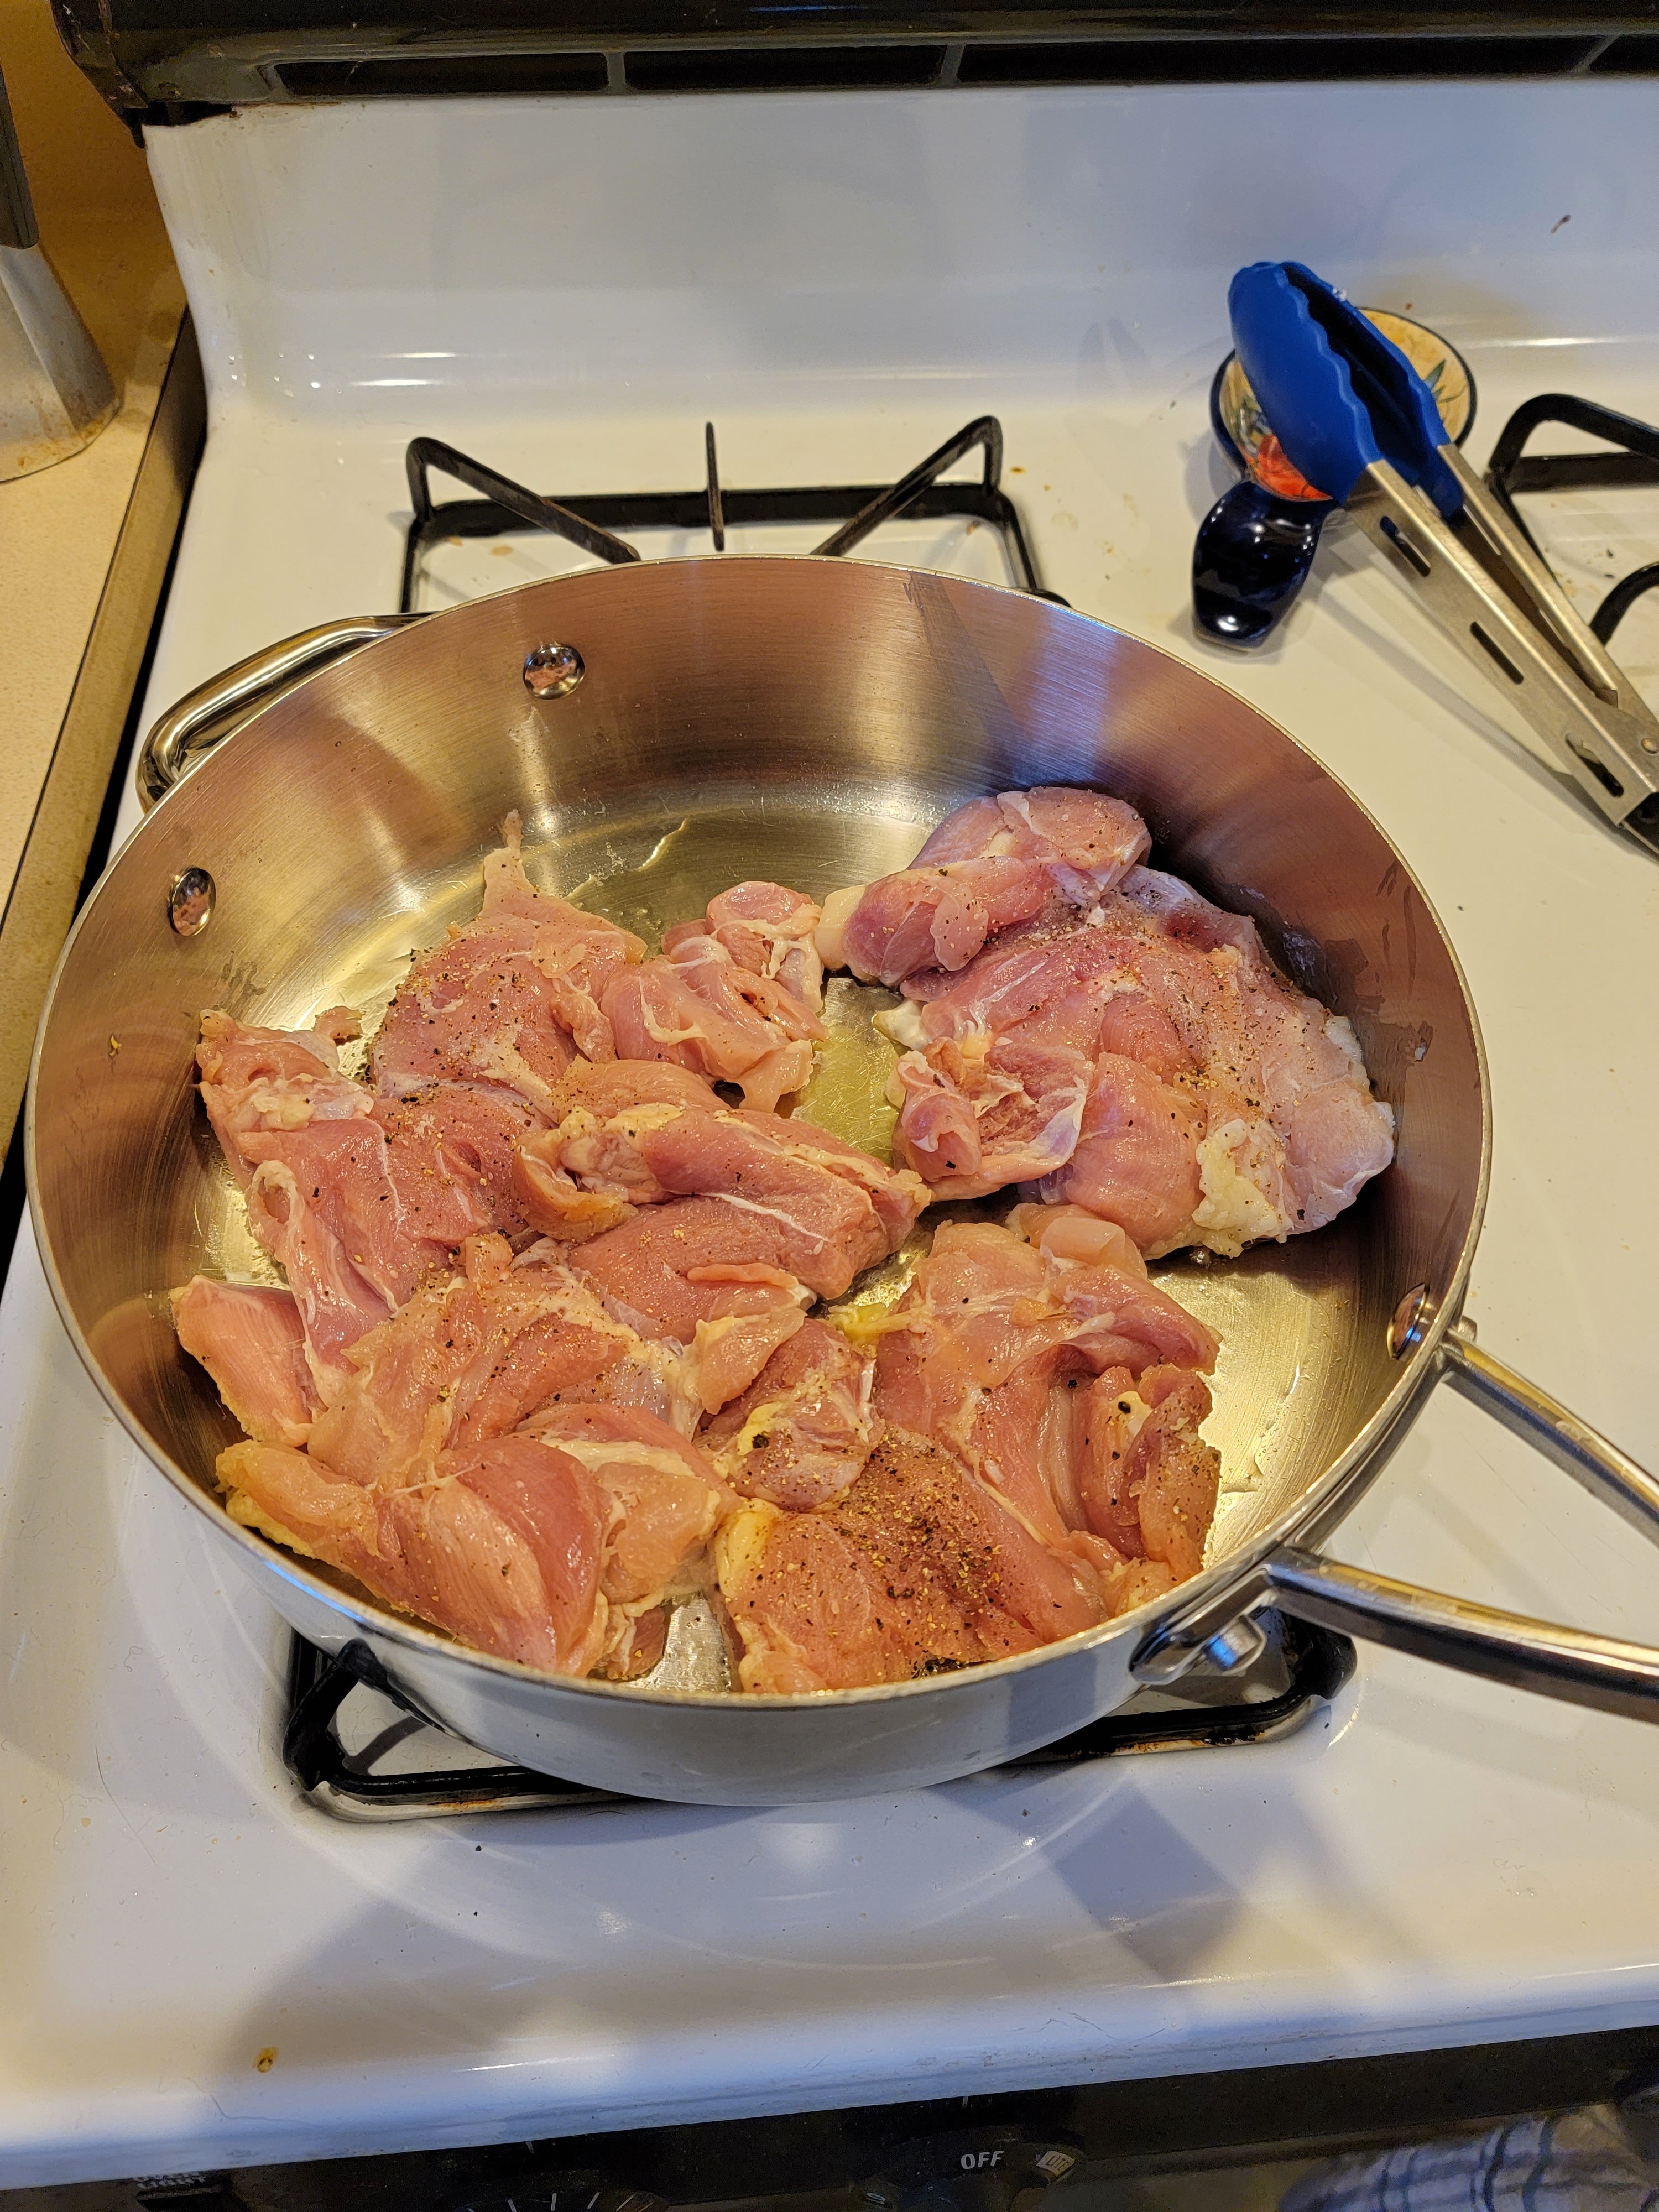
Once the pan is nice and hot add the chicken, skin side down, and cook 5-7 minutes or until the skin is nice and brown.

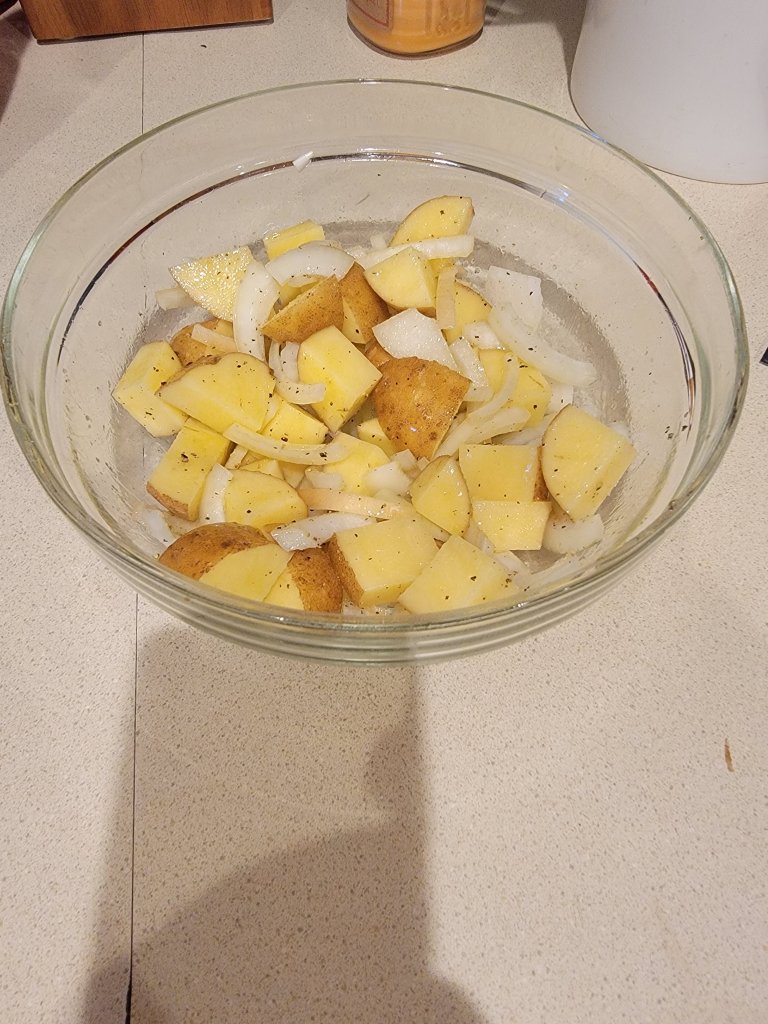
While the chicken is cooking chop up the potatoes, onion, and garlic. Then add the veggies to a bowl and mix with the remaining 1/2 tbsp of olive oil, salt, and pepper.

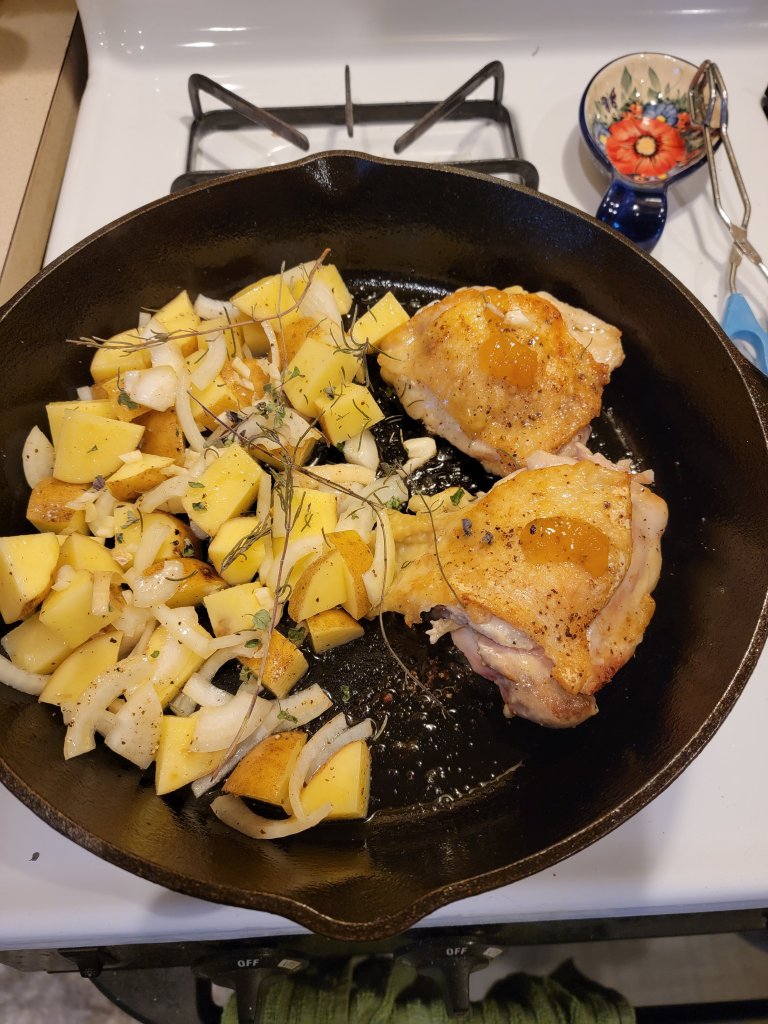
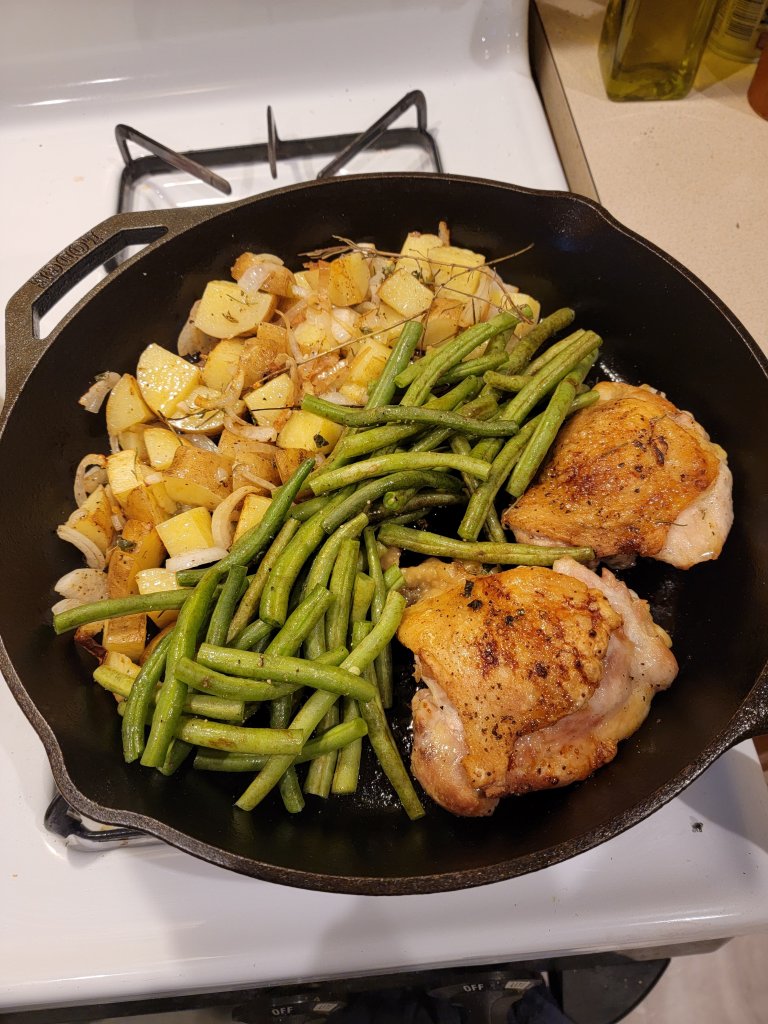
When the chicken is nice and brown flip it over and move it to one side of the pan. Top each chicken thigh with 1 tsp of honey. Add the potato, onion, and garlic mixture to the other side of the pan. I also added some sprigs of dried herbs from our garden to the pan. This is optional. Don’t get rid if the bowl from the potatoes. You can use it for the green beans later.

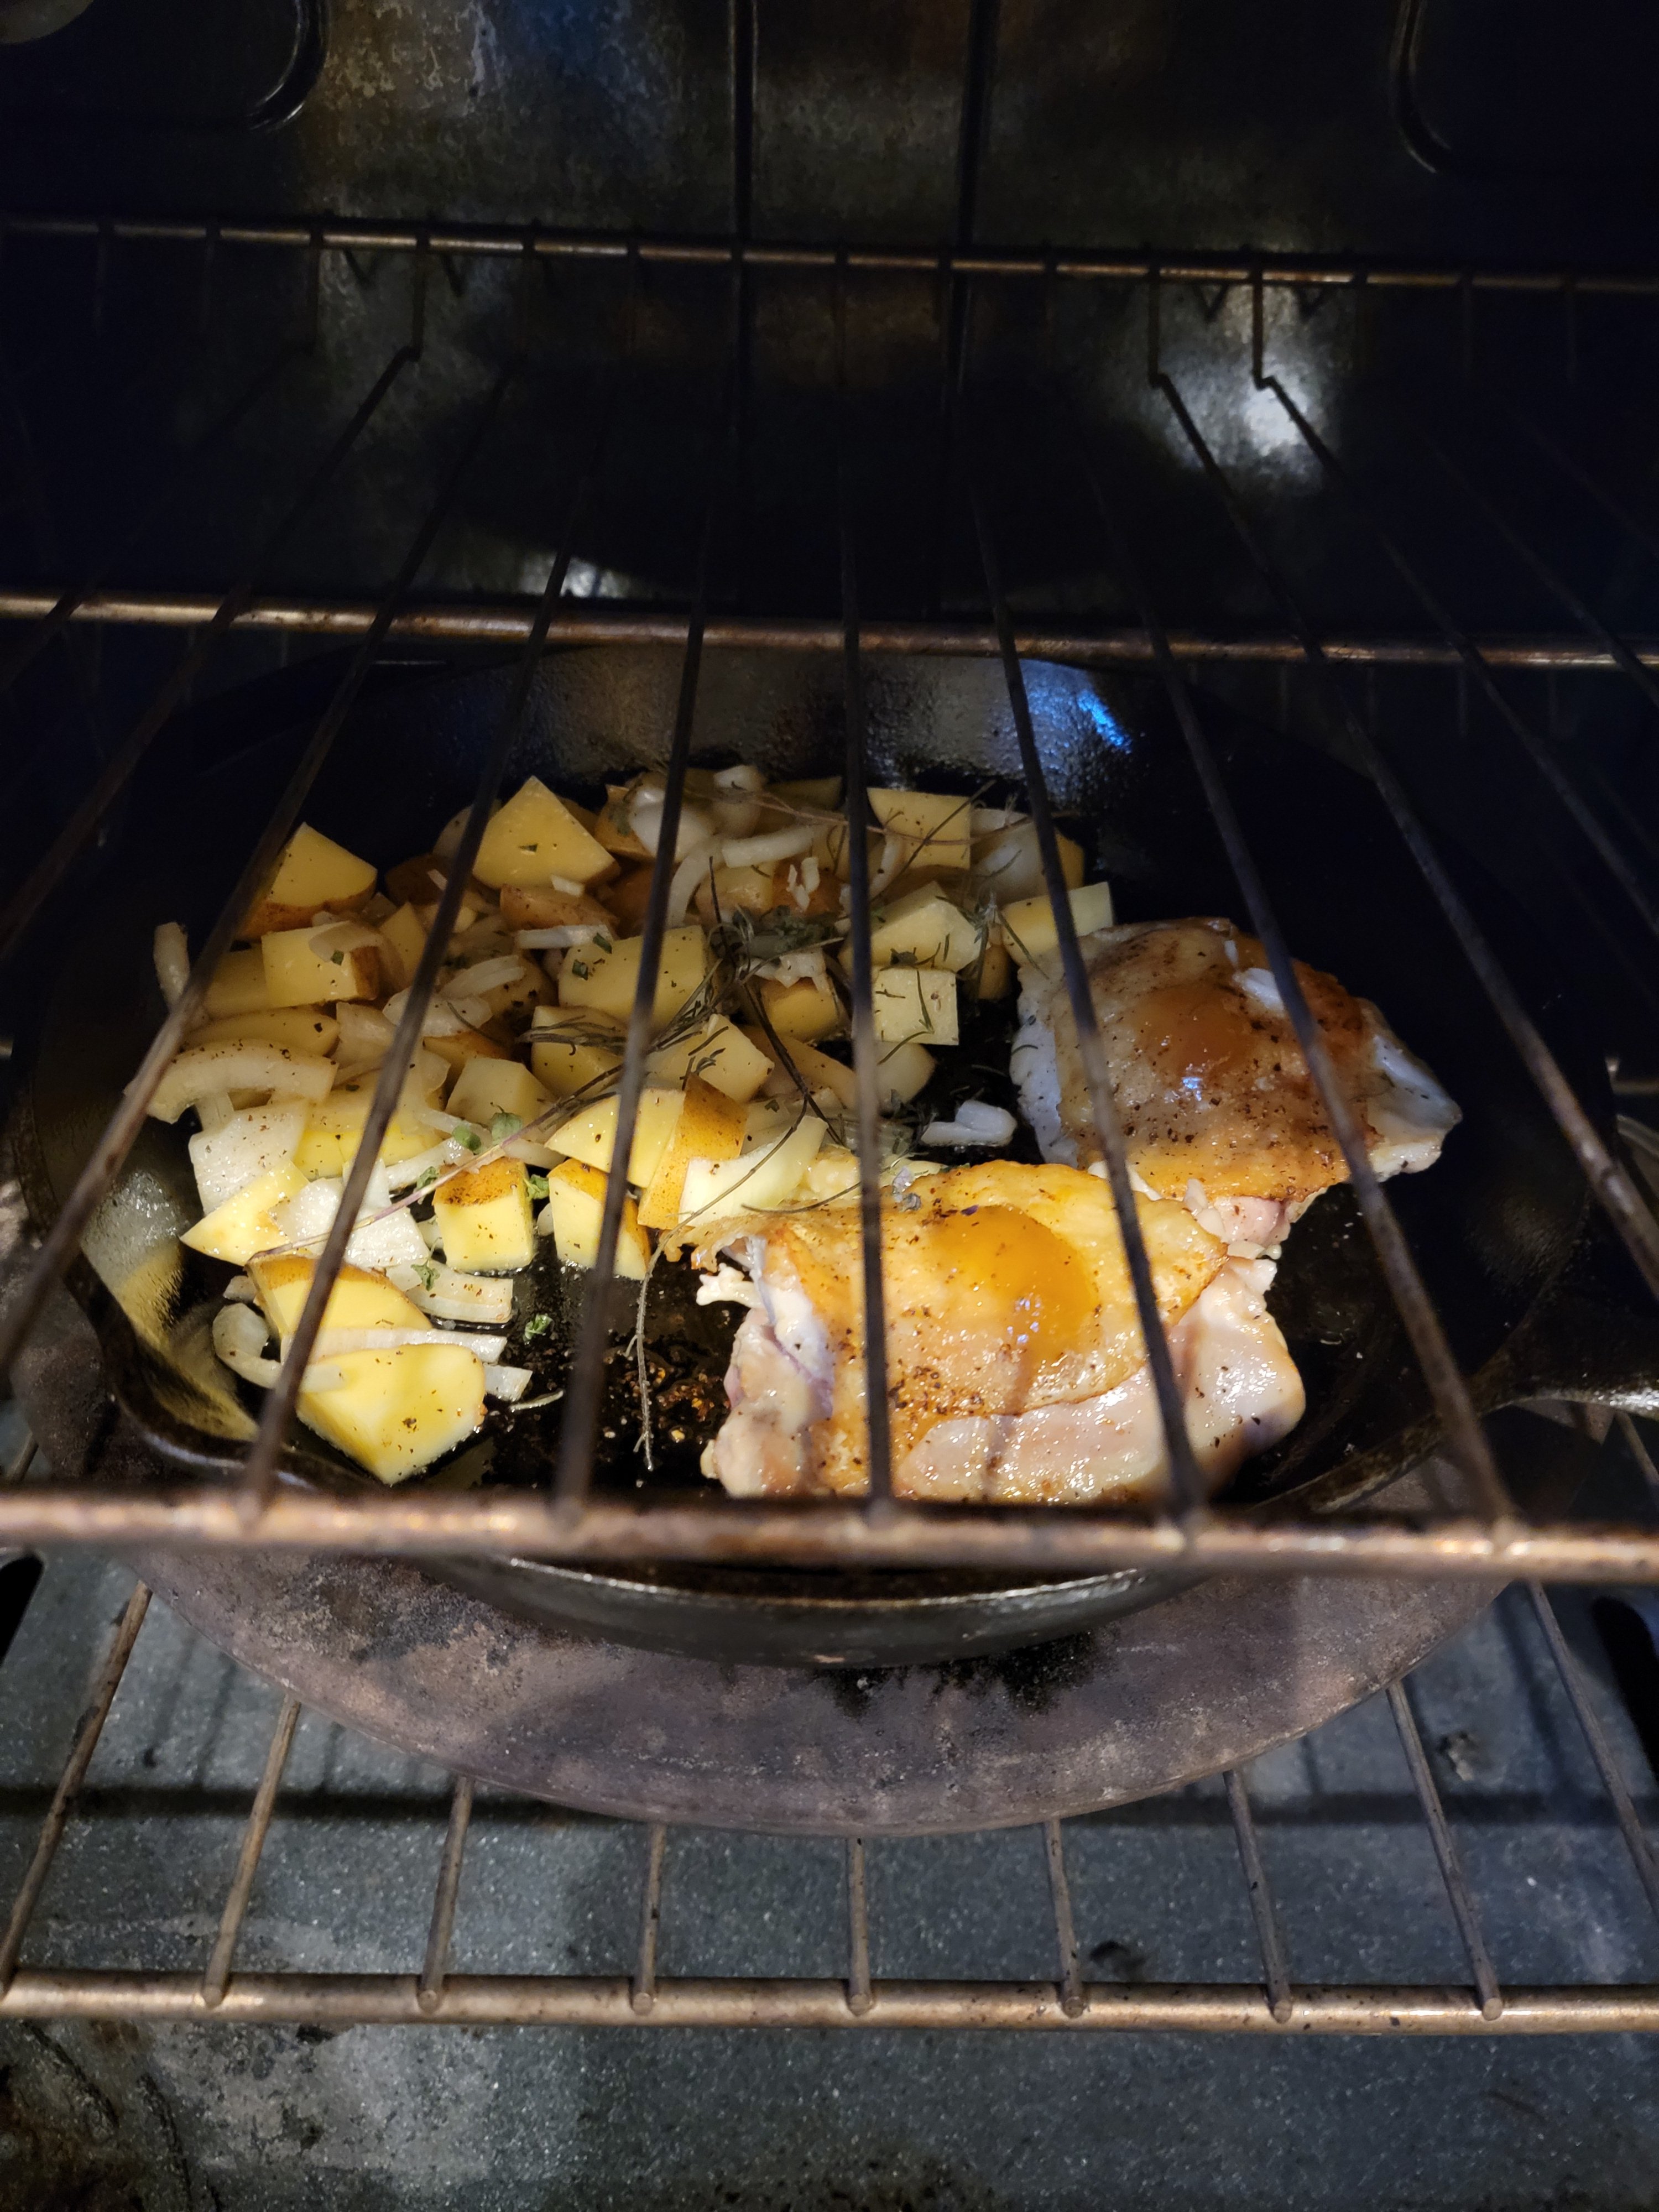
Bake for 20-25 minutes on the middle rack.

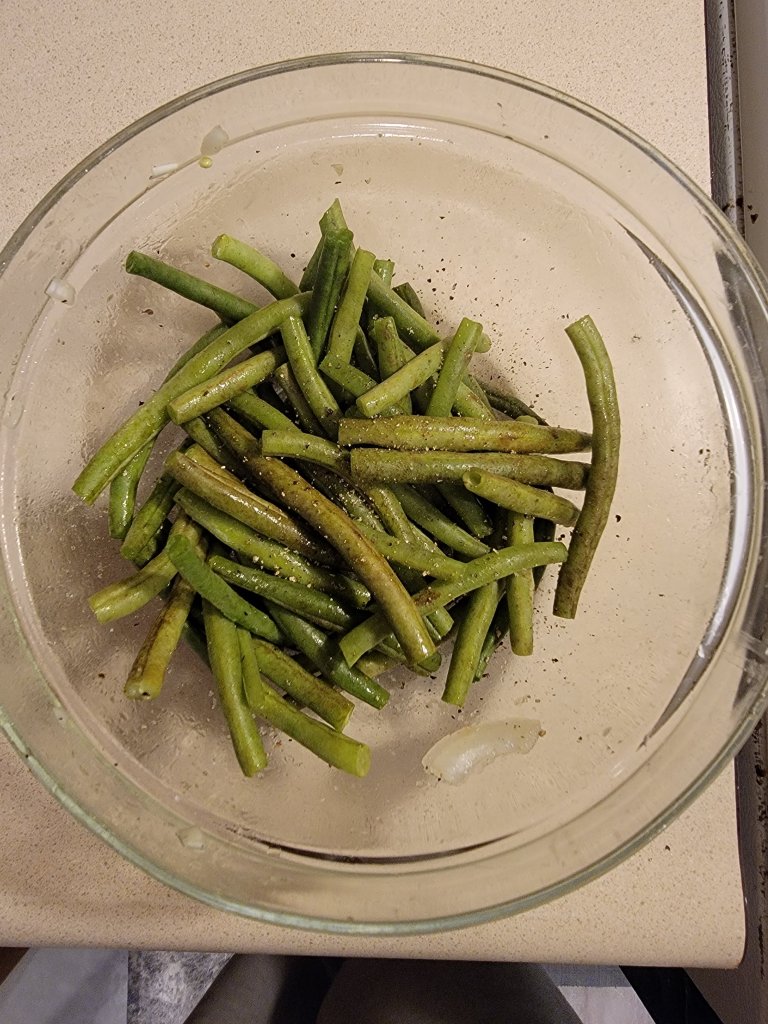
While the chicken and potatoes are baking trim the ends off the green beans. Then toss in the same bowl you had the potatoes in to get any extra oil out of the bowl. Season with salt and pepper then set aside.
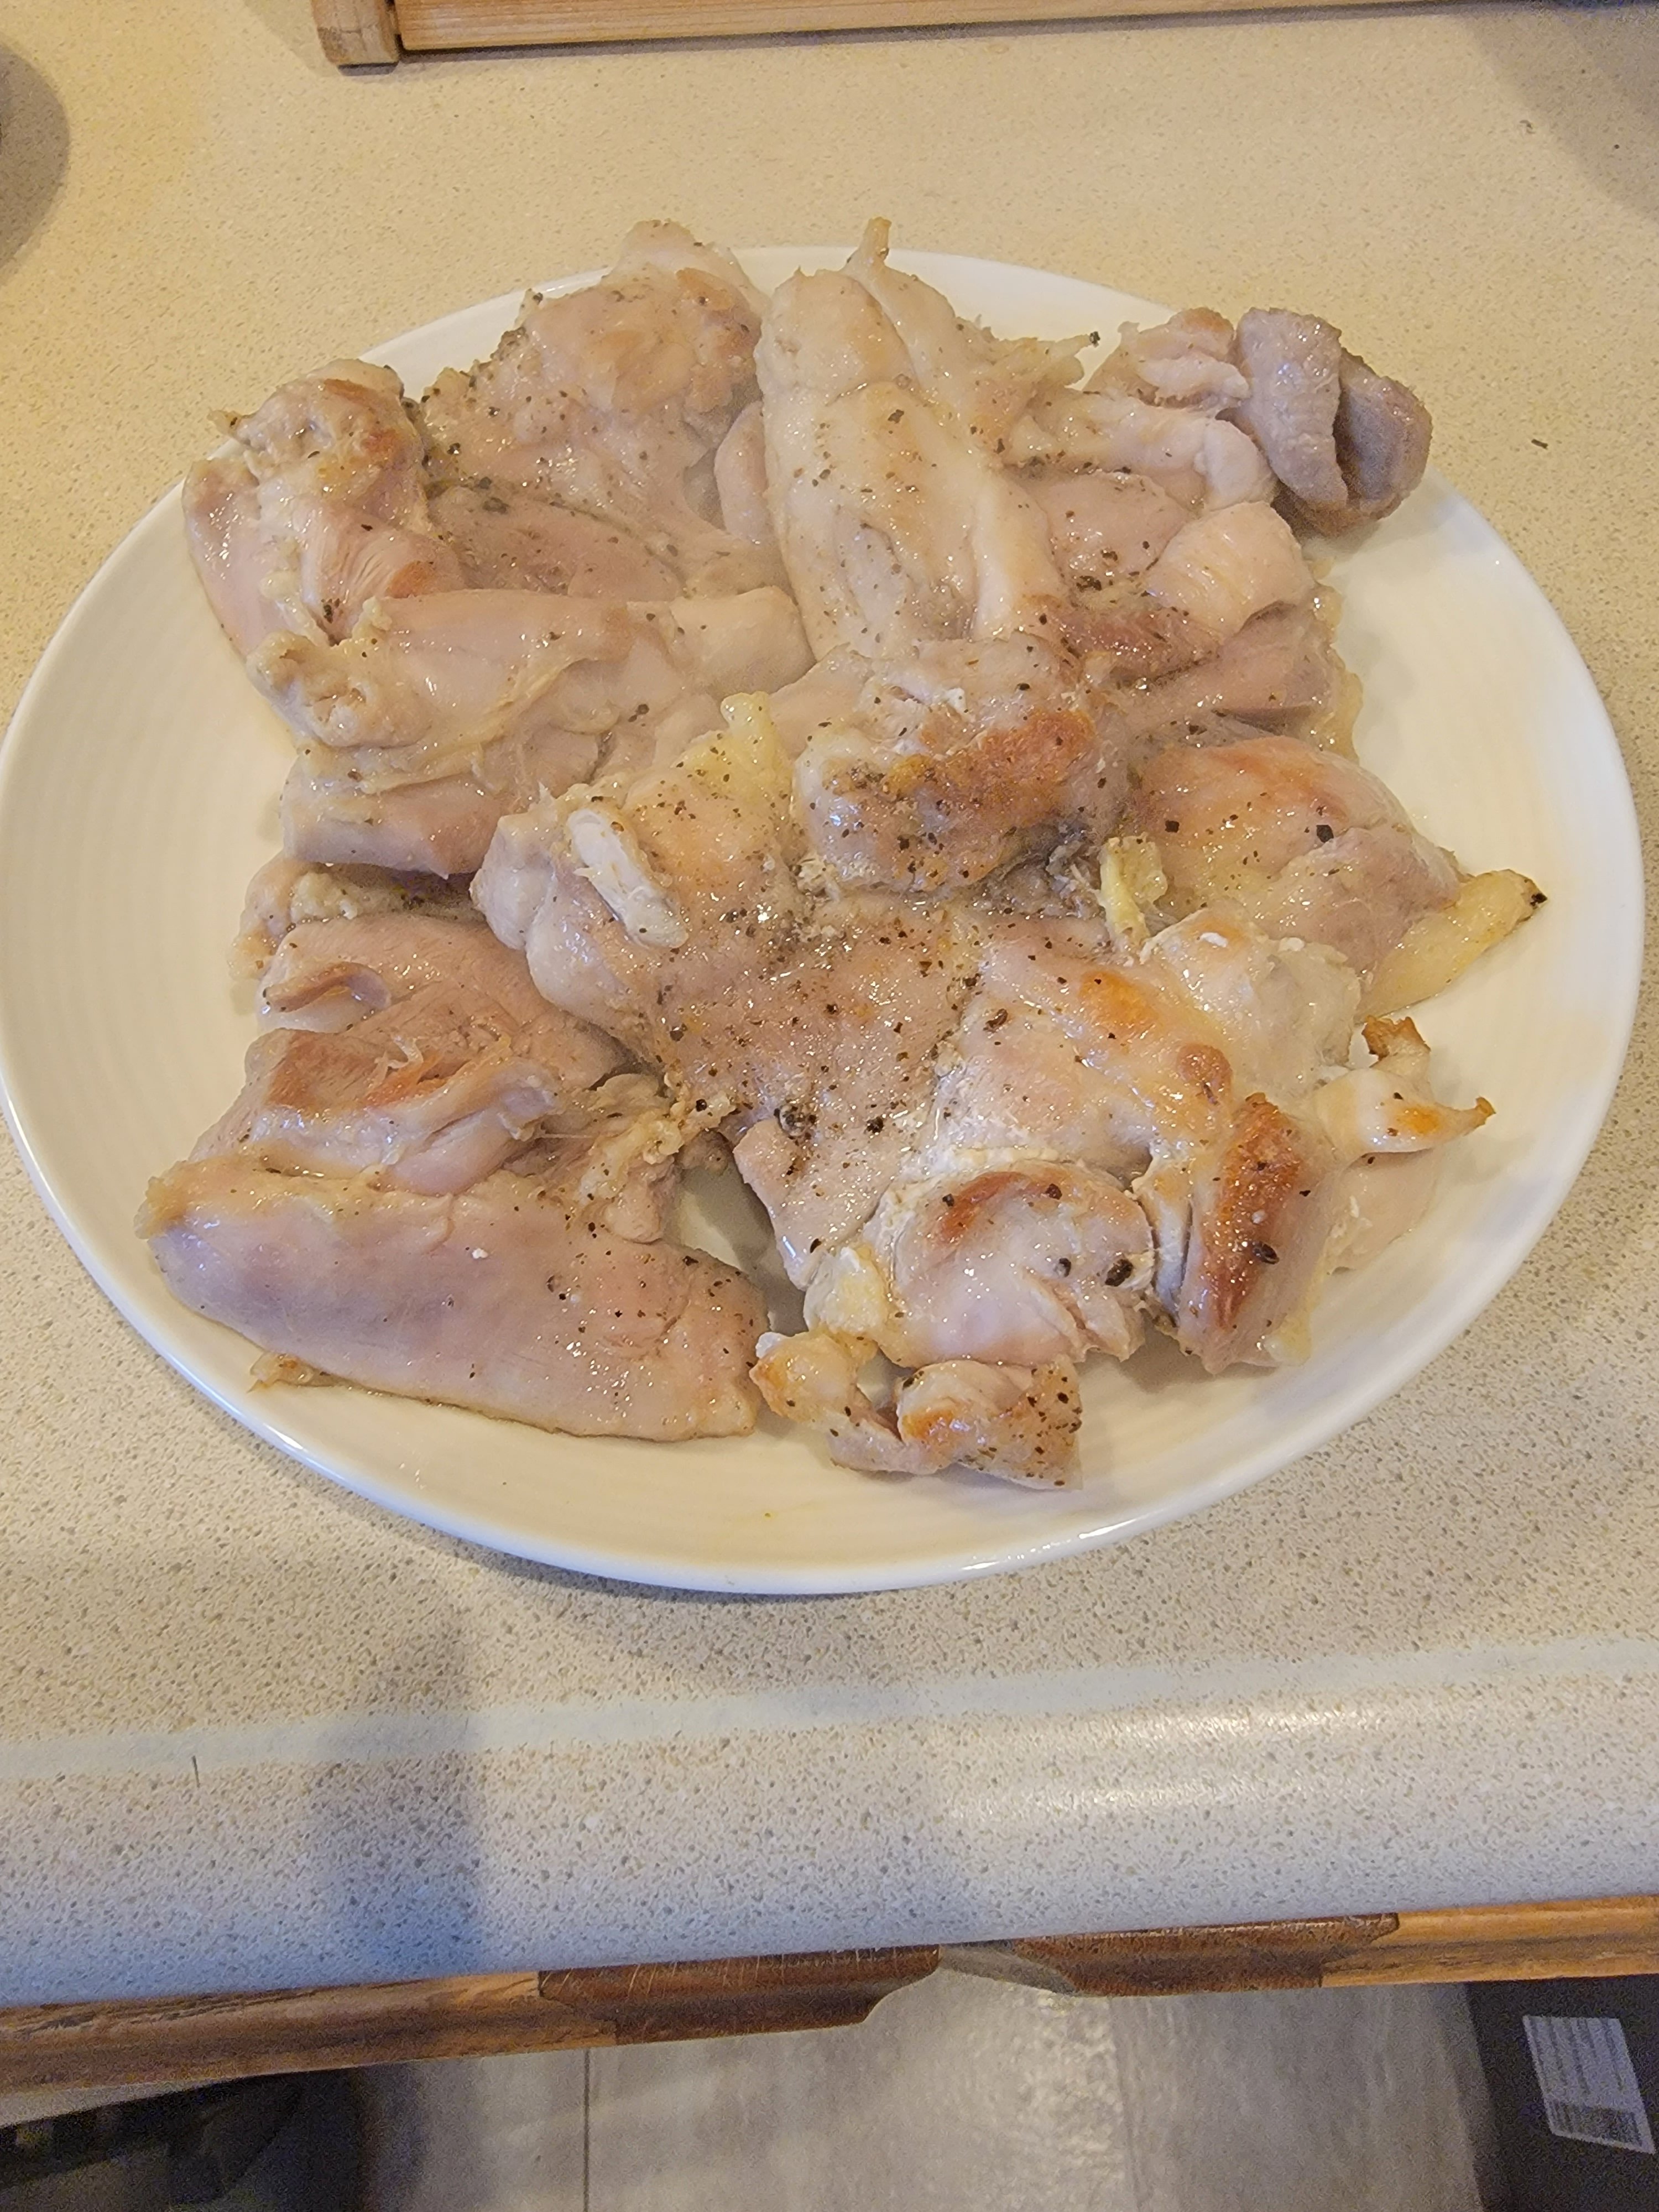
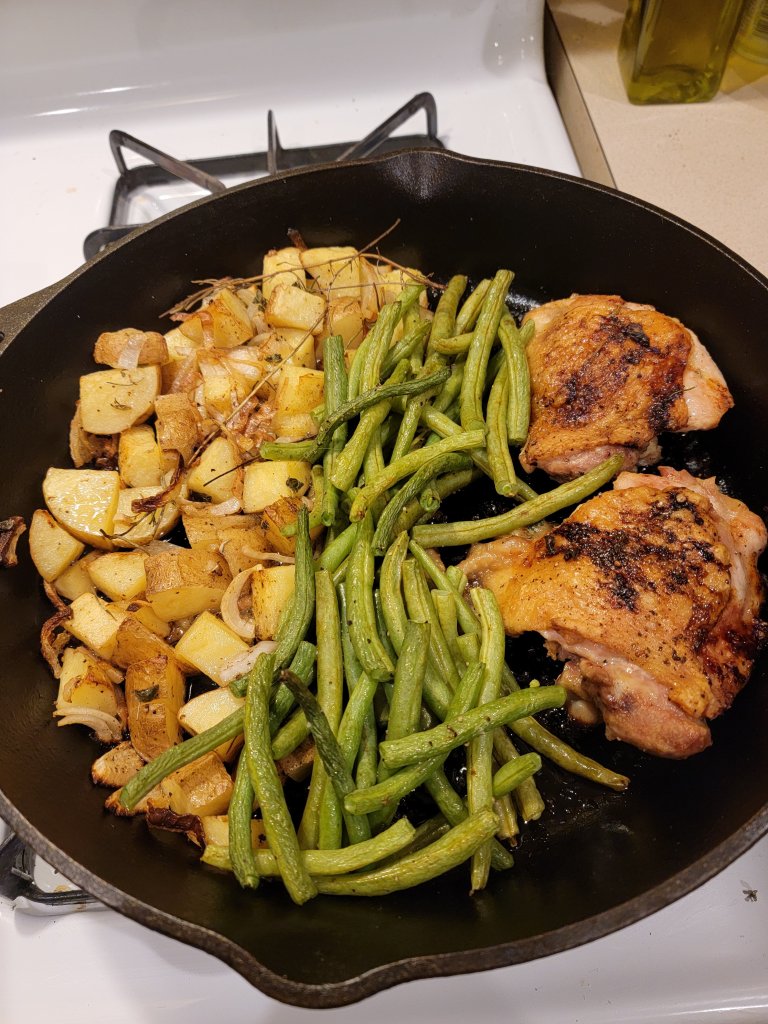
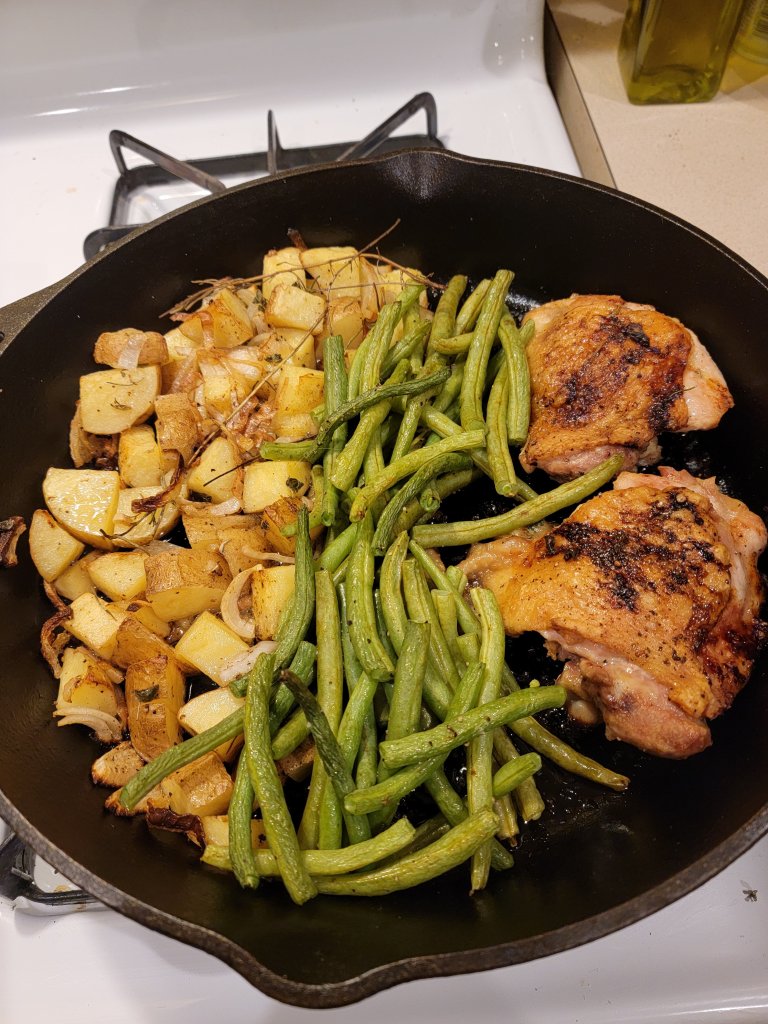
After the chicken and potatoes bake for 20-25 minutes take the pan out of the oven and put the green beans on top. Put back in the oven and bake for an additional 10 minutes.

After the 10 minutes are up test to make sure the potatoes are soft enough and the chicken is at least 165F. If you need to bake for another 5 or 10 minutes that is okay.

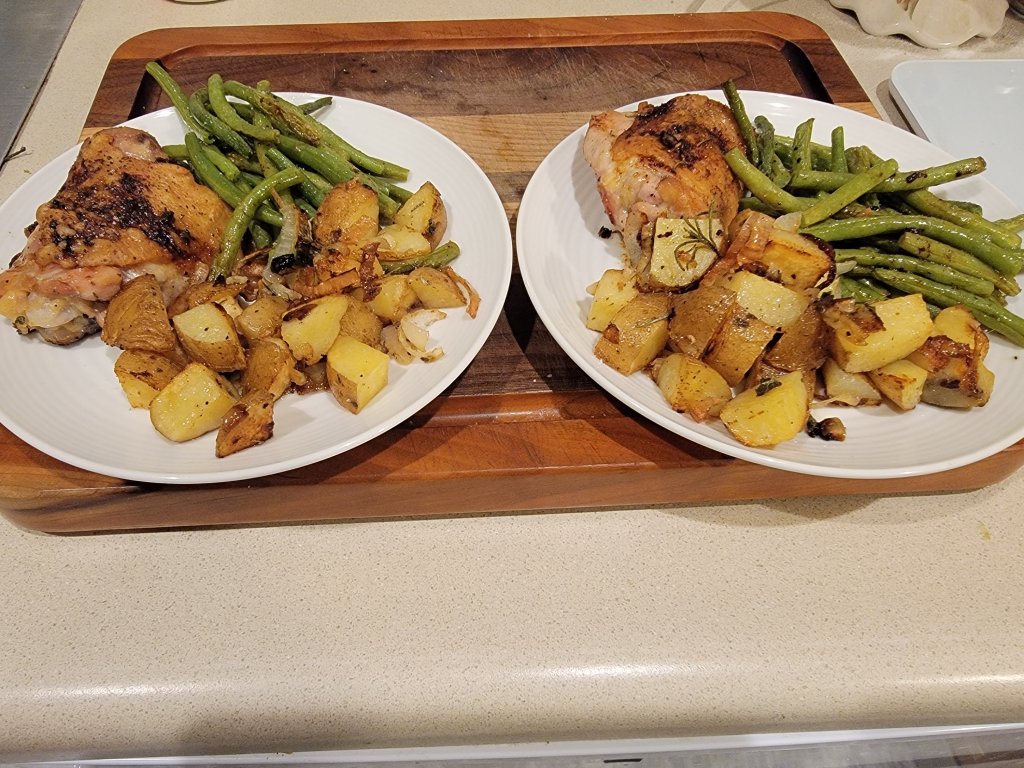
And that’s it! Now it’s time to plate it up and enjoy.

Cheers!

– Dan

The Perfect Early Fall Breakfast

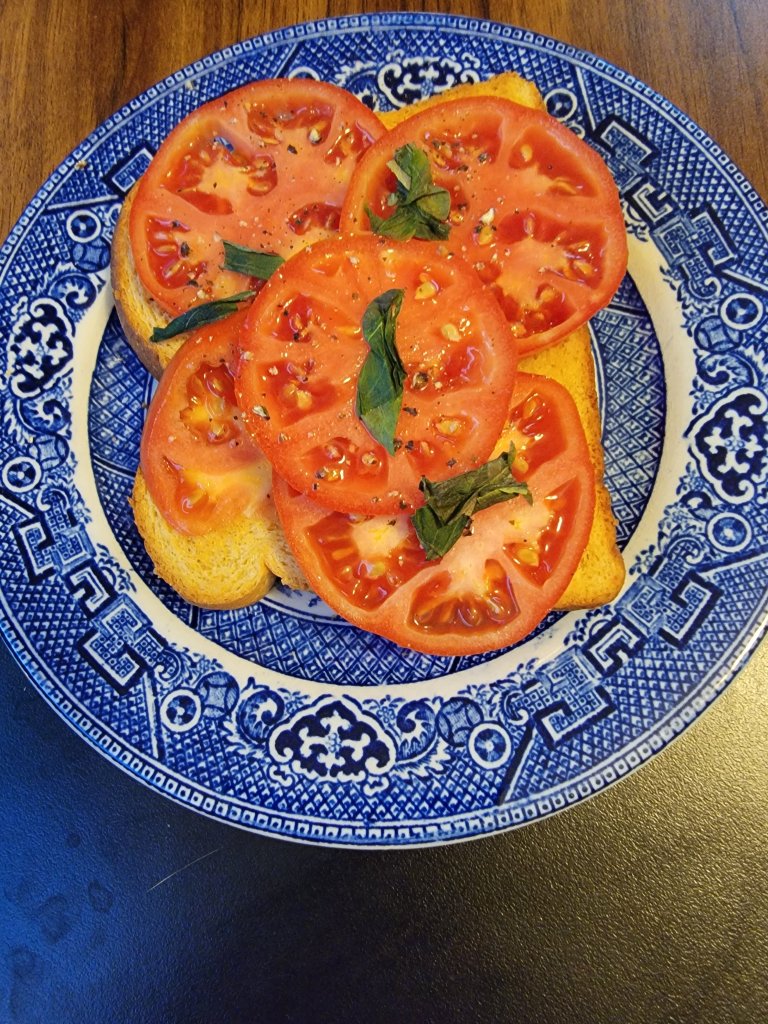
Here in the North East we are in peak tomato season! I’ve been putting tomatoes in every sandwich I’ve made now for weeks and had an idea. Move over avocado toast… it’s time for tomato toast!

It’s simple. Just toast up a piece of bread (I’ve been loving Martin’s Whole Wheat Potato Bread), spread on a little butter, add tomato slices and season with salt and pepper. I added some basil from the garden too.

Hope you enjoy! 🍅 🍅

Kielbasa and Tortellini Soup

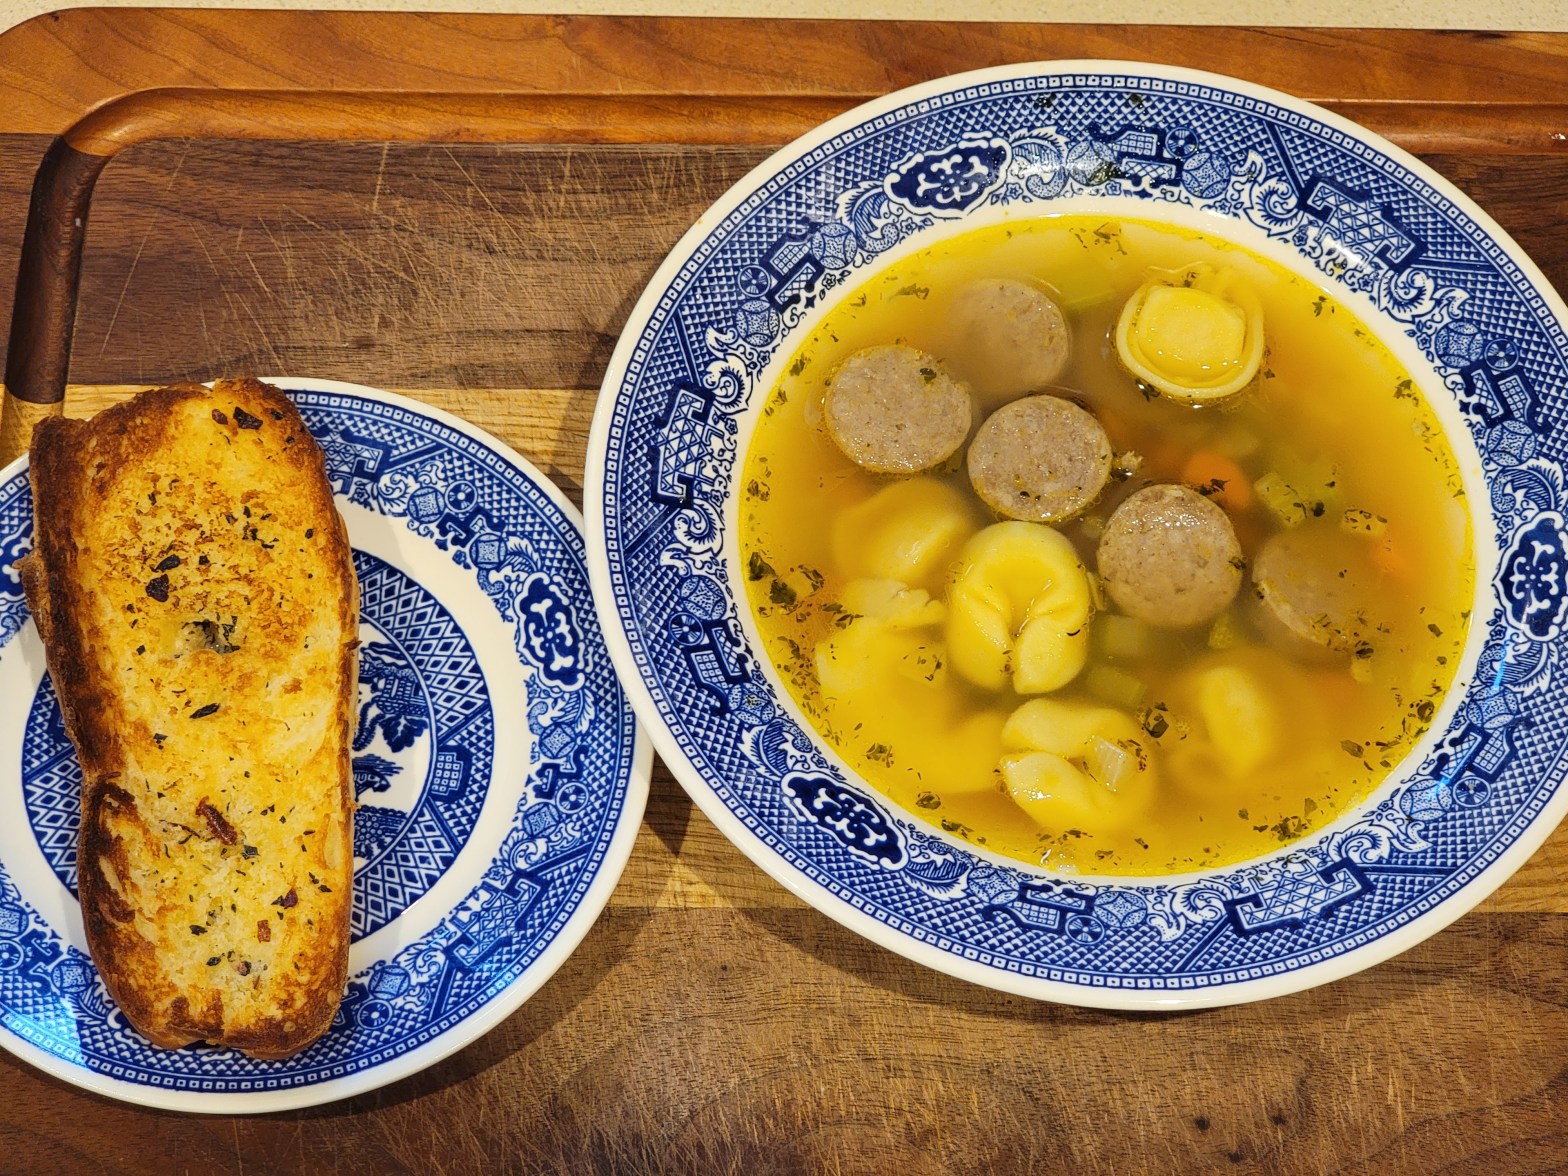
Did you ever just get sick of making the same things for dinner over and over? That’s how we felt today, so I went in the freezer and found a bag of tortellini and a ring of fresh kielbasa and had an idea… Soup!

Here’s what you’ll need:

  • 1 medium onion
  • 1 celery stock
  • 1 carrot
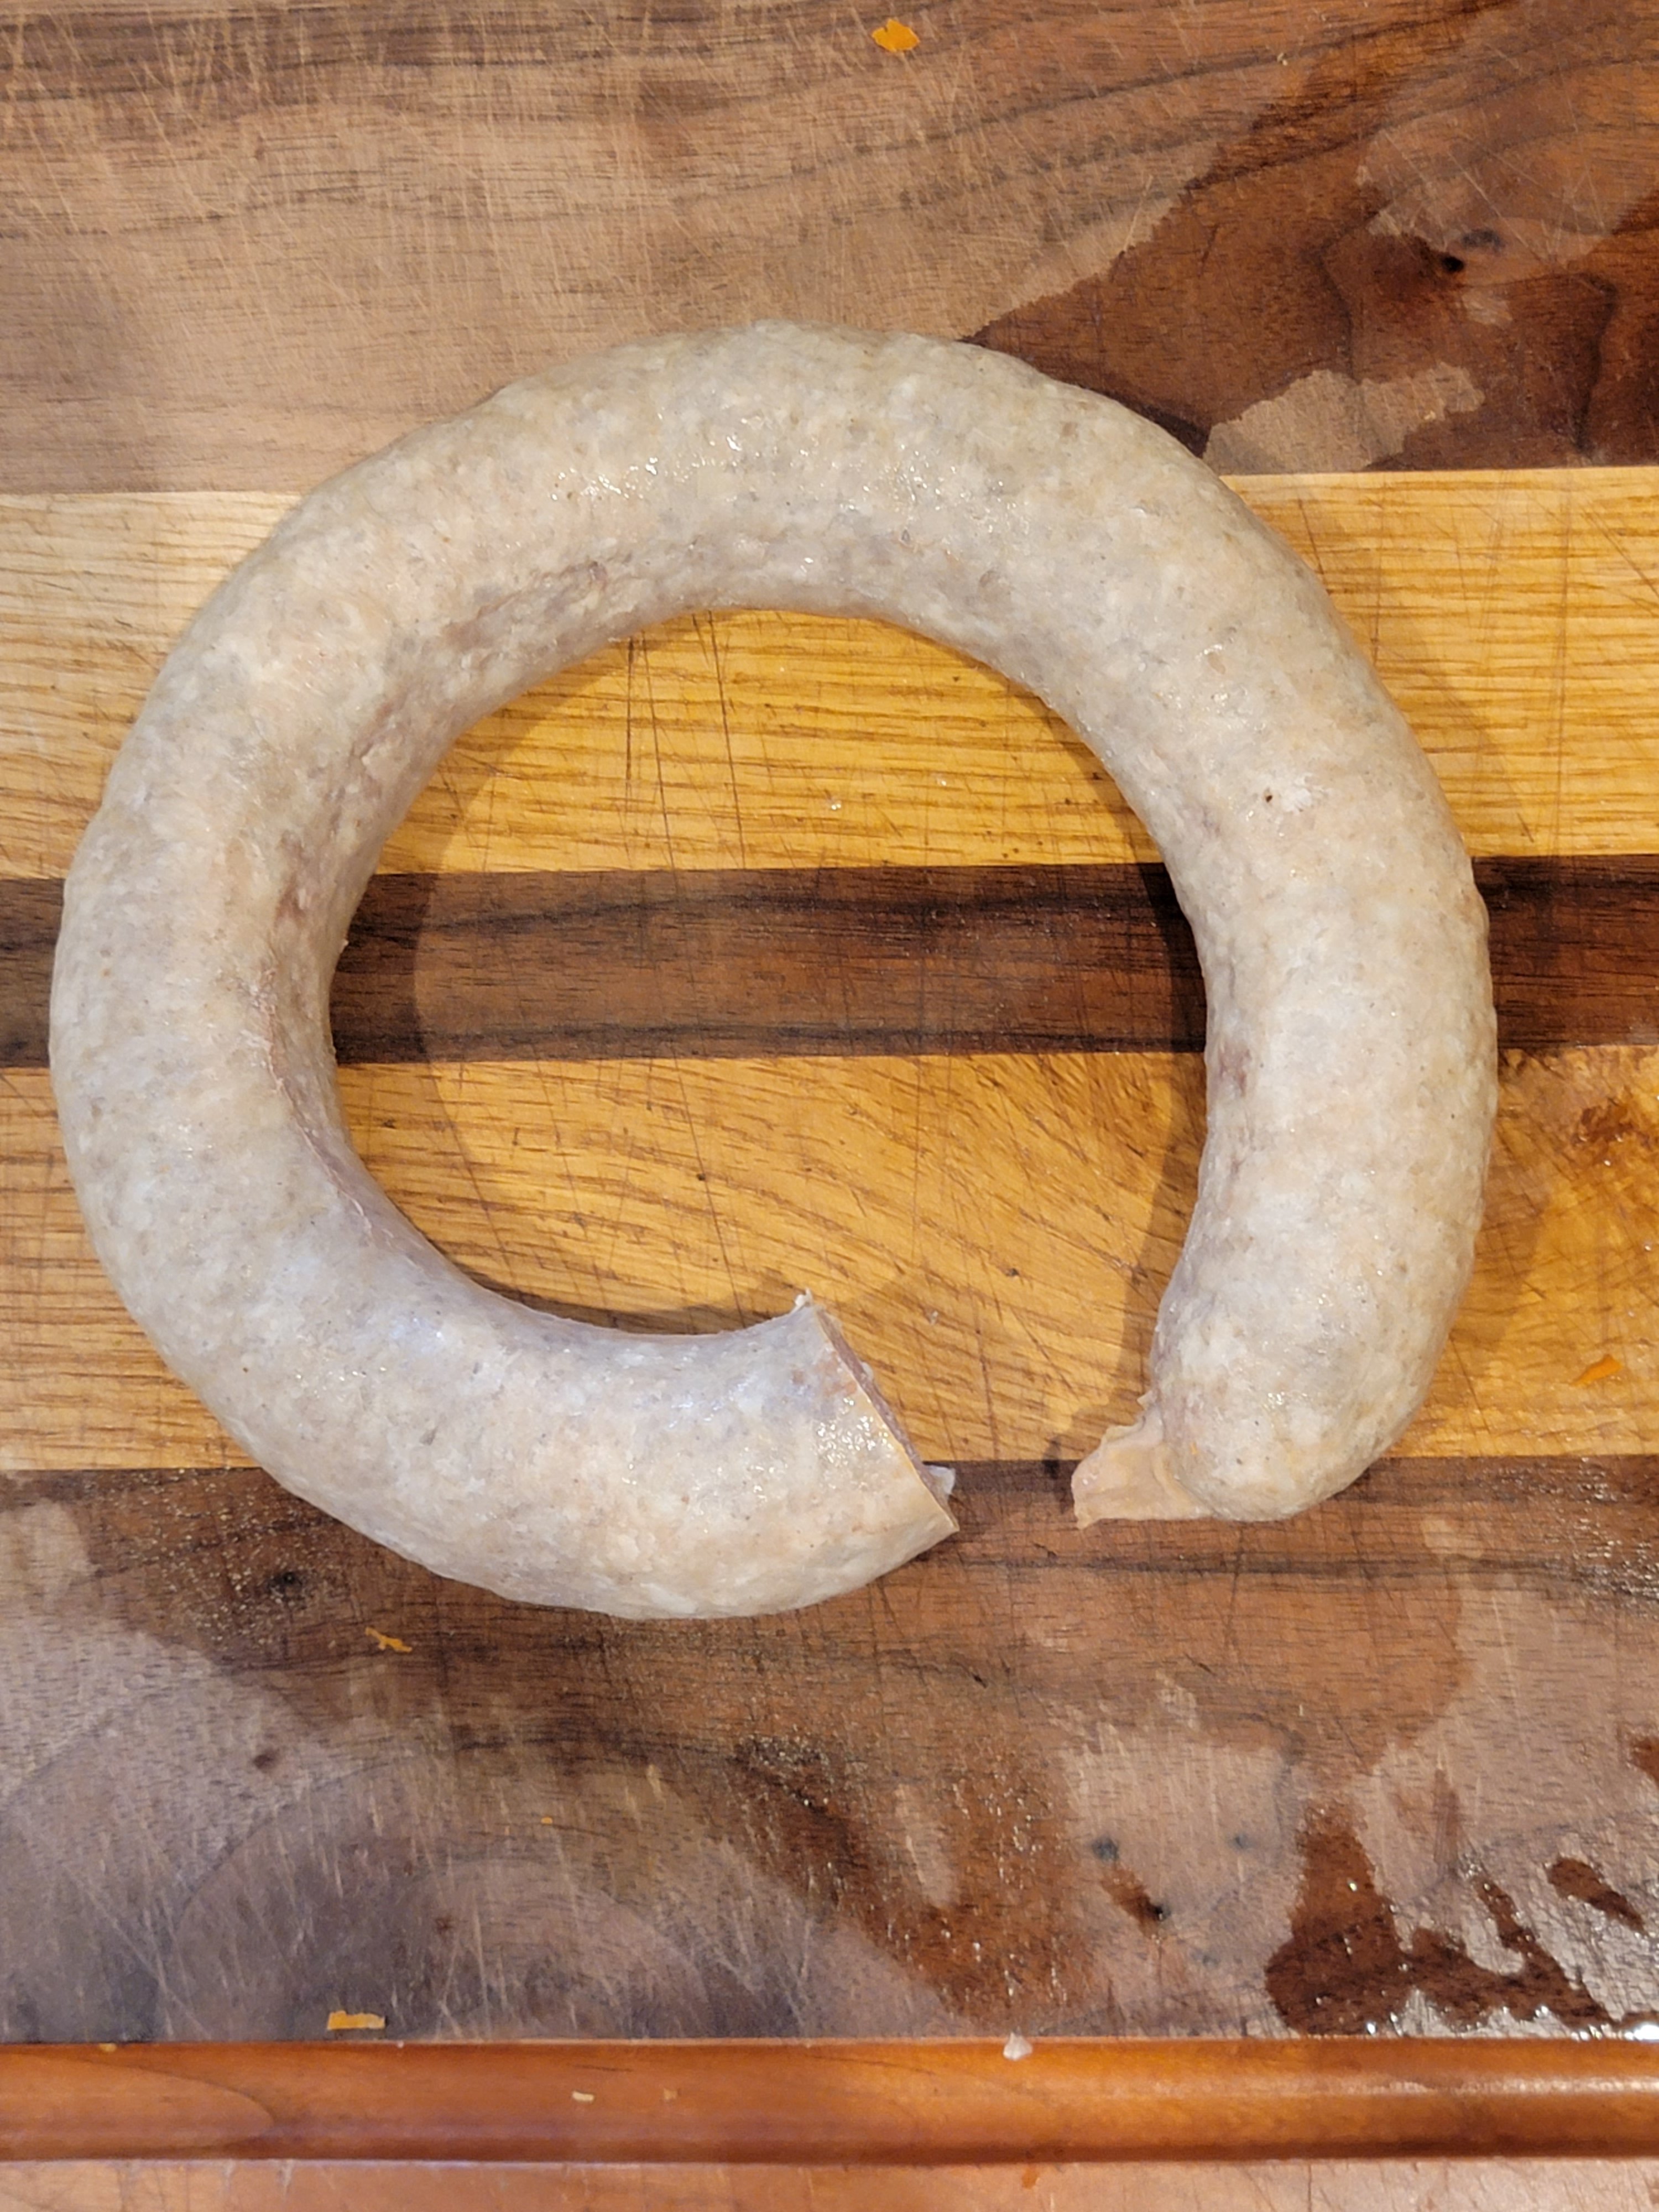
  • 1/2 a ring of fresh kielbasa – about 10oz
  • 1 tbsp Olive oil
  • 2 tsp dry parsley
  • 2 tap dry thyme
  • Salt to taste
  • Pepper to taste
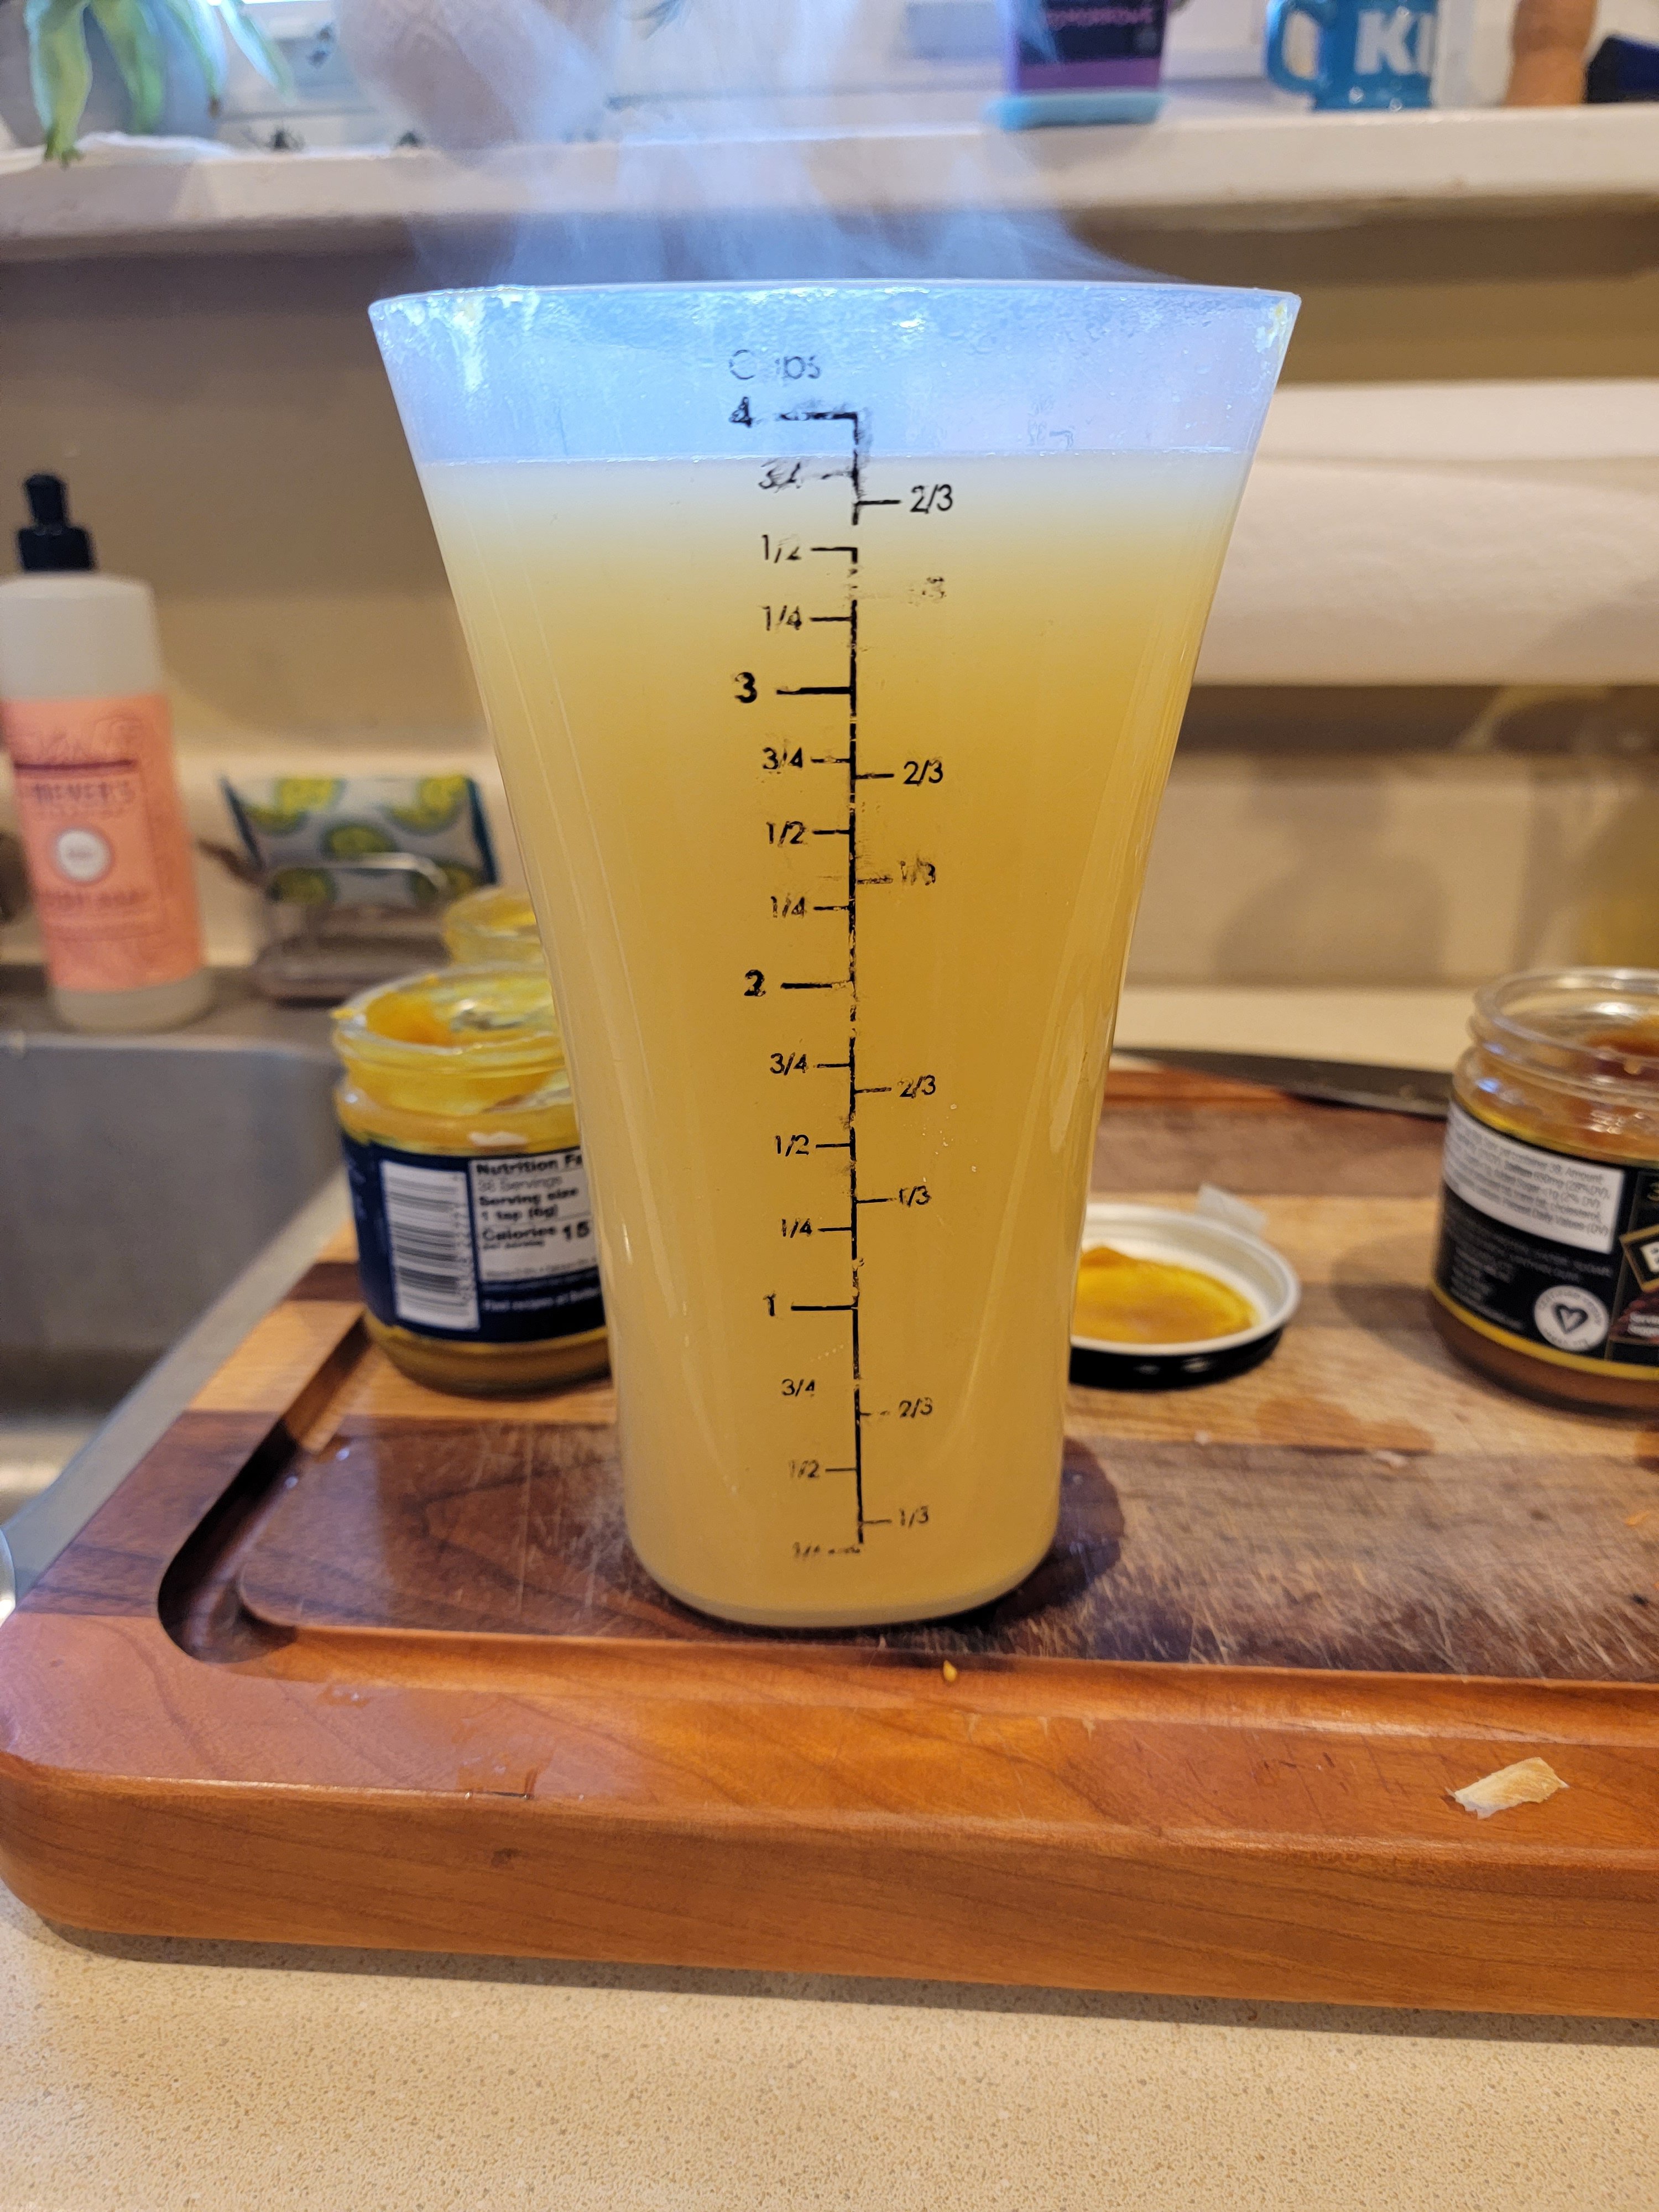
  • 4 cups chicken broth
  • 4 cups water
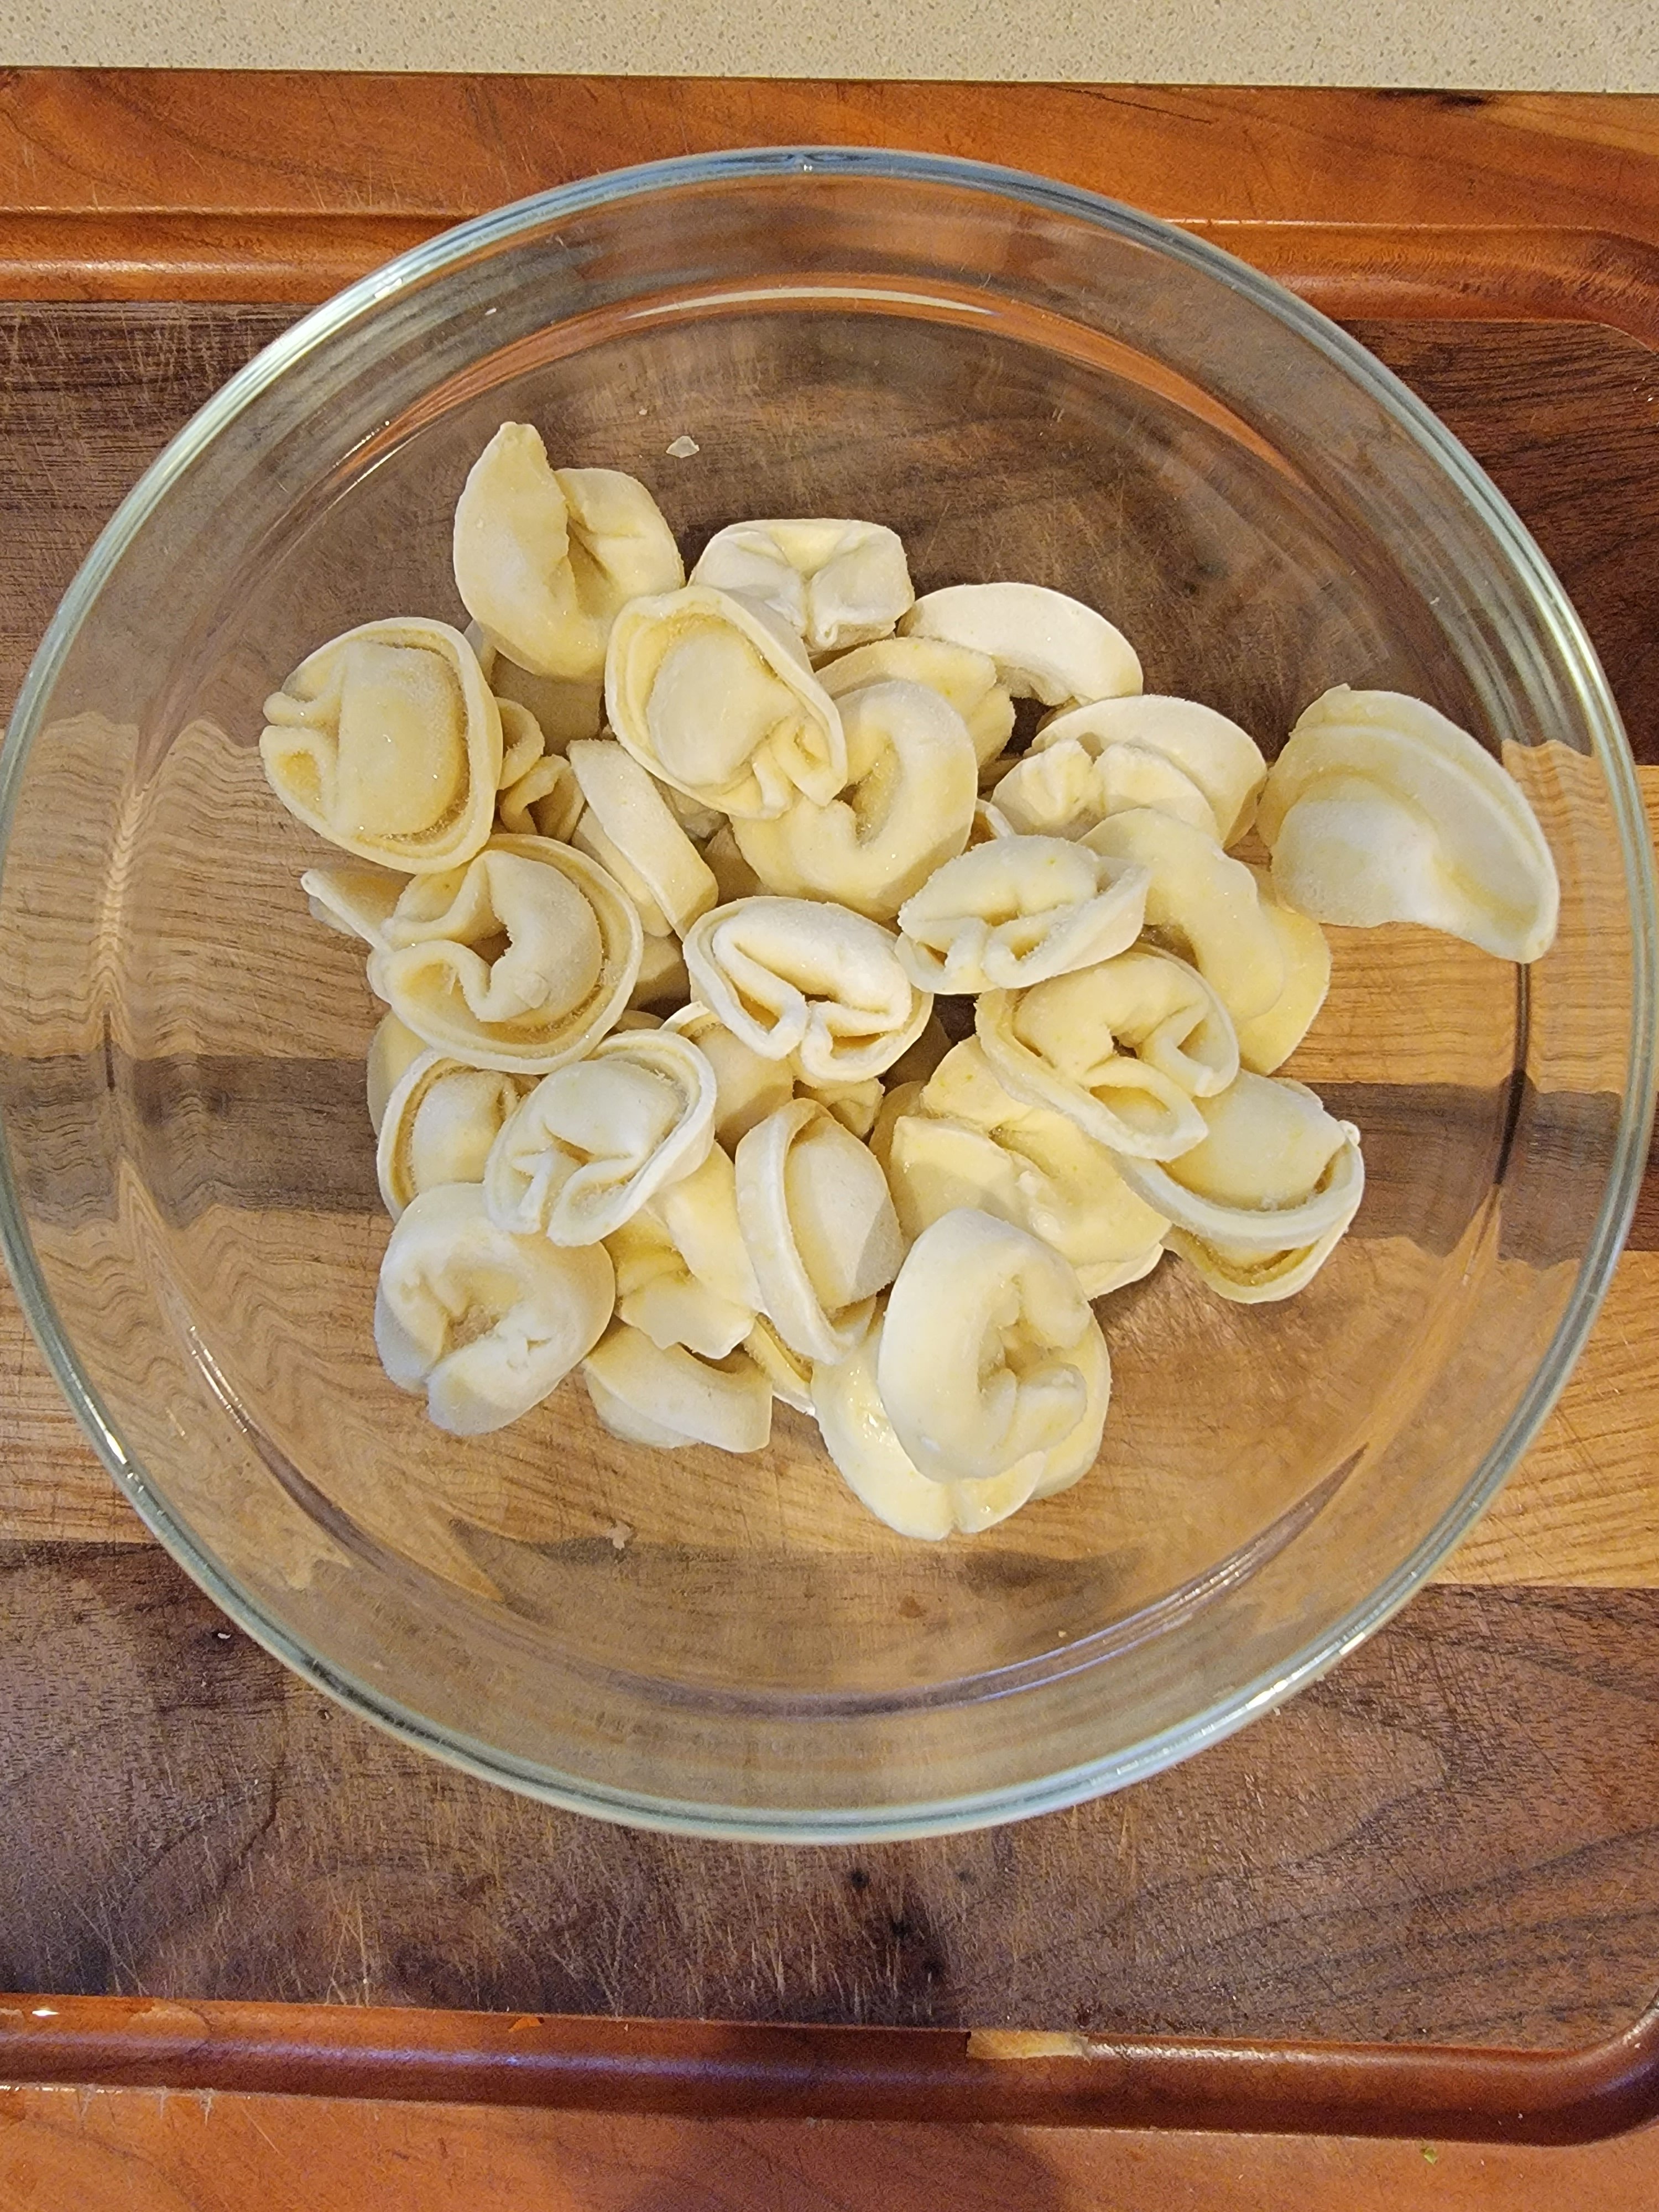
  • 2 cups frozen tortellini

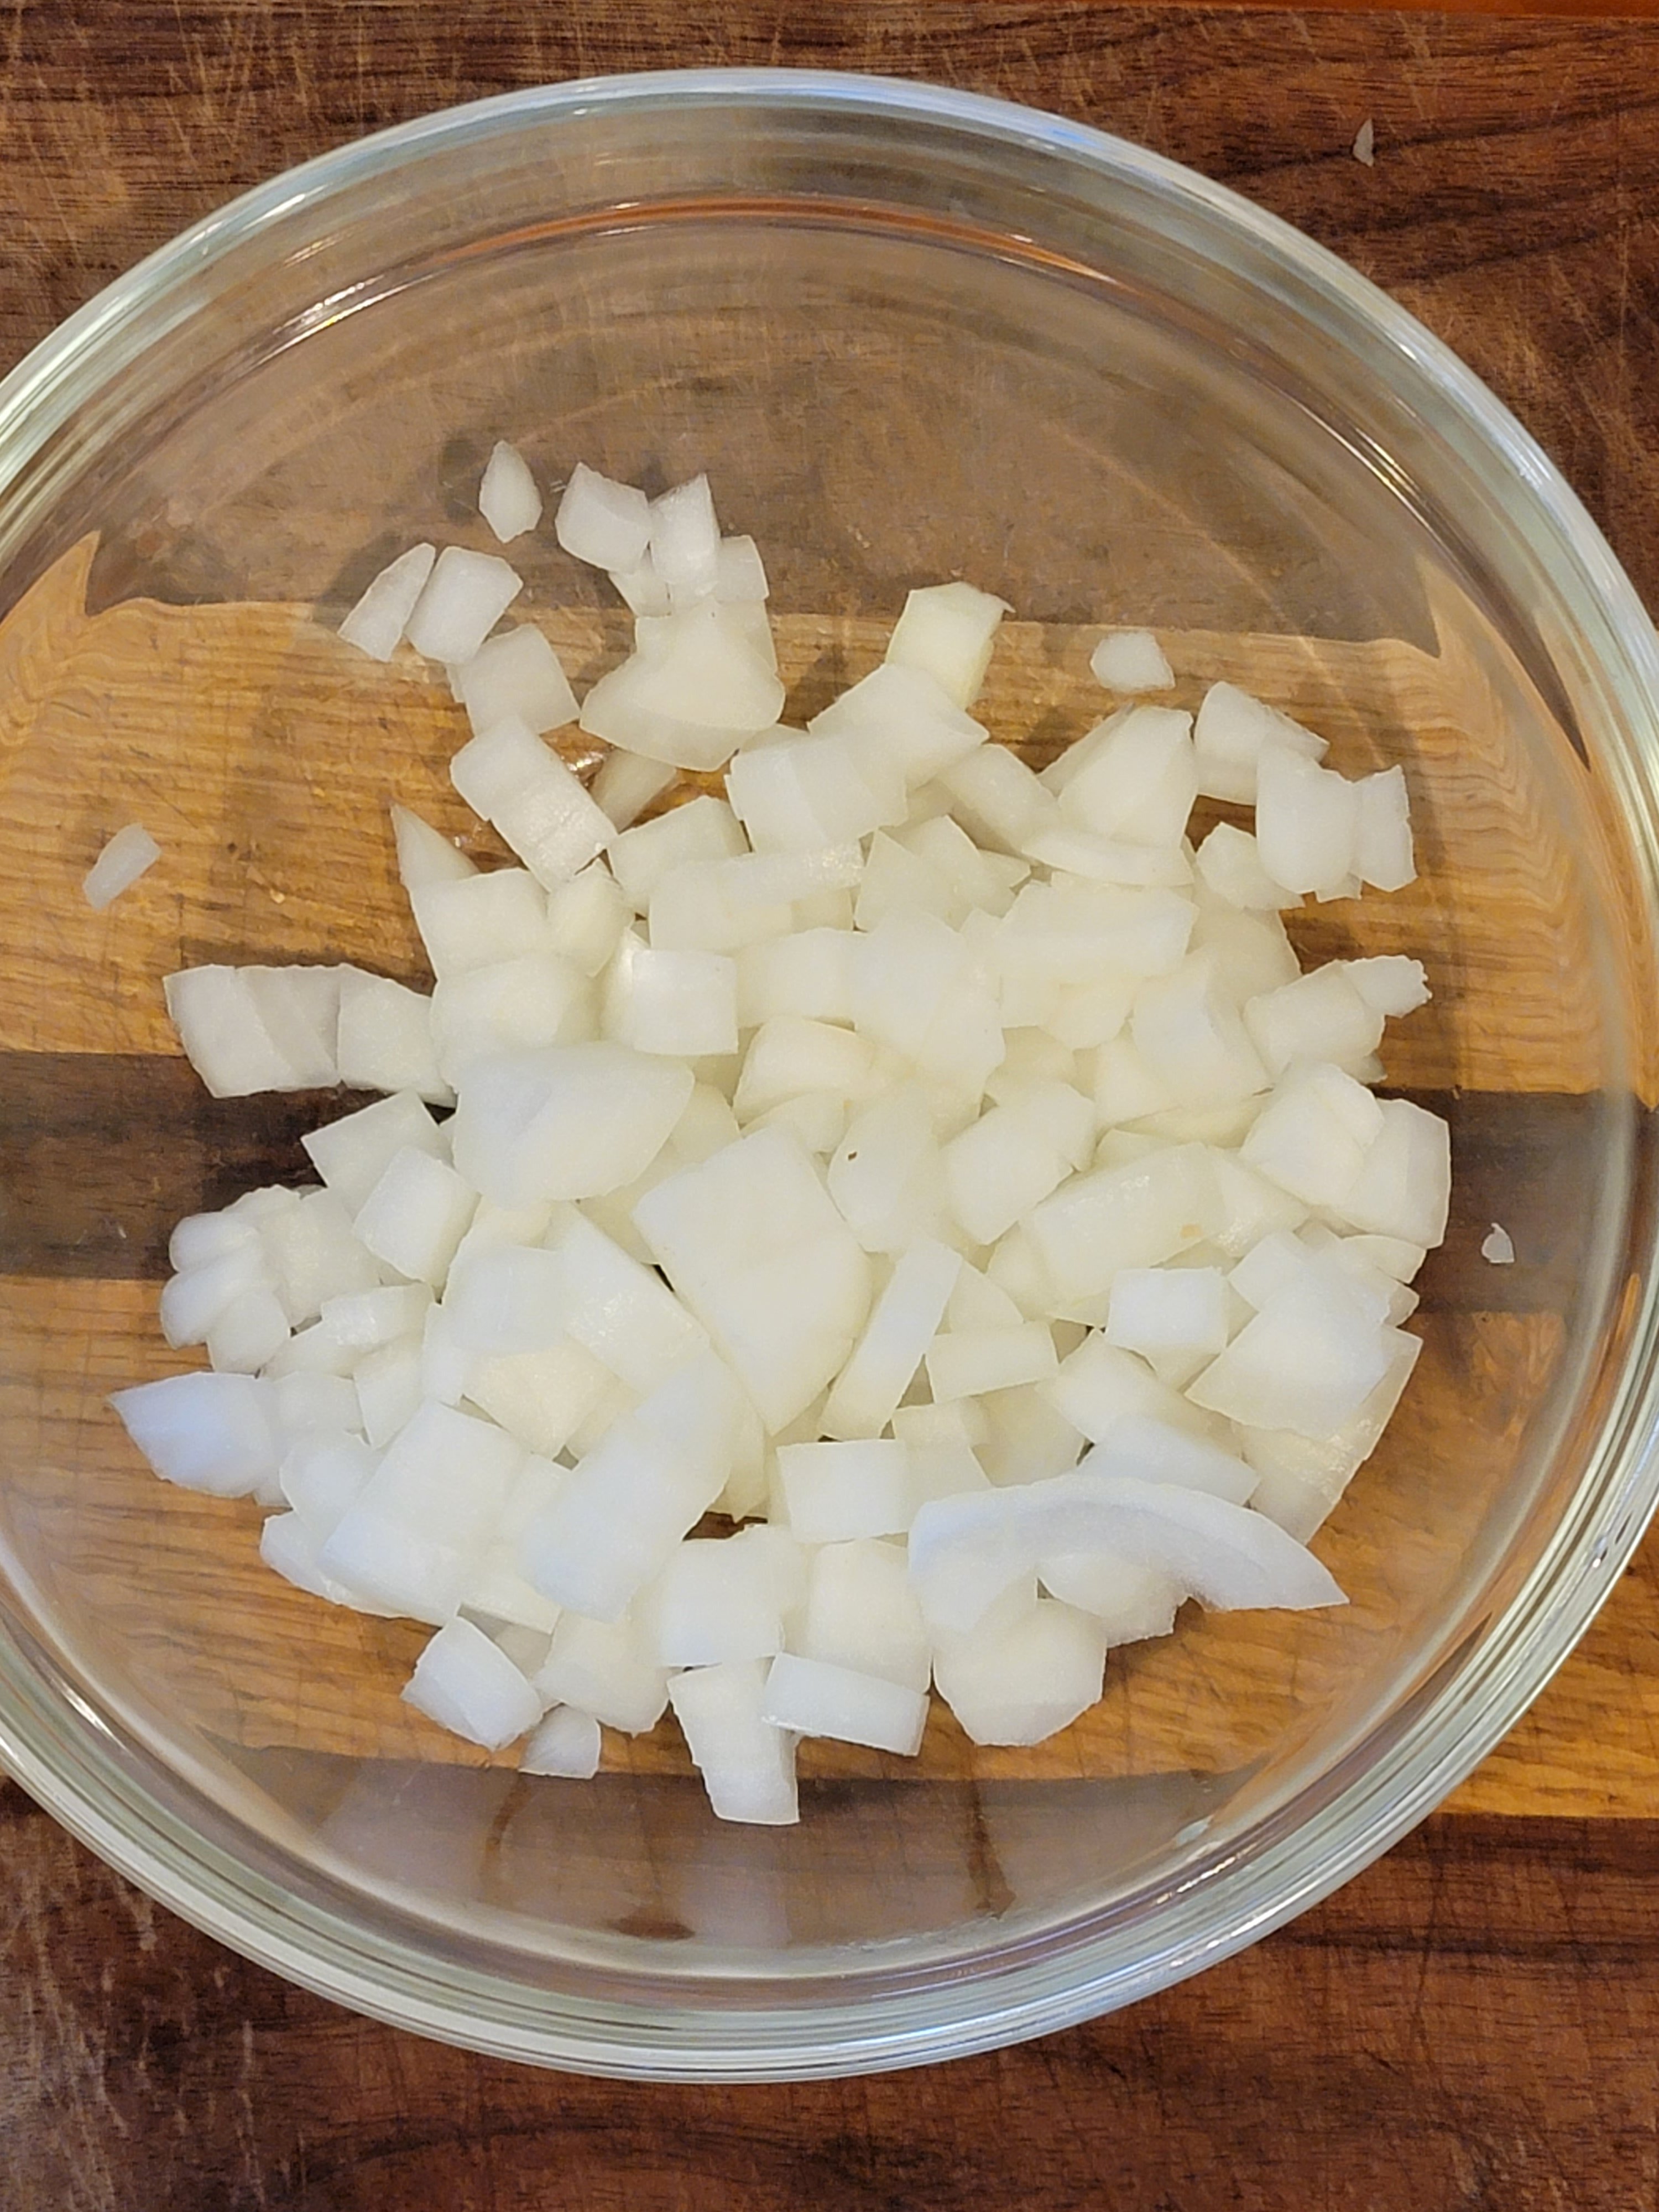
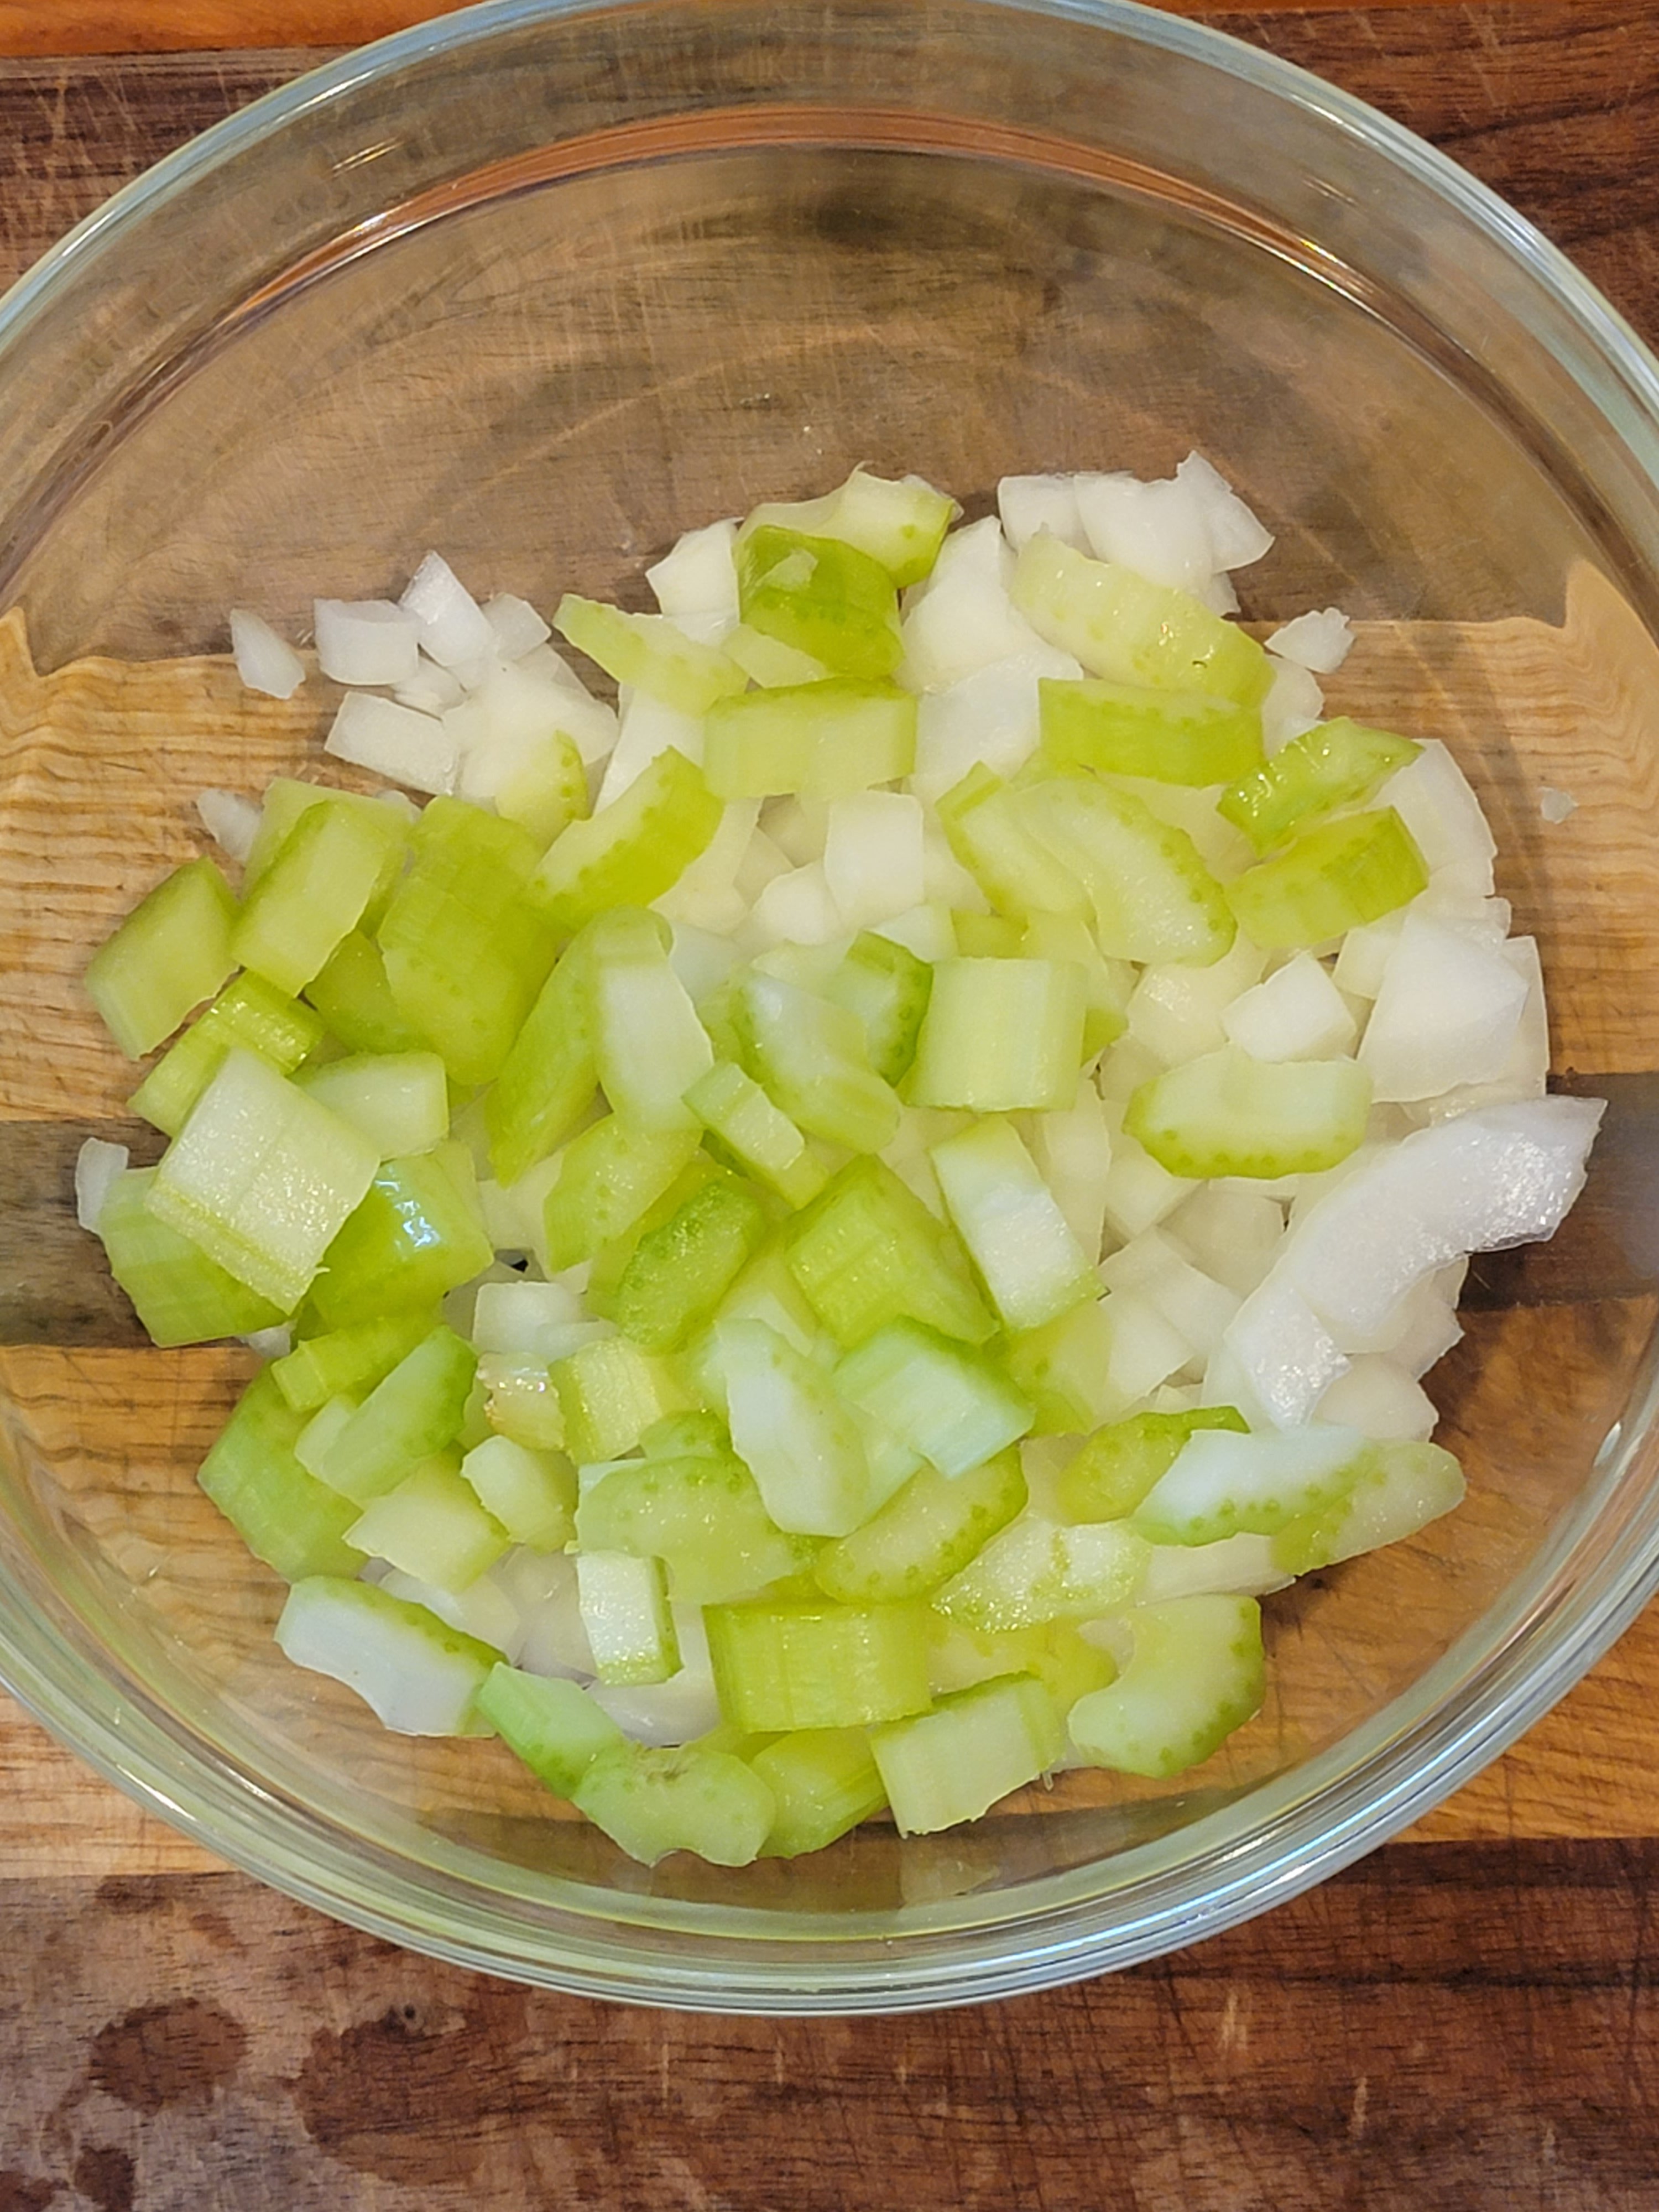
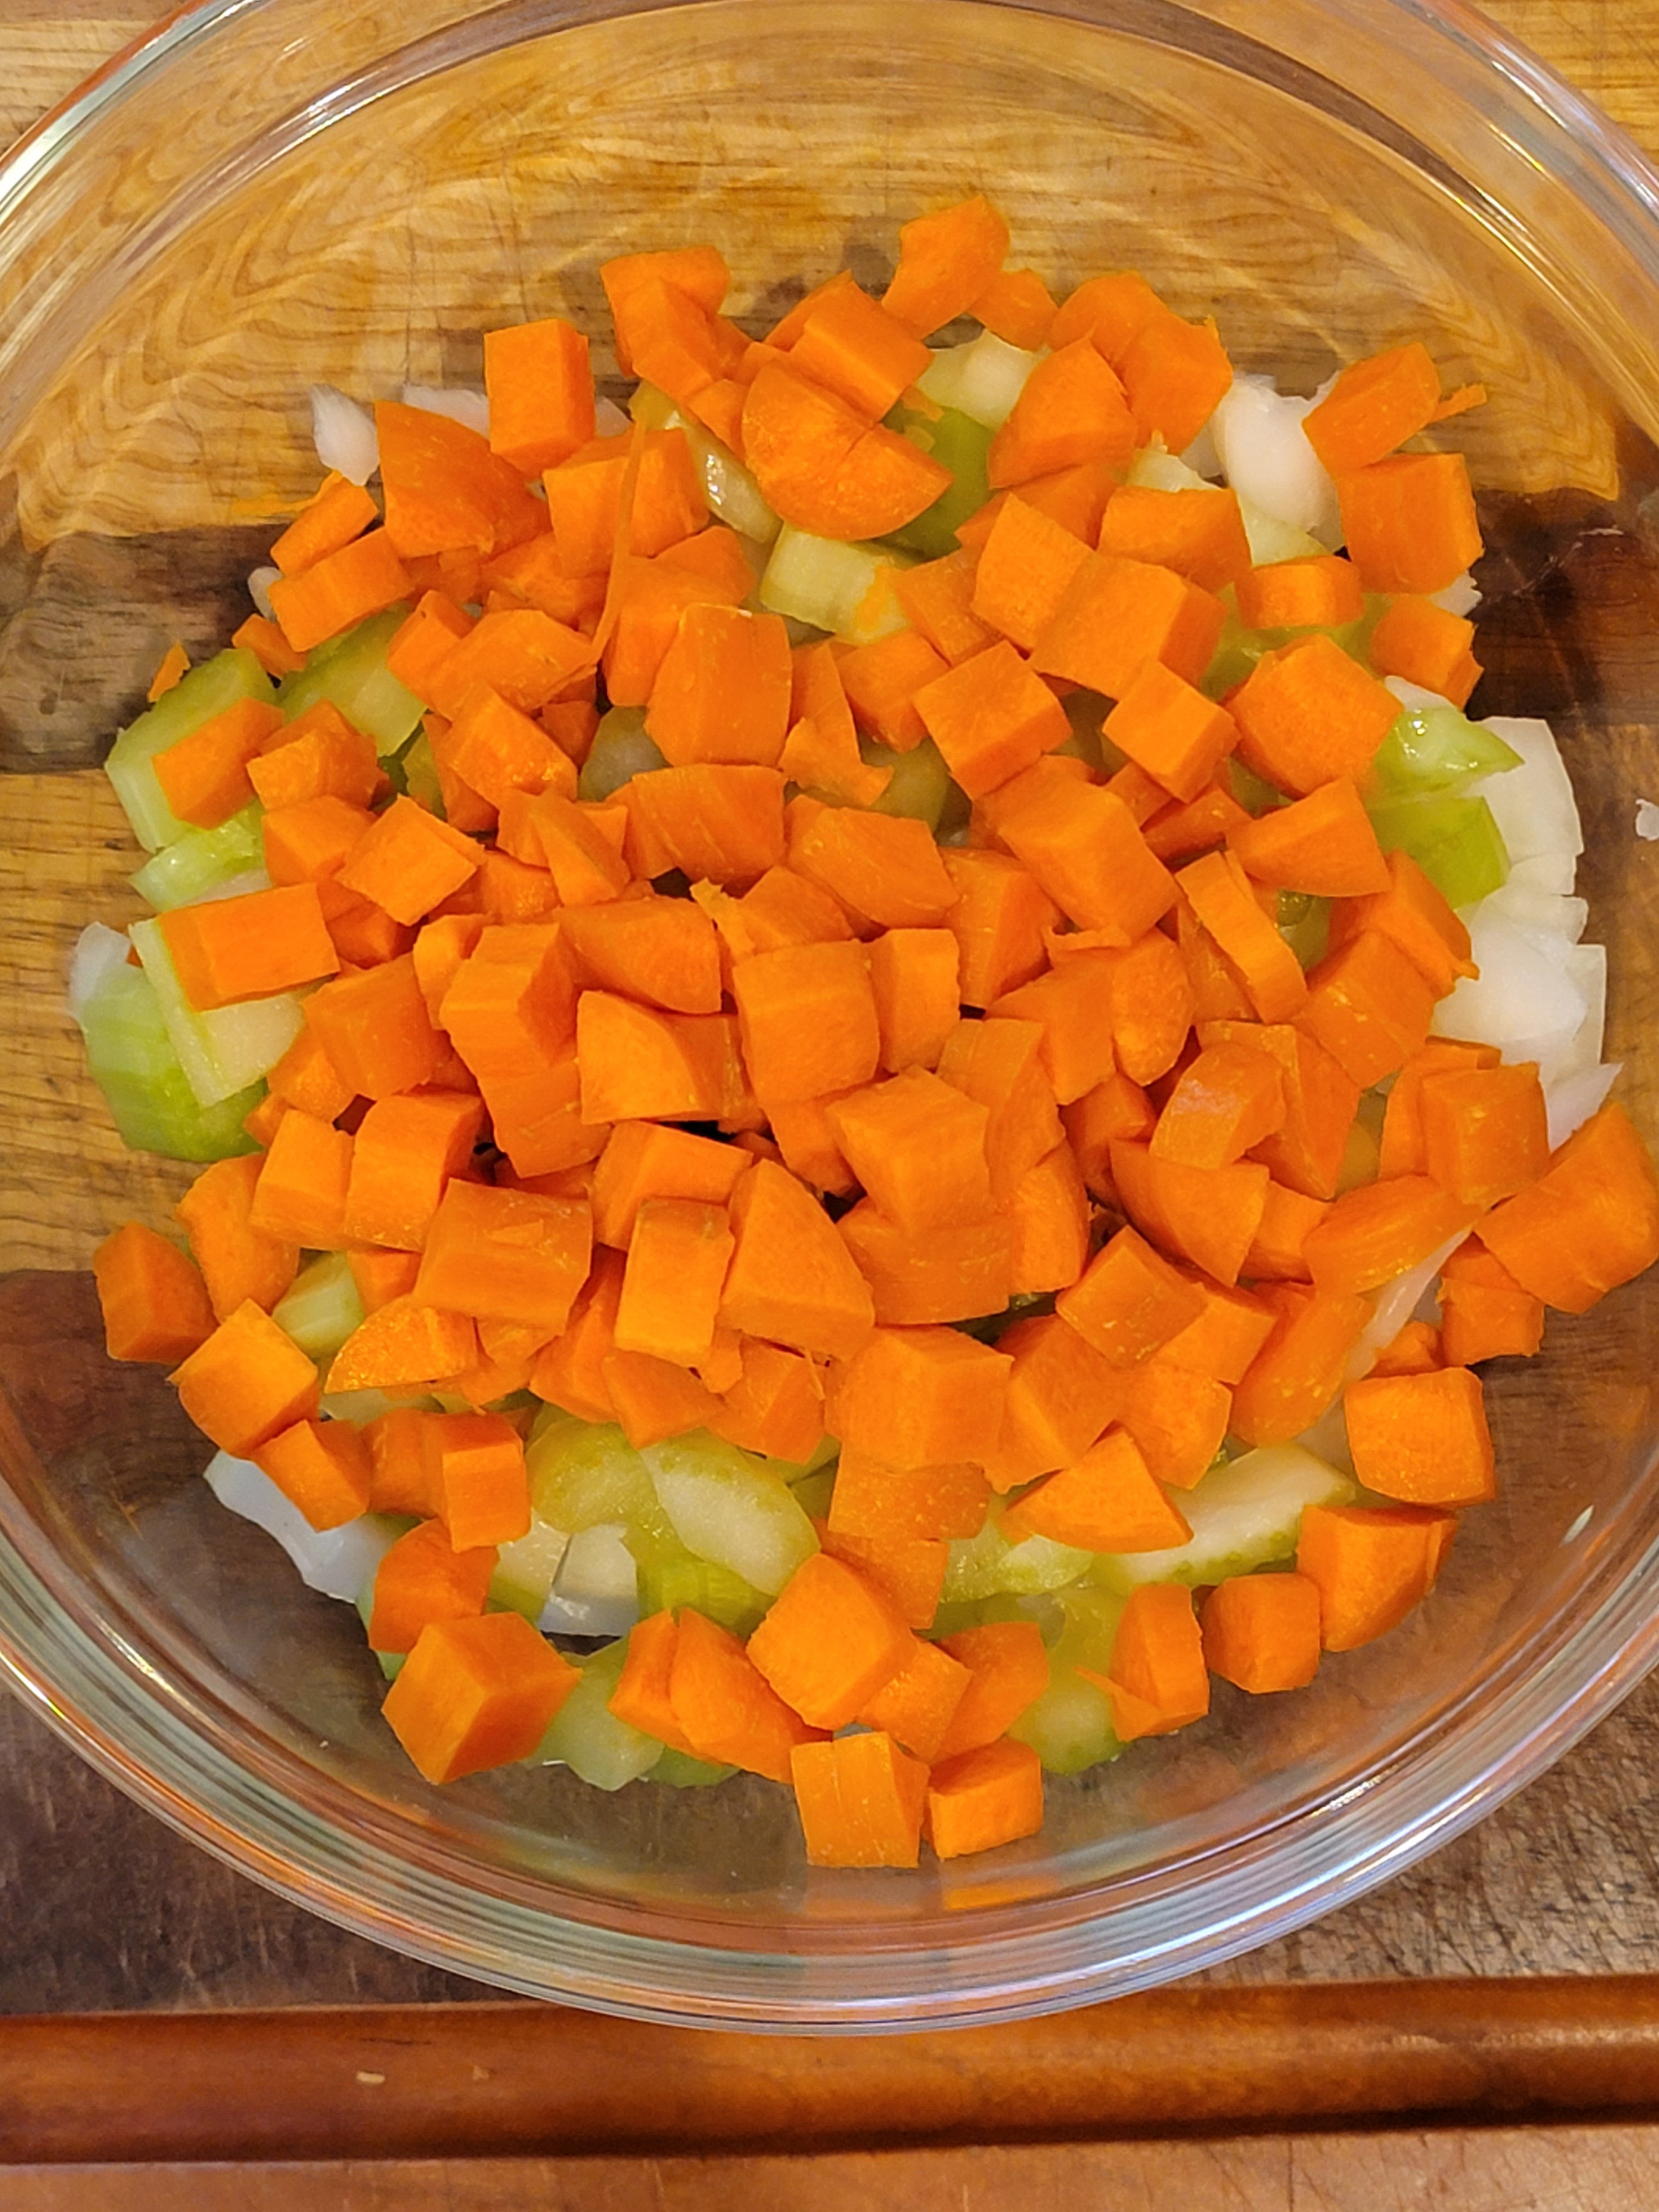
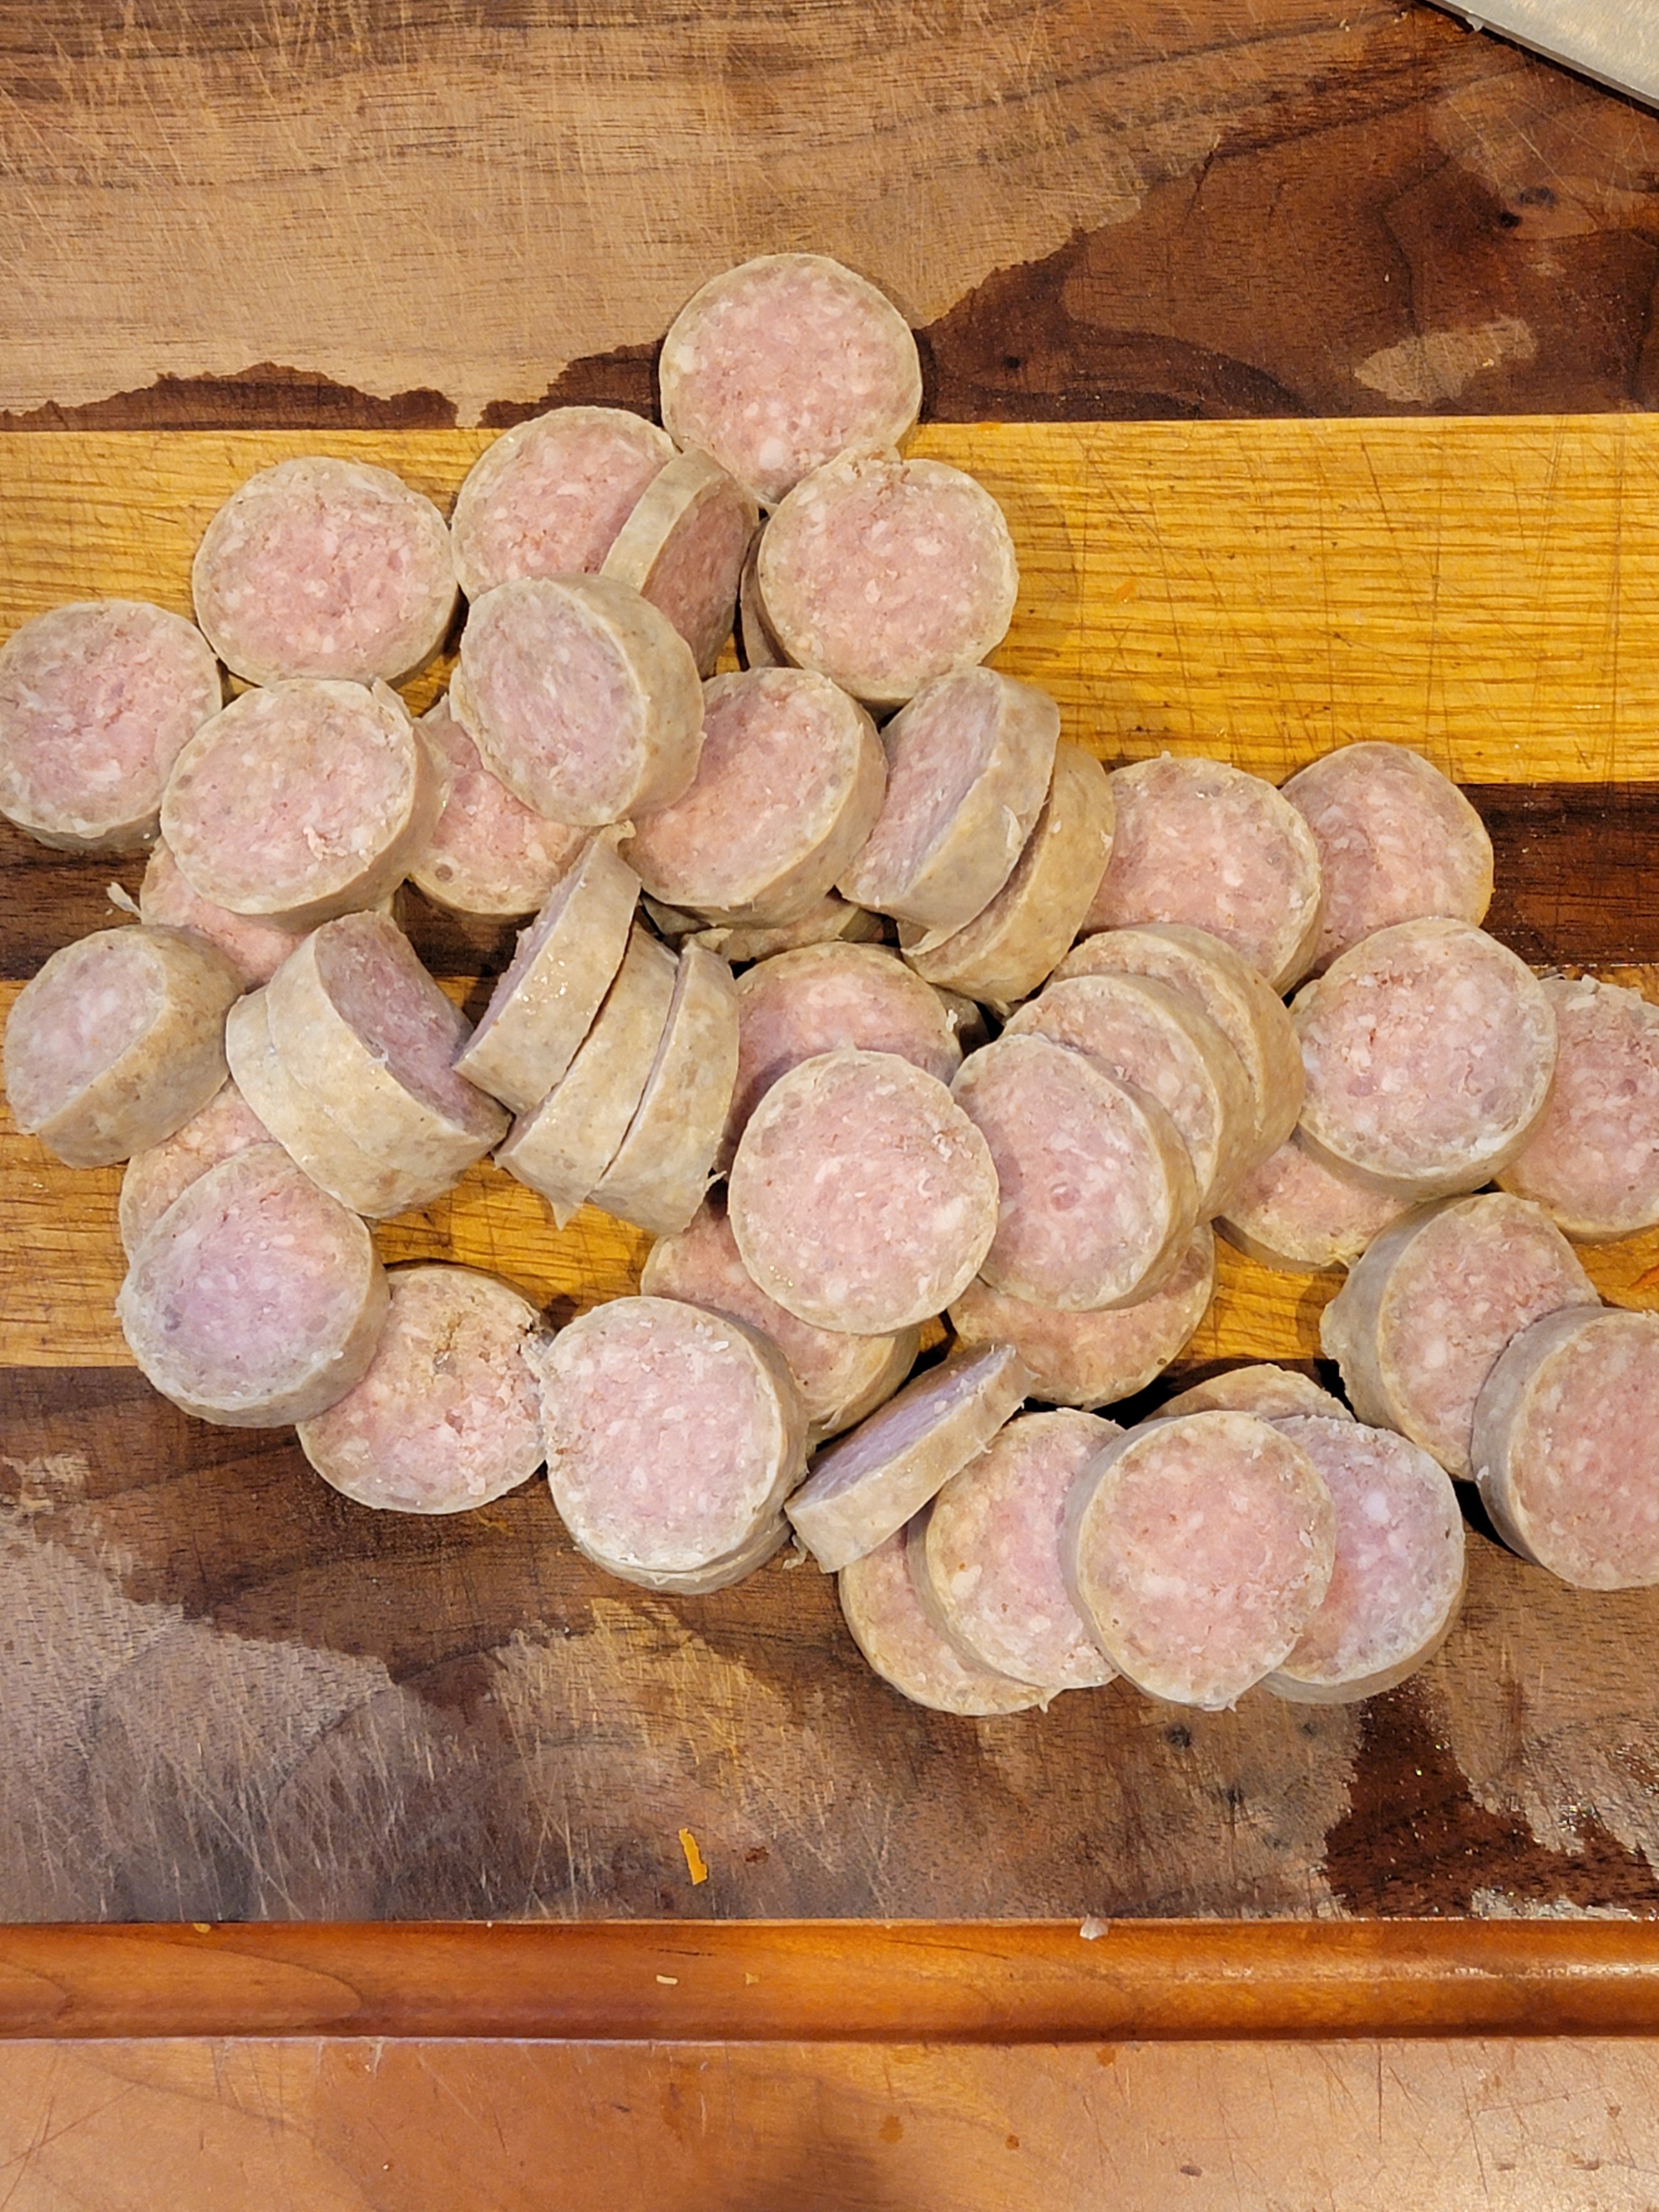
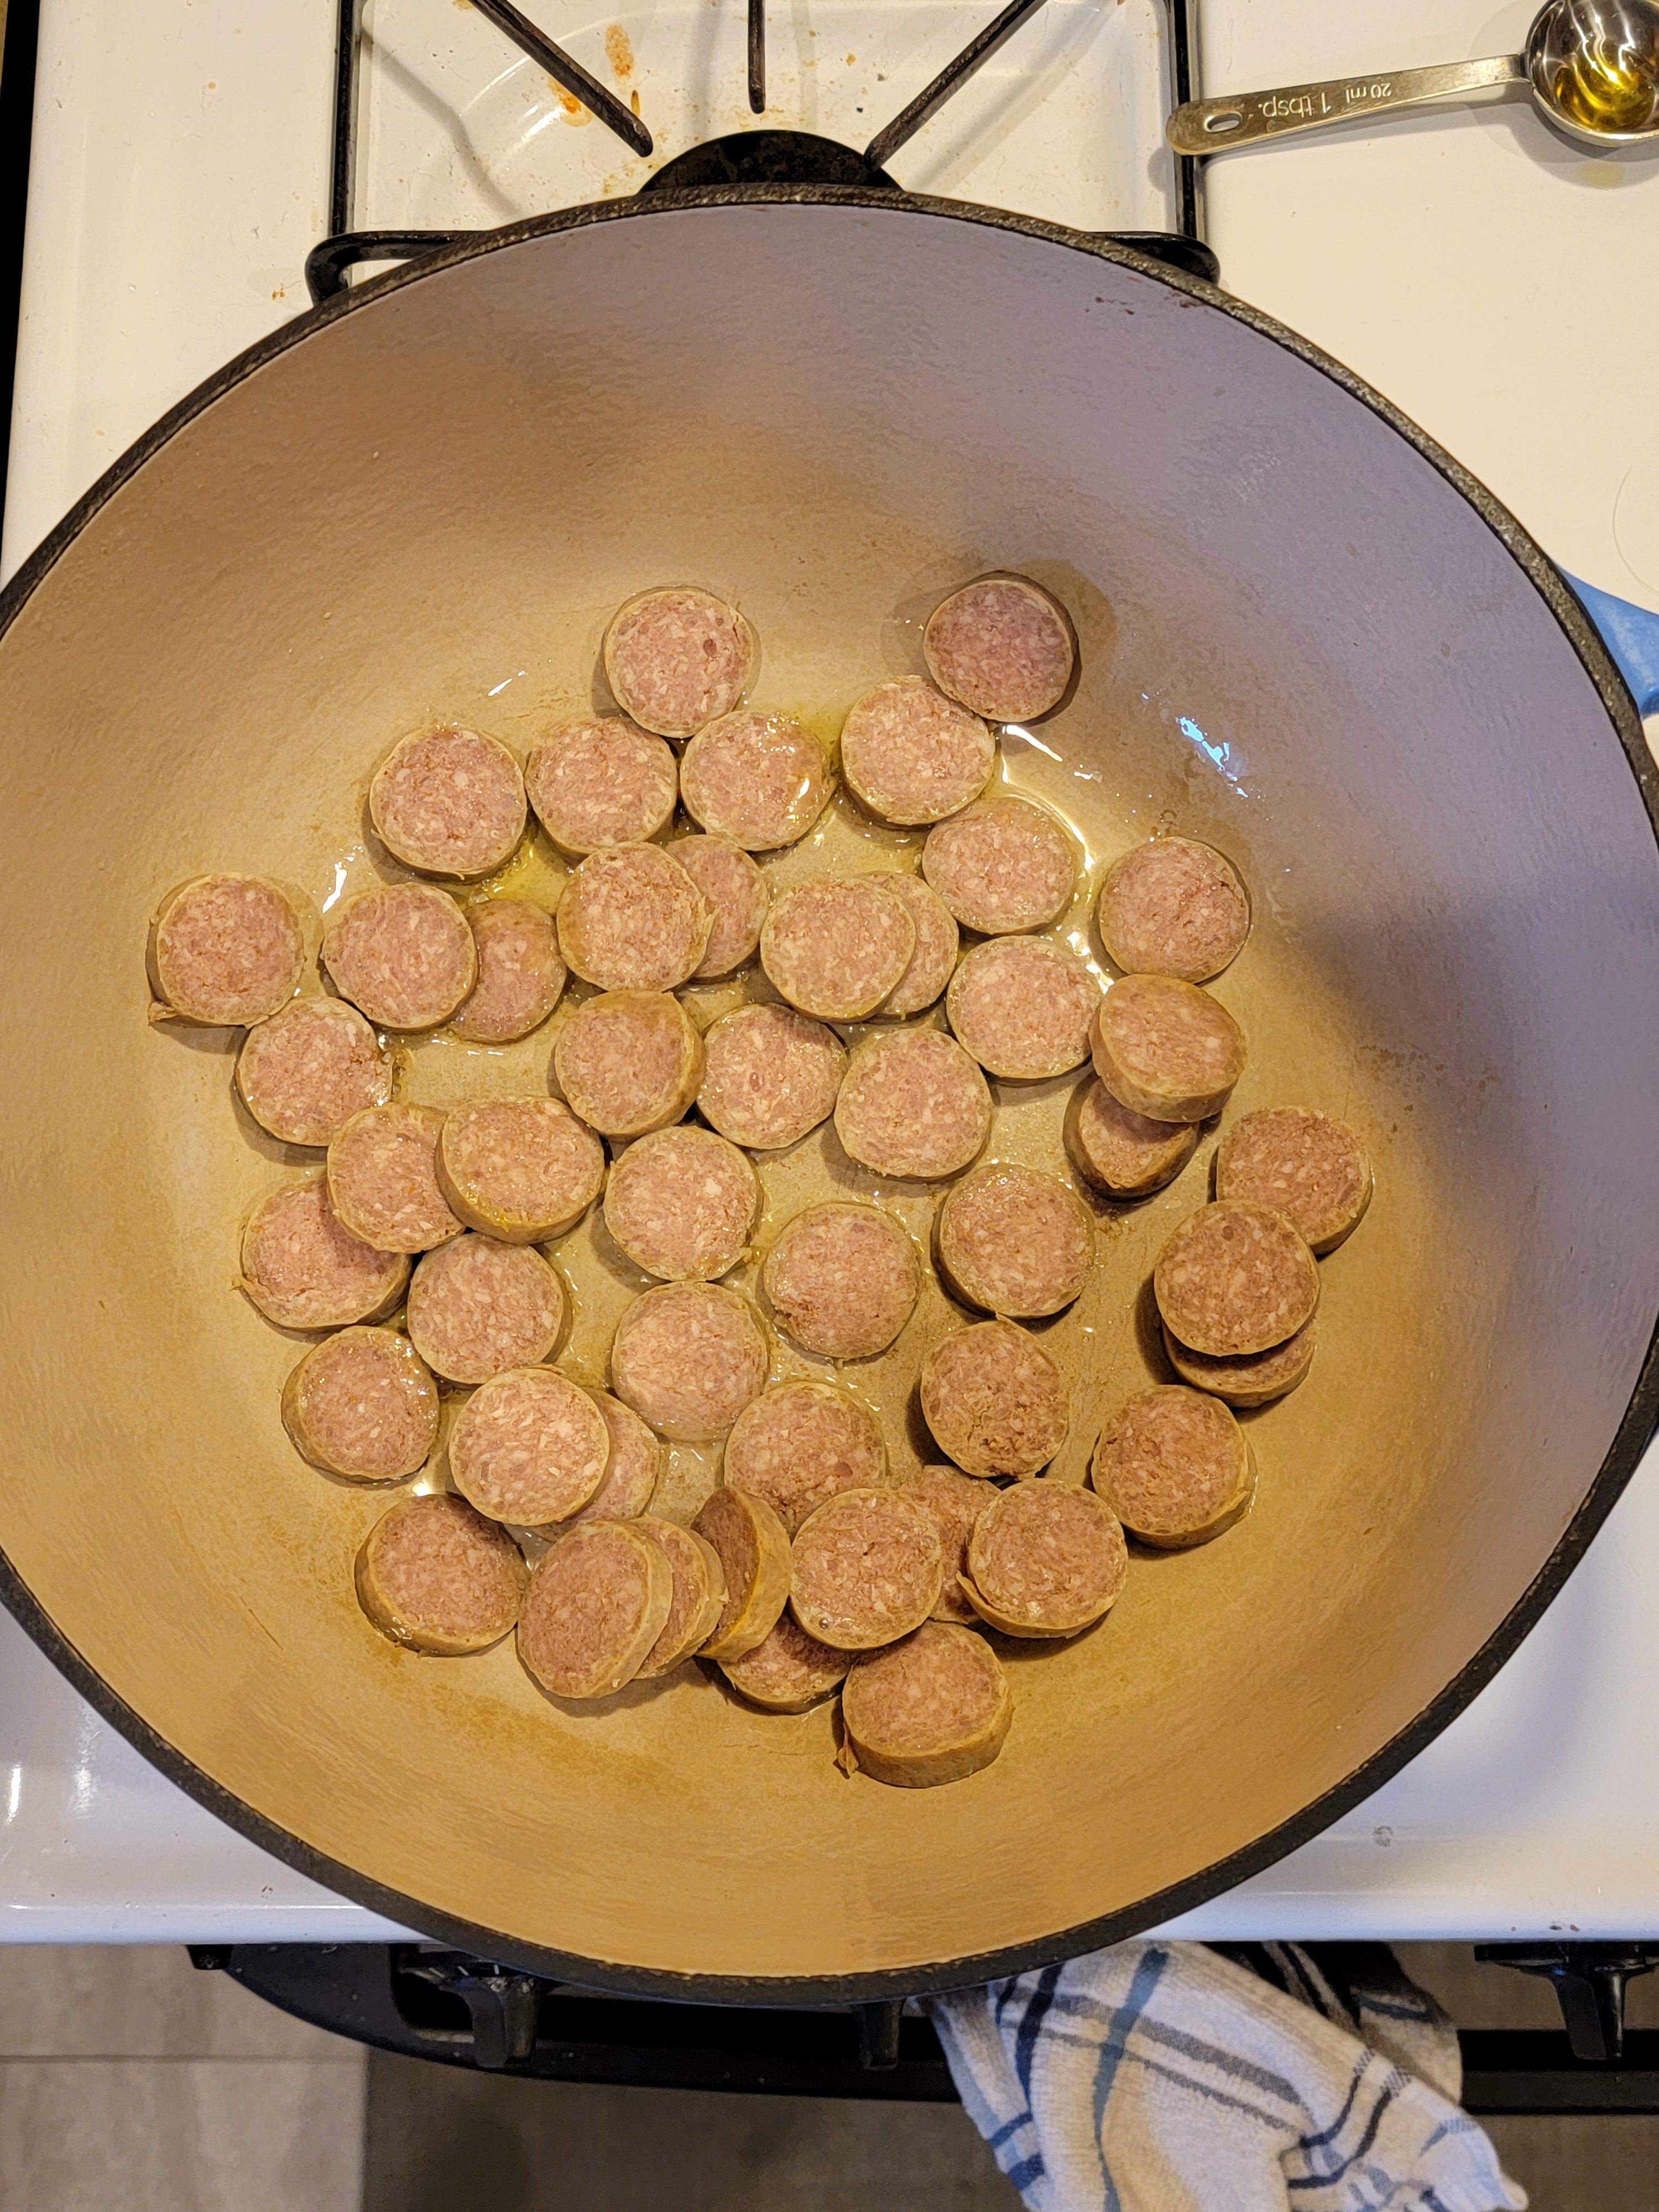
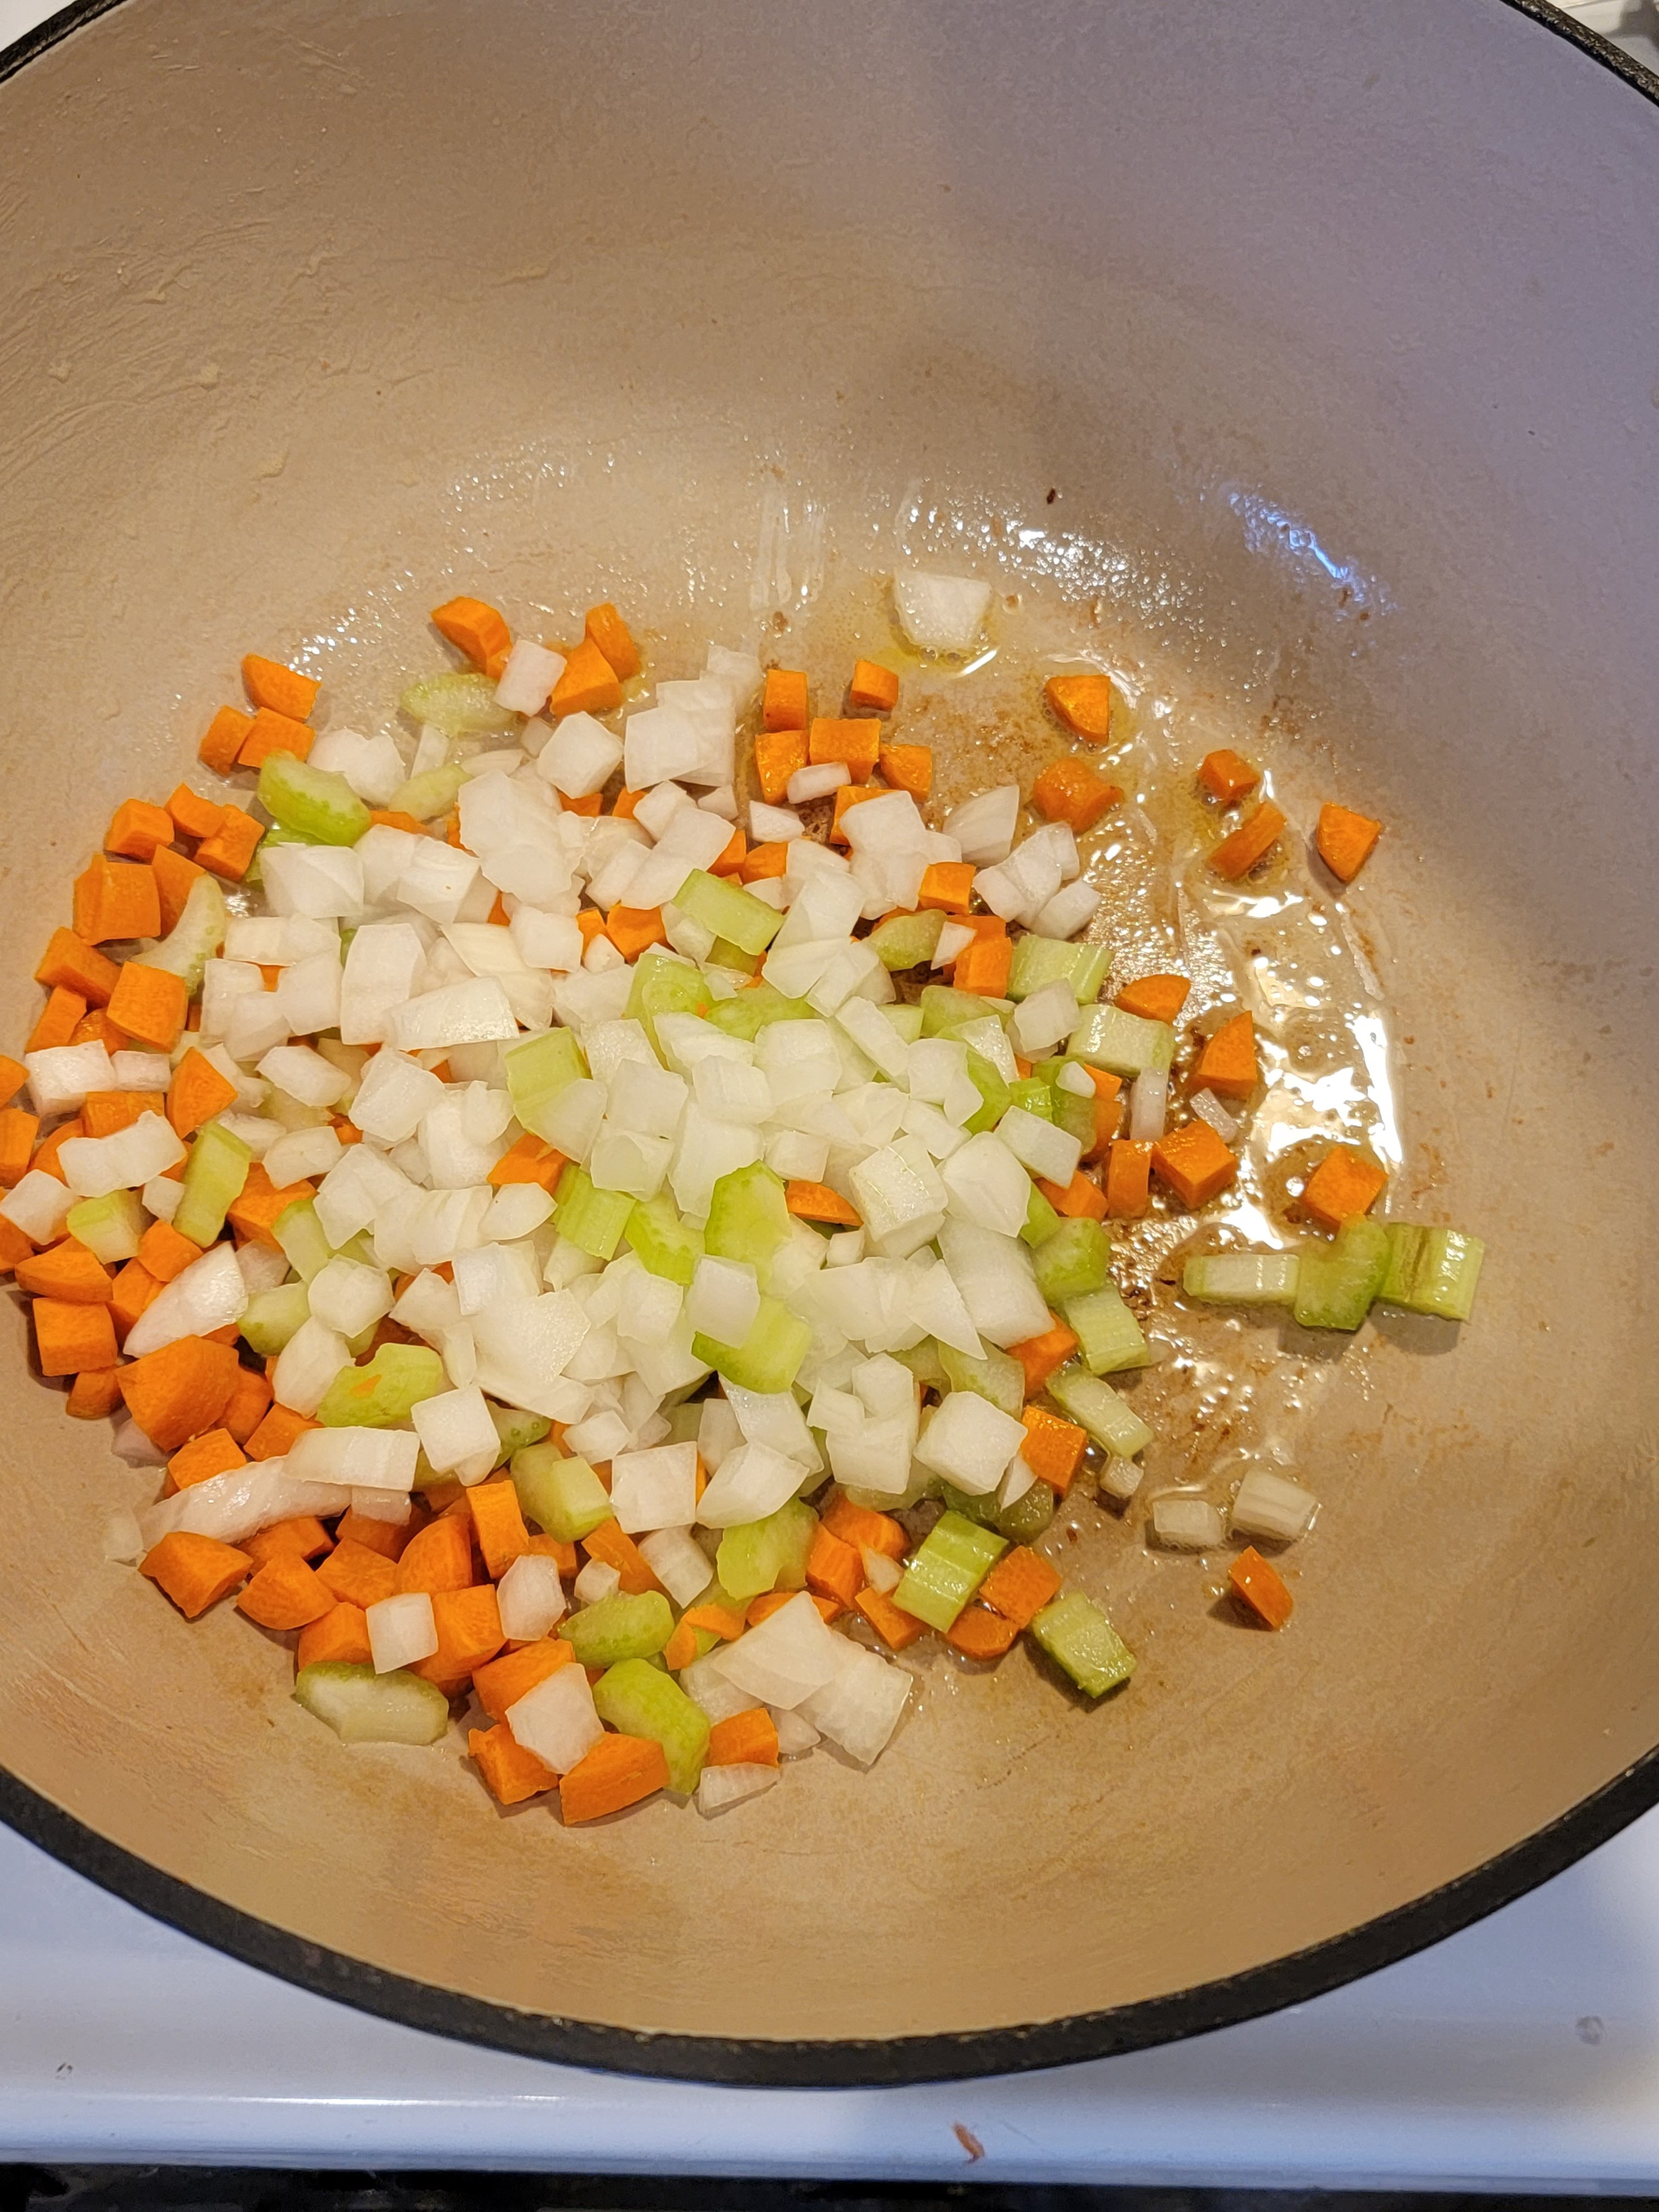
First dice the onion, carrot, and celery. Then slice the kielbasa in about 1/4 inch slices.

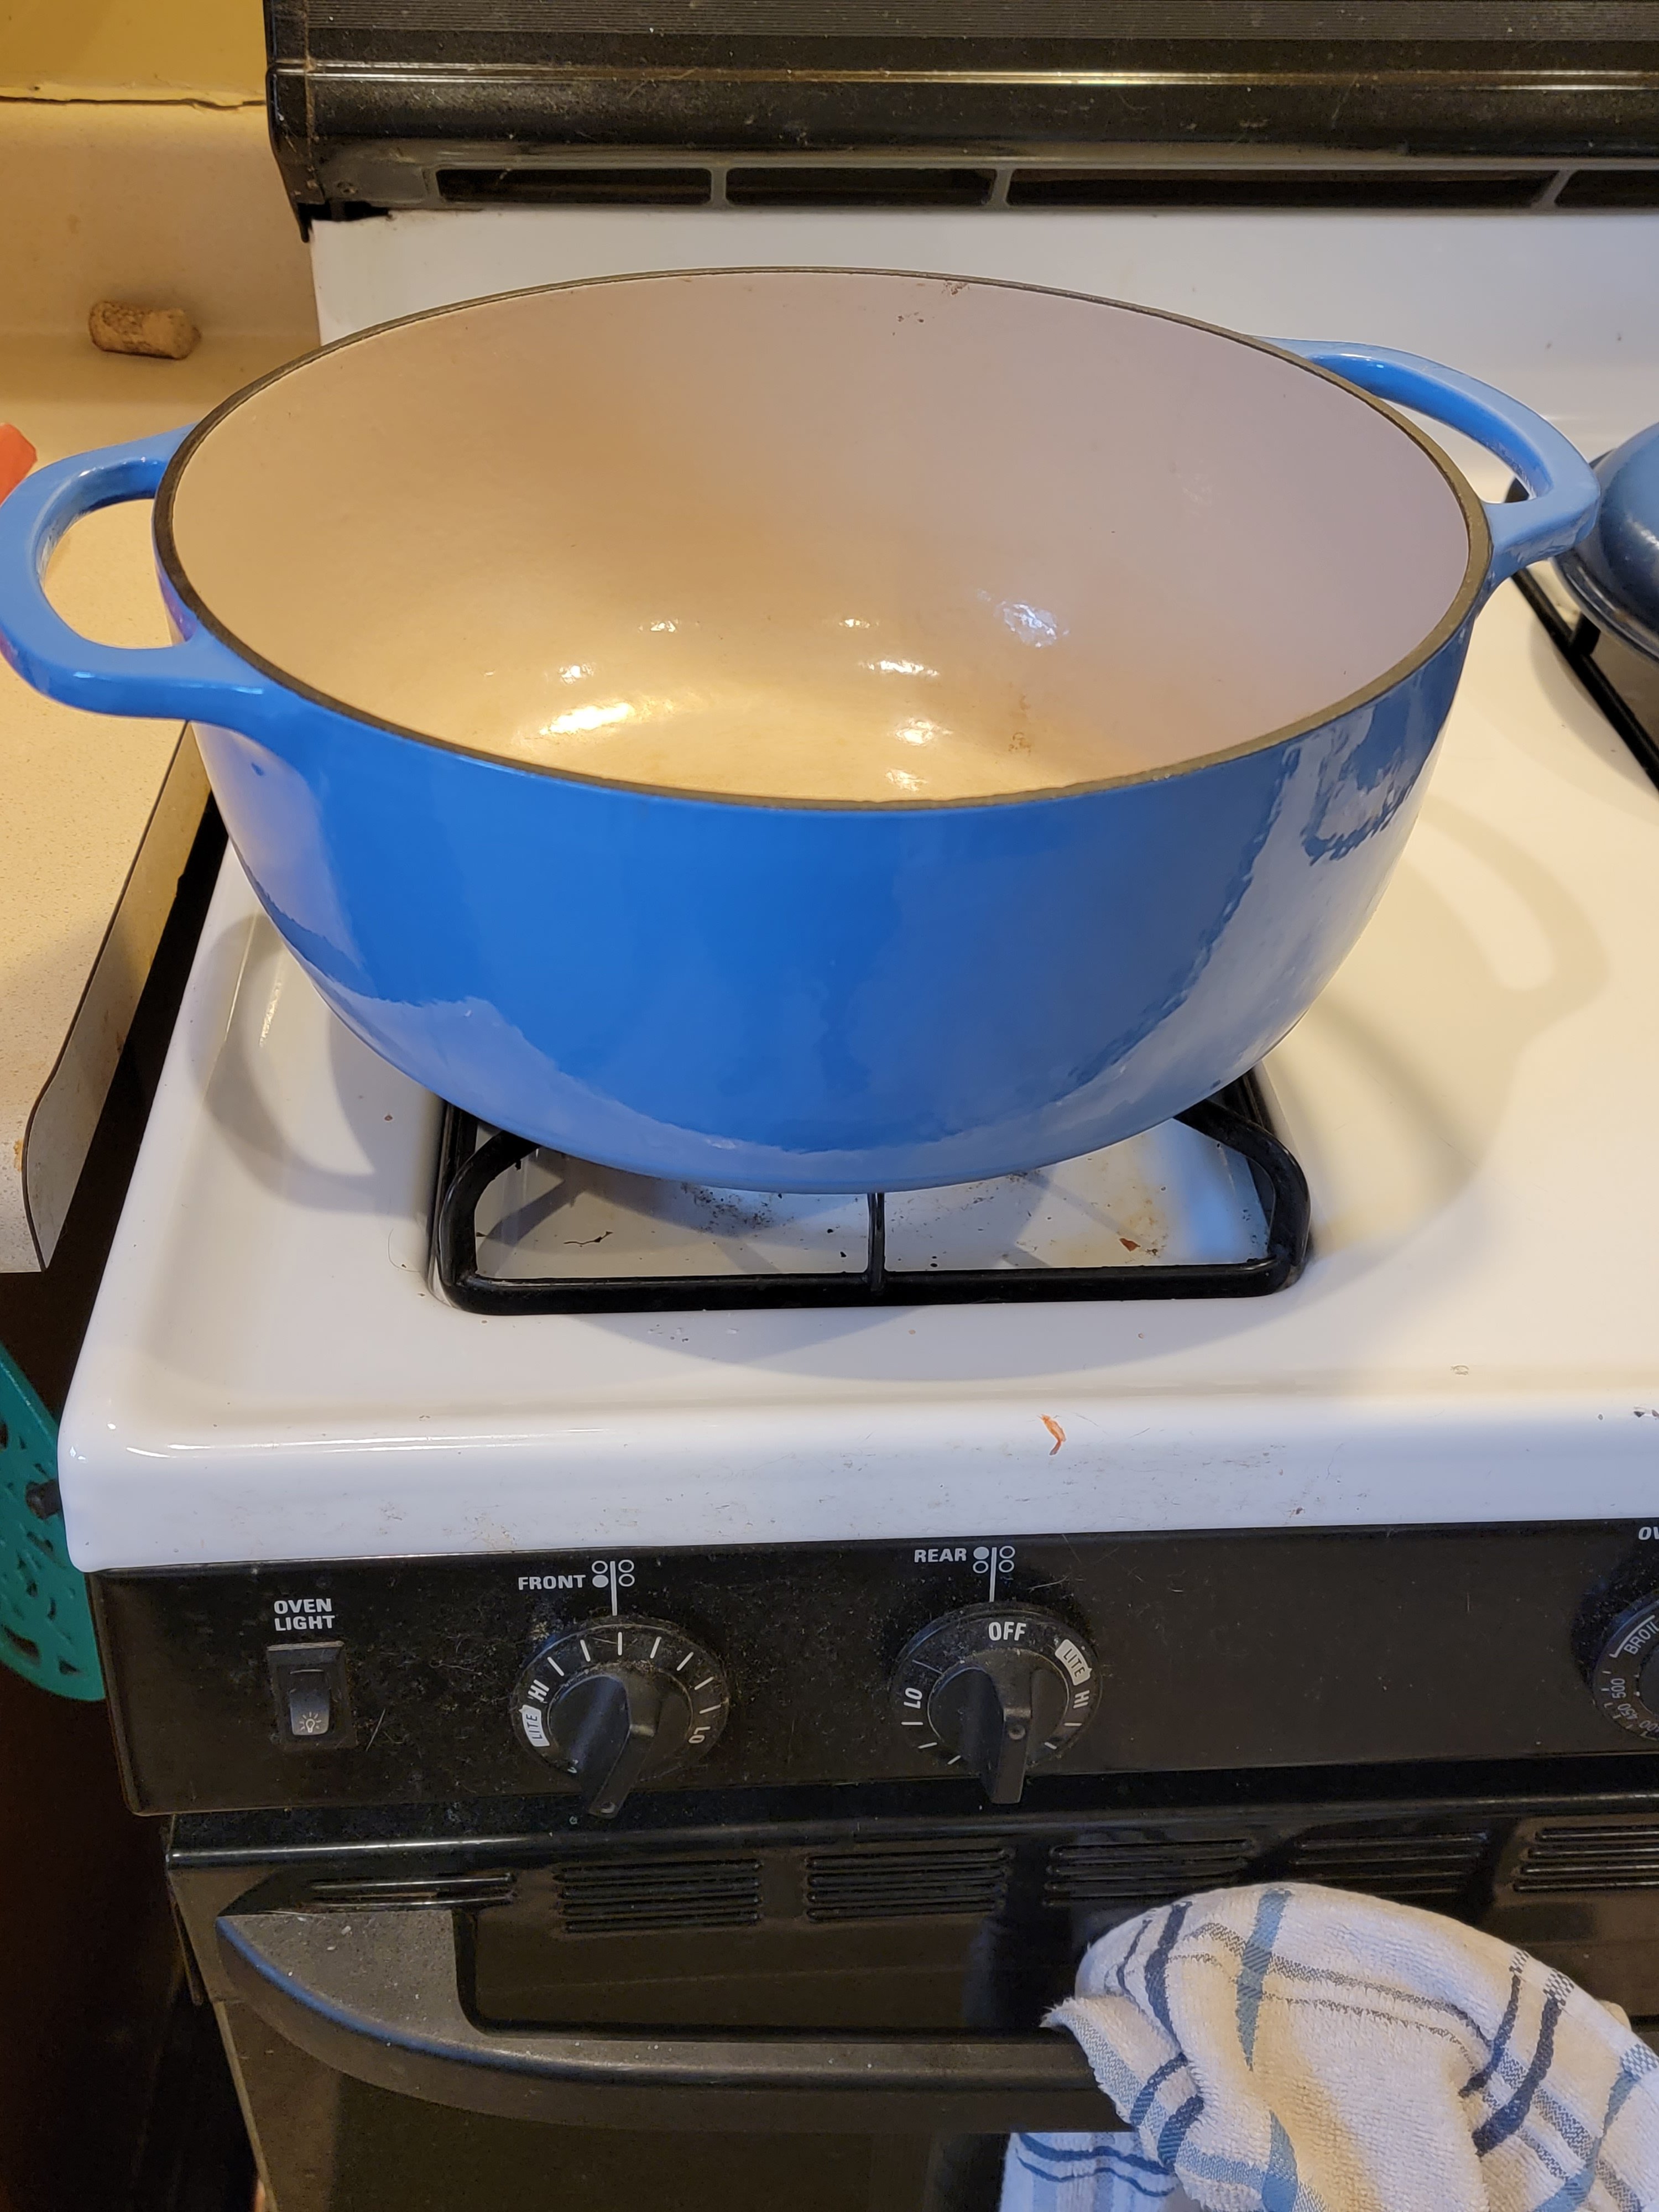
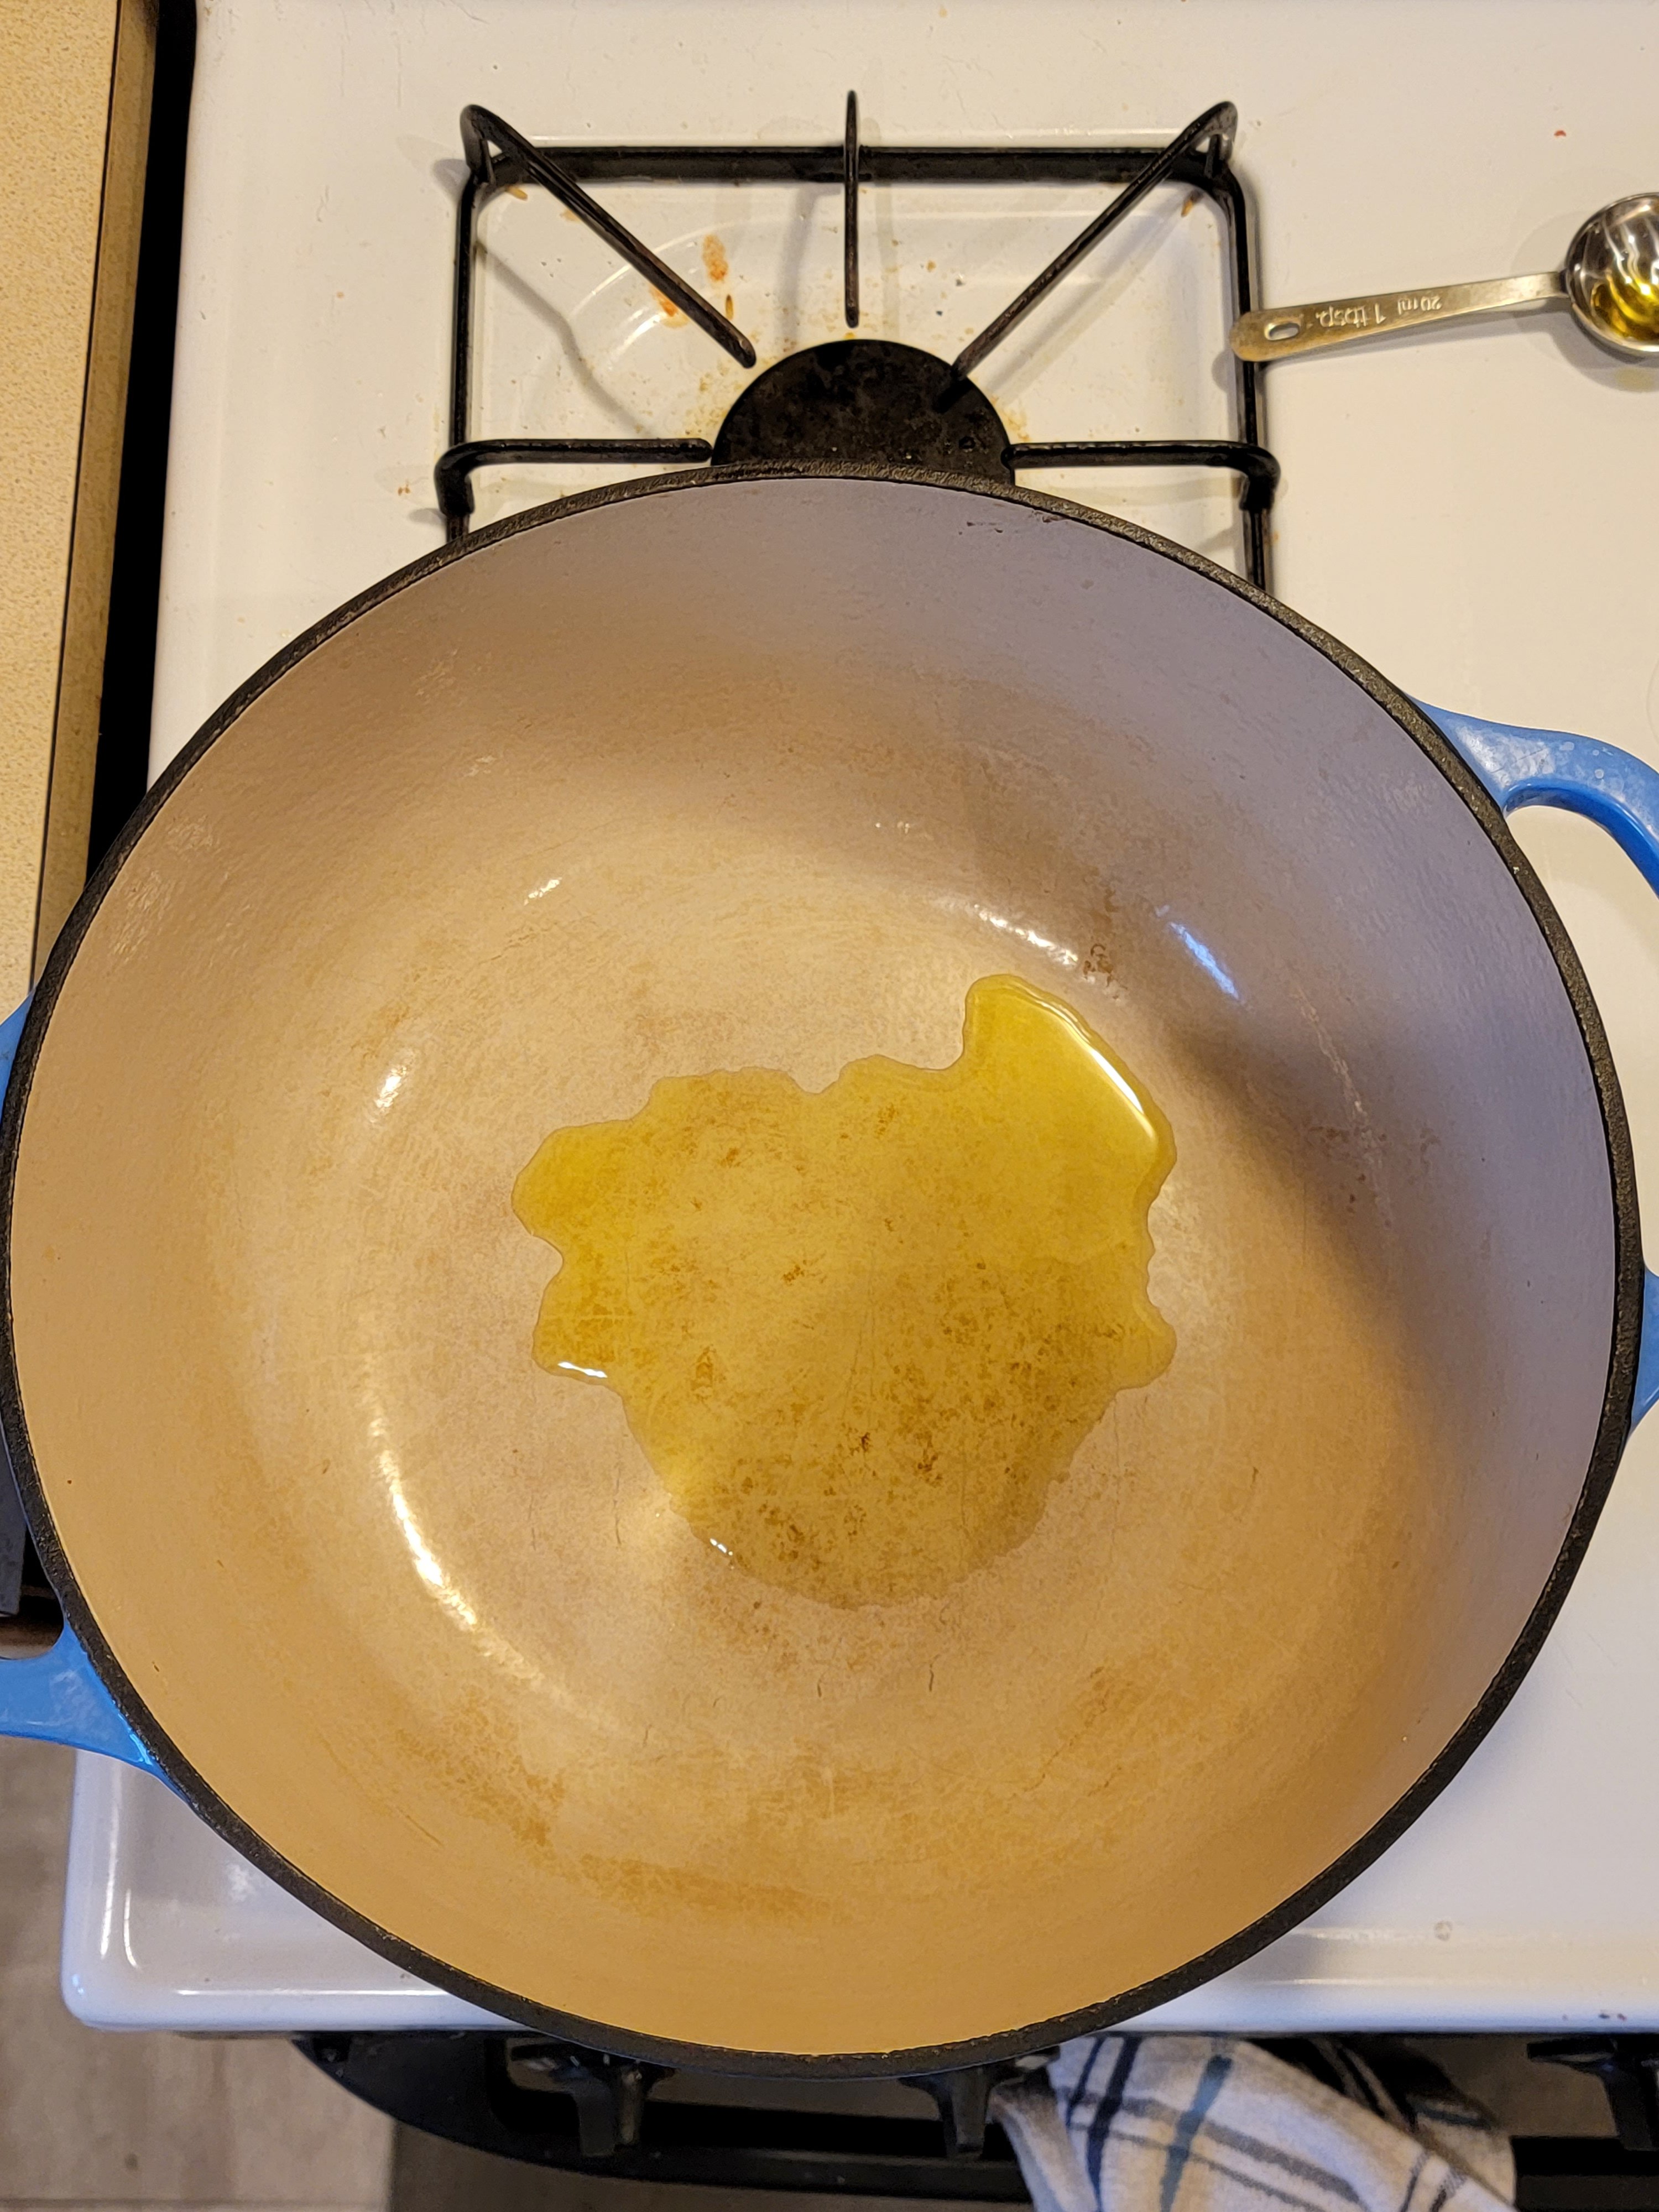
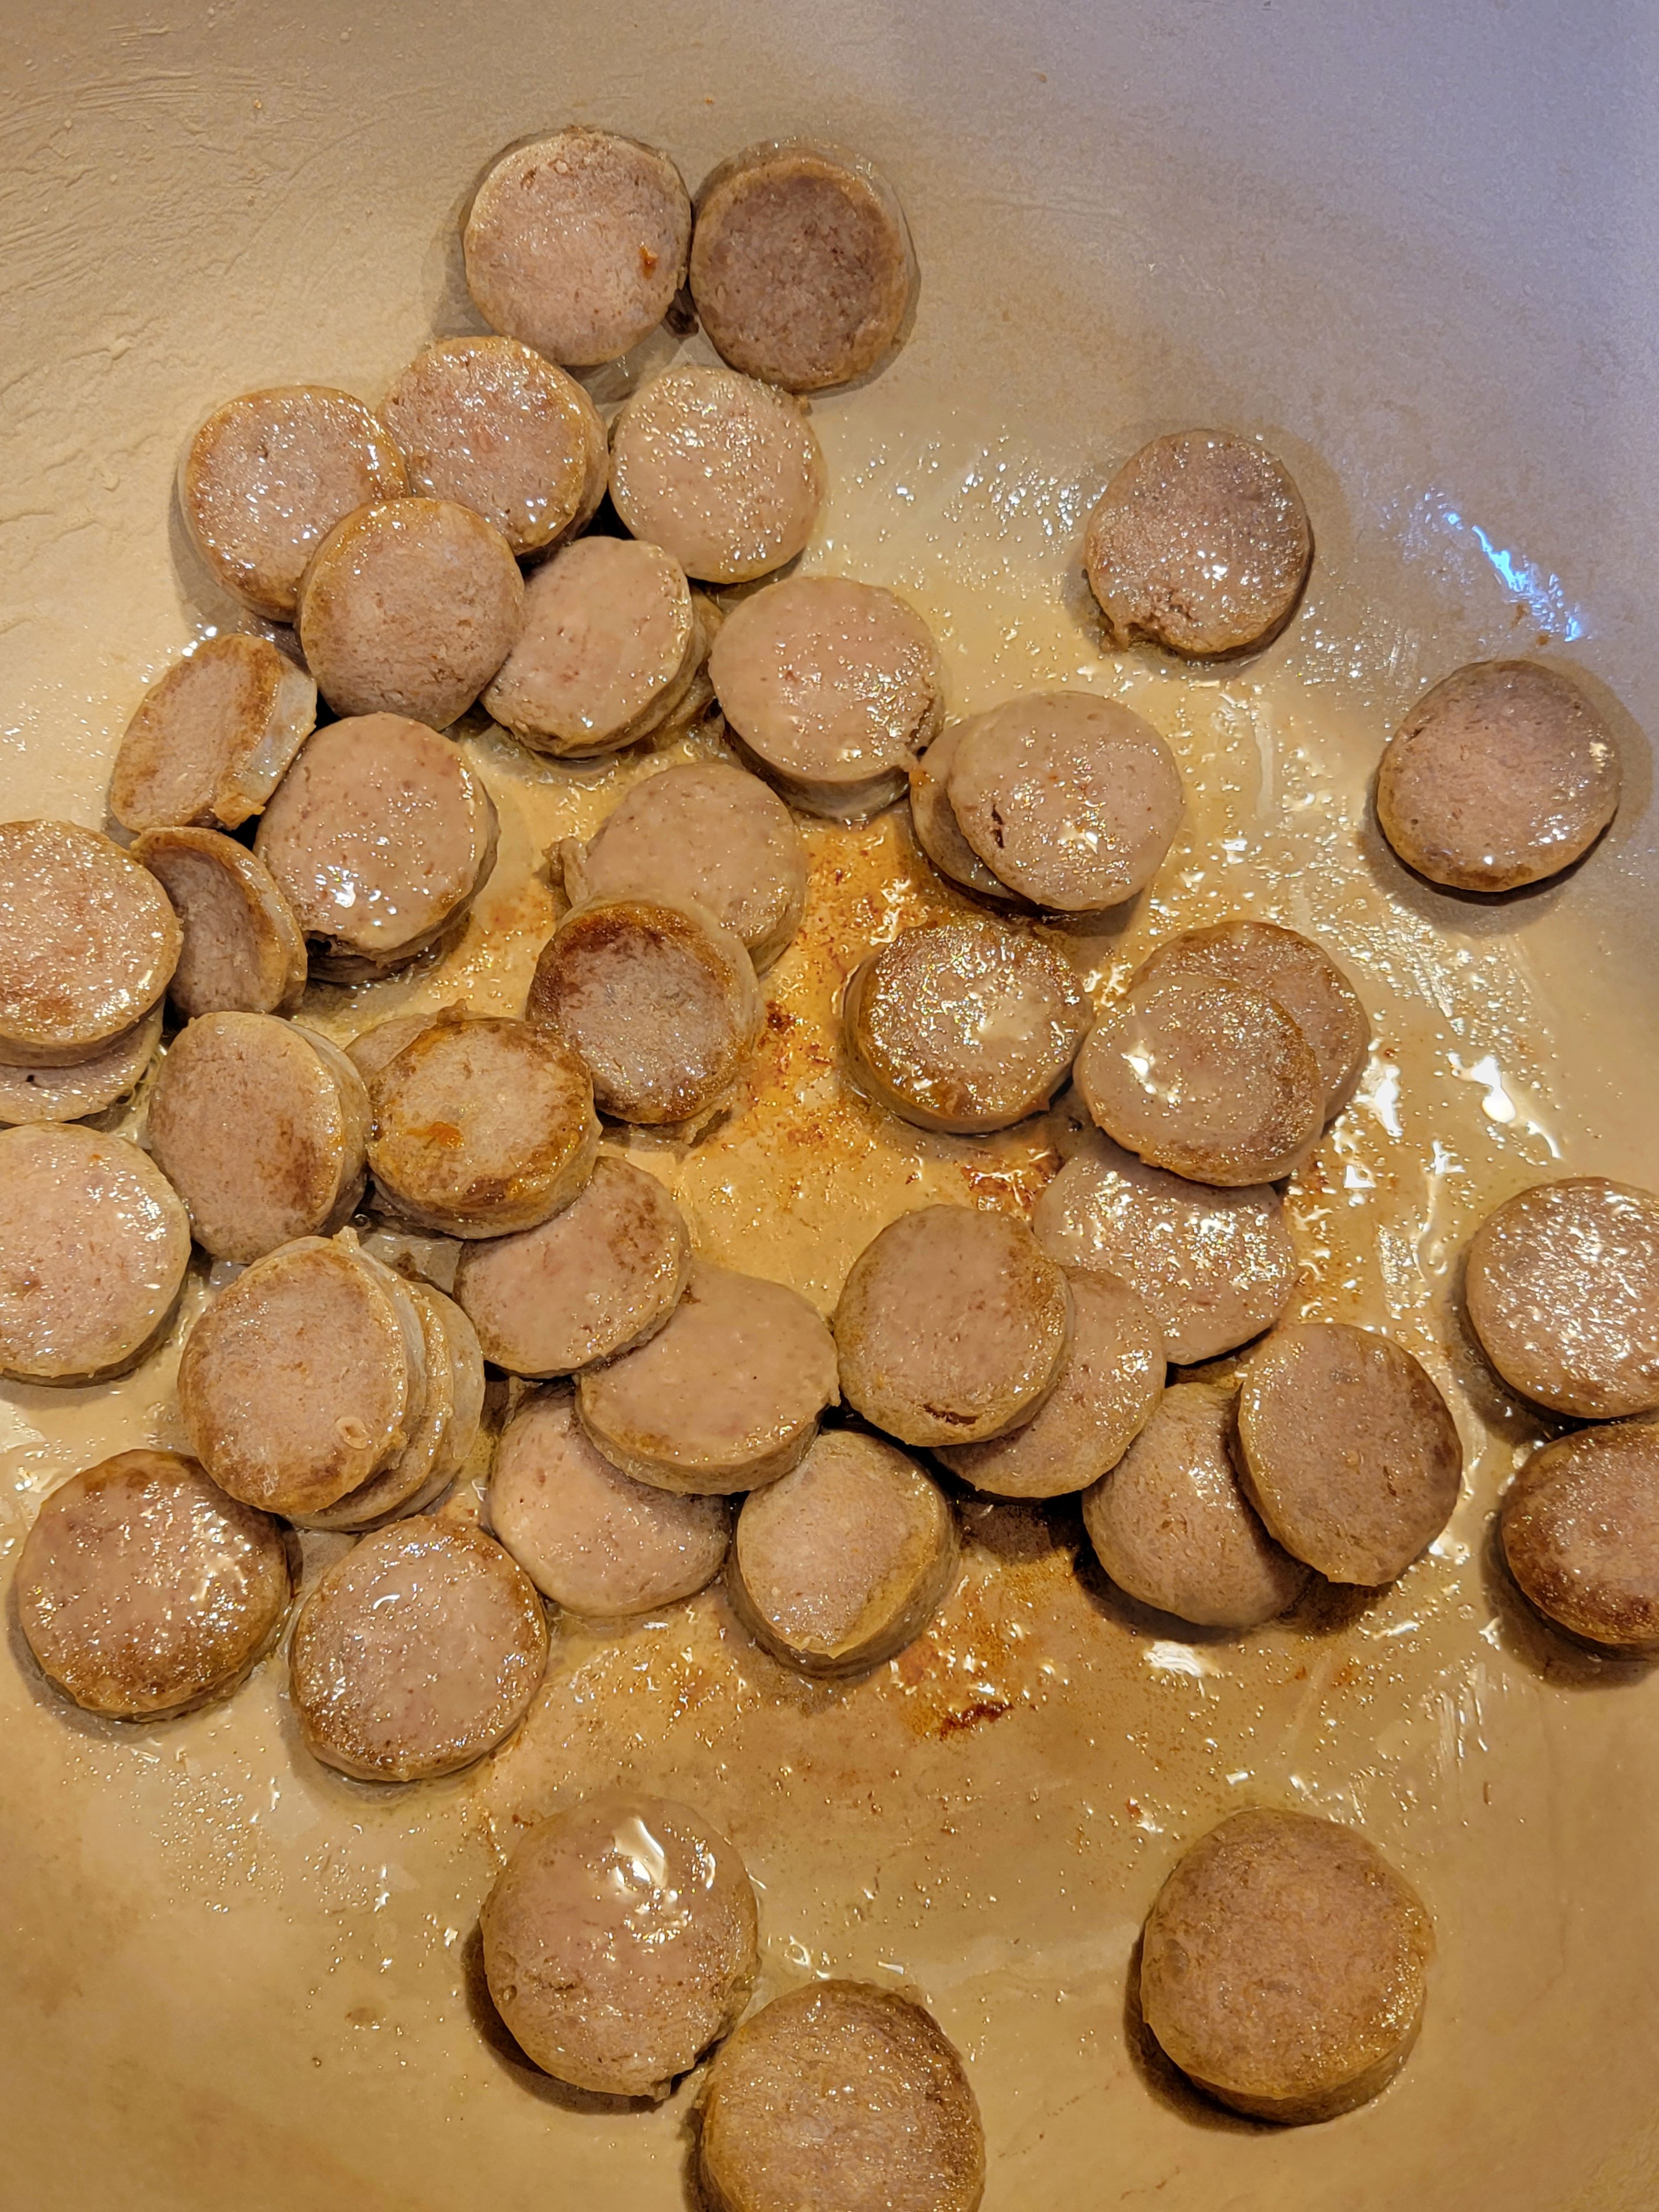
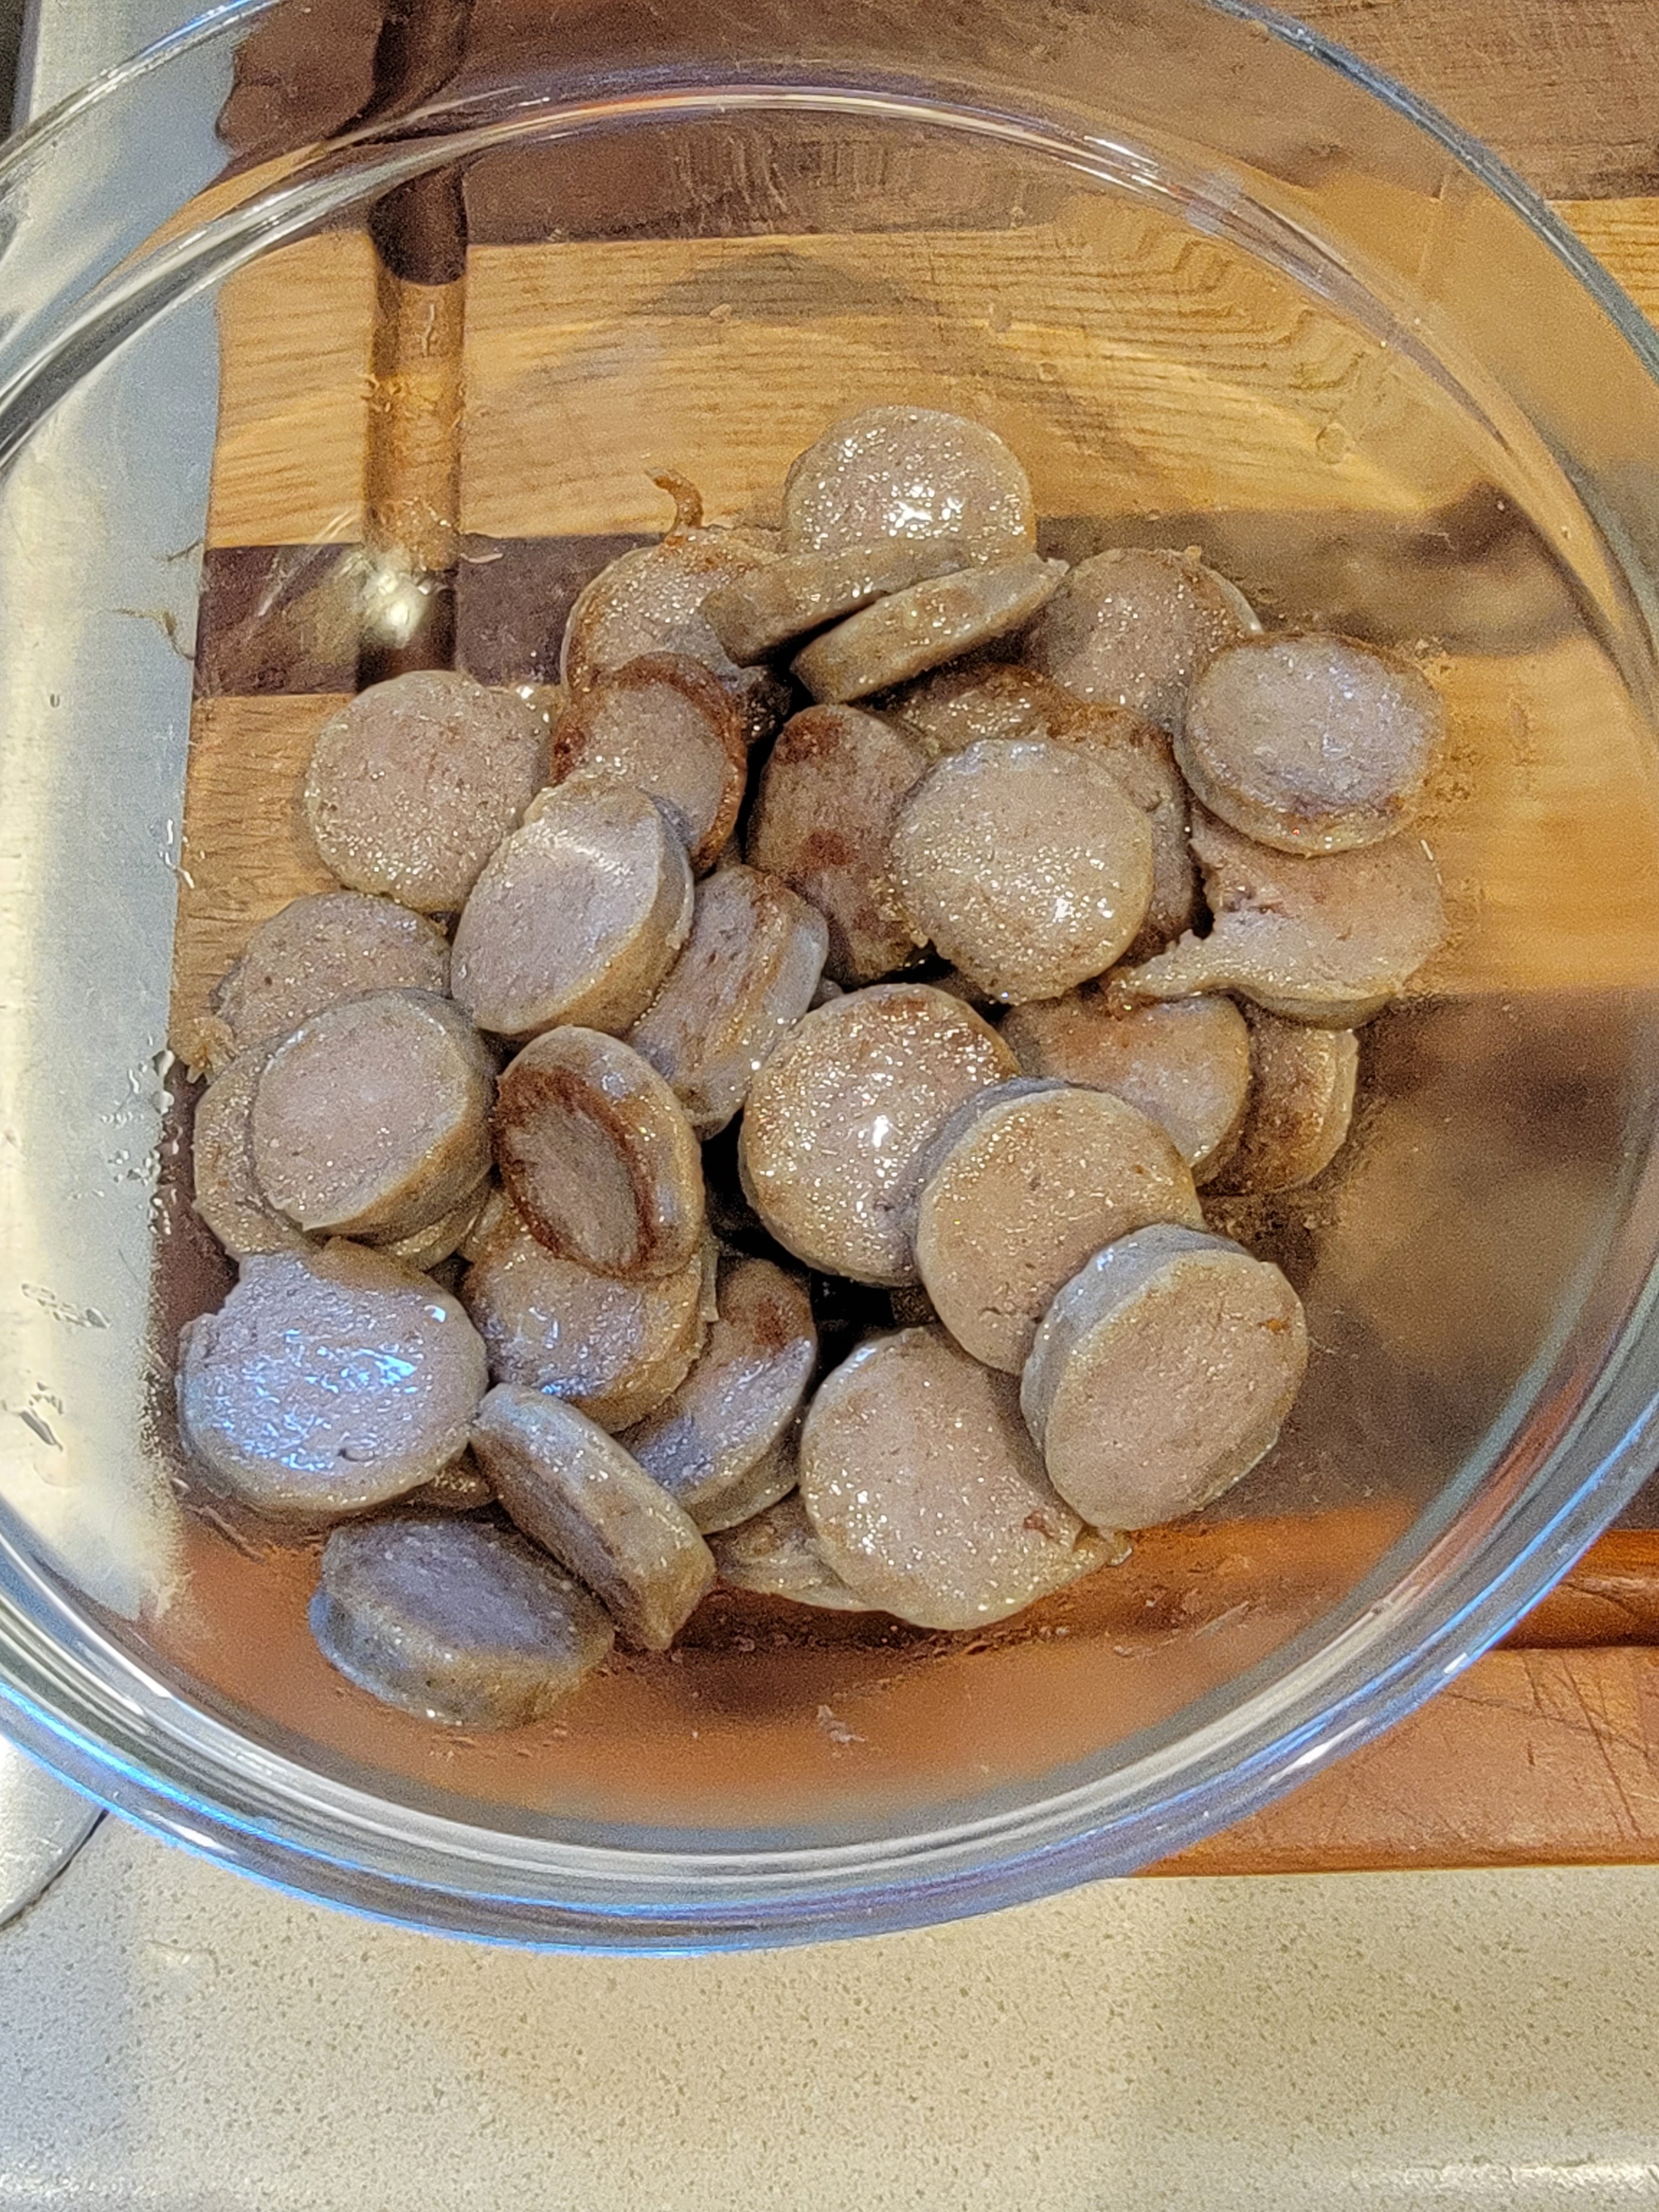
Put a large Dutch oven or soup pot over medium high heat and add olive oil. Once the oil is hot enough add the kielbasa and cook for about 7-8 minutes, or until it starts to brown. When it gets brown on both sides remove from the pot and set aside in a bowl or on a plate.

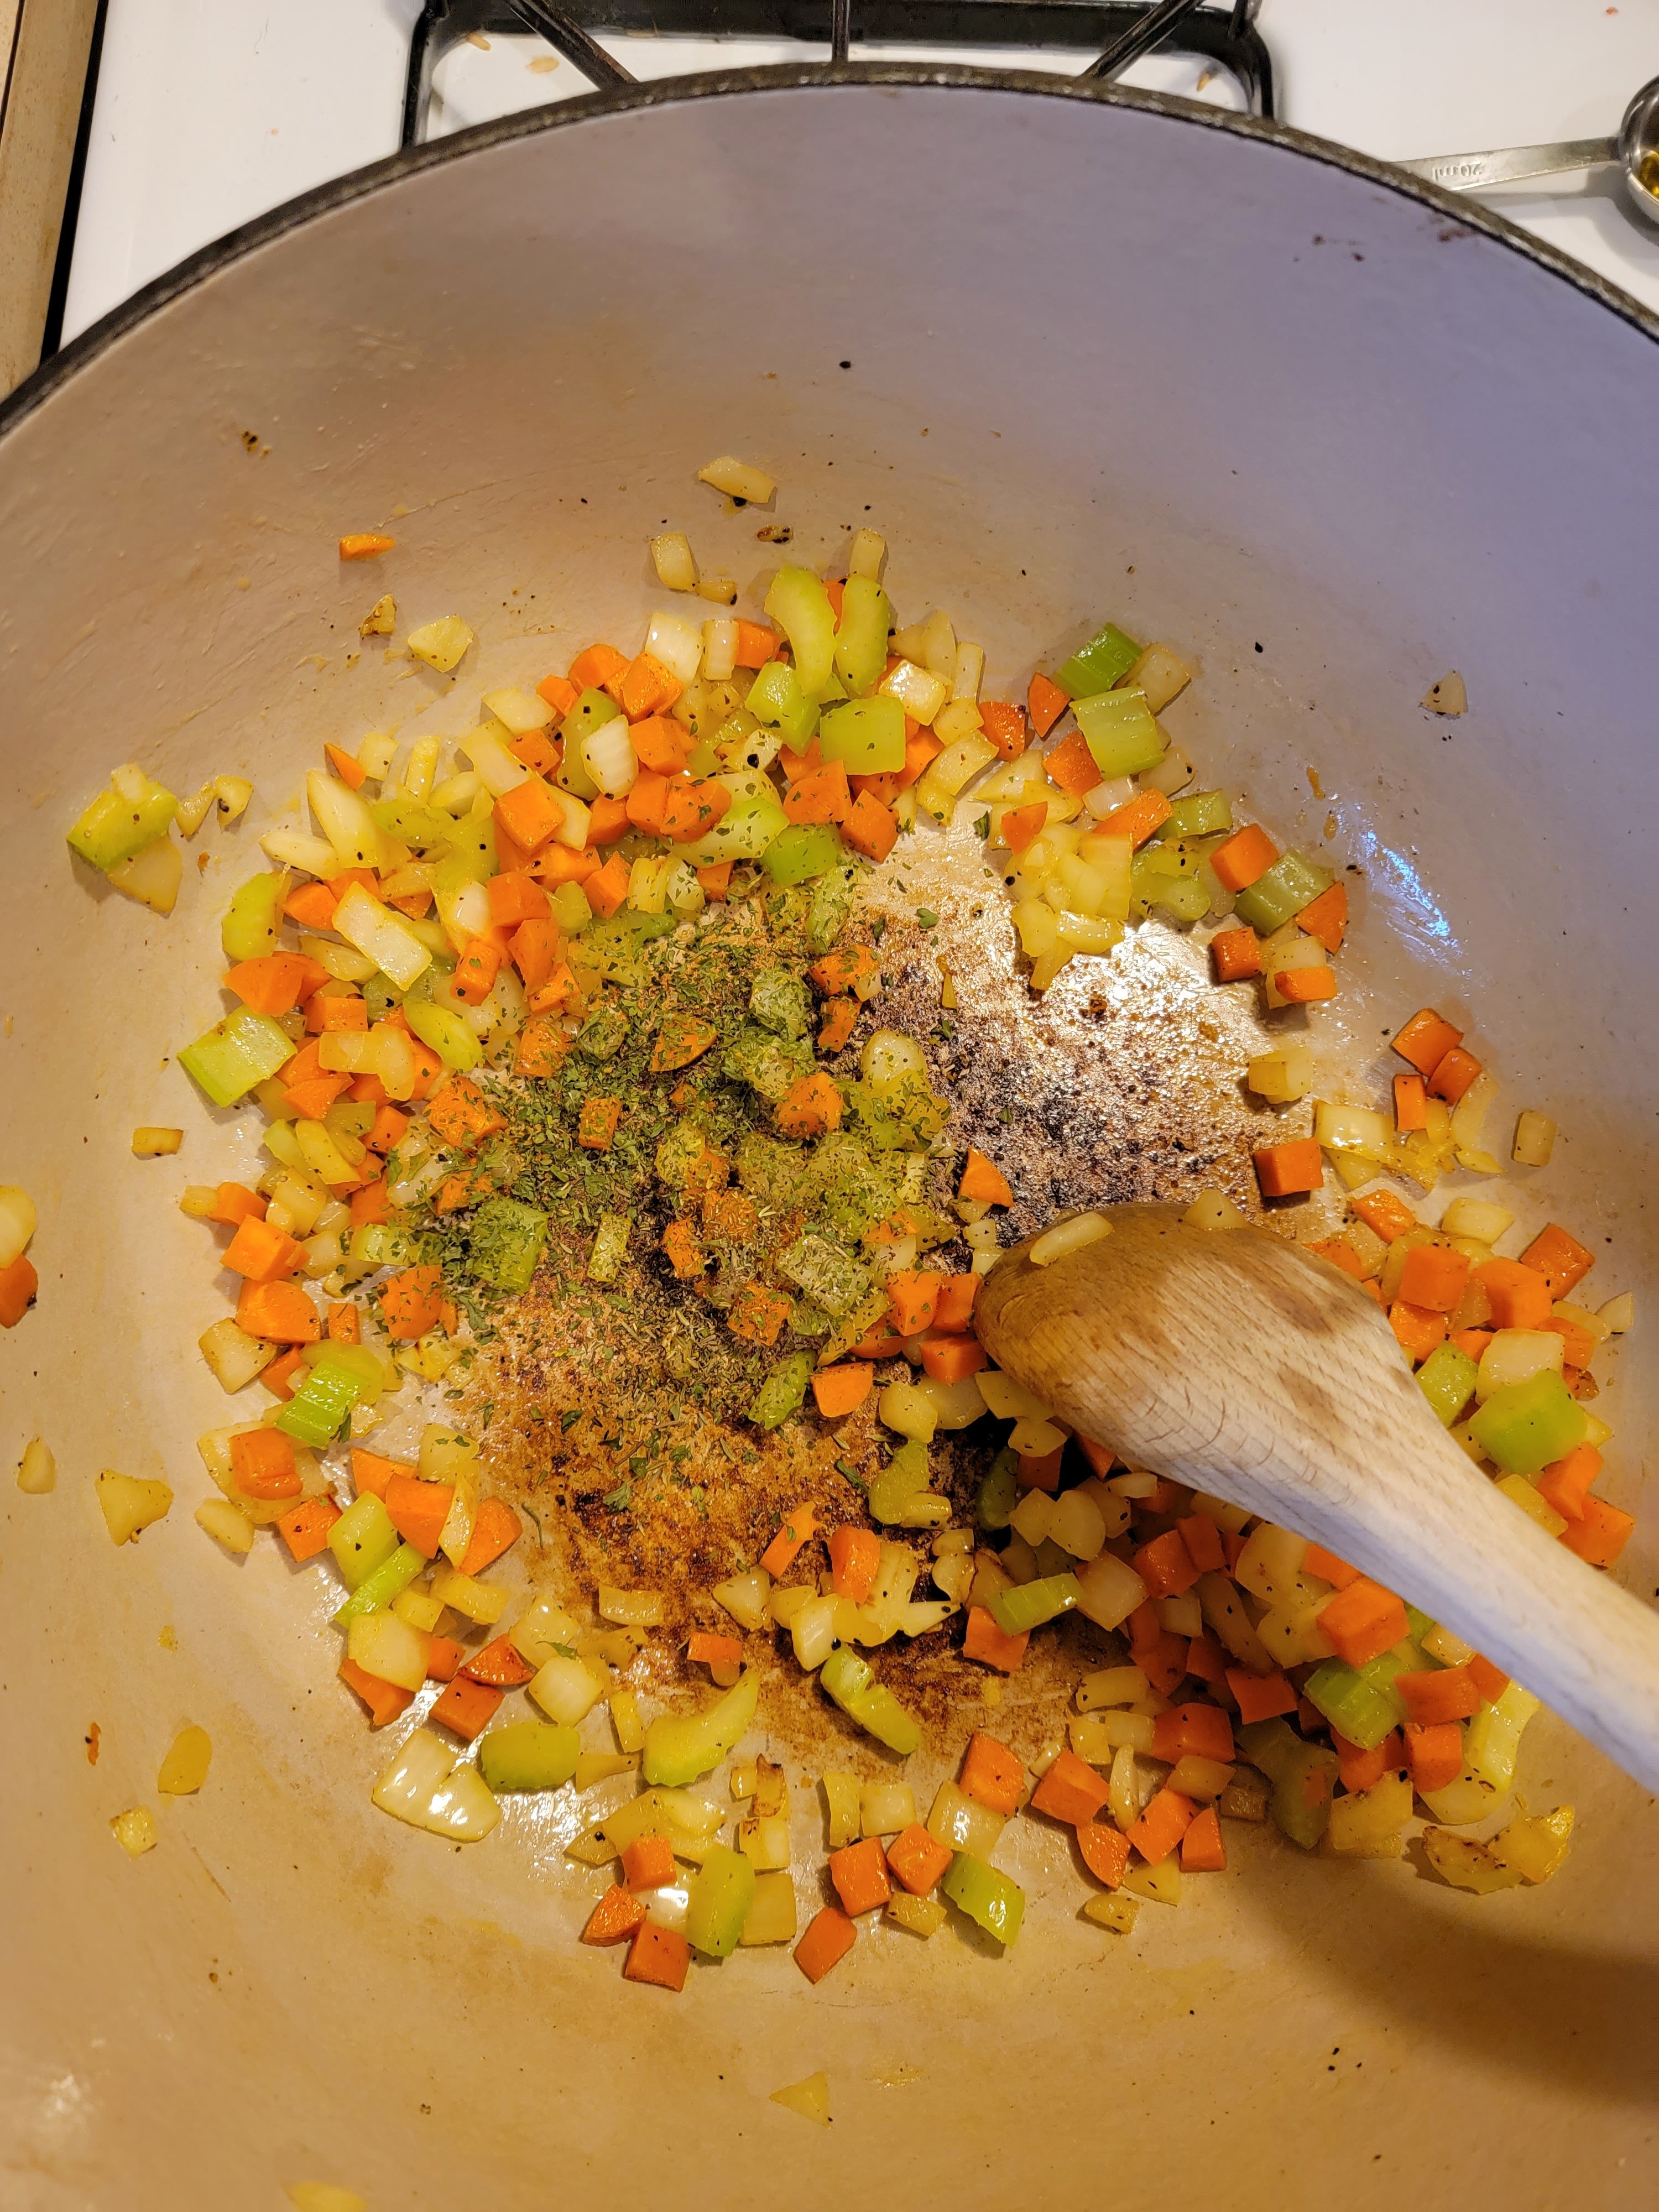
Add all the veggies to the pot, using the oil you just cooked your kielbasa in. Also add salt, pepper, parsley, and thyme. Cook the veggies for about 10 minutes, or until the onions are translucent.

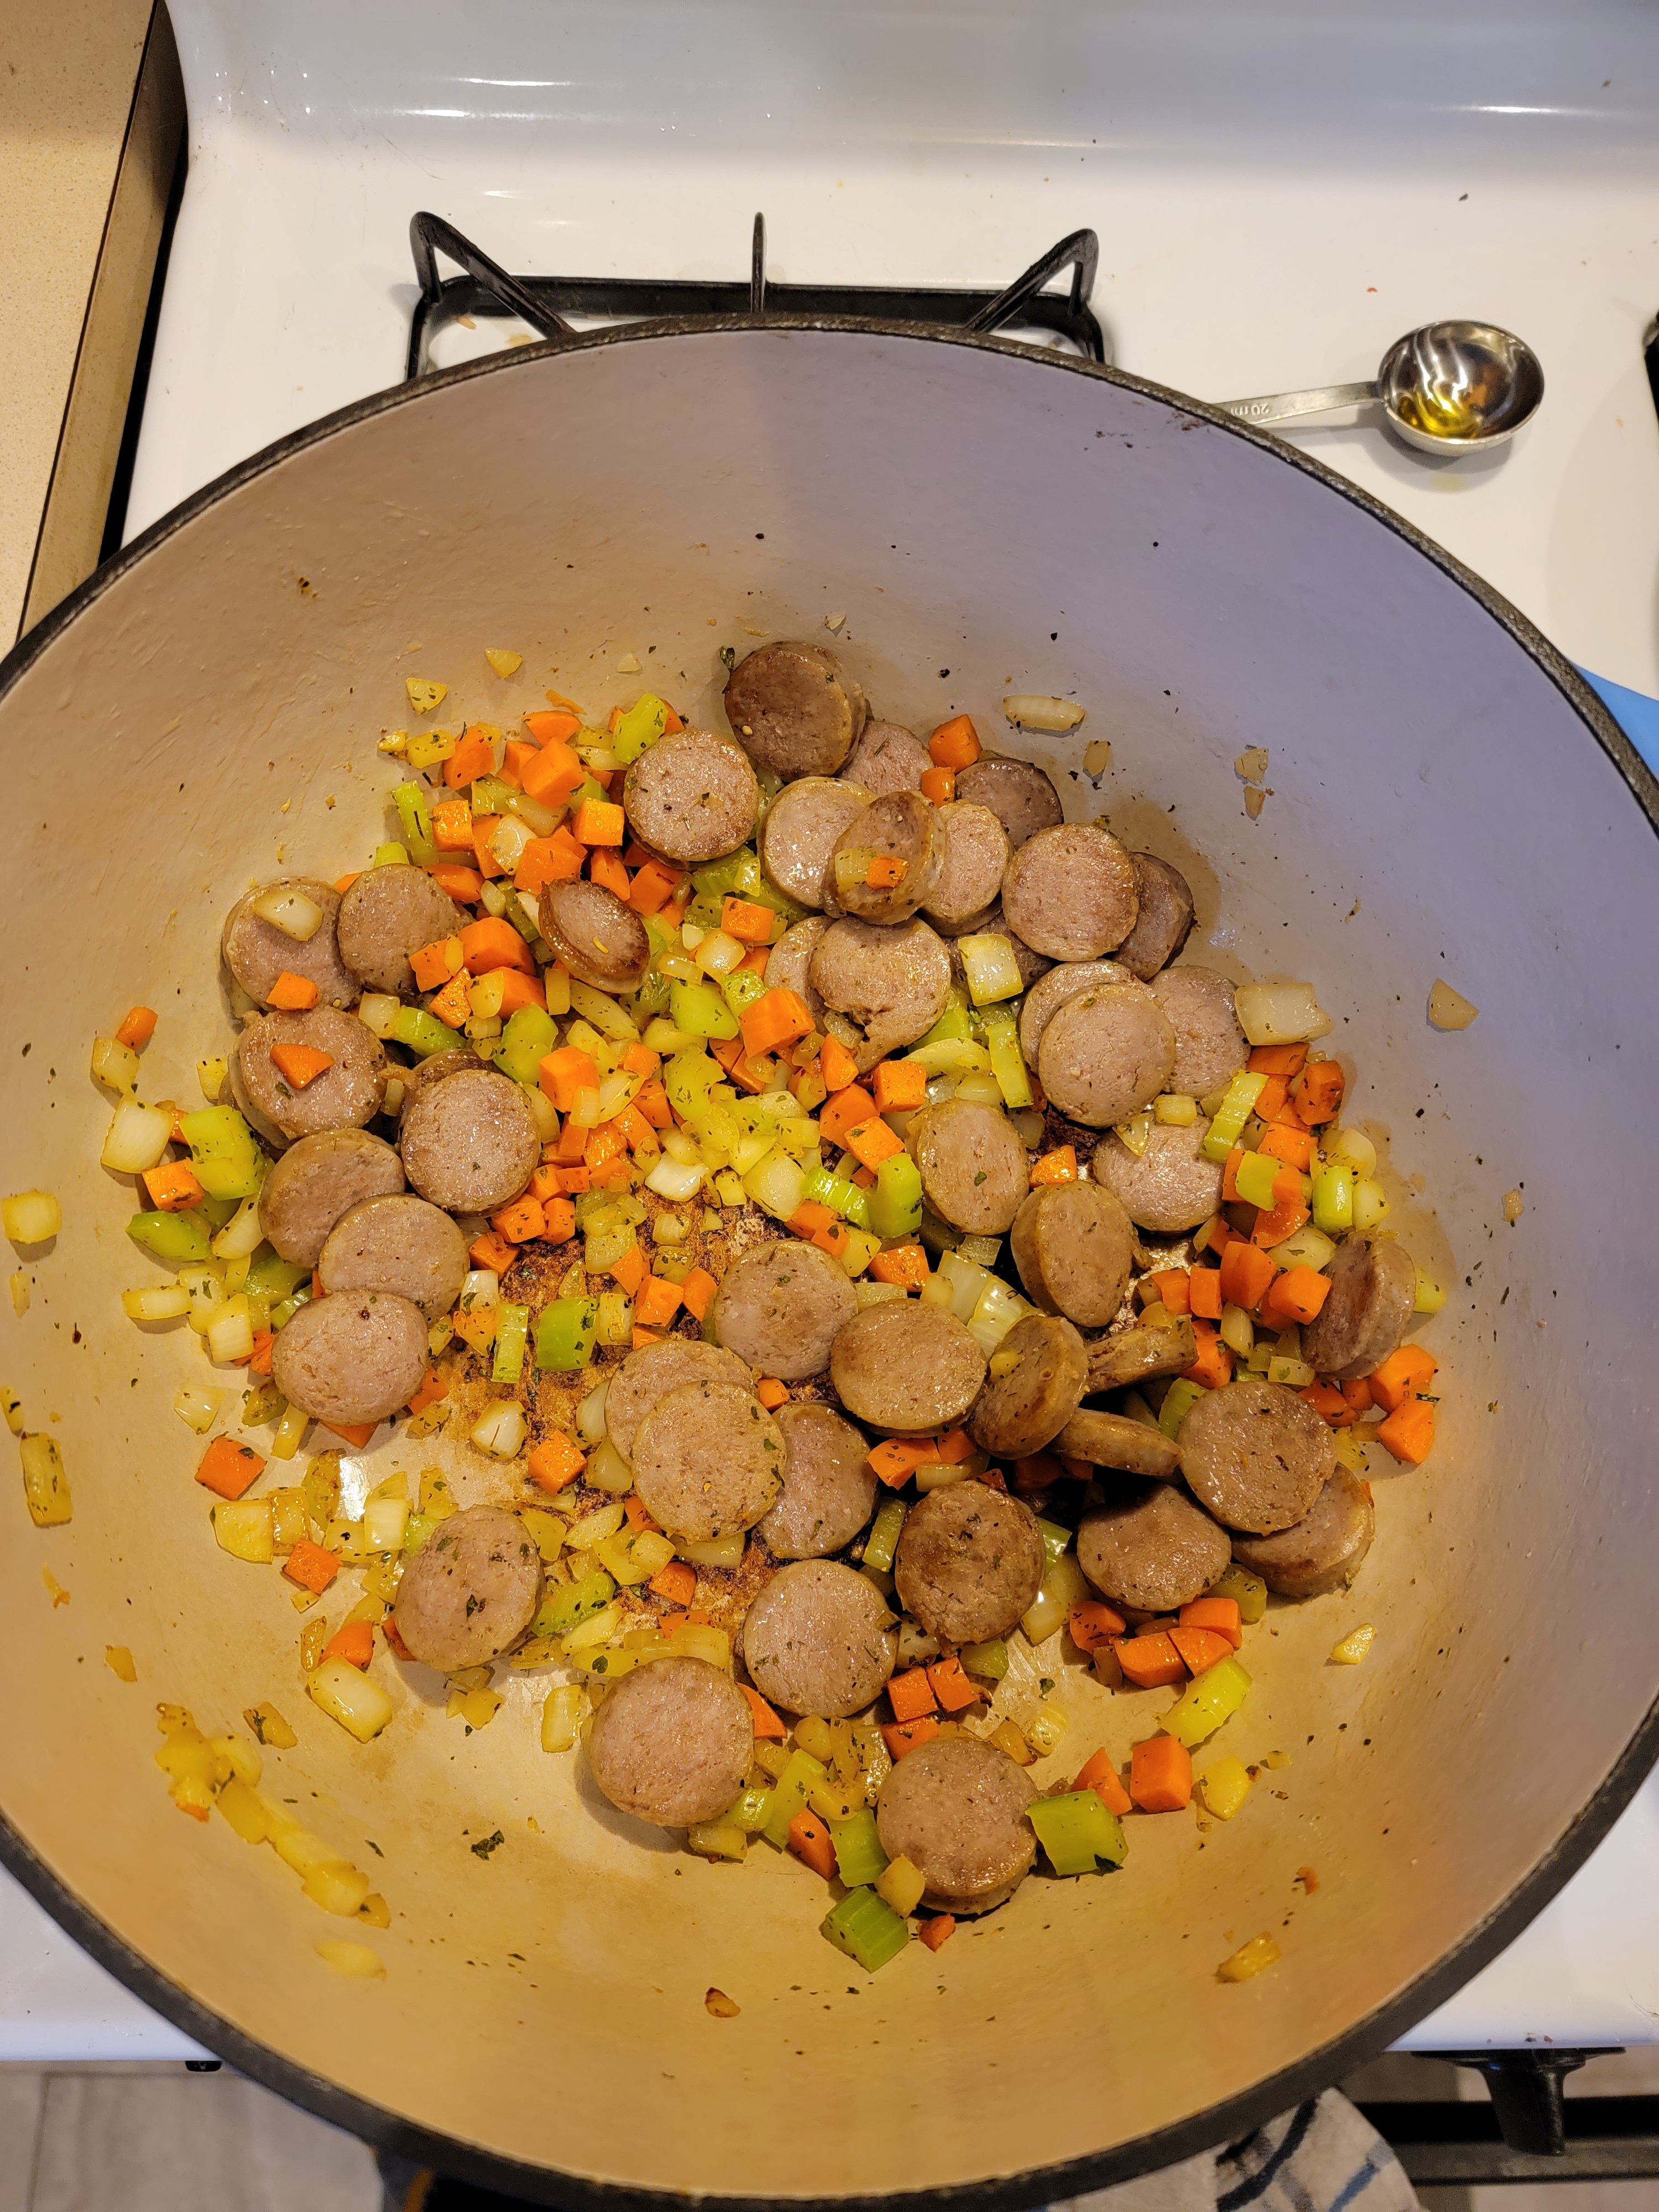
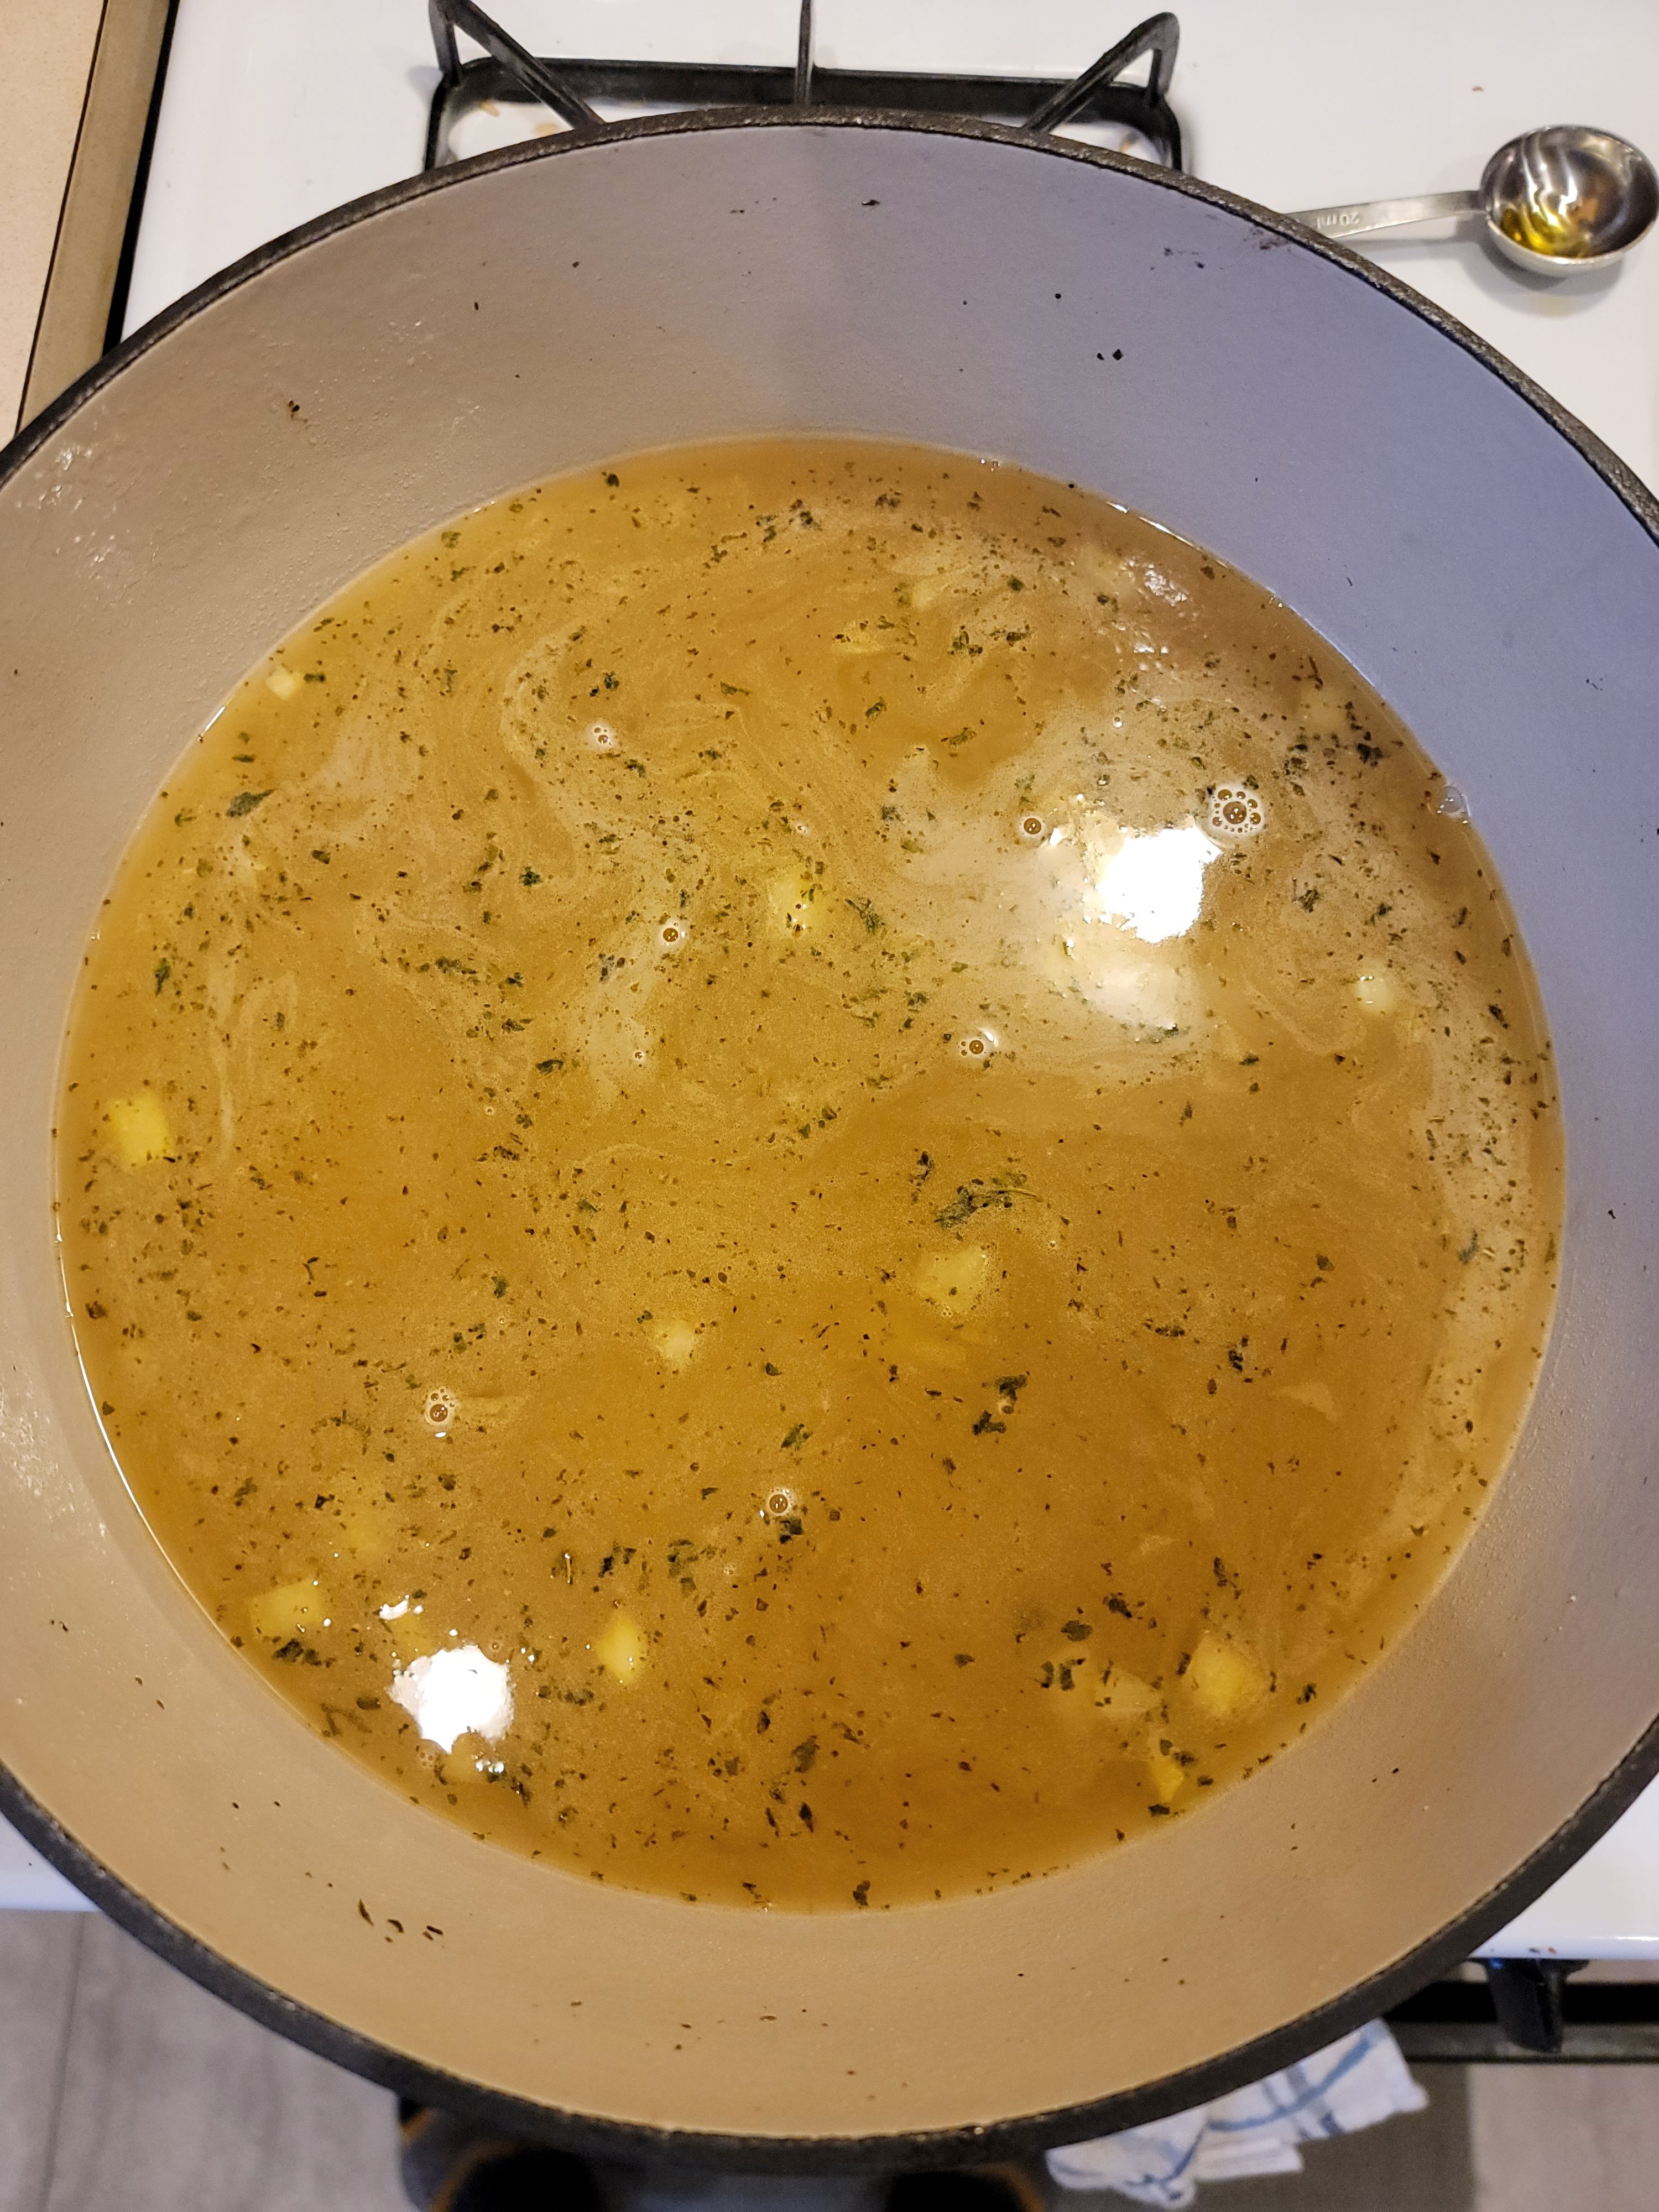
Now that the veggies are cooked, add the kielbasa back to the pot and cover with broth and water.

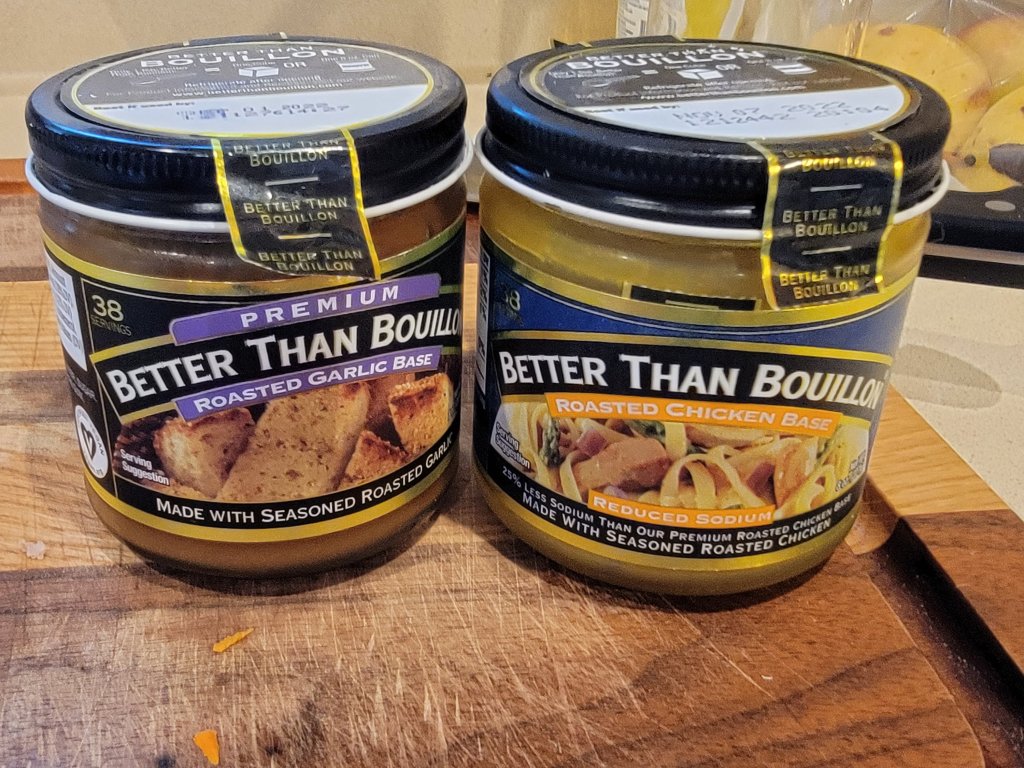
If you don’t like keeping cans or cartons of broth around we suggest using Better Than Bouillon. It is a paste that you add to hot water to instantly make flavorful broth. For this recipe I used about 2 tsp of chicken flavor and .5 tsp of roasted garlic flavor.

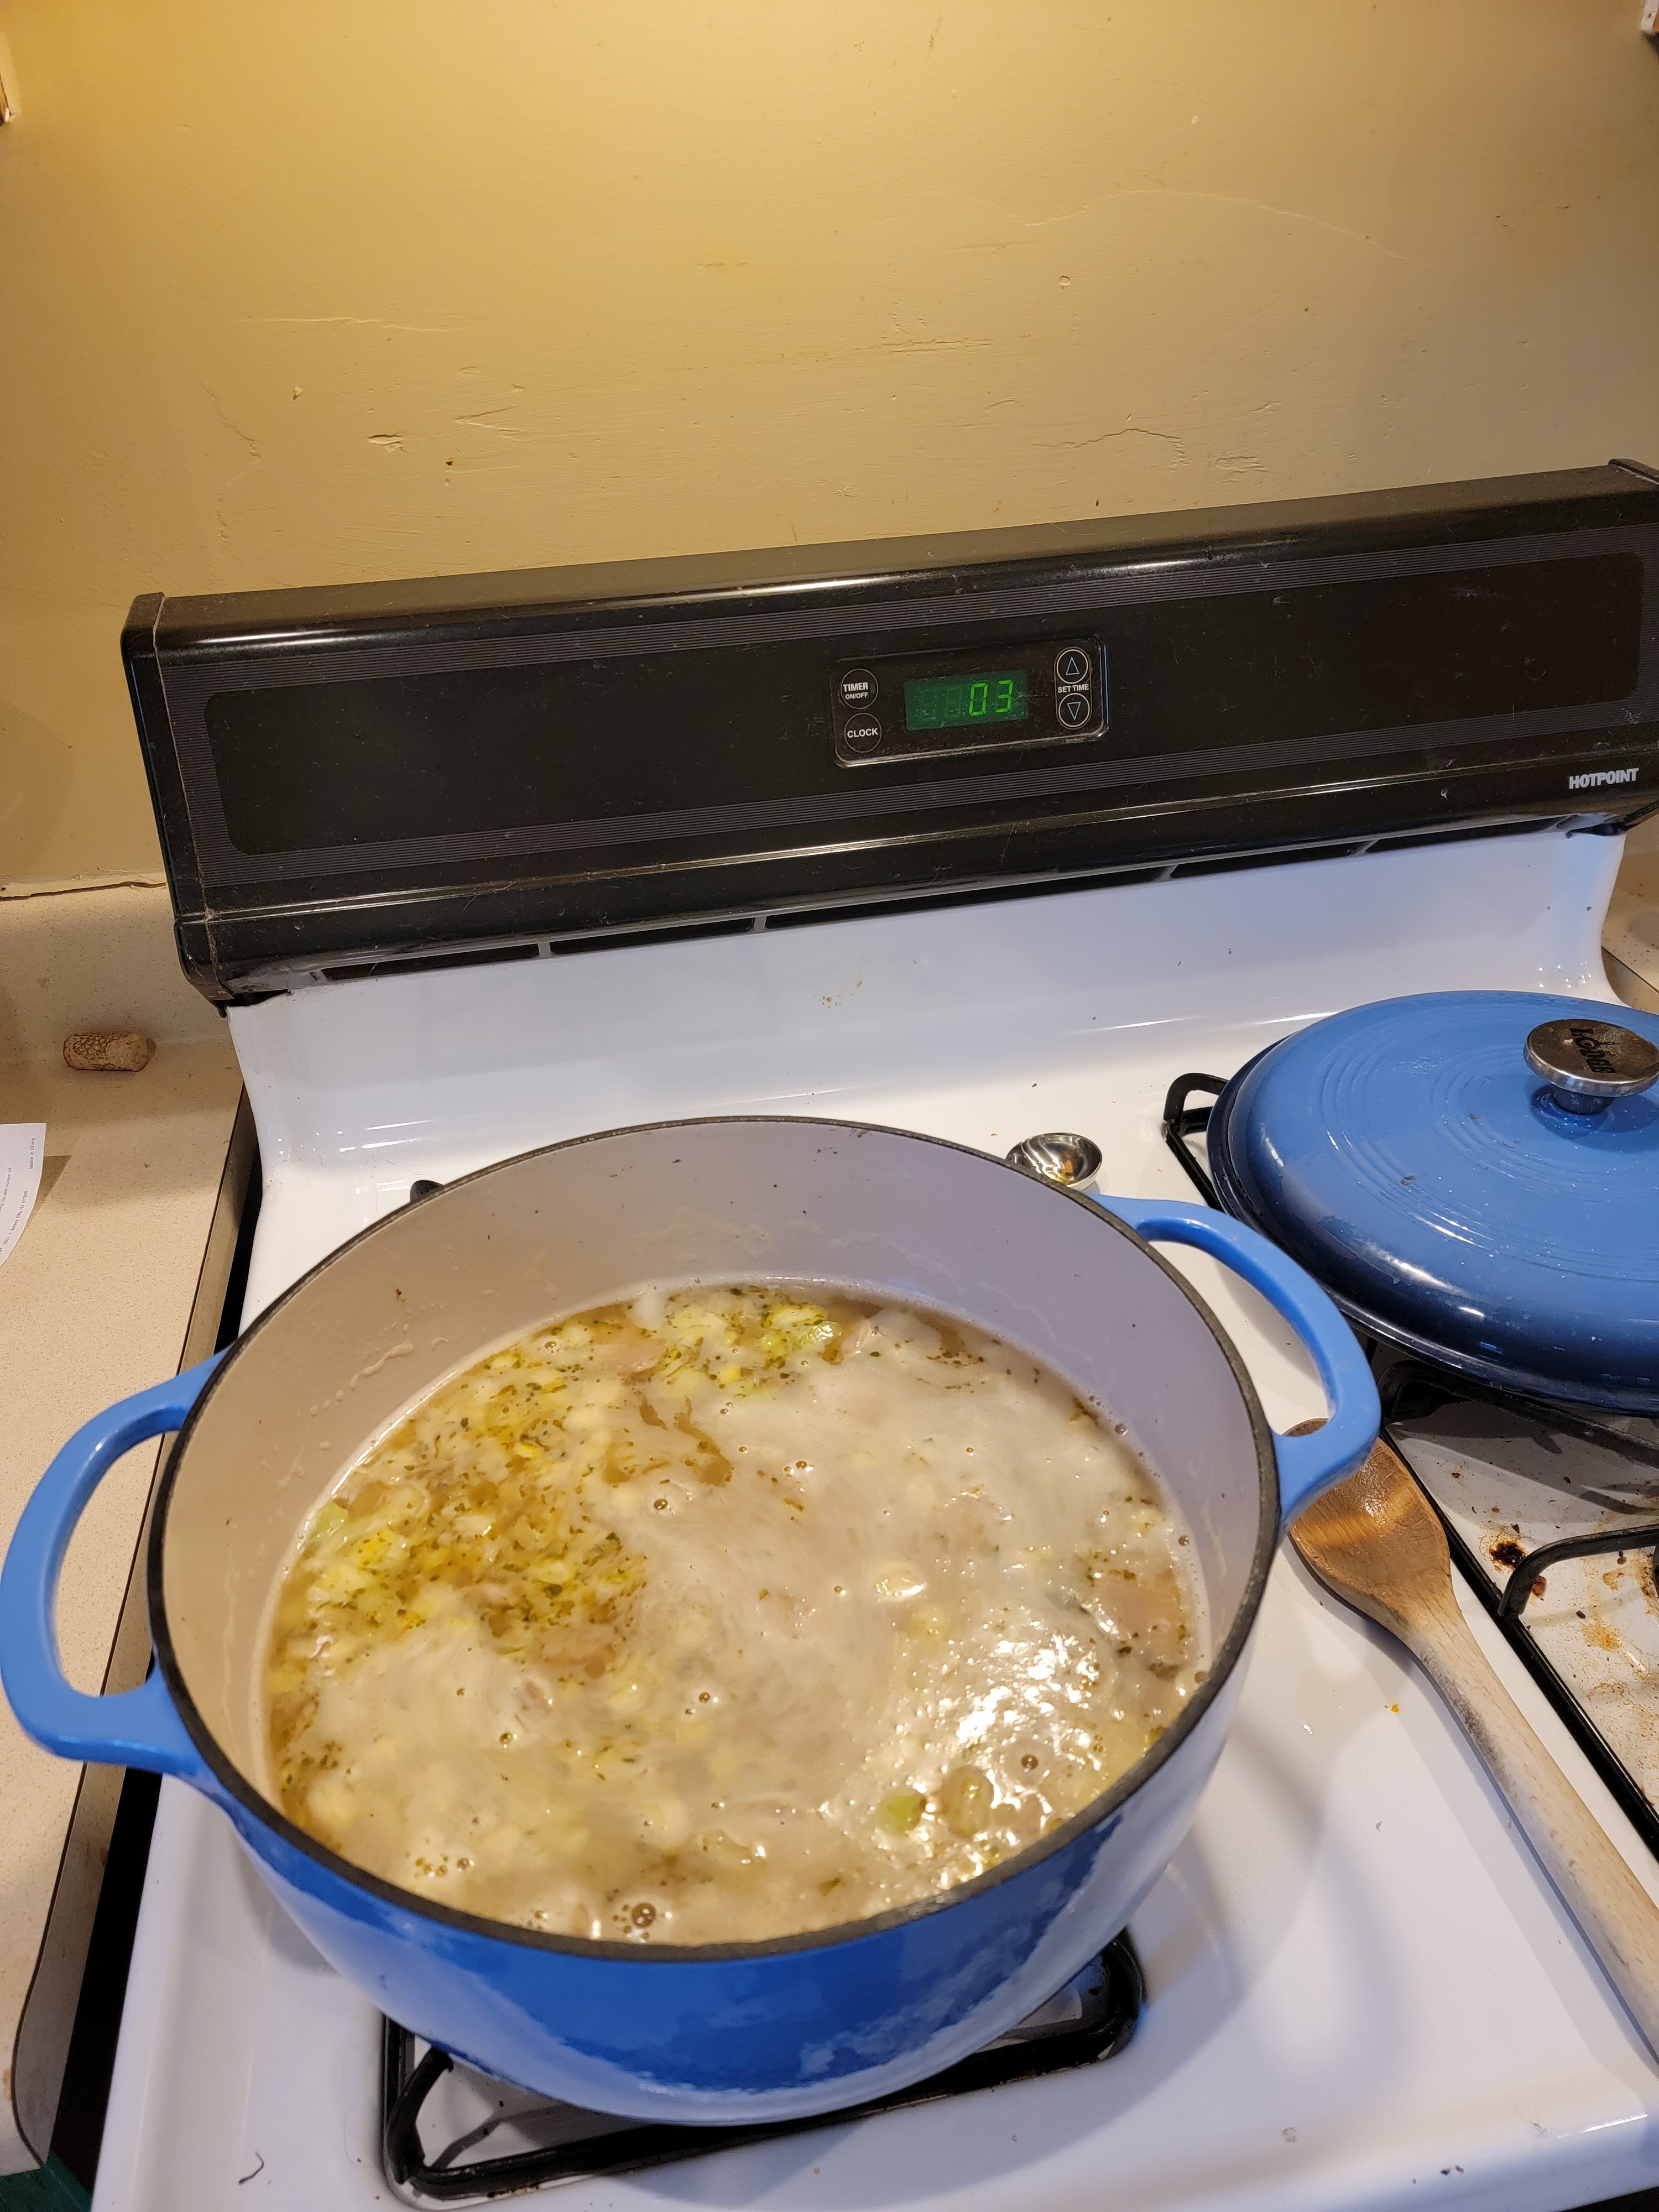
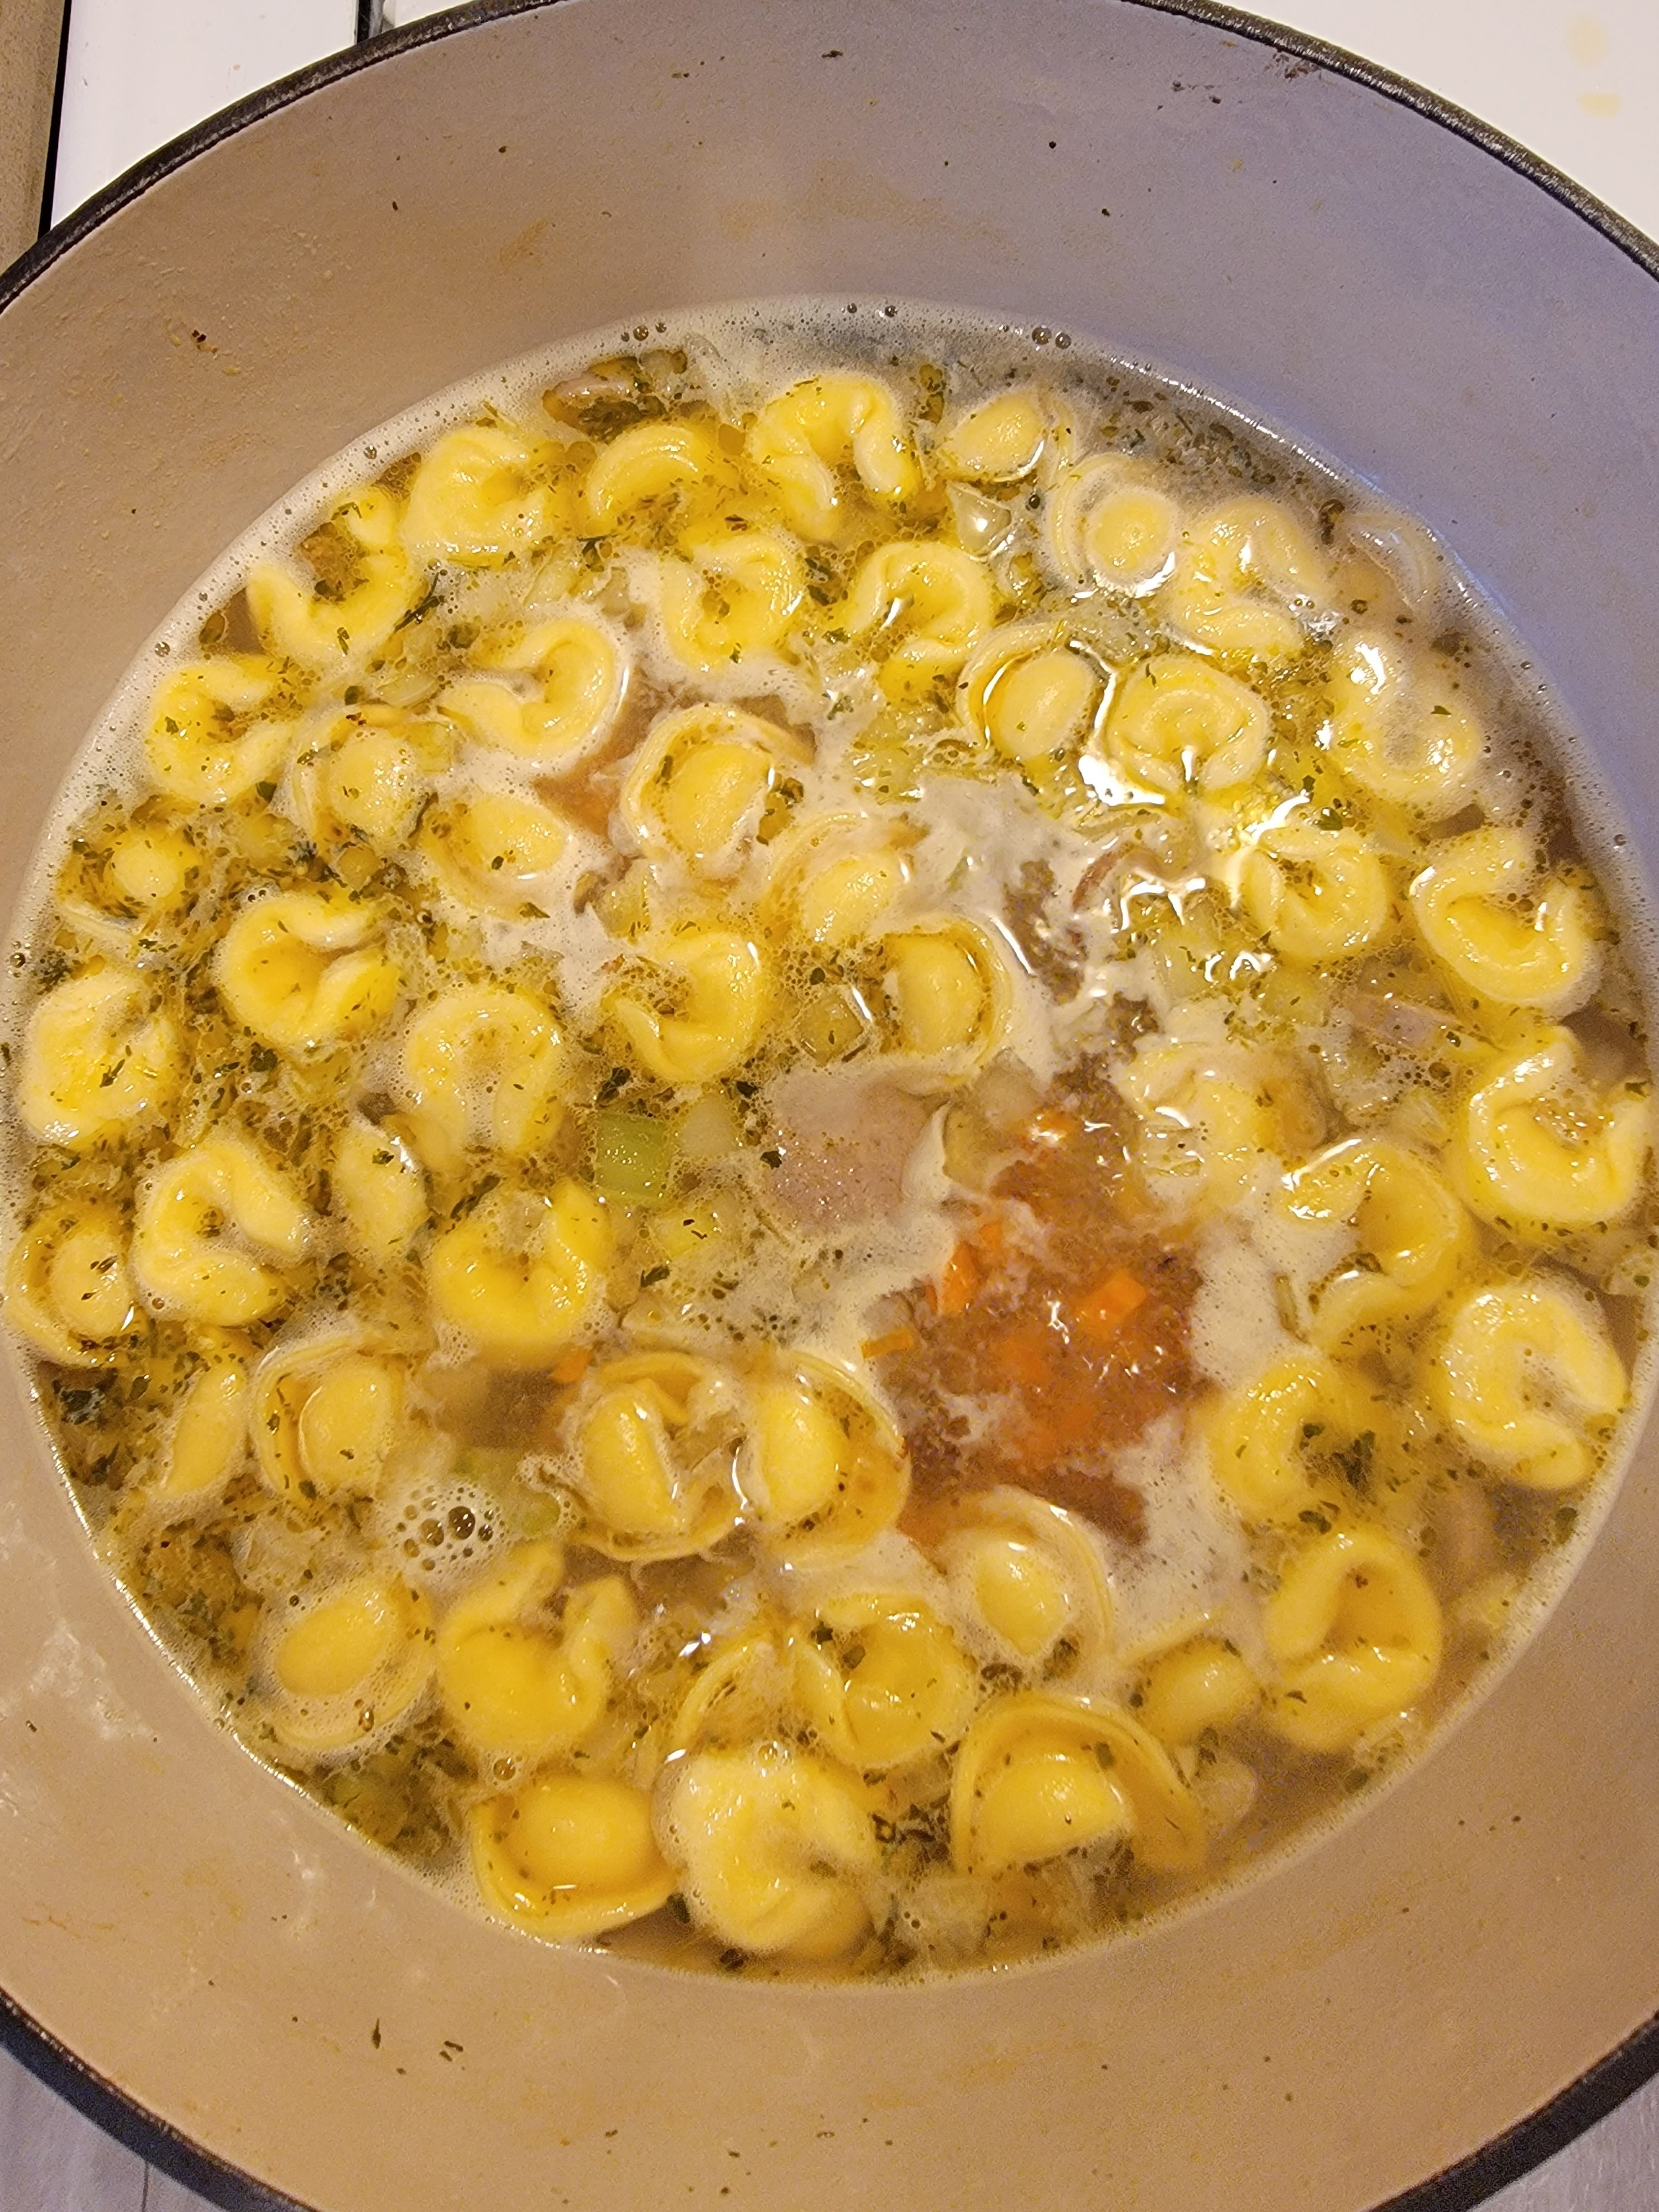
Bring the soup up to a boil and add in the tortellini. The tortellini will only take about 3 minutes to cook. You can tell they are cooked when they all float to the top.

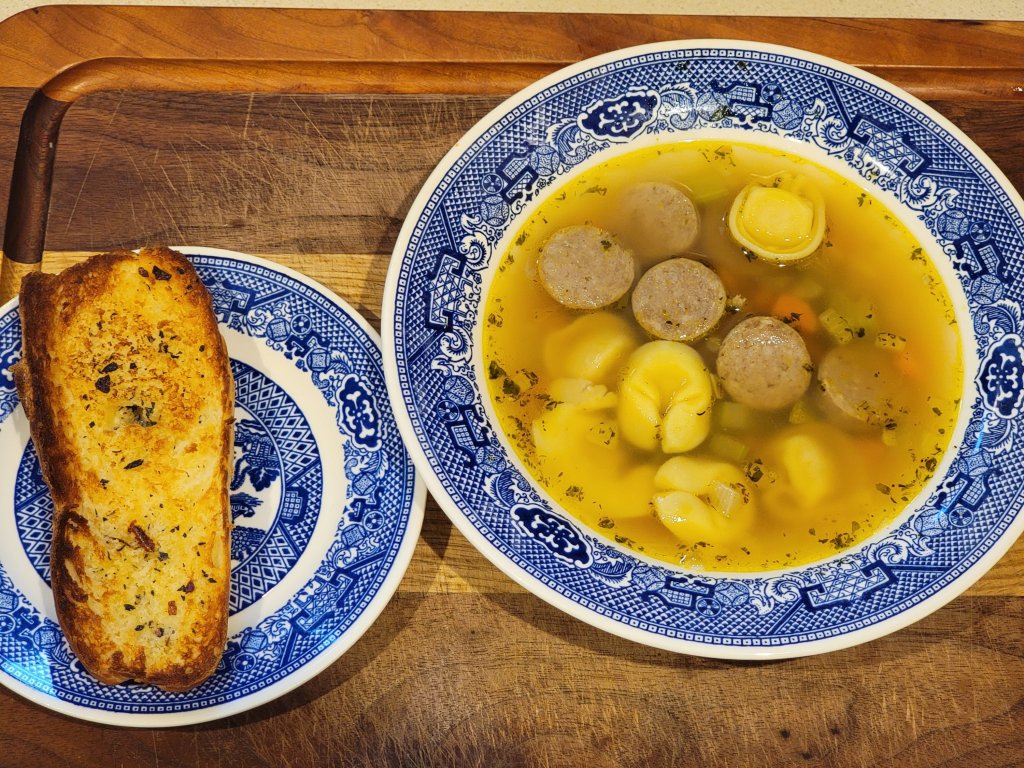
And that’s it! A nice quick weekday soup.

We also made garlic bread out of a homemade hotdog bun I found in the freezer!

This recipe will feed about 4 people but we decided to freeze some and save some for lunches. It will last in the fridge for about 5 days and in the freezer for about 6 months.

Hope you enjoy!

Tomato Basil Chicken Thighs

We had a ton of tomatoes in our garden so we decided to put them to work with some basil and chicken thighs.

Here’s what you’ll need:

  • Boneless skinless chicken thighs – 4 thighs (about 1.5 lbs)
  • Olive oil – .5 tbsp
  • Half a medium onion
  • 1 clove of garlic
  • 1 bay leaf
  • Fresh thyme – 5-6 sprigs
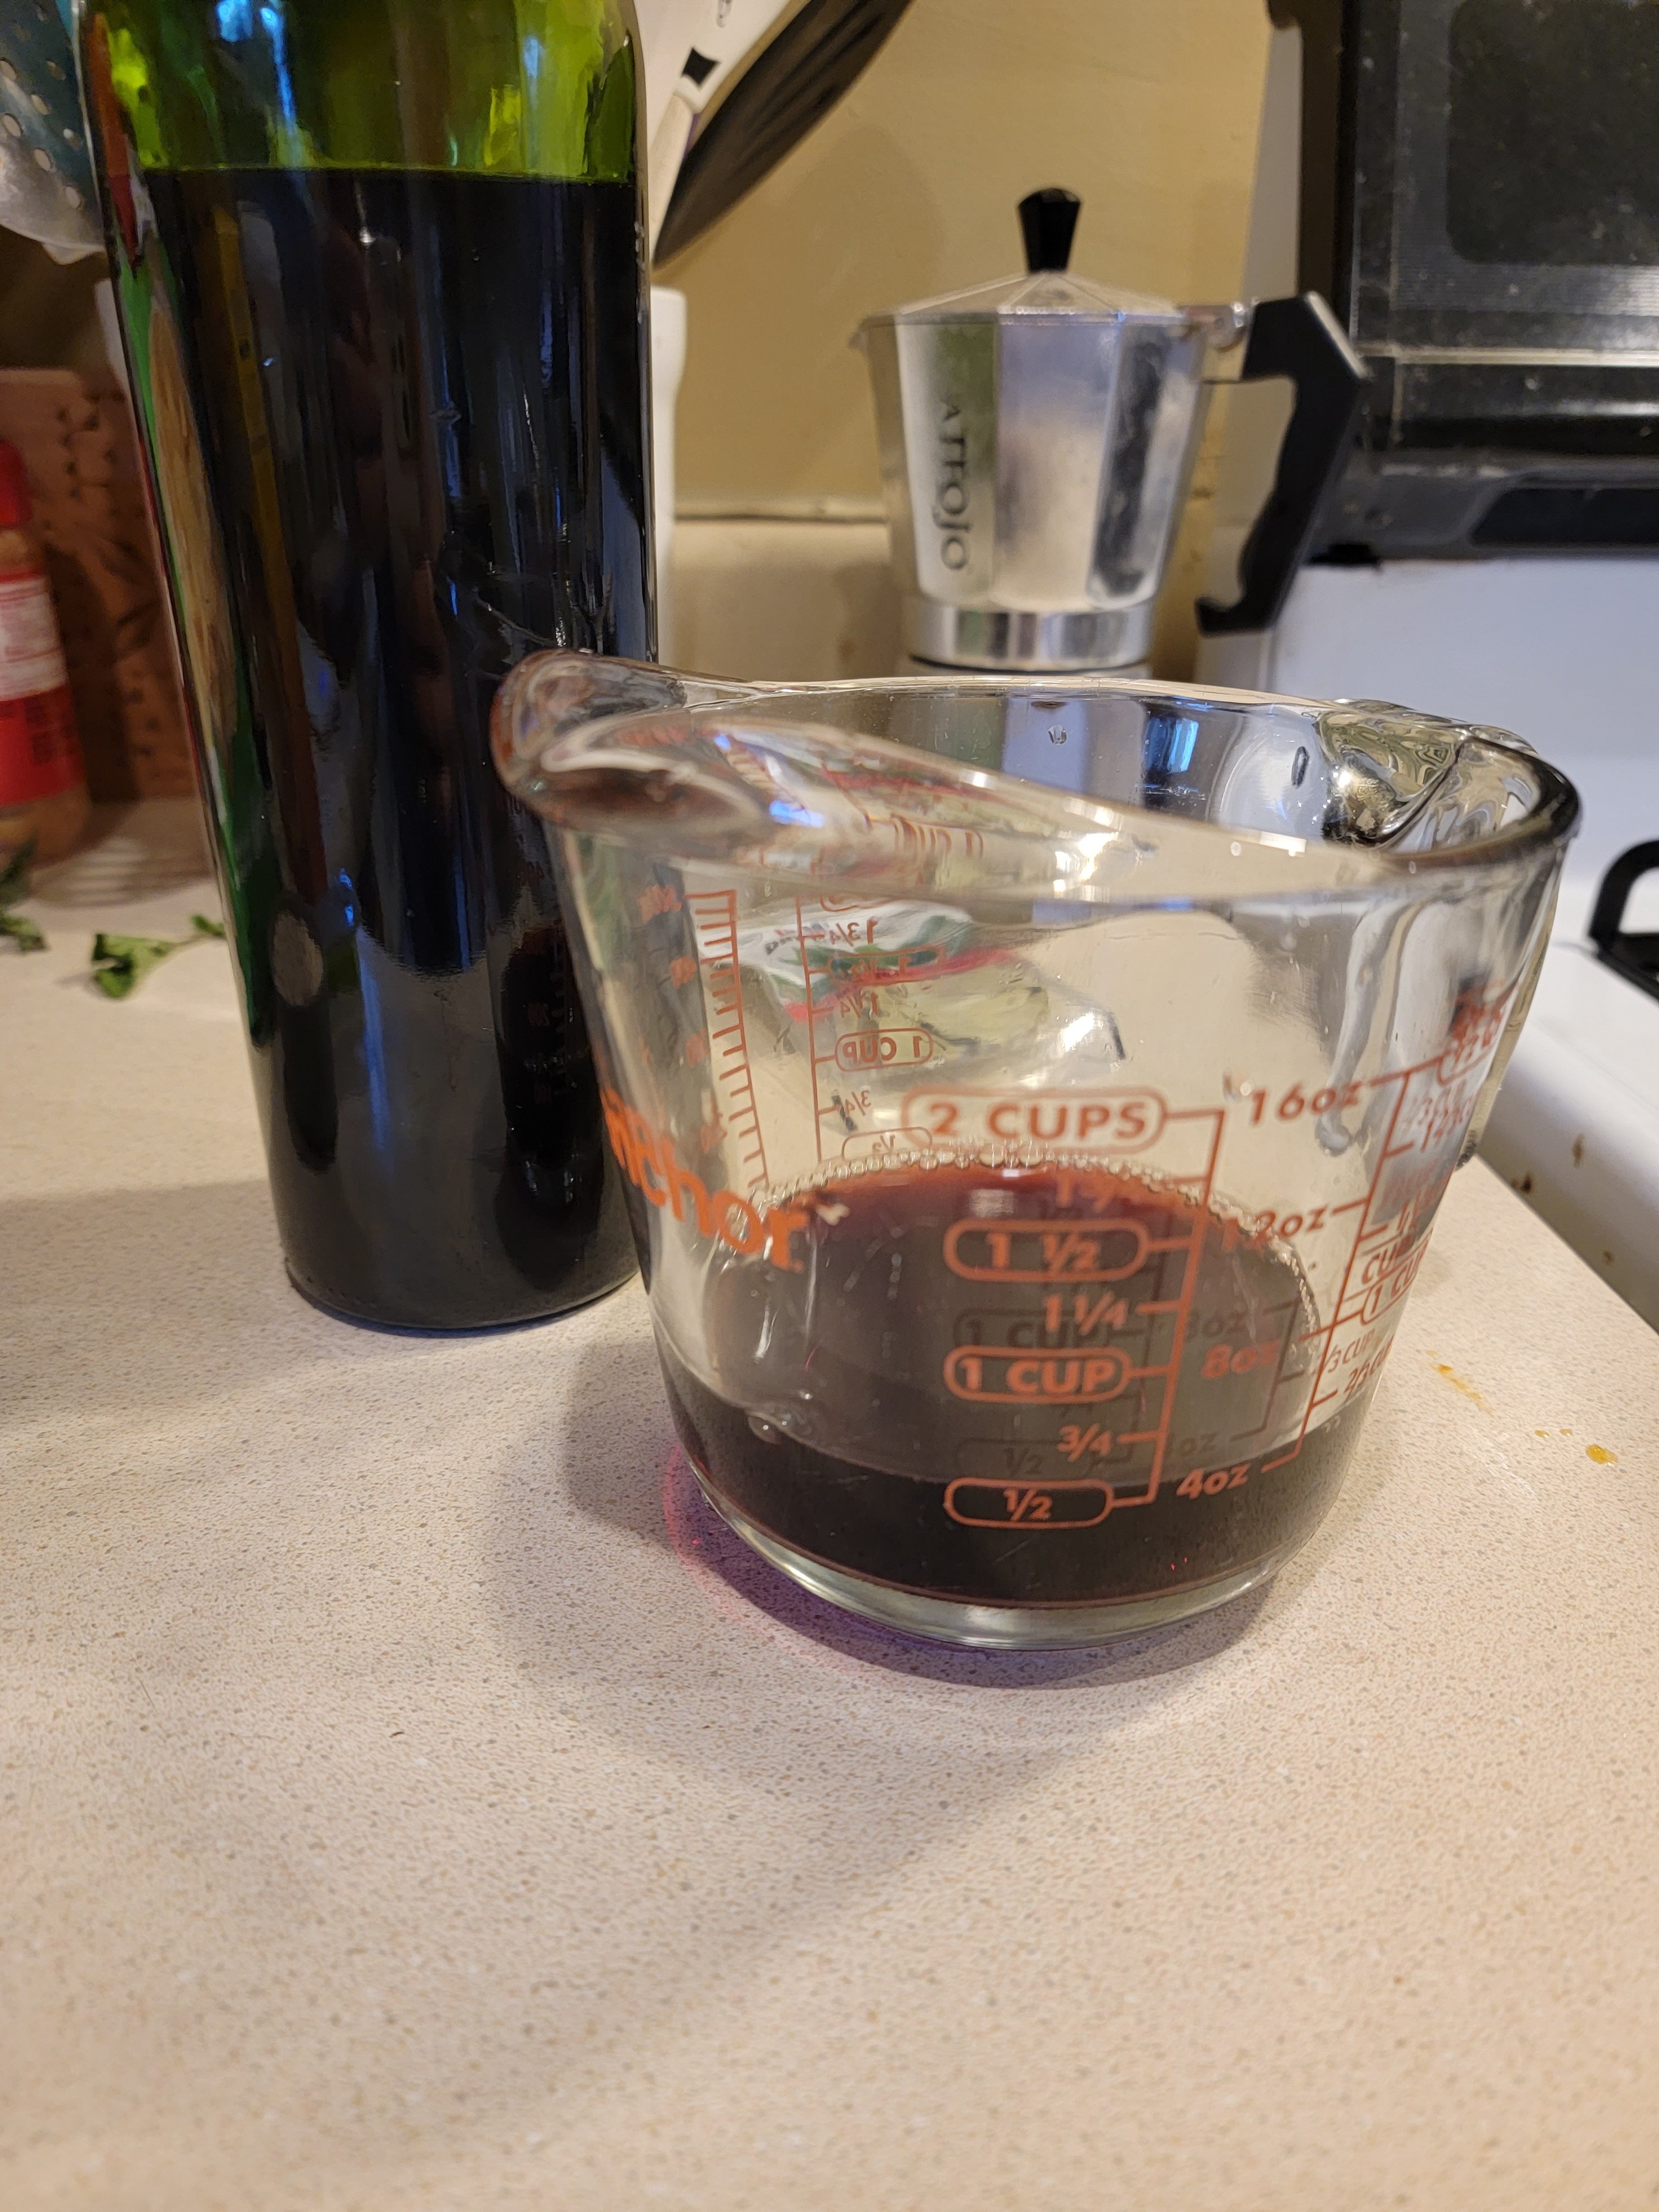
  • Red wine – .5 cup (something you’d willingly drink)
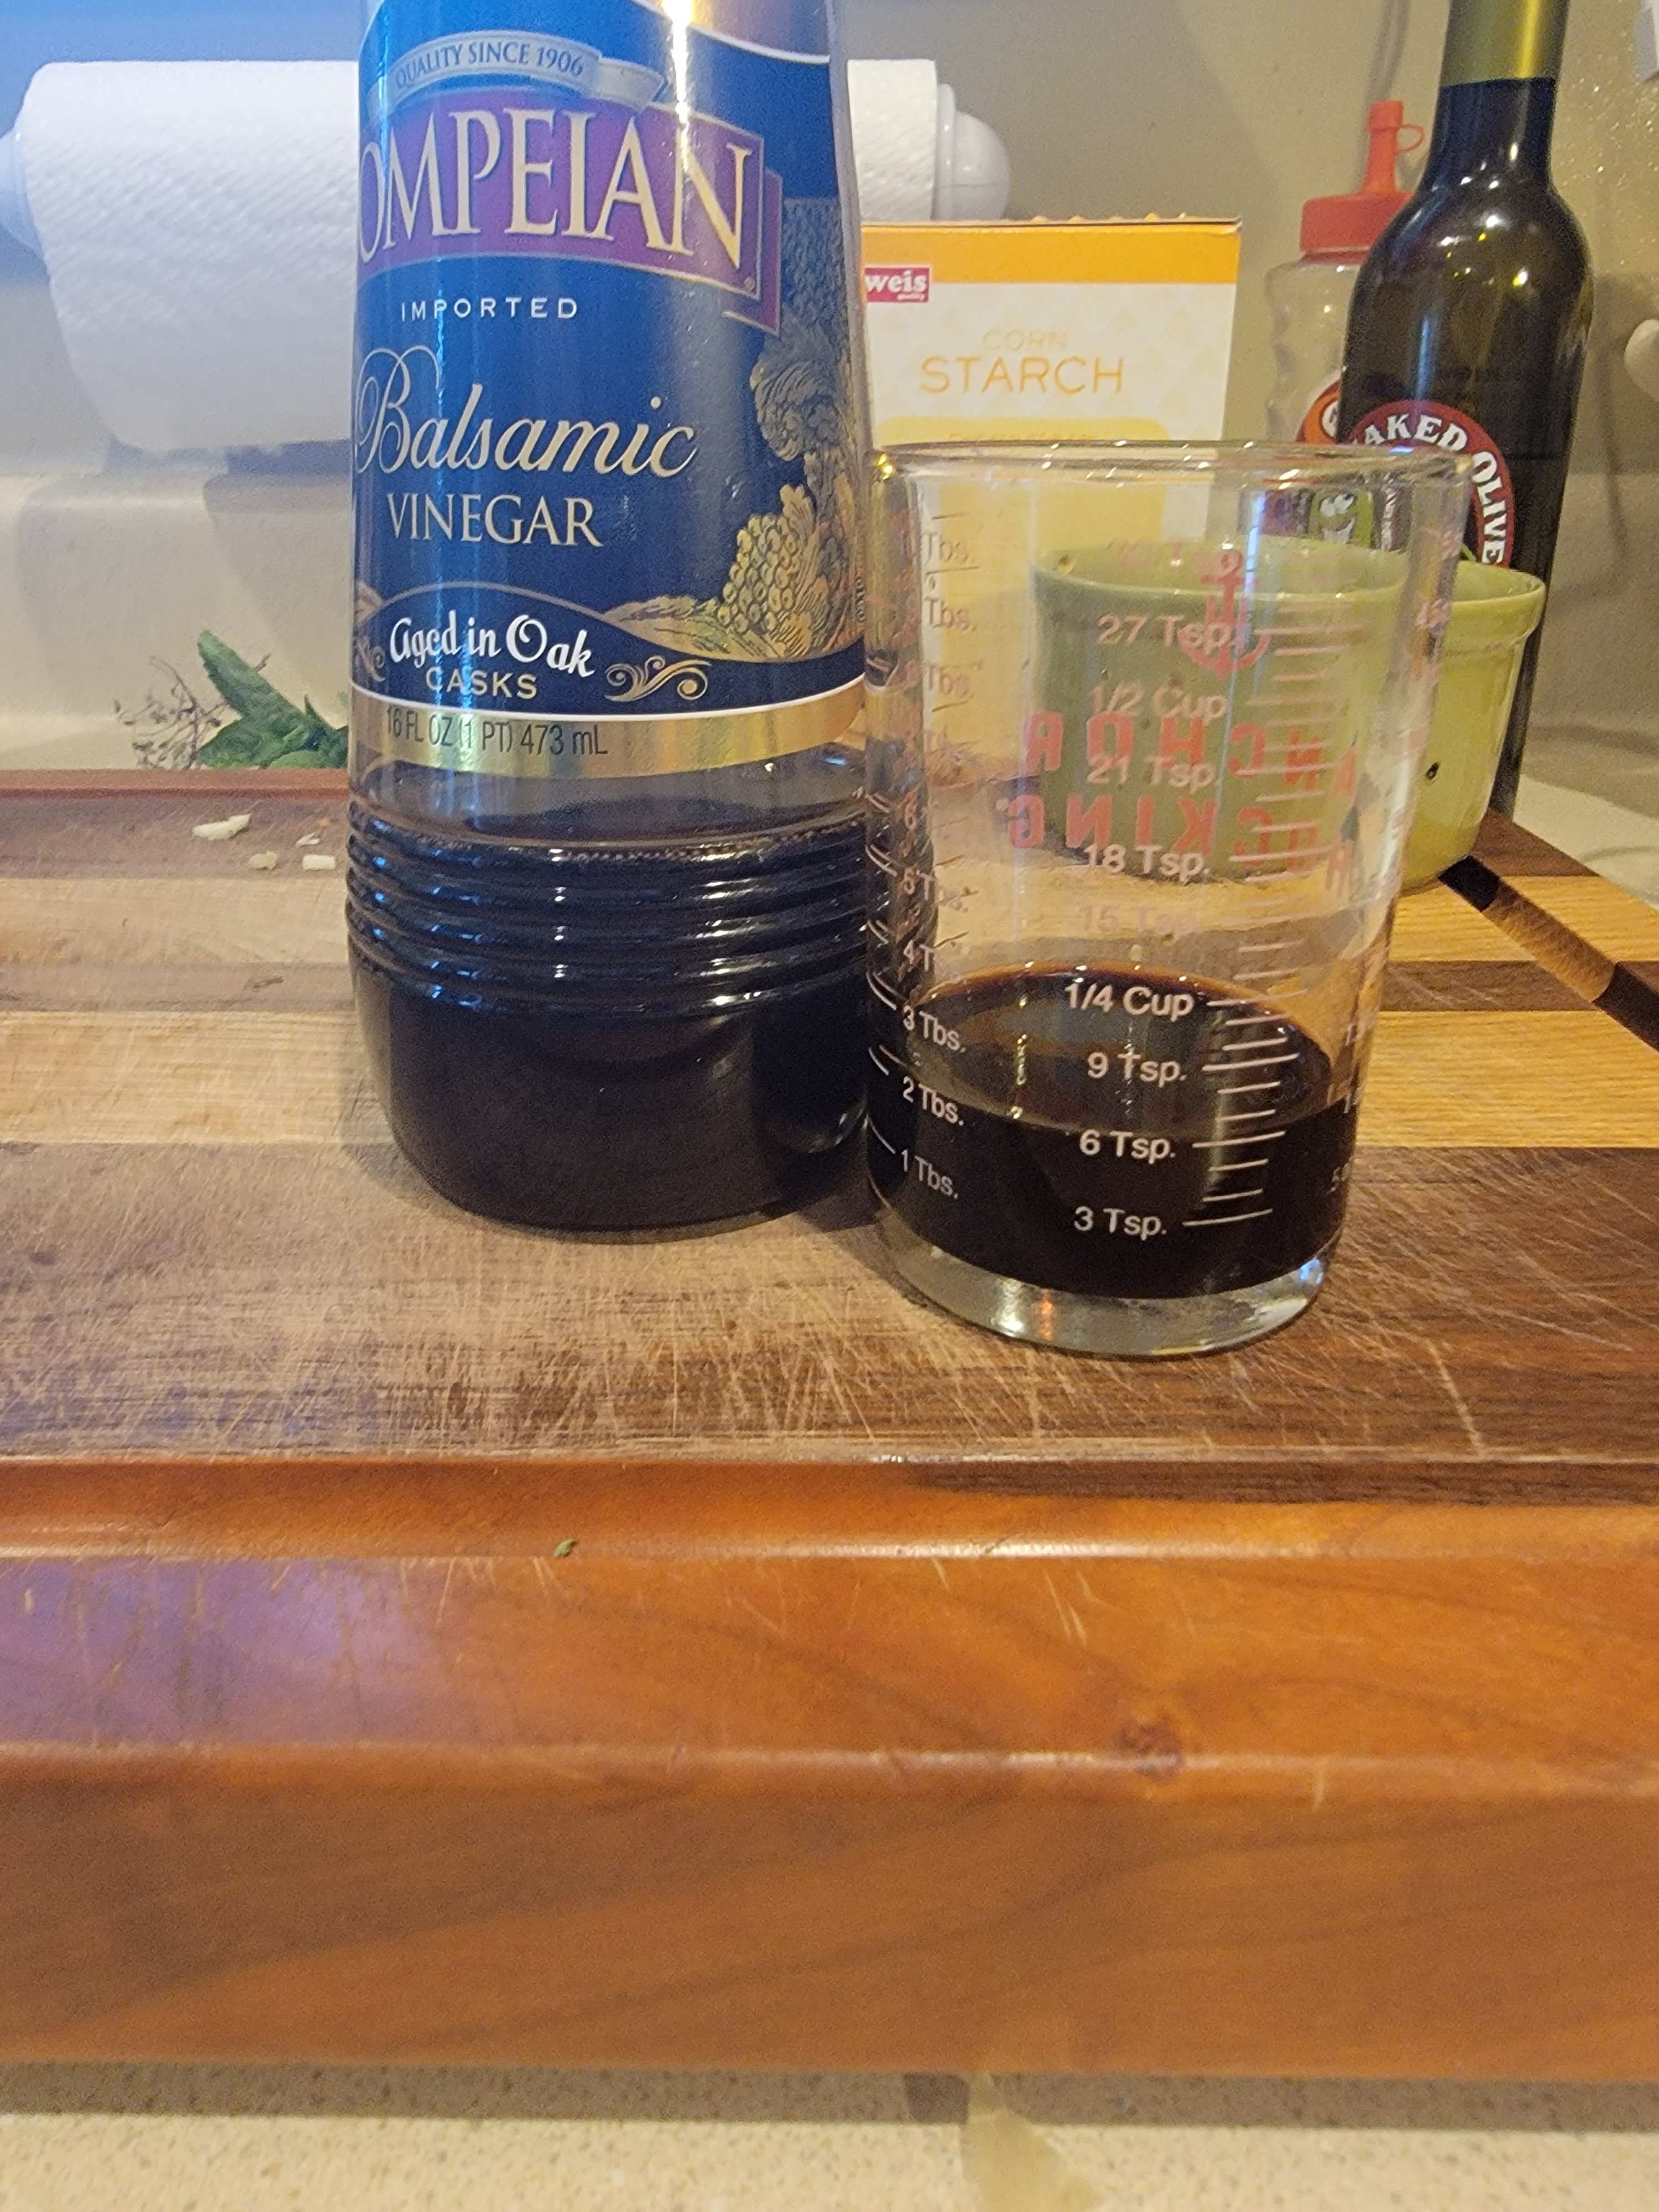
  • Balsamic vinegar- 2 tbsp
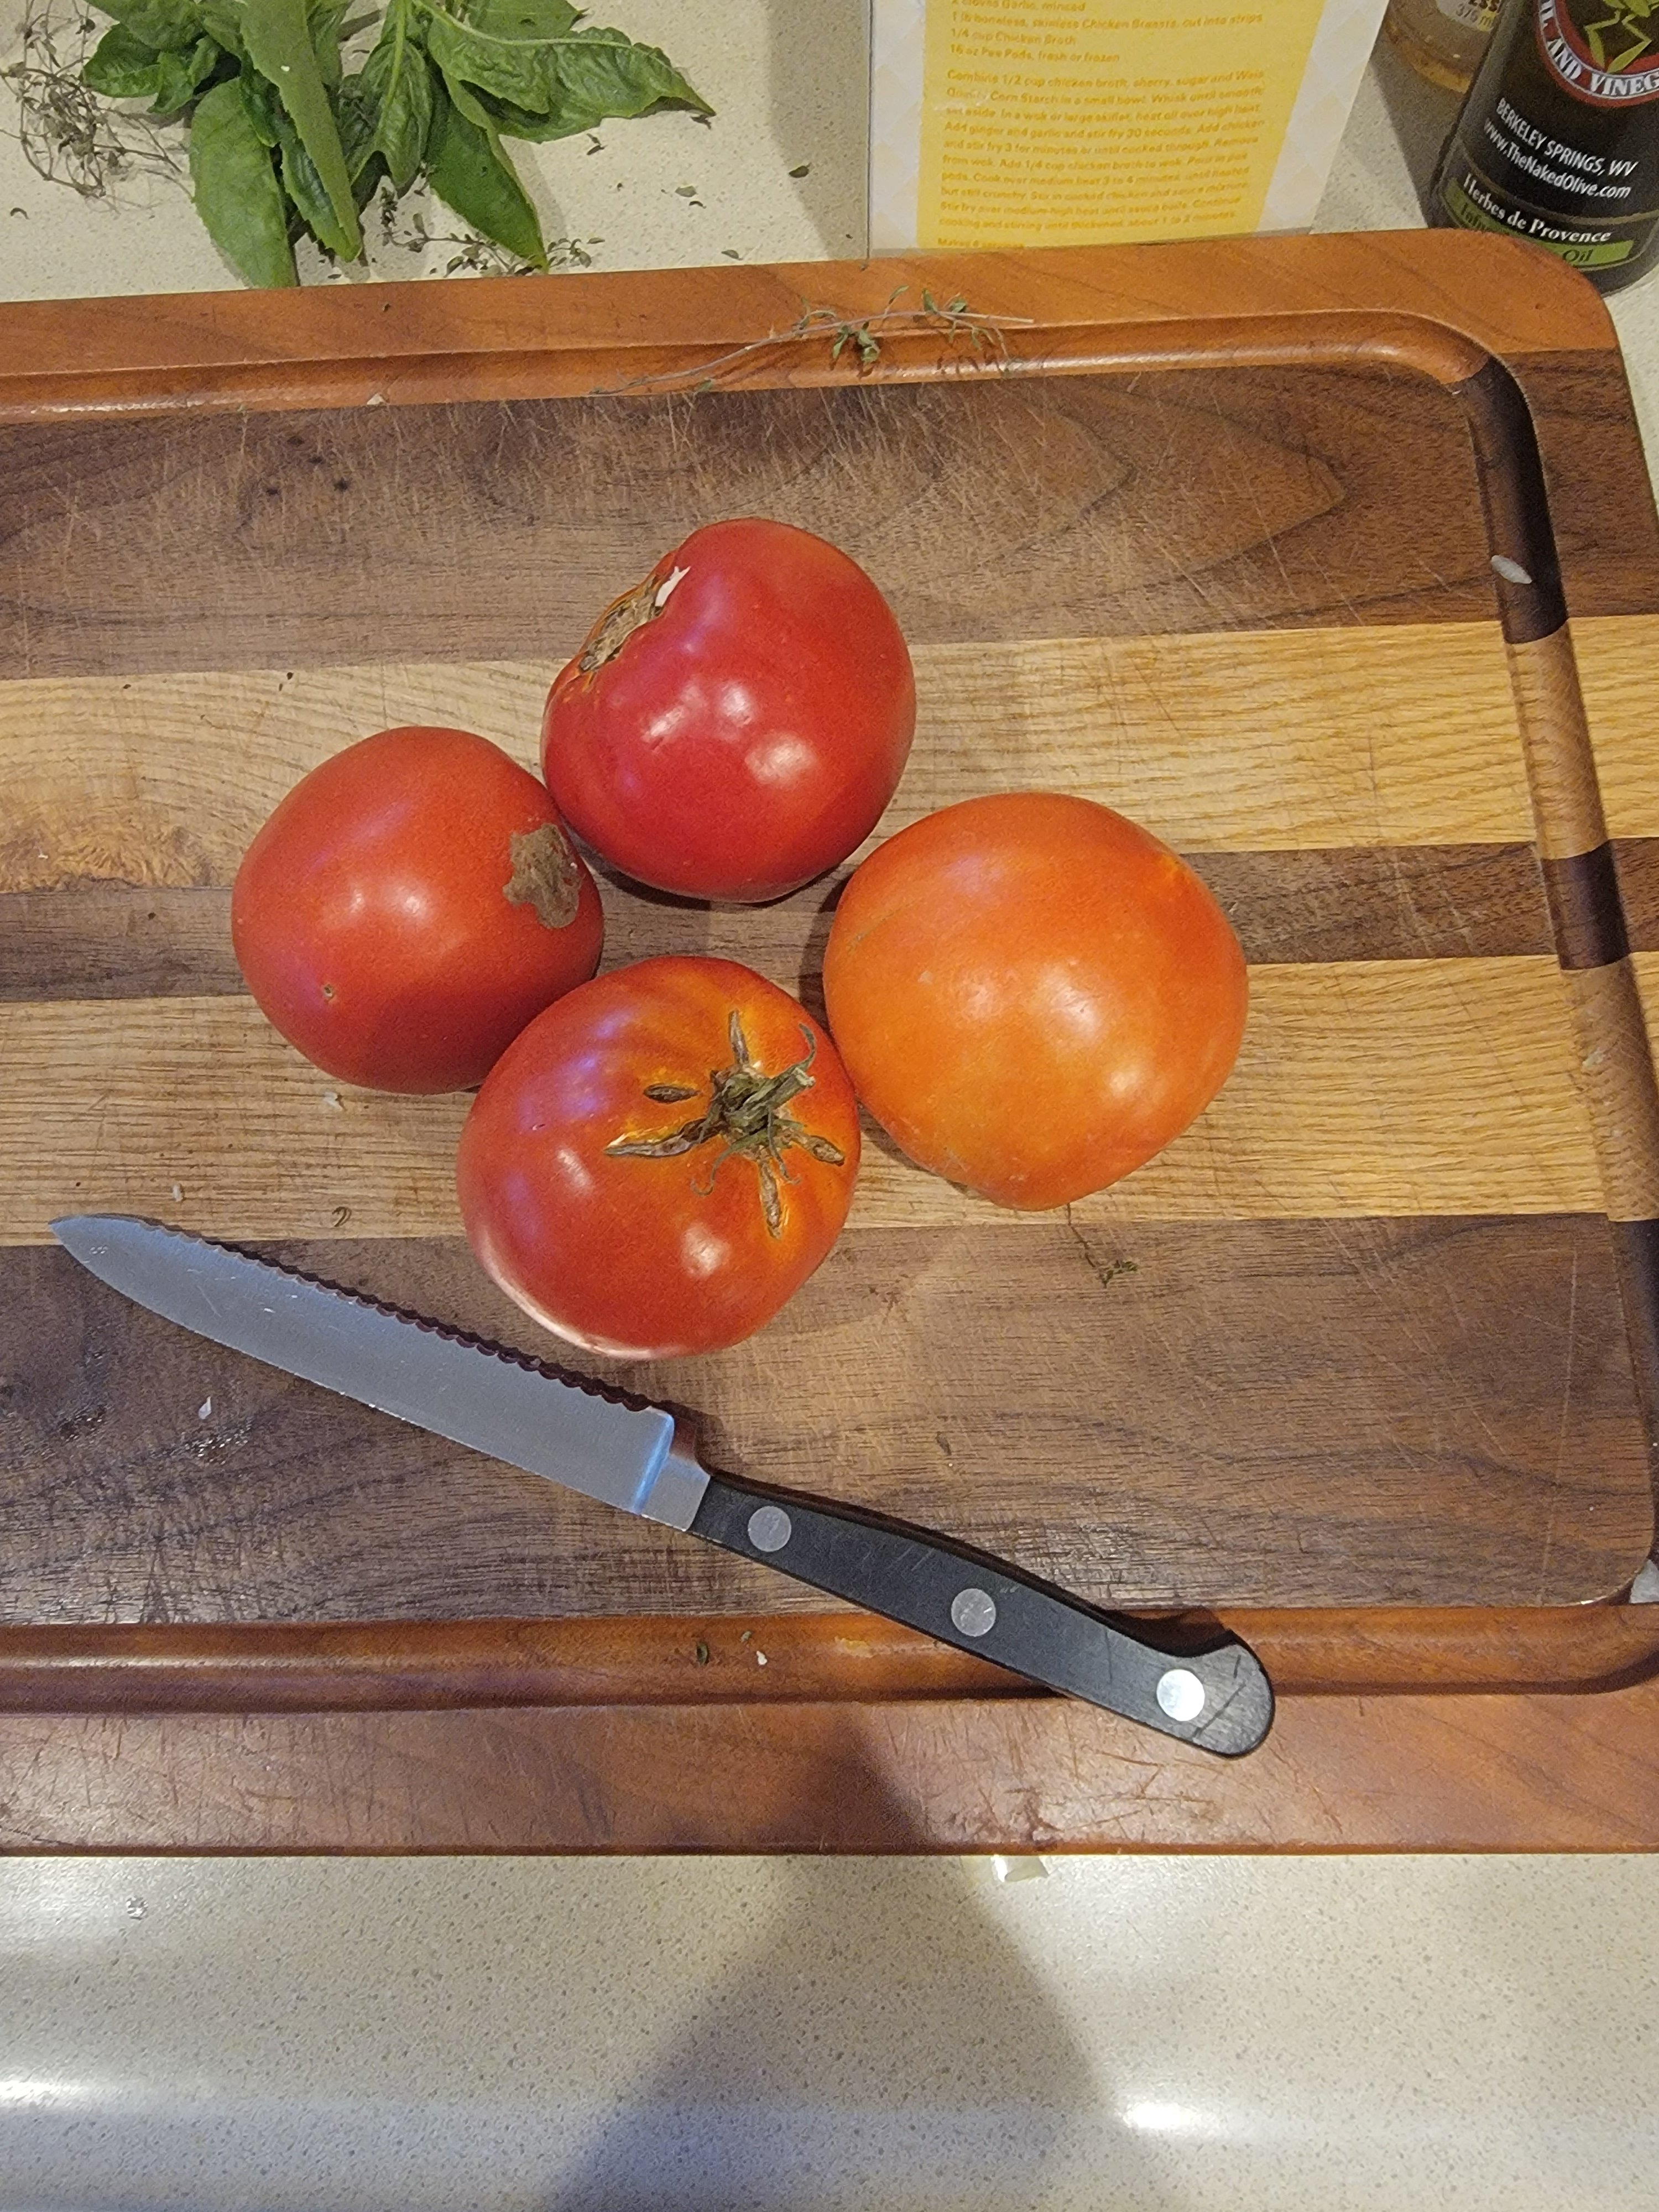
  • 4 medium tomatoes
  • 5-6 basil leaves
  • Salt & Pepper

Preheat oven to 350F.

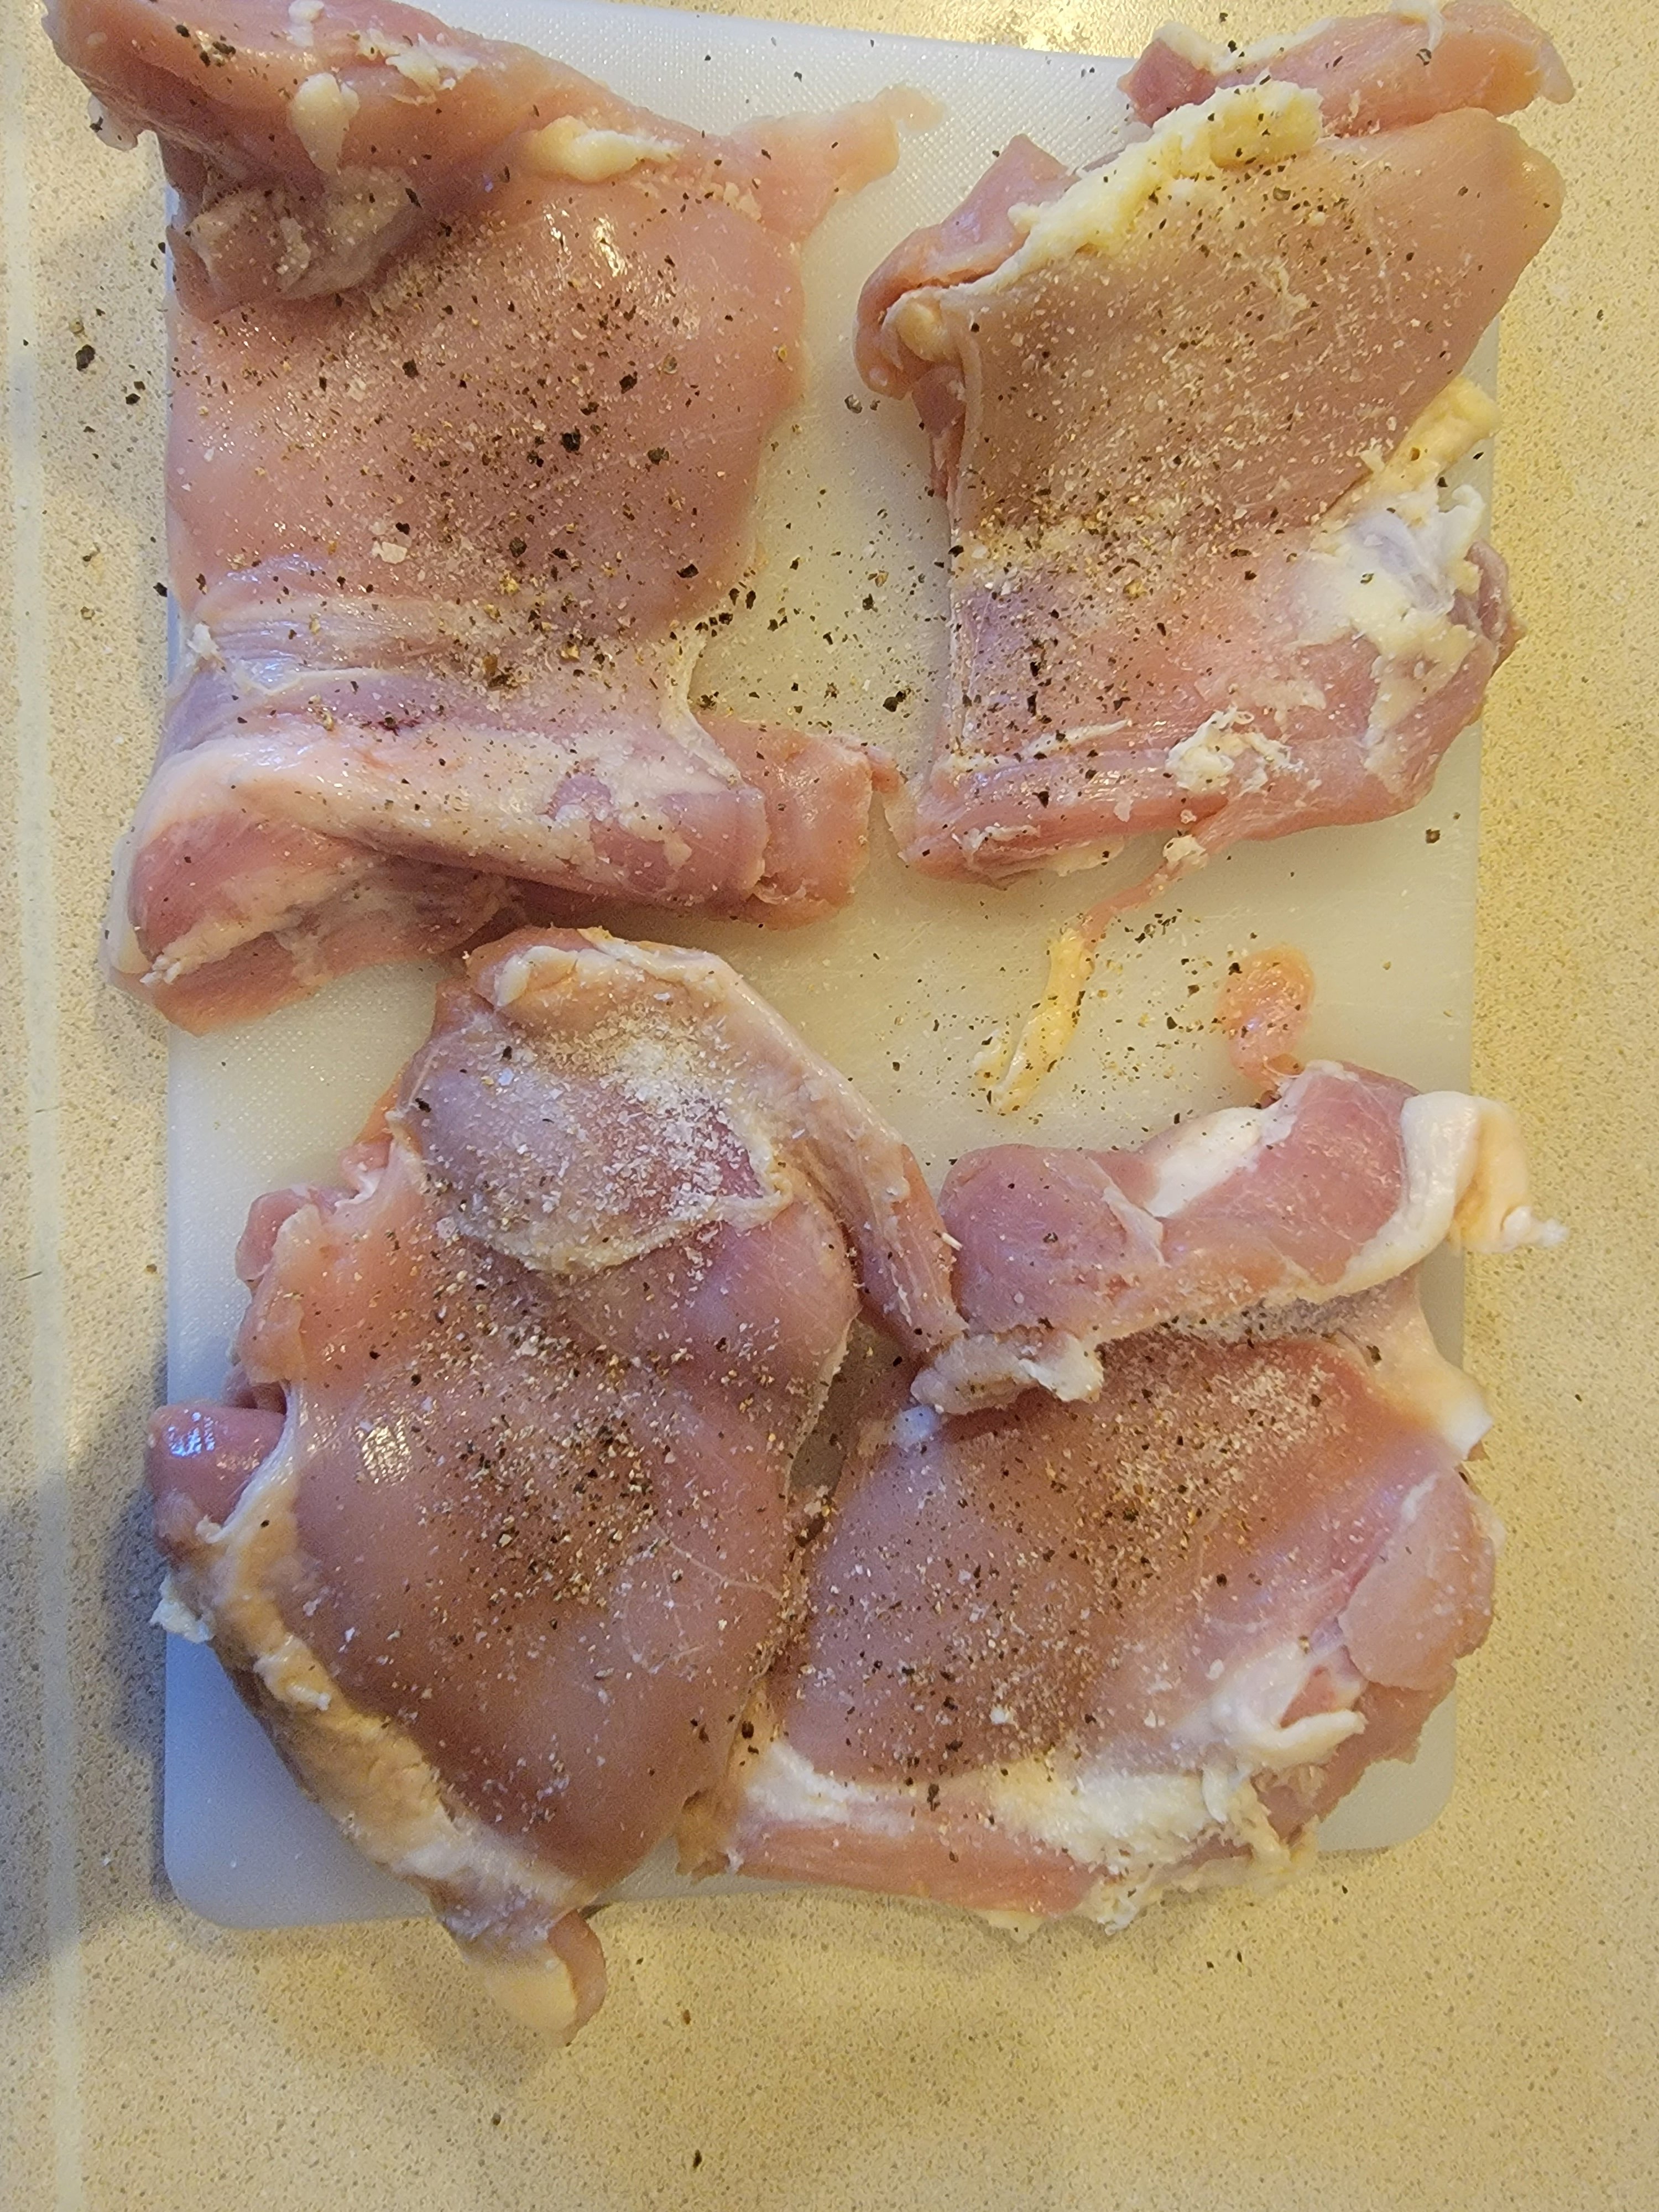
Start off by liberally seasoning the chicken with salt and pepper on both sides. Then put the olive oil in a deep pan over medium high heat. Cook chicken 3-4 minutes on each side or until lightly browned. Once the chicken is browned on both sides set it aside.

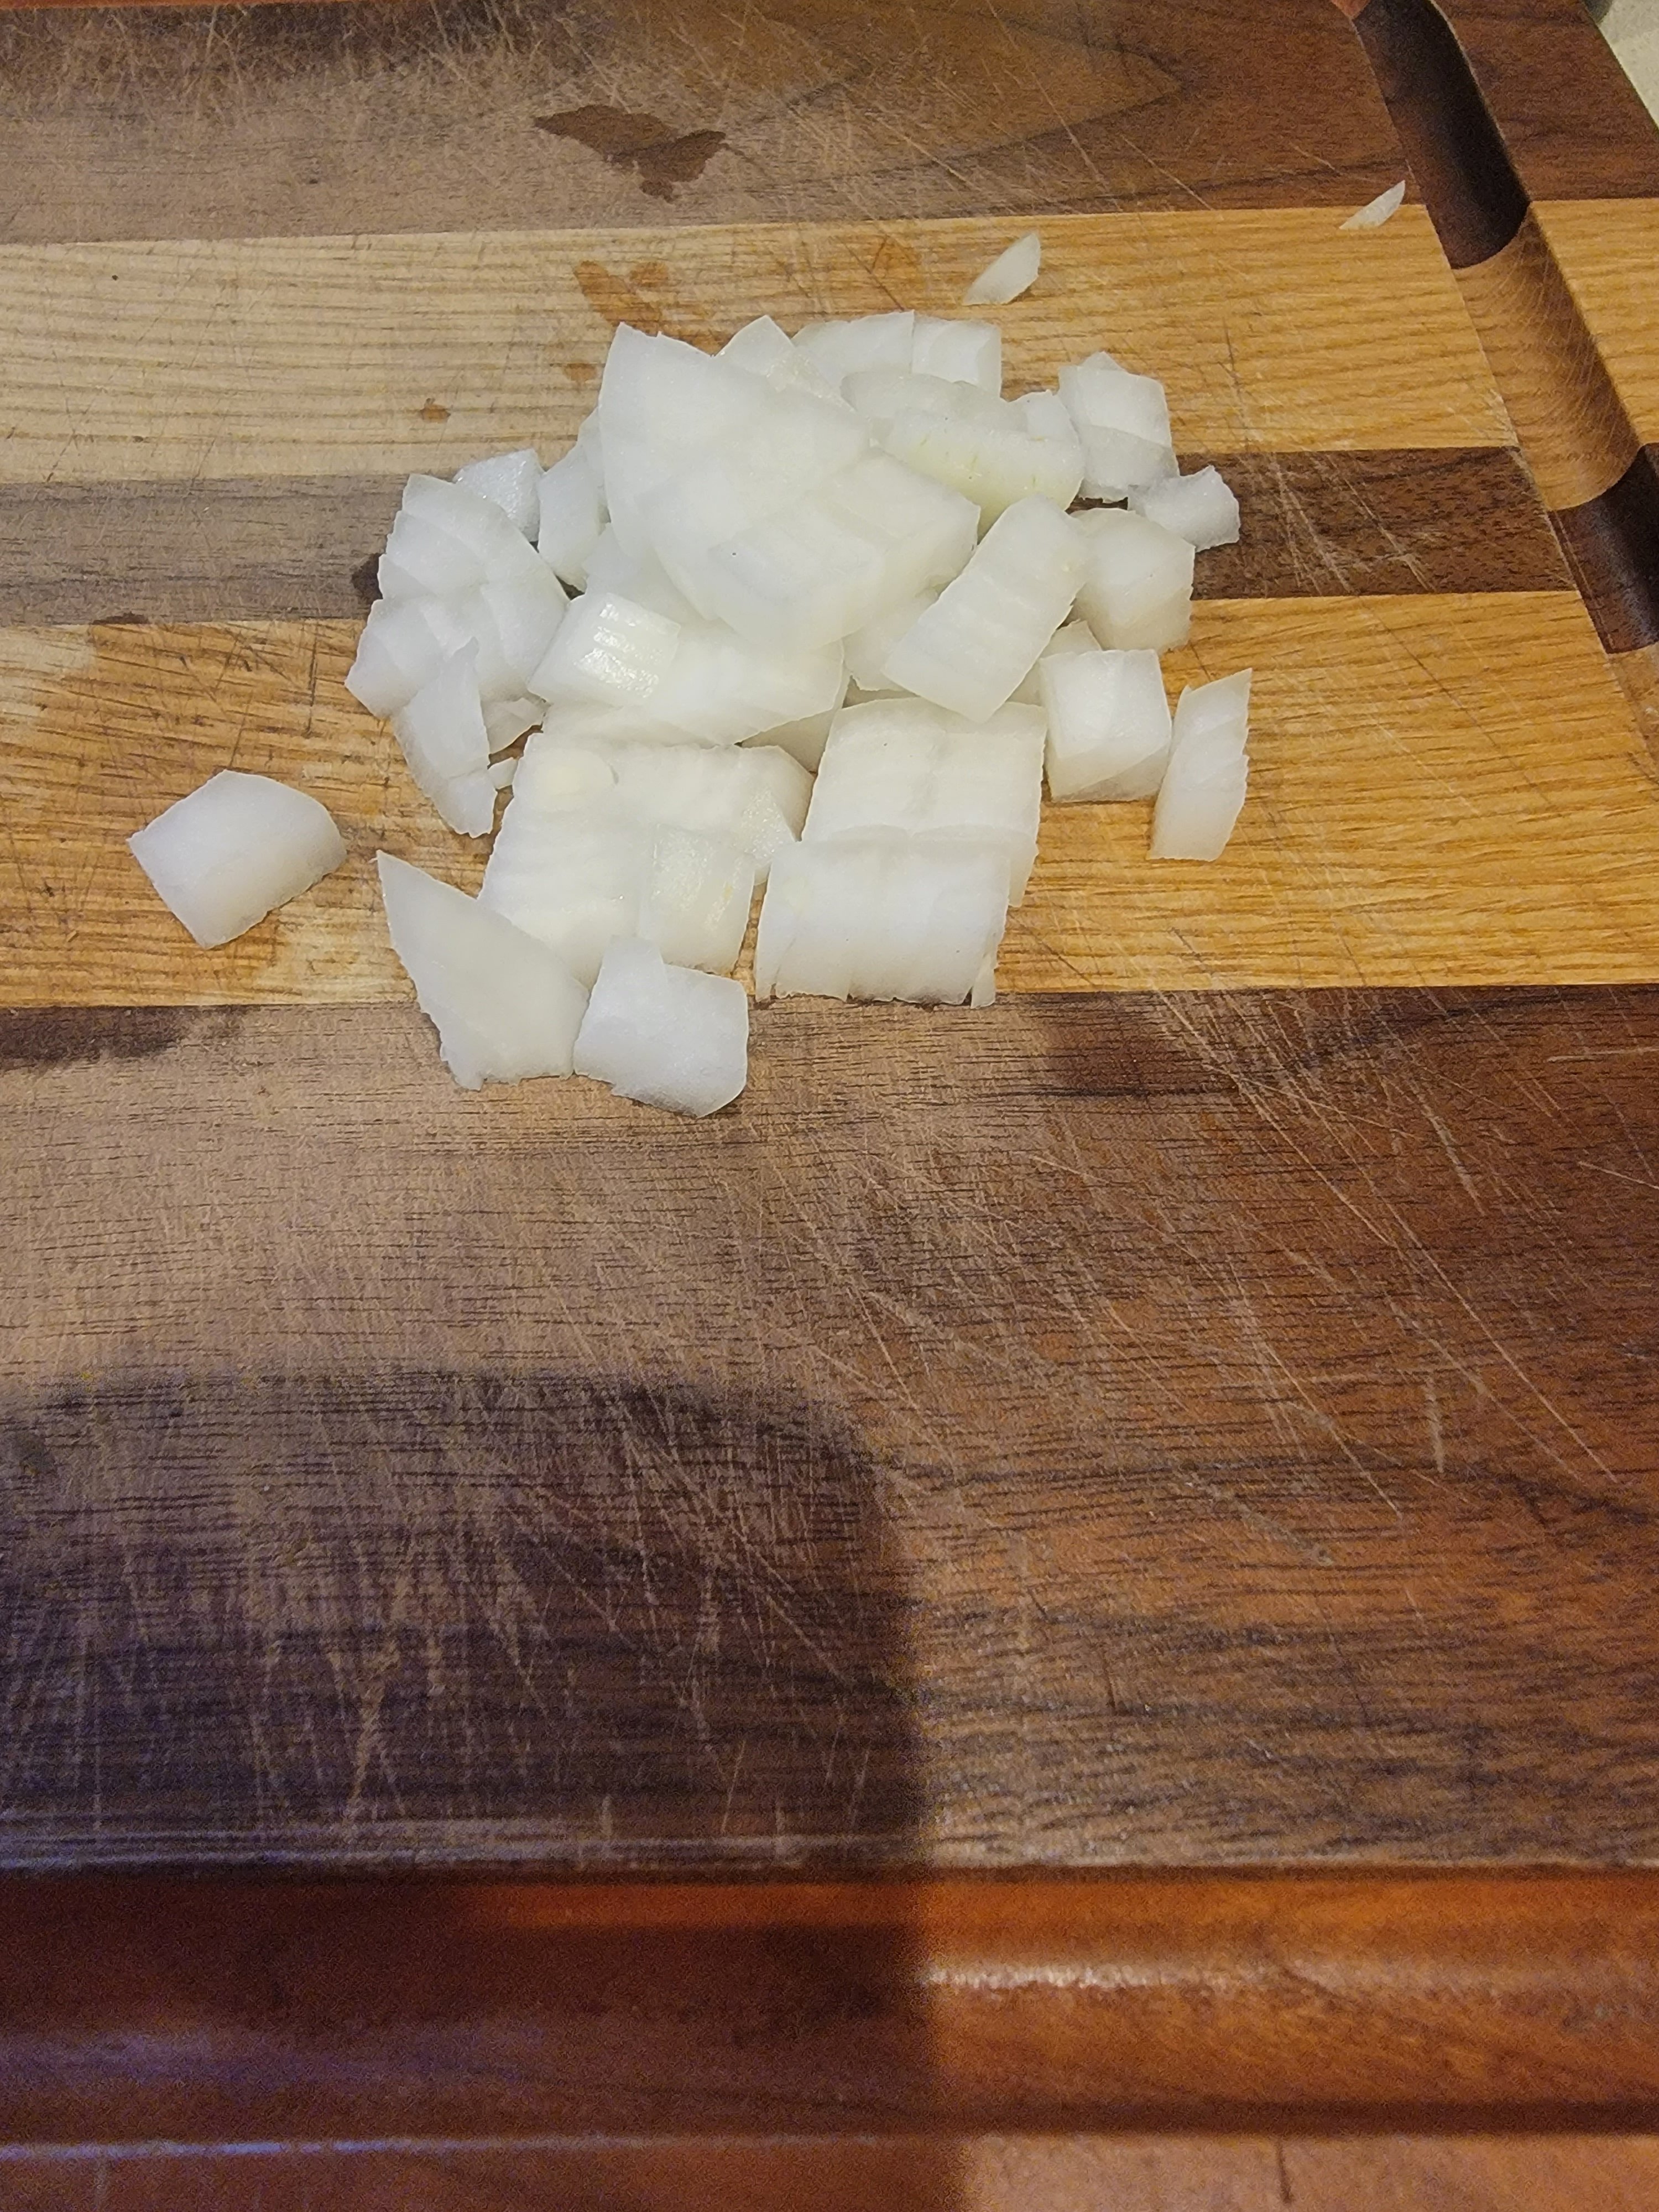
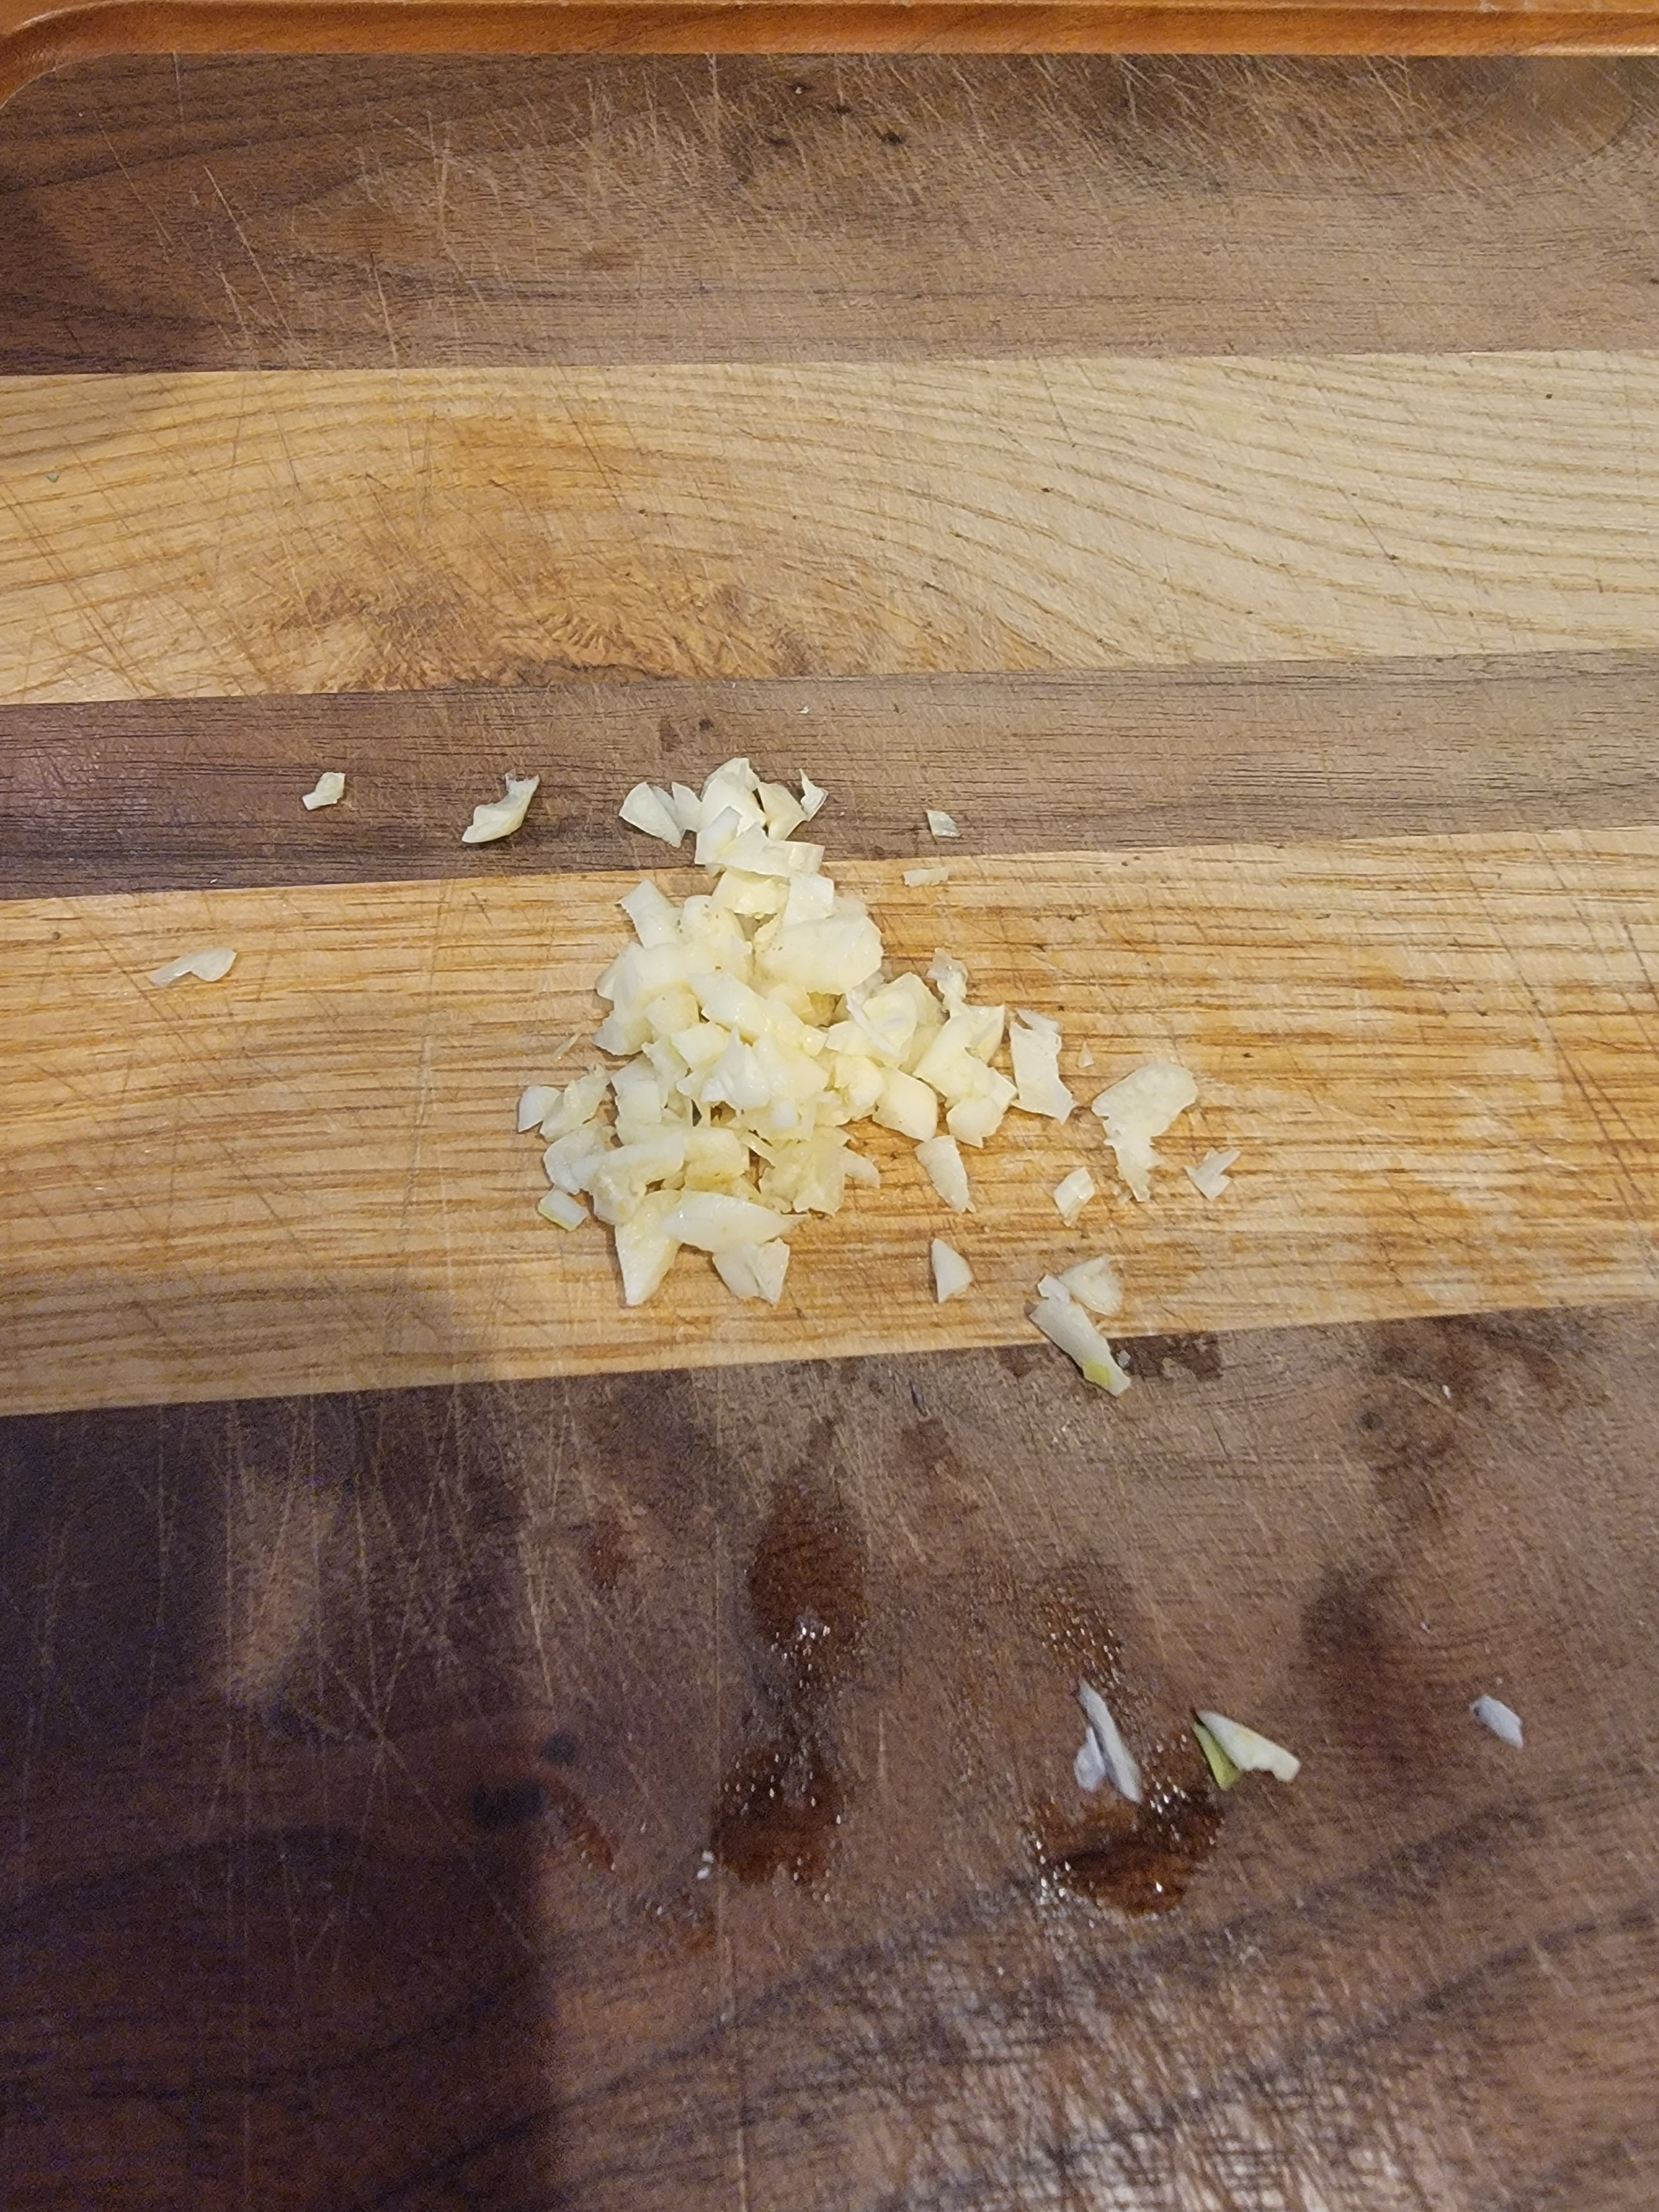
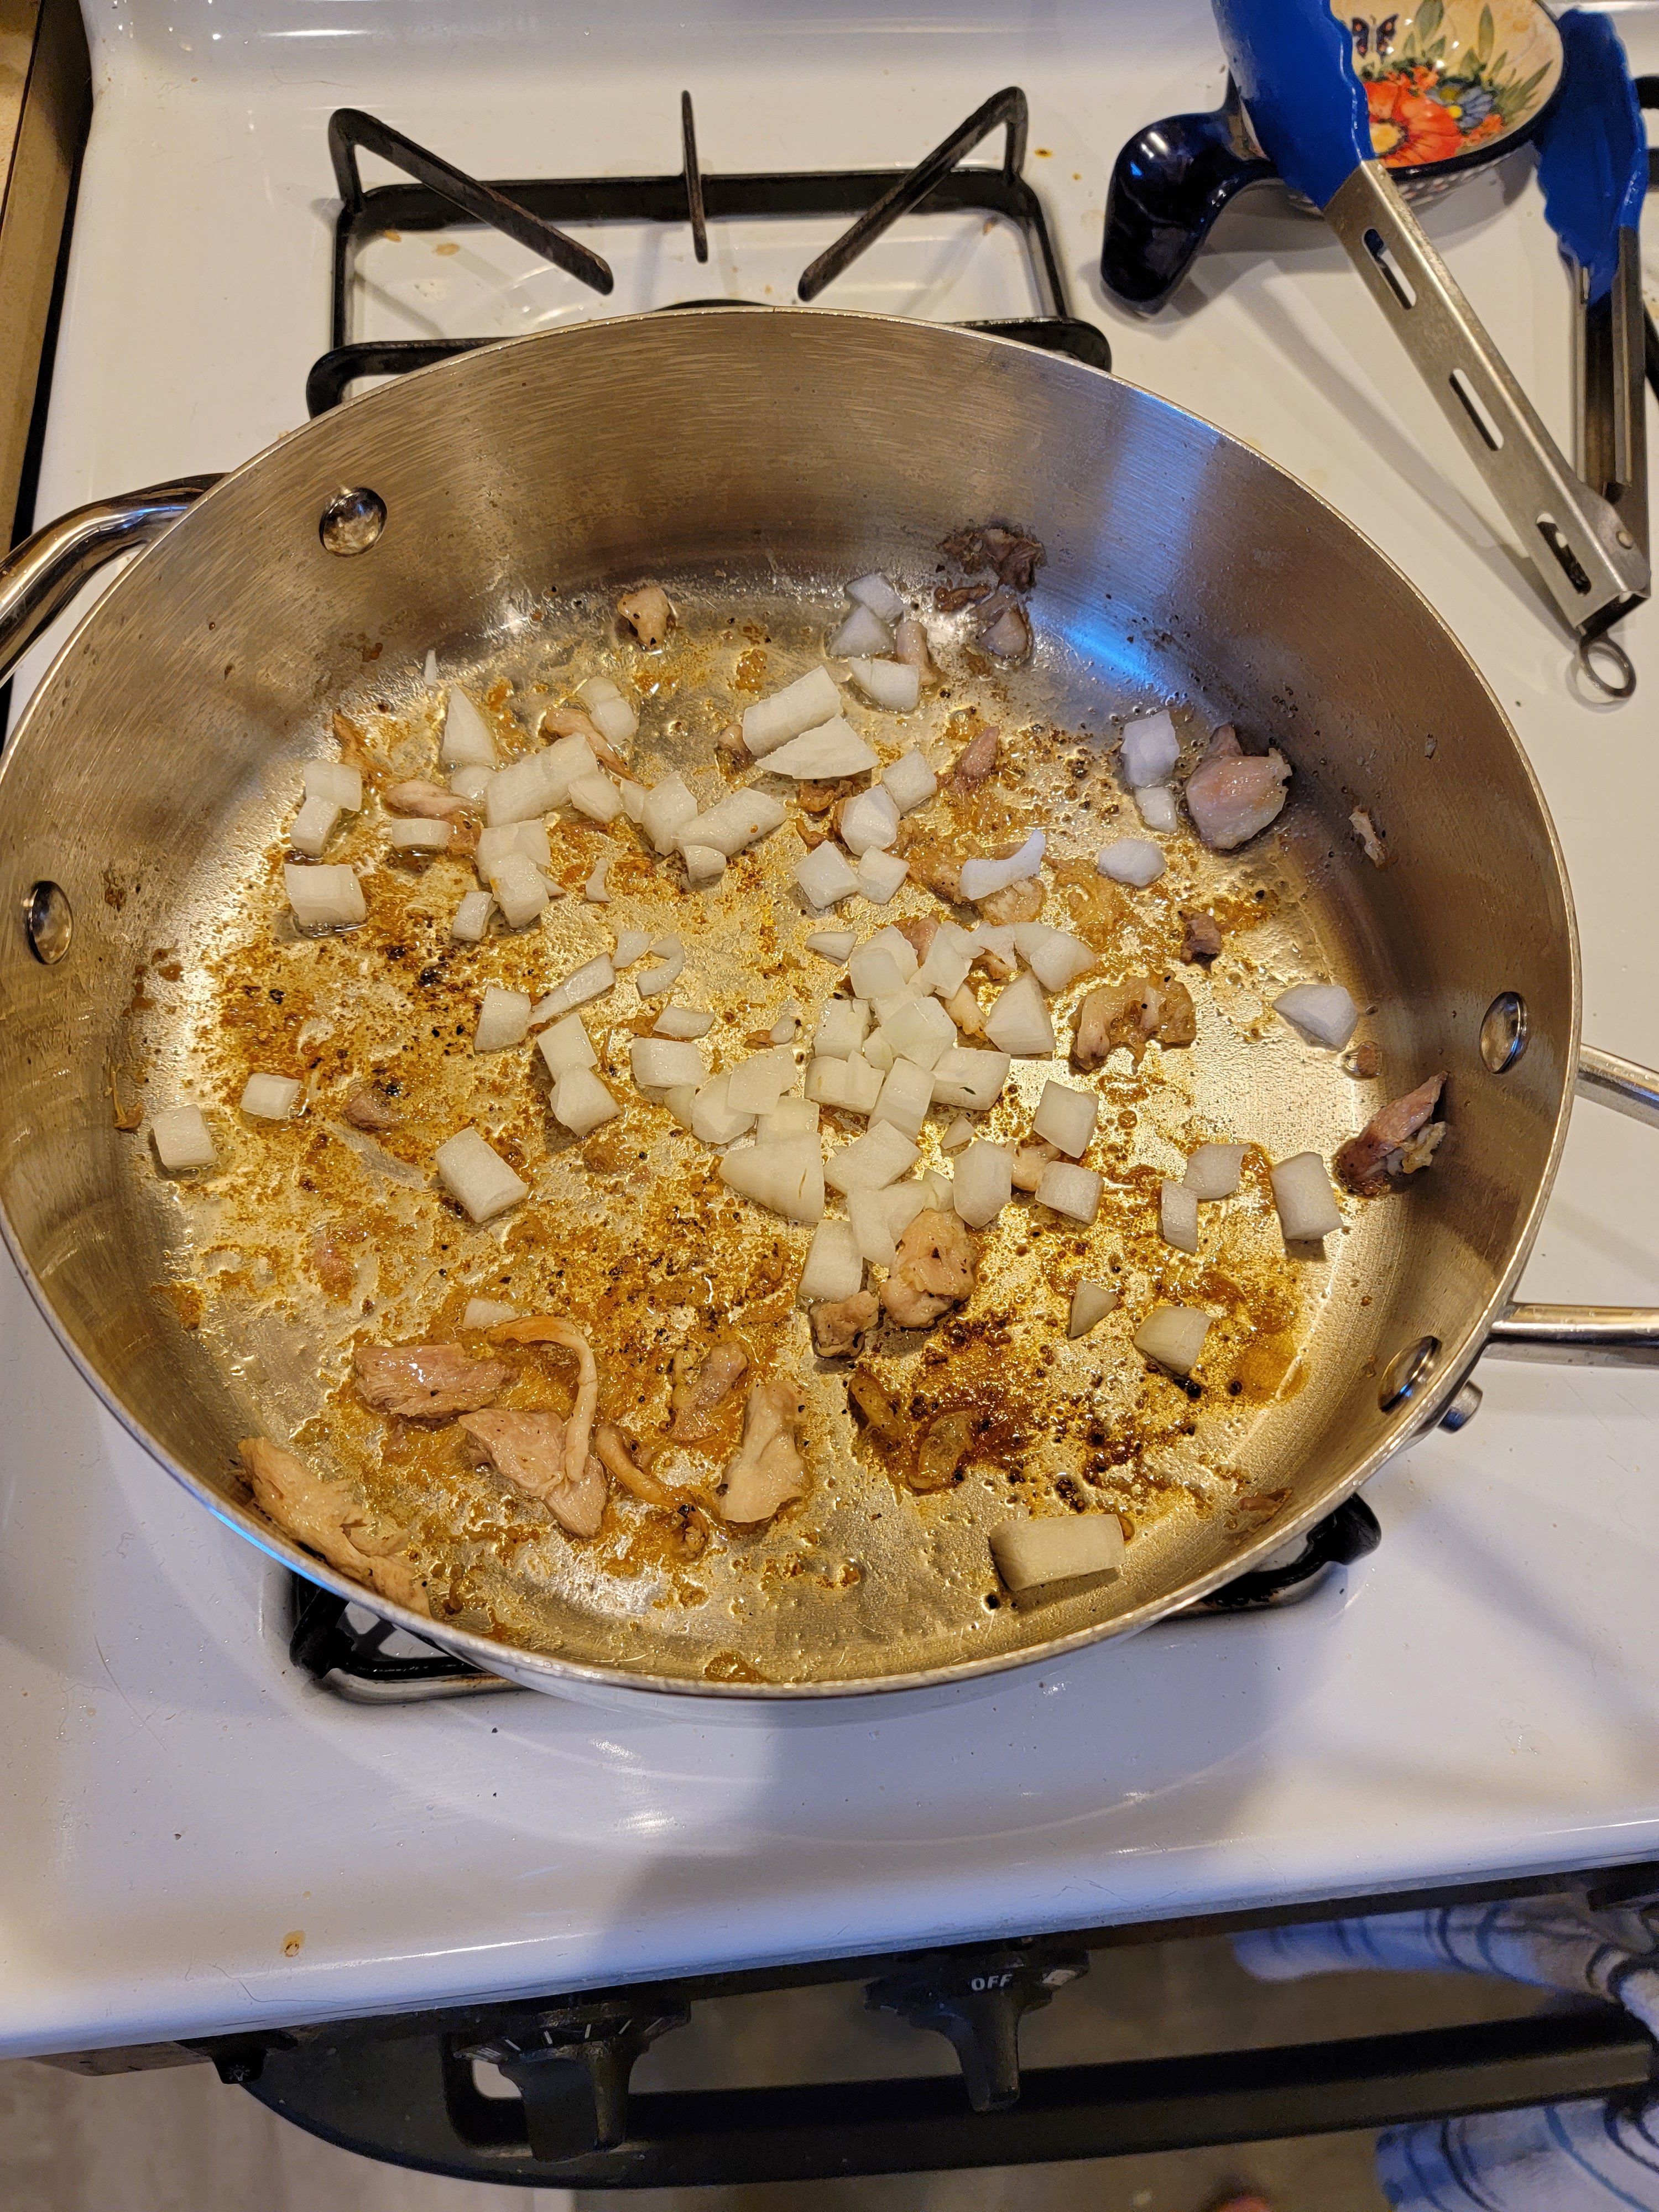
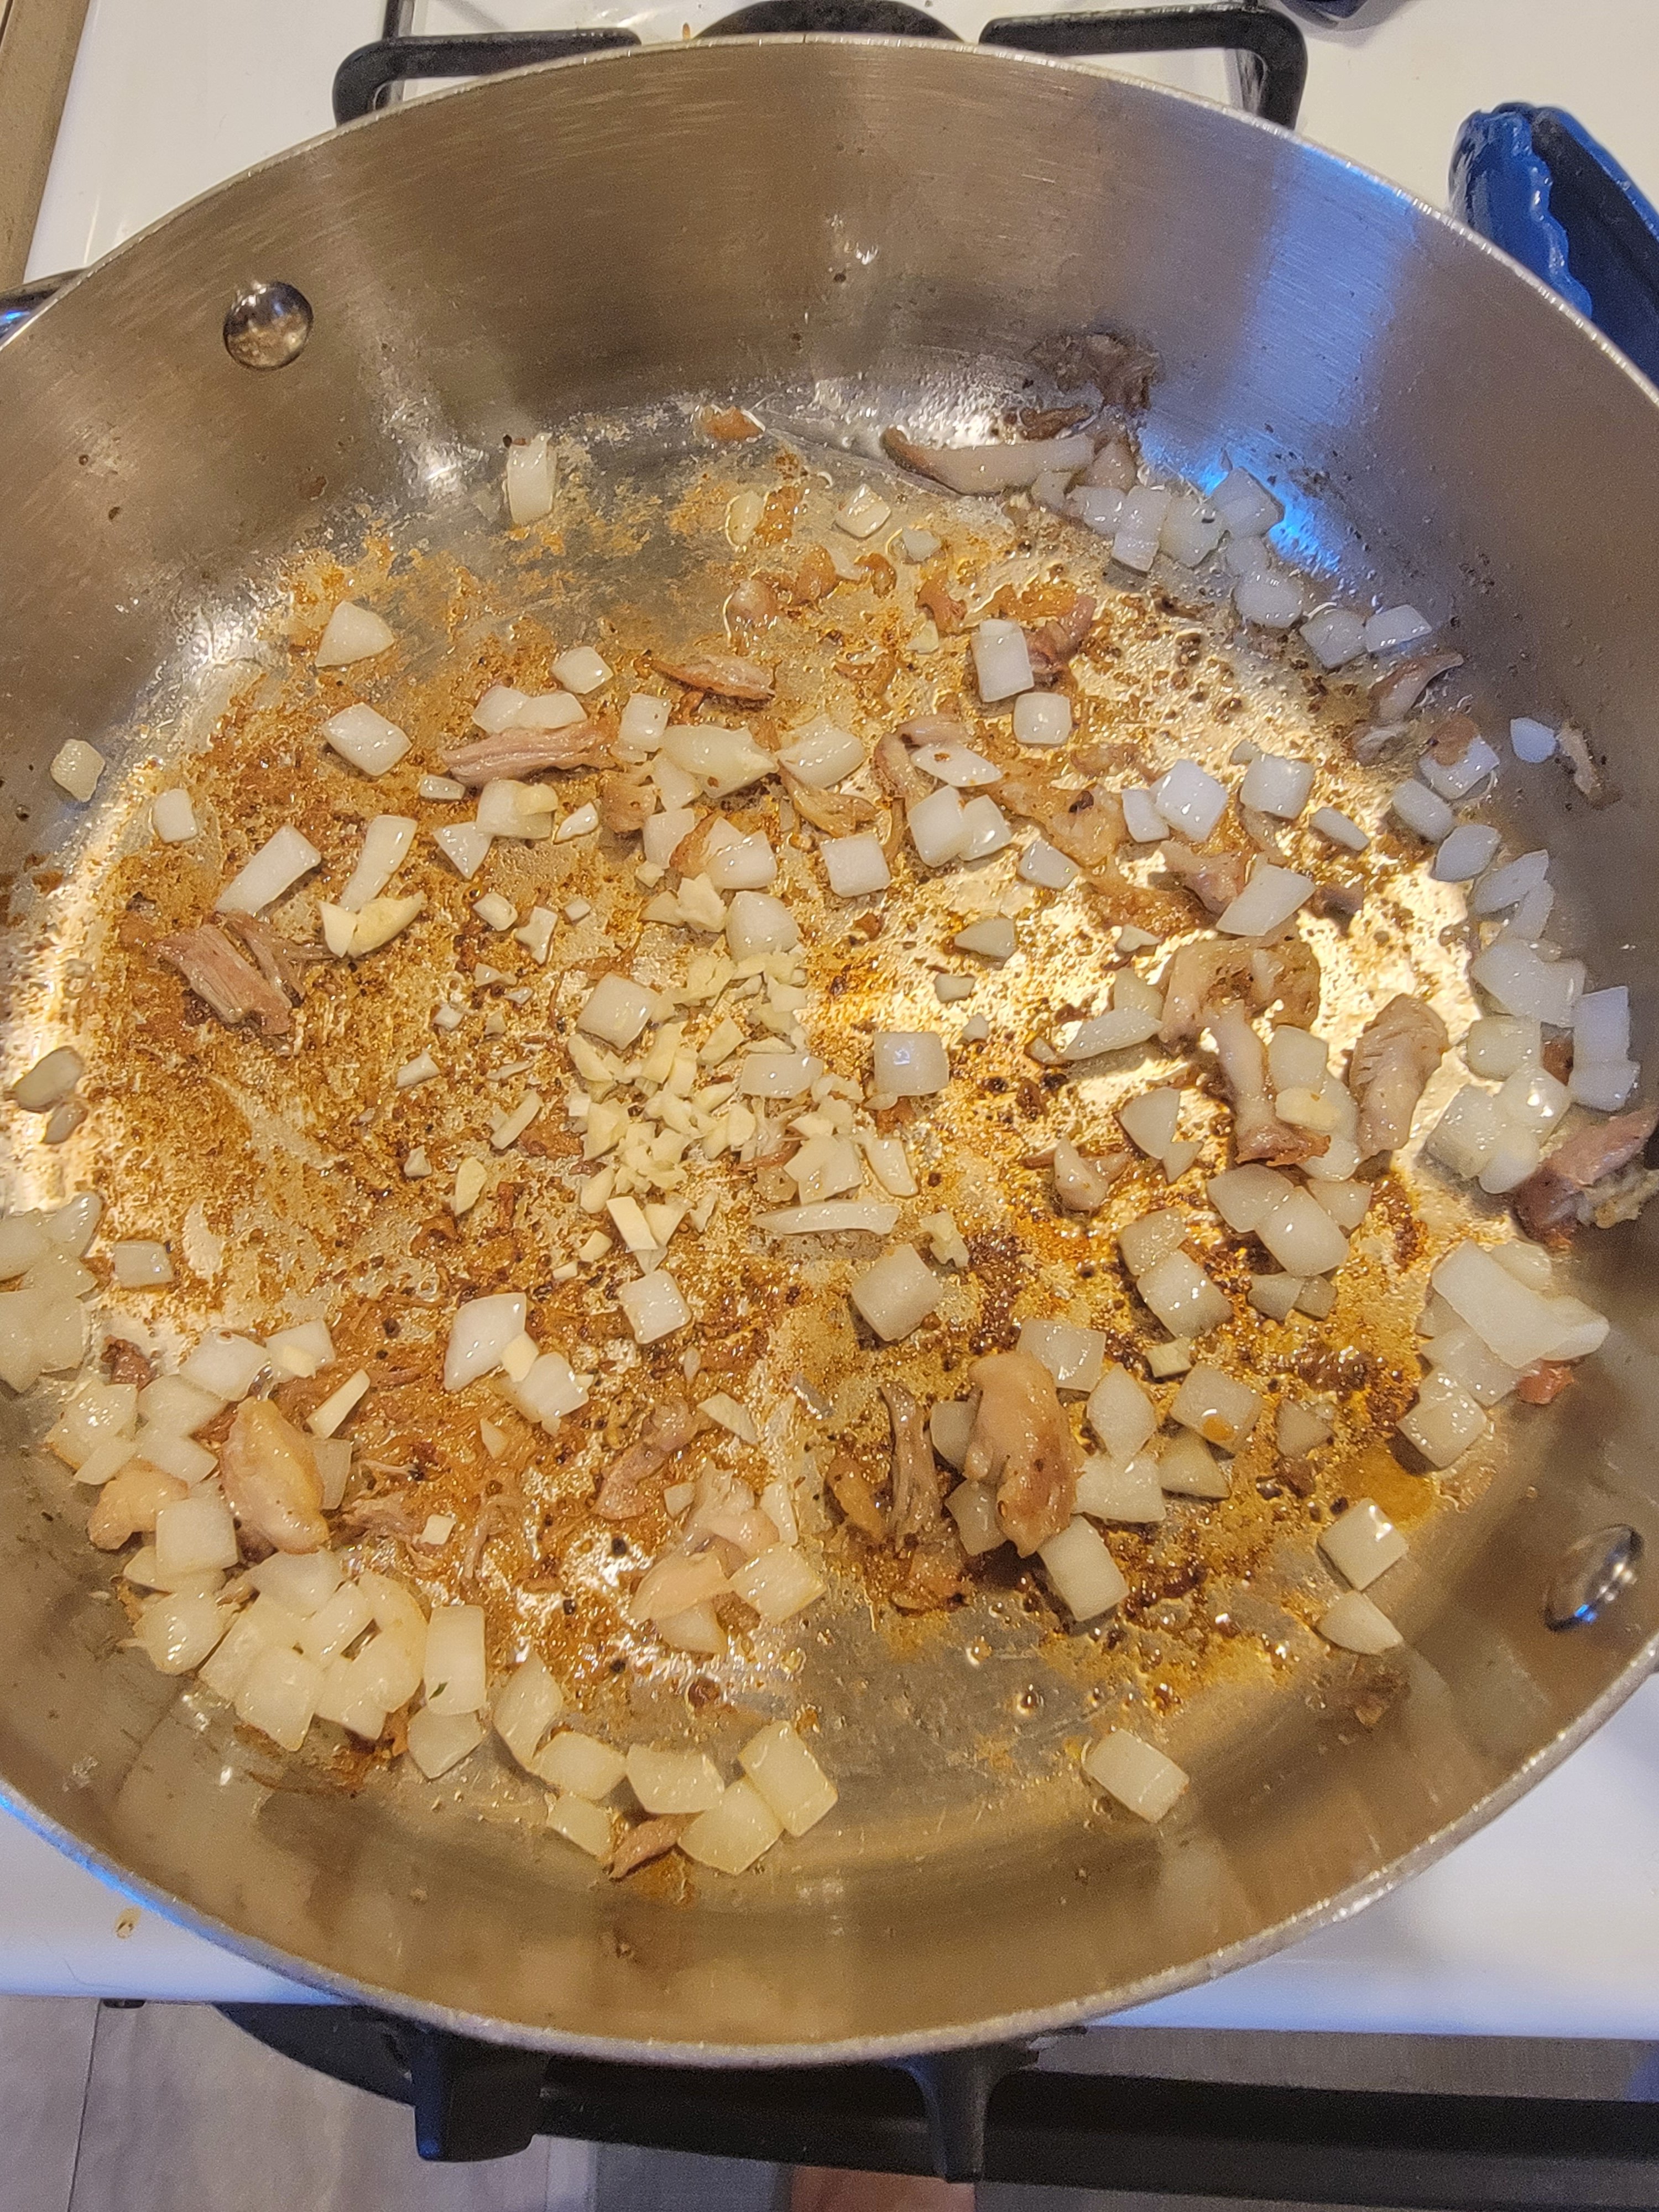
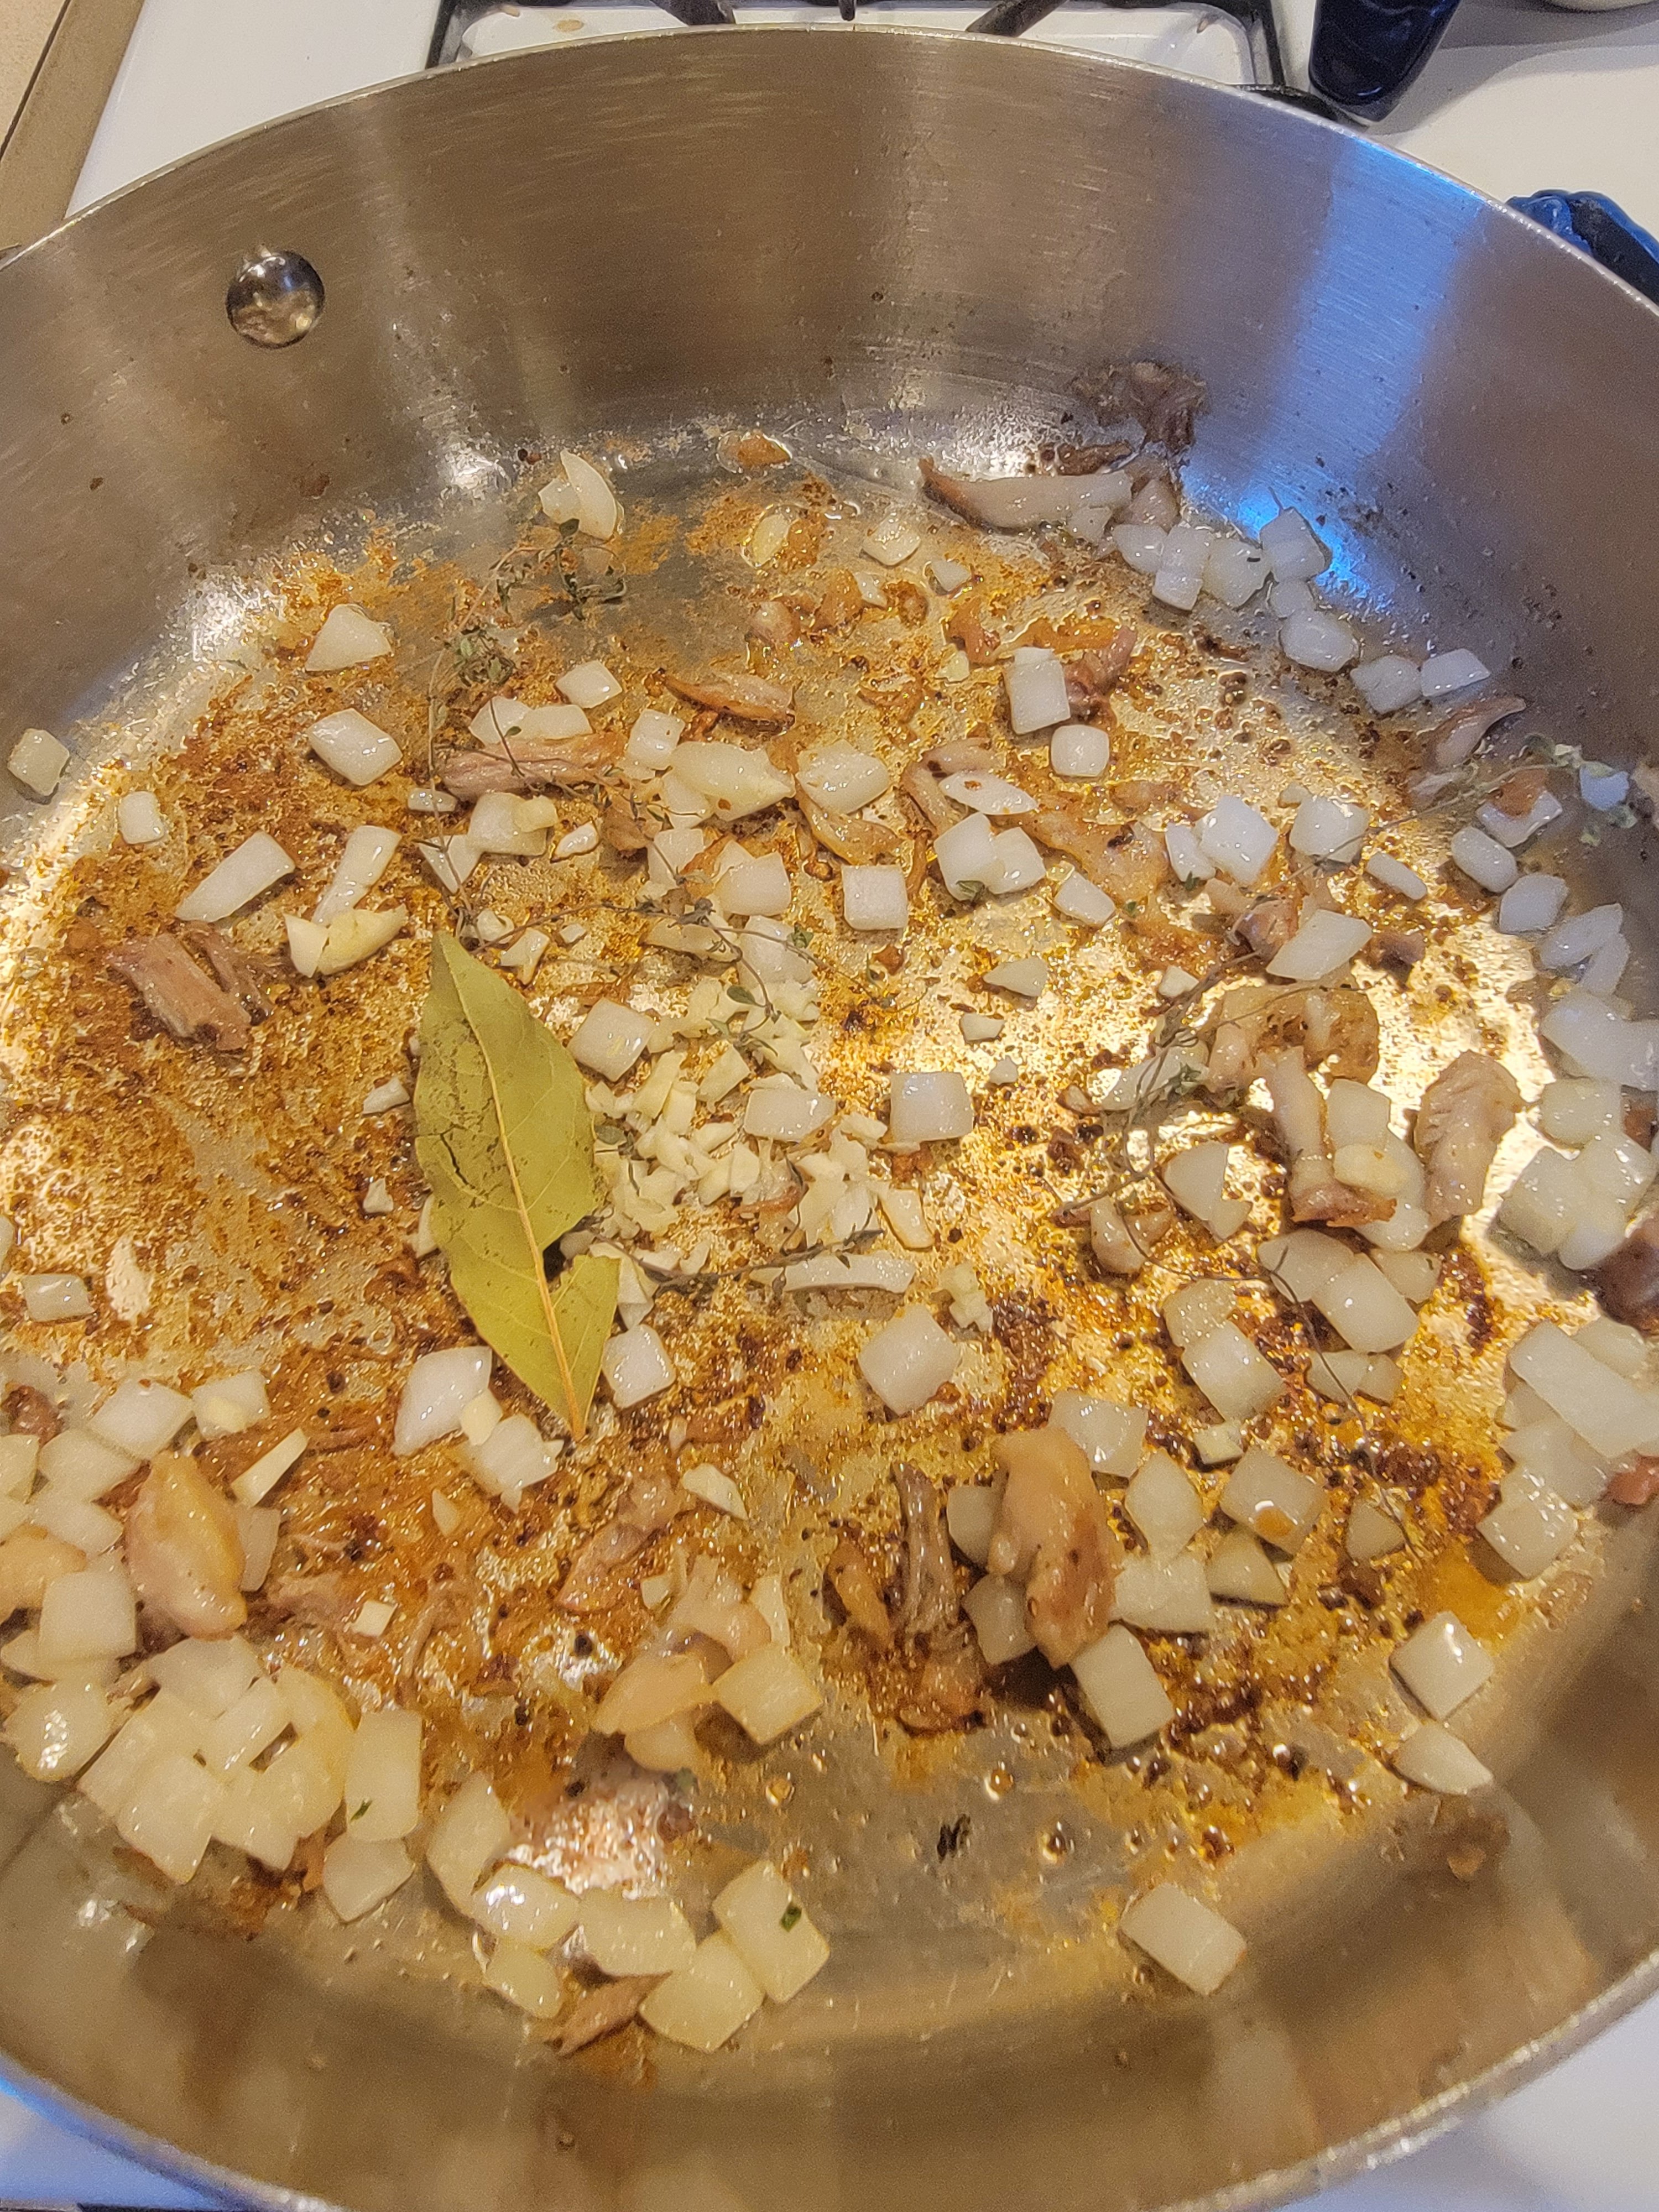
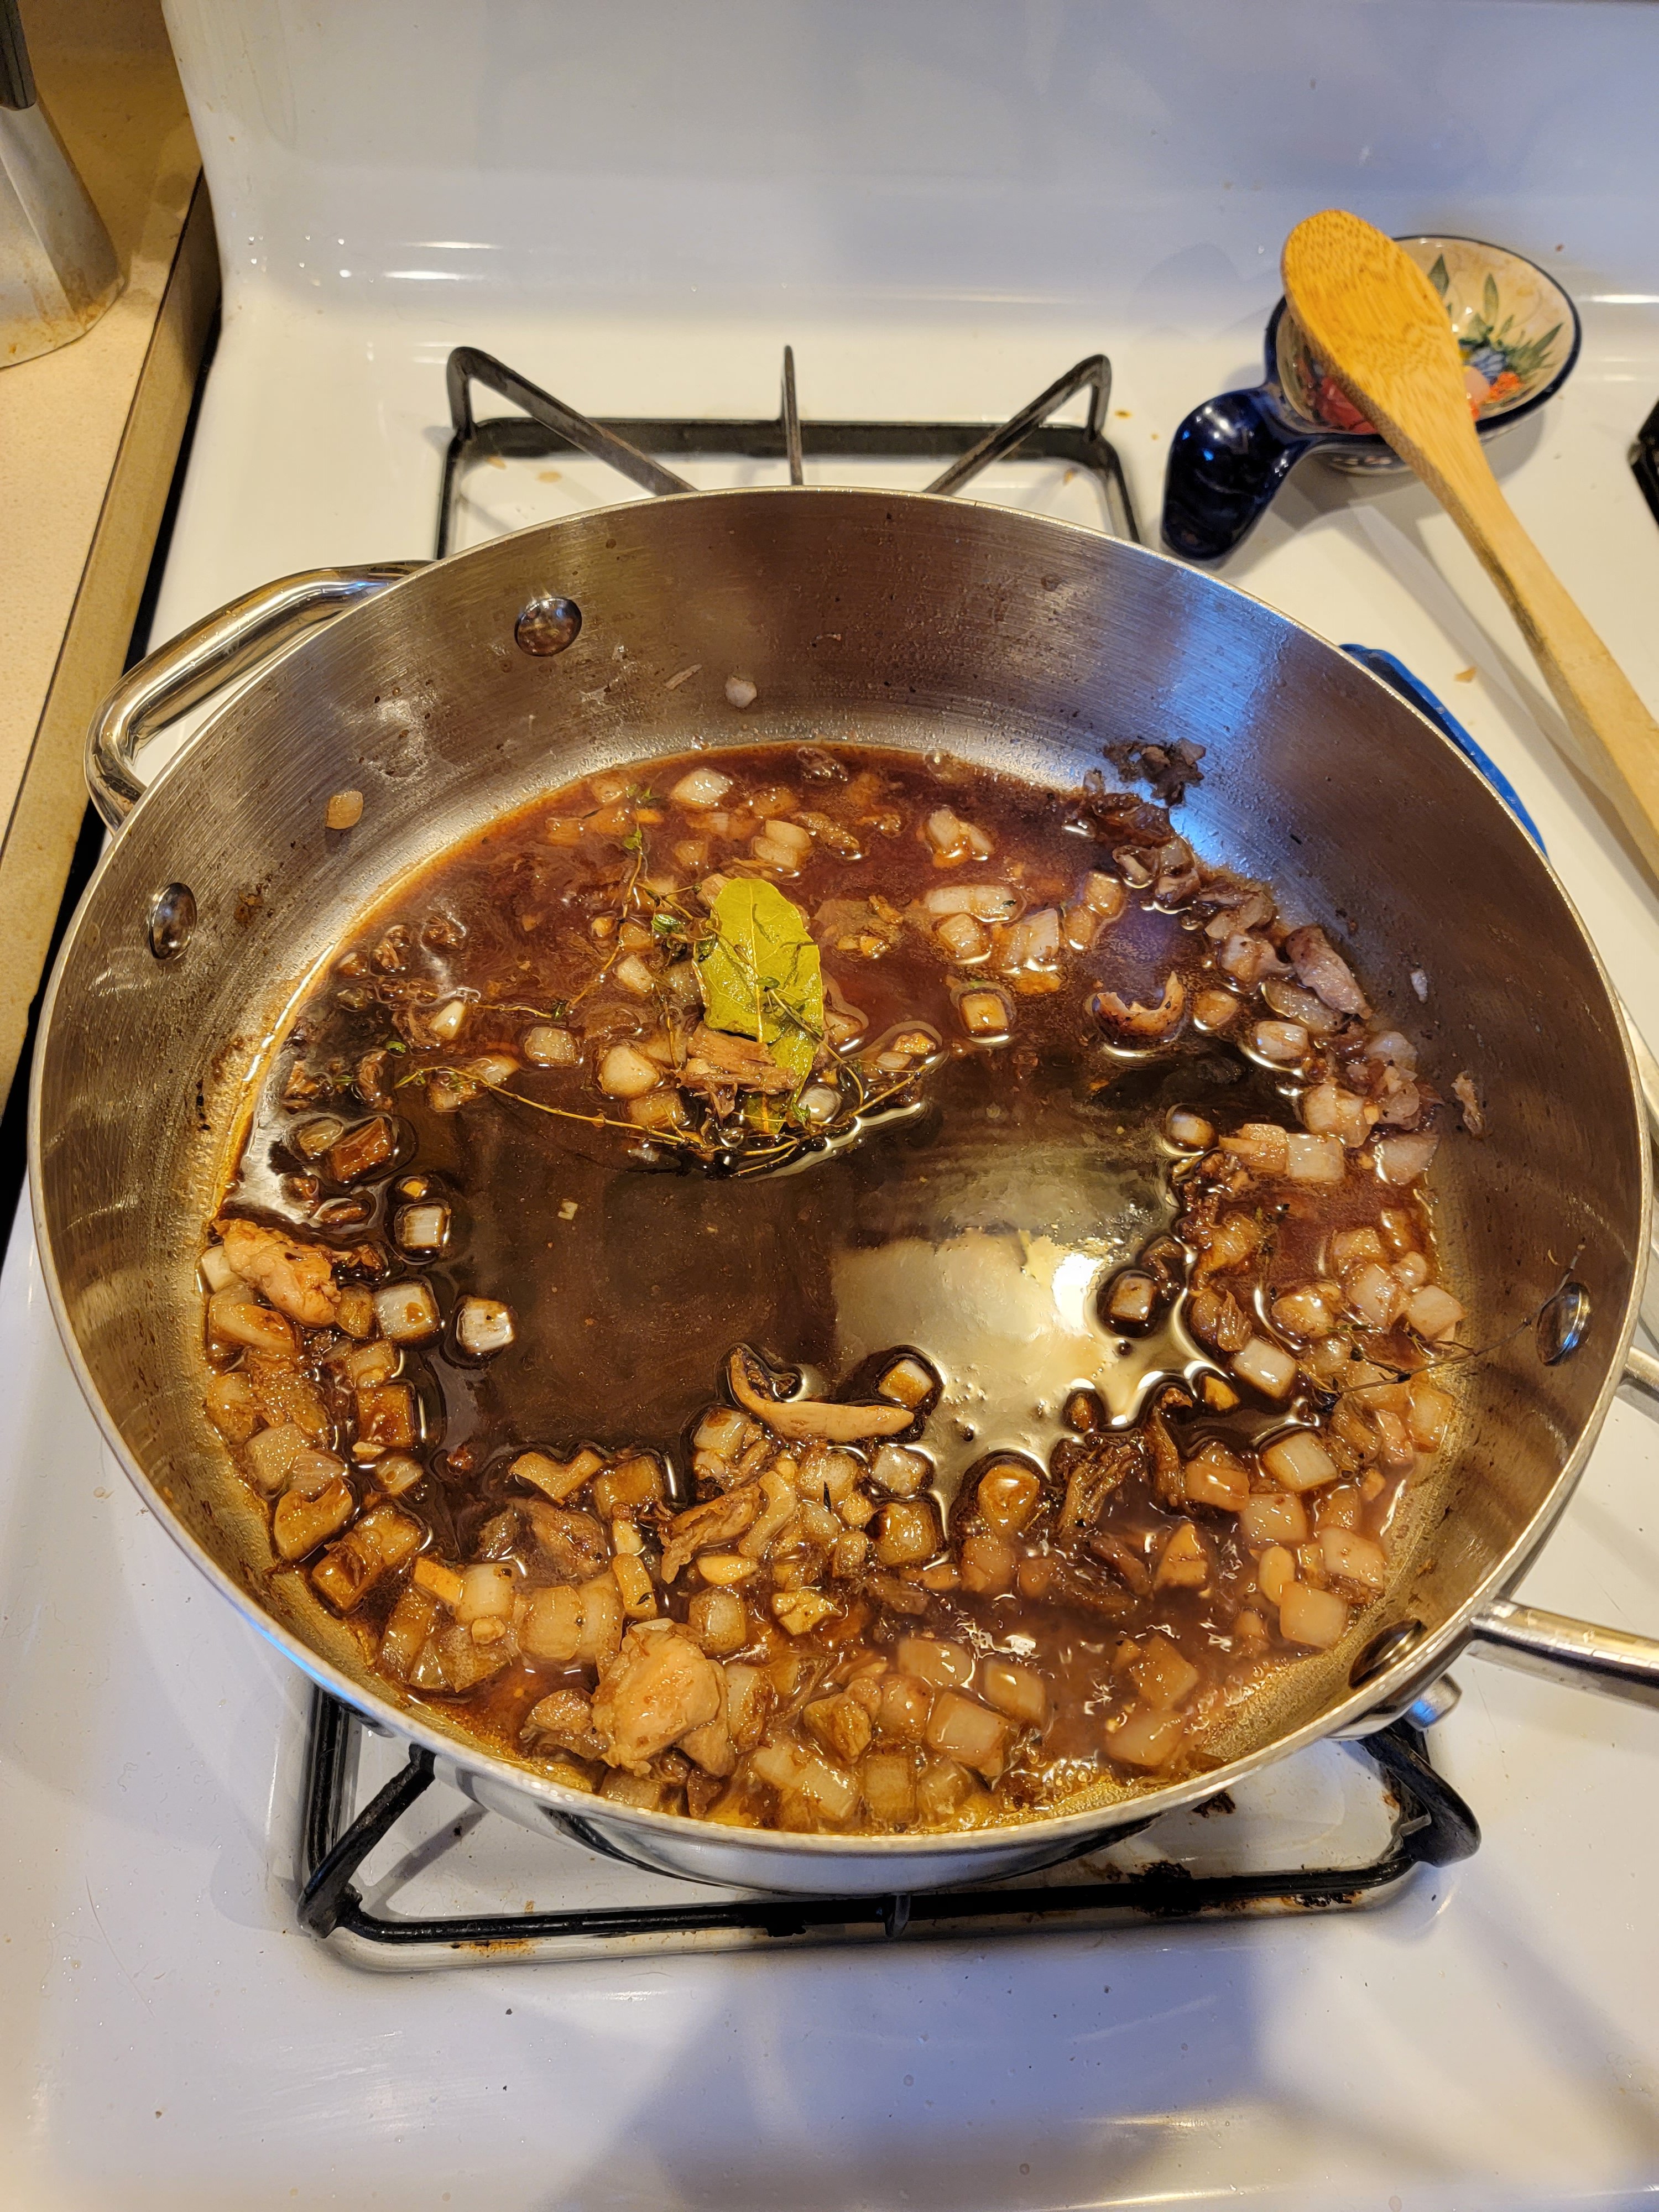
Leave all the good chicken grease and bits in the pan and lower the heat to medium. Chop up the onion and garlic. Add onion to the pan and cook for 4-5 minutes. Then add garlic, bay leaf, and thyme and cook for another minute or two.

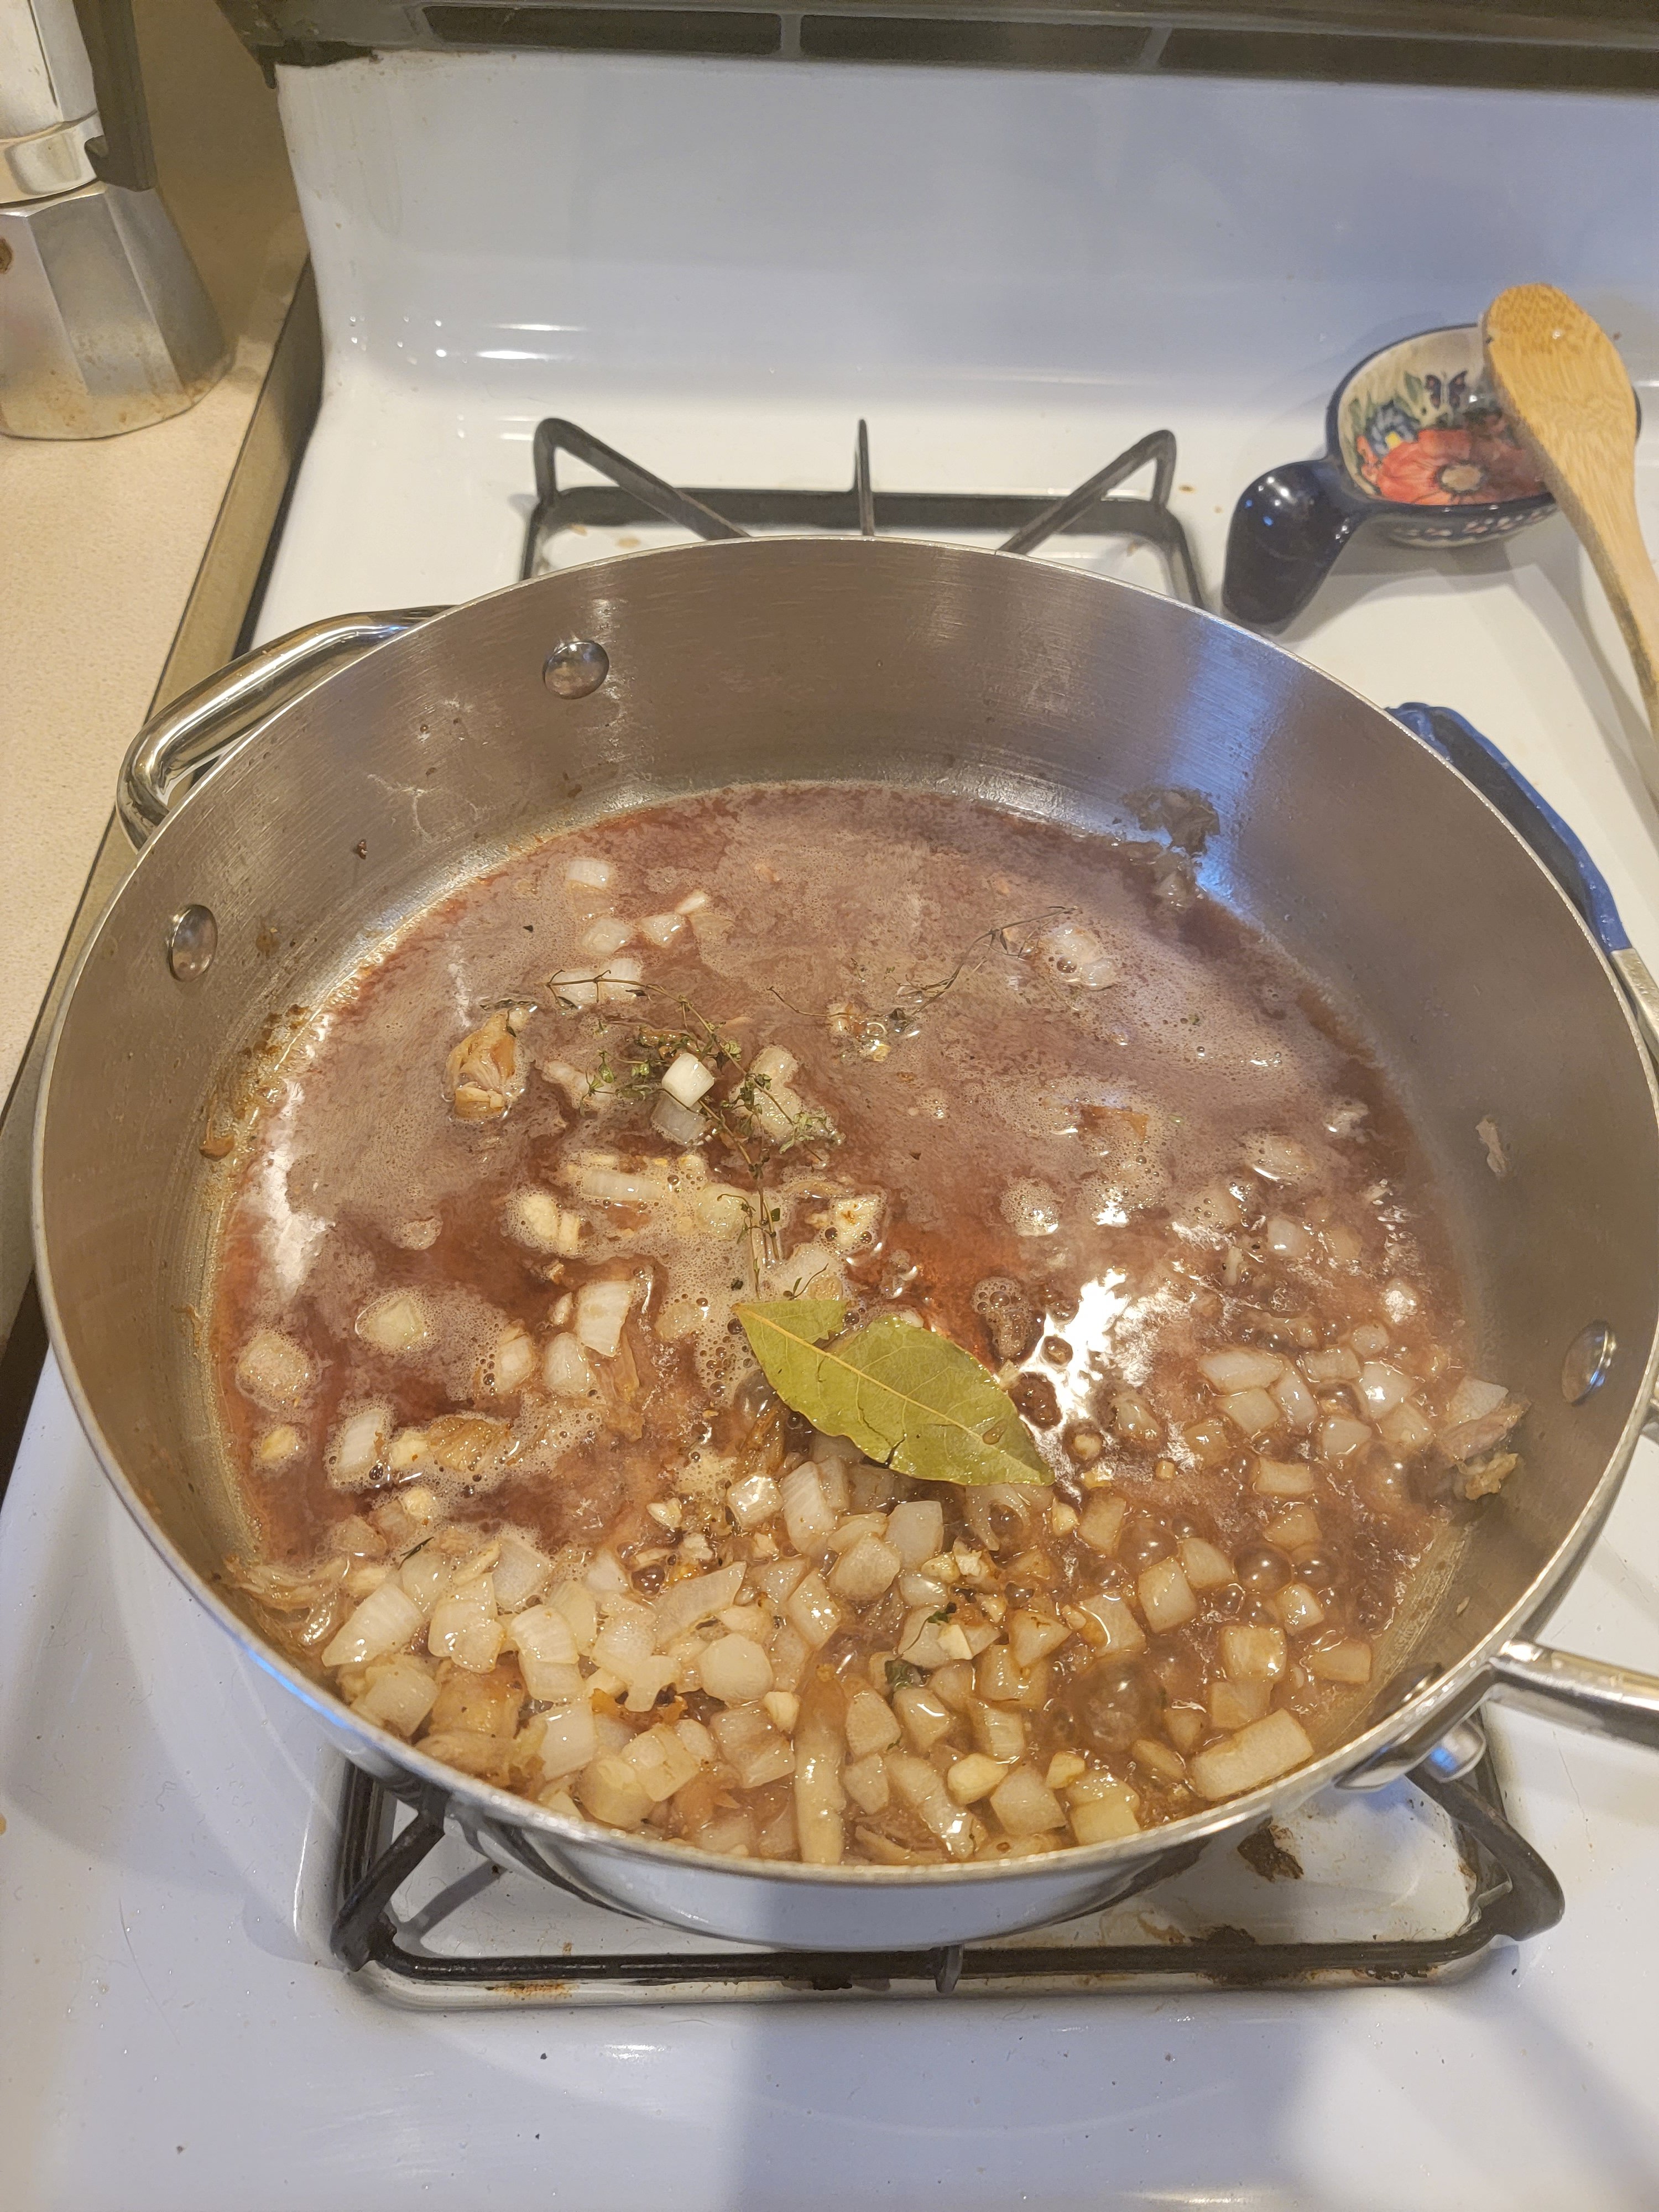
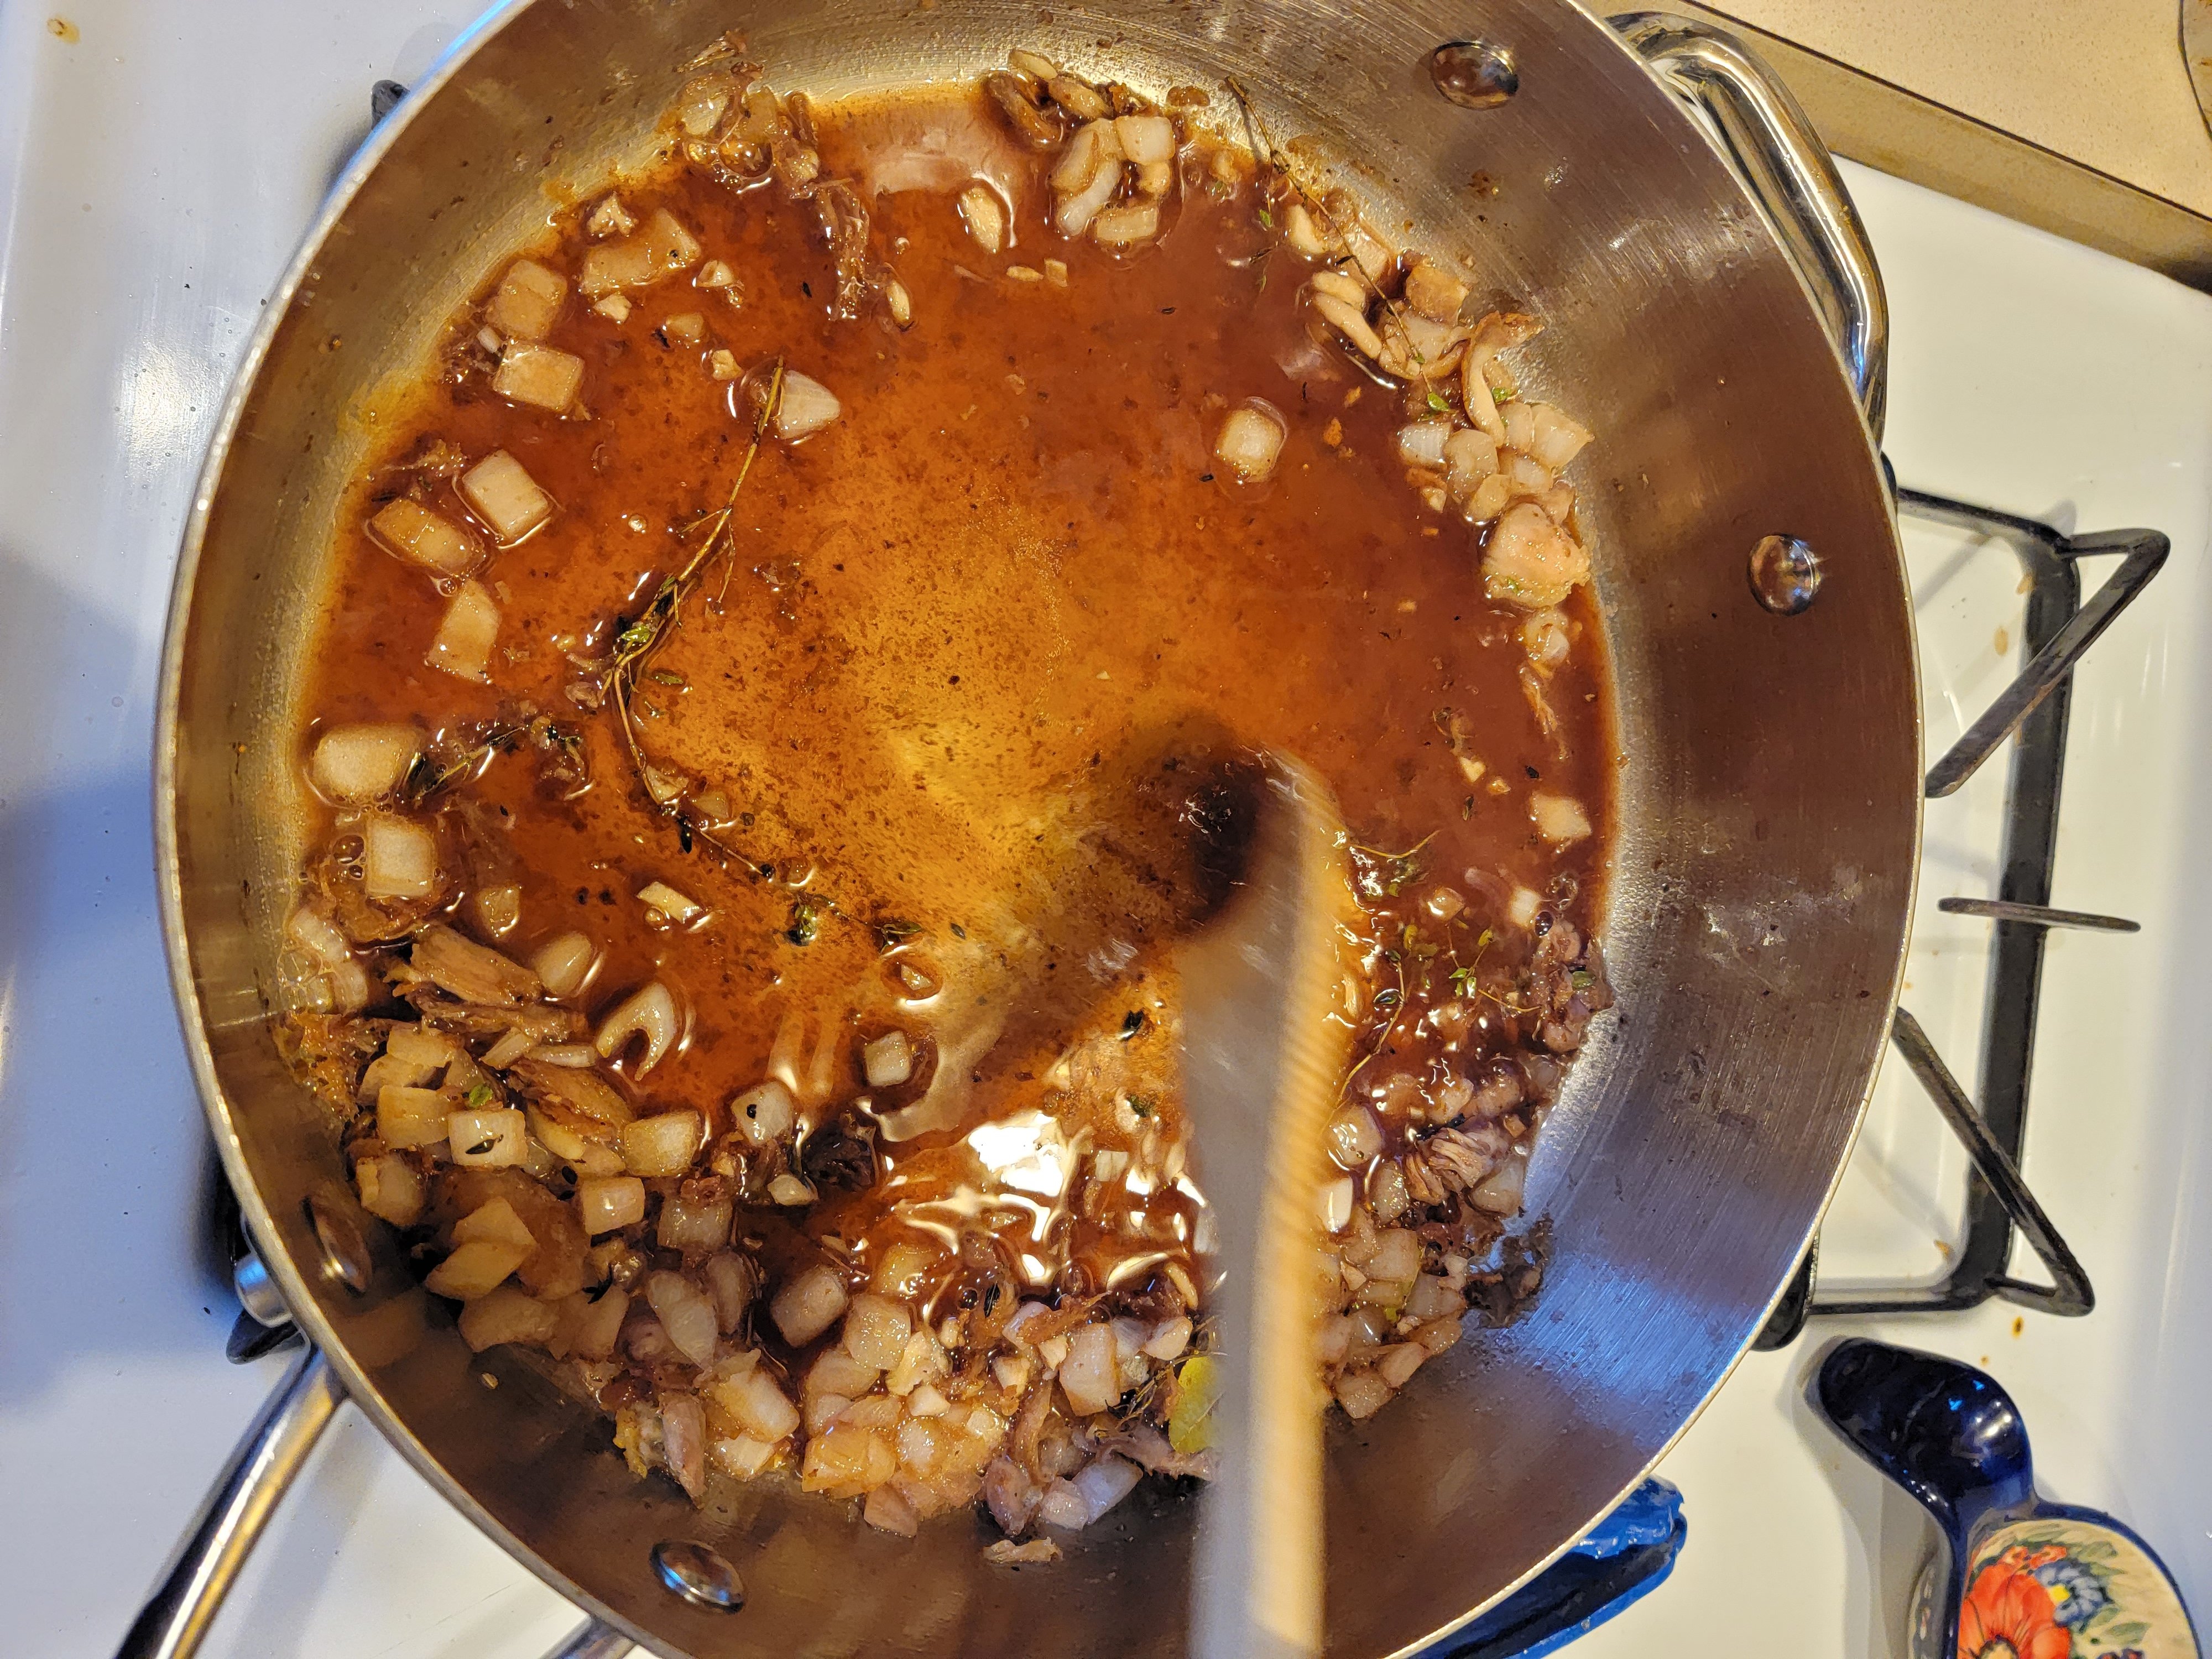
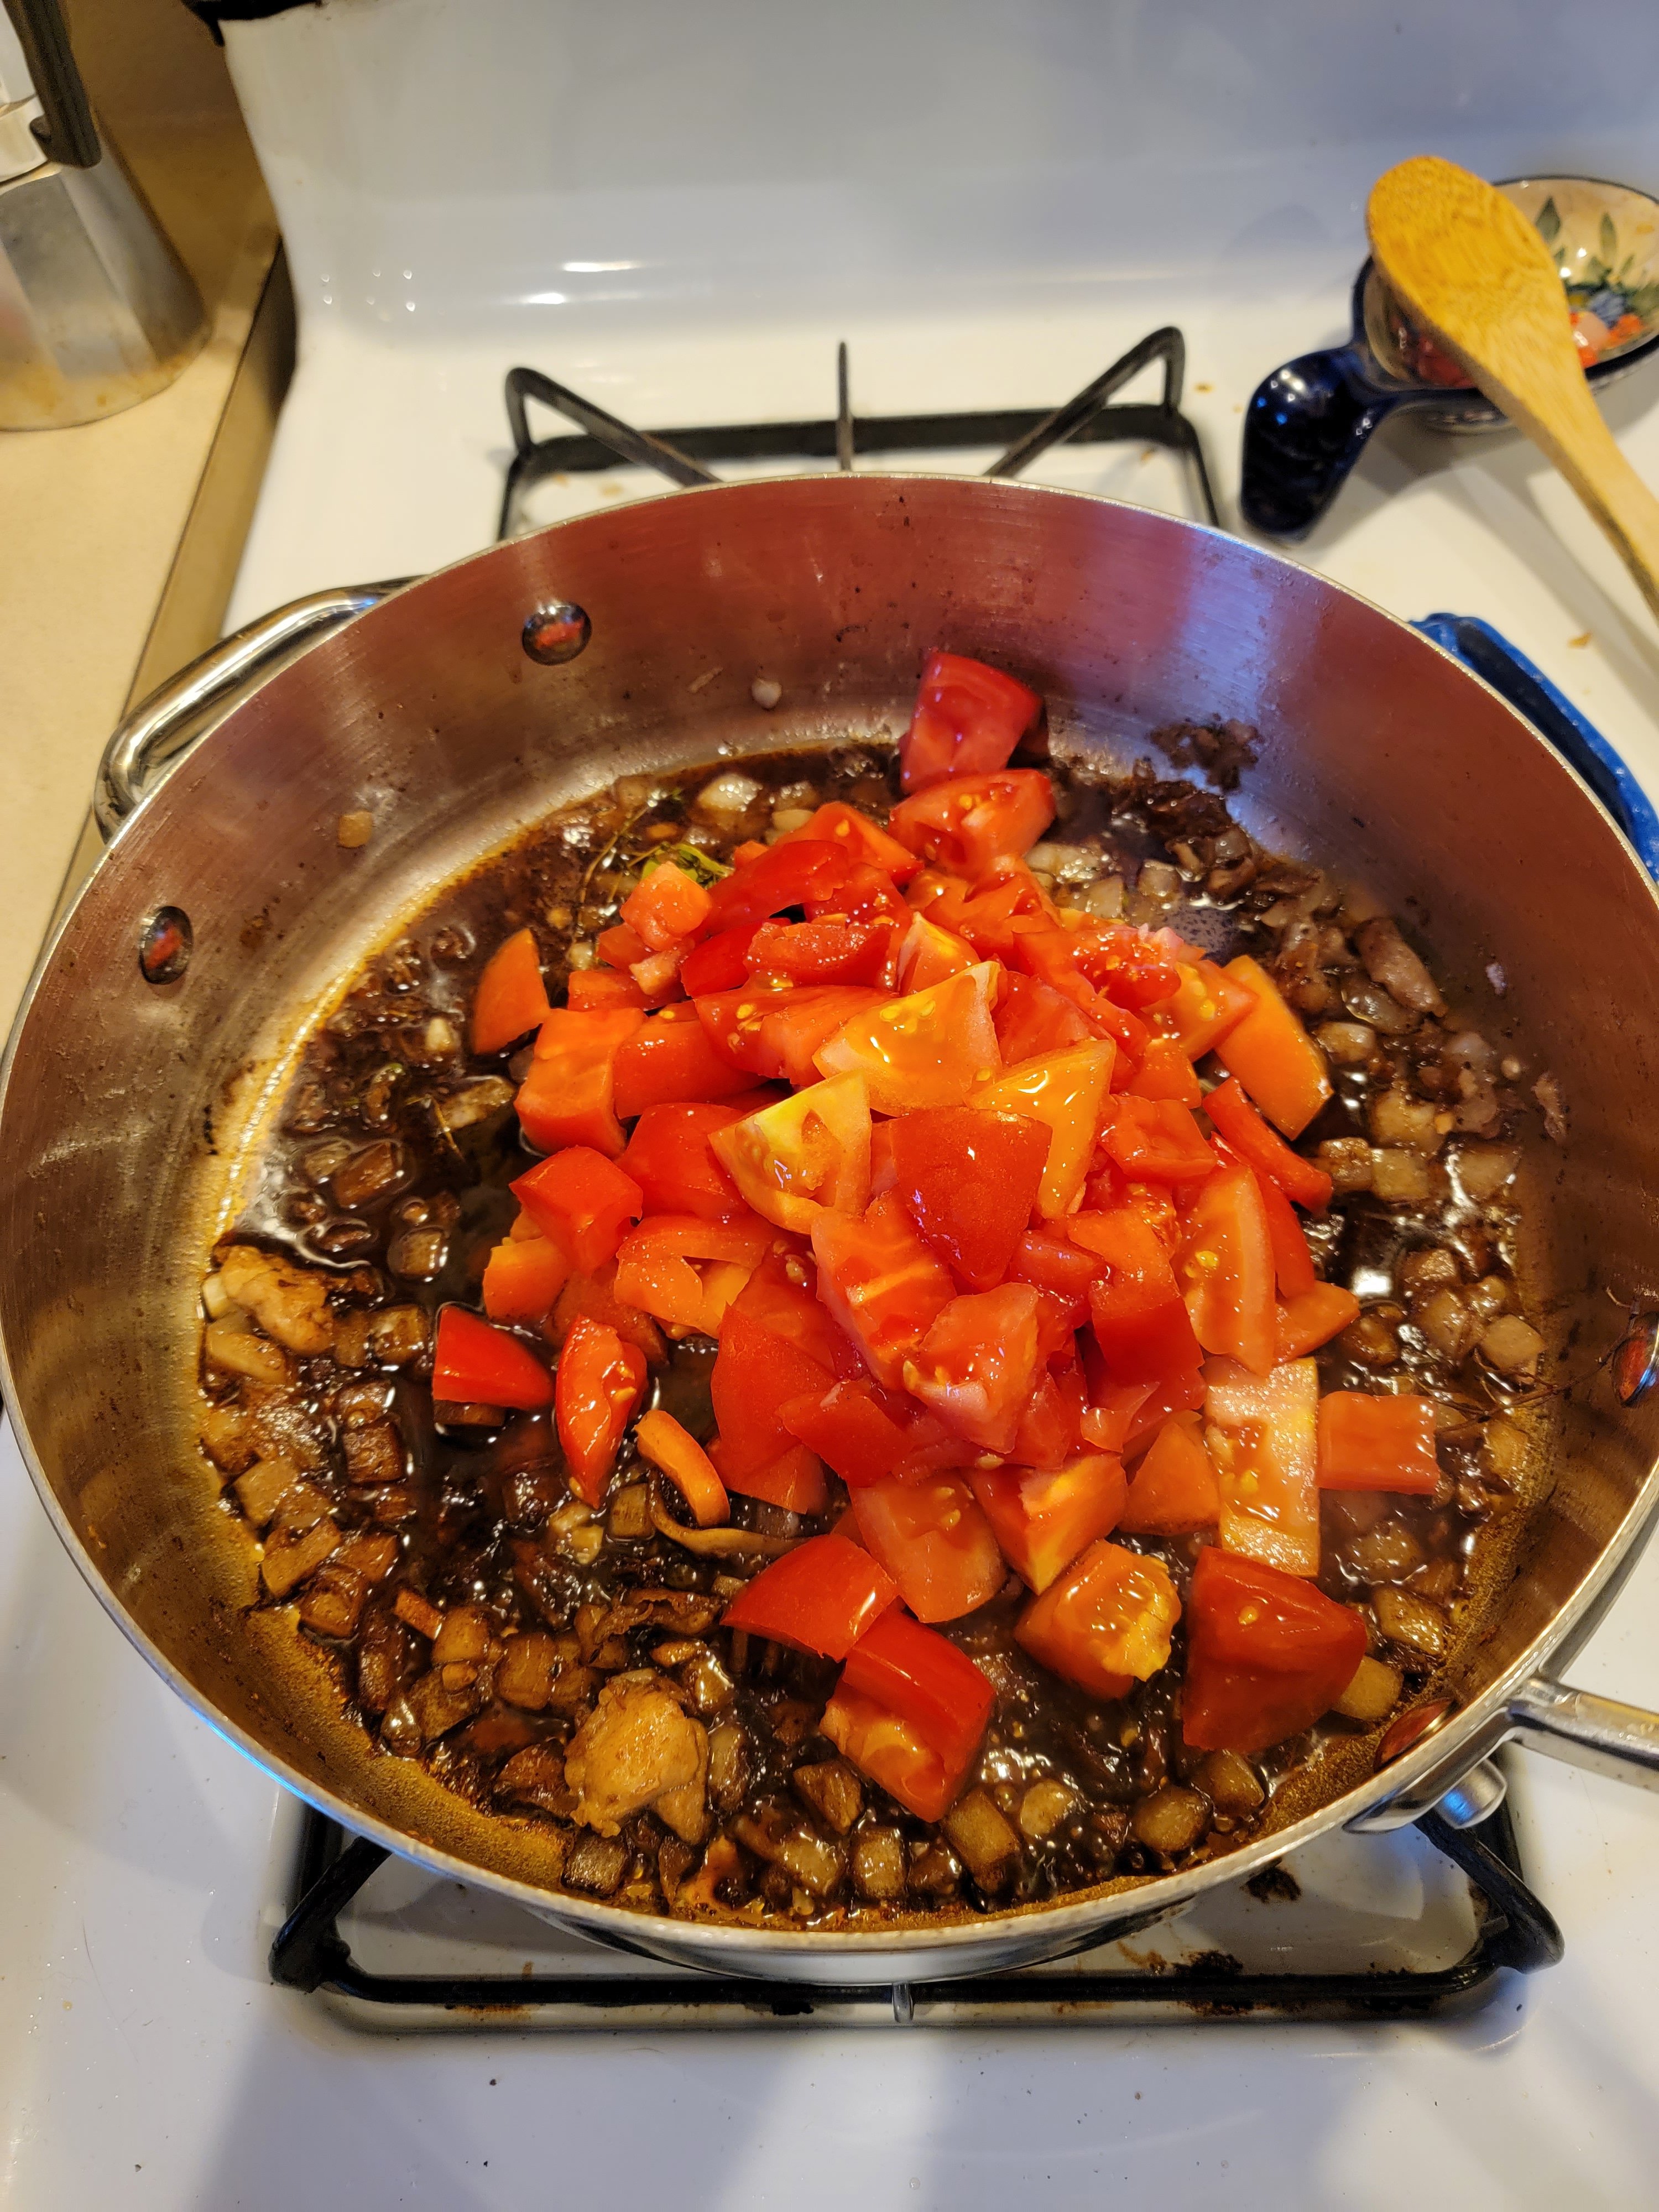
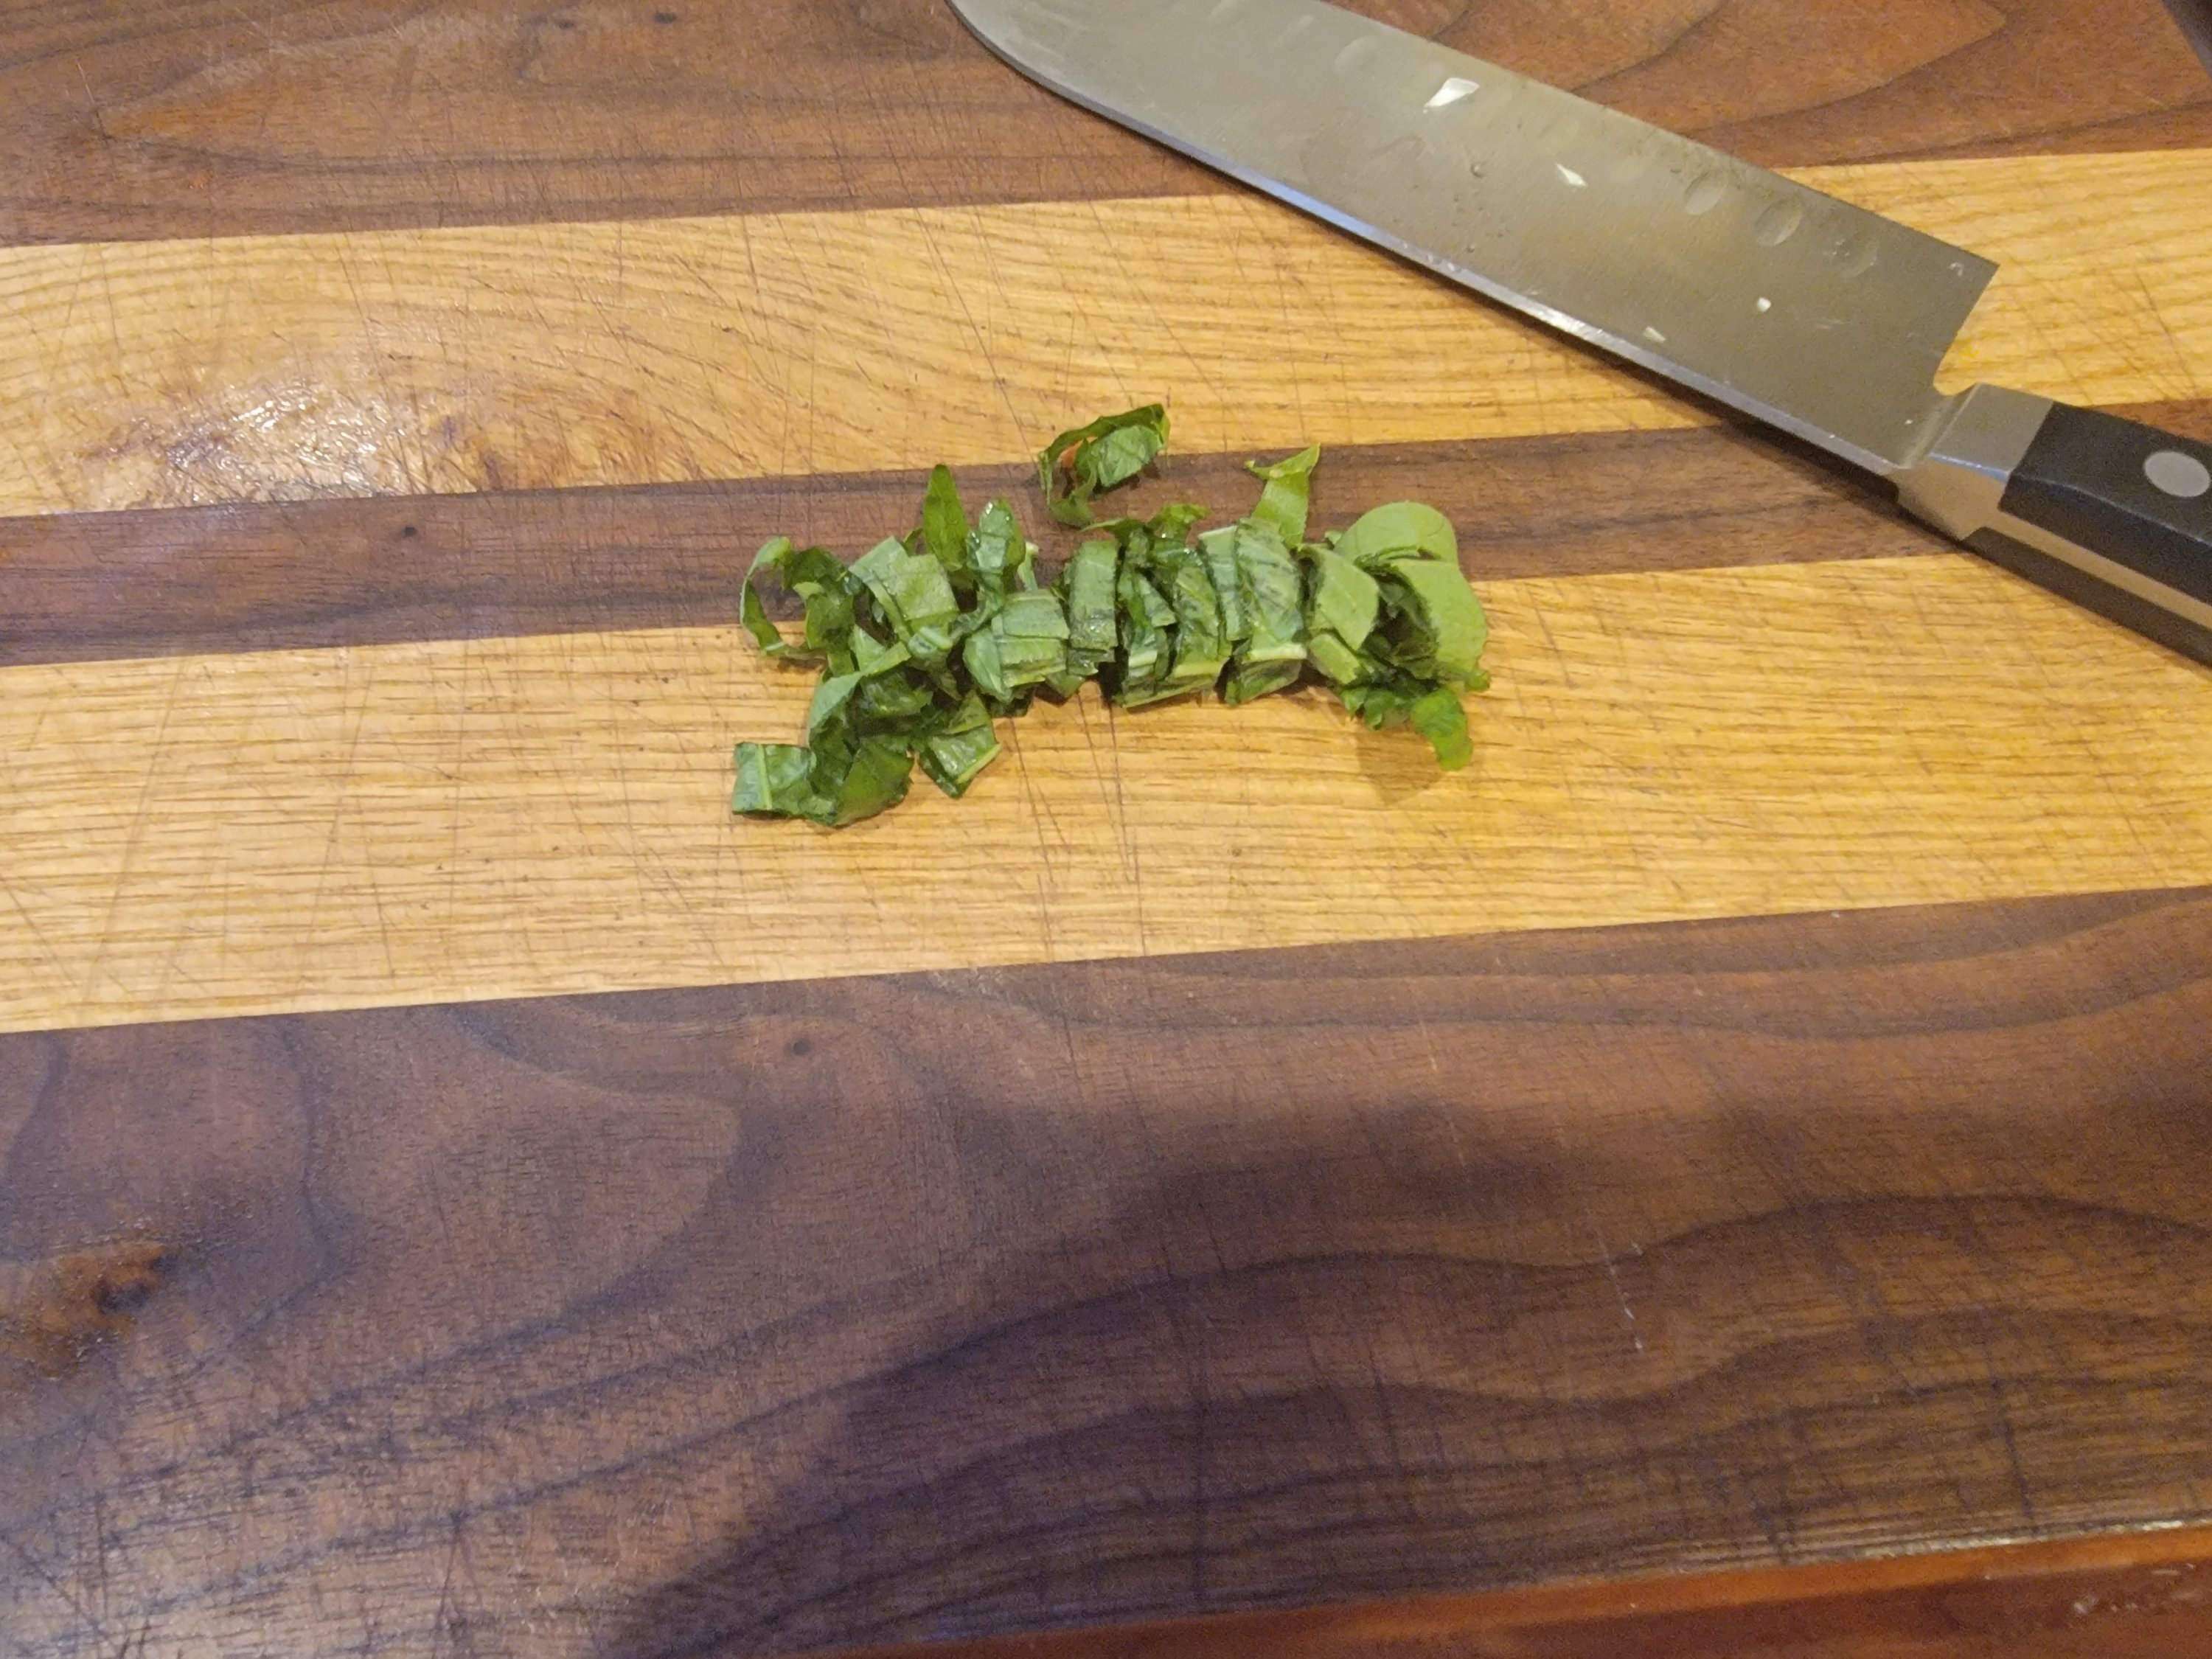
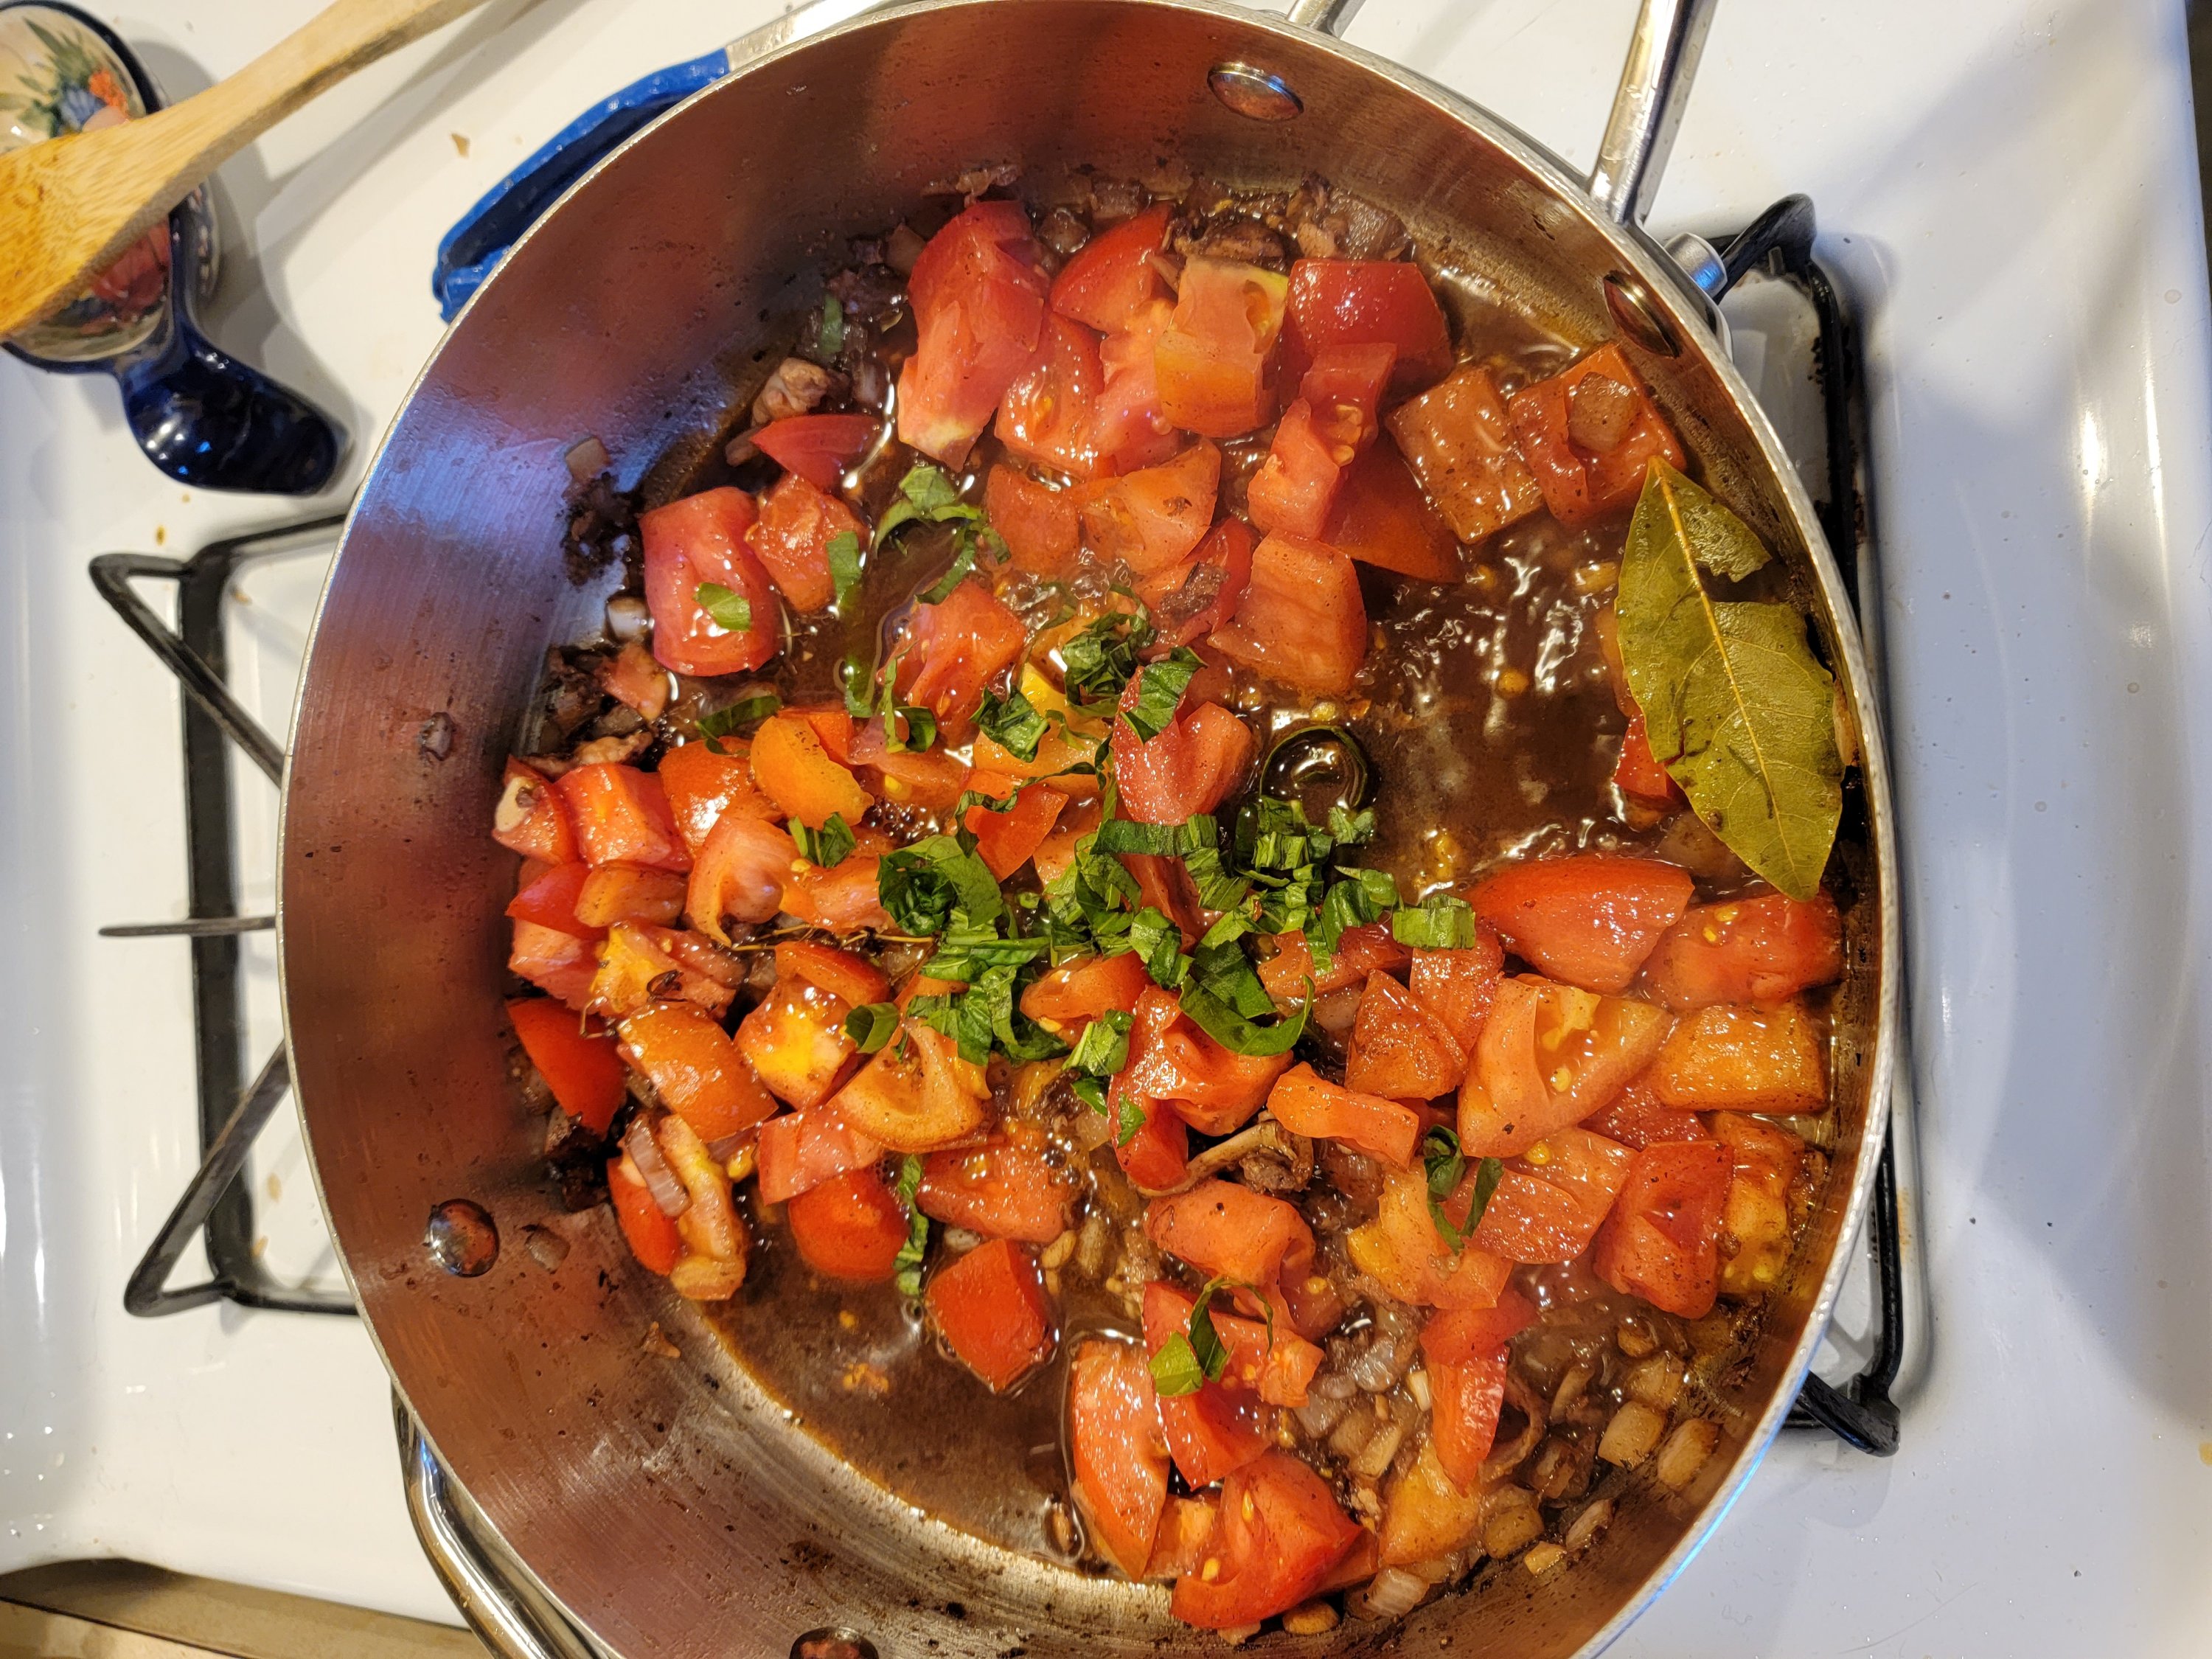
Add the wine and scrape all the good bits off the bottom of the pan. This process is called deglazing and it adds a ton of flavor to your sauce. Let the wine simmer and reduce for about 5-6 minutes. While the wine is simmering chop up the tomatoes using a serrated knife (it is much easier to cut tomatoes with a serrated knife) and chiffanade the basil. To chiffanade, all you need to do is roll the leaves up like a cigar and slice them into strips. Once the wine reduces a little bit add the Balsamic vinegar, tomatoes, and basil.

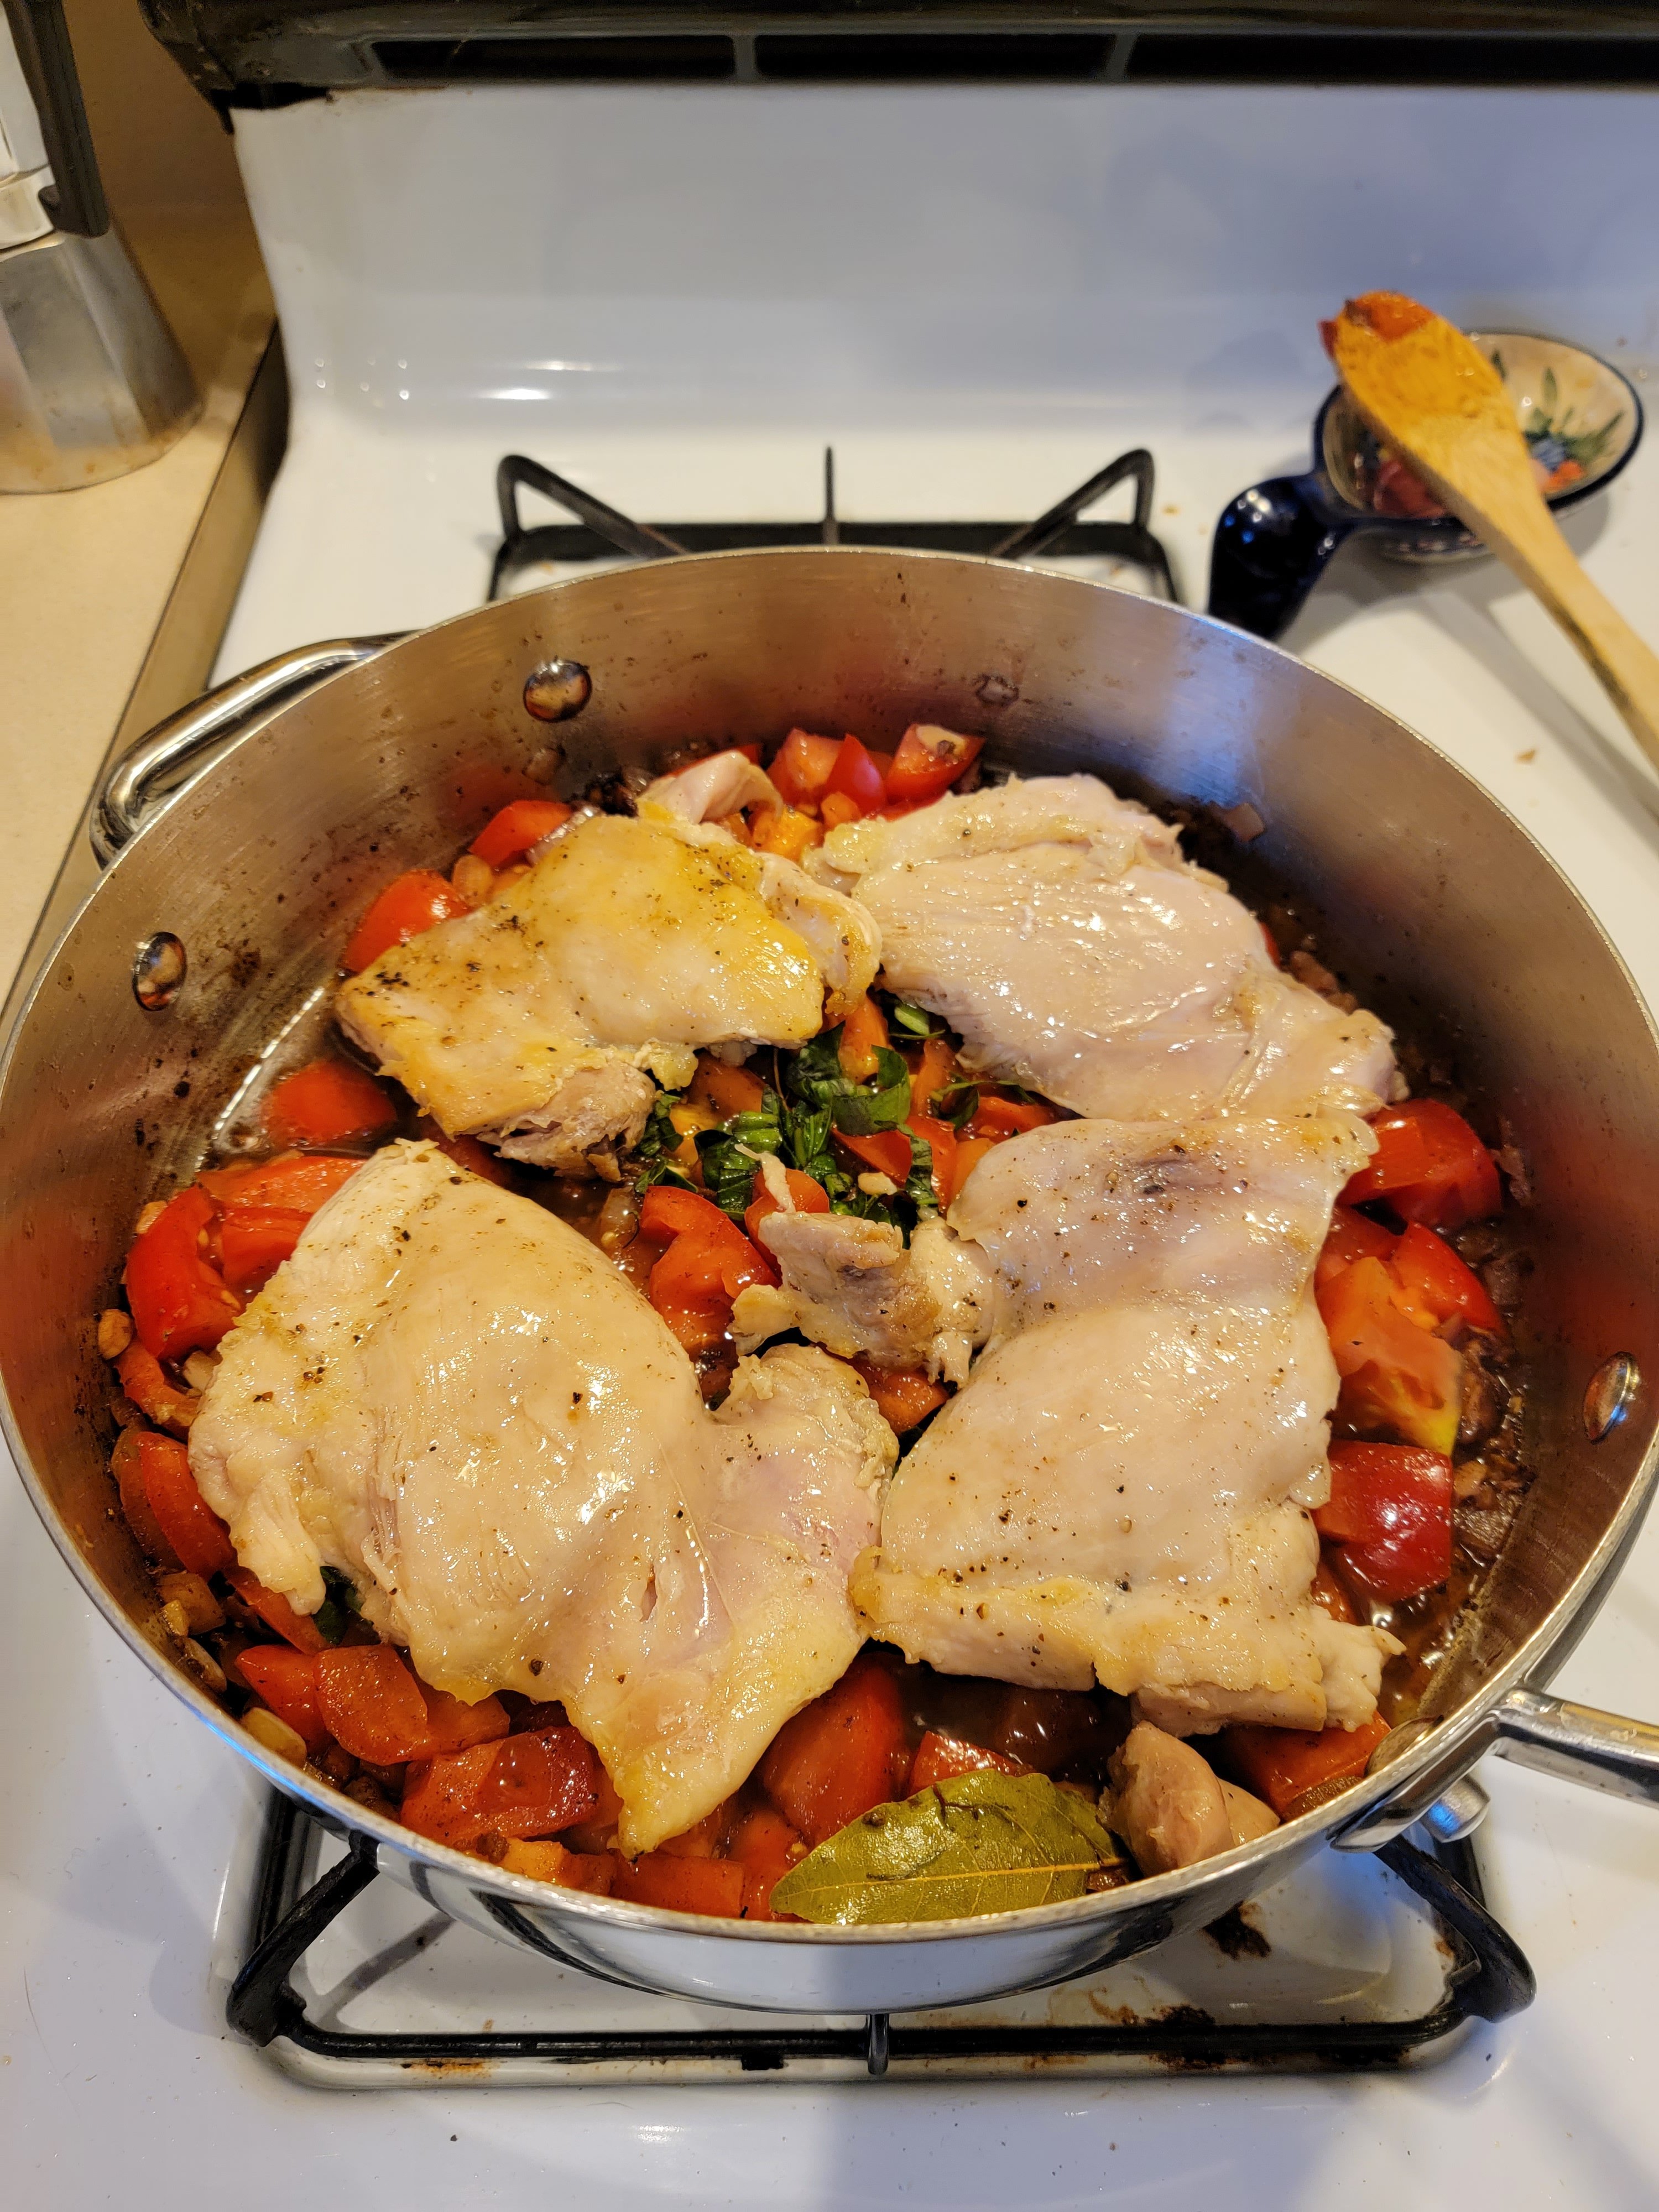
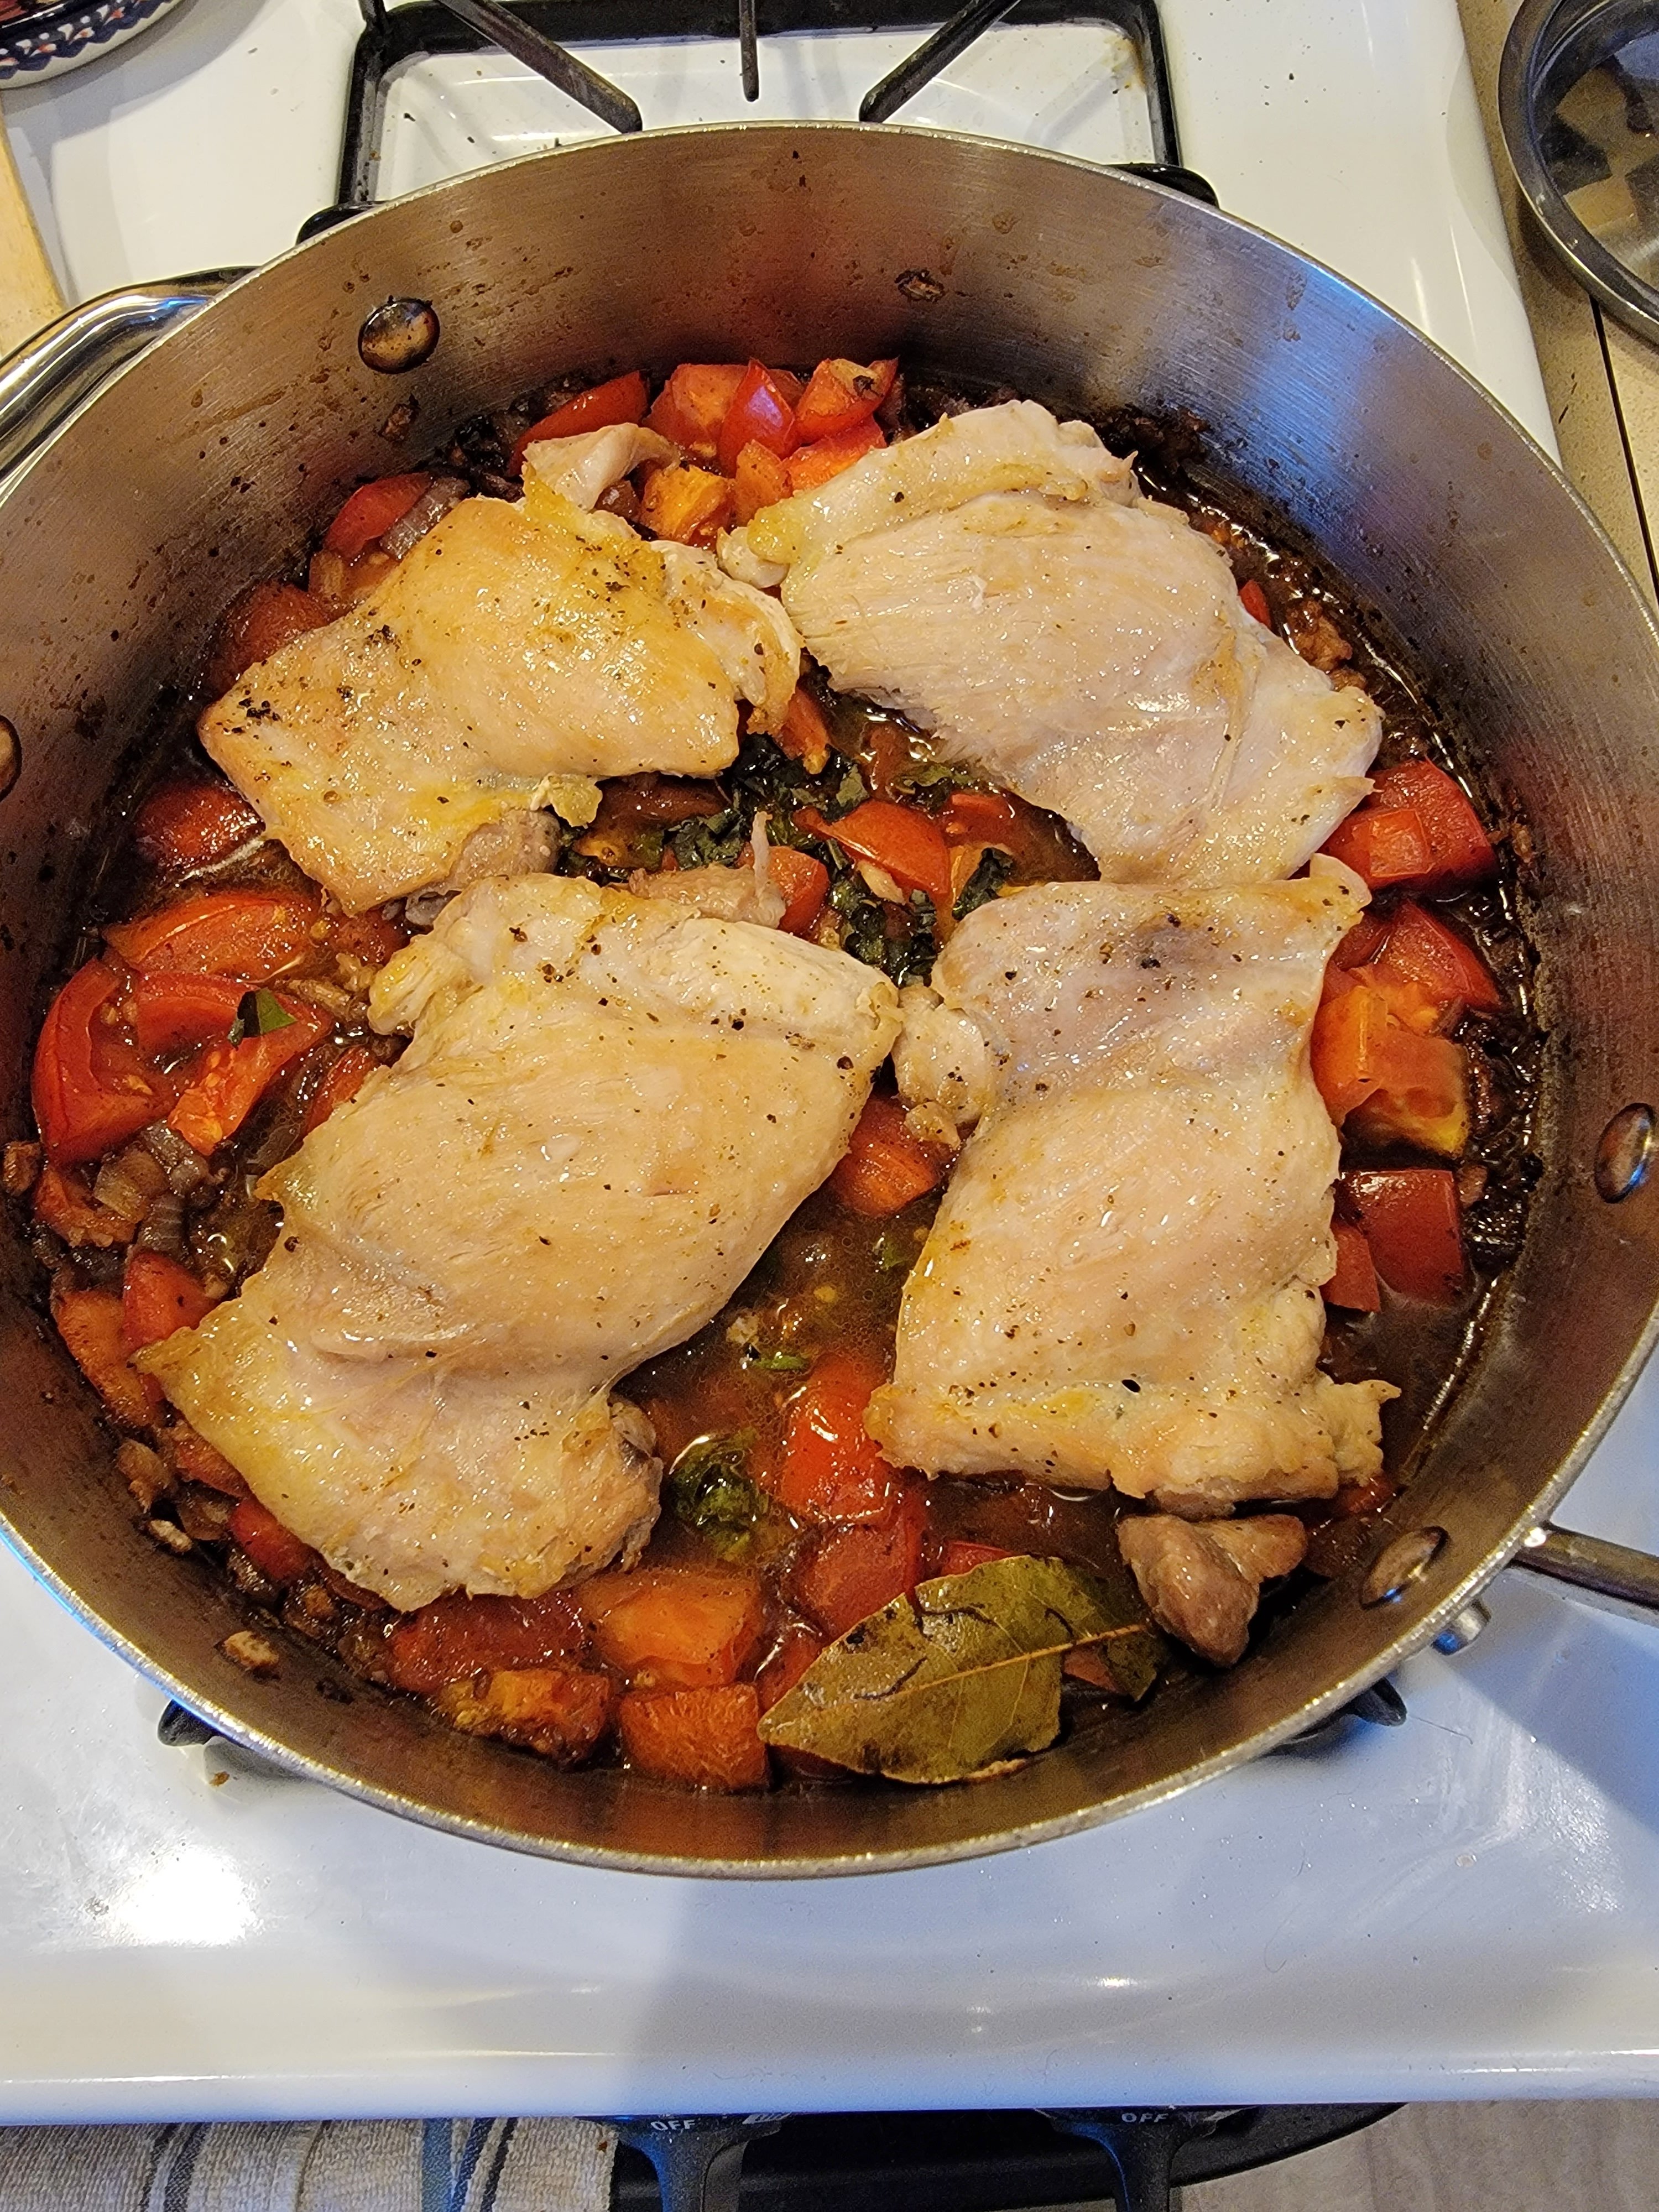
Stir around the tomatoes, basil, and vinegar. Then add the chicken back into the pan and bake in the oven for about 10 minutes or until the chicken reaches 165F internally.

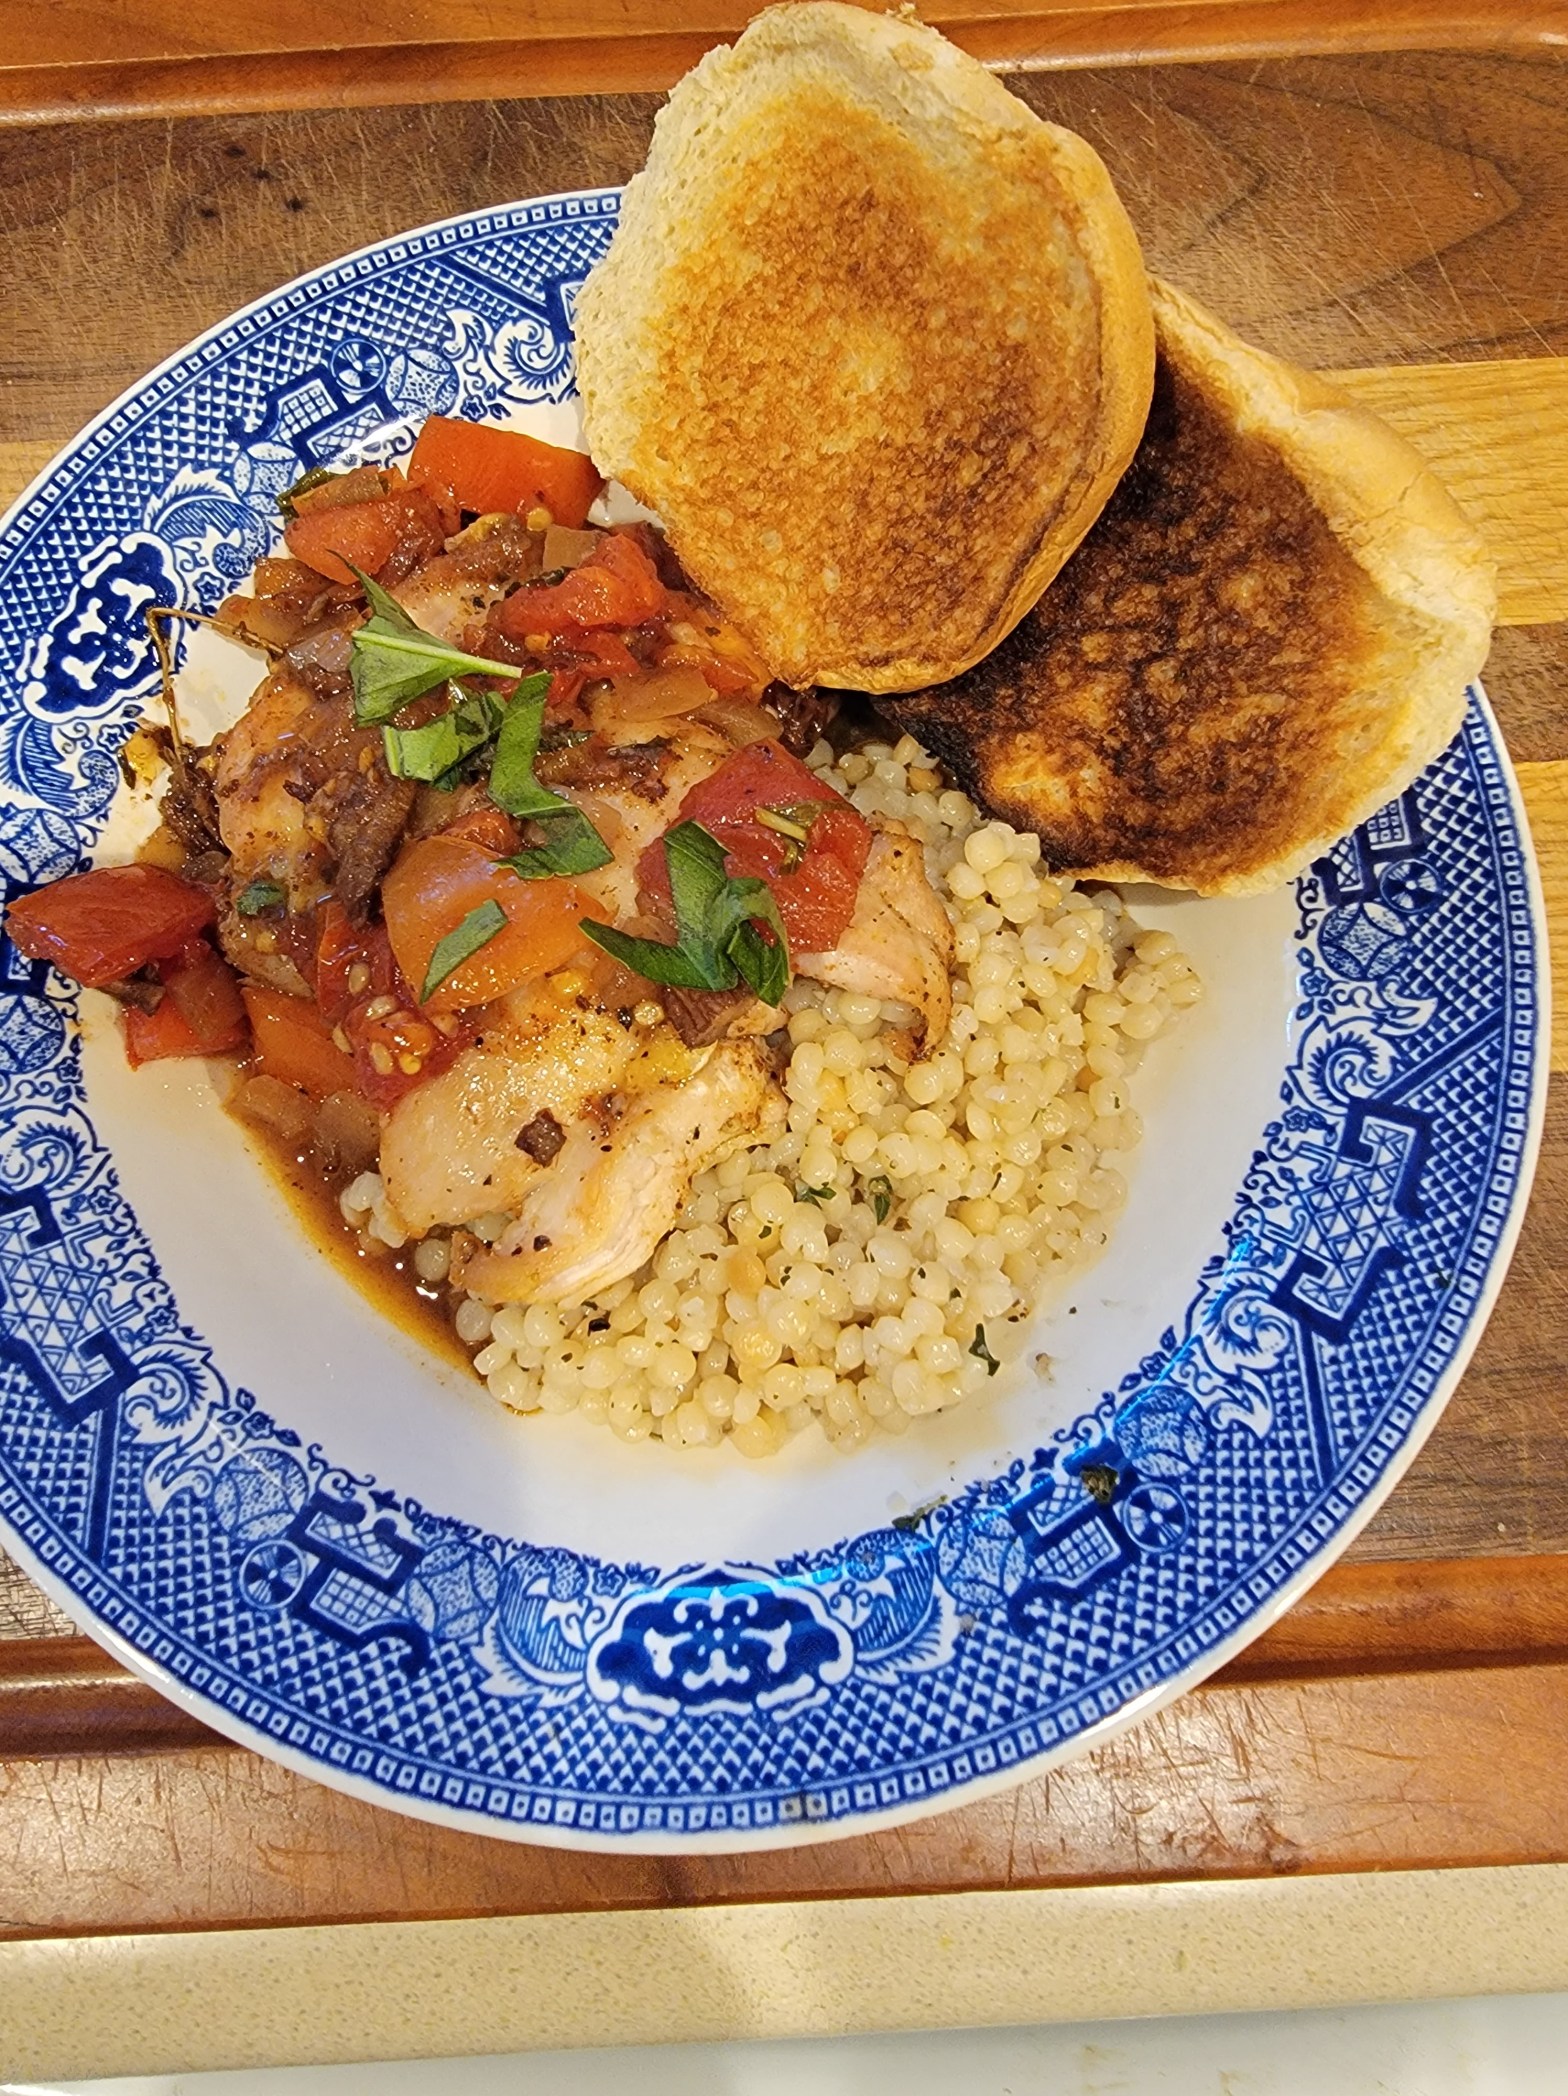
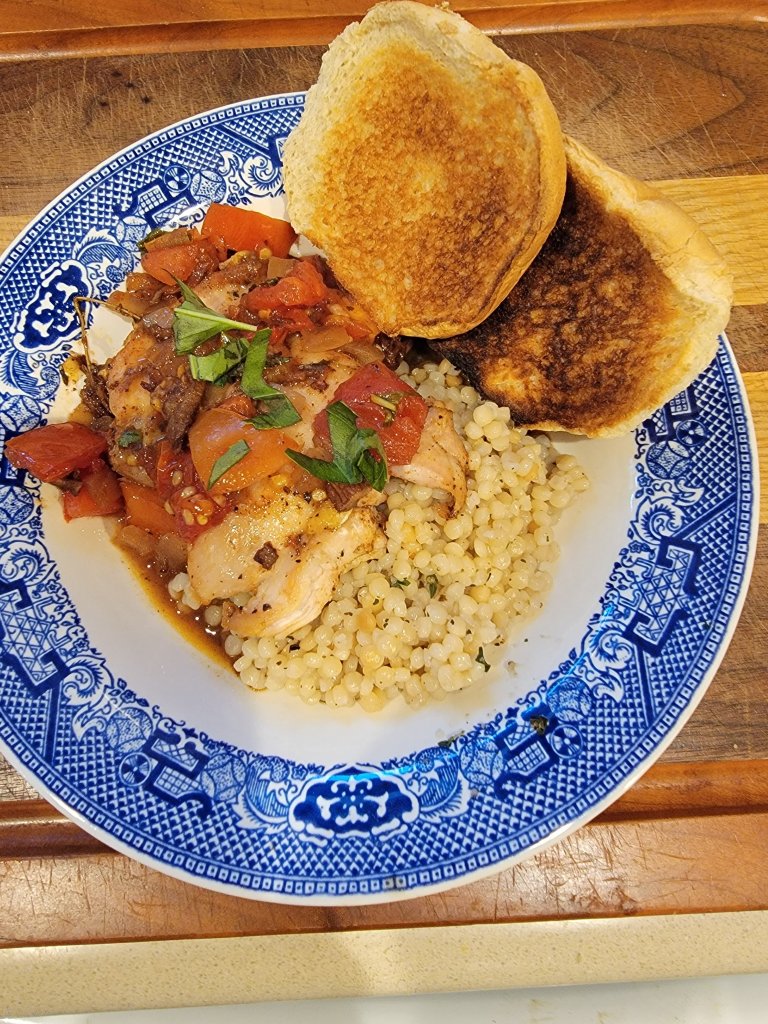
And that’s it! To serve, smother the thighs with a good helping of sauce with your favorite sides and top with fresh basil. We had ours with Israli couscous and toasts!

Yes, it’s a toasted hamburger bun. So what?!

Hope you enjoy!

Lime & Jalapeño Chicken

We have an over abundance of jalapeños from our garden so we better start cooking with them!  Here’s honey lime jalapeño chicken.

Here’s what you’ll need:

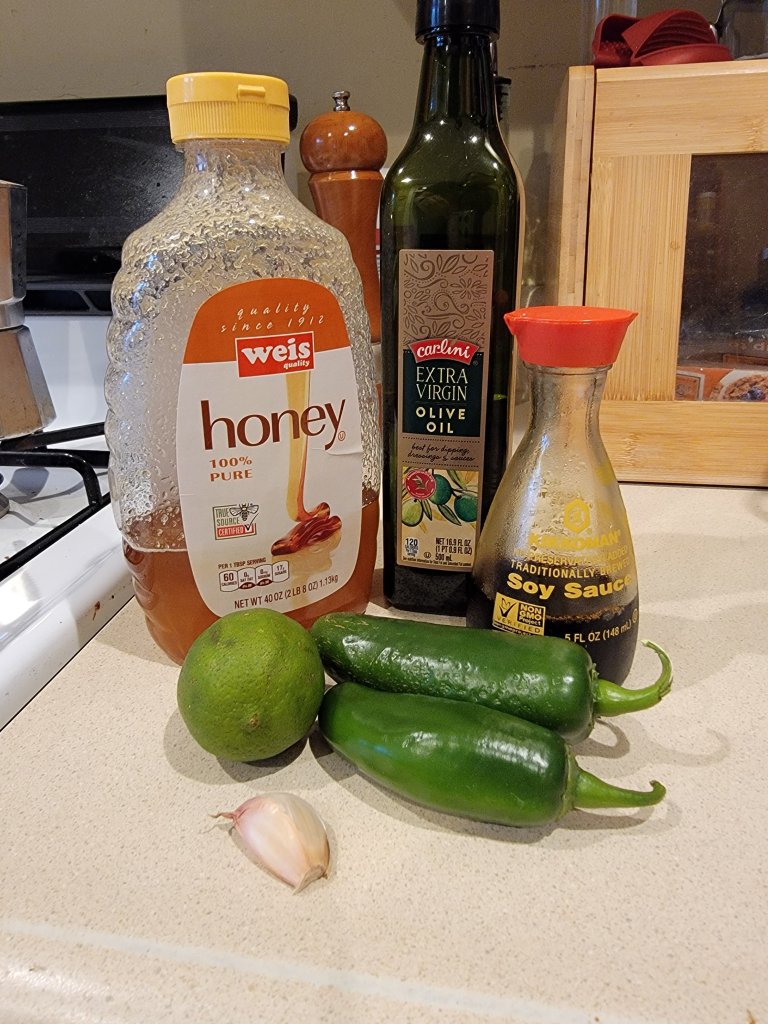
  • Honey – 2 tbsp
  • Olive oil – 2 tbsp split in two separate tablespoons
  • Jalapeños – 2
  • Lime – 1 – zest and juice
  • Soy sauce – 1.5 tbsp
  • Garlic – 1 clove – chopped 
  • Boneless skinless chicken thighs – 14oz (3  thighs)

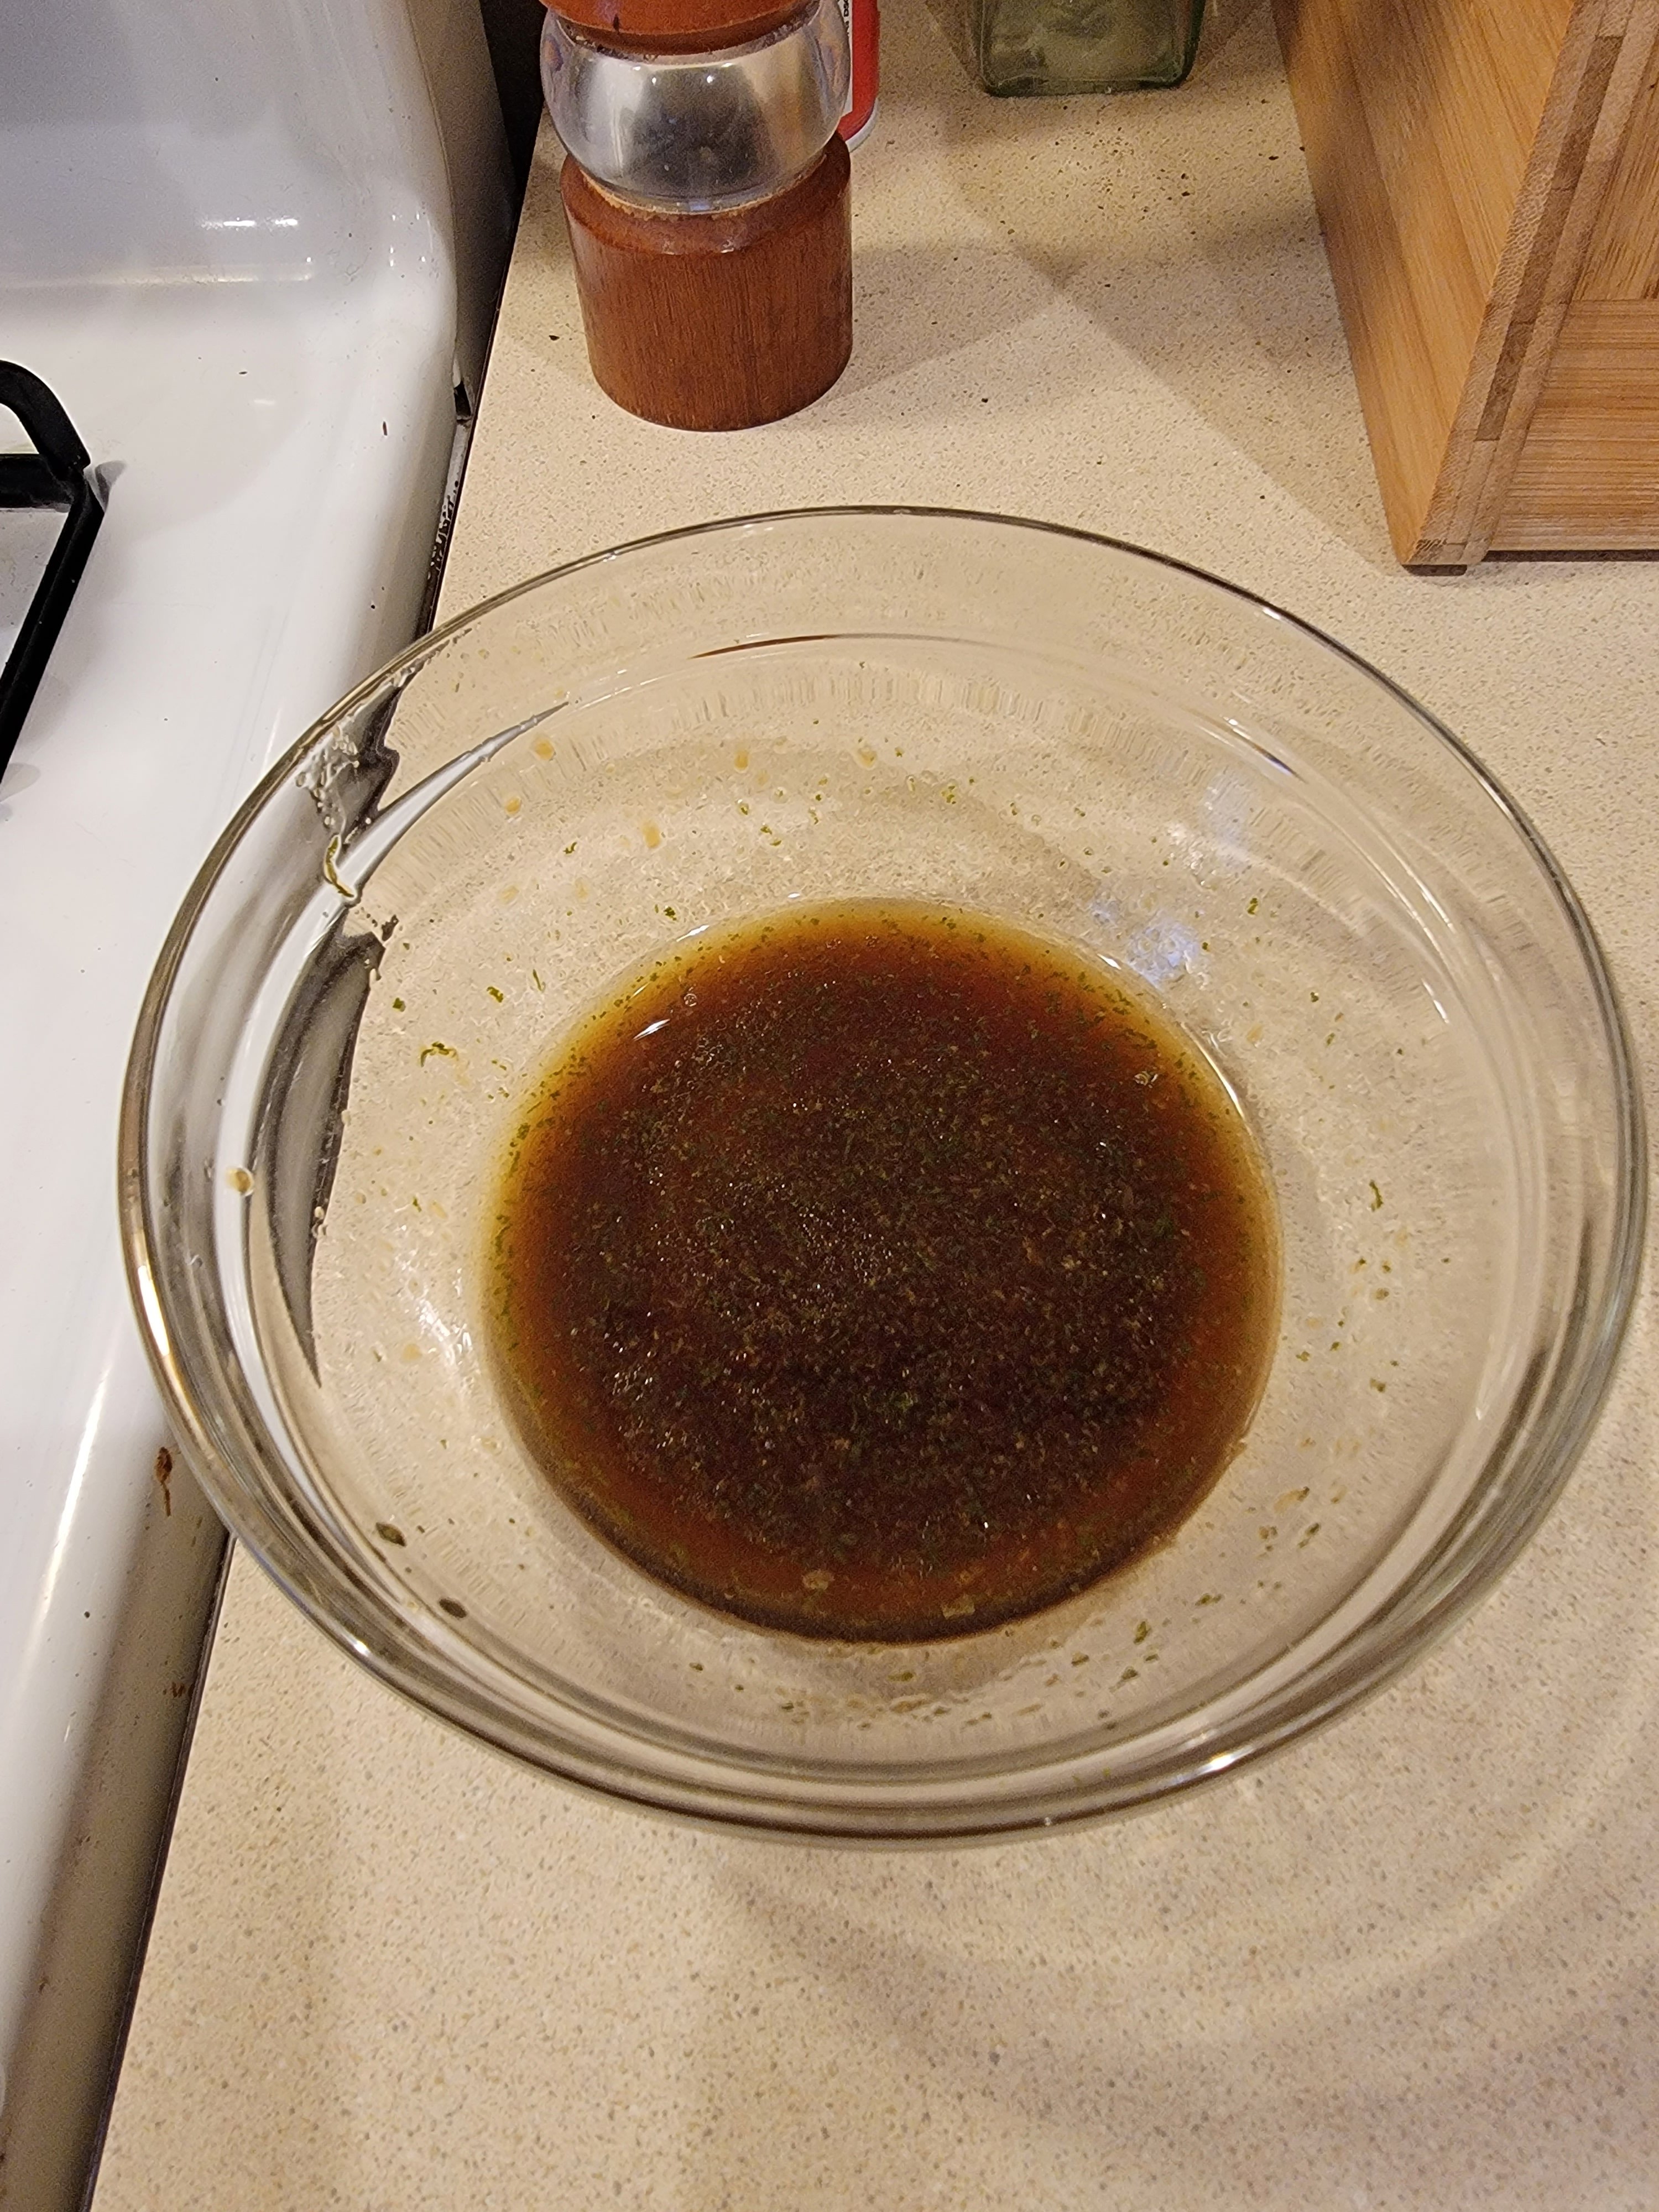
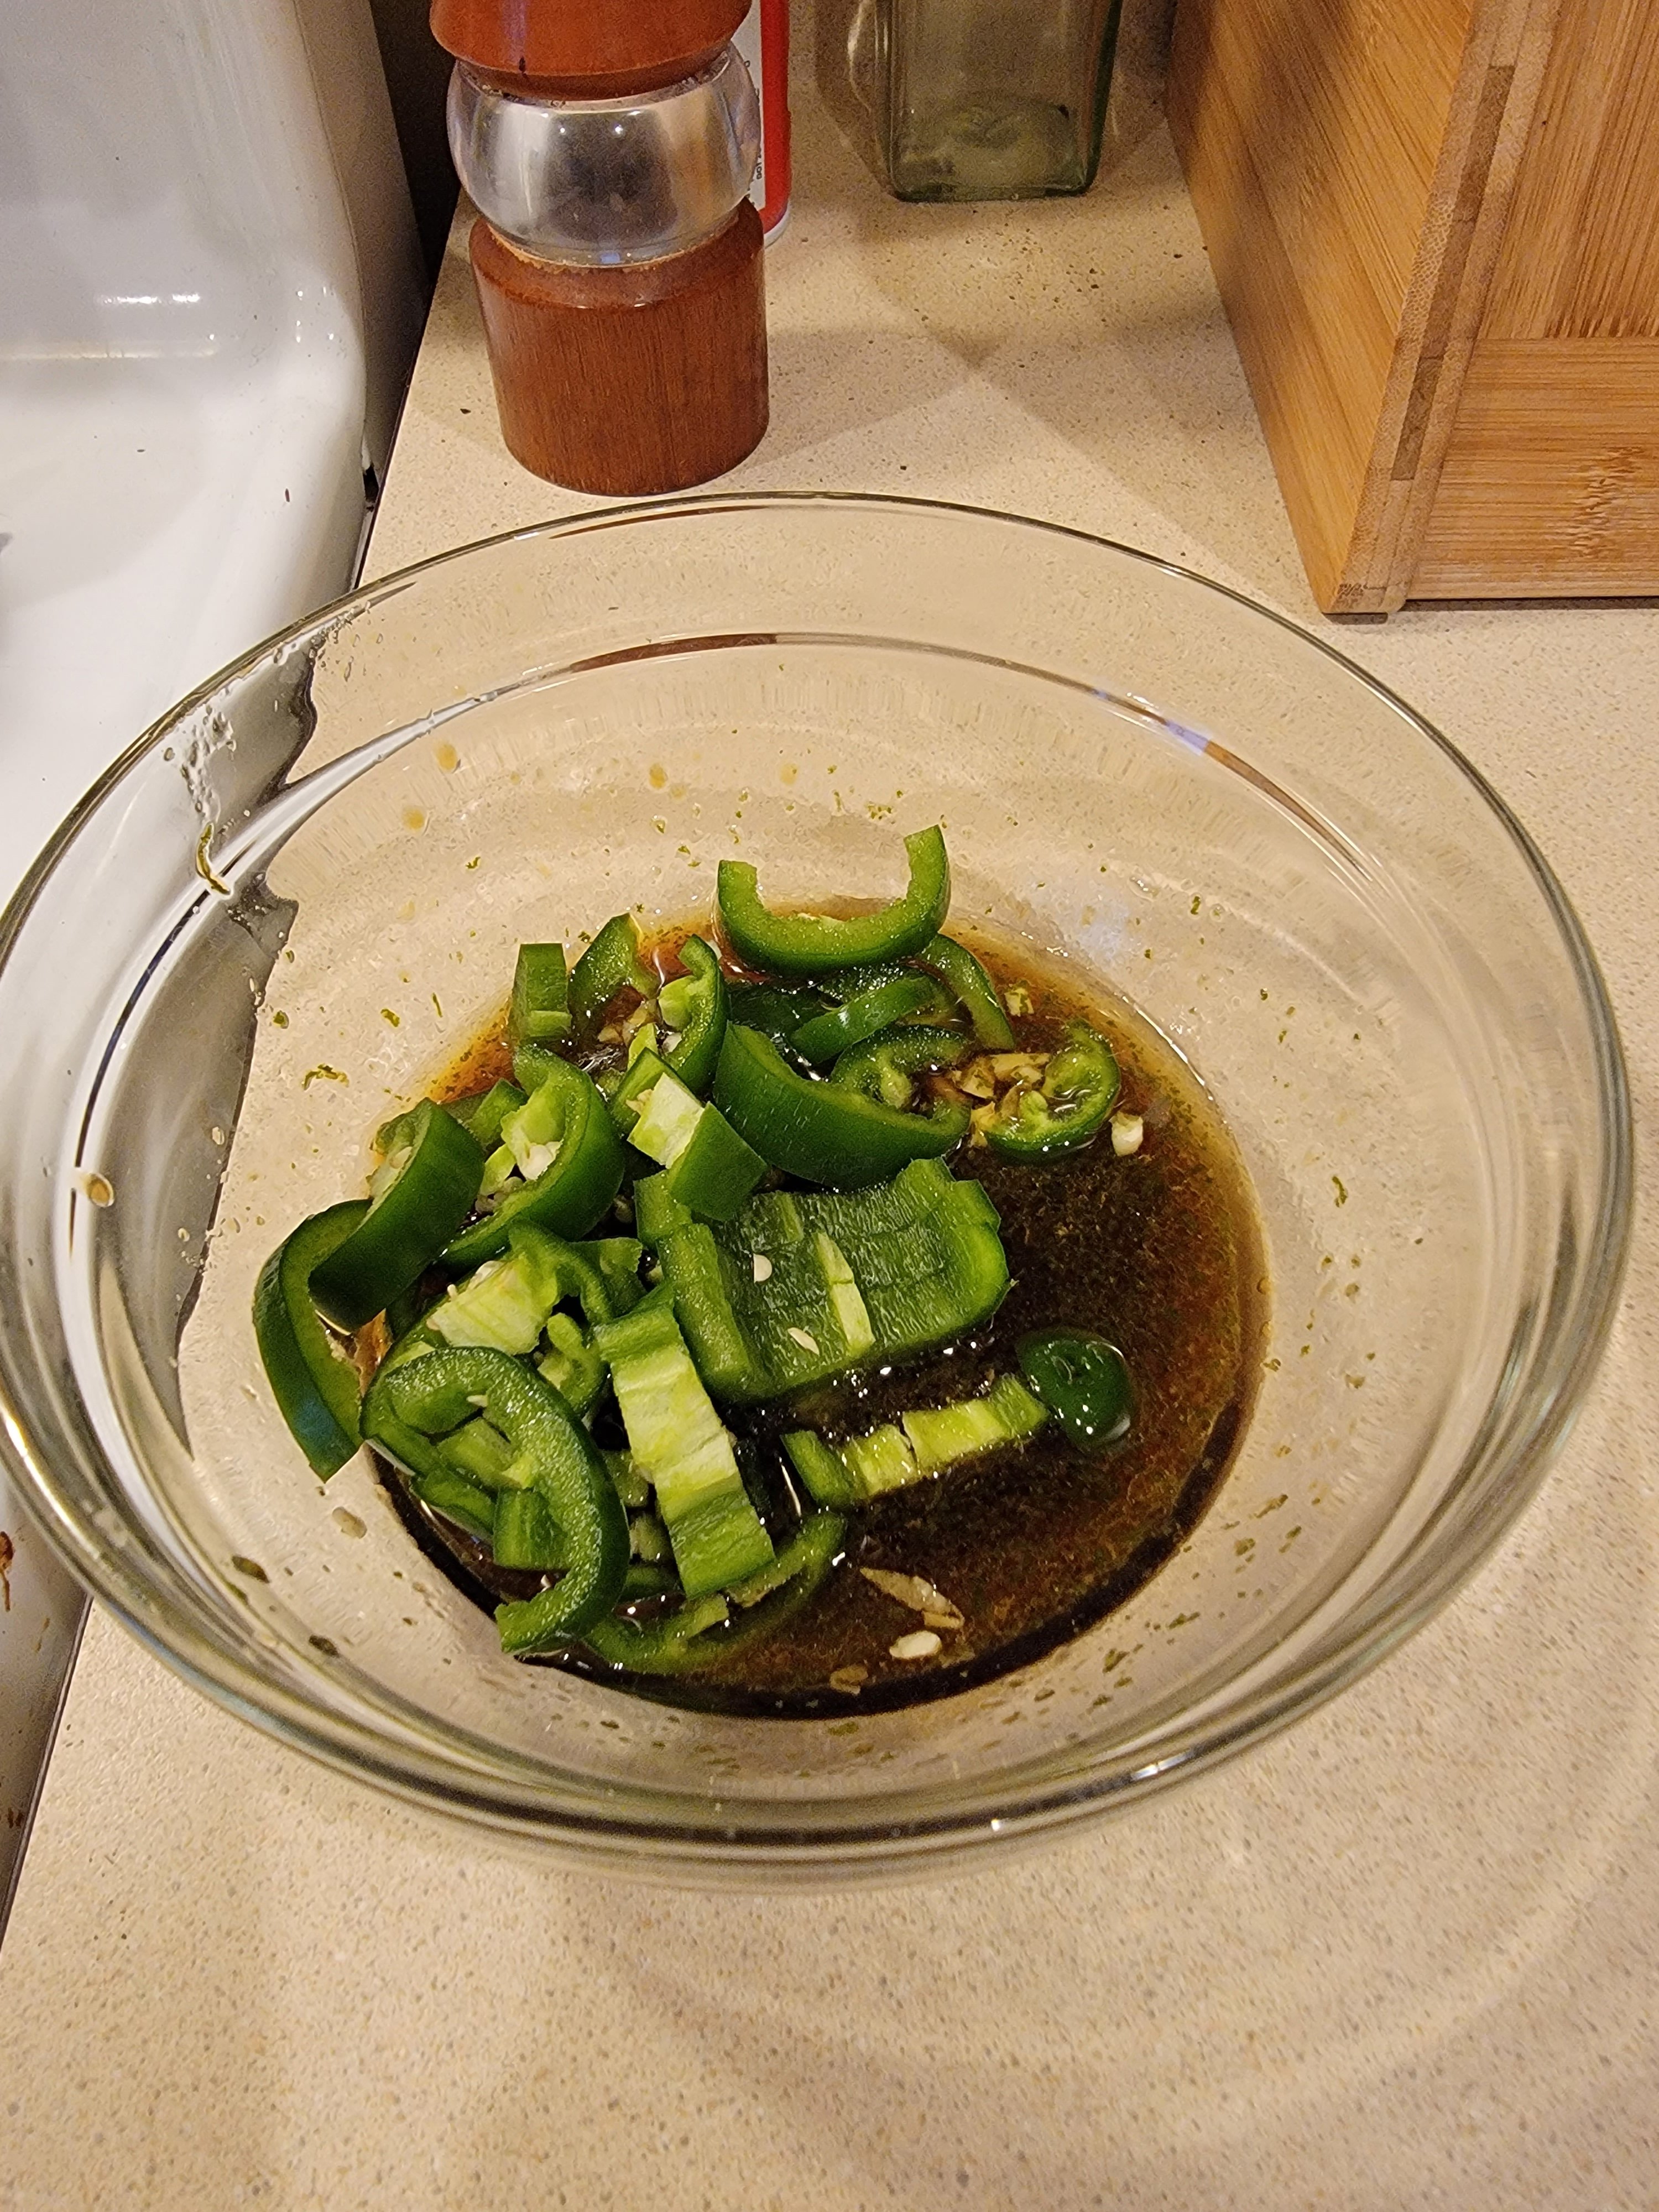
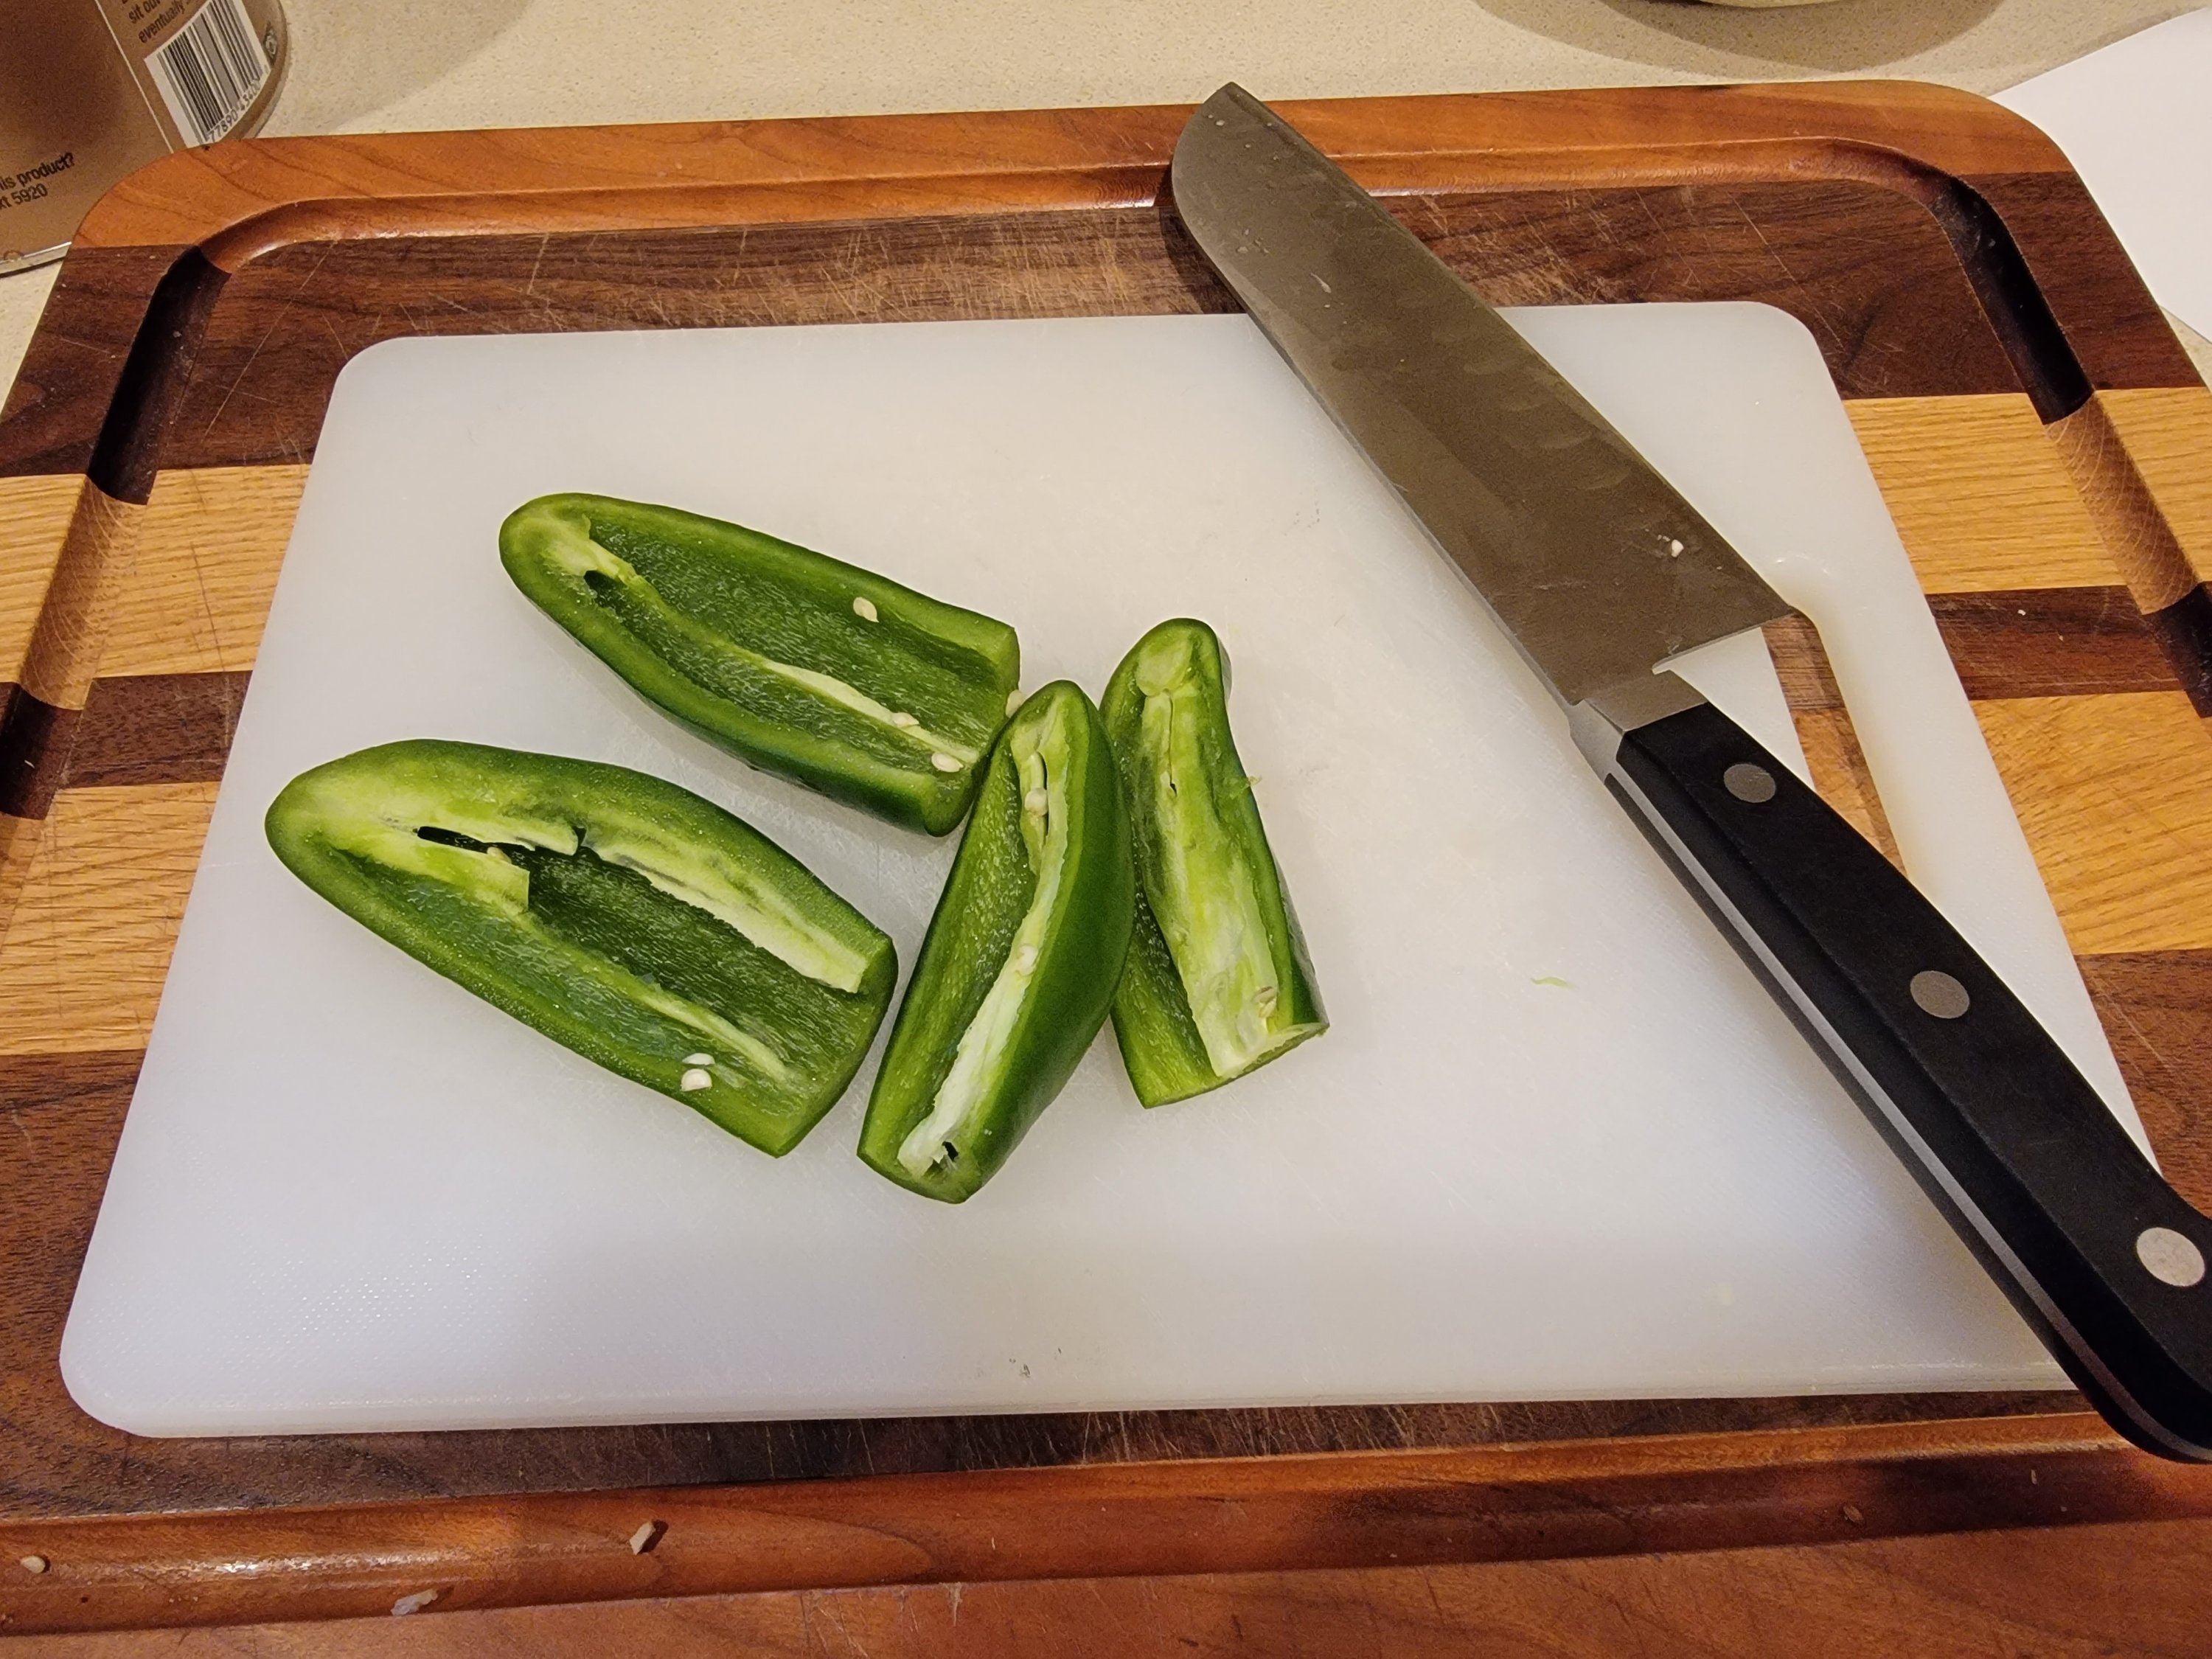
First put the honey, oil (1 tbsp), soy sauce, lime juice, and lime zest into a medium mixing bowl and whisk together.  Then chop garlic and jalapeño and add to the bowl and mix well.

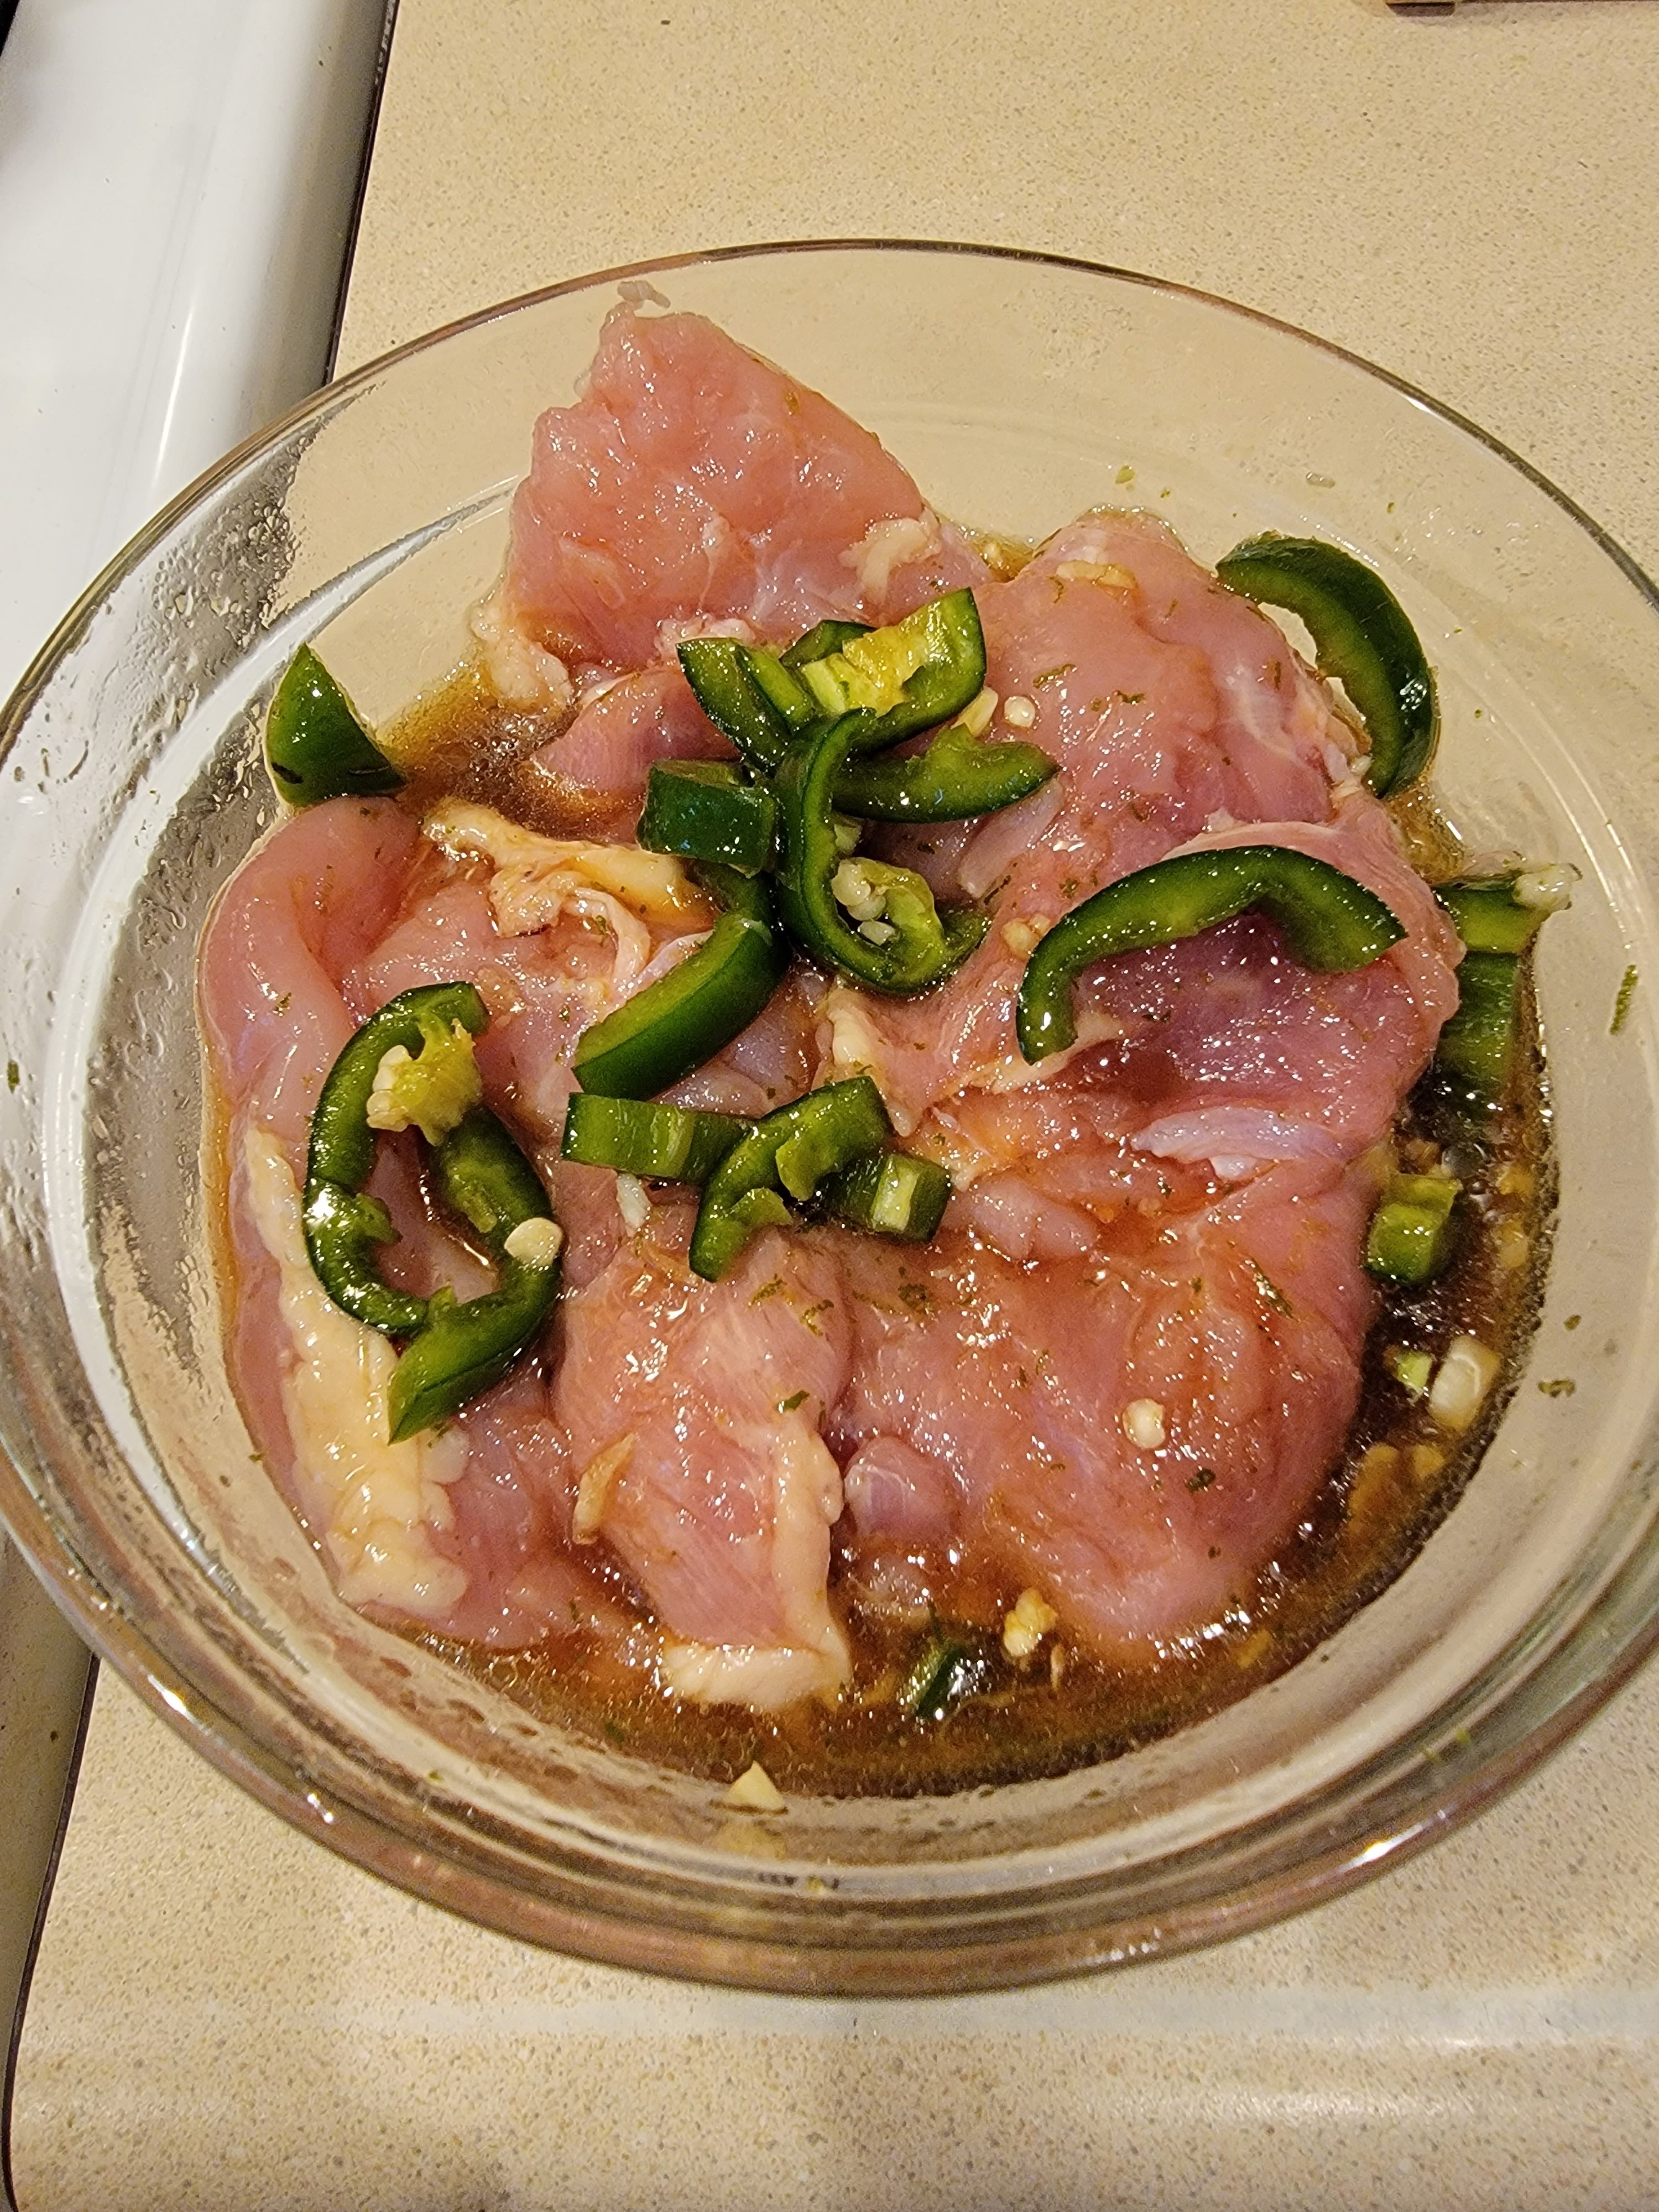
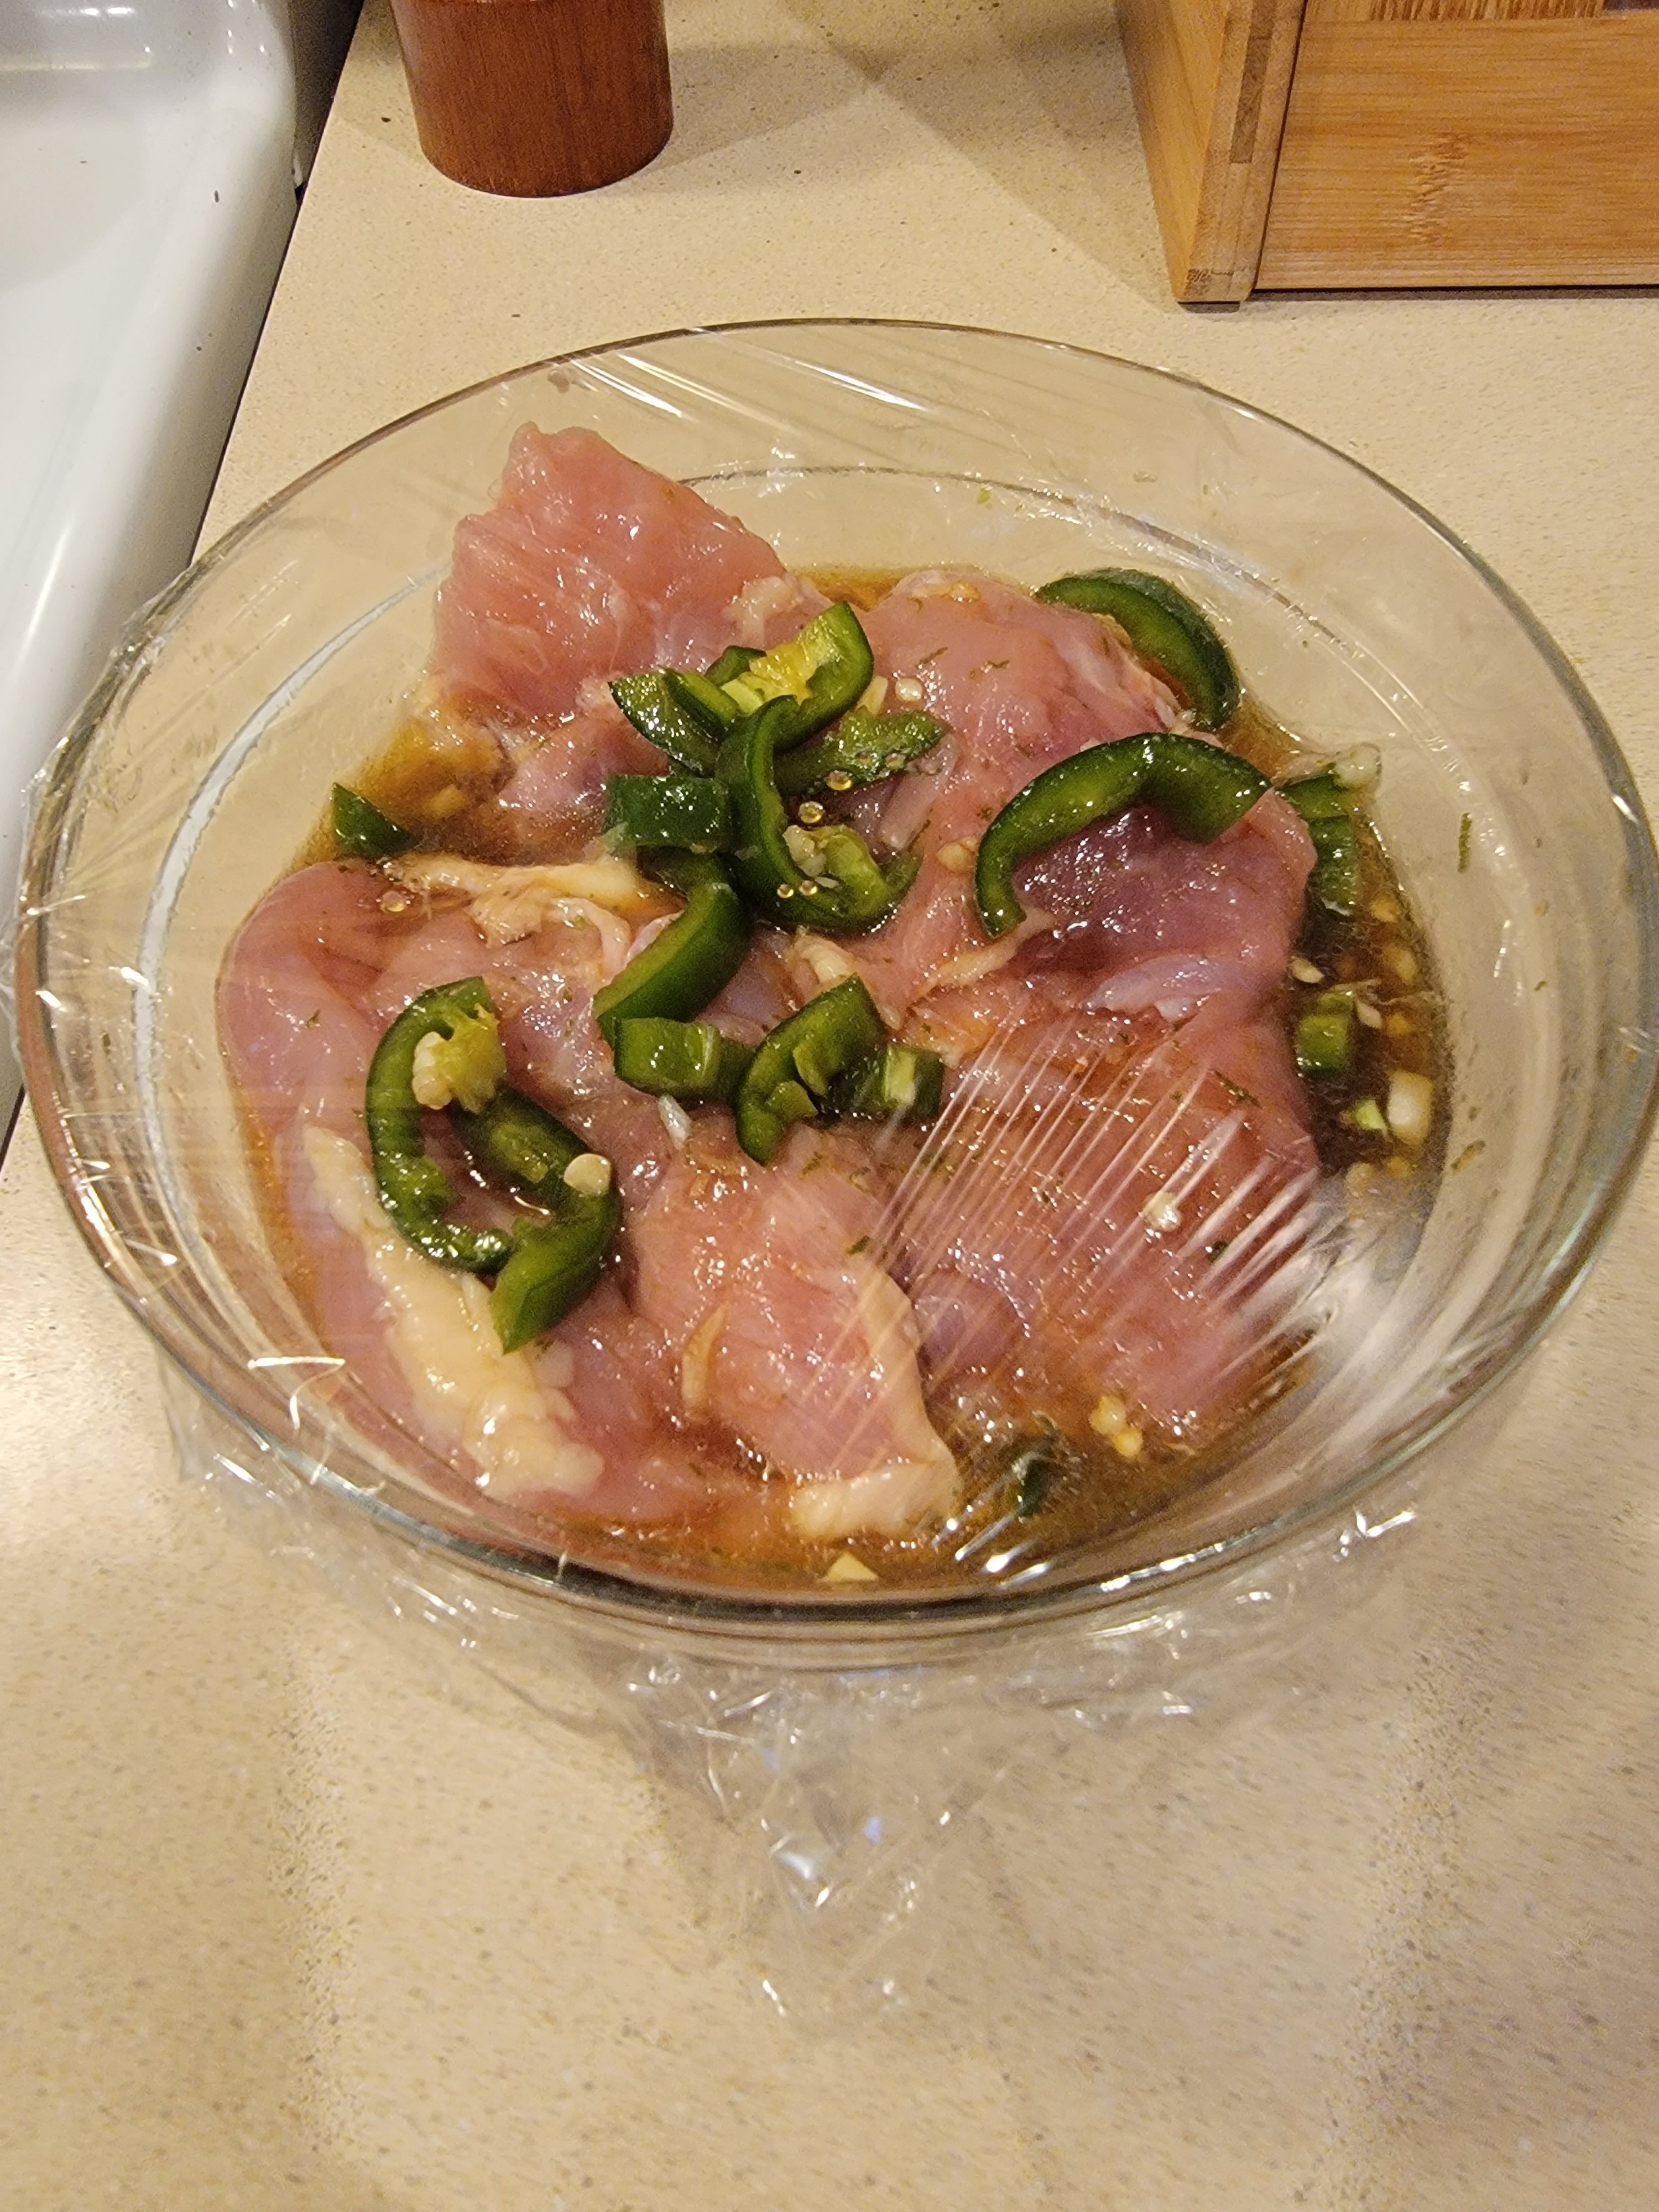
Now add the chicken to the bowl and mix around a few times. Cover the bowl with plastic wrap and let the chicken marinate for up to an hour.

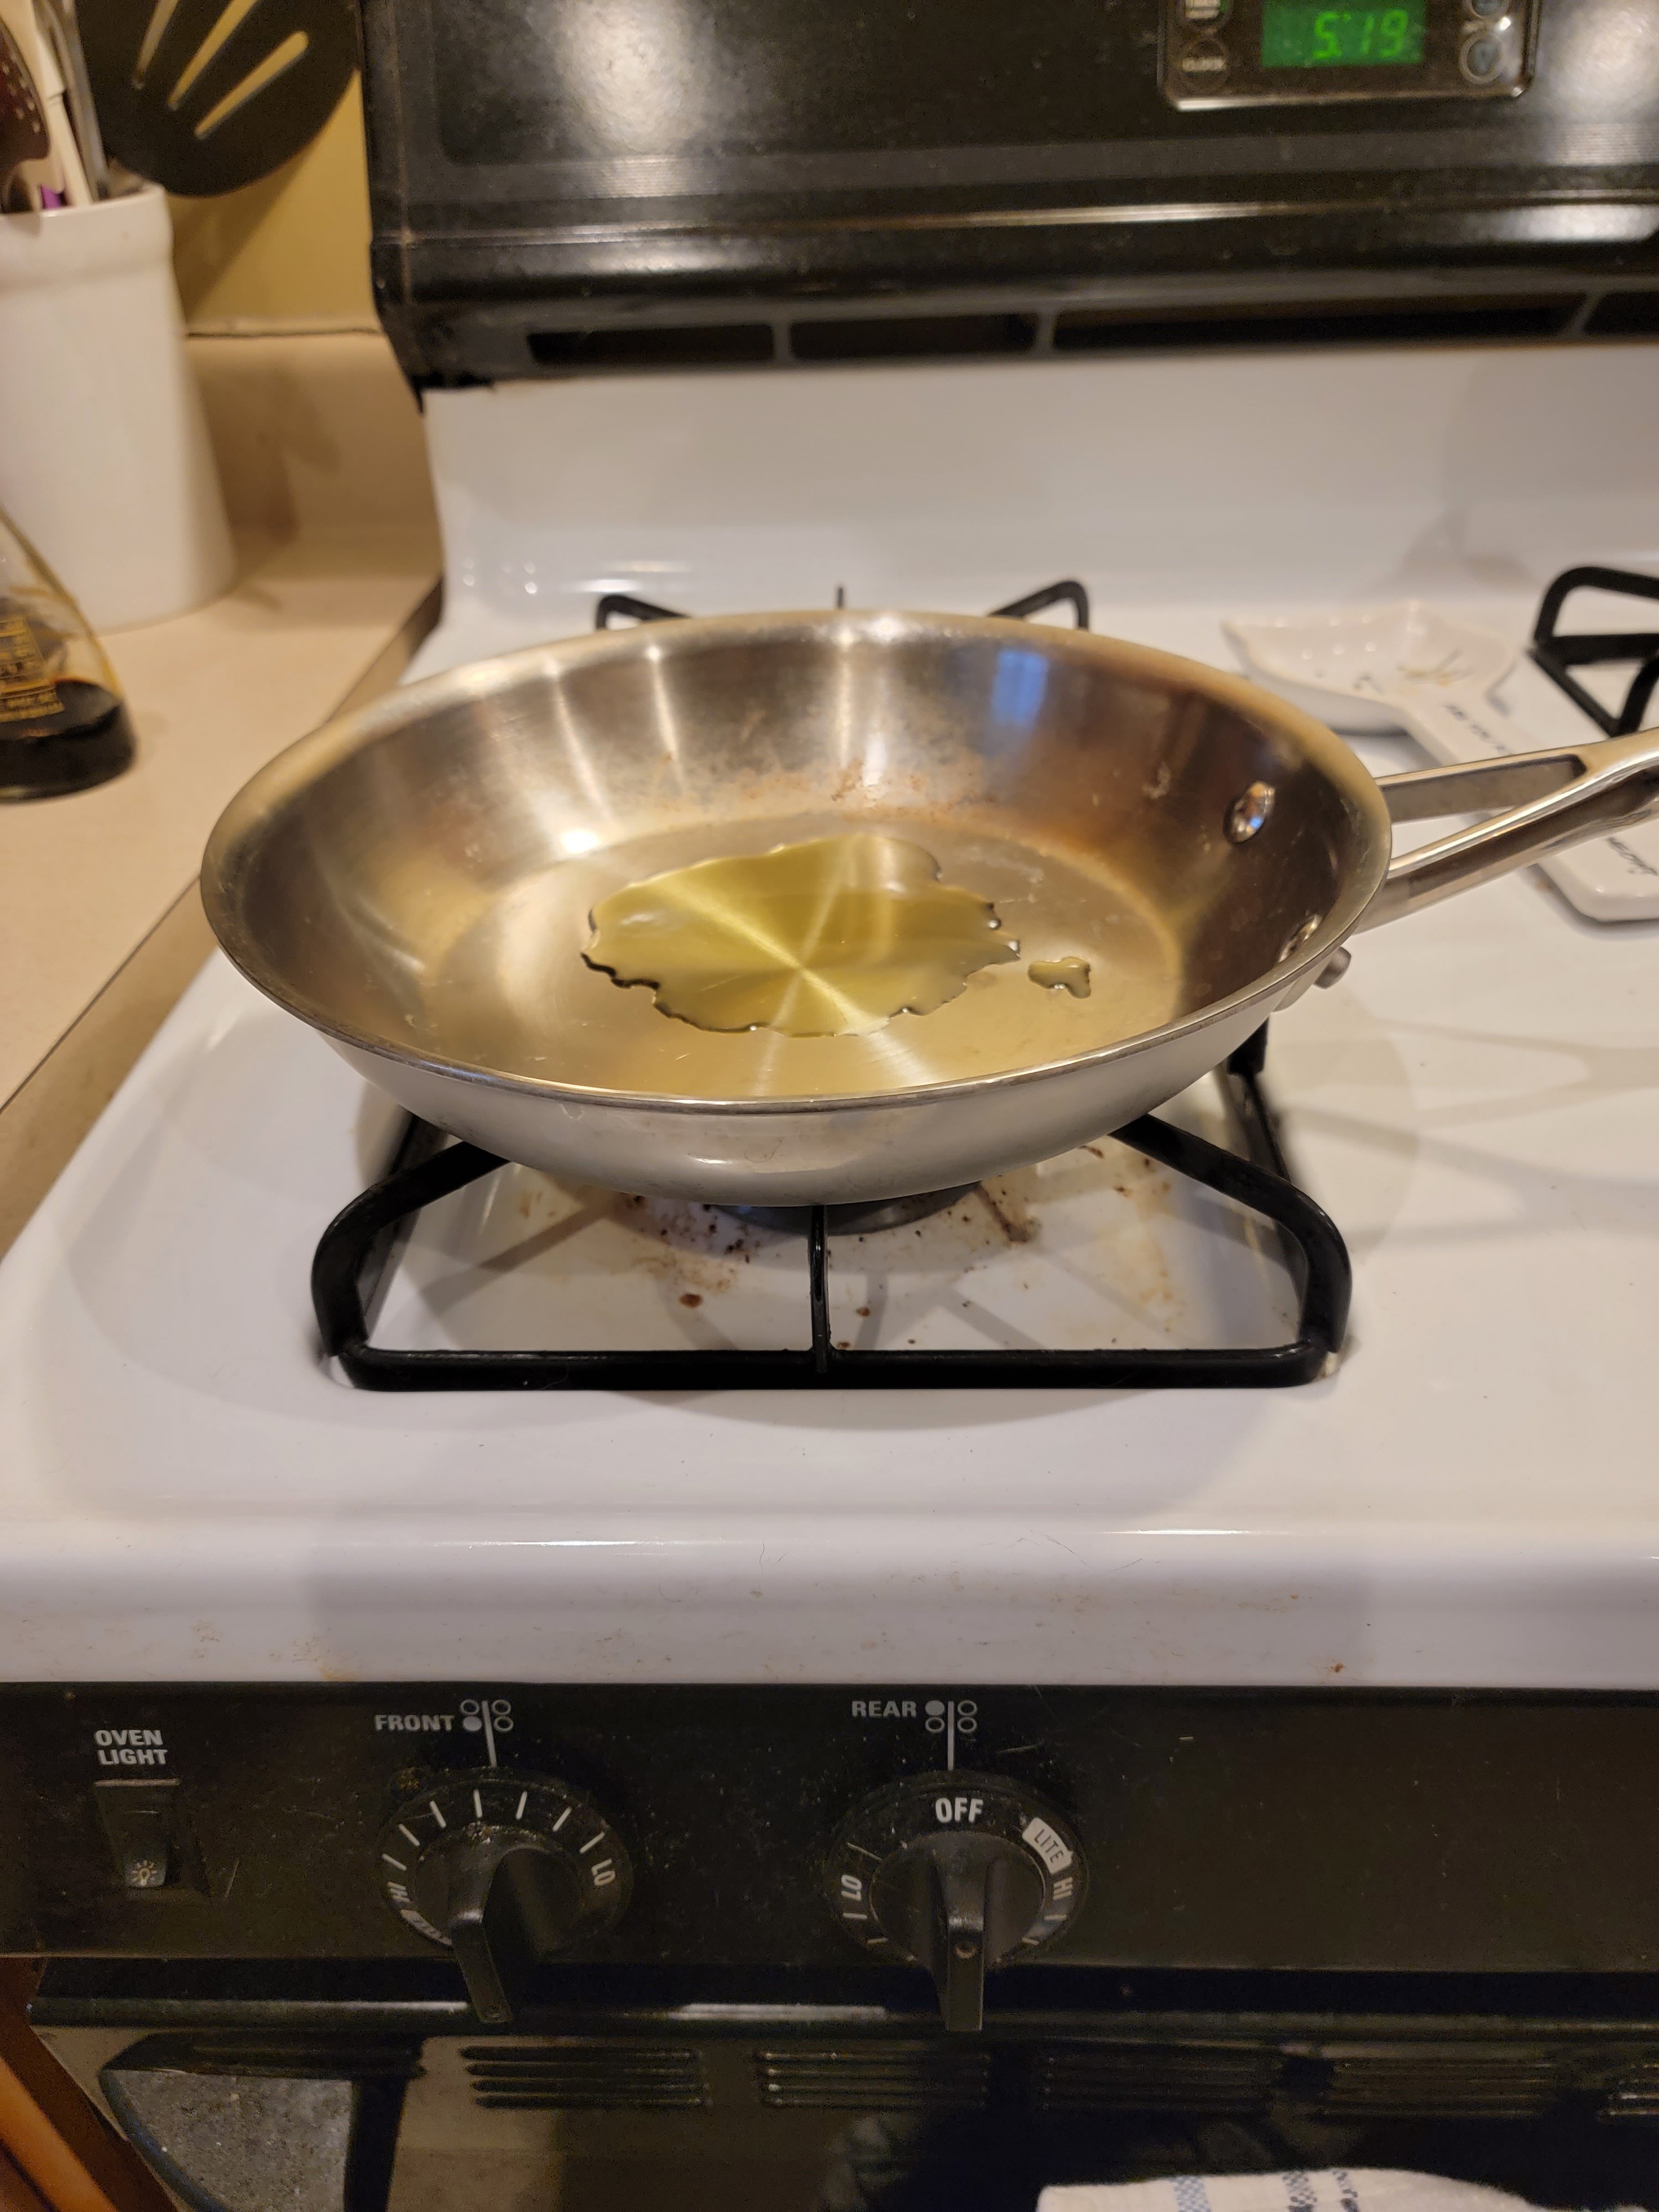
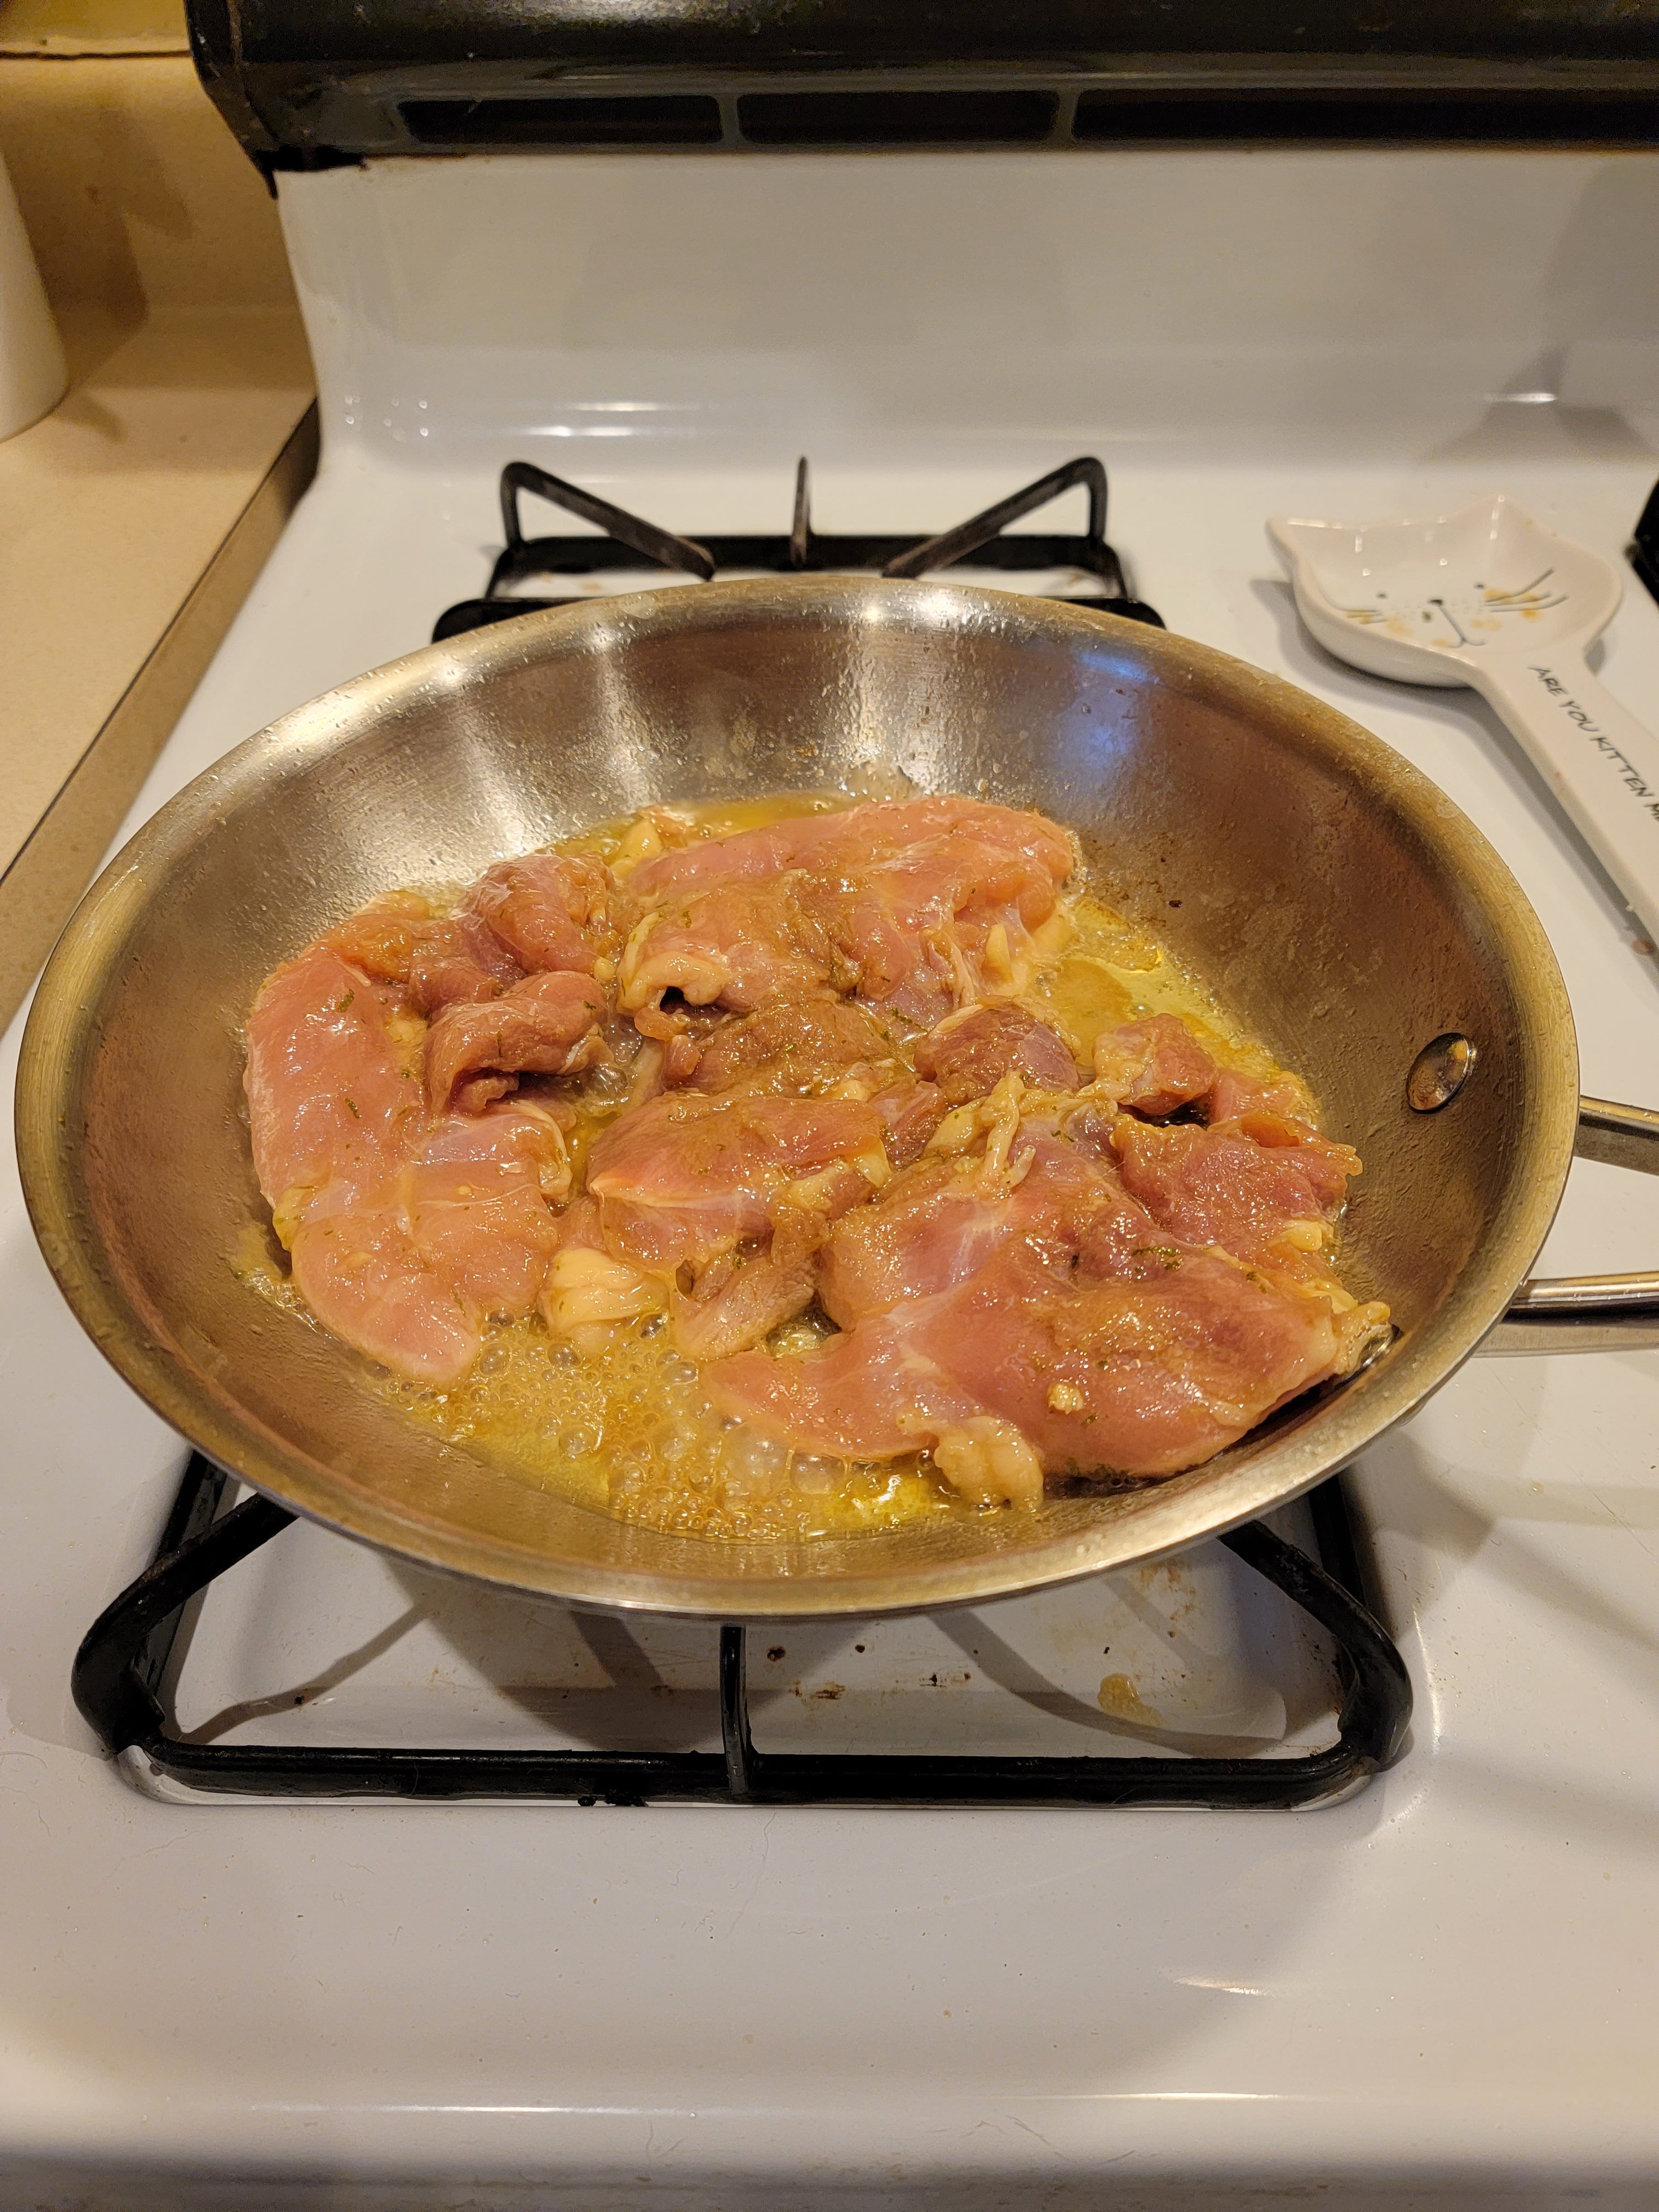
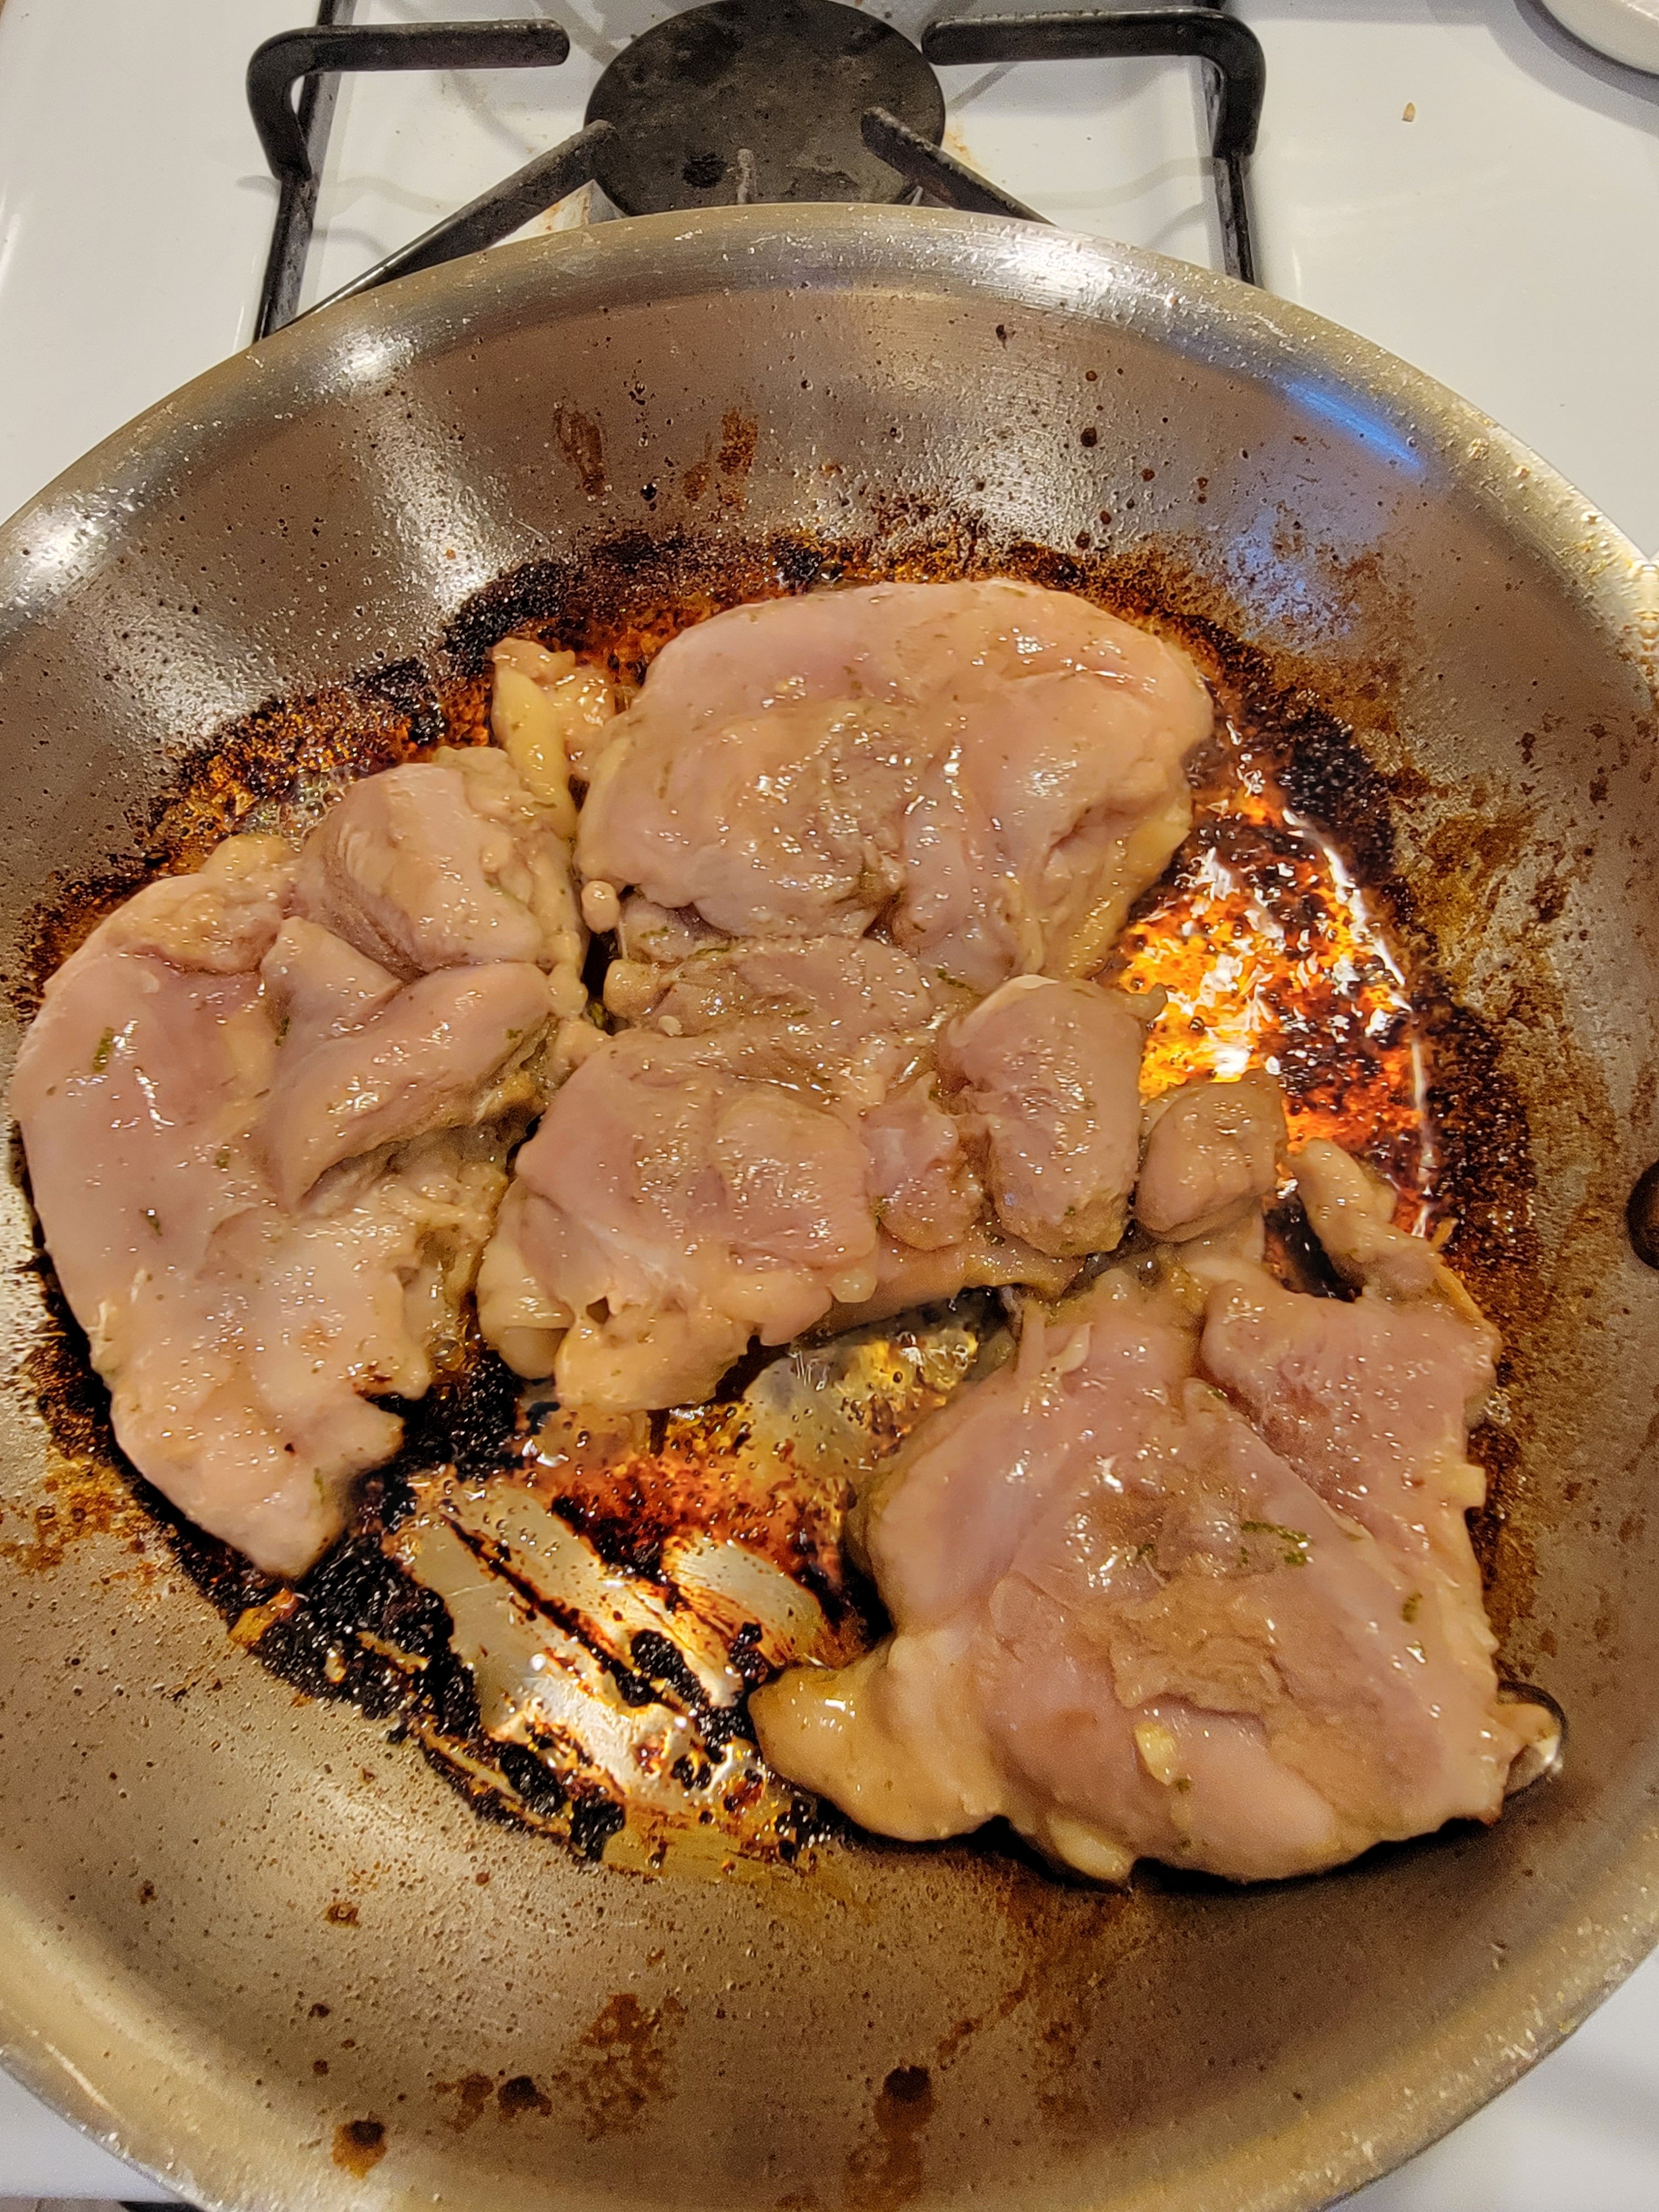
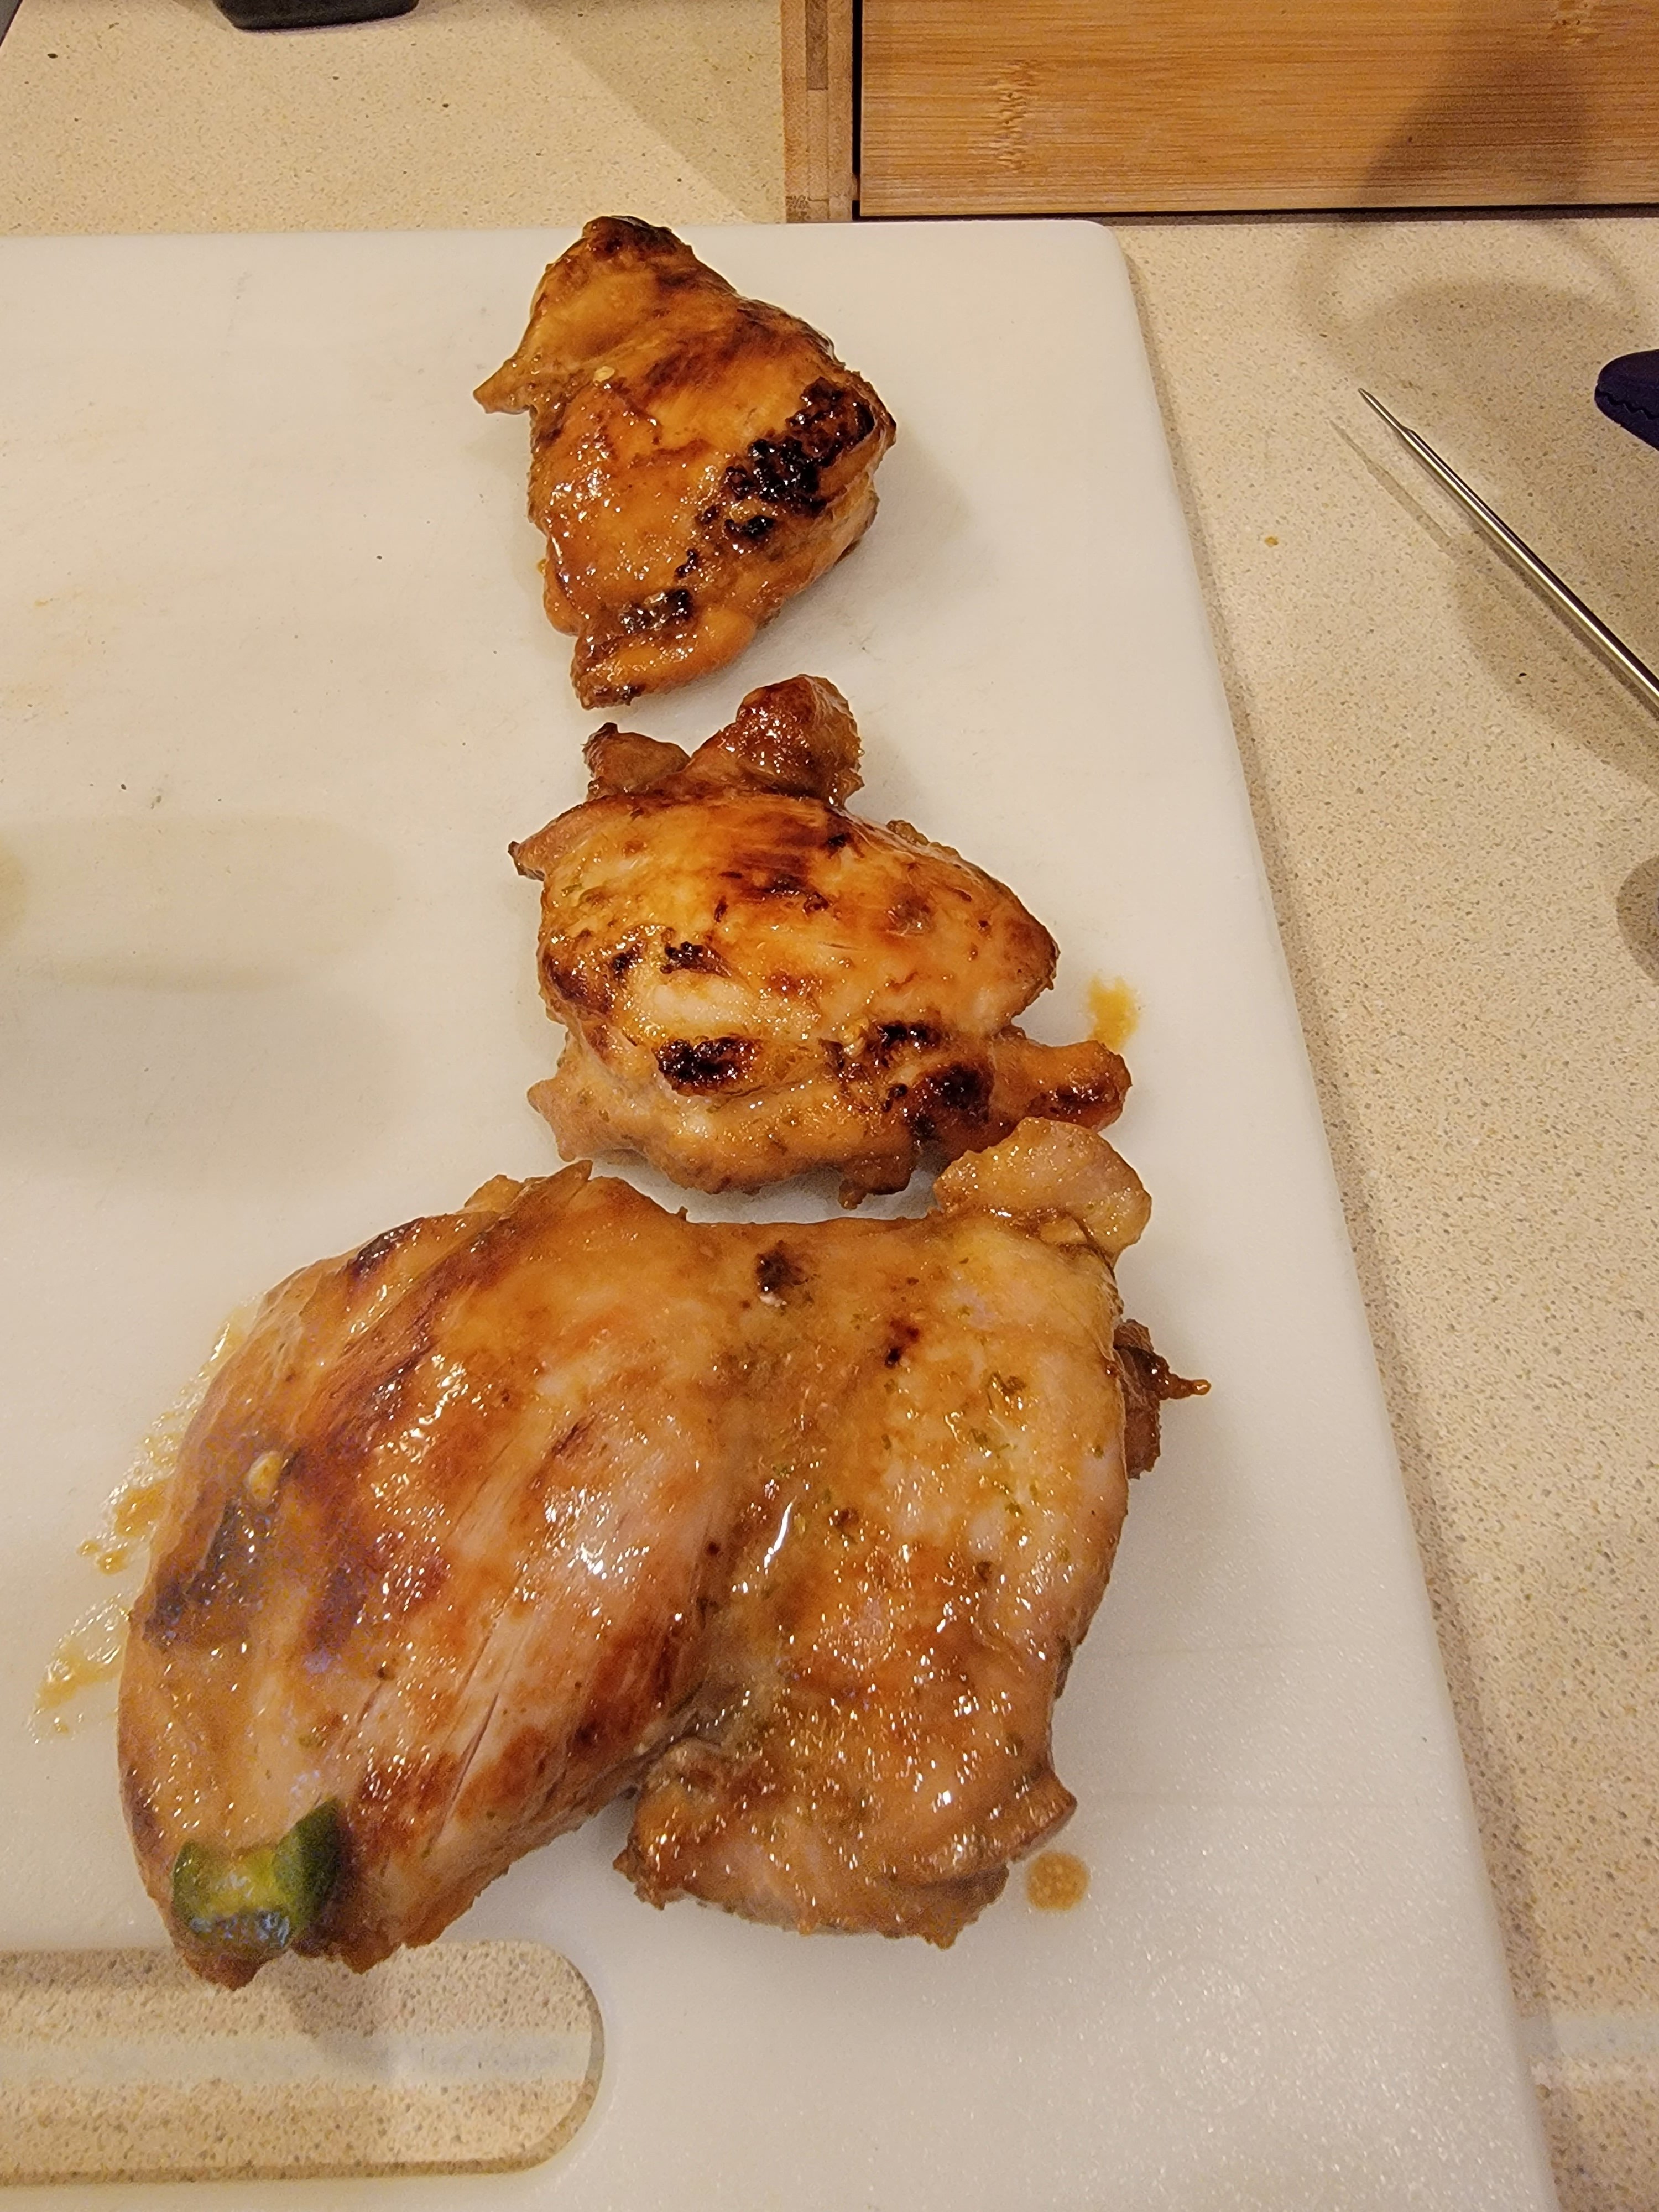
After the chicken marinates  put a large pan over medium heat and add the remaining tablespoon of olive oil. Add chicken to the pan (don’t get rid of the marinade) and let cook for about 5-6 minutes or until its beginning to brown.  Then flip the chicken over and add the marinade to the pan.  Cook for another 8-10 minutes over medium low heat or until the chicken reaches 165F.

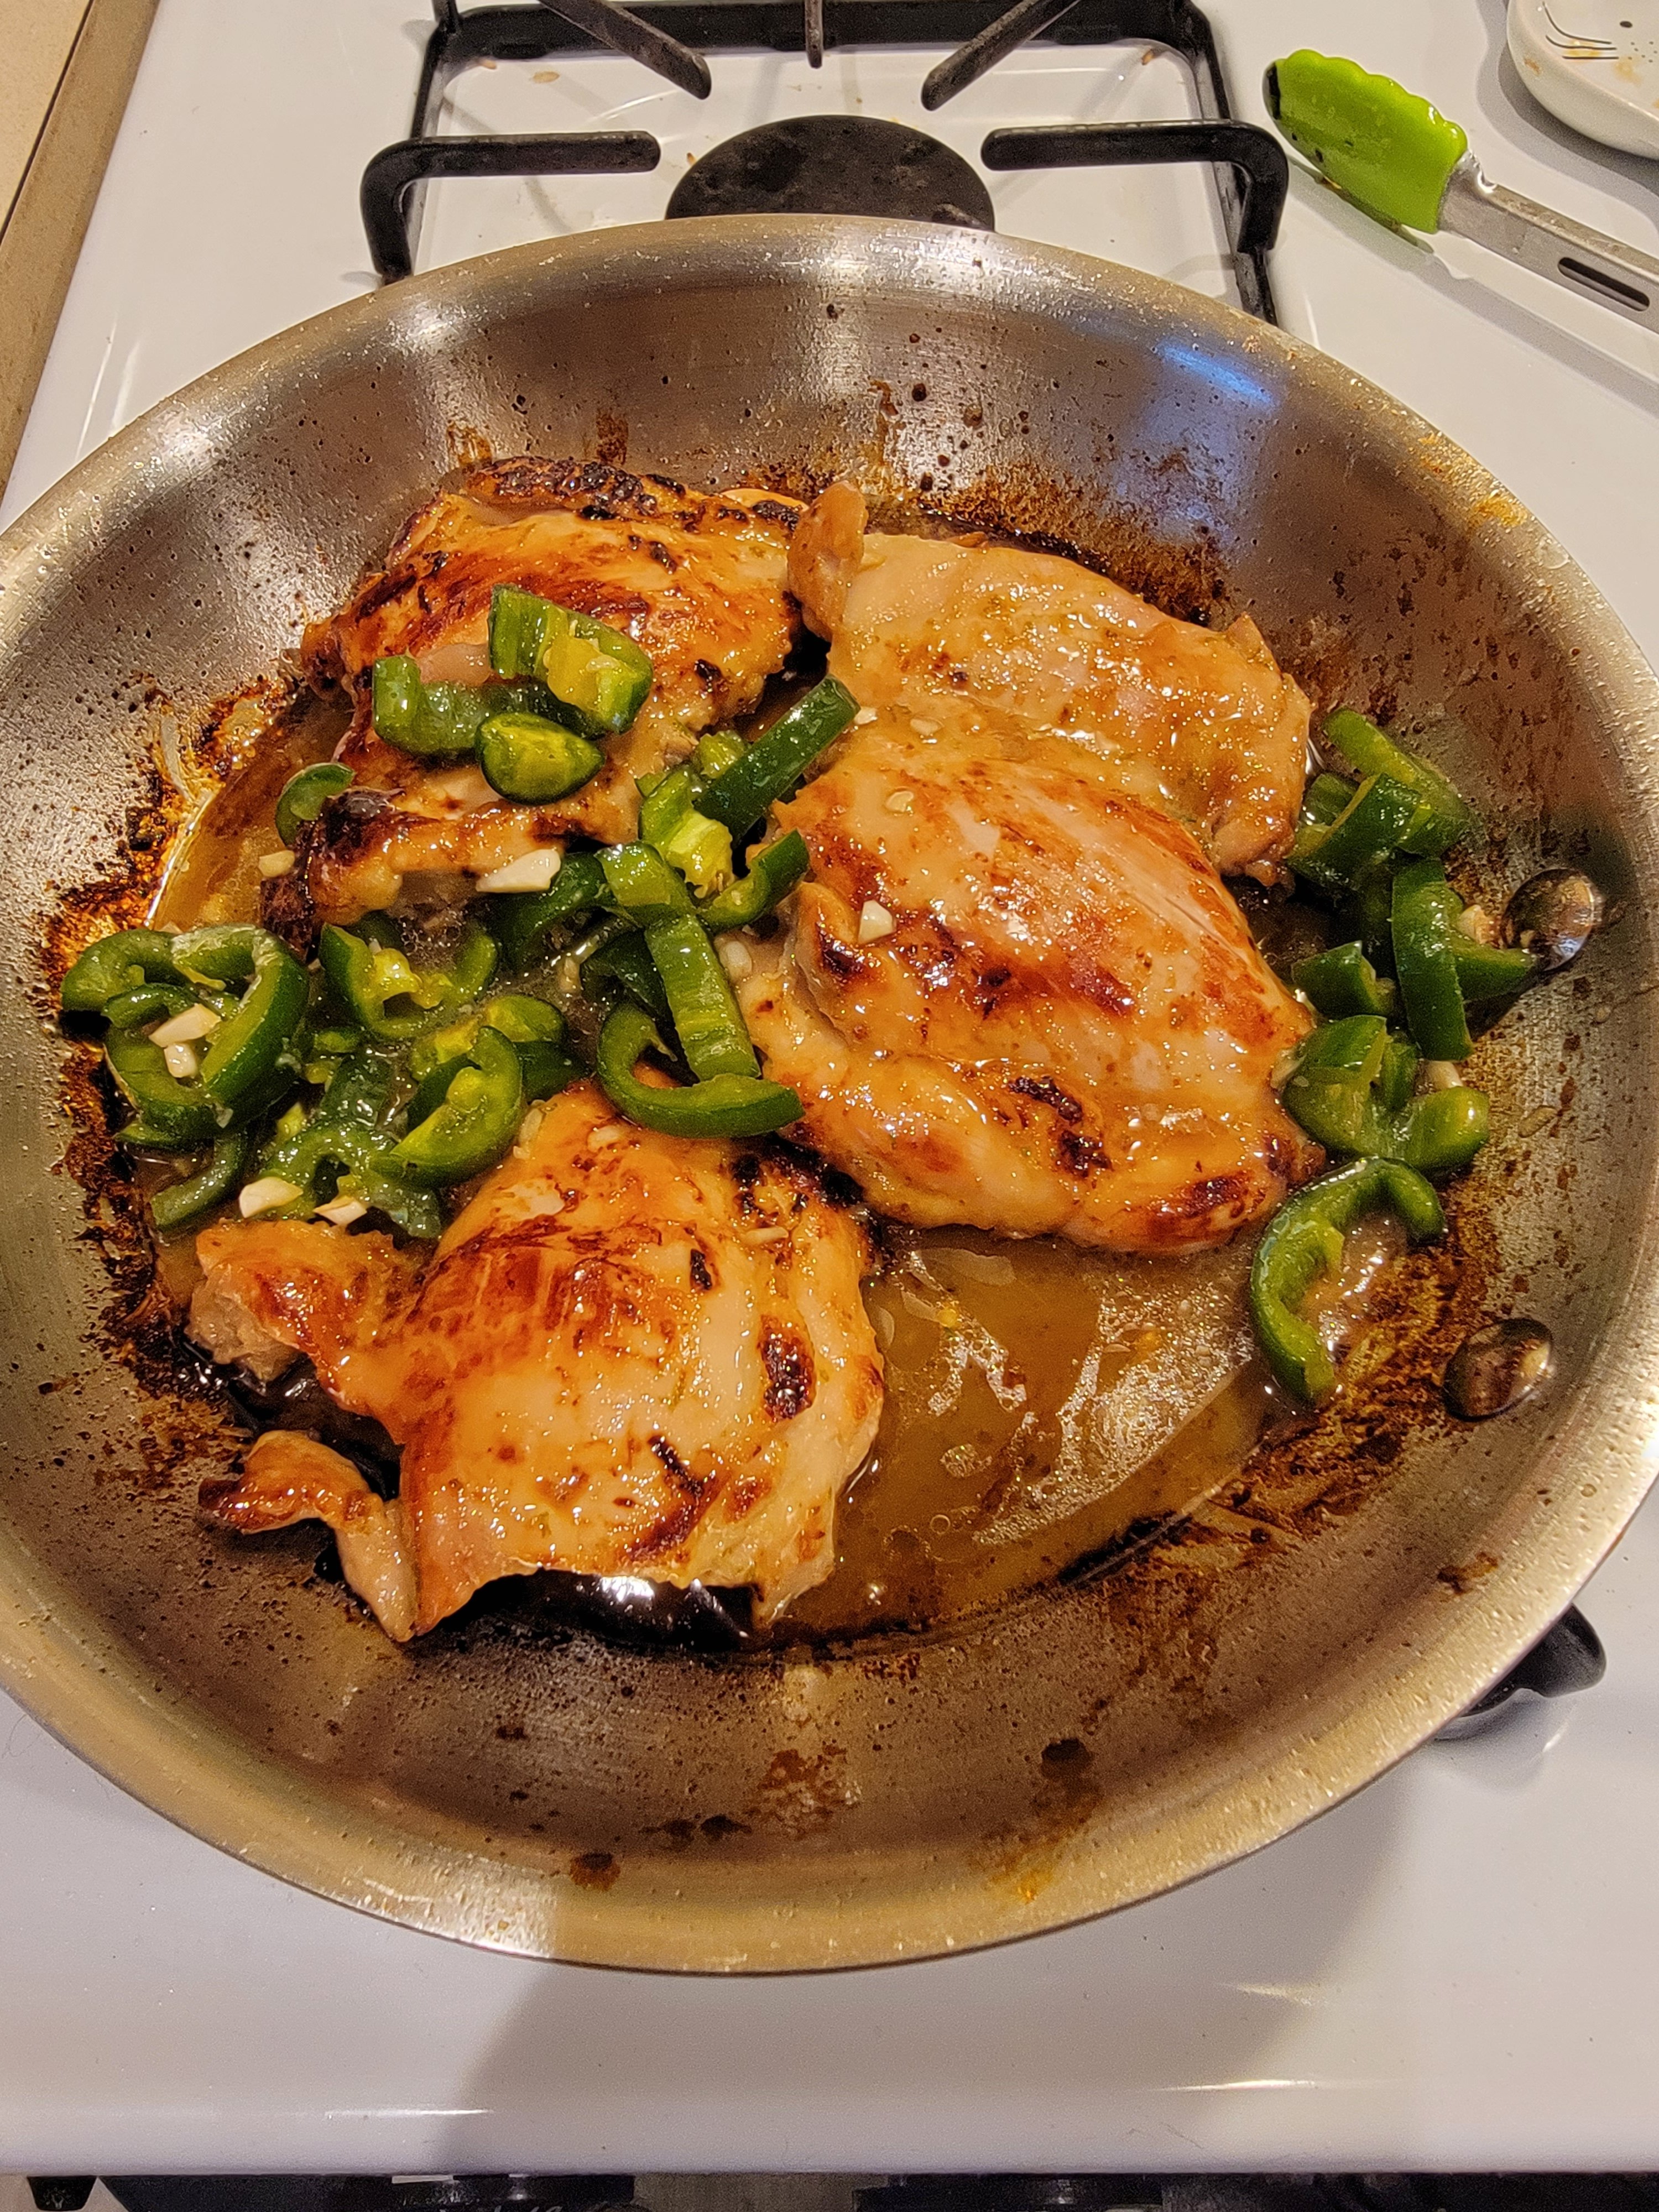
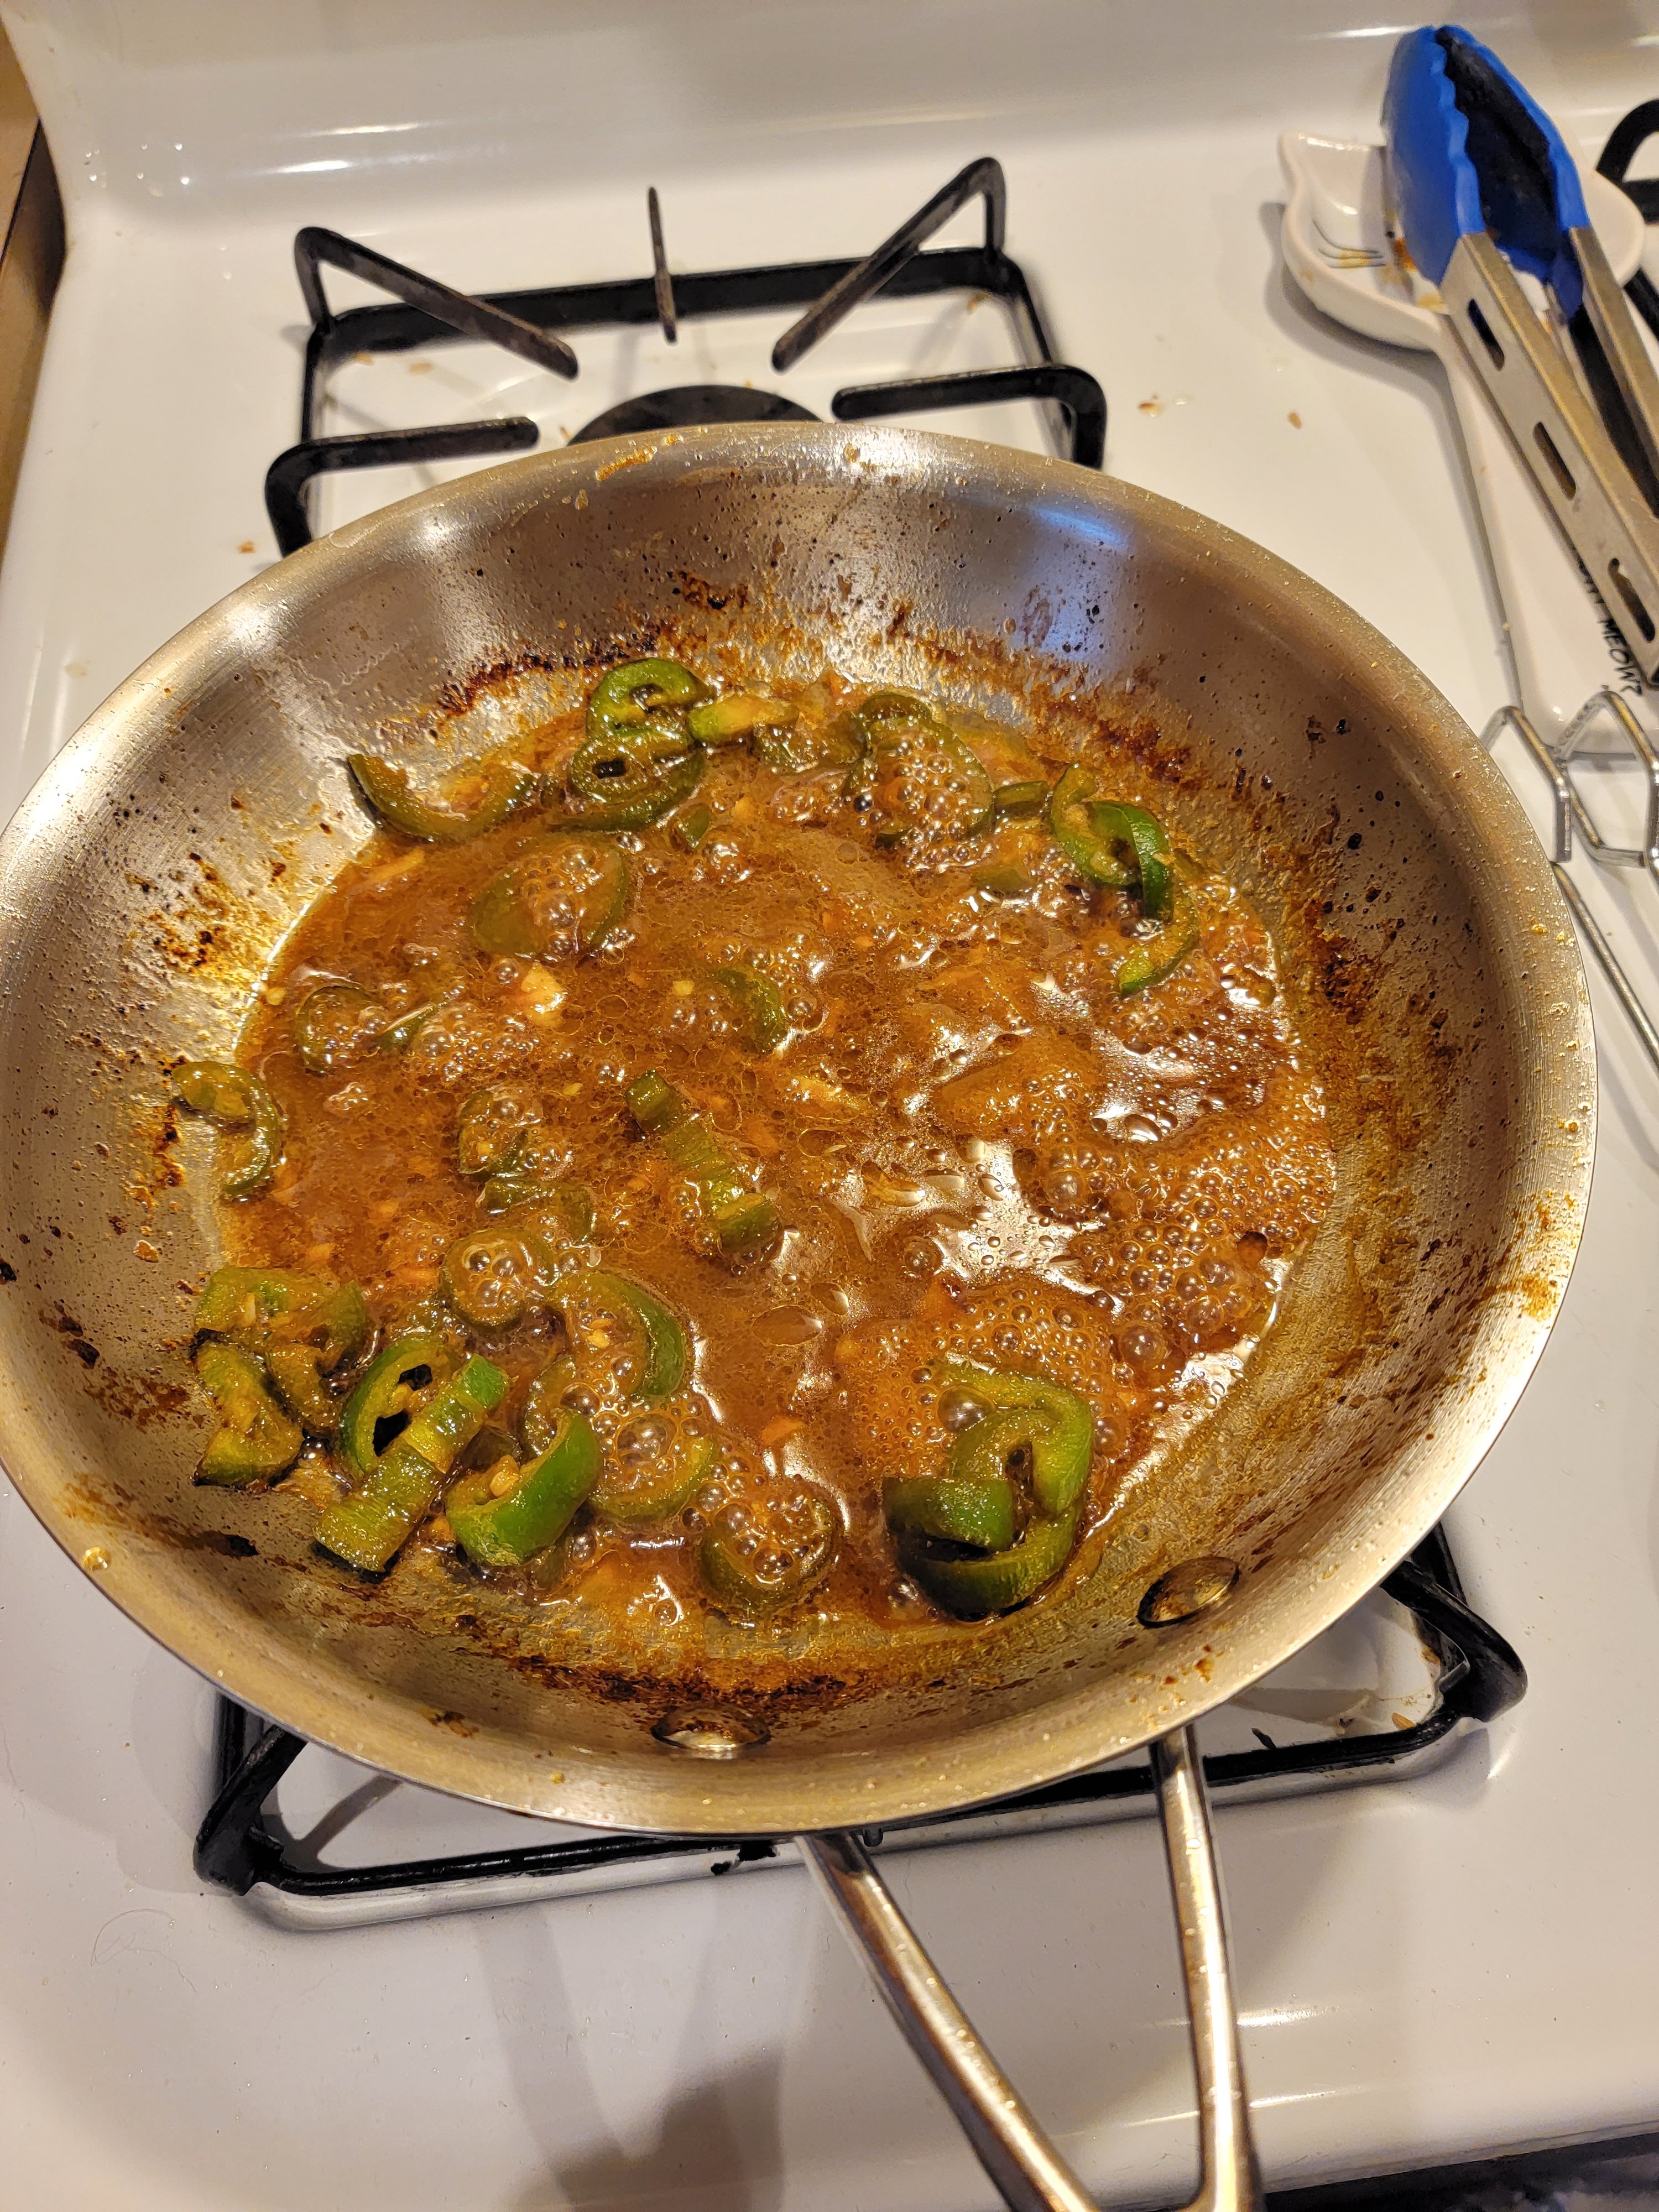
Once the chicken reaches 165F remove it from the pan and let it rest. Bring the sauce up to a simmer and cook until it reduces by about half.

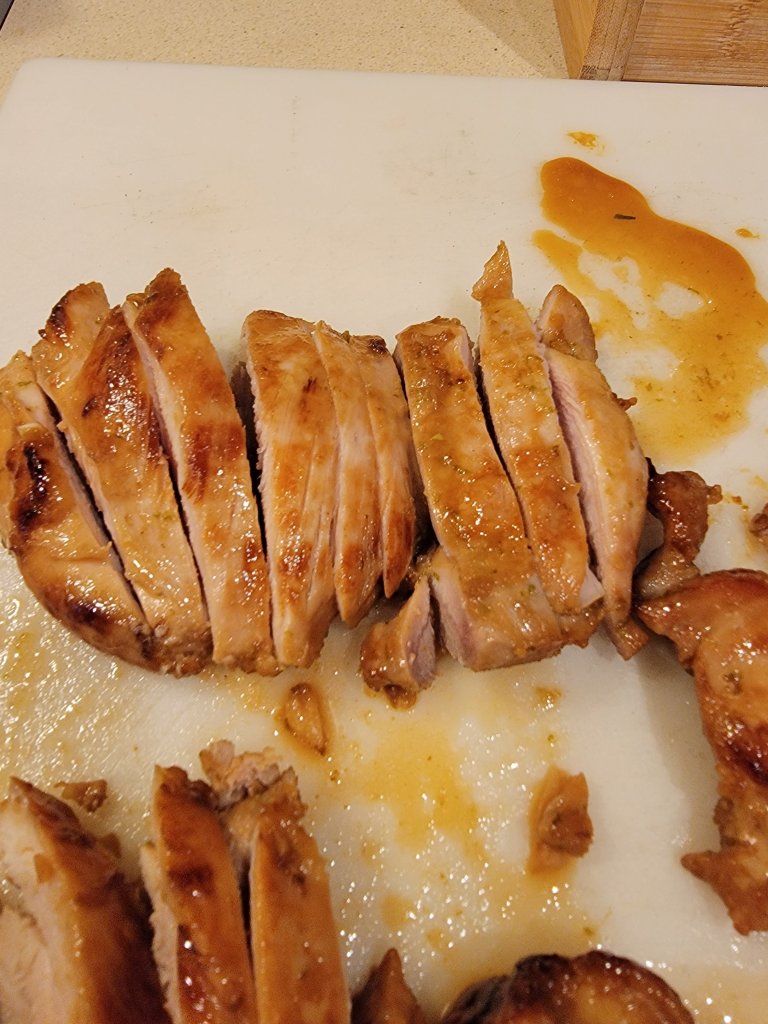
Once the sauce has reduced, slice up the chicken and add it back to the pan so it gets coated in sauce.

I forgot to take a picture of the chicken in the pan. Oops…

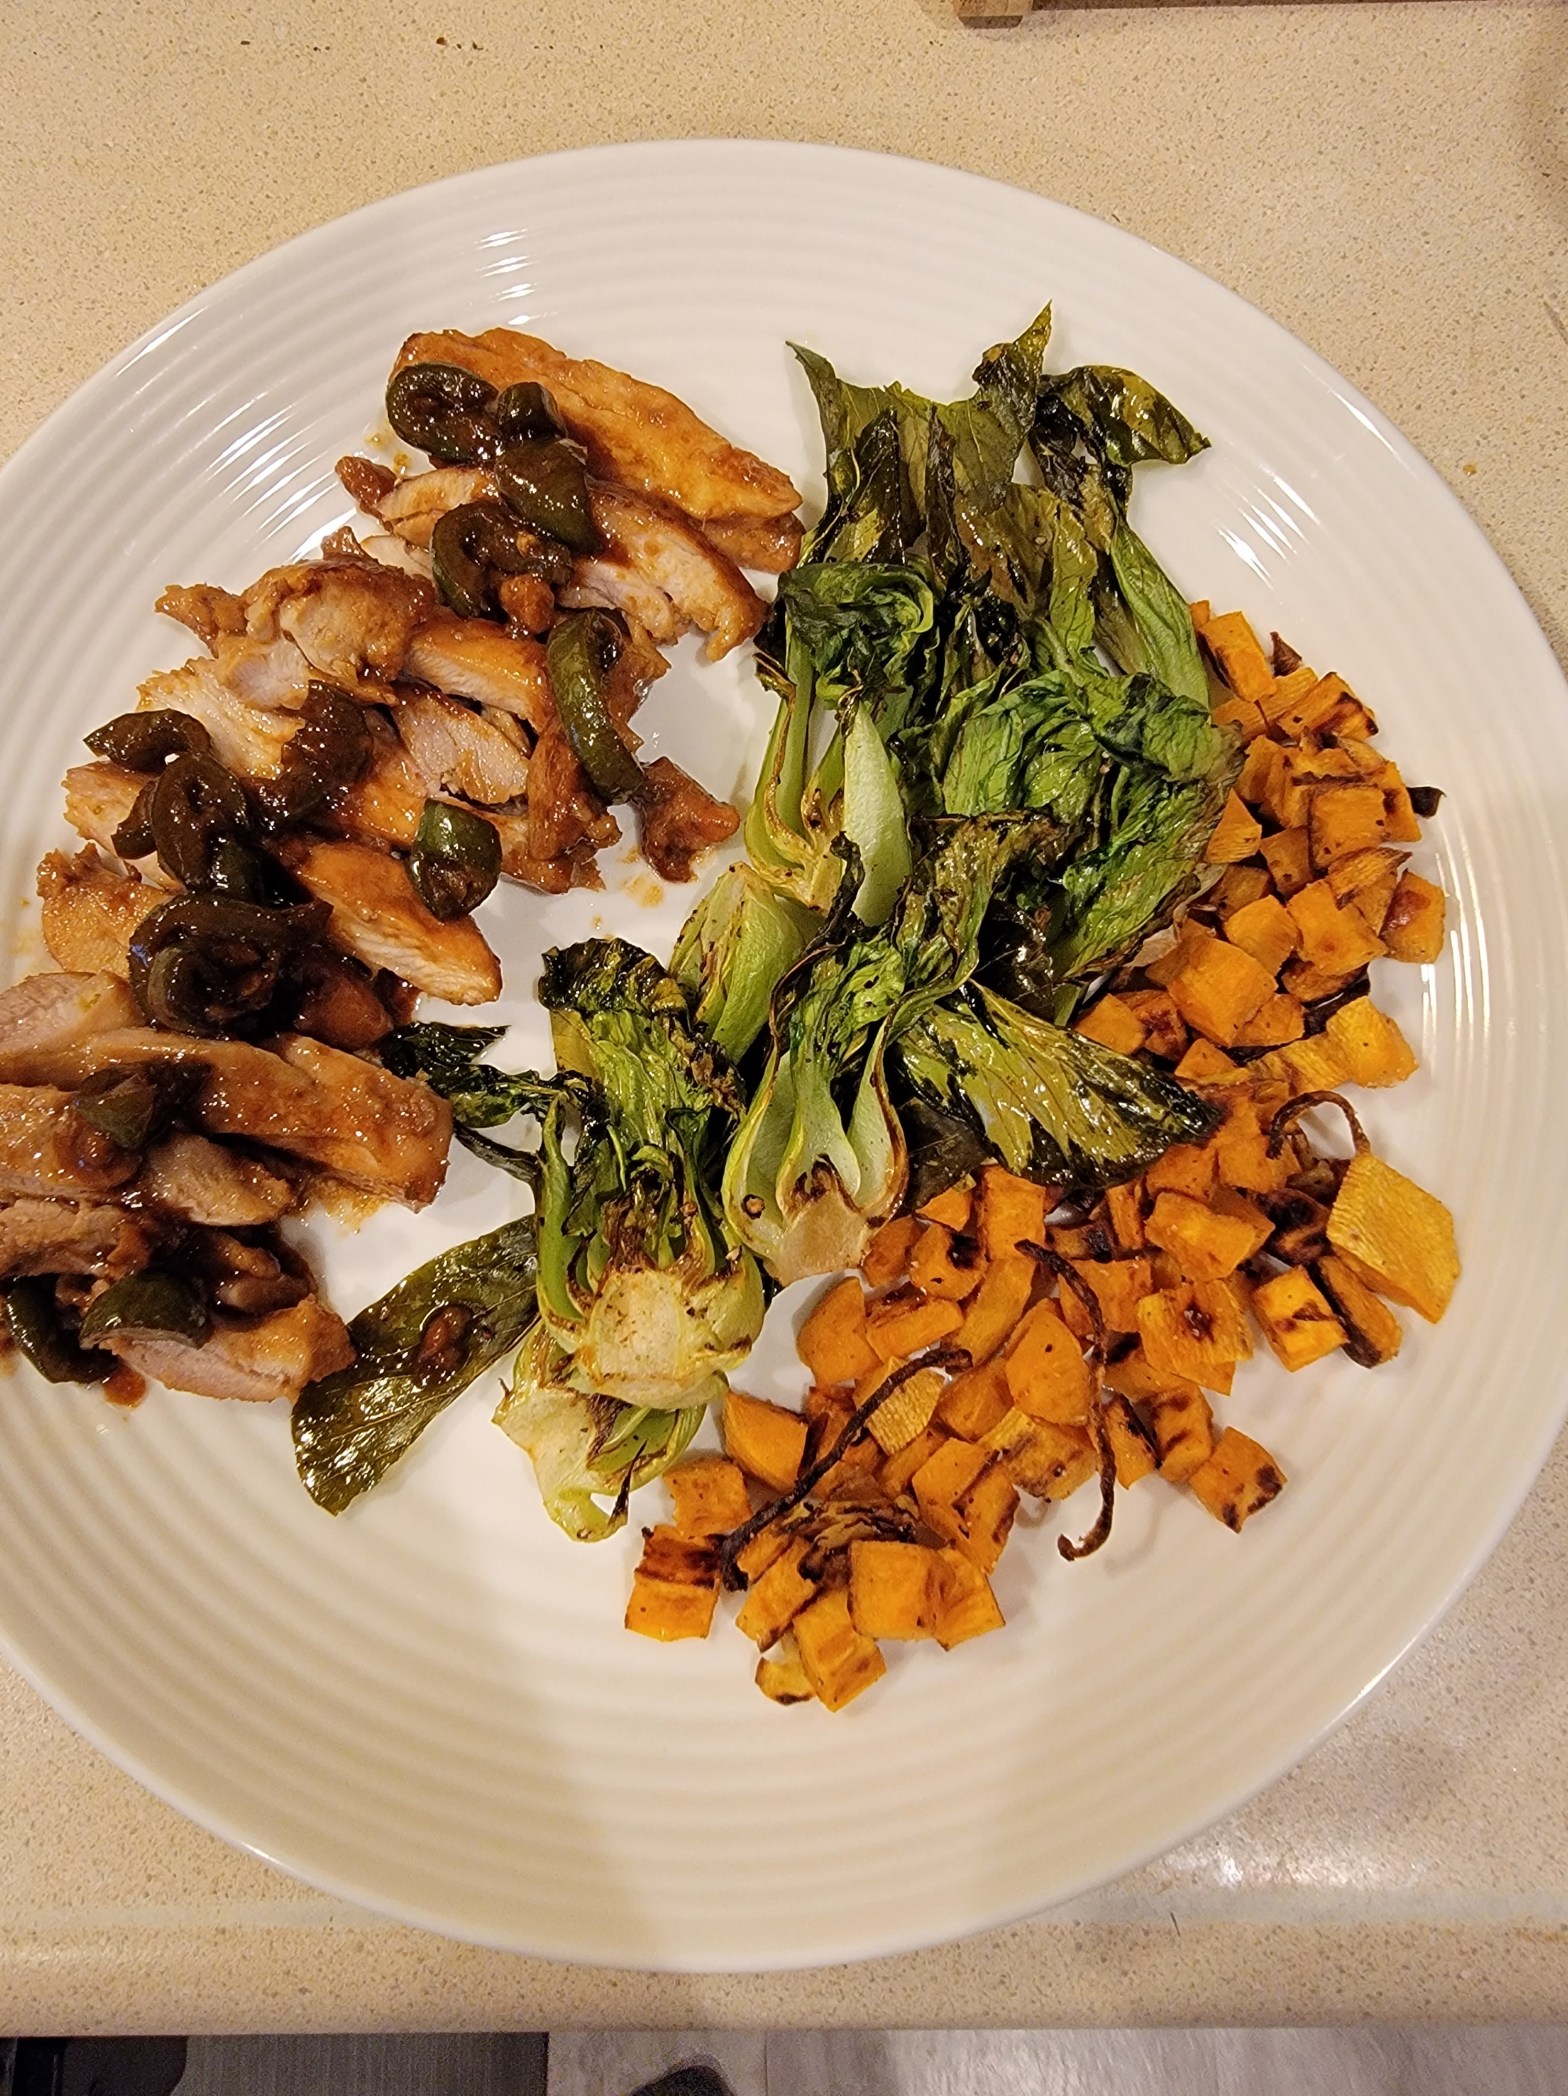
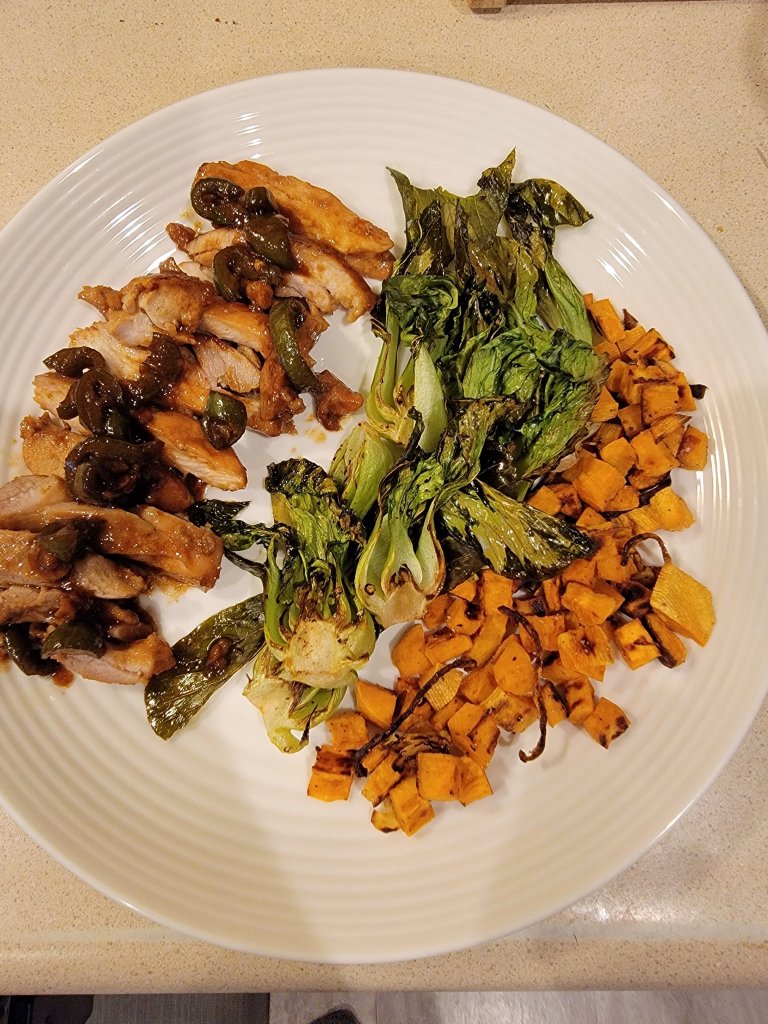
Serve up the chicken with your favorite sides, pour extra sauce on the chicken and you’re ready to dig in!  We served ours with roasted sweet potatoes and bok choy!

Chocolate Popcorn

This recipe came to us through Jess’ sister! It’s definitely one of our favorite late night snacks. We don’t have exact measurements but the one great thing about this snack is the measurements really don’t matter.

Here’s what you’ll need:

  • Popcorn kernels – about 1 cup
  • Milk chocolate – about 12 oz
  • Cookie sheet

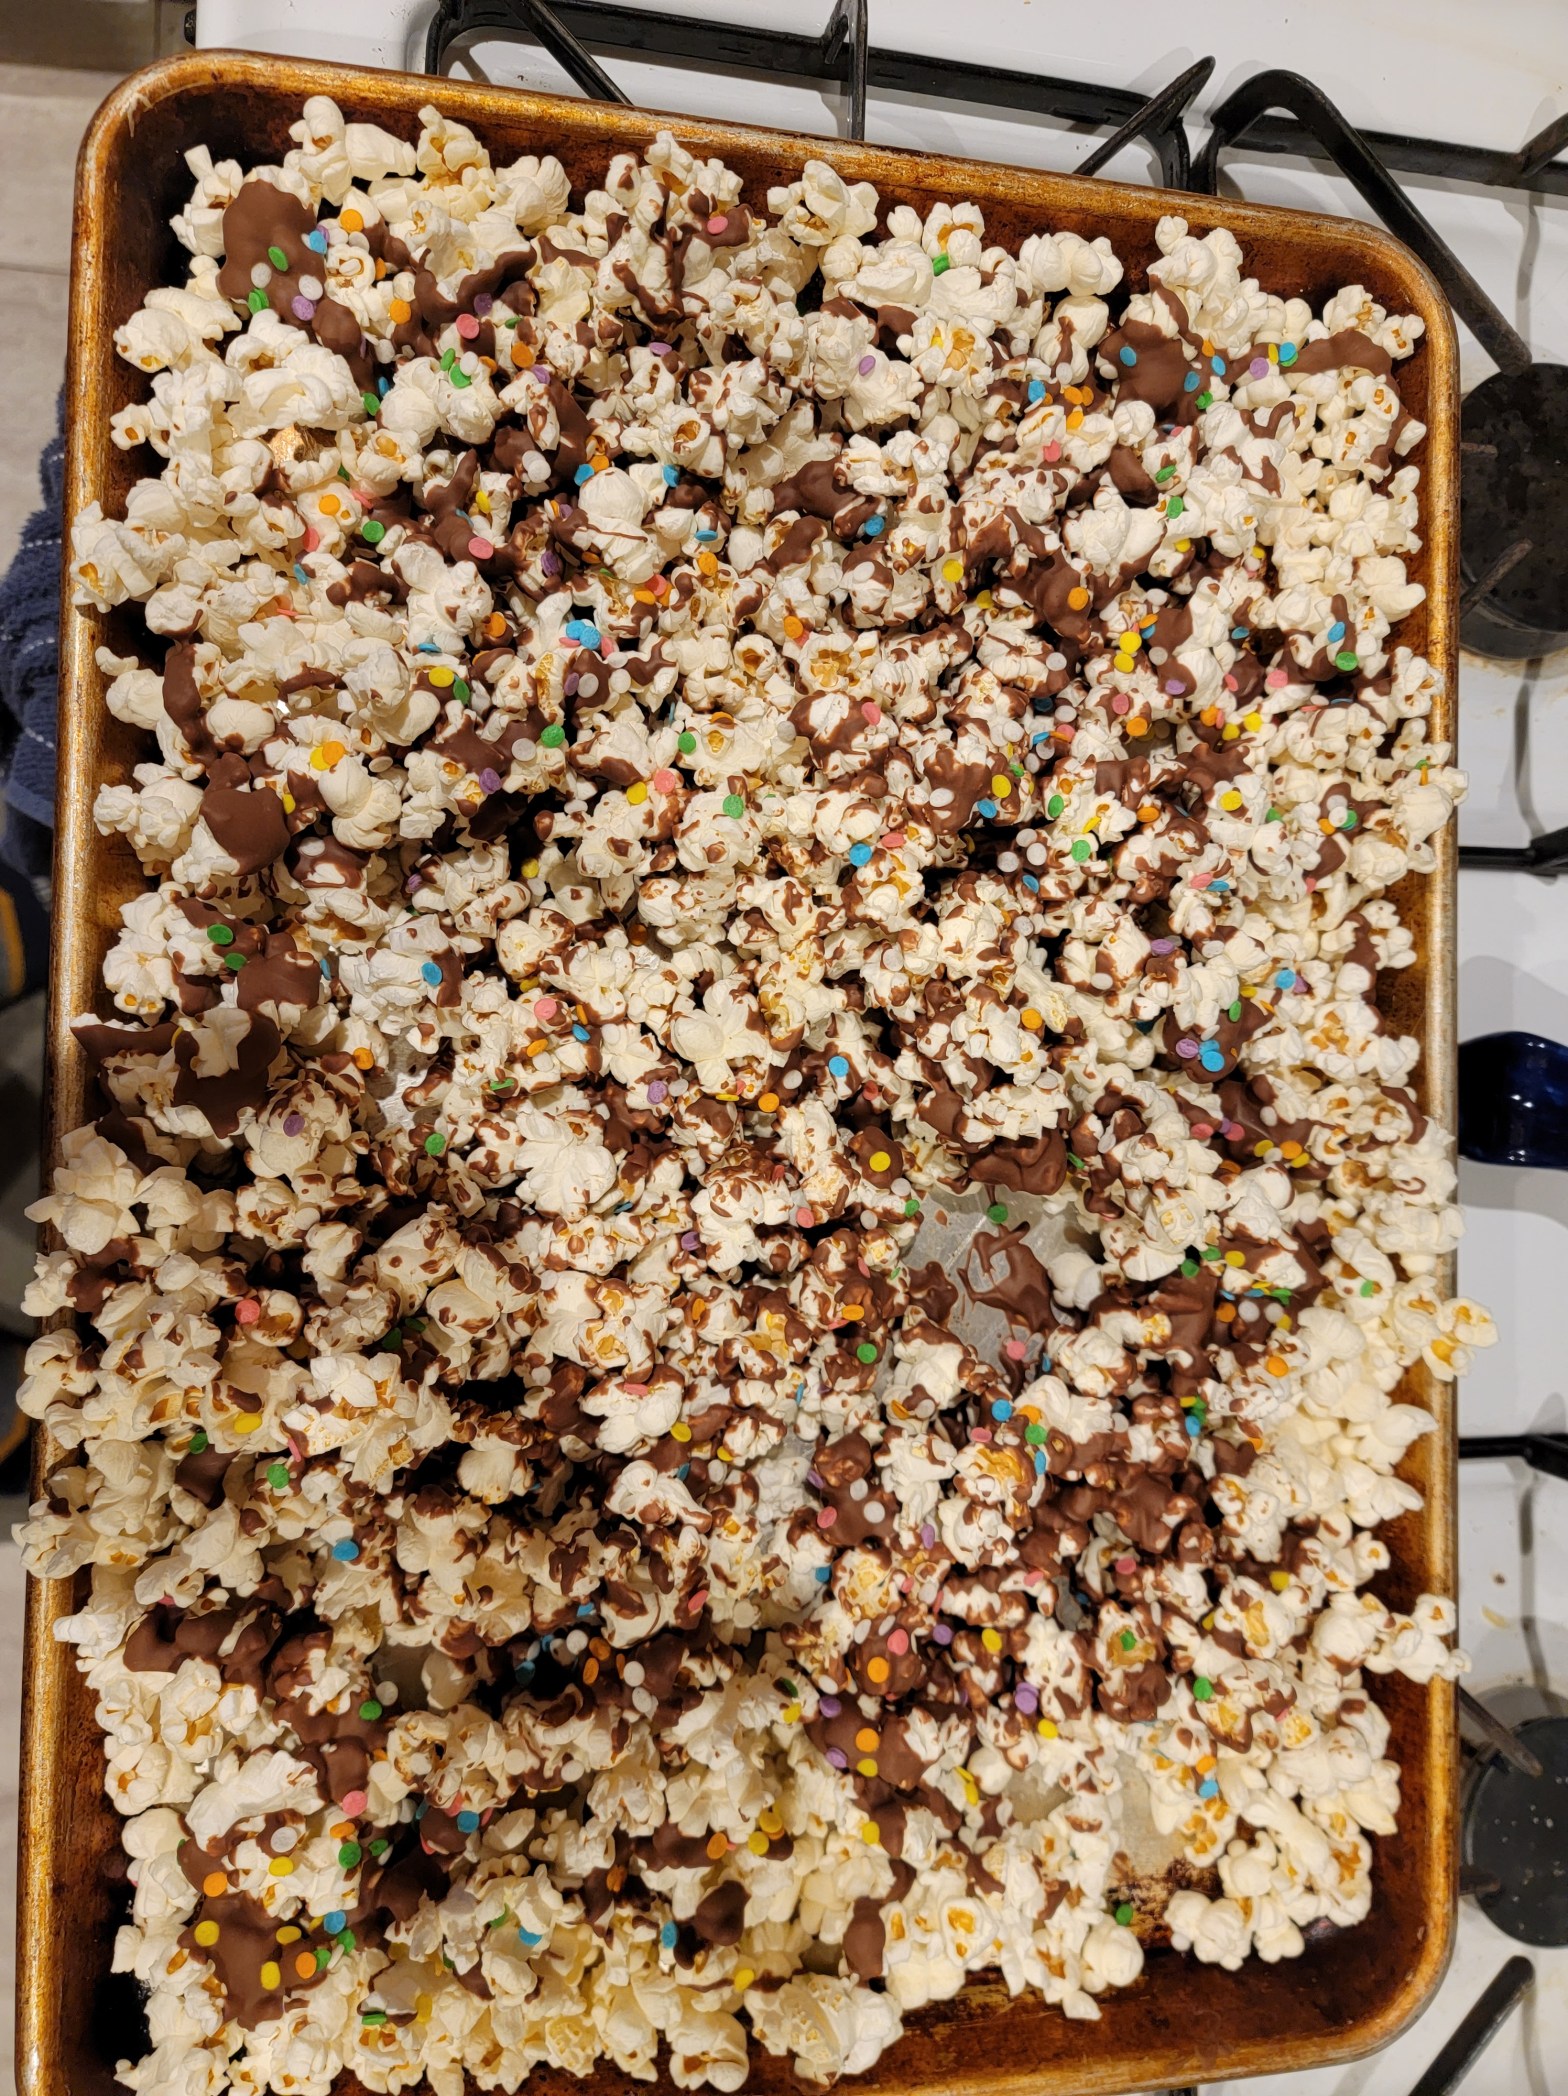
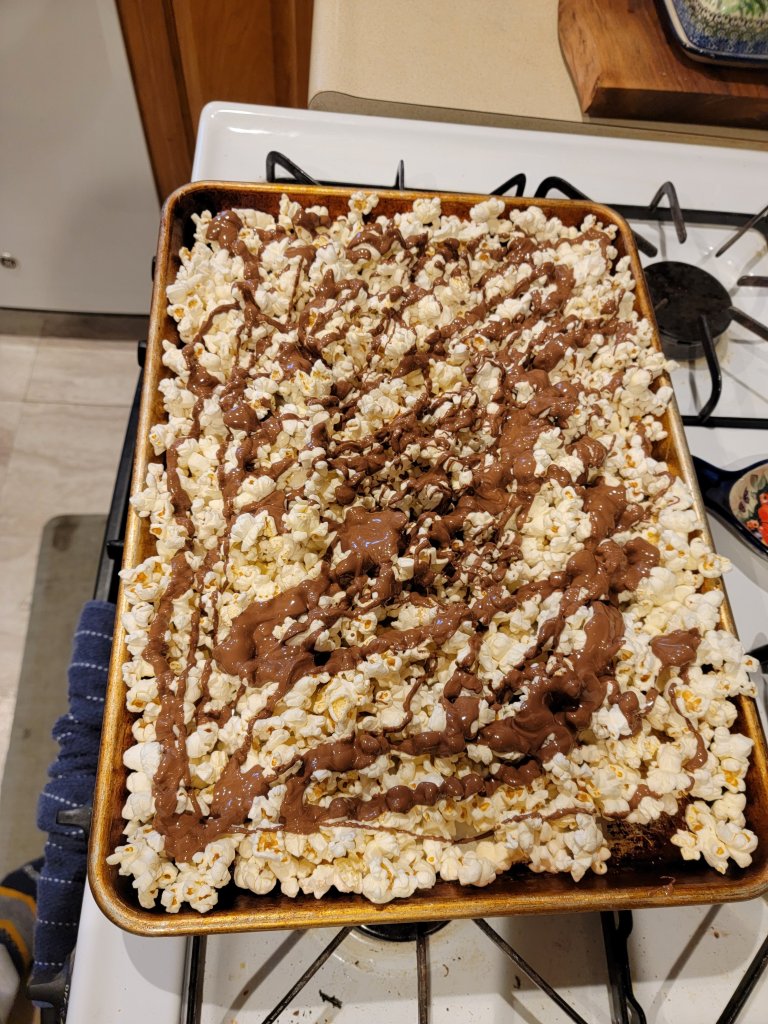
First pop the popcorn what ever way you prefer. We got a nice airpopper that works well. When the popcorn was done popping we sprinkled it with a little bit of salt. You can skip this step if you want. Then chop up your milk chocolate (candy bars, chocolate chips, or bulk chocolate is fine). Put the chocolate in a medium mixing bowl and microwave for 30 seconds, stirring after each increment. Keep repeating 30 seconds in the microwave and stirring until the chocolate is completely melted. Now the hard part is over. Pour the chocolate over the popcorn and mix it up.

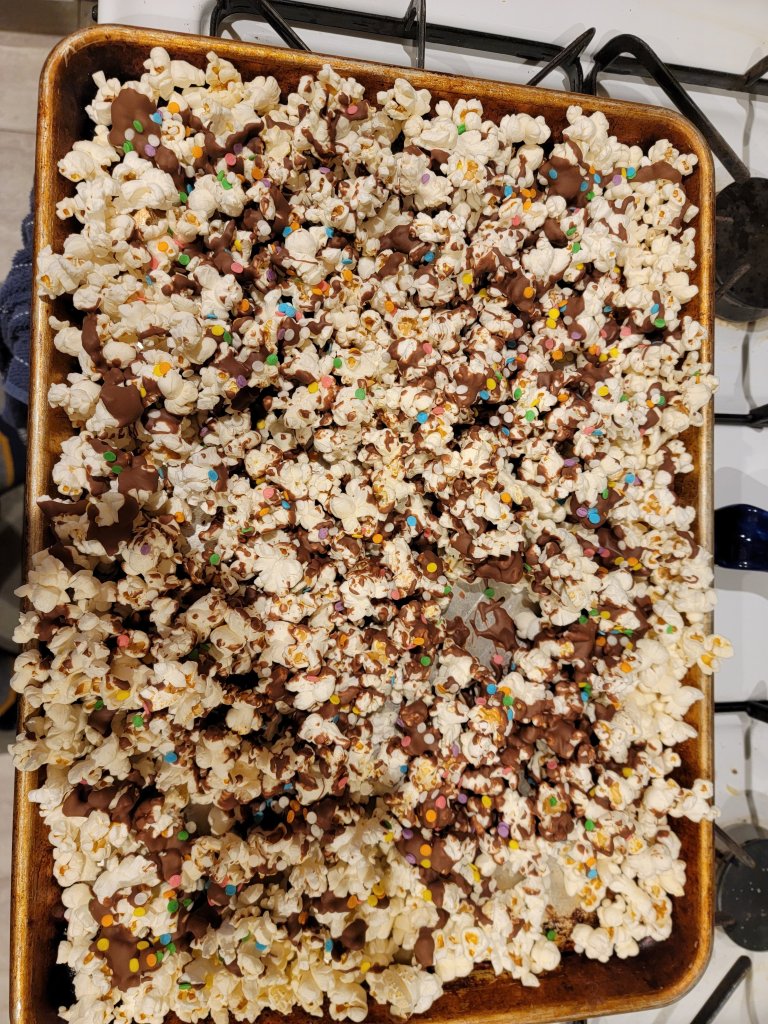
Top with fun sprinkles if you want. Then put in the freezer to set for about 15 minutes.   And that’s it!

We hope you enjoy!

Black Pepper Chicken

One of my favorite foods to get at the Chinese buffet was black pepper chicken. I’ve never been able to find it on any menus where we live now so I learned how to make it!

Here’s what you’ll need:

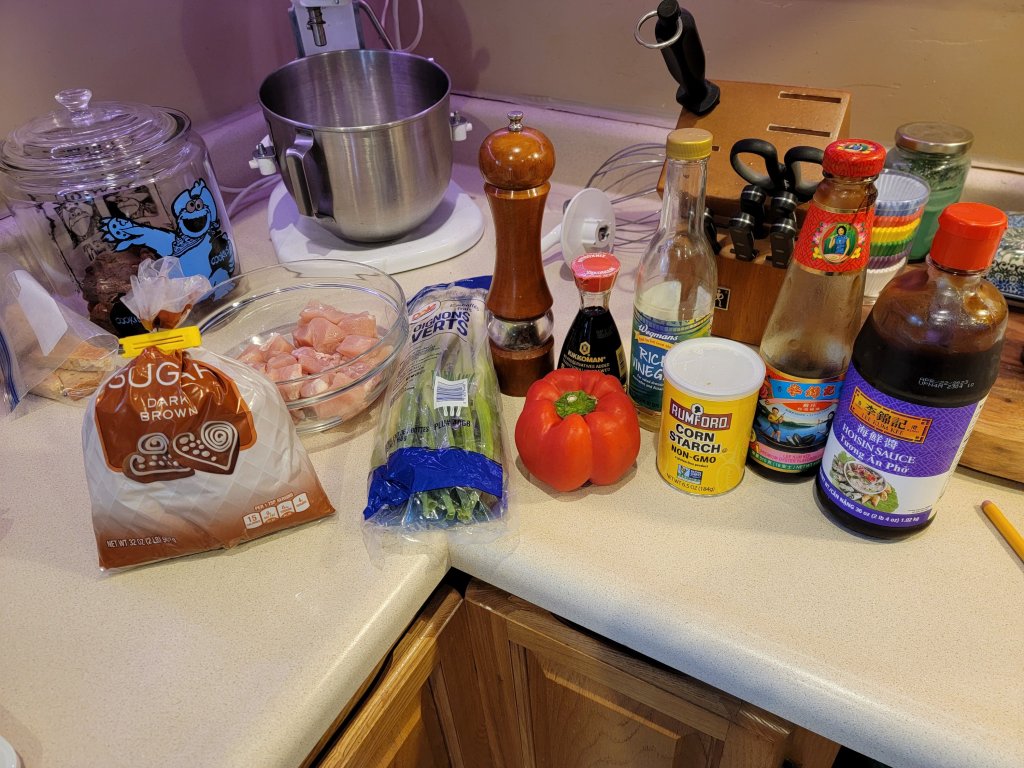
  • 1 lb – Boneless skinless chicken
  • .25 cup + 1 tbsp – Soy sauce, divided
  • 2 tbsp – Corn starch
  • 2 tbsp – Crushed black pepper, divided
  • 1 – Bell pepper
  • 5 – Scallions
  • 2 – Garlic cloves
  • 1 tbsp – Hoisin sauce
  • .5 tbsp – Oyster sauce
  • 1 tbsp – Rice vinegar
  • 1 tbsp – Brown Sugar
  • 3 tbsp – Vegetable oil
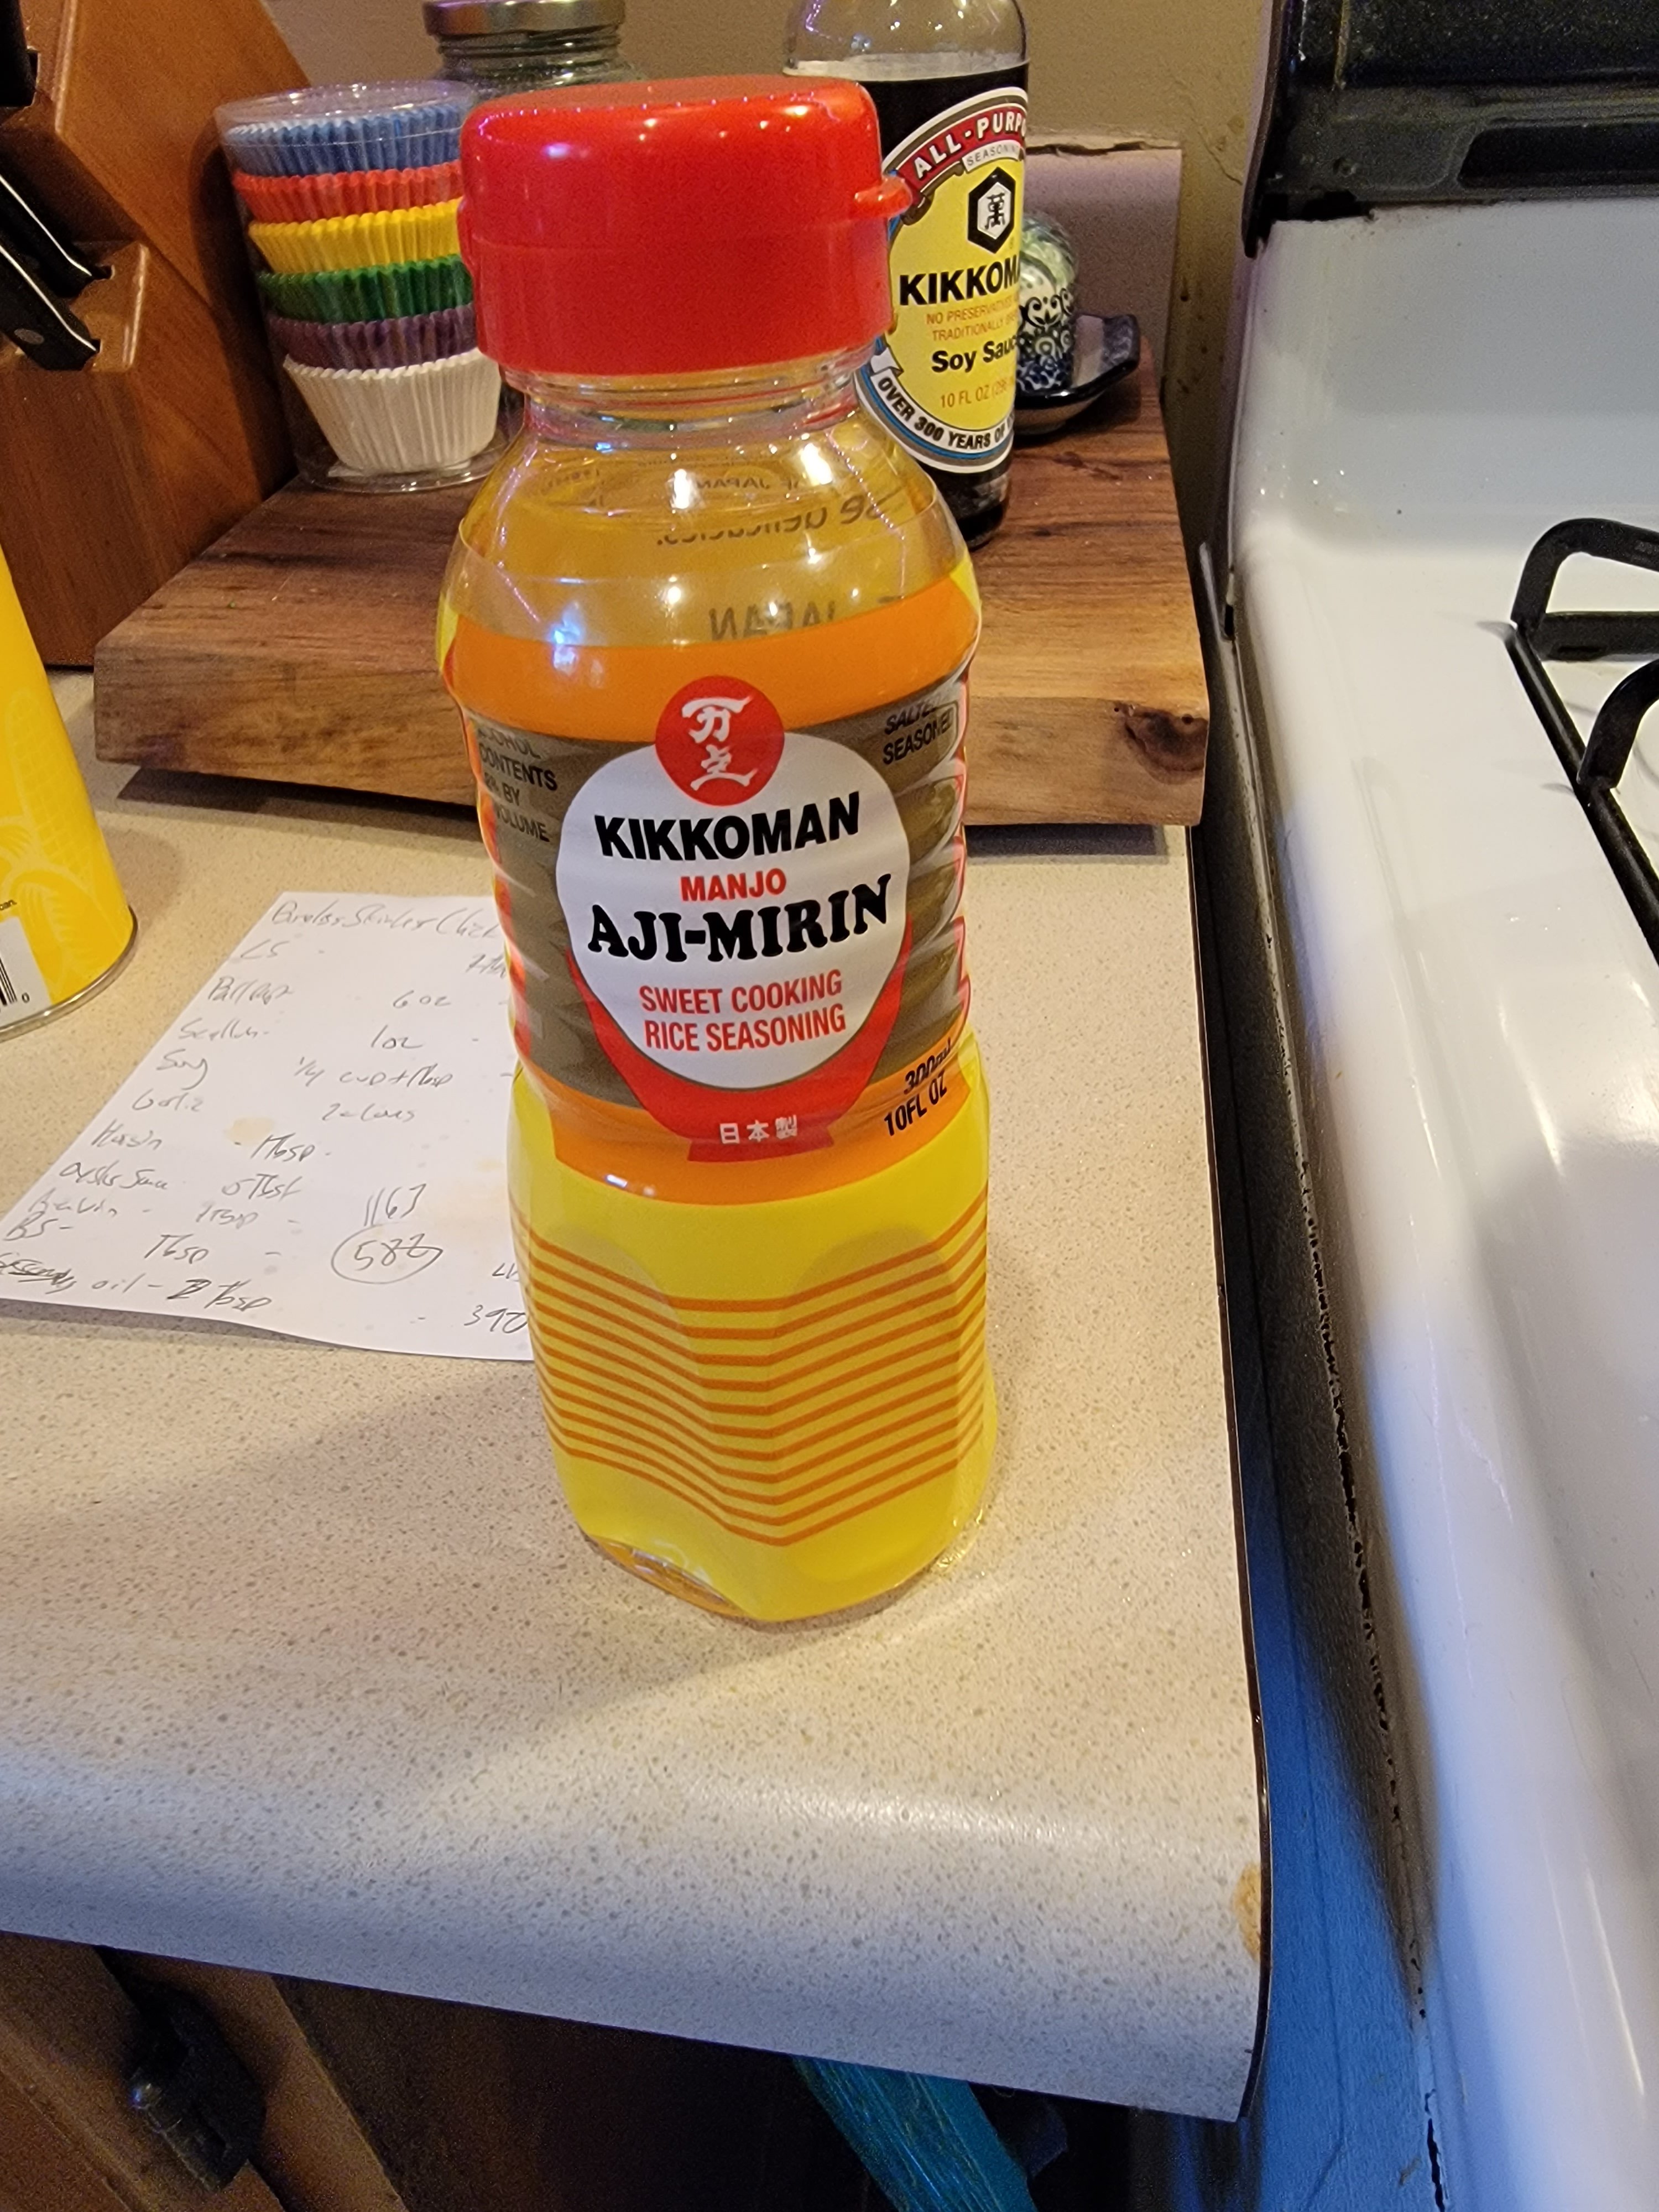
  • 1 tbsp – Mirin

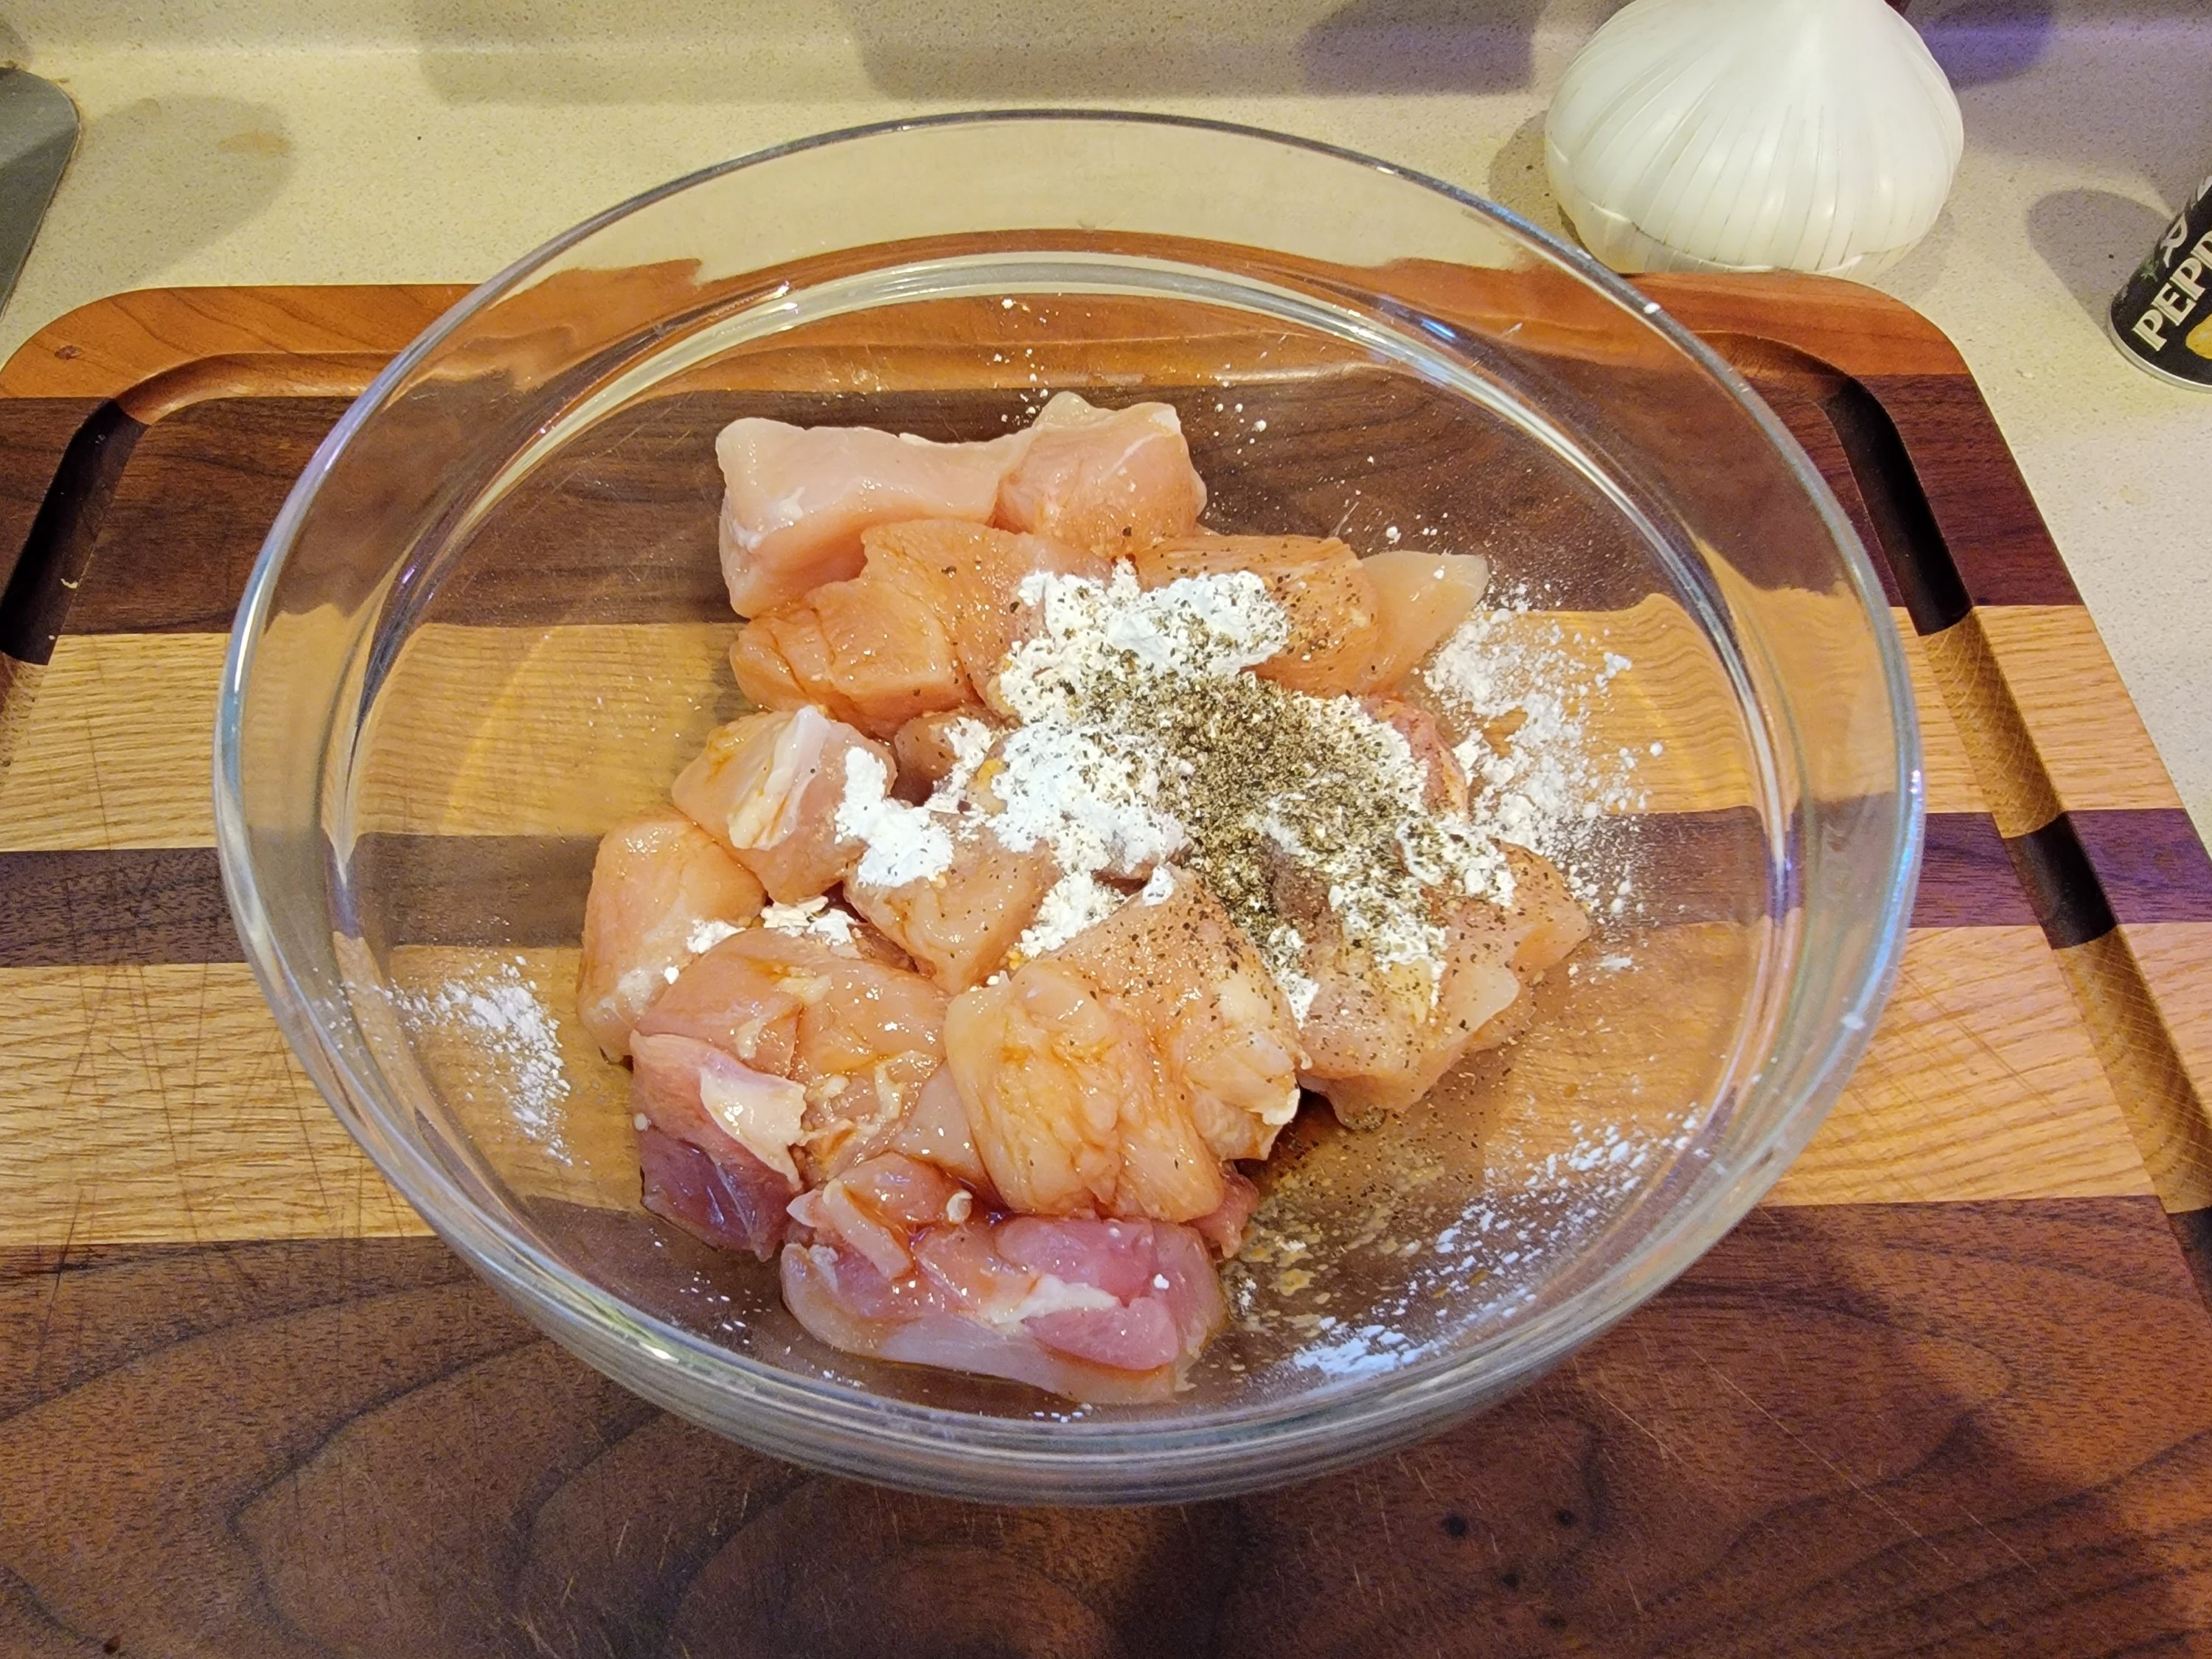
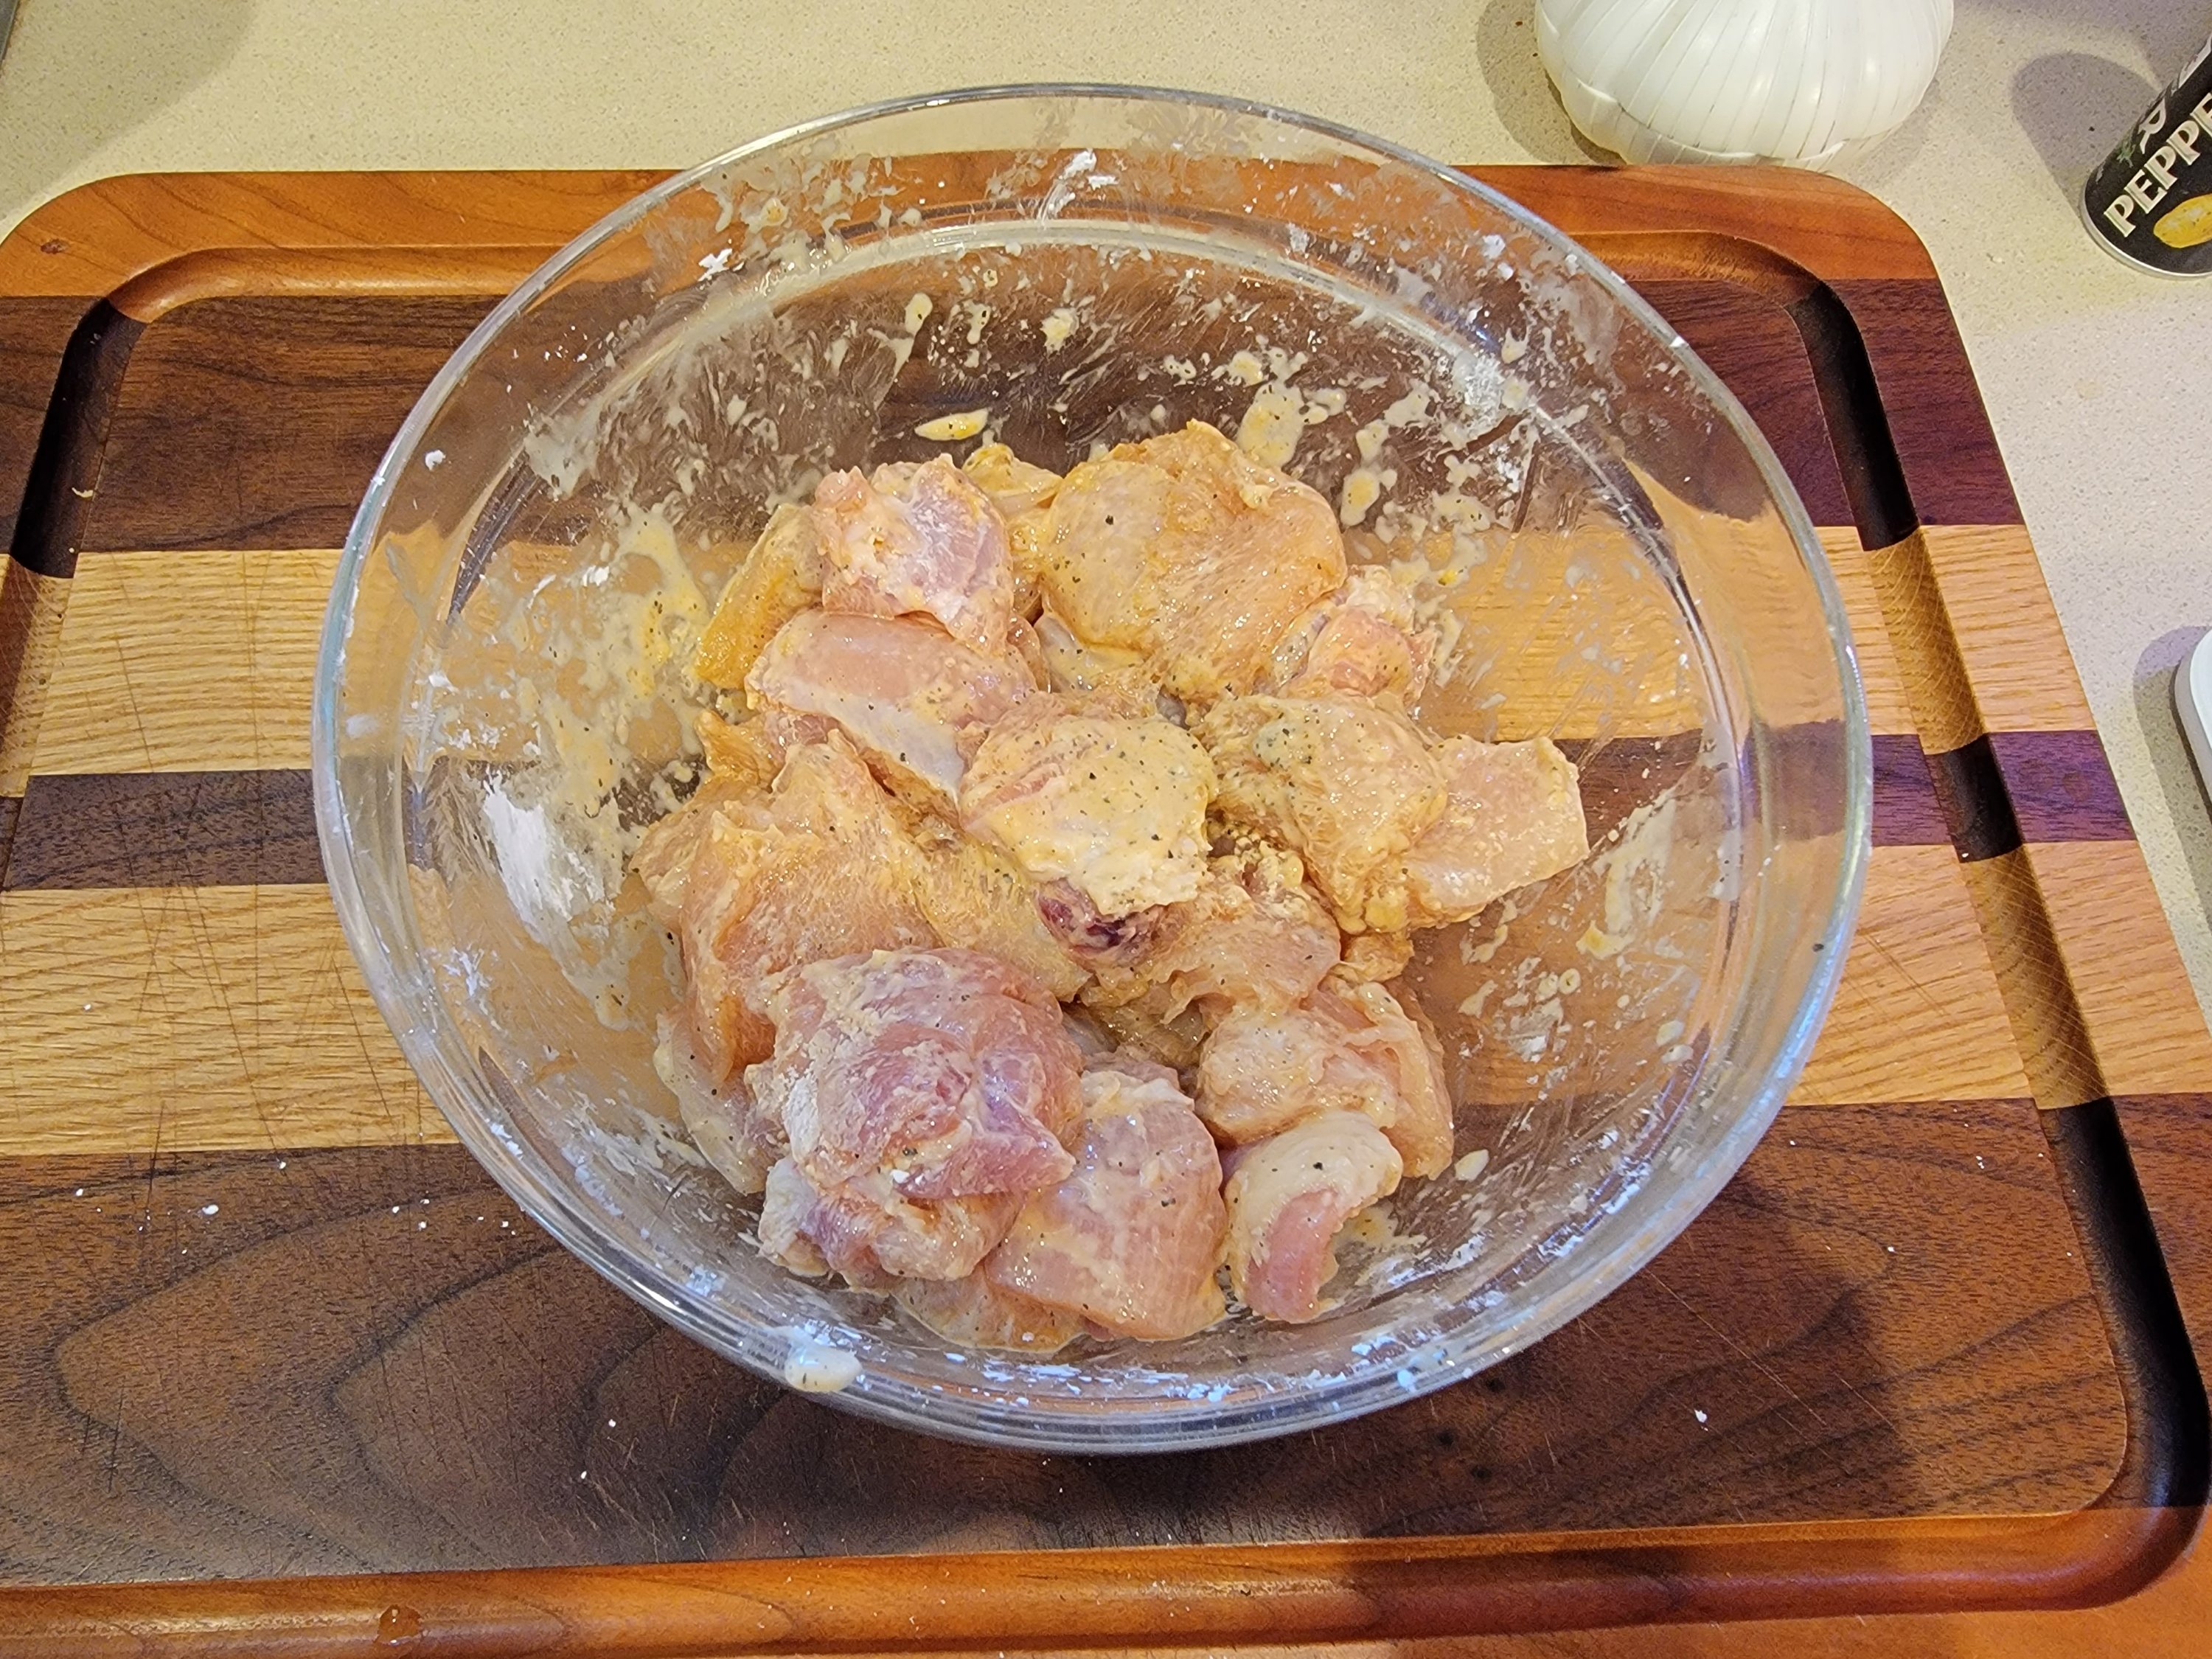
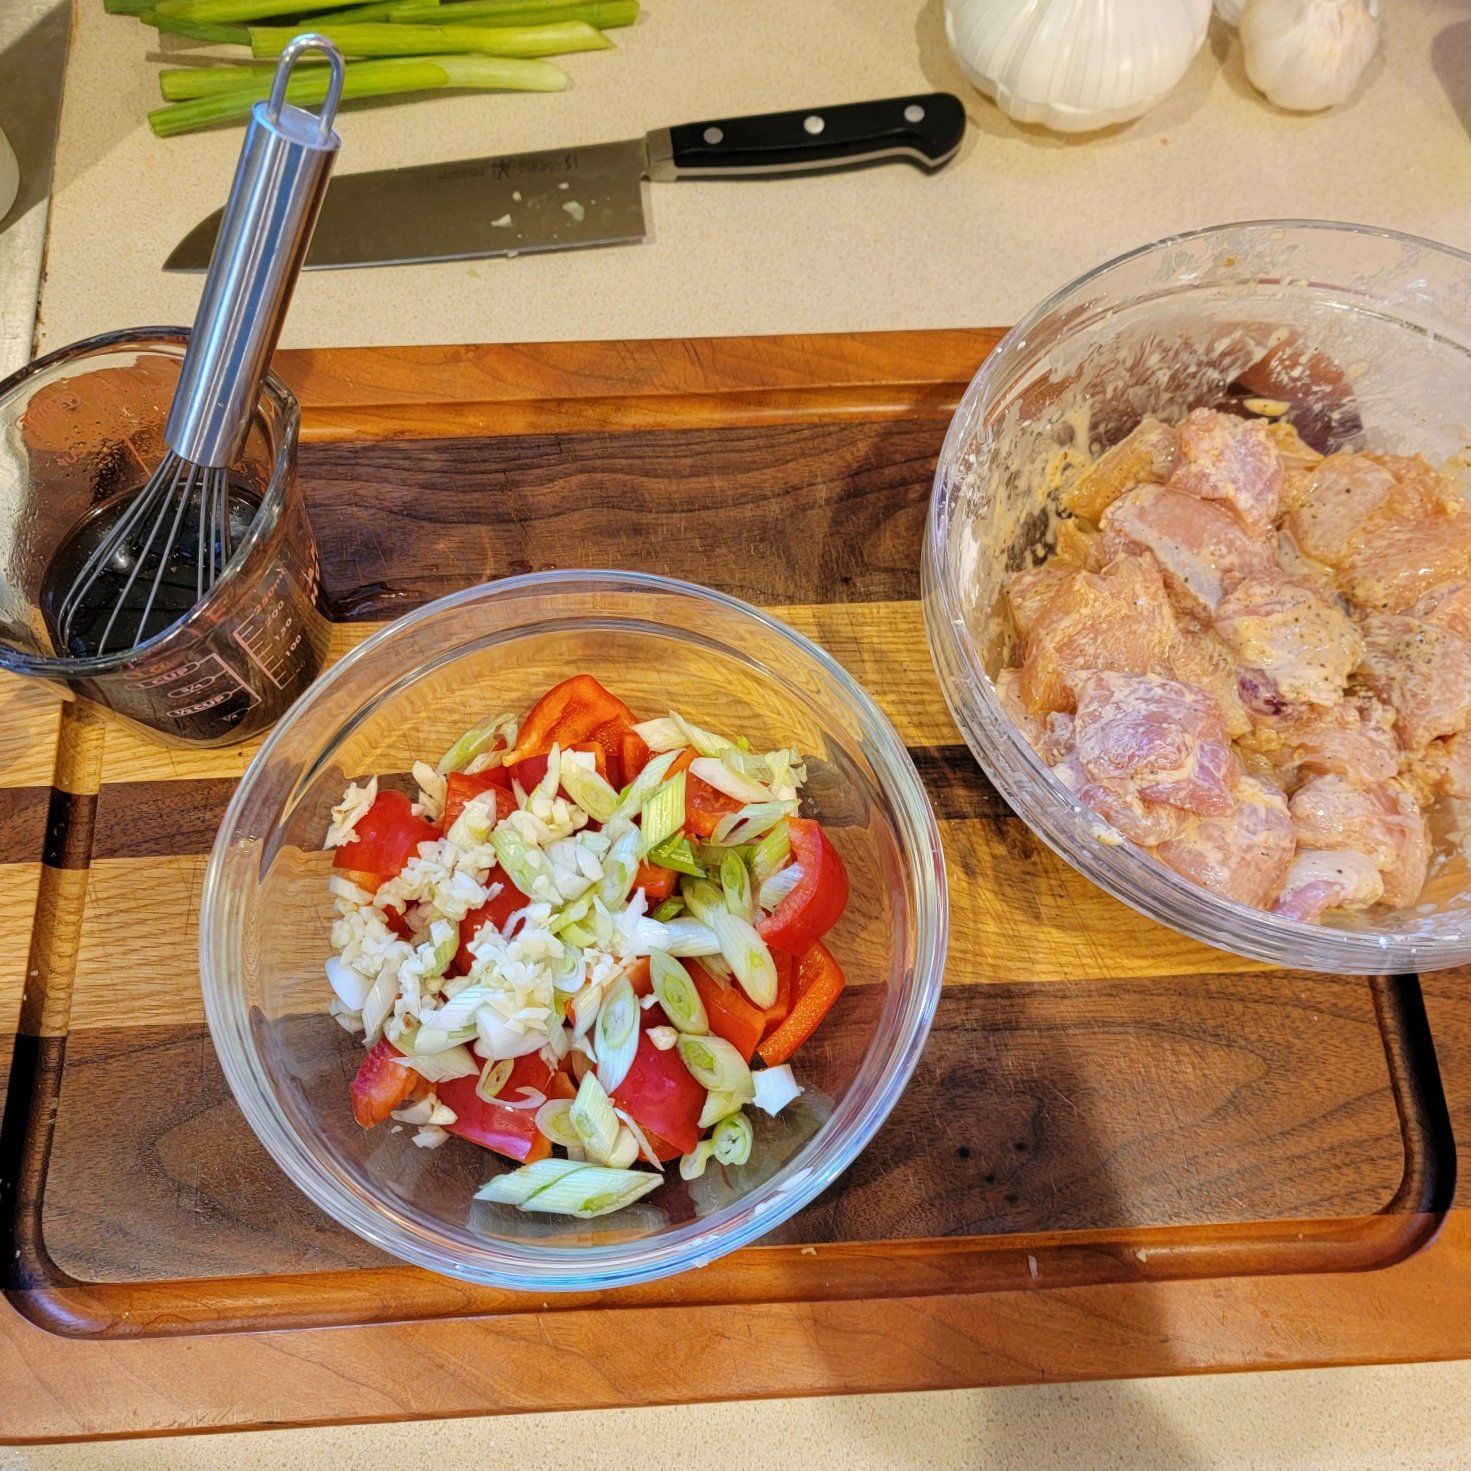
Start by cutting up the chicken into bite sized pieces and put them in a medium mixing bowl. Then add 1 tbsp of soy sauce, 1 tbsp of black pepper, and all the corn starch. Mix to combine. It will form a paste which is perfect. Set the chicken aside and start preparing the veggies.

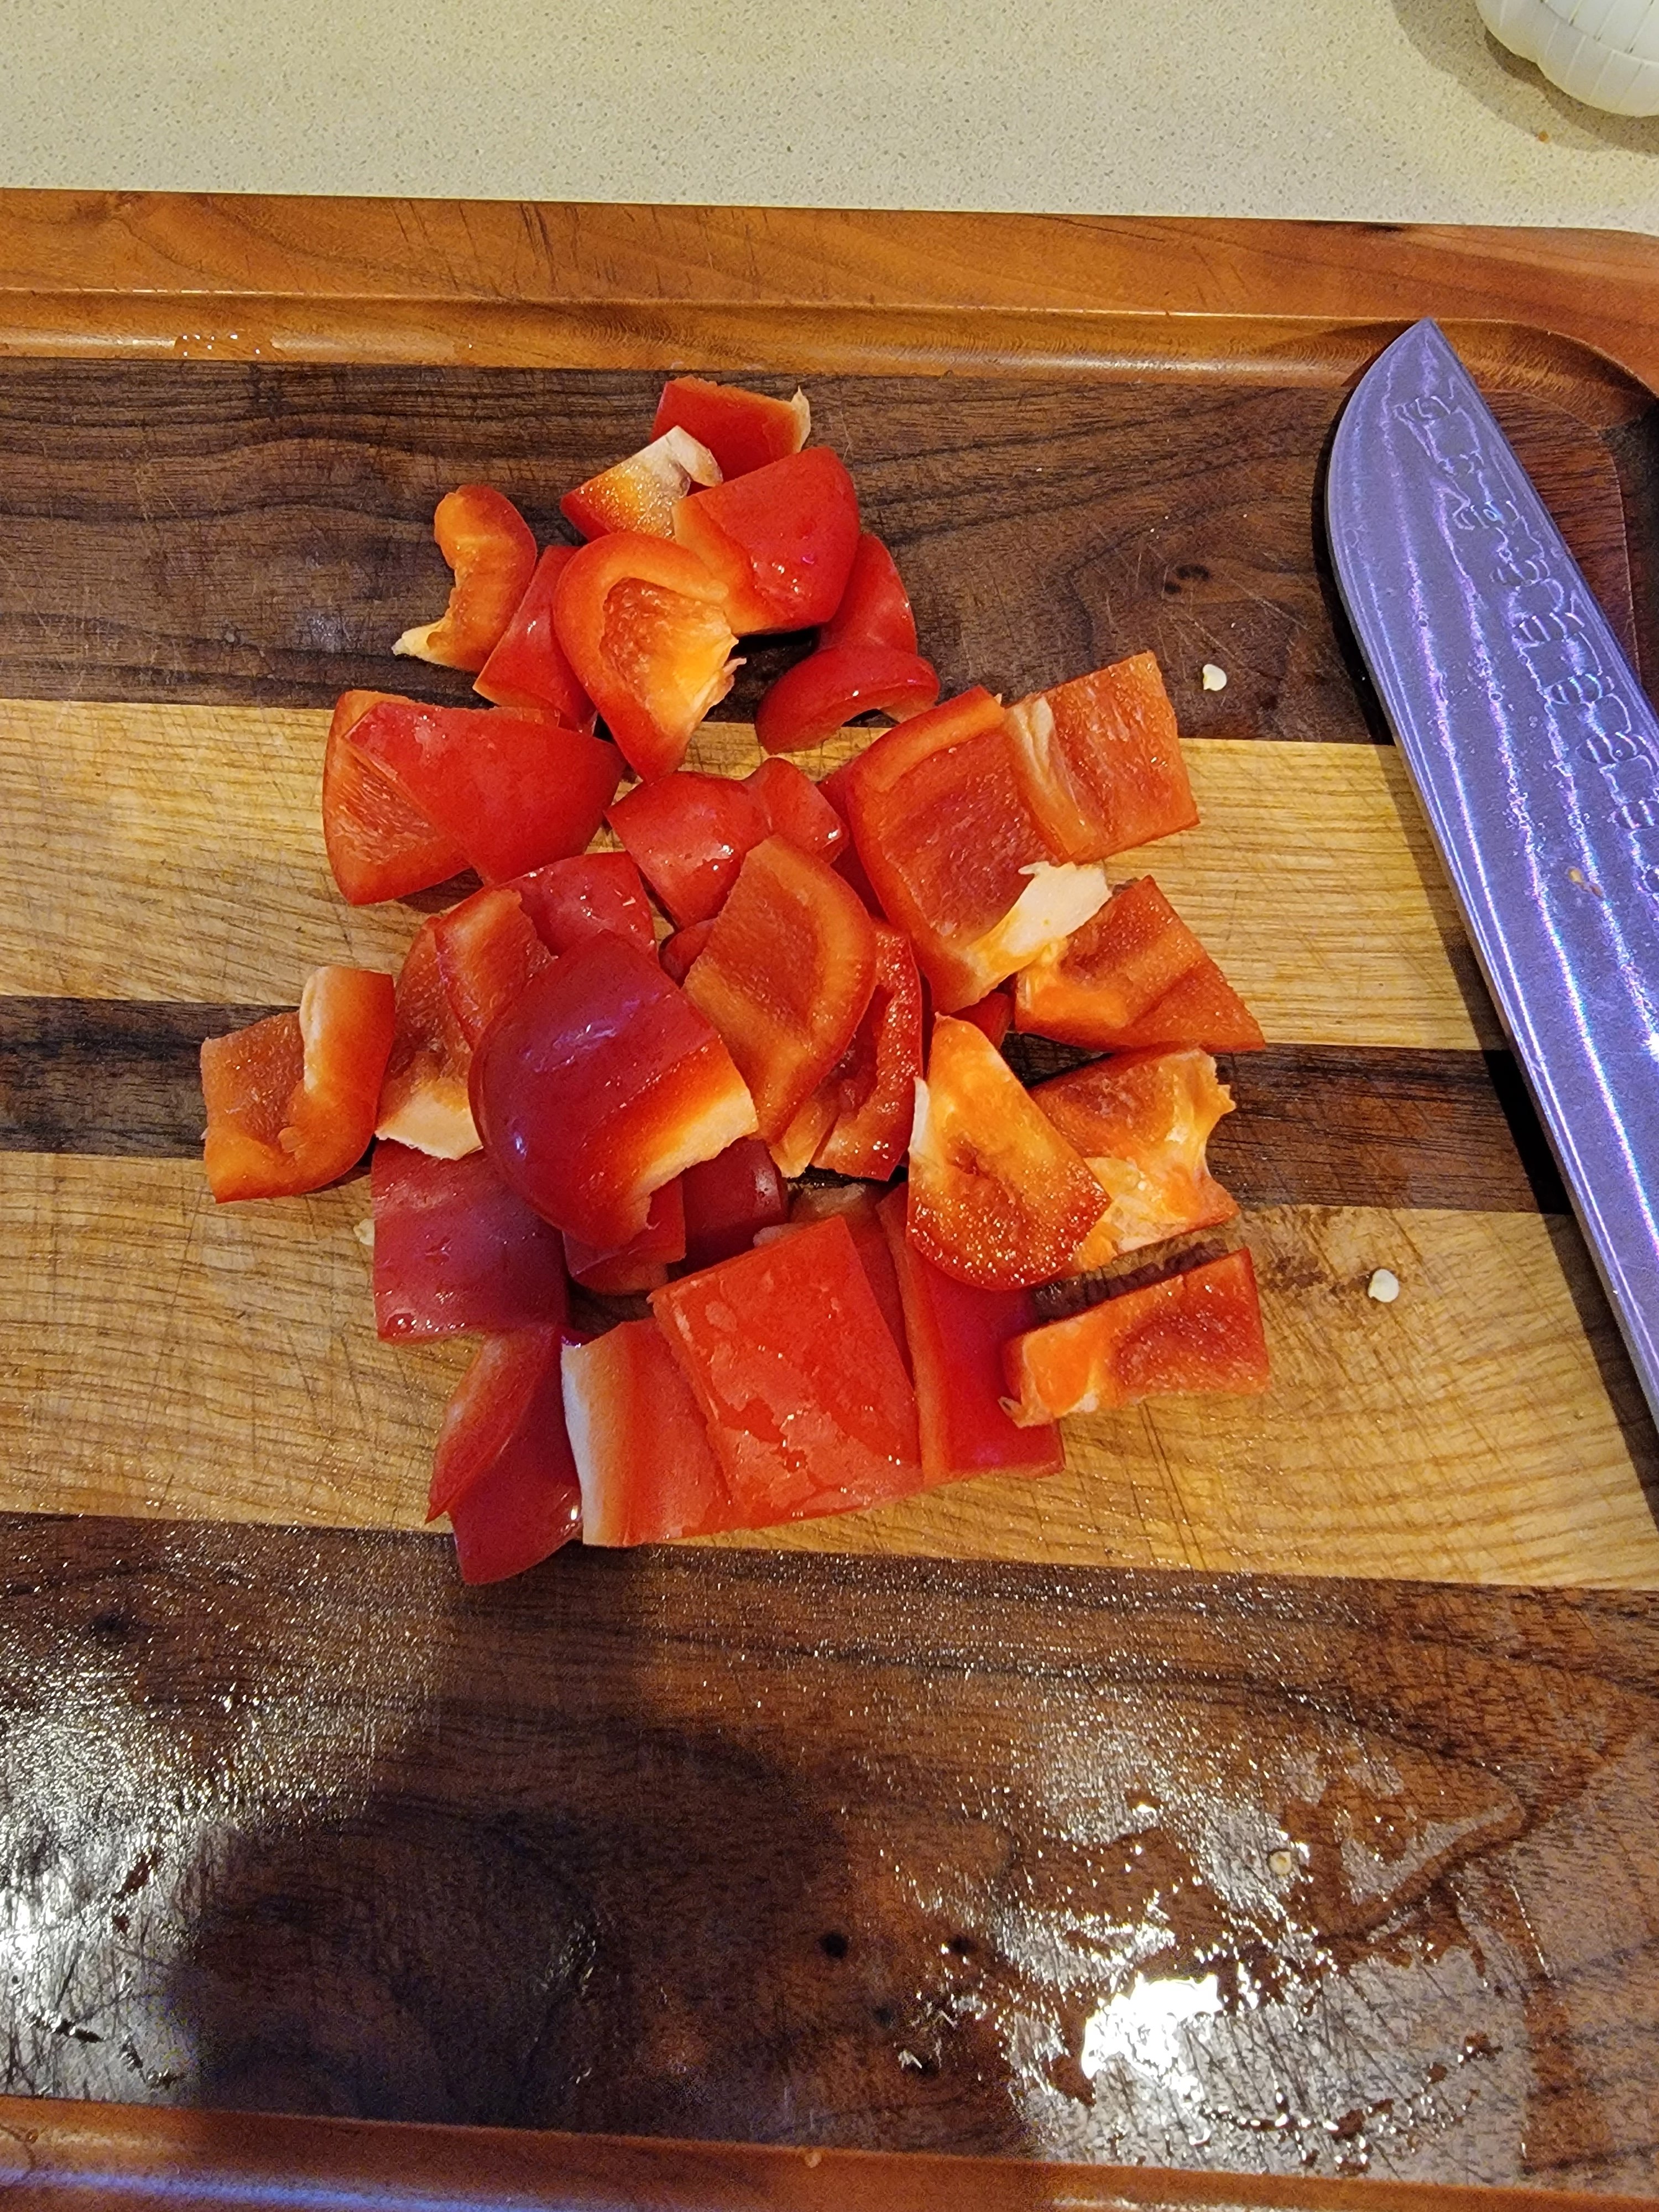
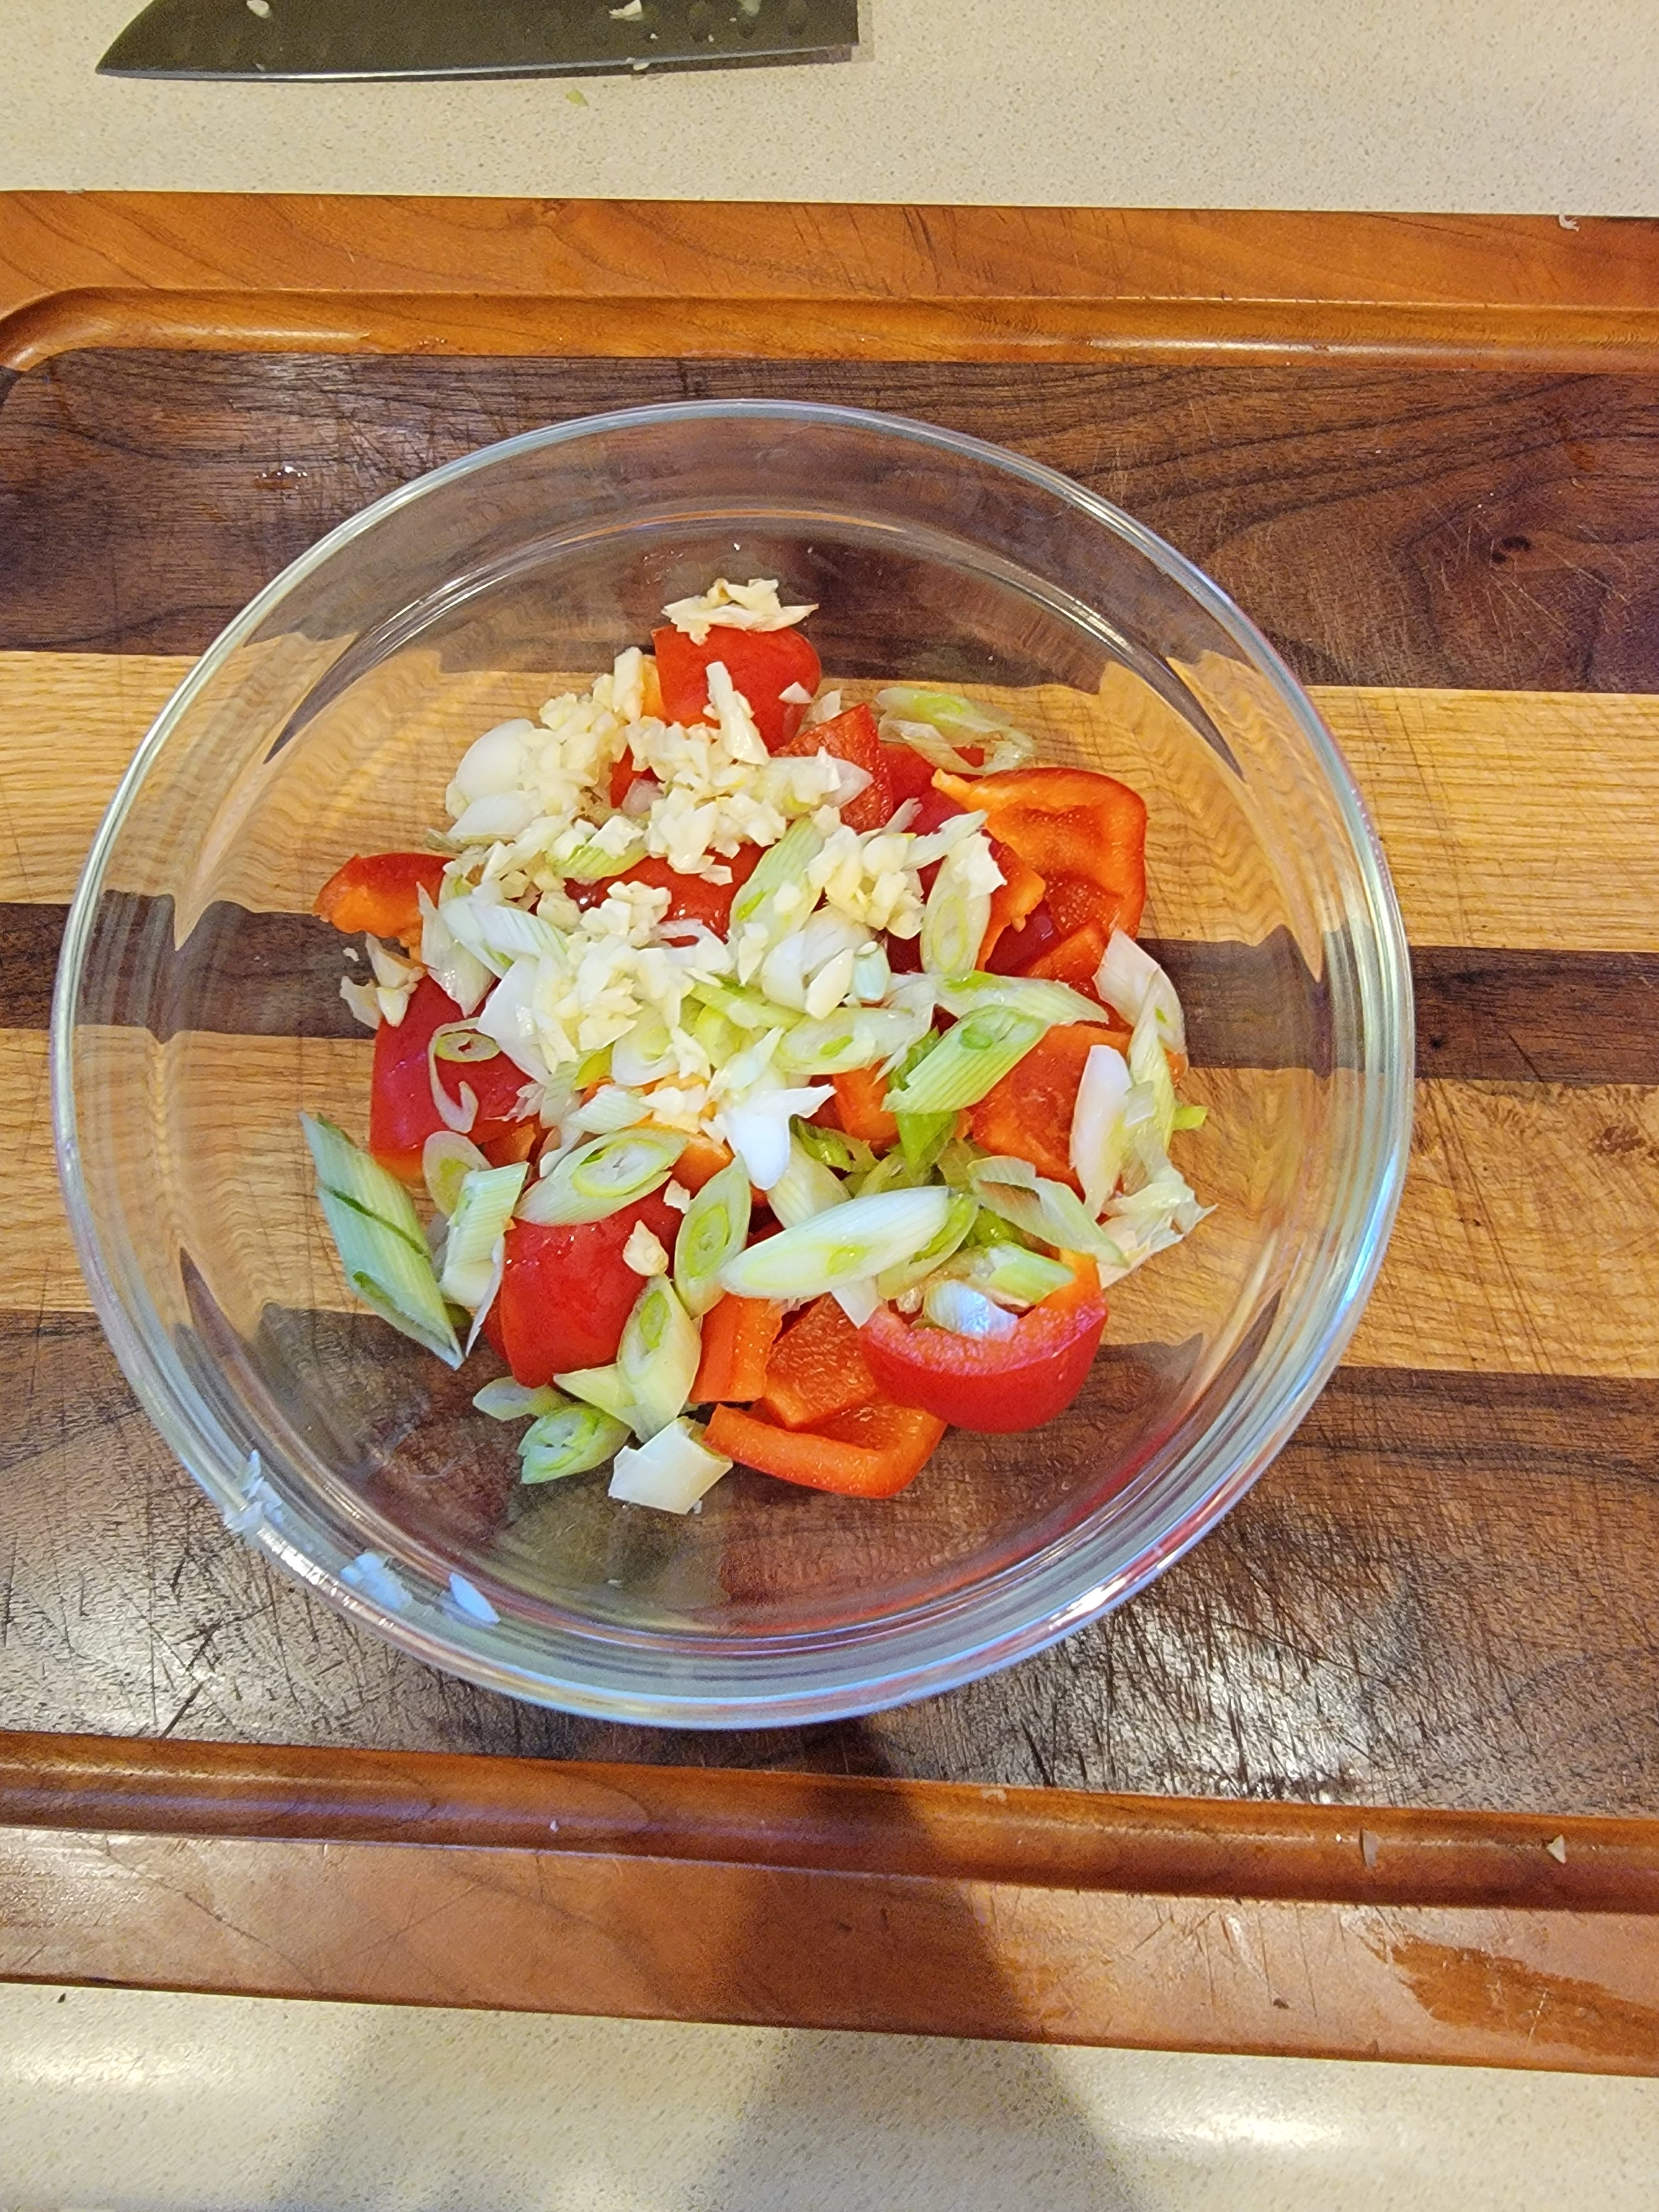
Cut the bell pepper into bite size pieces about the same size as the chicken. Honestly, you can make these any size you like. I like the peppers to still be a little crunchy so I keep them bigger. Put the peppers in a mixing bowl and put aside.

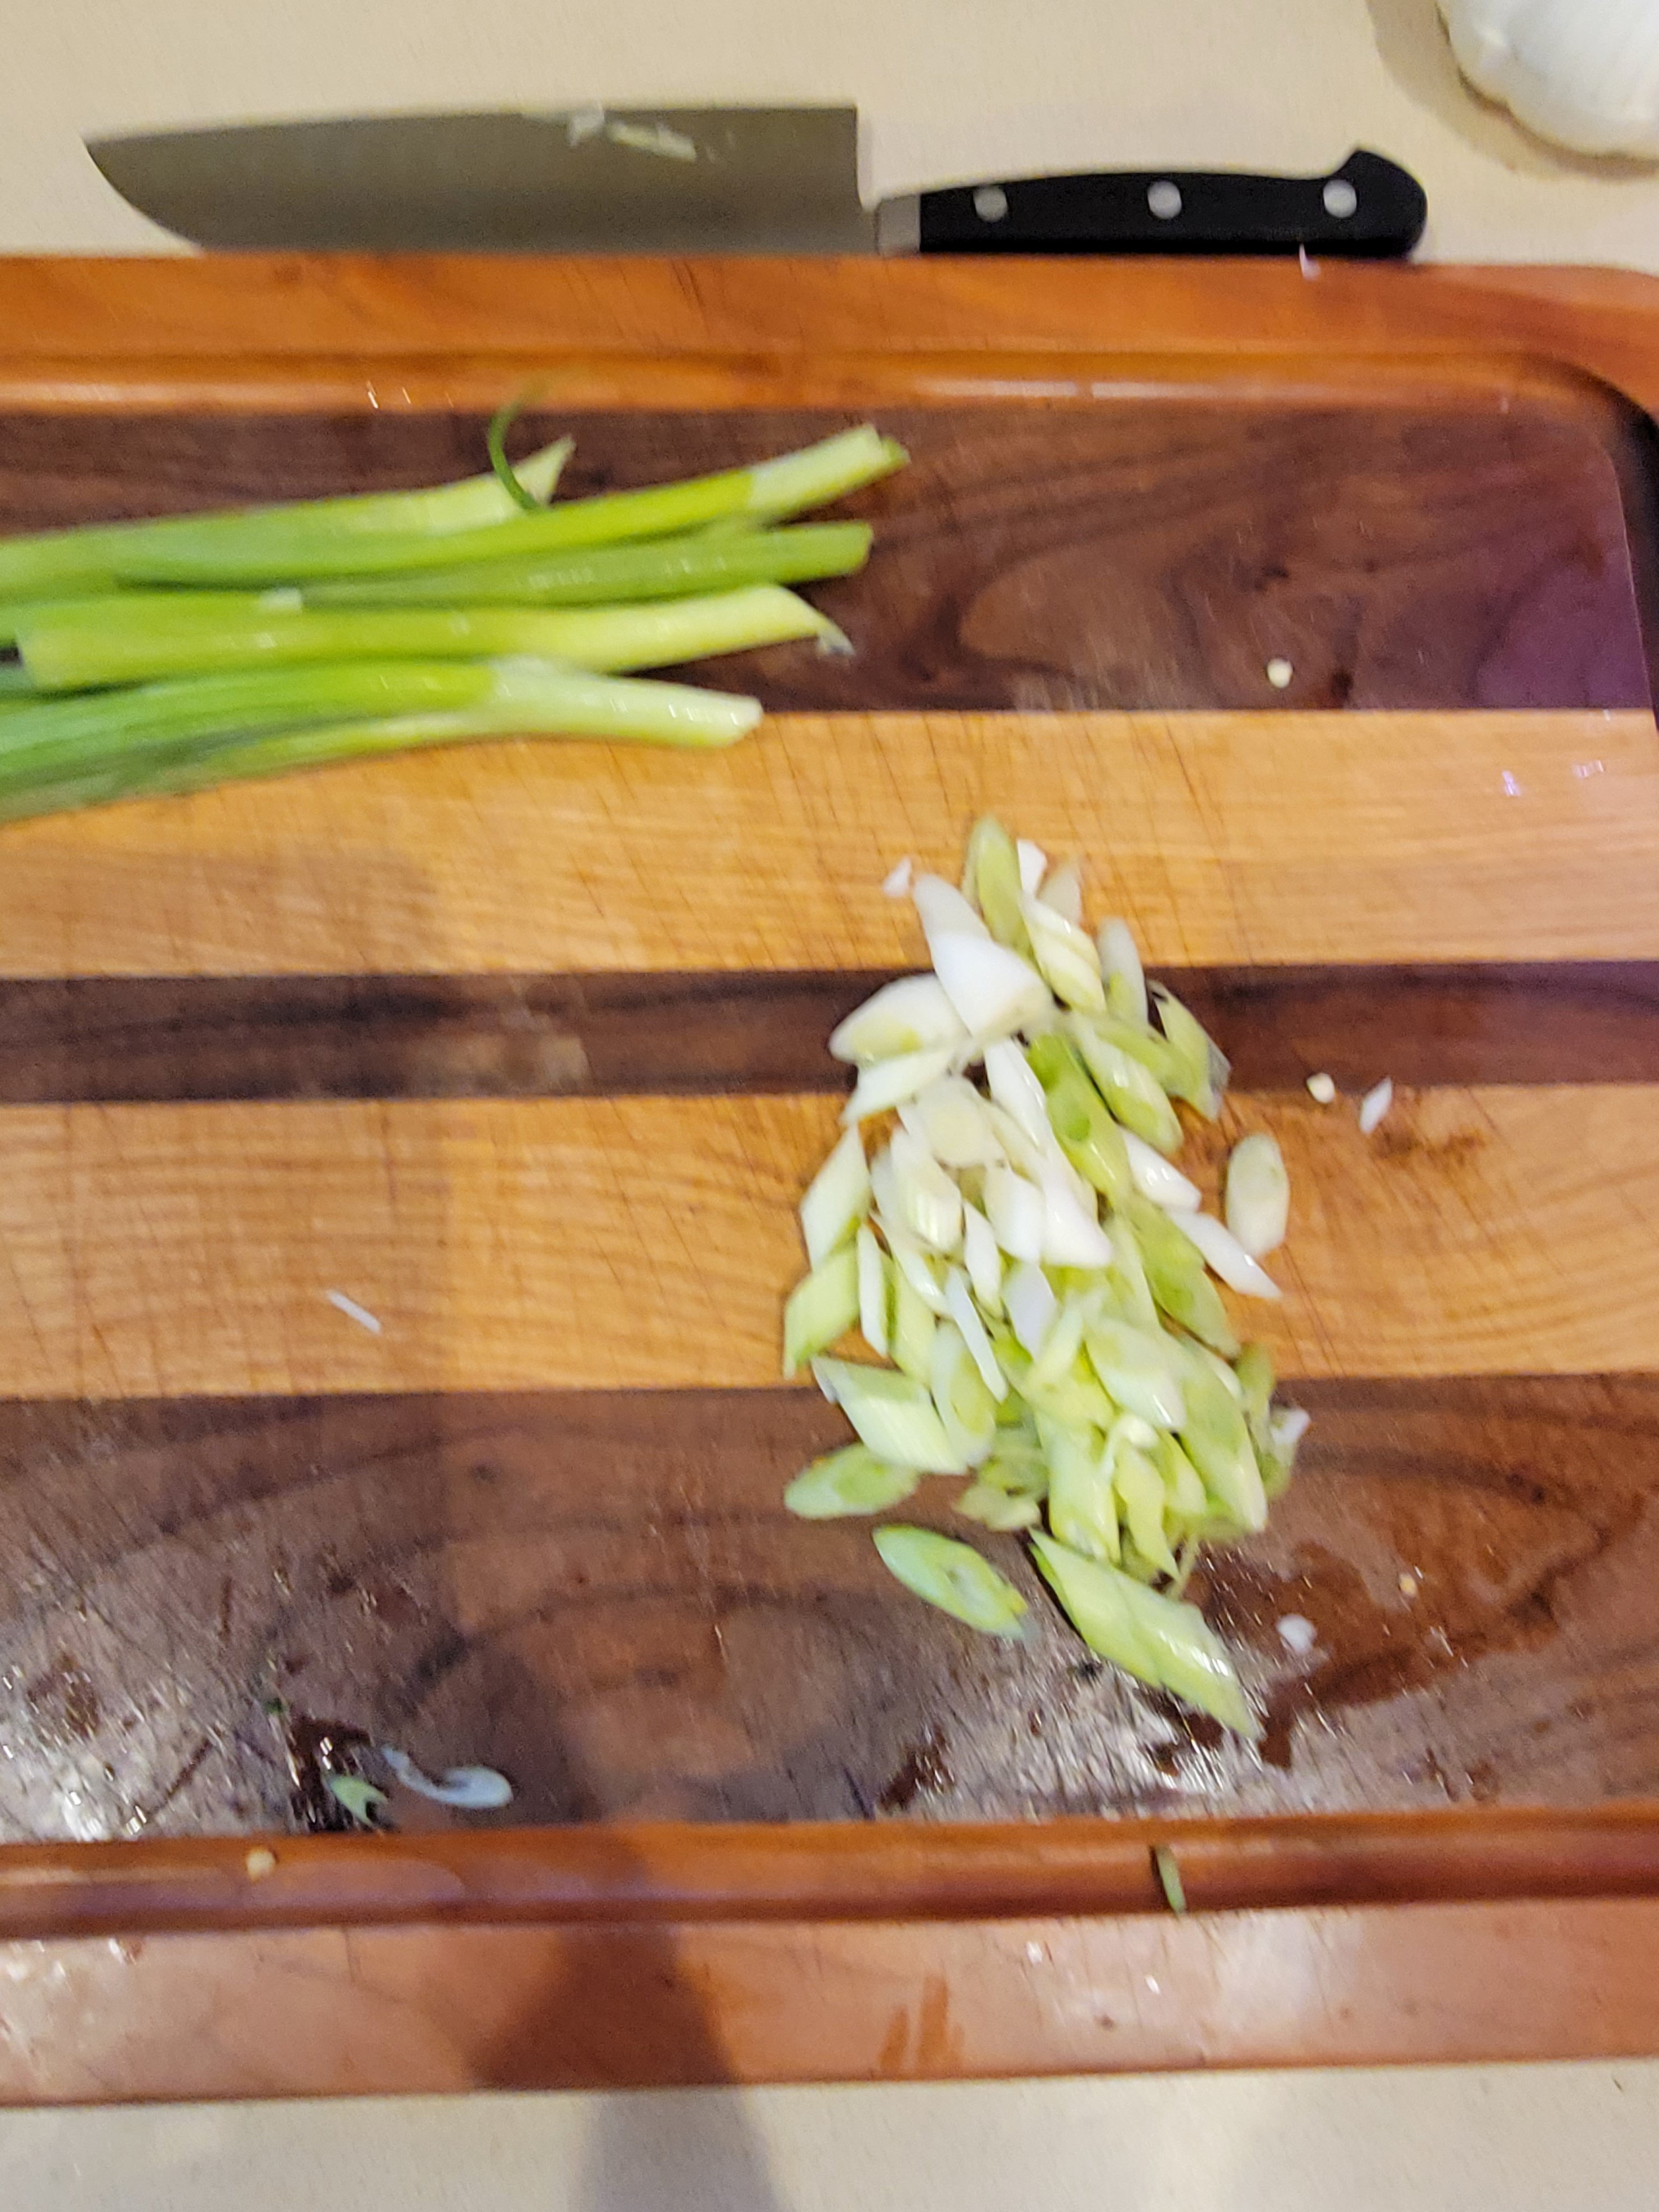
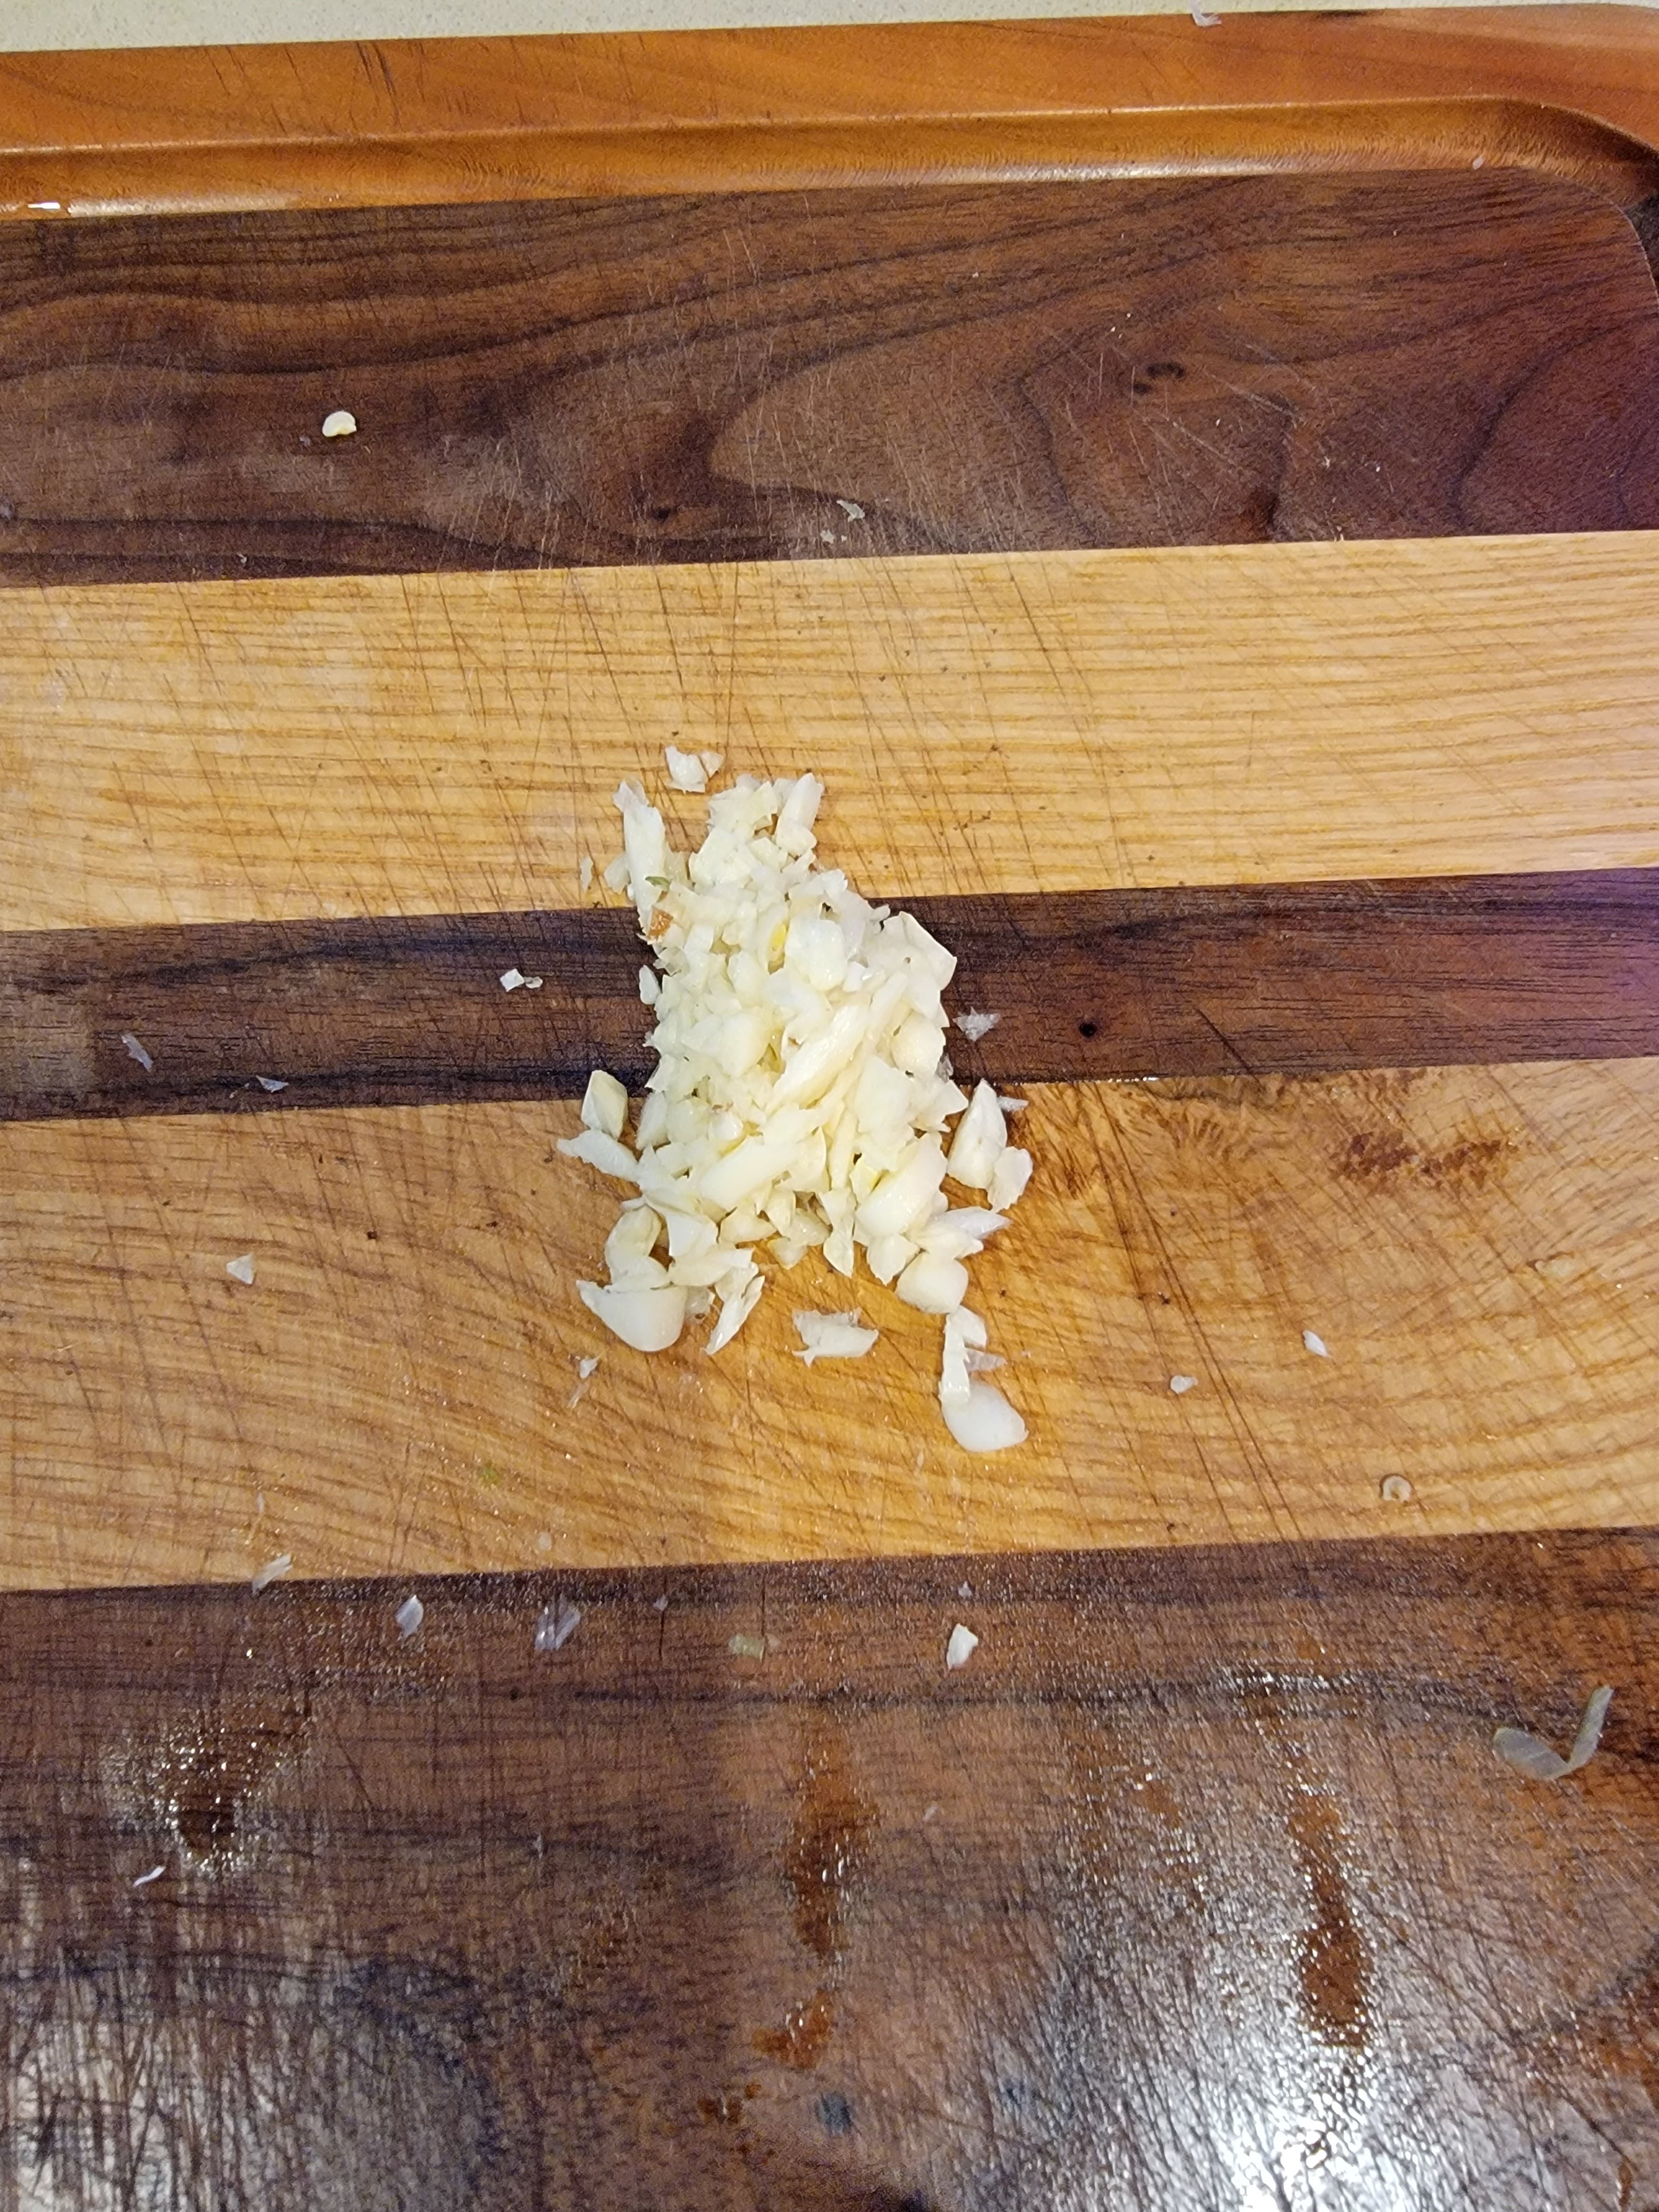
Next, slice up the white parts of the scallions and keep the green parts for garnish. Add scallions to the bowl with the peppers. Finely chop up 2 cloves of garlic and add them to the bowl with the peppers and scallions. Set the bowl of veggies aside and start on the sauce.

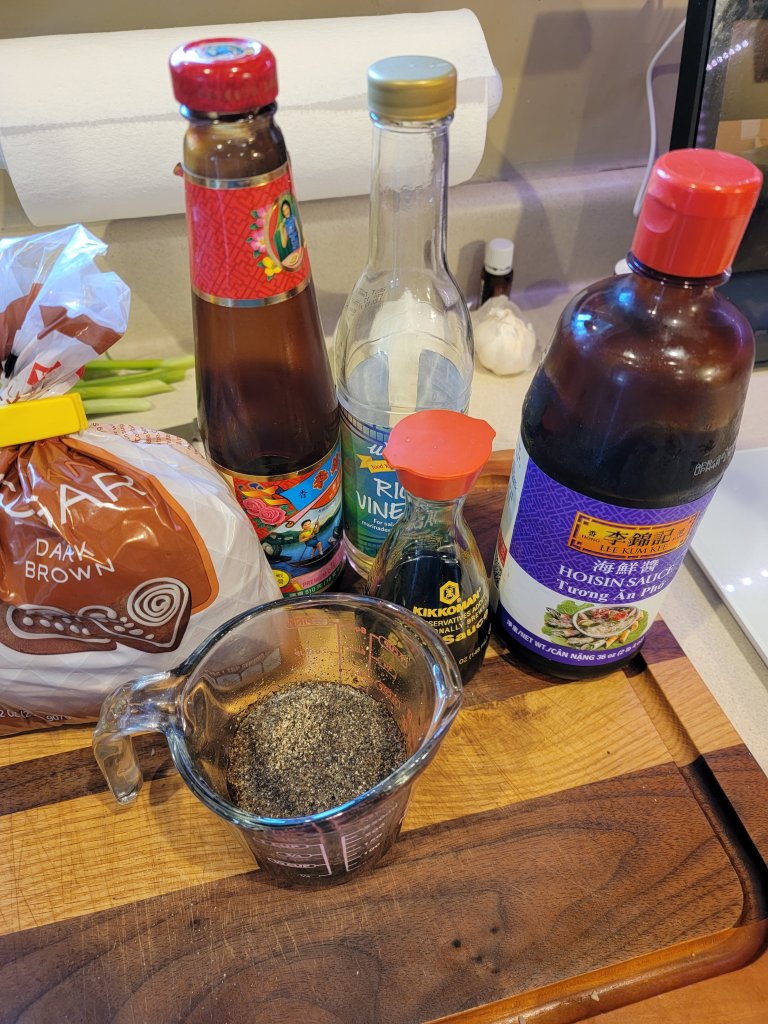
For the sauce, mix the remaining .25 cup soy sauce, remaining 1 tbsp black pepper, hoisin sauce, oyster sauce, rice vinegar, and brown sugar in a small measuring cup. Set aside for later.

You should now have 3 bowls for each step of the cooking process.

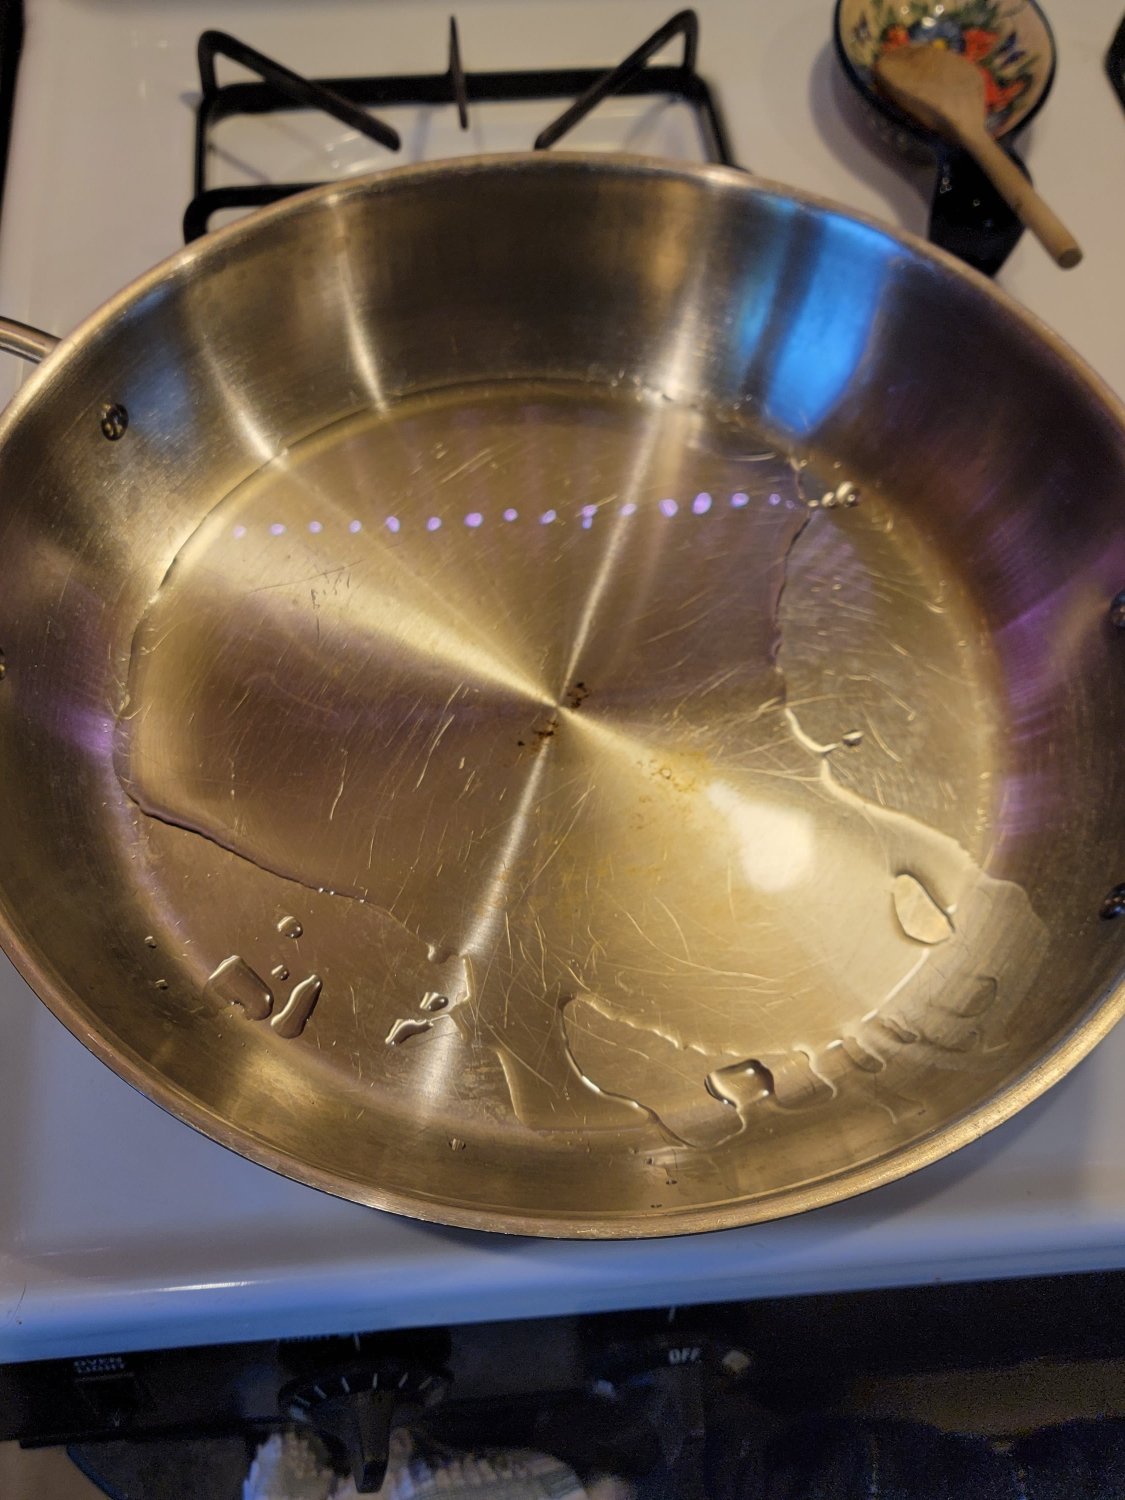
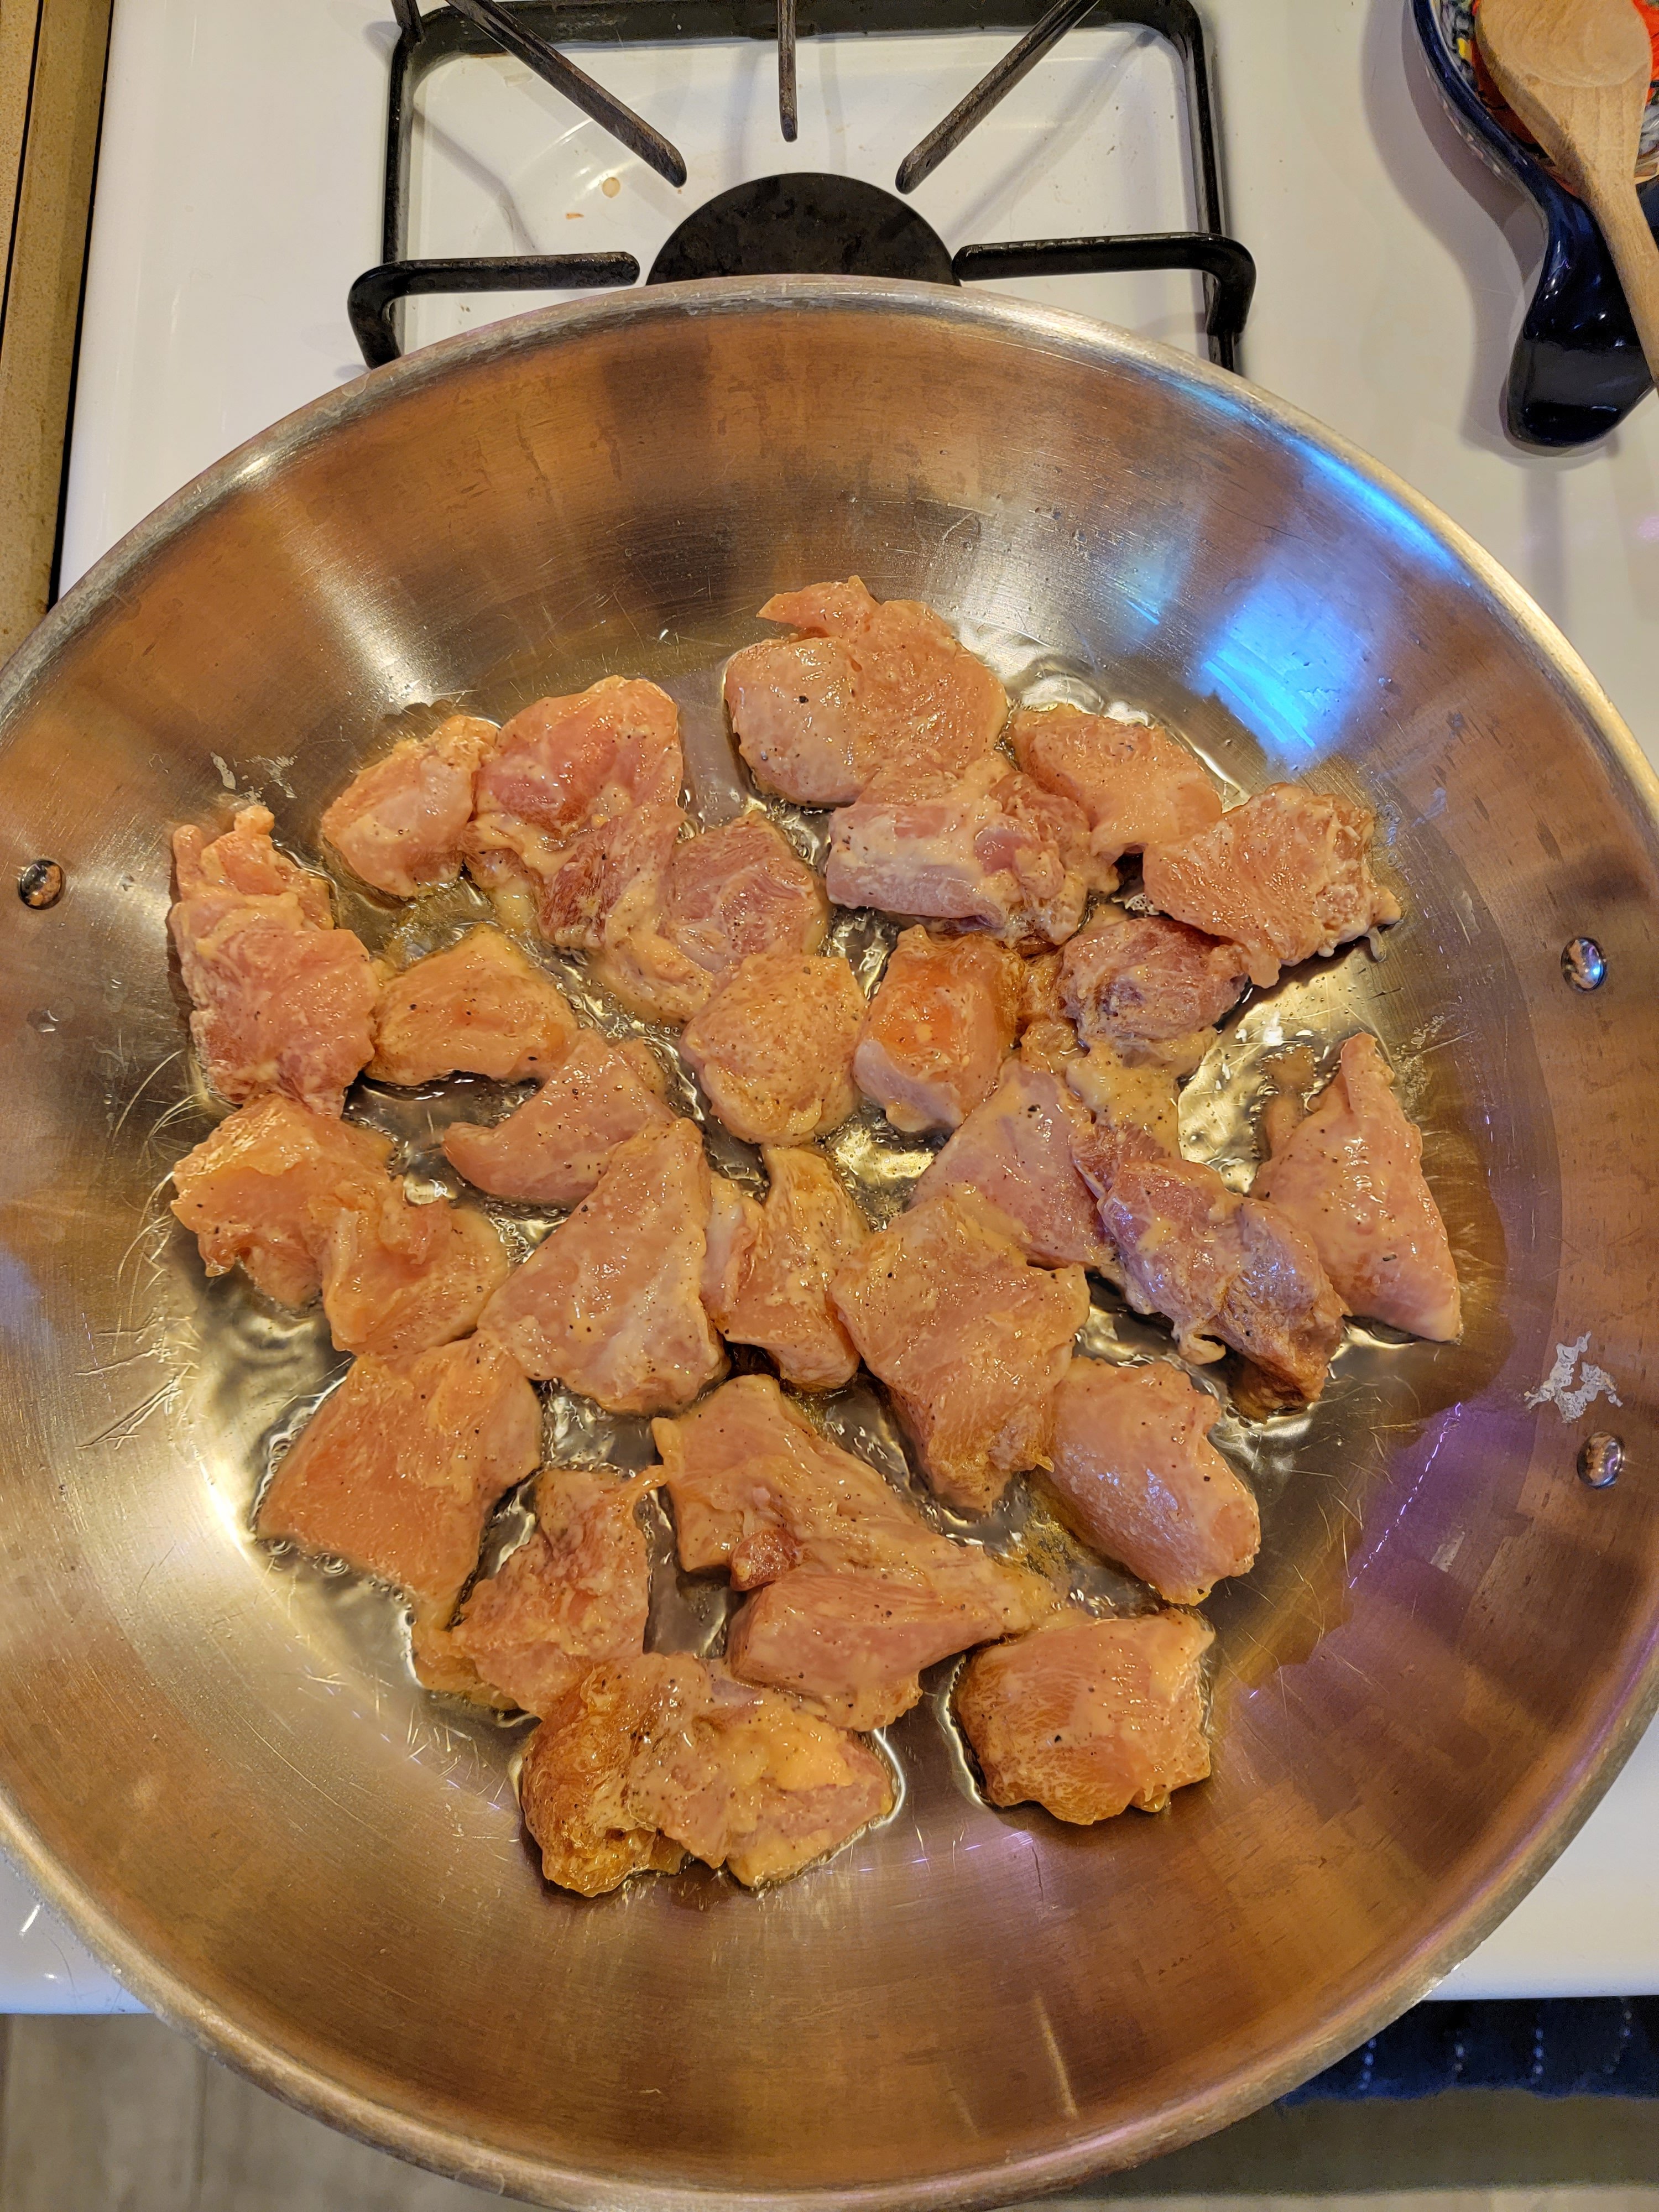
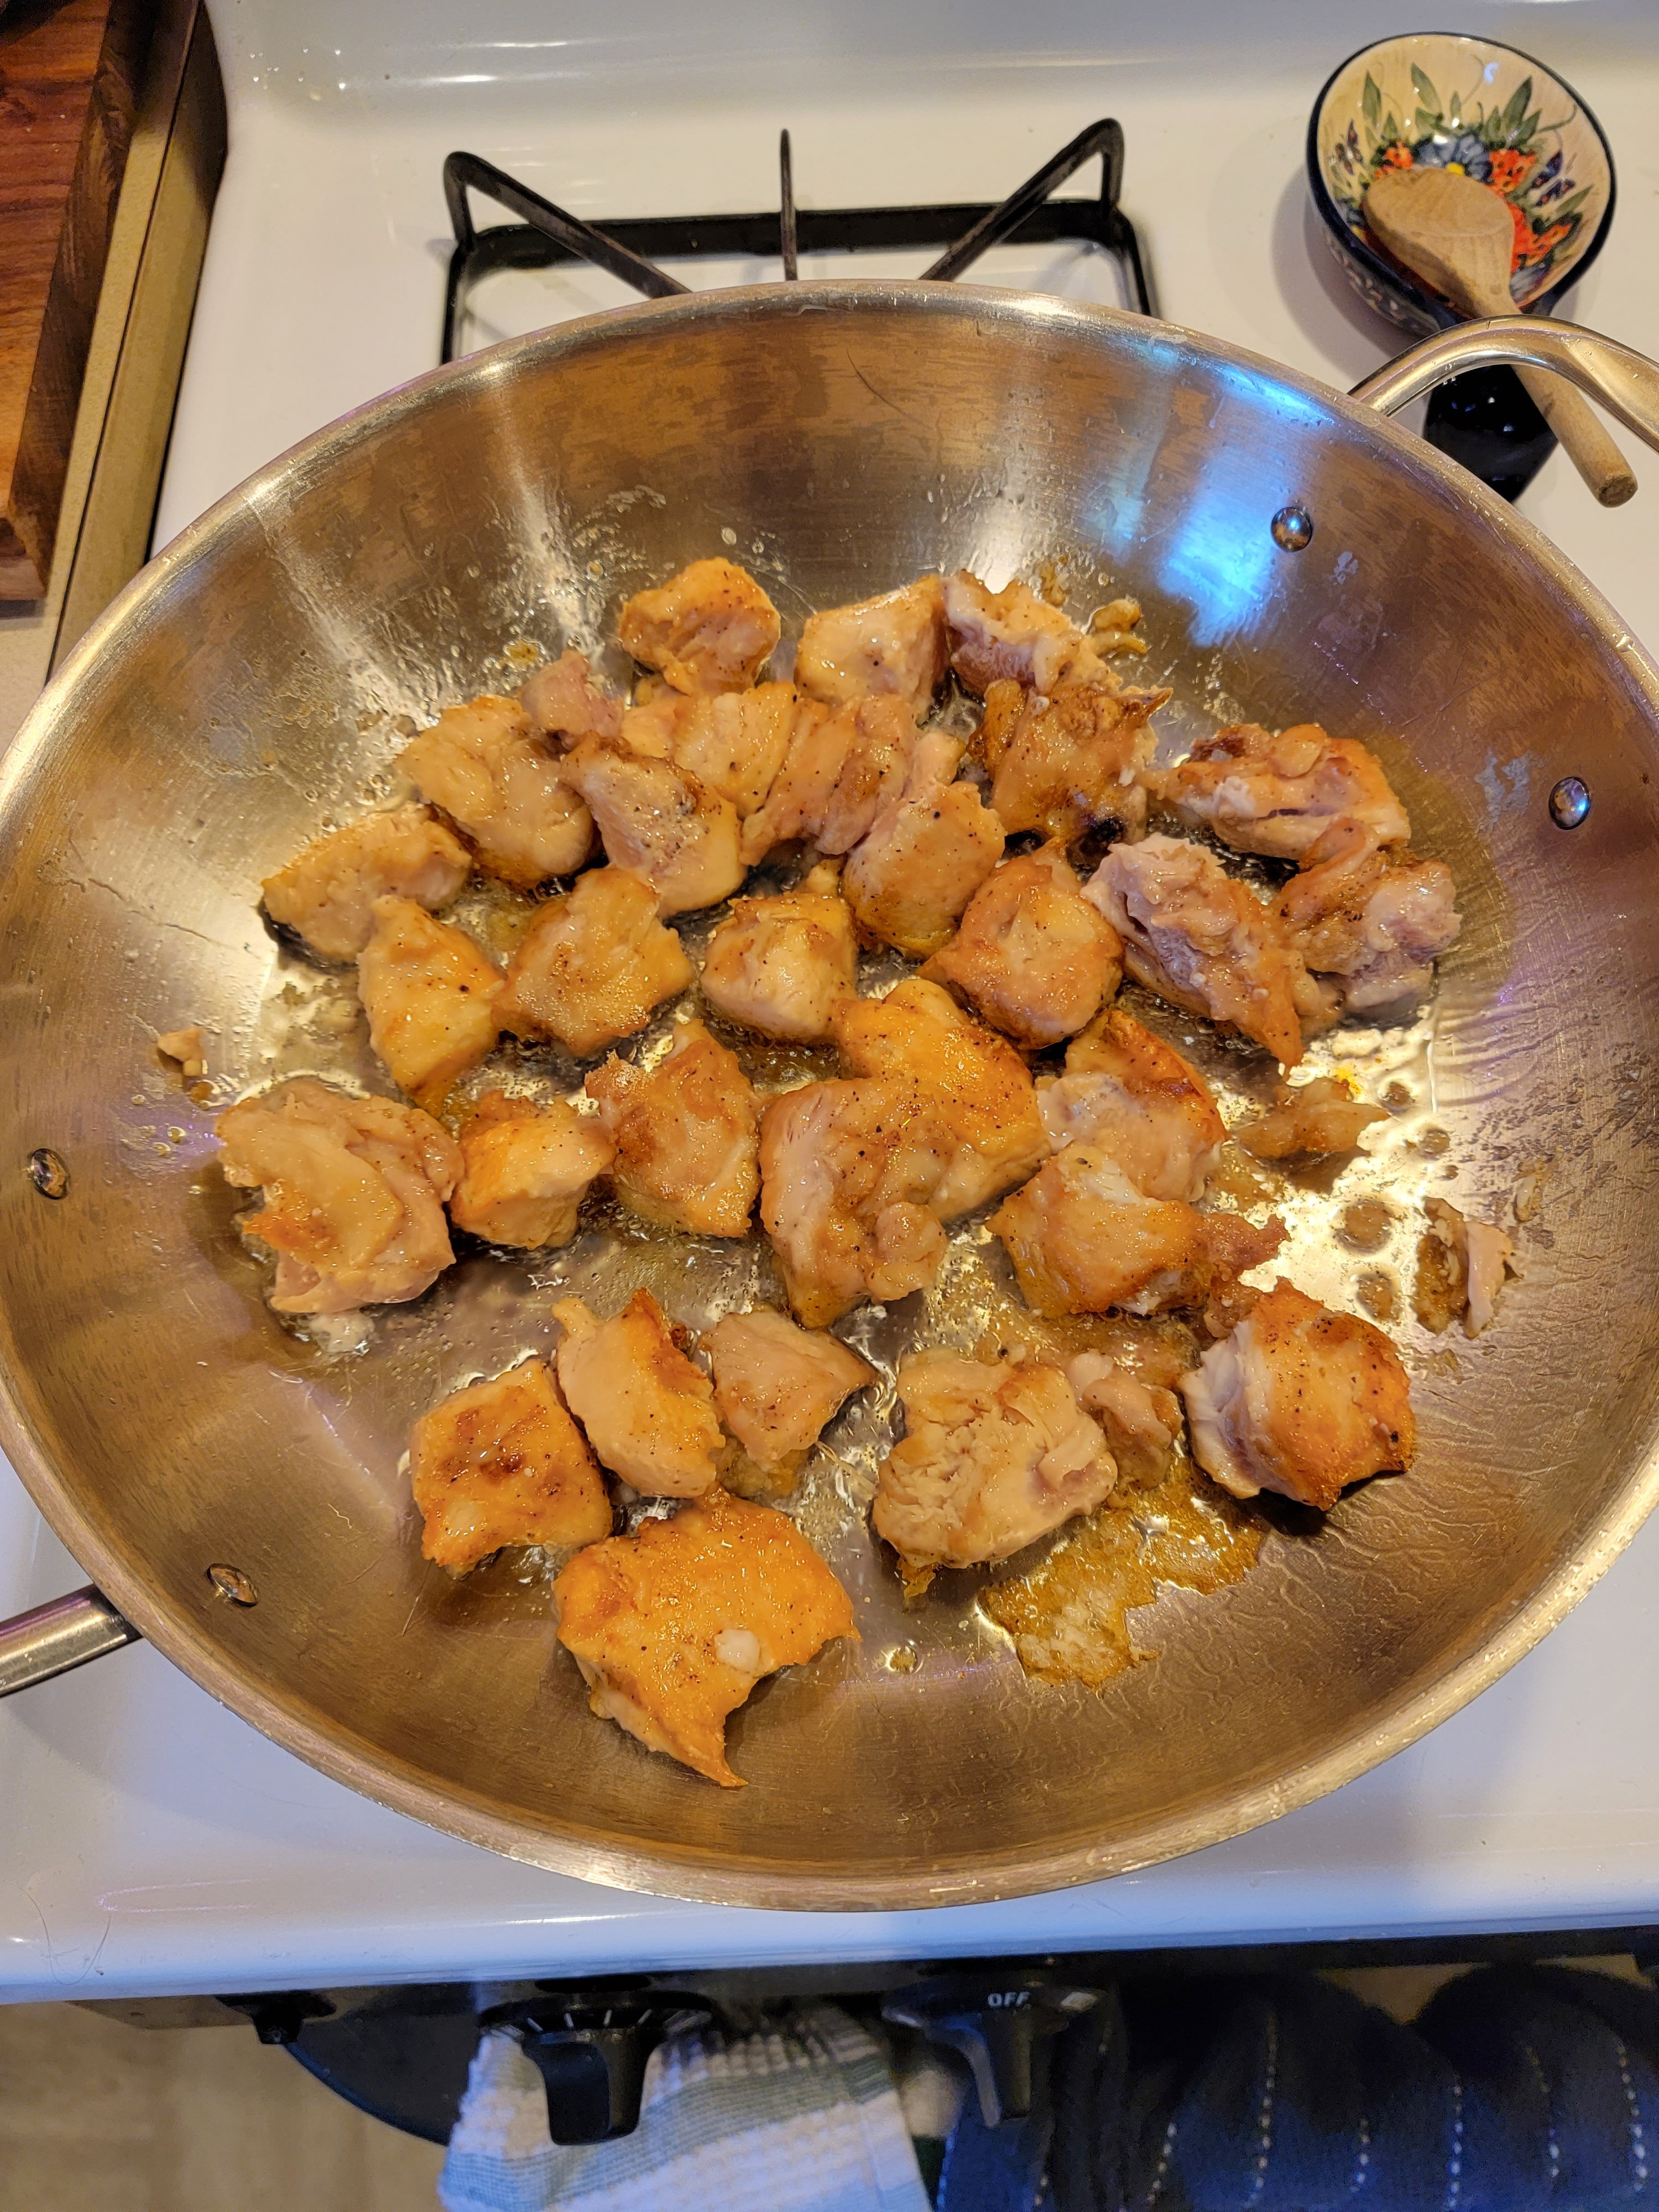
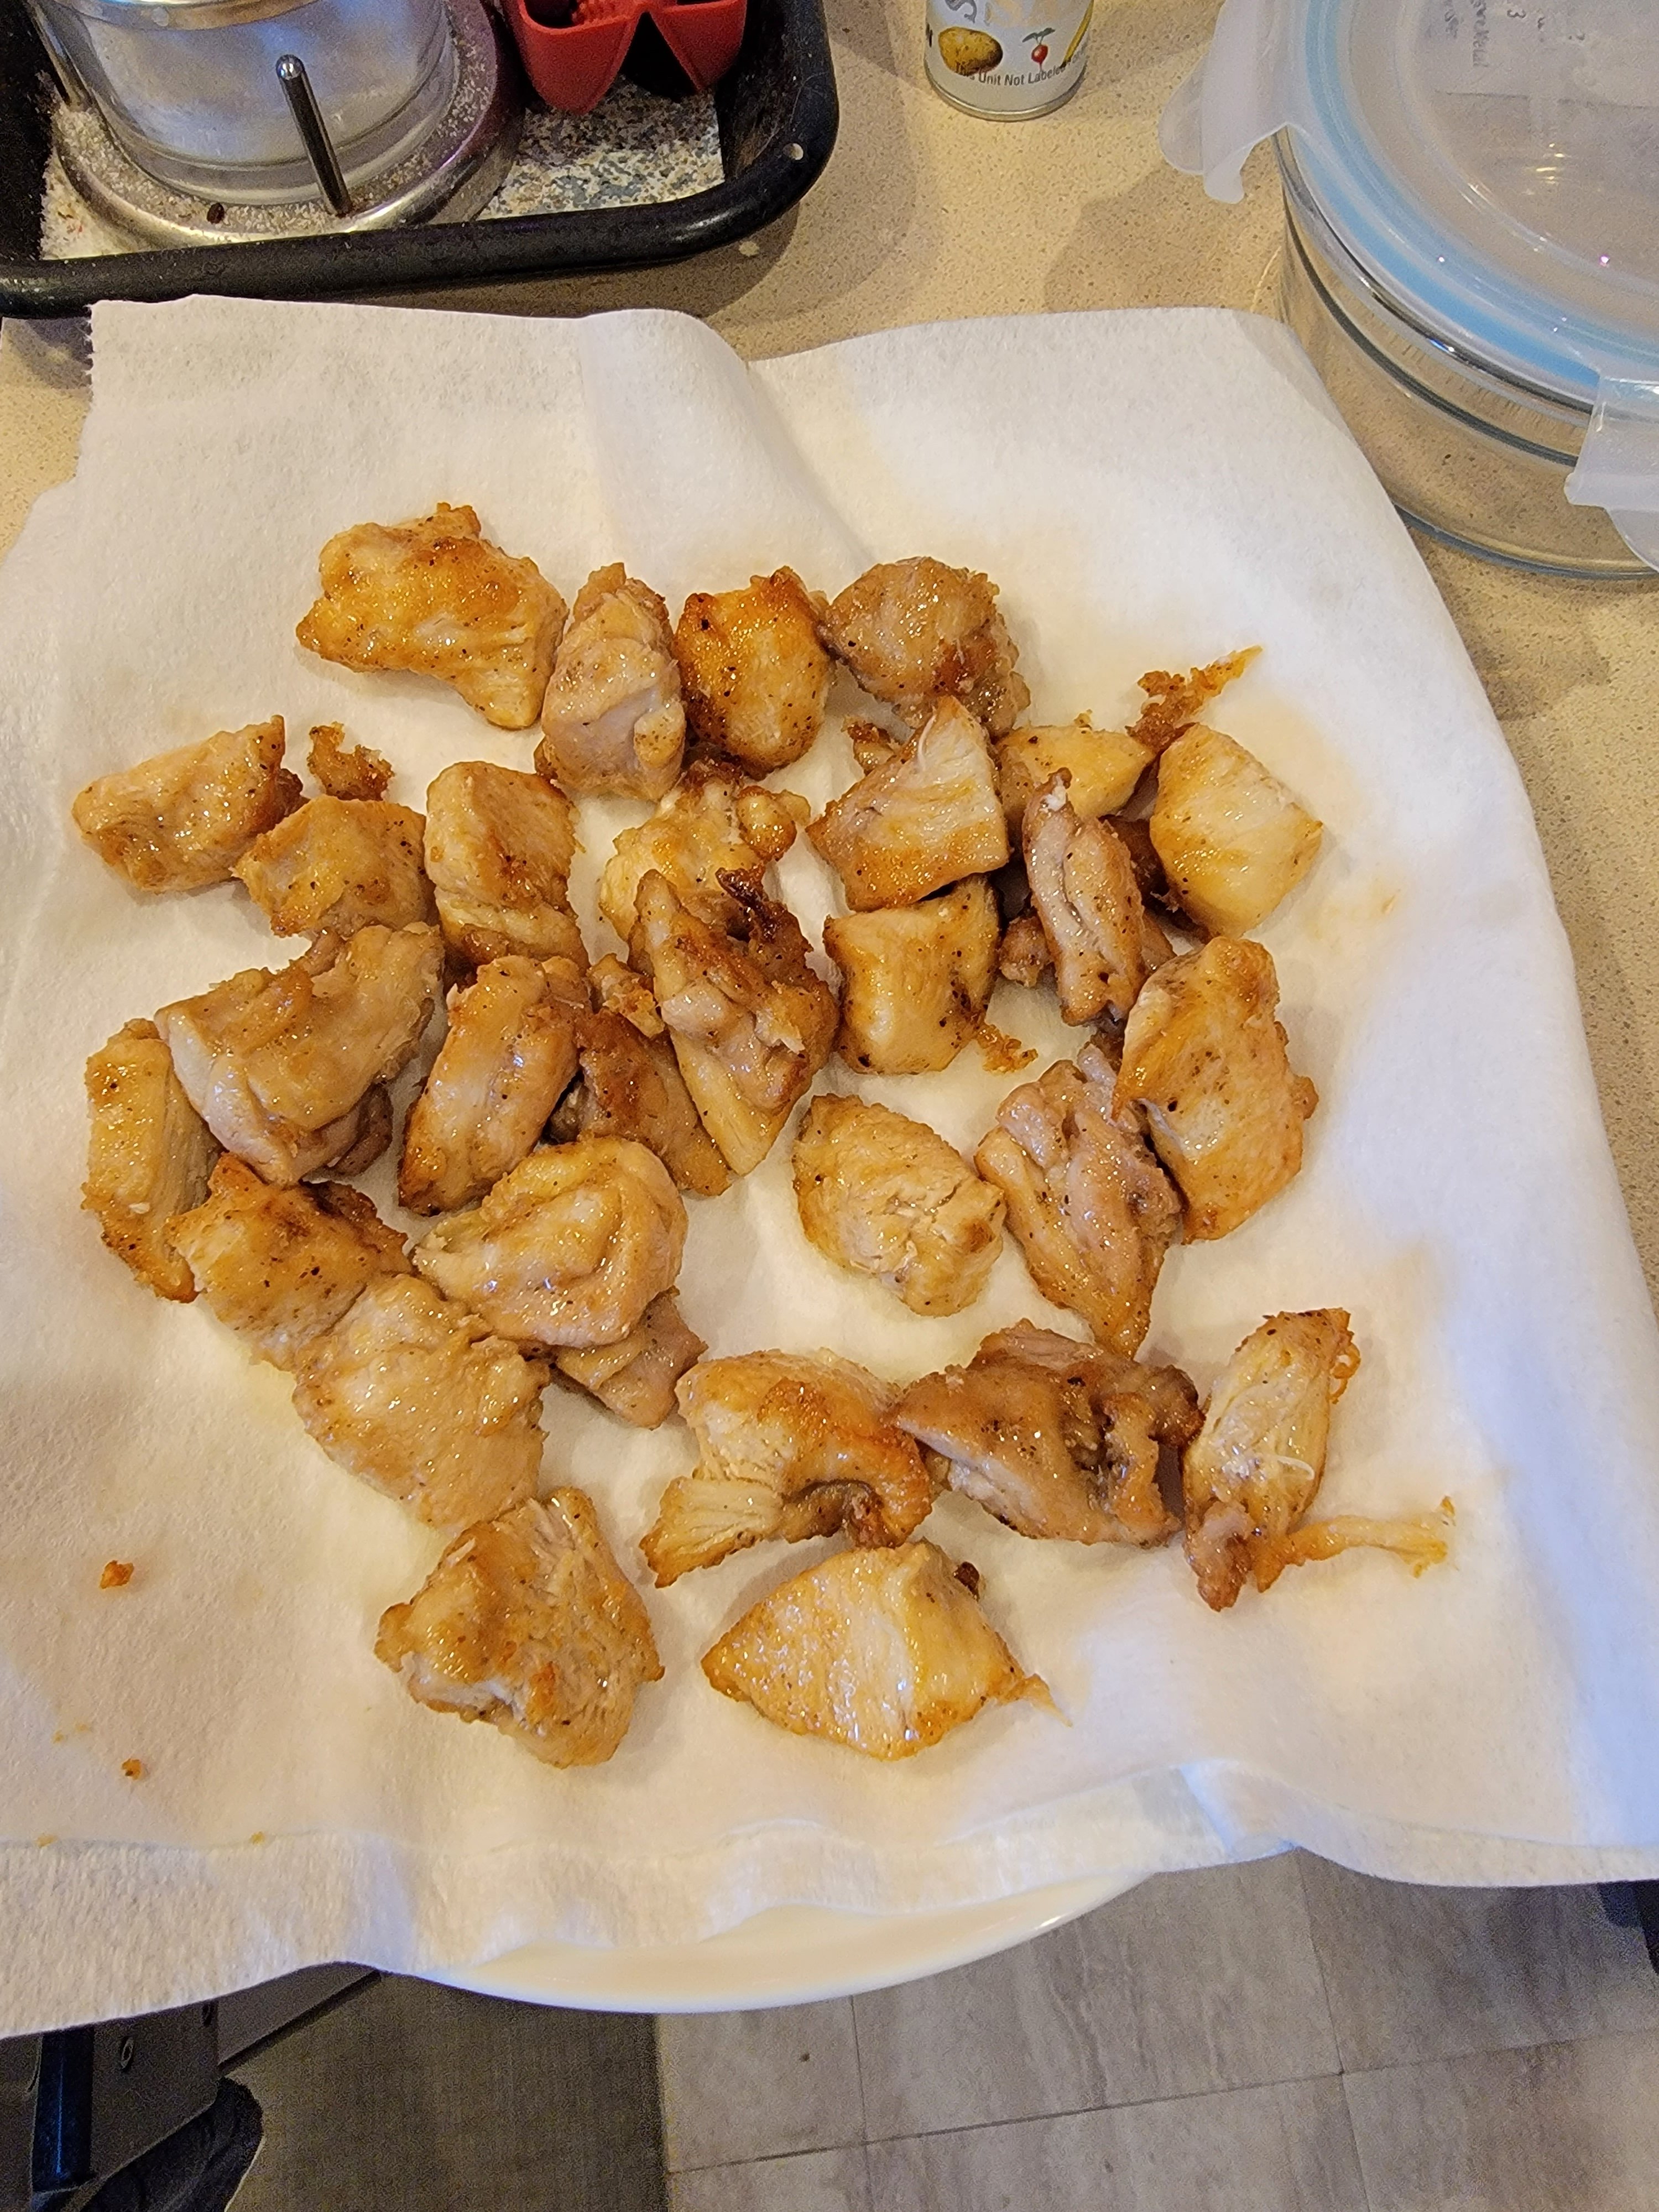
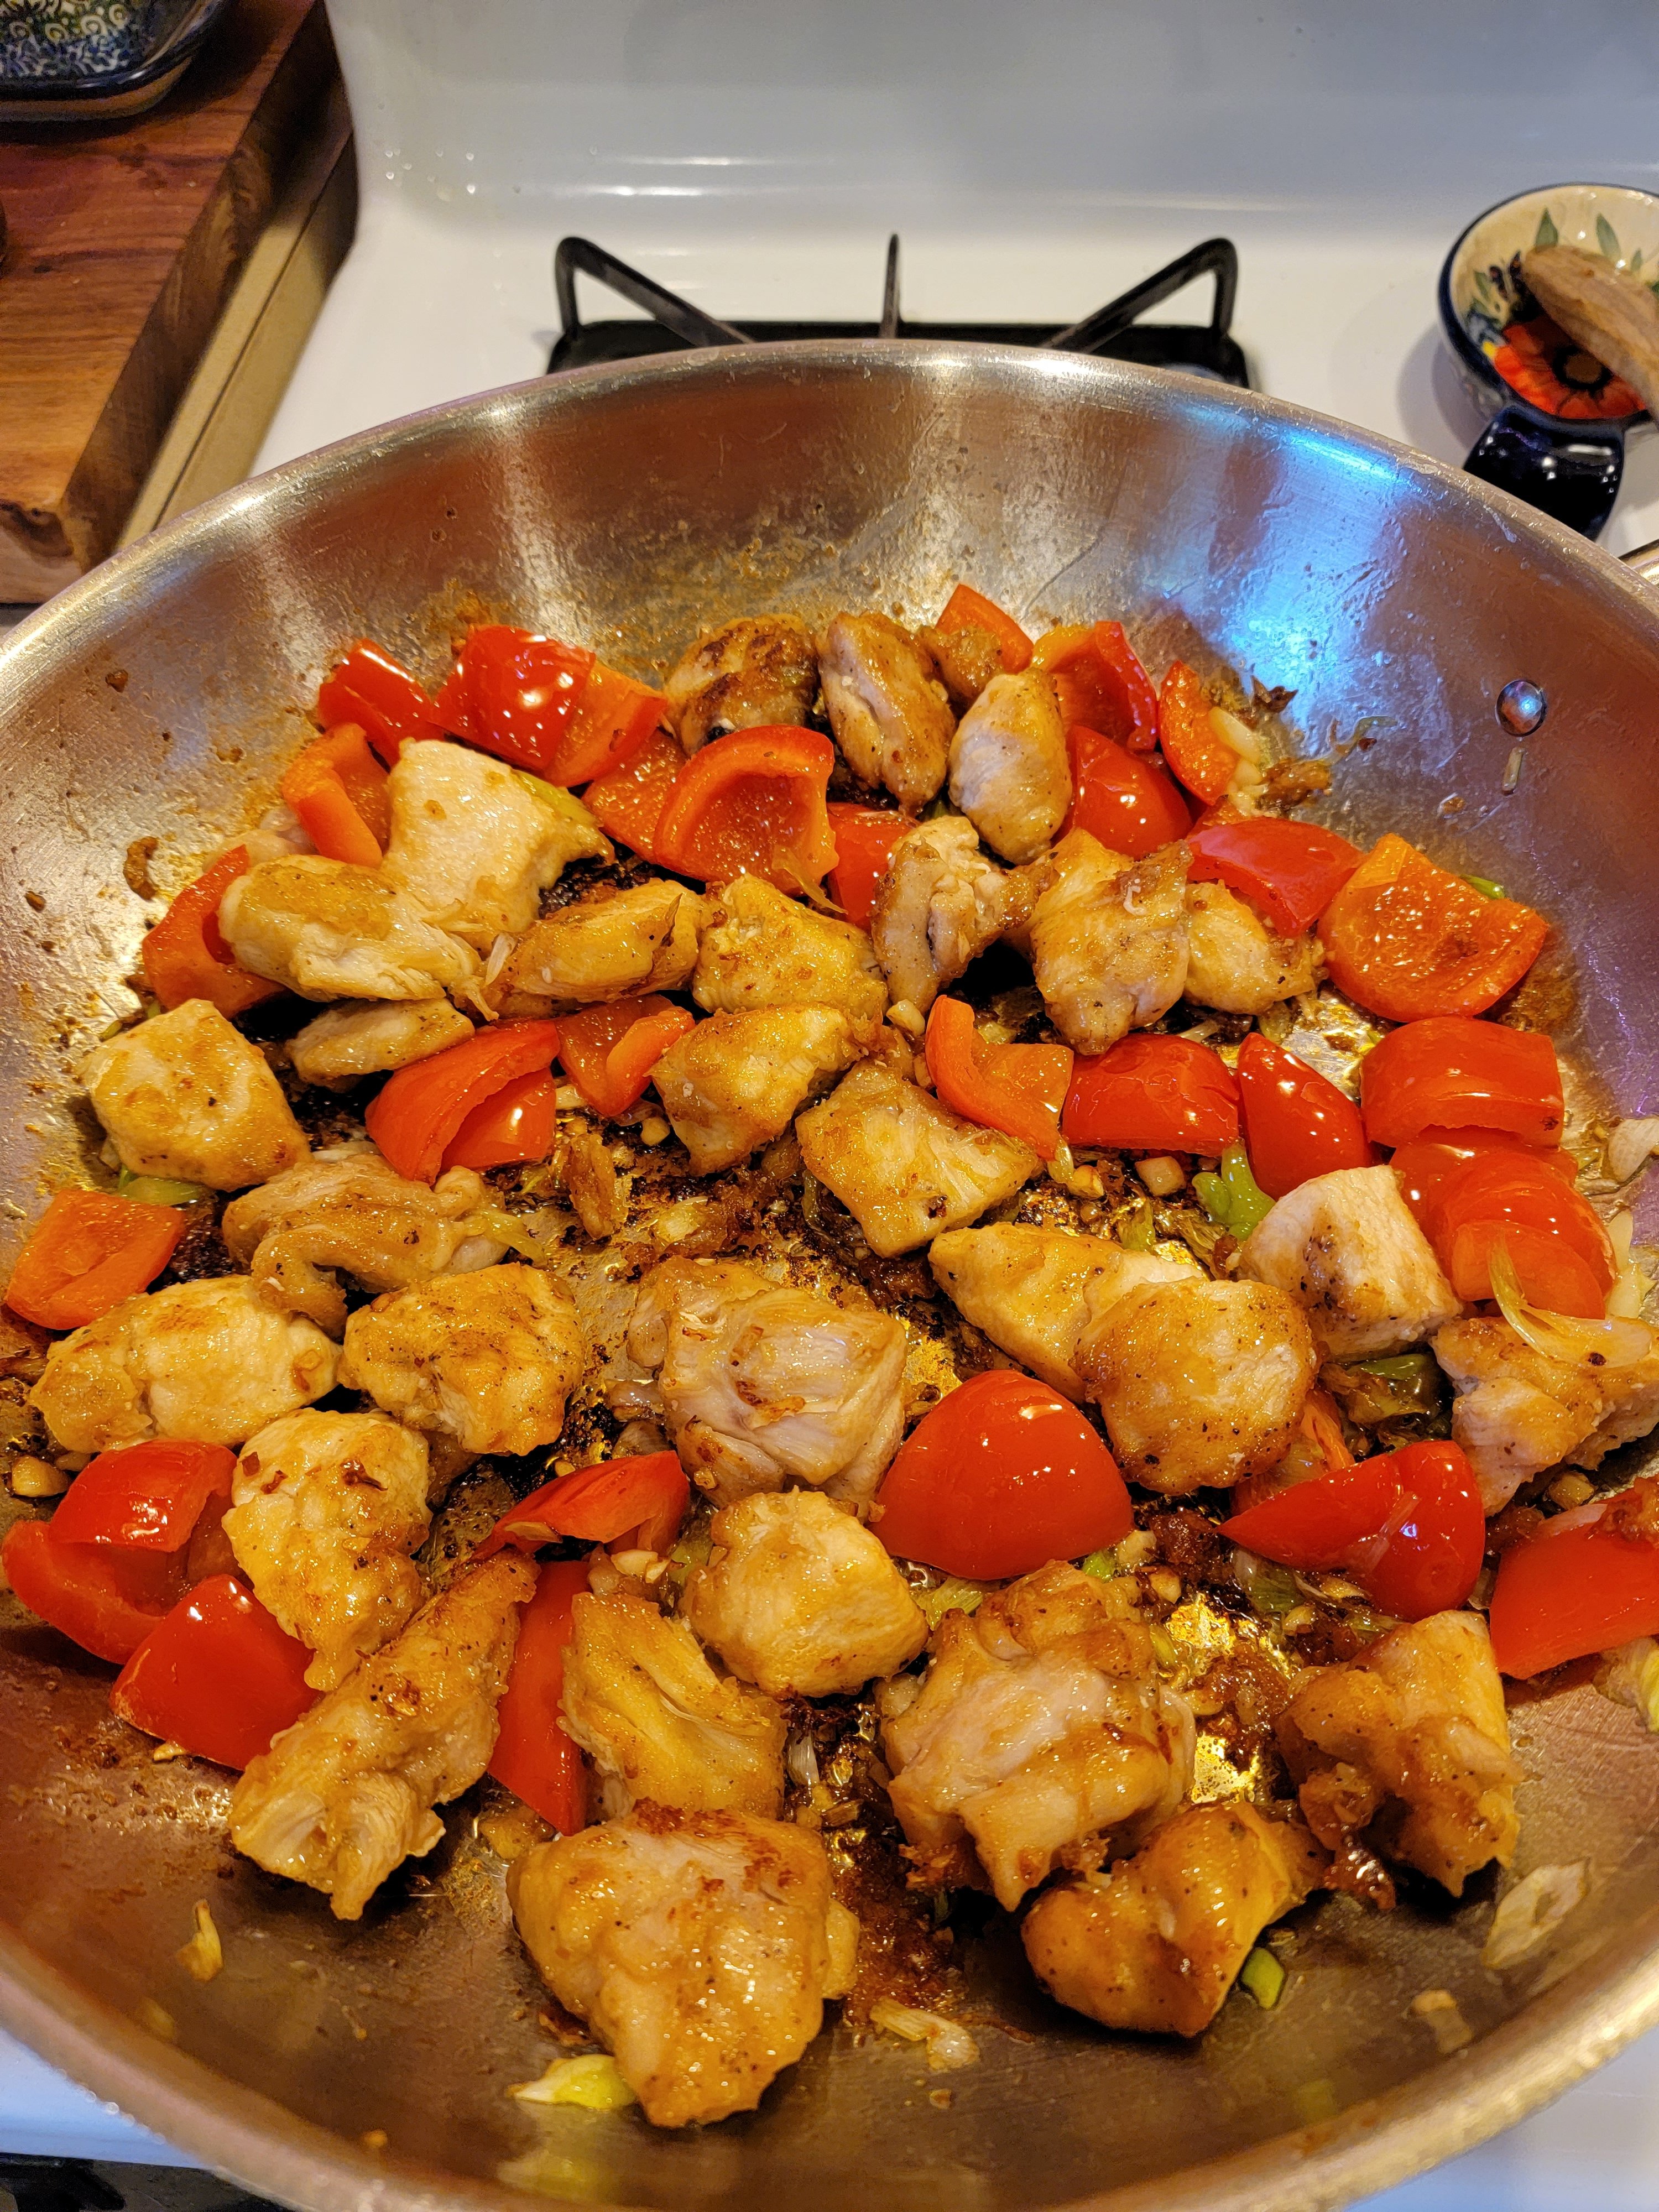
Put a large frying pan over medium high heat and add the 3 tbsp of vegetable oil. Once it is hot enough (you can test it by putting a small piece of chicken in and if it sounds like a raucous applause it is ready) add the chicken in a single layer. Let the chicken sit and cook for about 5 minutes. Once it crisps up it will release from the bottom of the pan and easily flip over. If it isn’t easily coming off the bottom of the pan, give it another minute or two and try again. If you yank it off too soon it’ll rip the crispy crust right off. Once you flip all the chicken let it cook for another 5 or 6 minutes. At this point you’ll notice the chicken is starting to get brown but not quite crispy yet. That’s okay. We’re going to cook it again later. Once you are happy with the color of your chicken take it out and put it on a plate with some paper towel.

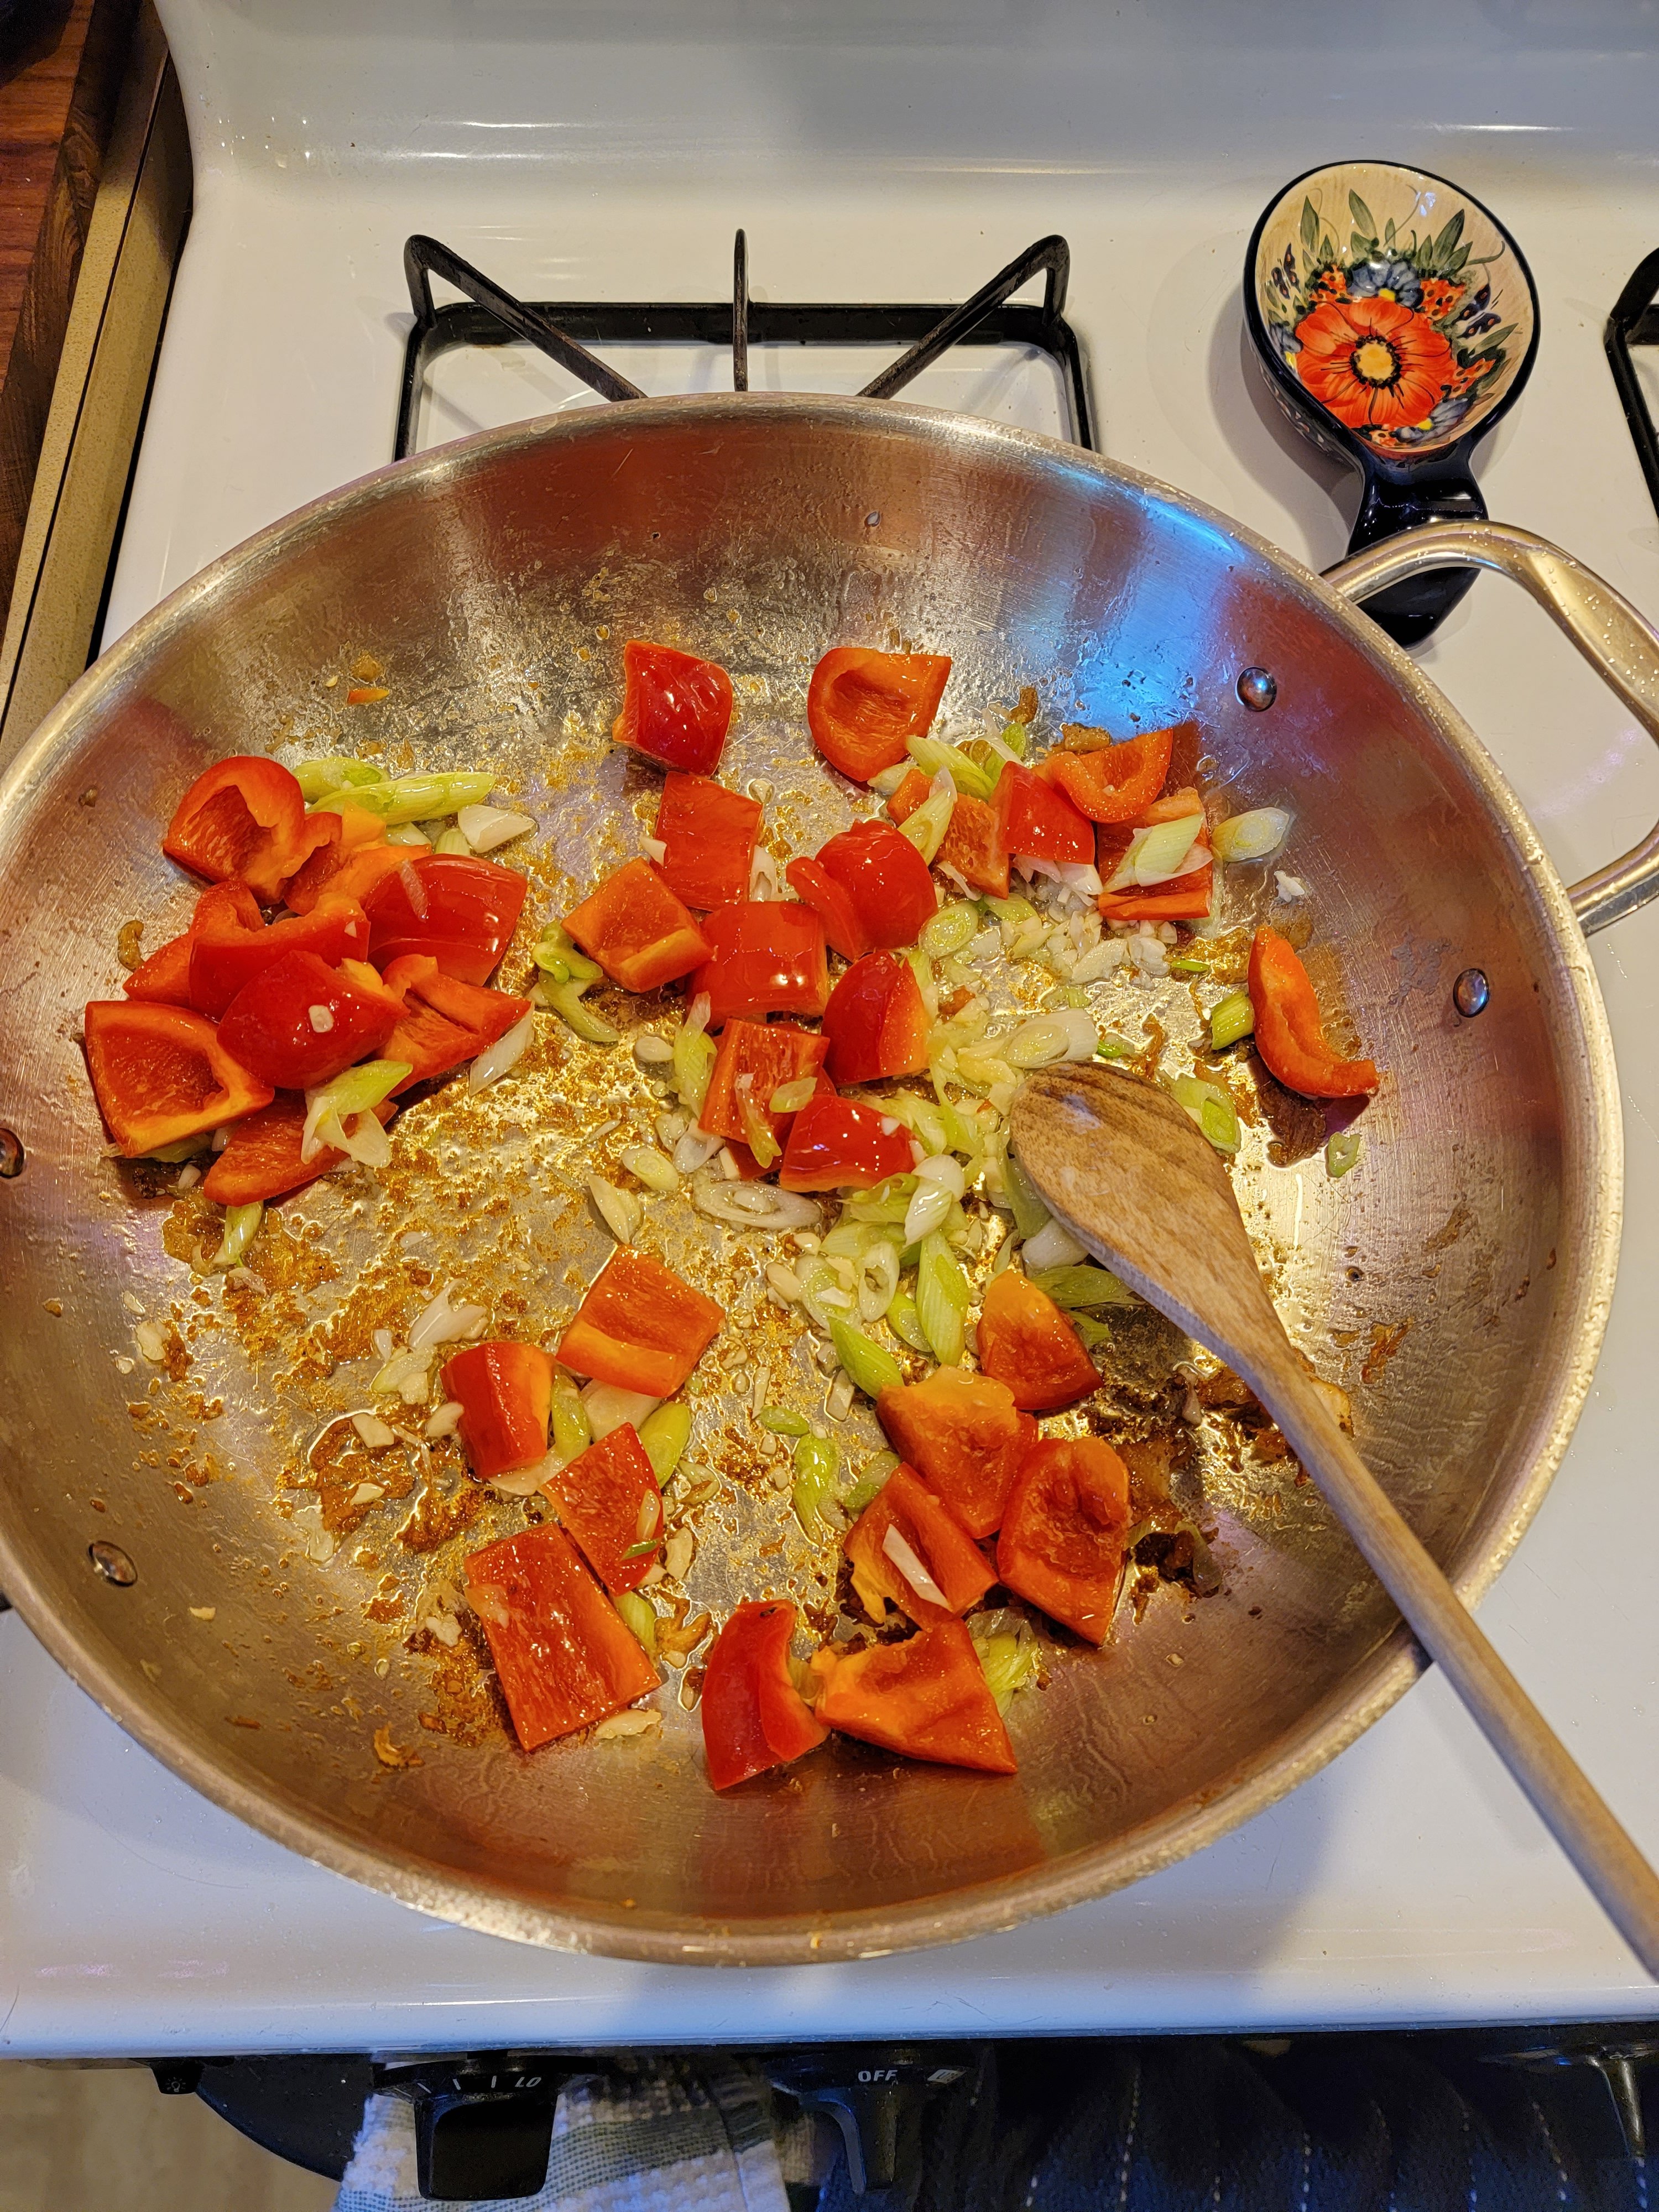
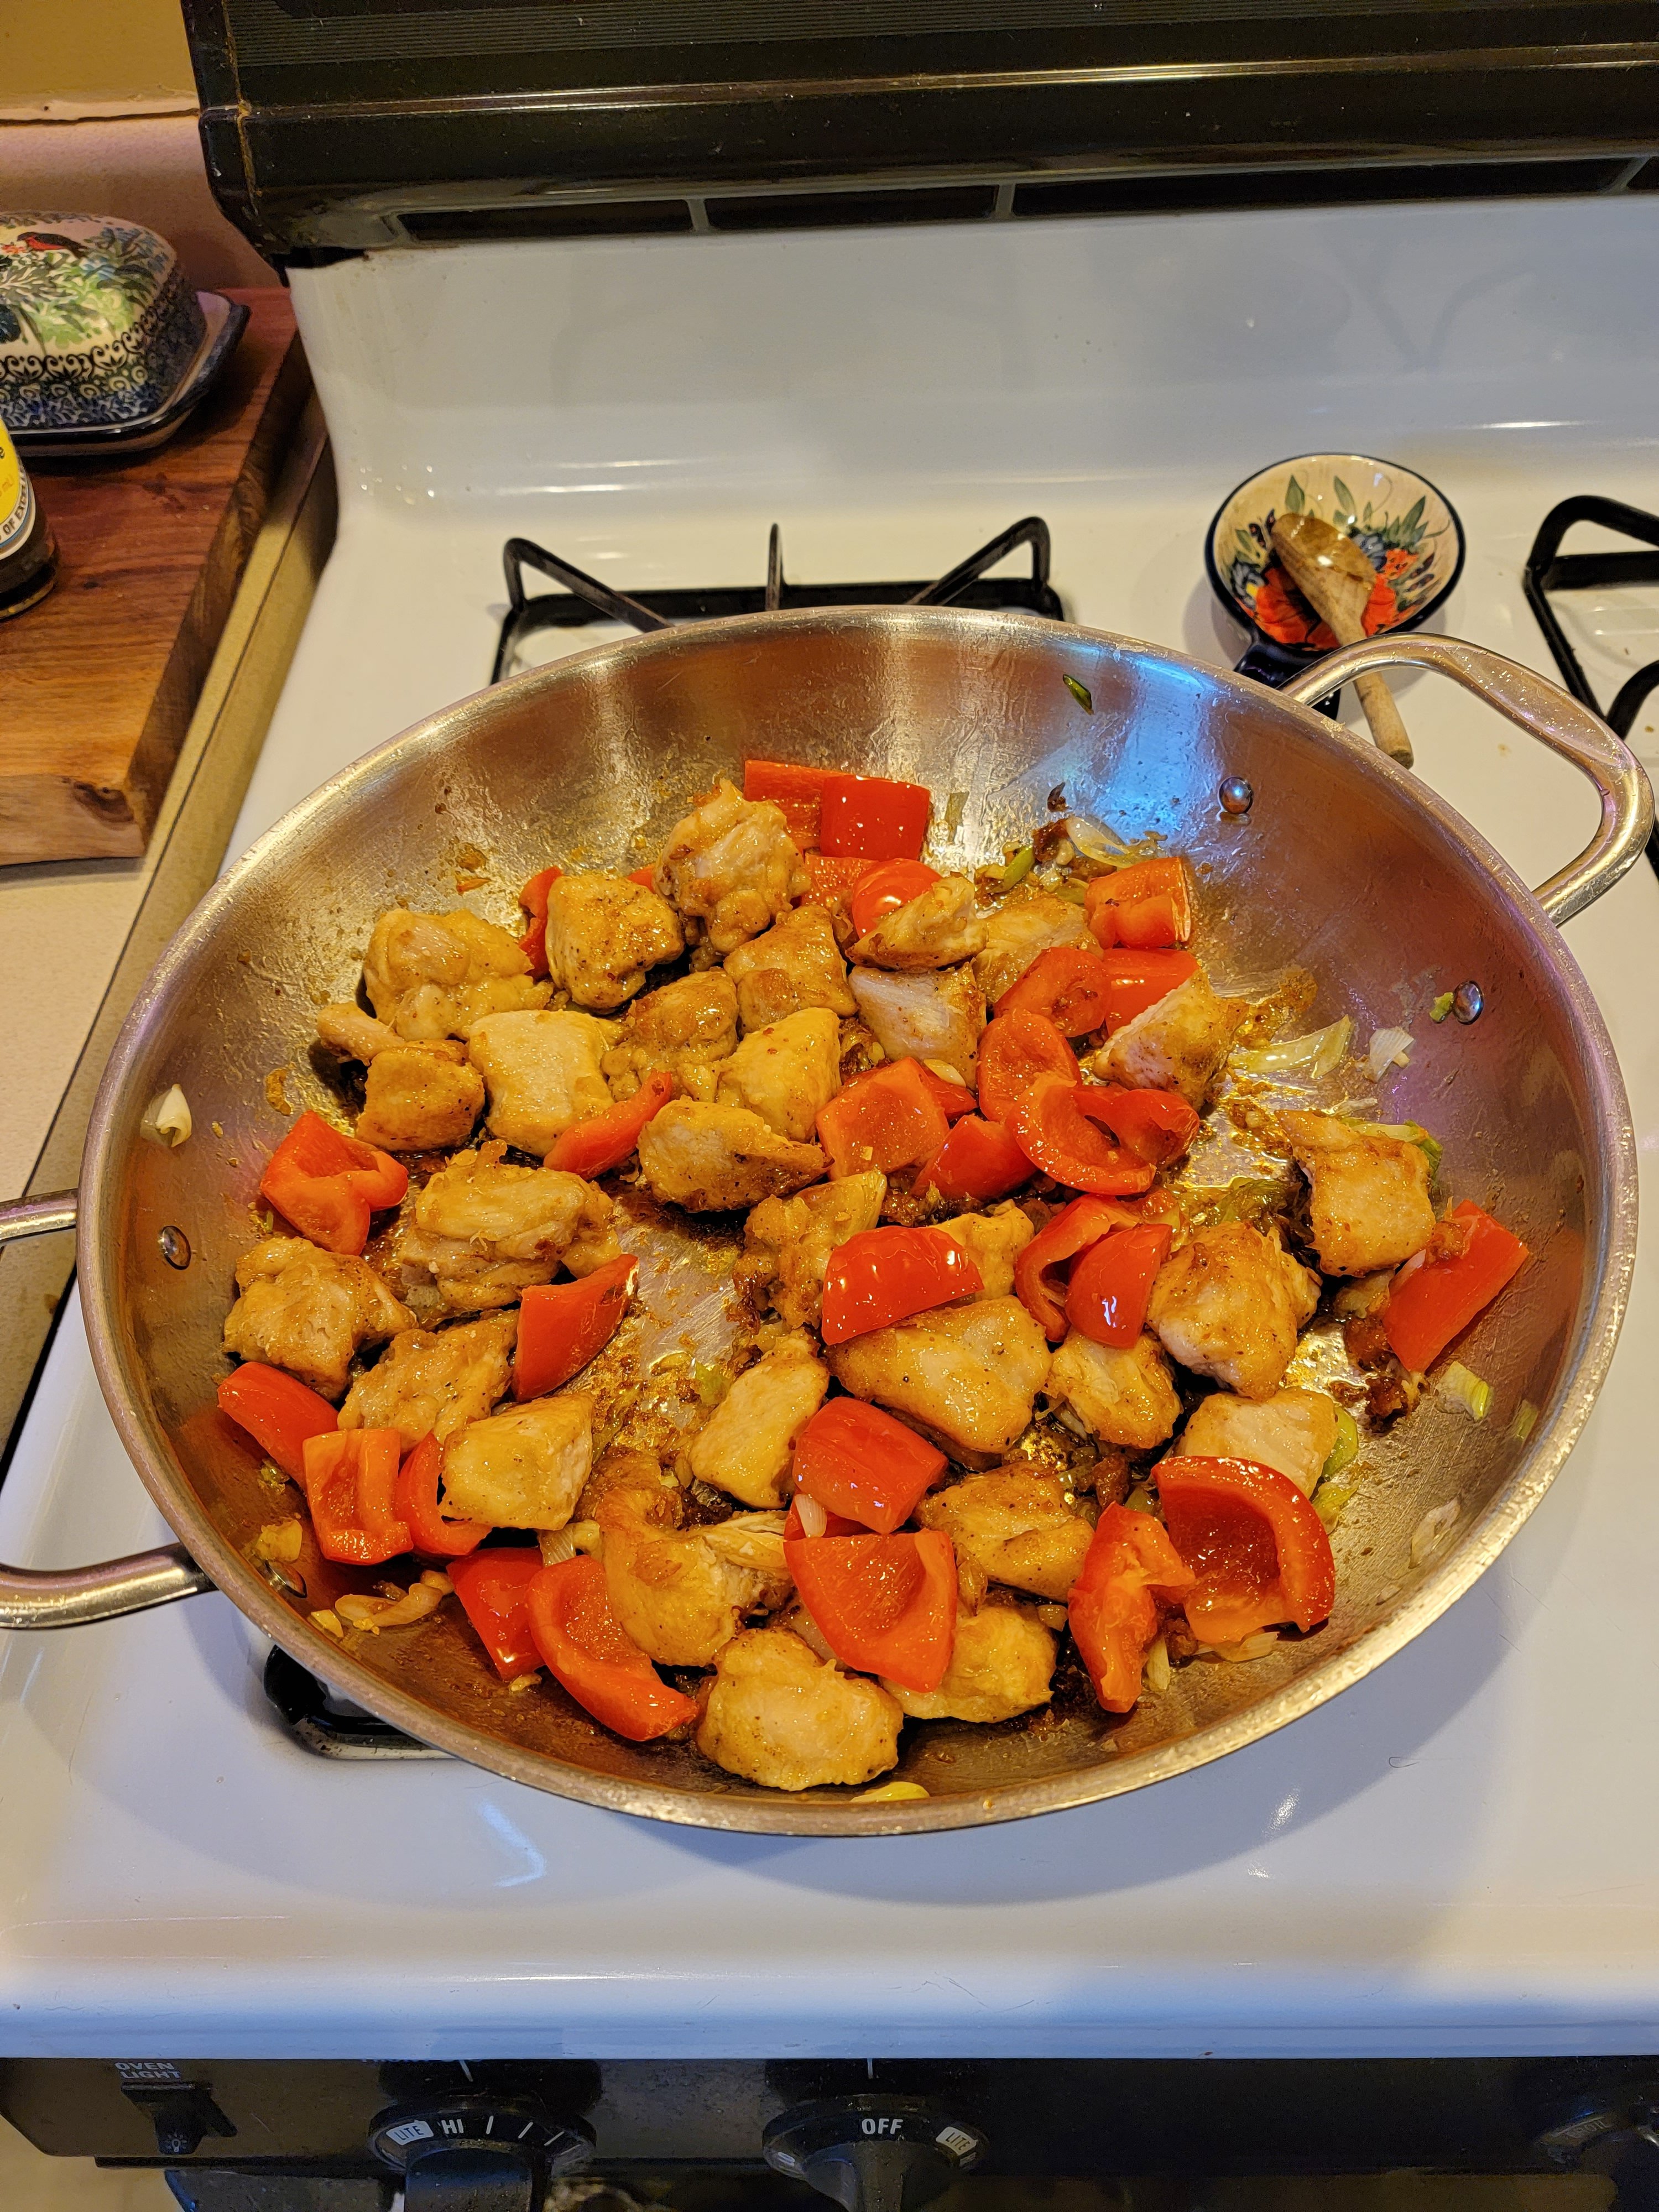
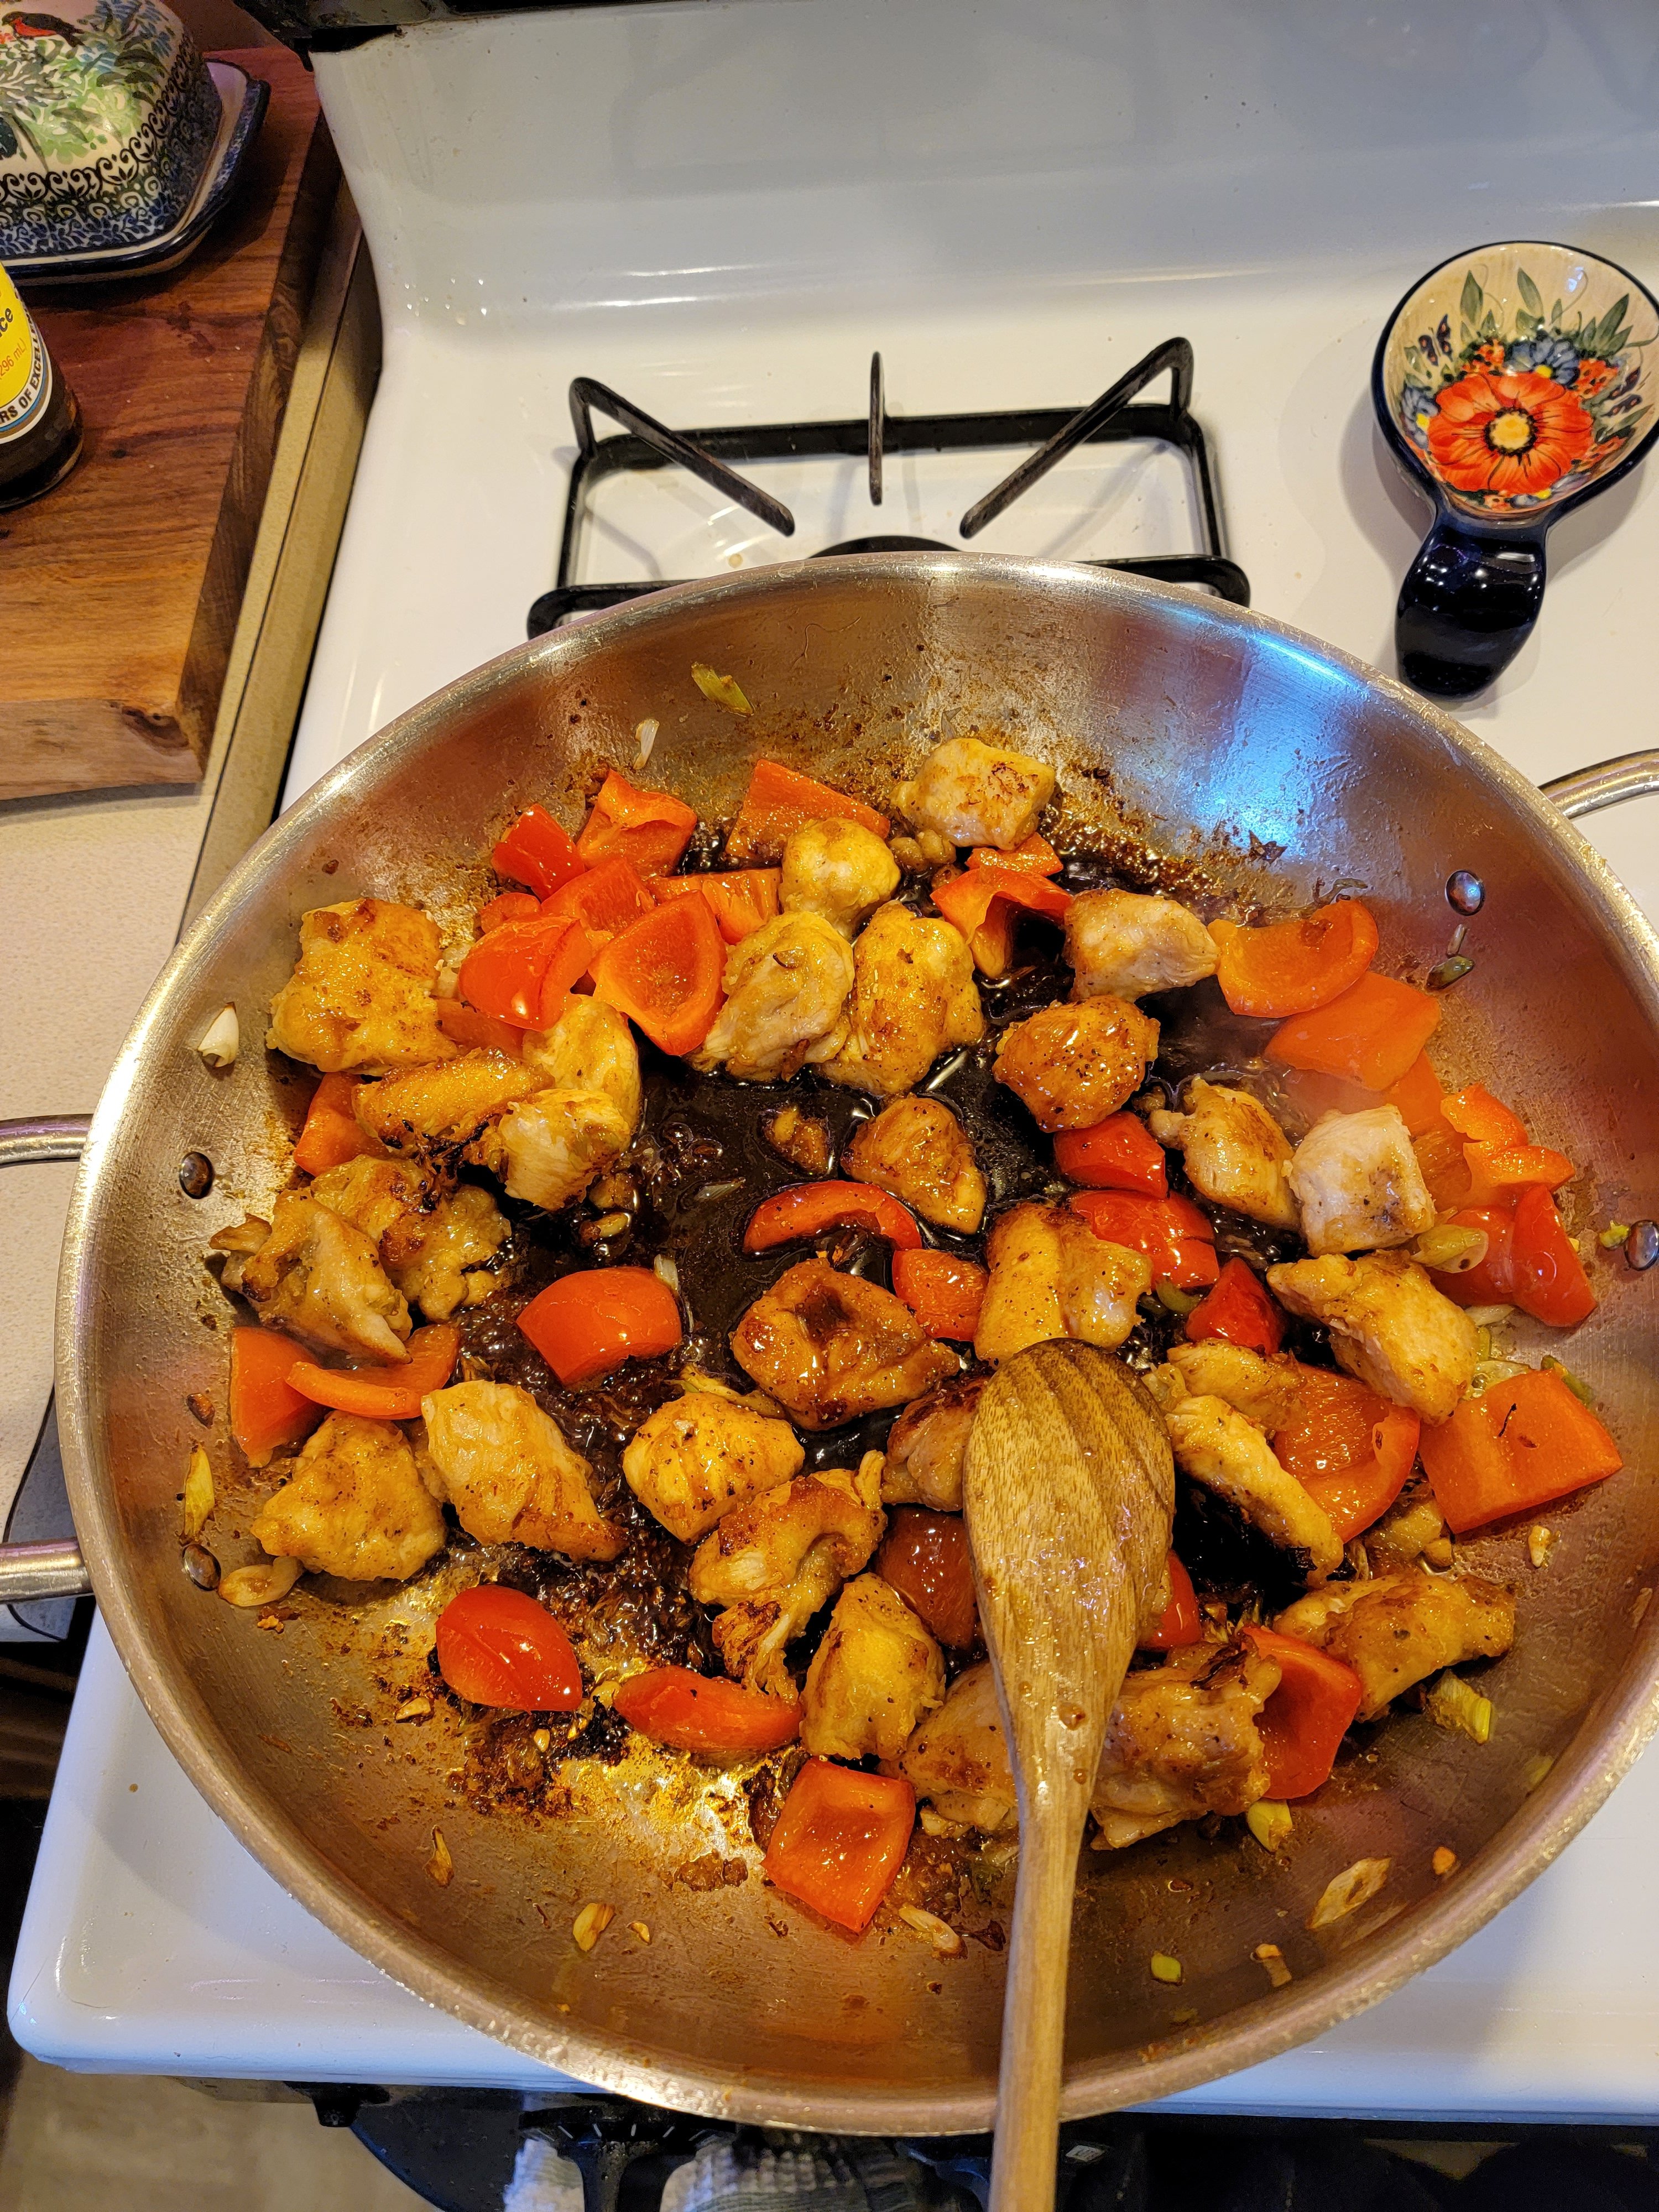
Now add the veggies right to the same pan. Keep moving them around so the garlic doesn’t burn up. After about 5 minutes, or when the peppers are cooked to your liking, add the mirin and scrape off some of the brown bits from the bottom of the pan. They will mix into your sauce and make it extra tasty. Now, turn the heat up to high and add the chicken back to the pan. Like before, let the chicken sit for about 2 or 3 minutes so it crisps up and then flip it and let it sit for another minute or two so the other side crisps up.

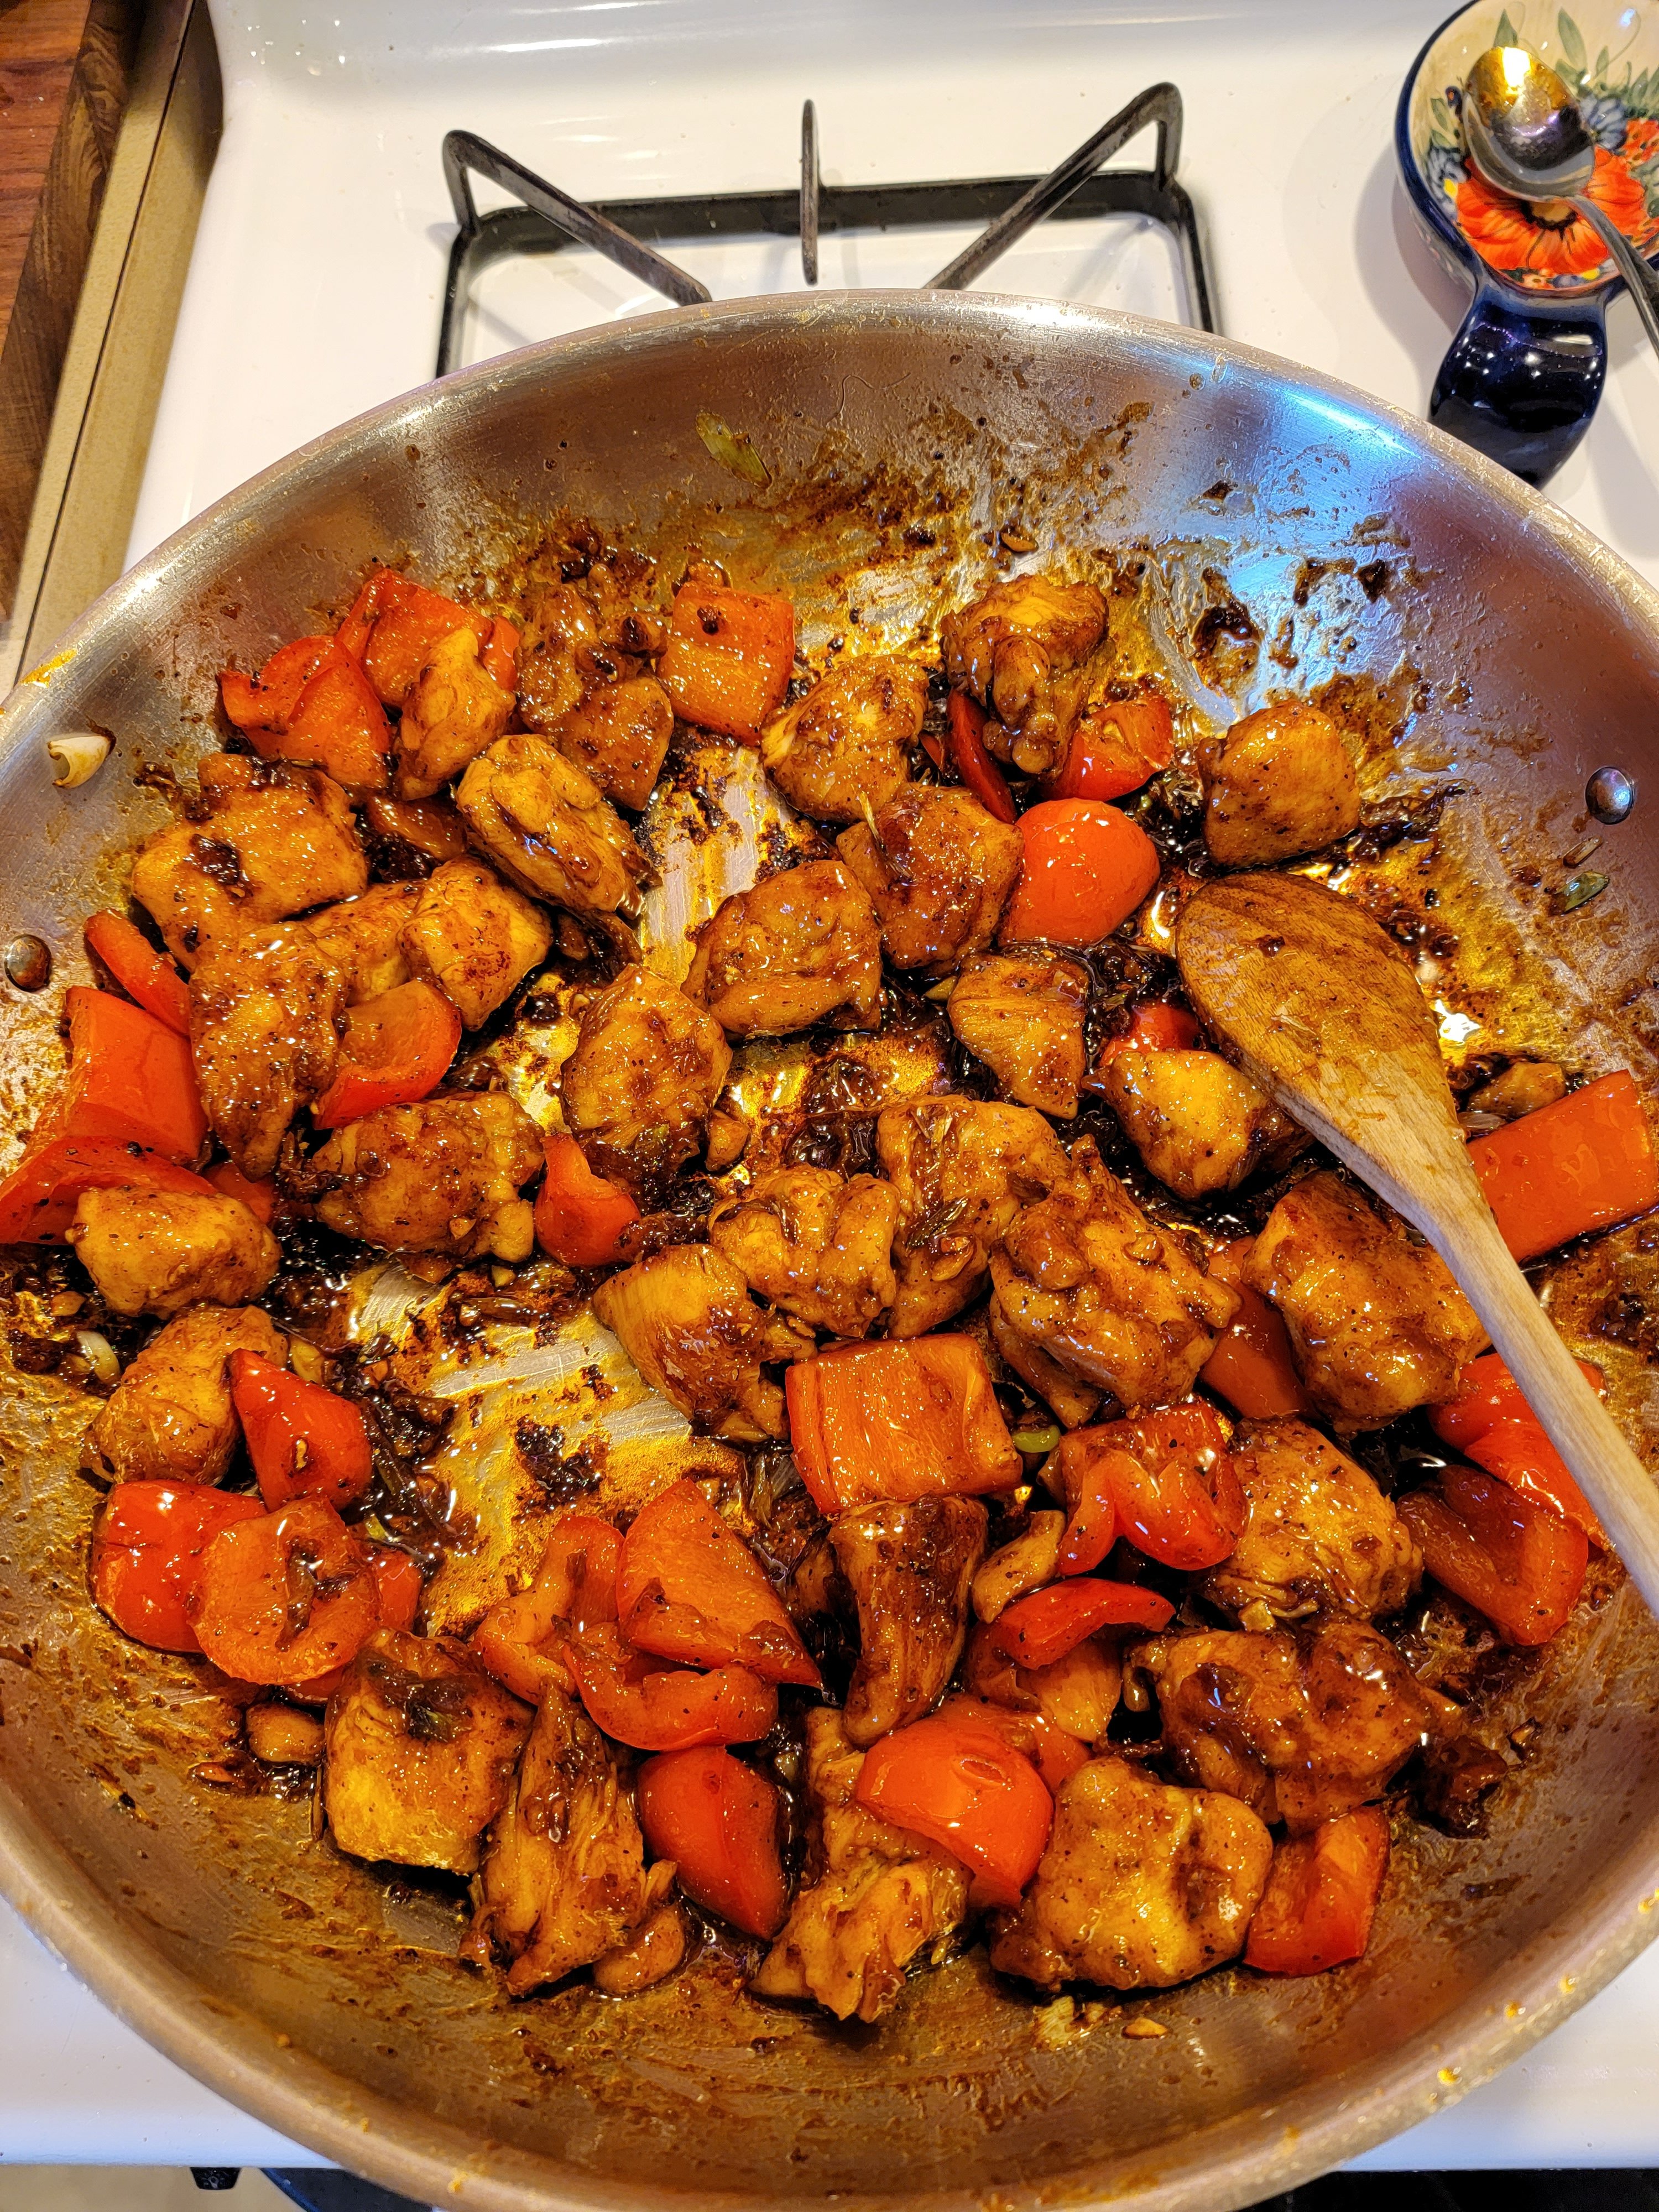
Once the chicken crisps up, reduce the heat to medium low and add the sauce. The sauce will start to thicken up pretty quickly so mix it around quickly so it coats all the chicken and peppers.

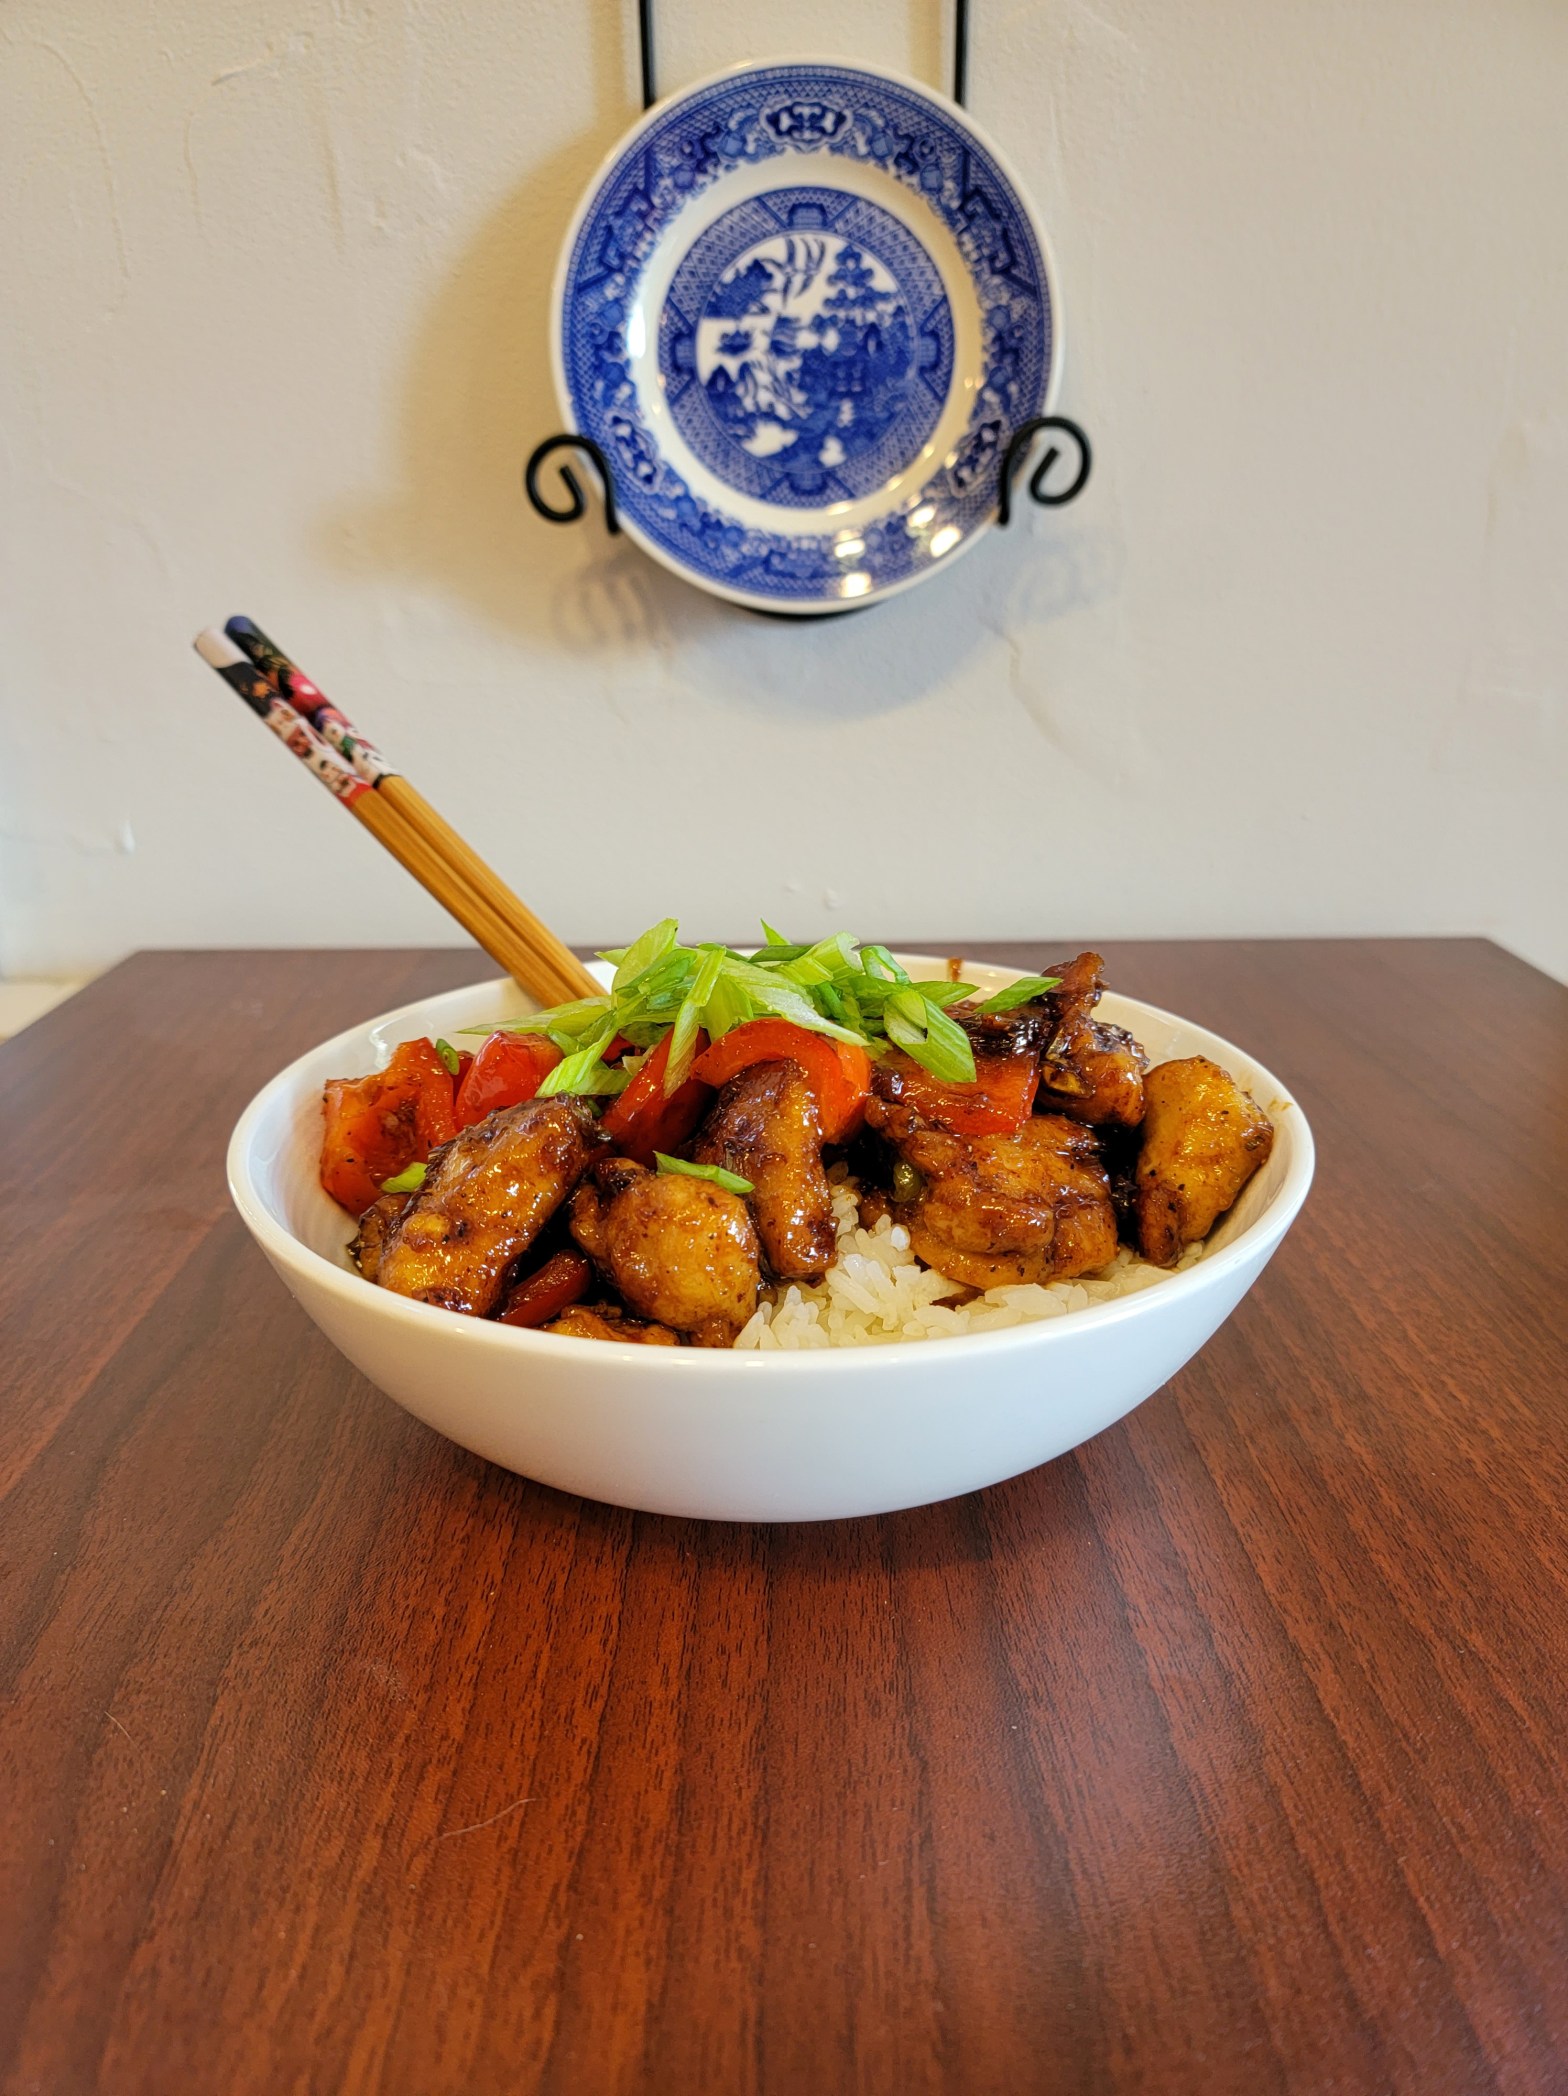
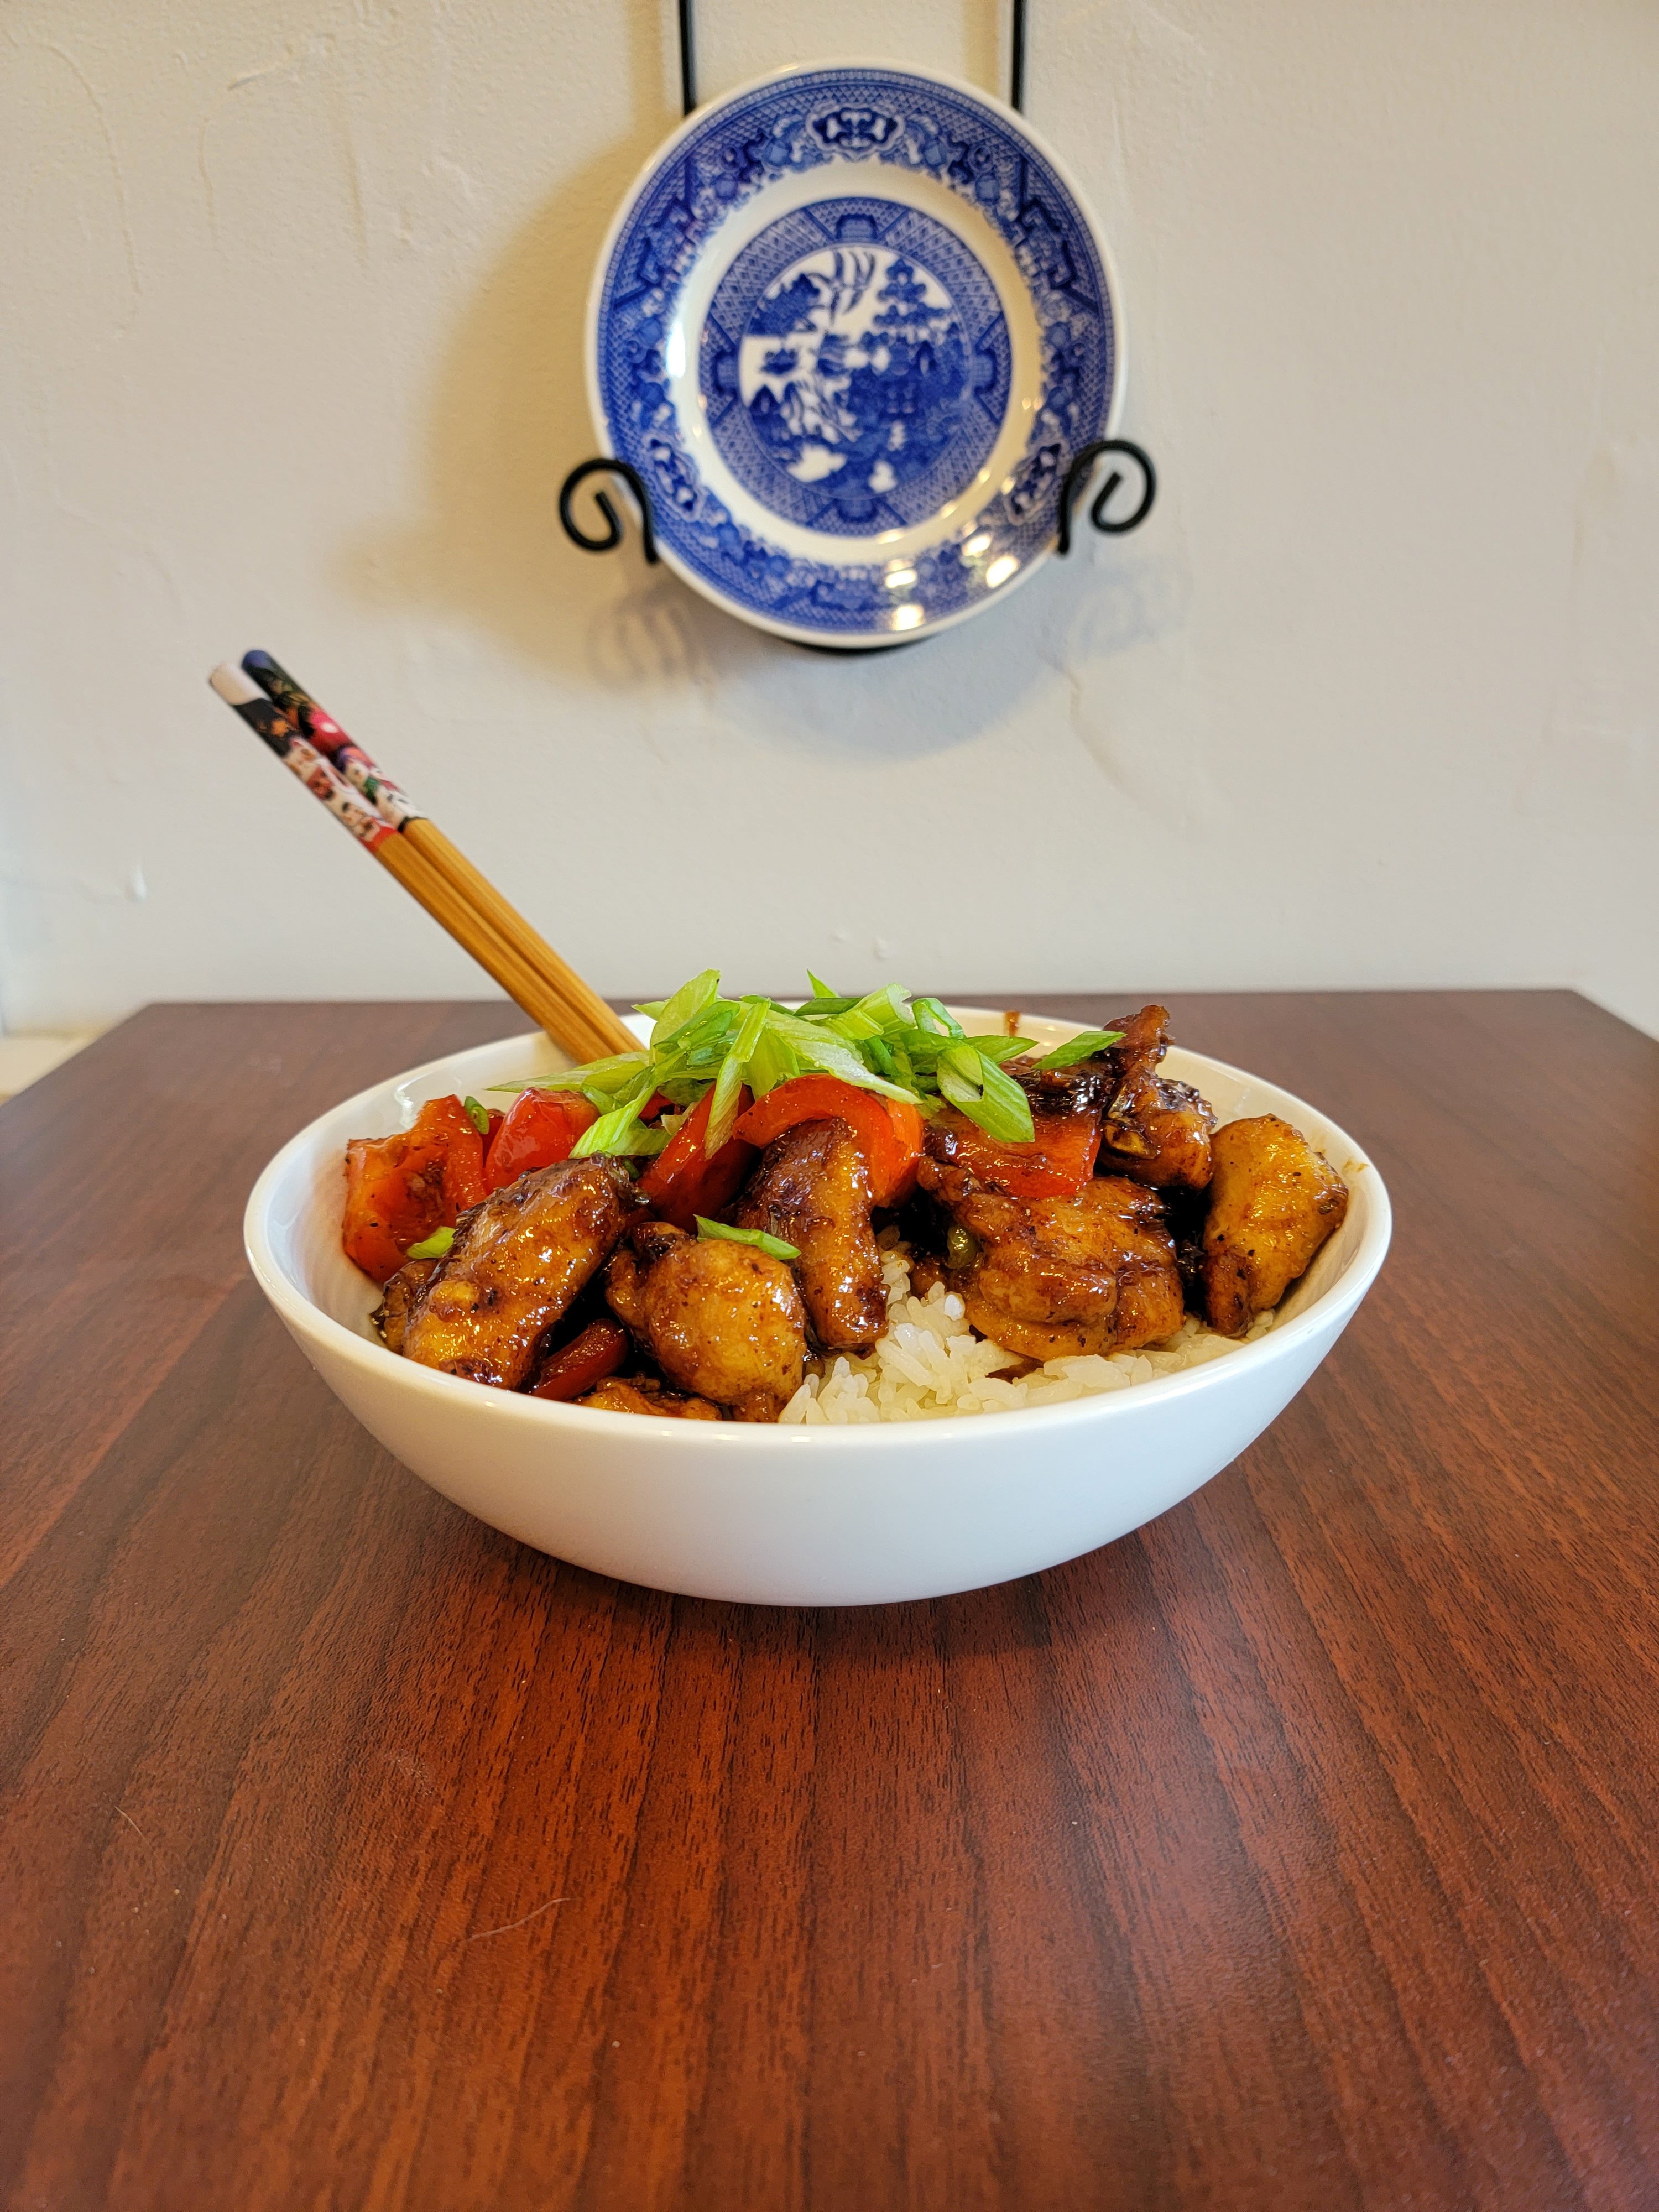
That’s just about it! Pour the pepper chicken over some rice and top it with the chopped scallion greens we put aside earlier.

I hope you enjoy this dish as much as we do. I’ve made this many times before and have been tweaking the recipe here and there. I can finally say this tastes exactly like the one I used to get at the Chinese buffet back at home!

If you try this recipe out let us know if you have any questions and share your pictures!

Turkey Salisbury Steaks with Onion Gravy

Is there anything more nostalgic than a Salisbury Steak? We gave the old school classic a new school twist – ground turkey!

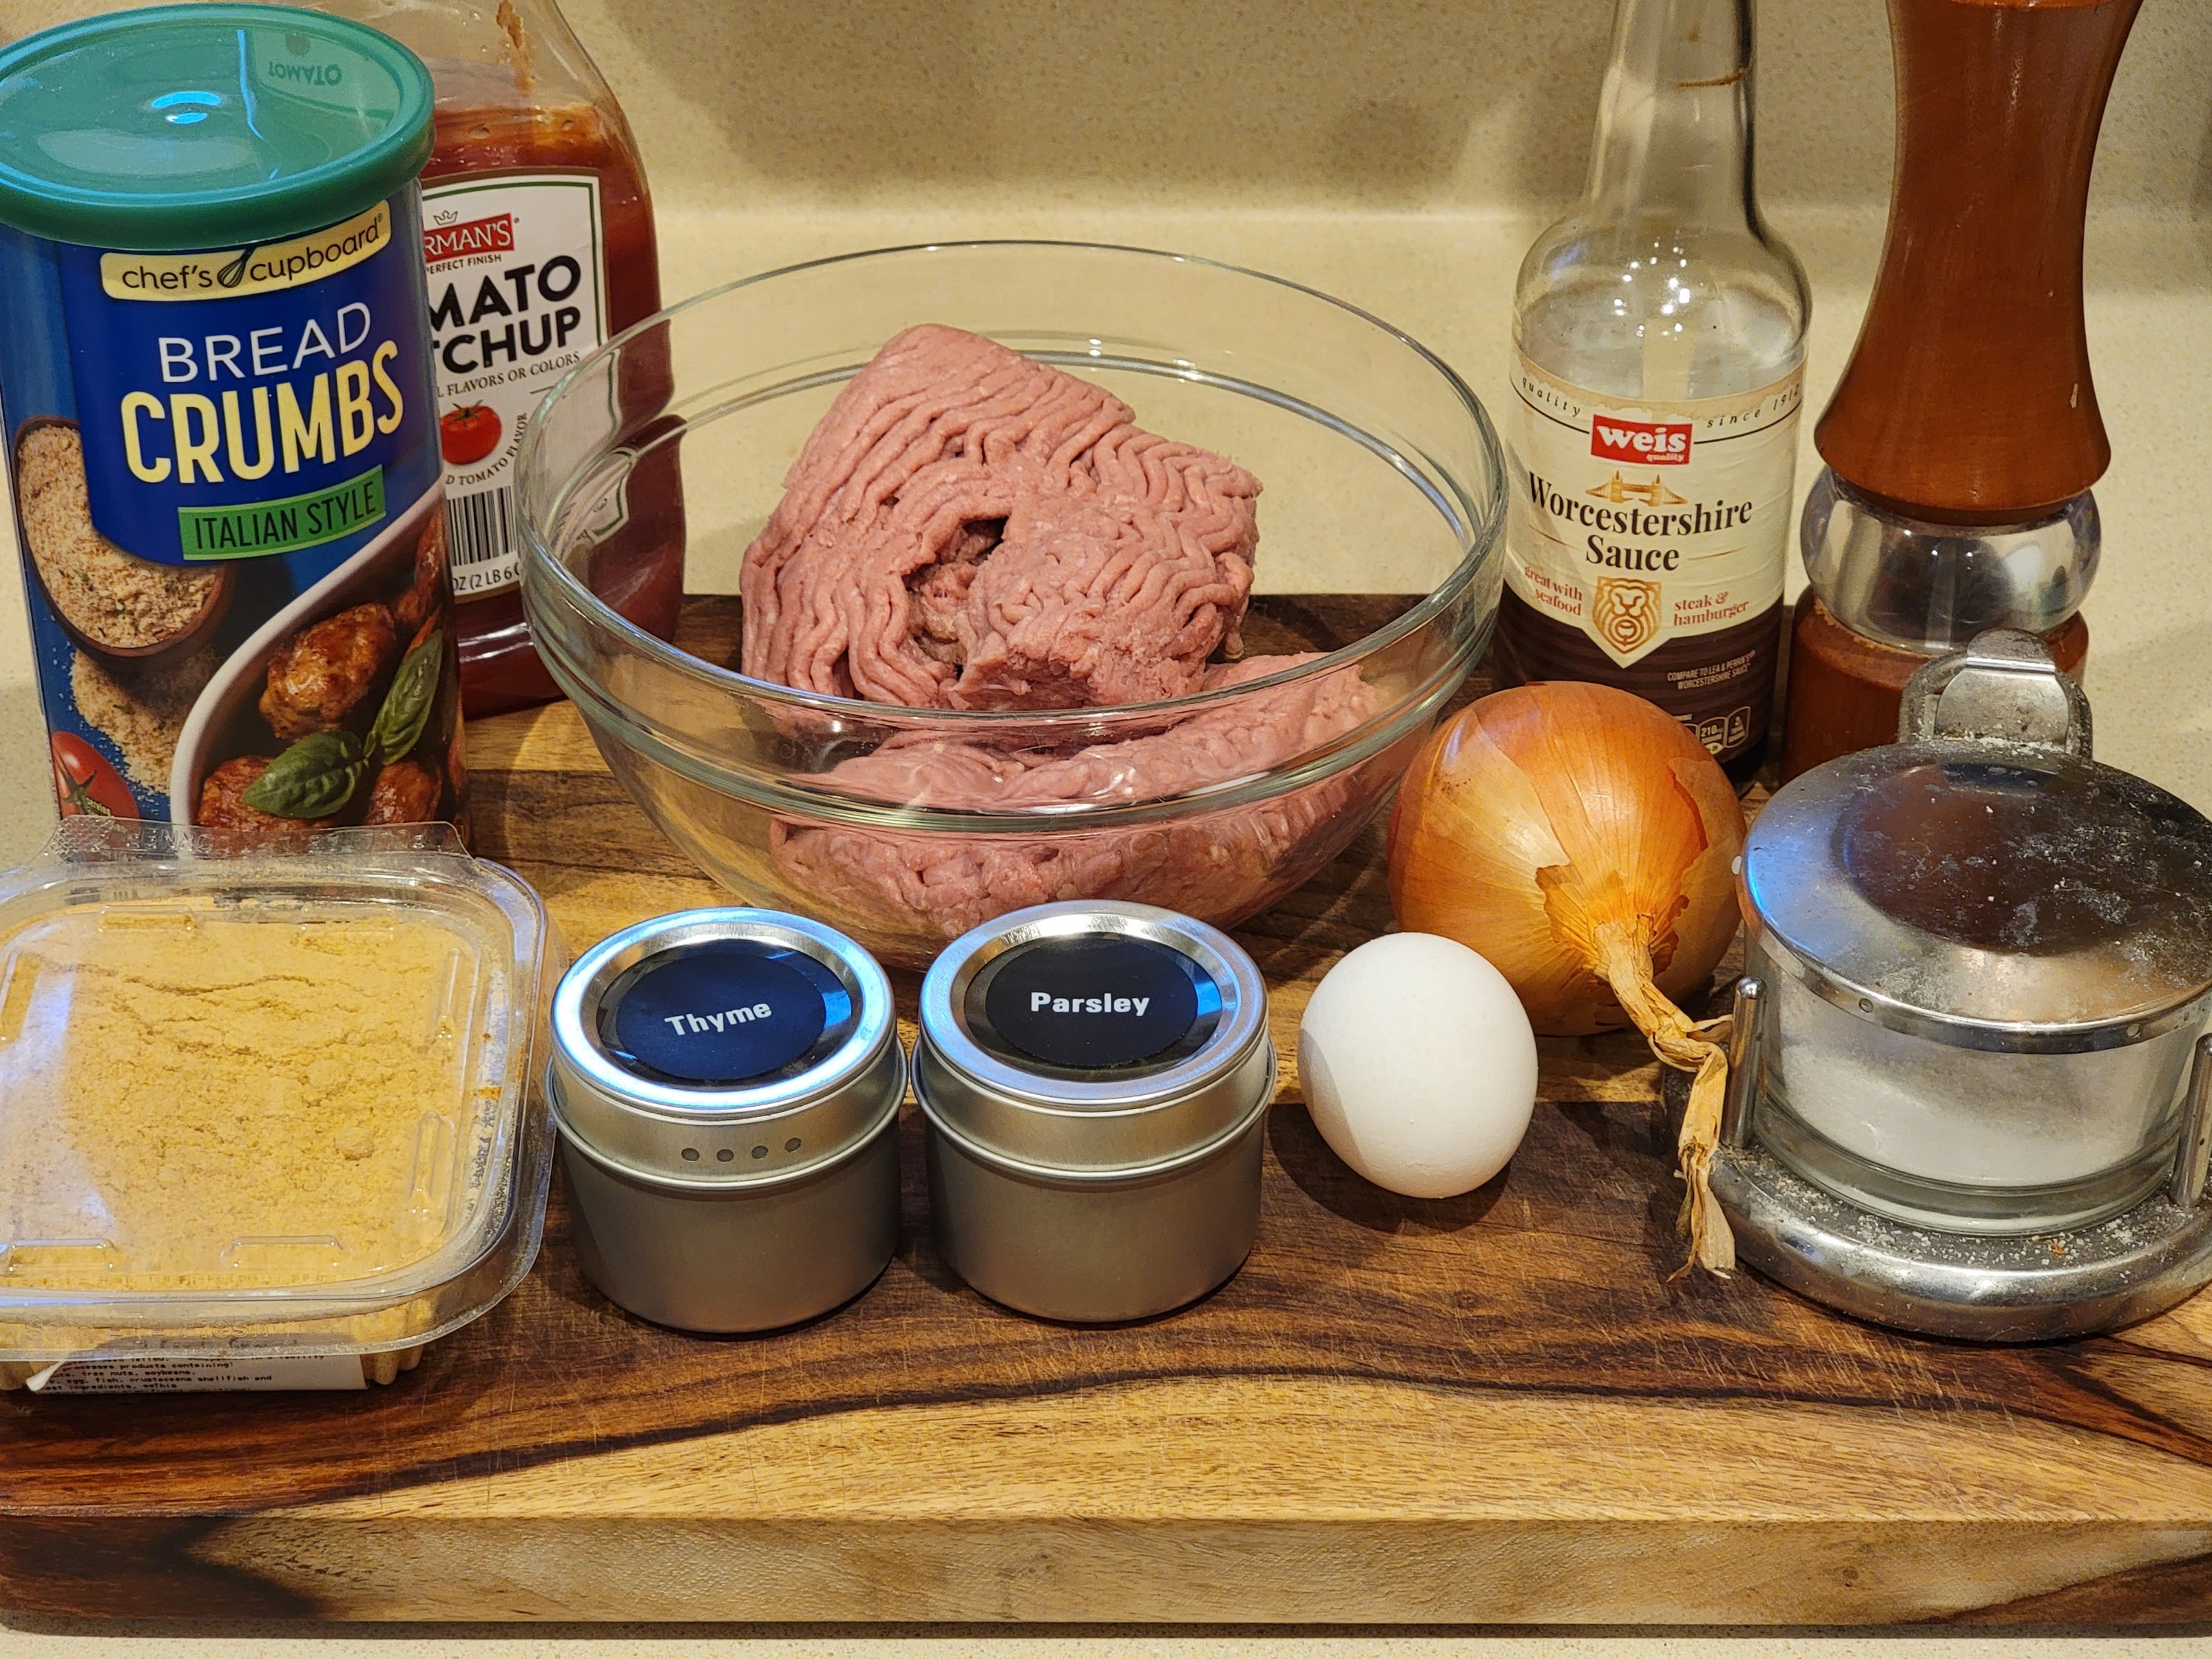
Here’s what you’ll need:

For steaks:

  • 1.2lbs ground turkey
  • 1/3 cup Italian bread crumbs
  • 1 large egg
  • .25 medium onion – diced
  • 1 tbsp ketchup
  • 2 tsp worcestershire sauce
  • 1 tsp mustard powder
  • 1 tsp dry thyme
  • 1 tsp dry parsley
  • Salt and pepper to taste
  • 1 tbsp olive oil

For onion gravy:

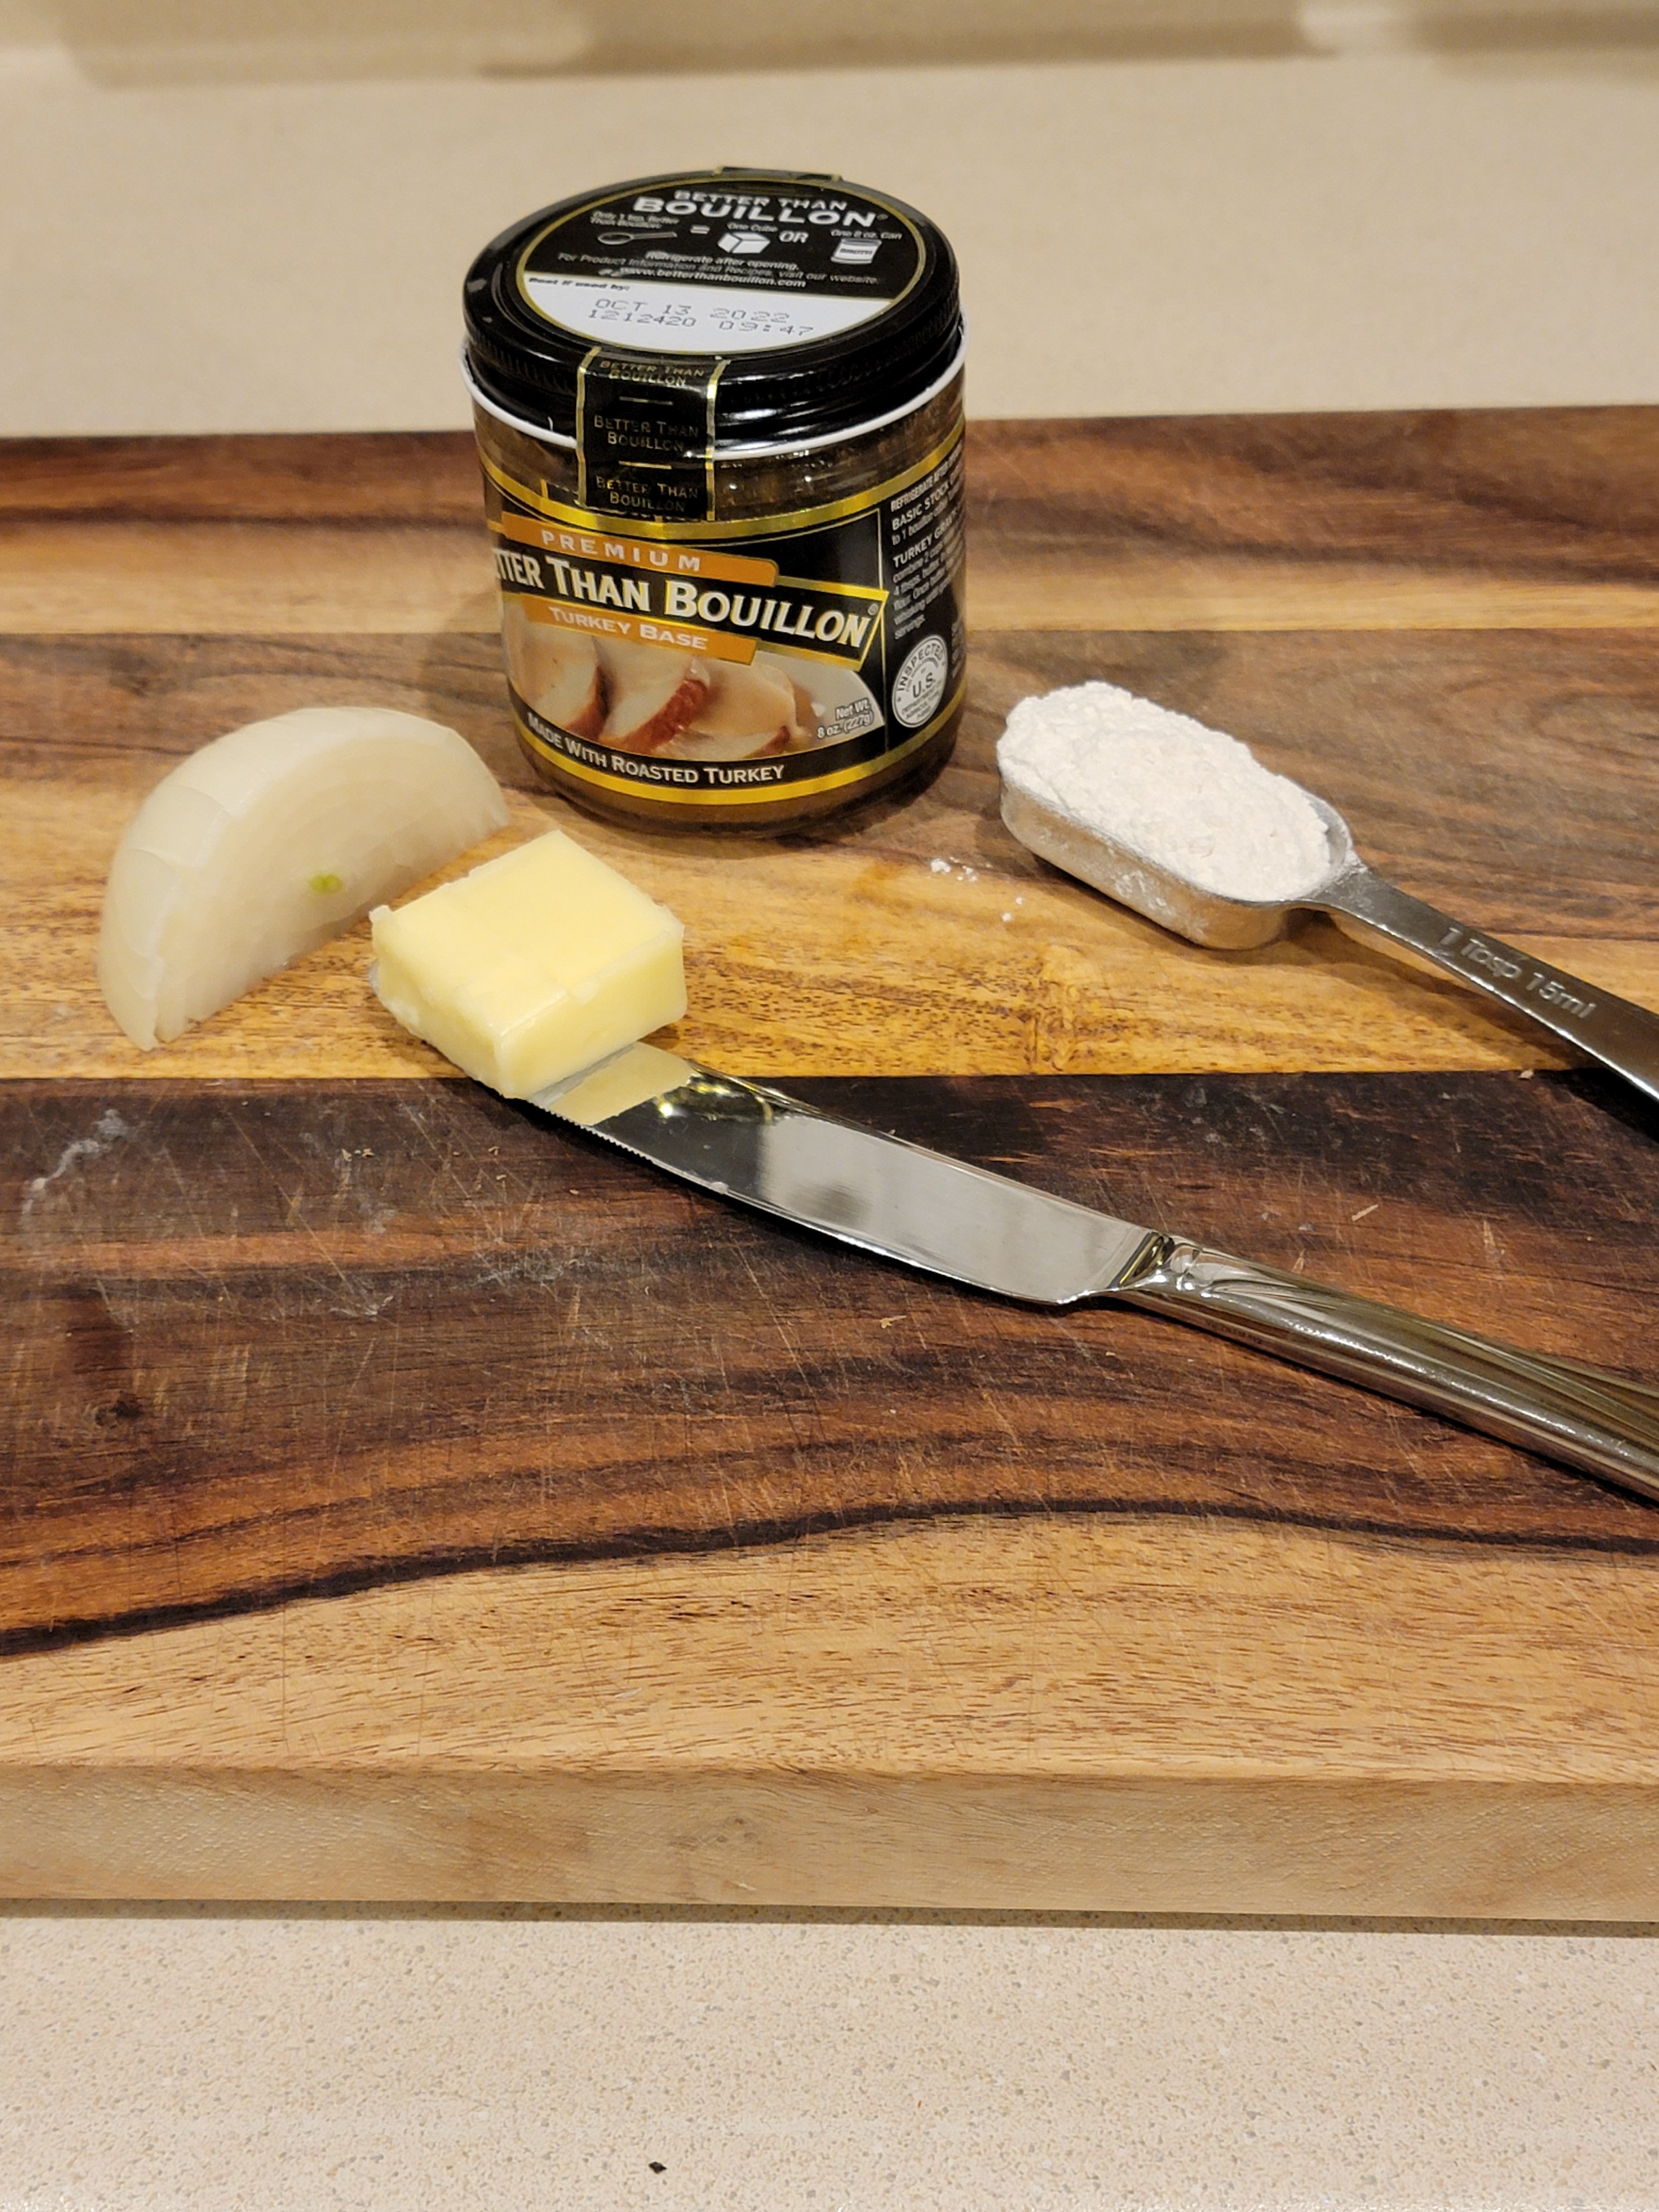
  • .25 medium onion – diced
  • 1 tbsp flour
  • 1/2 tbsp butter
  • 1/2 tbsp turkey bouillon (chicken bouillon works too)
  • 1.5 cups water

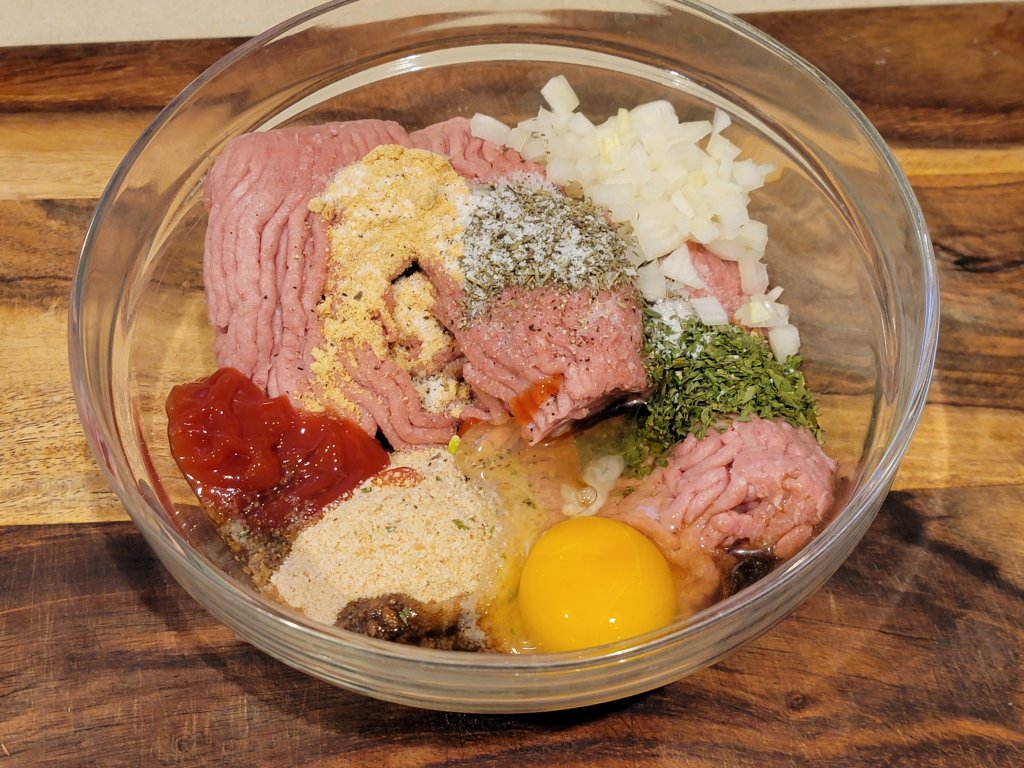
To start, put all the ingredients for the steaks, except the olive oil, into a mixing bowl.

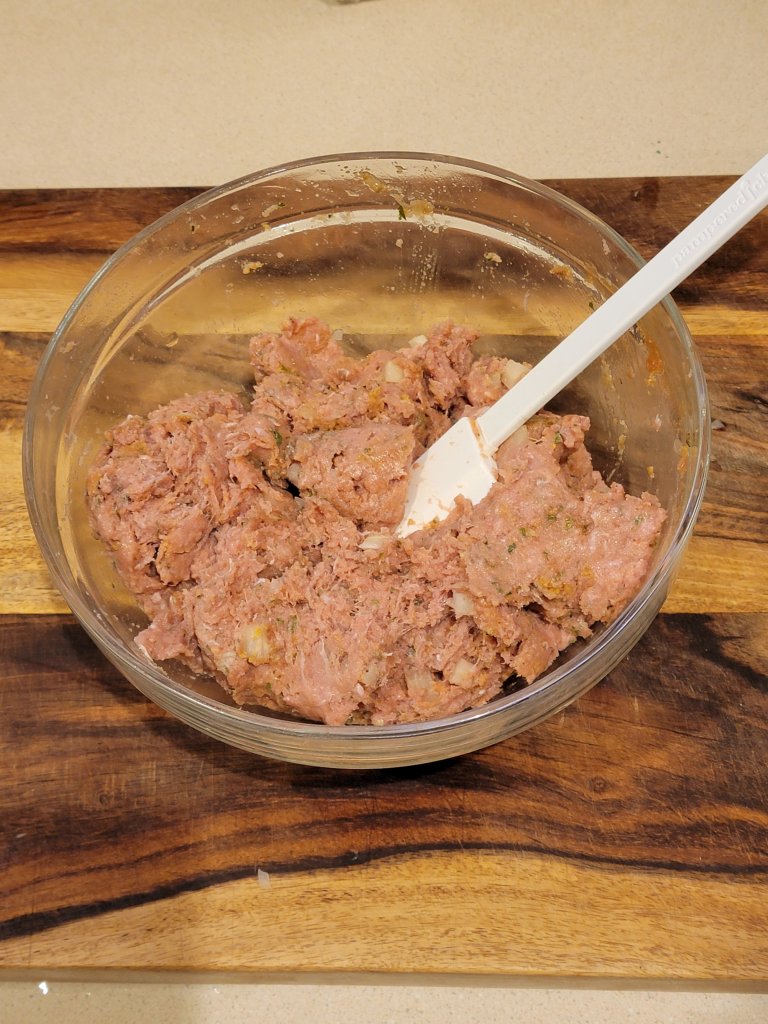
Using a rubber spatula mix until all ingredients are well combined.

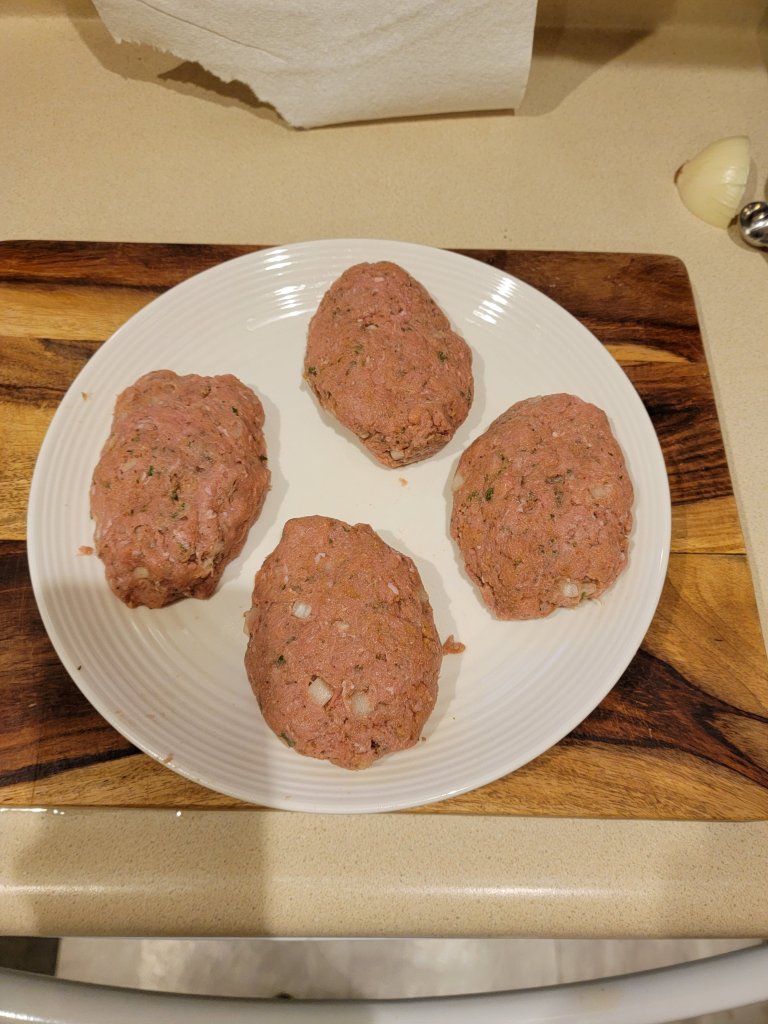
Separate the mixture into four equal portions and shape into steaks.

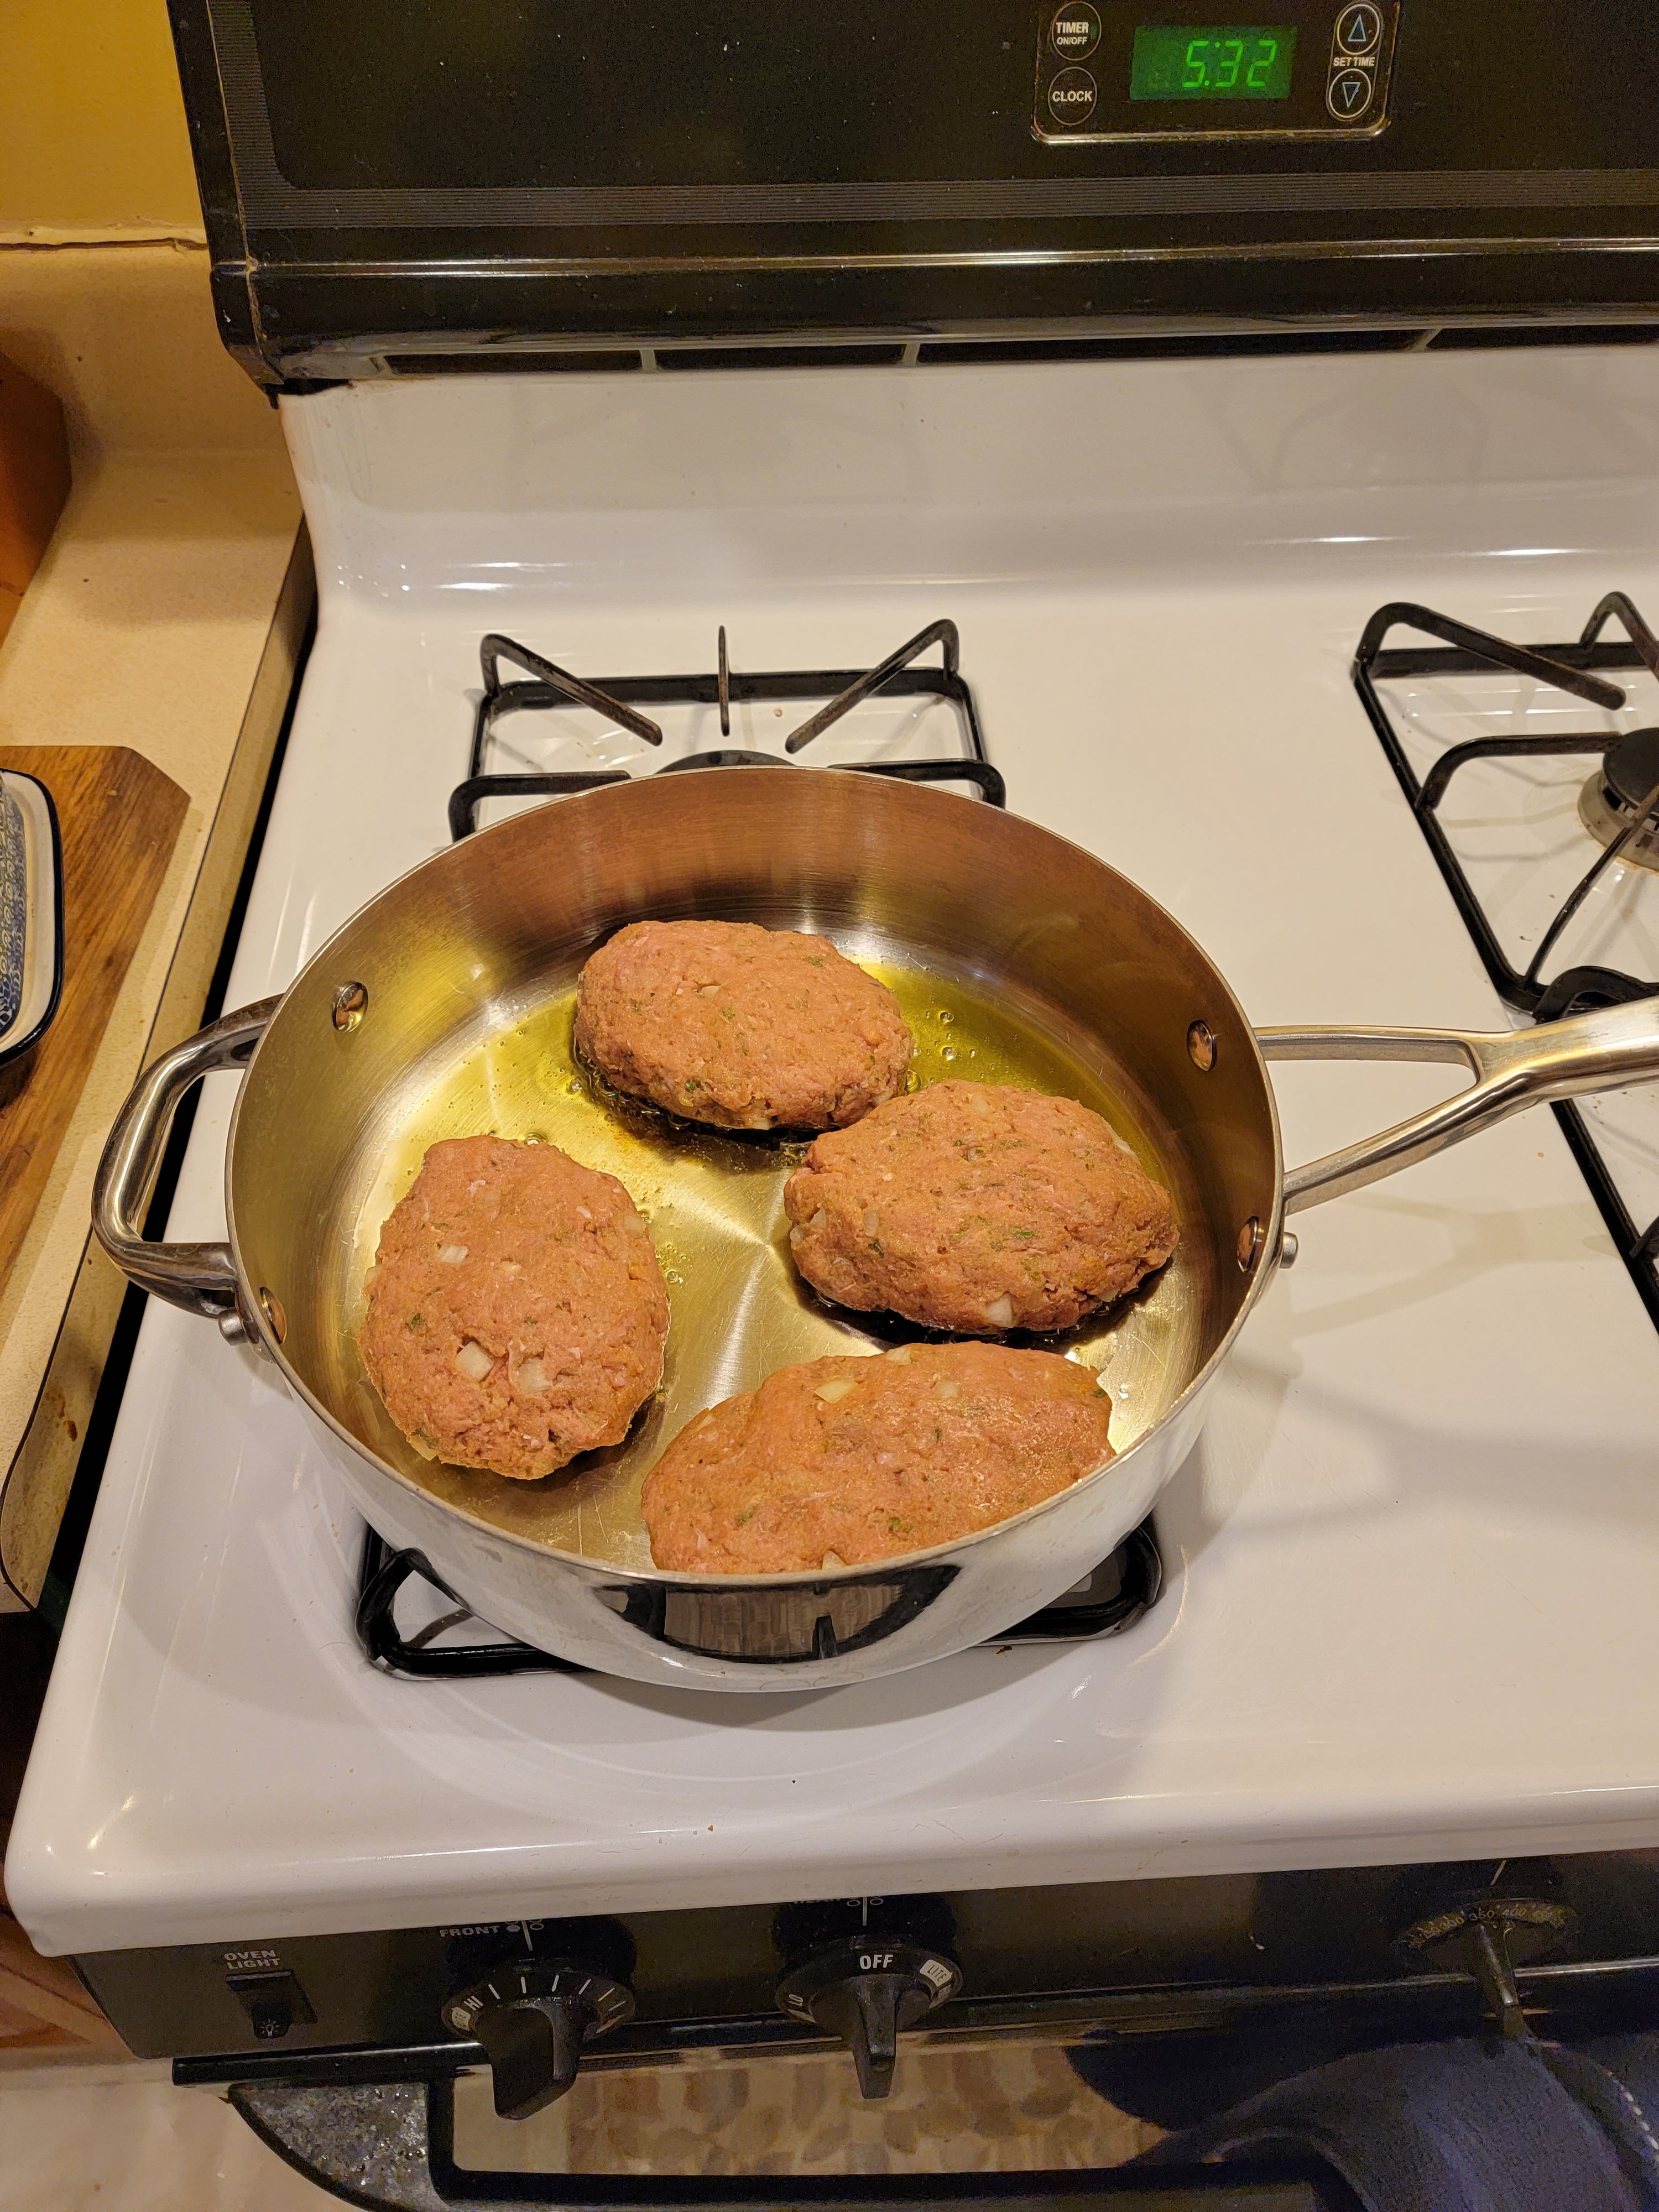
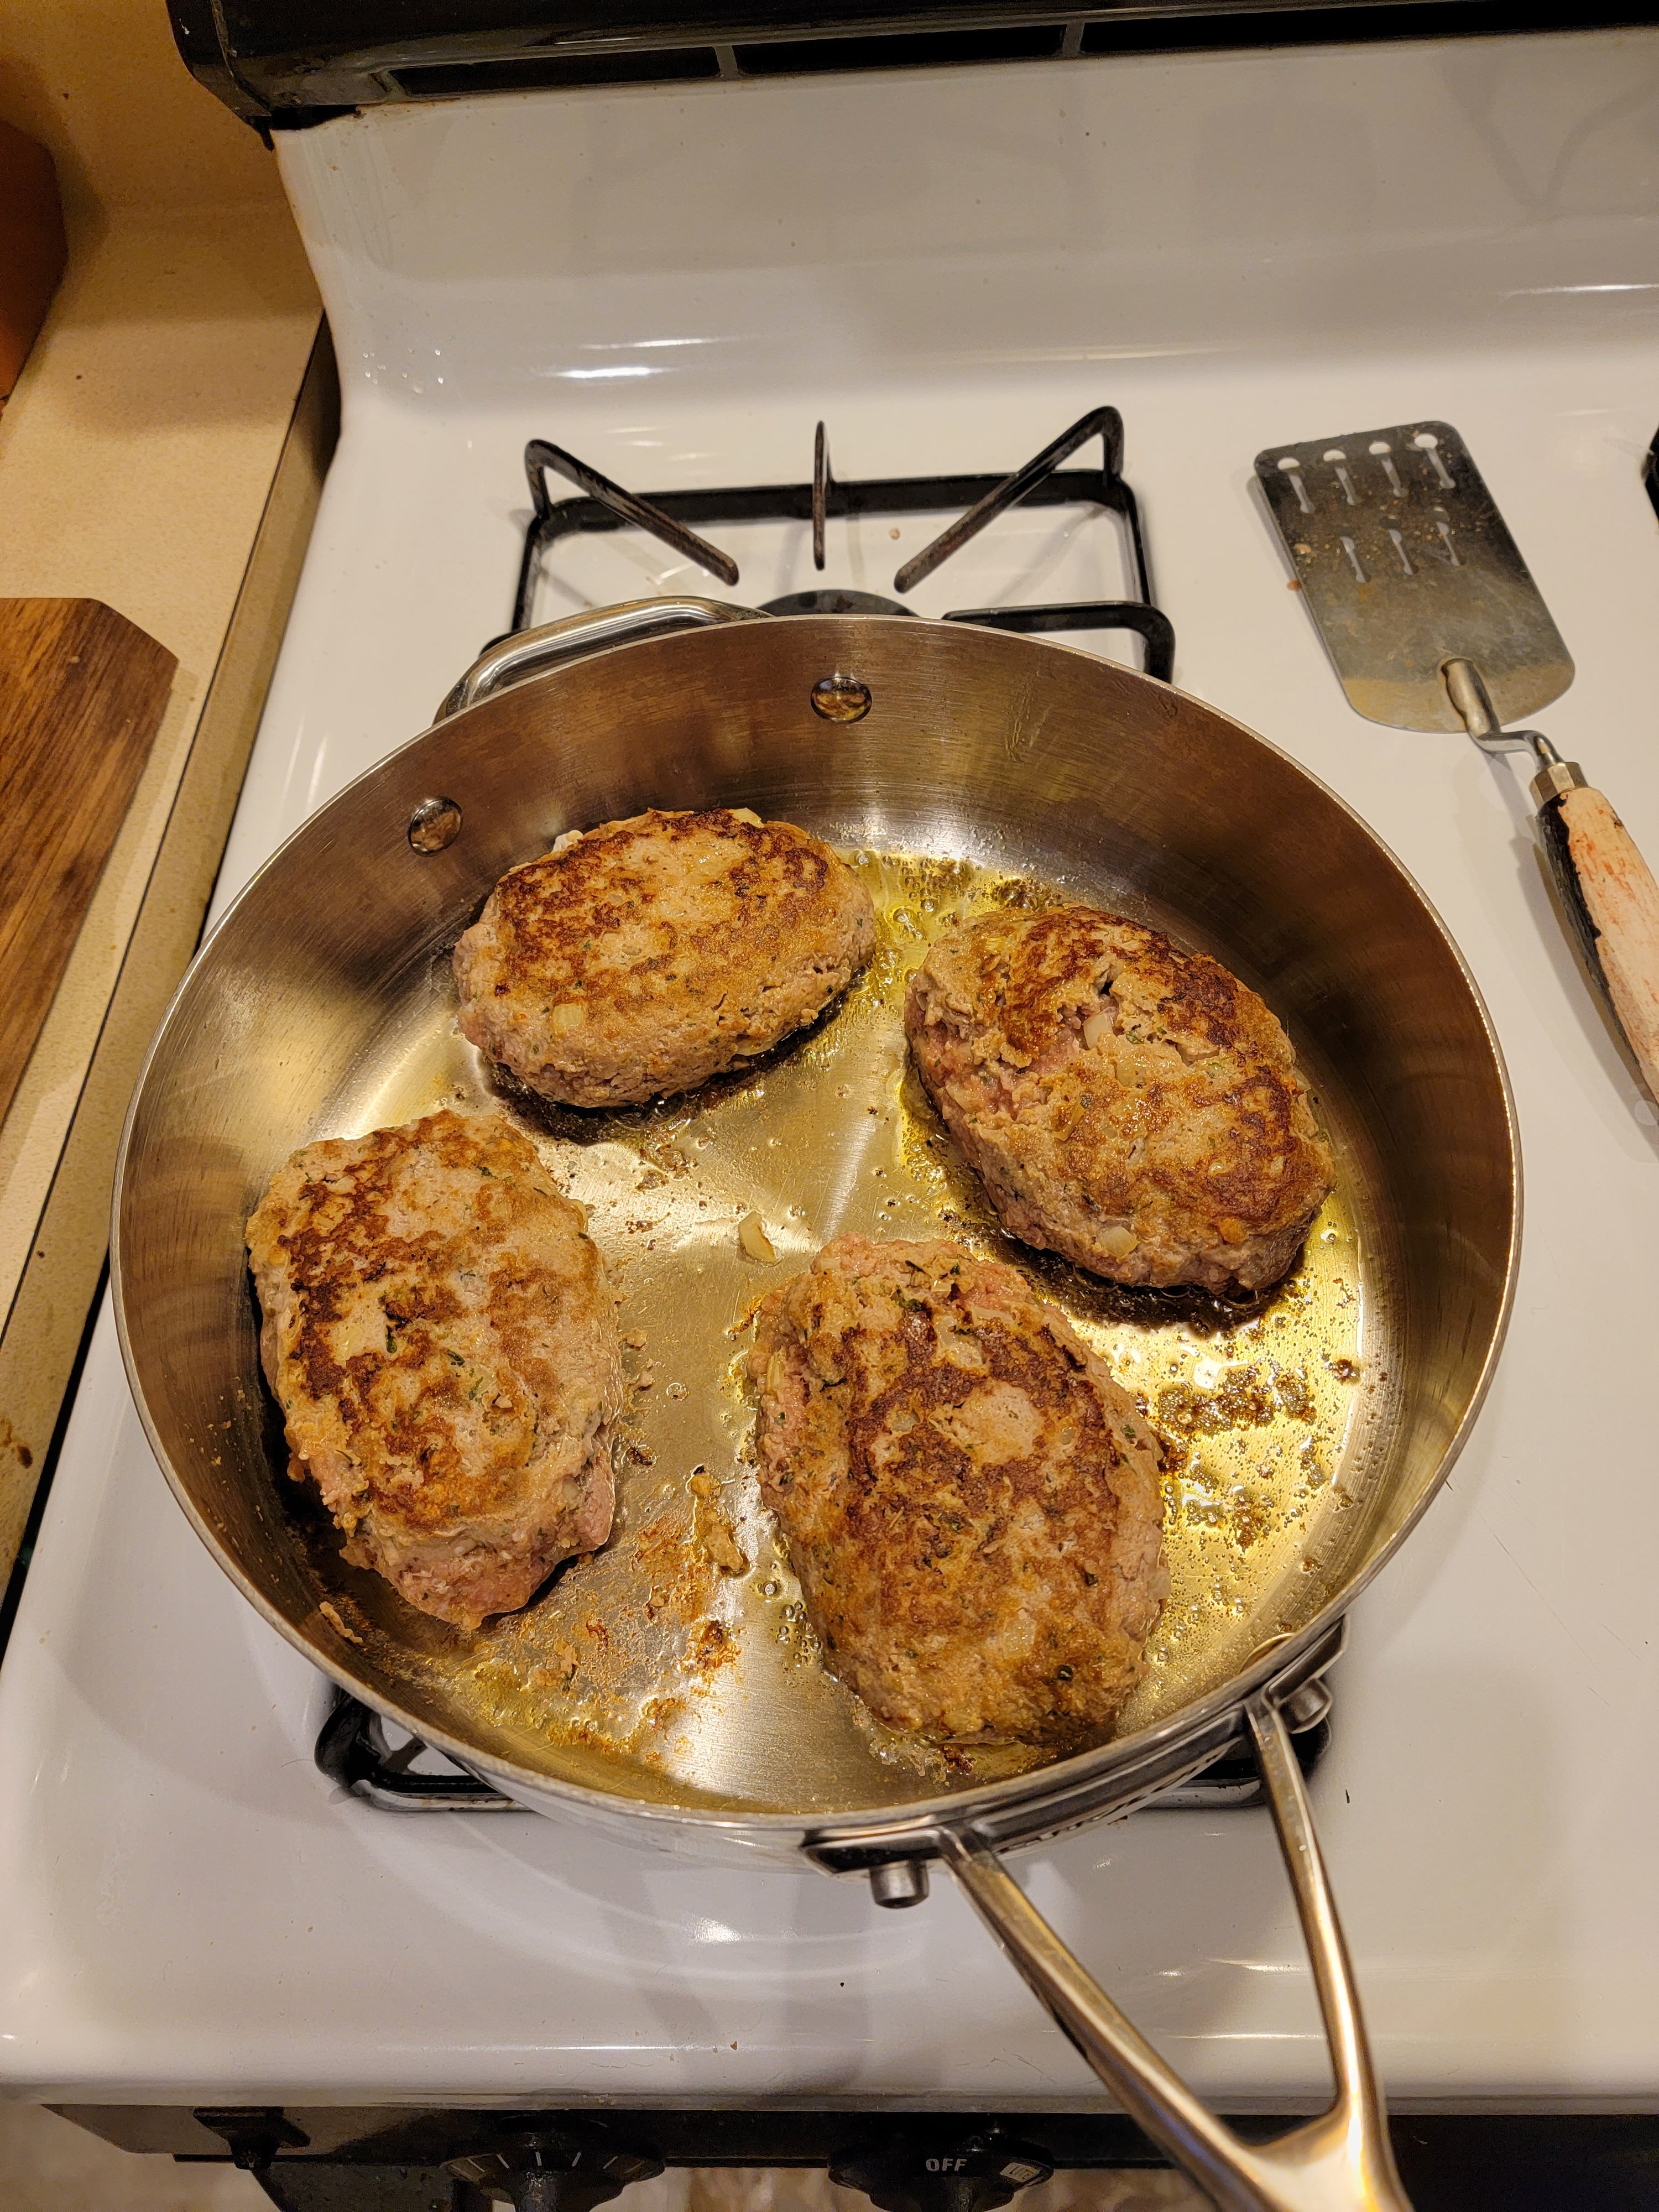
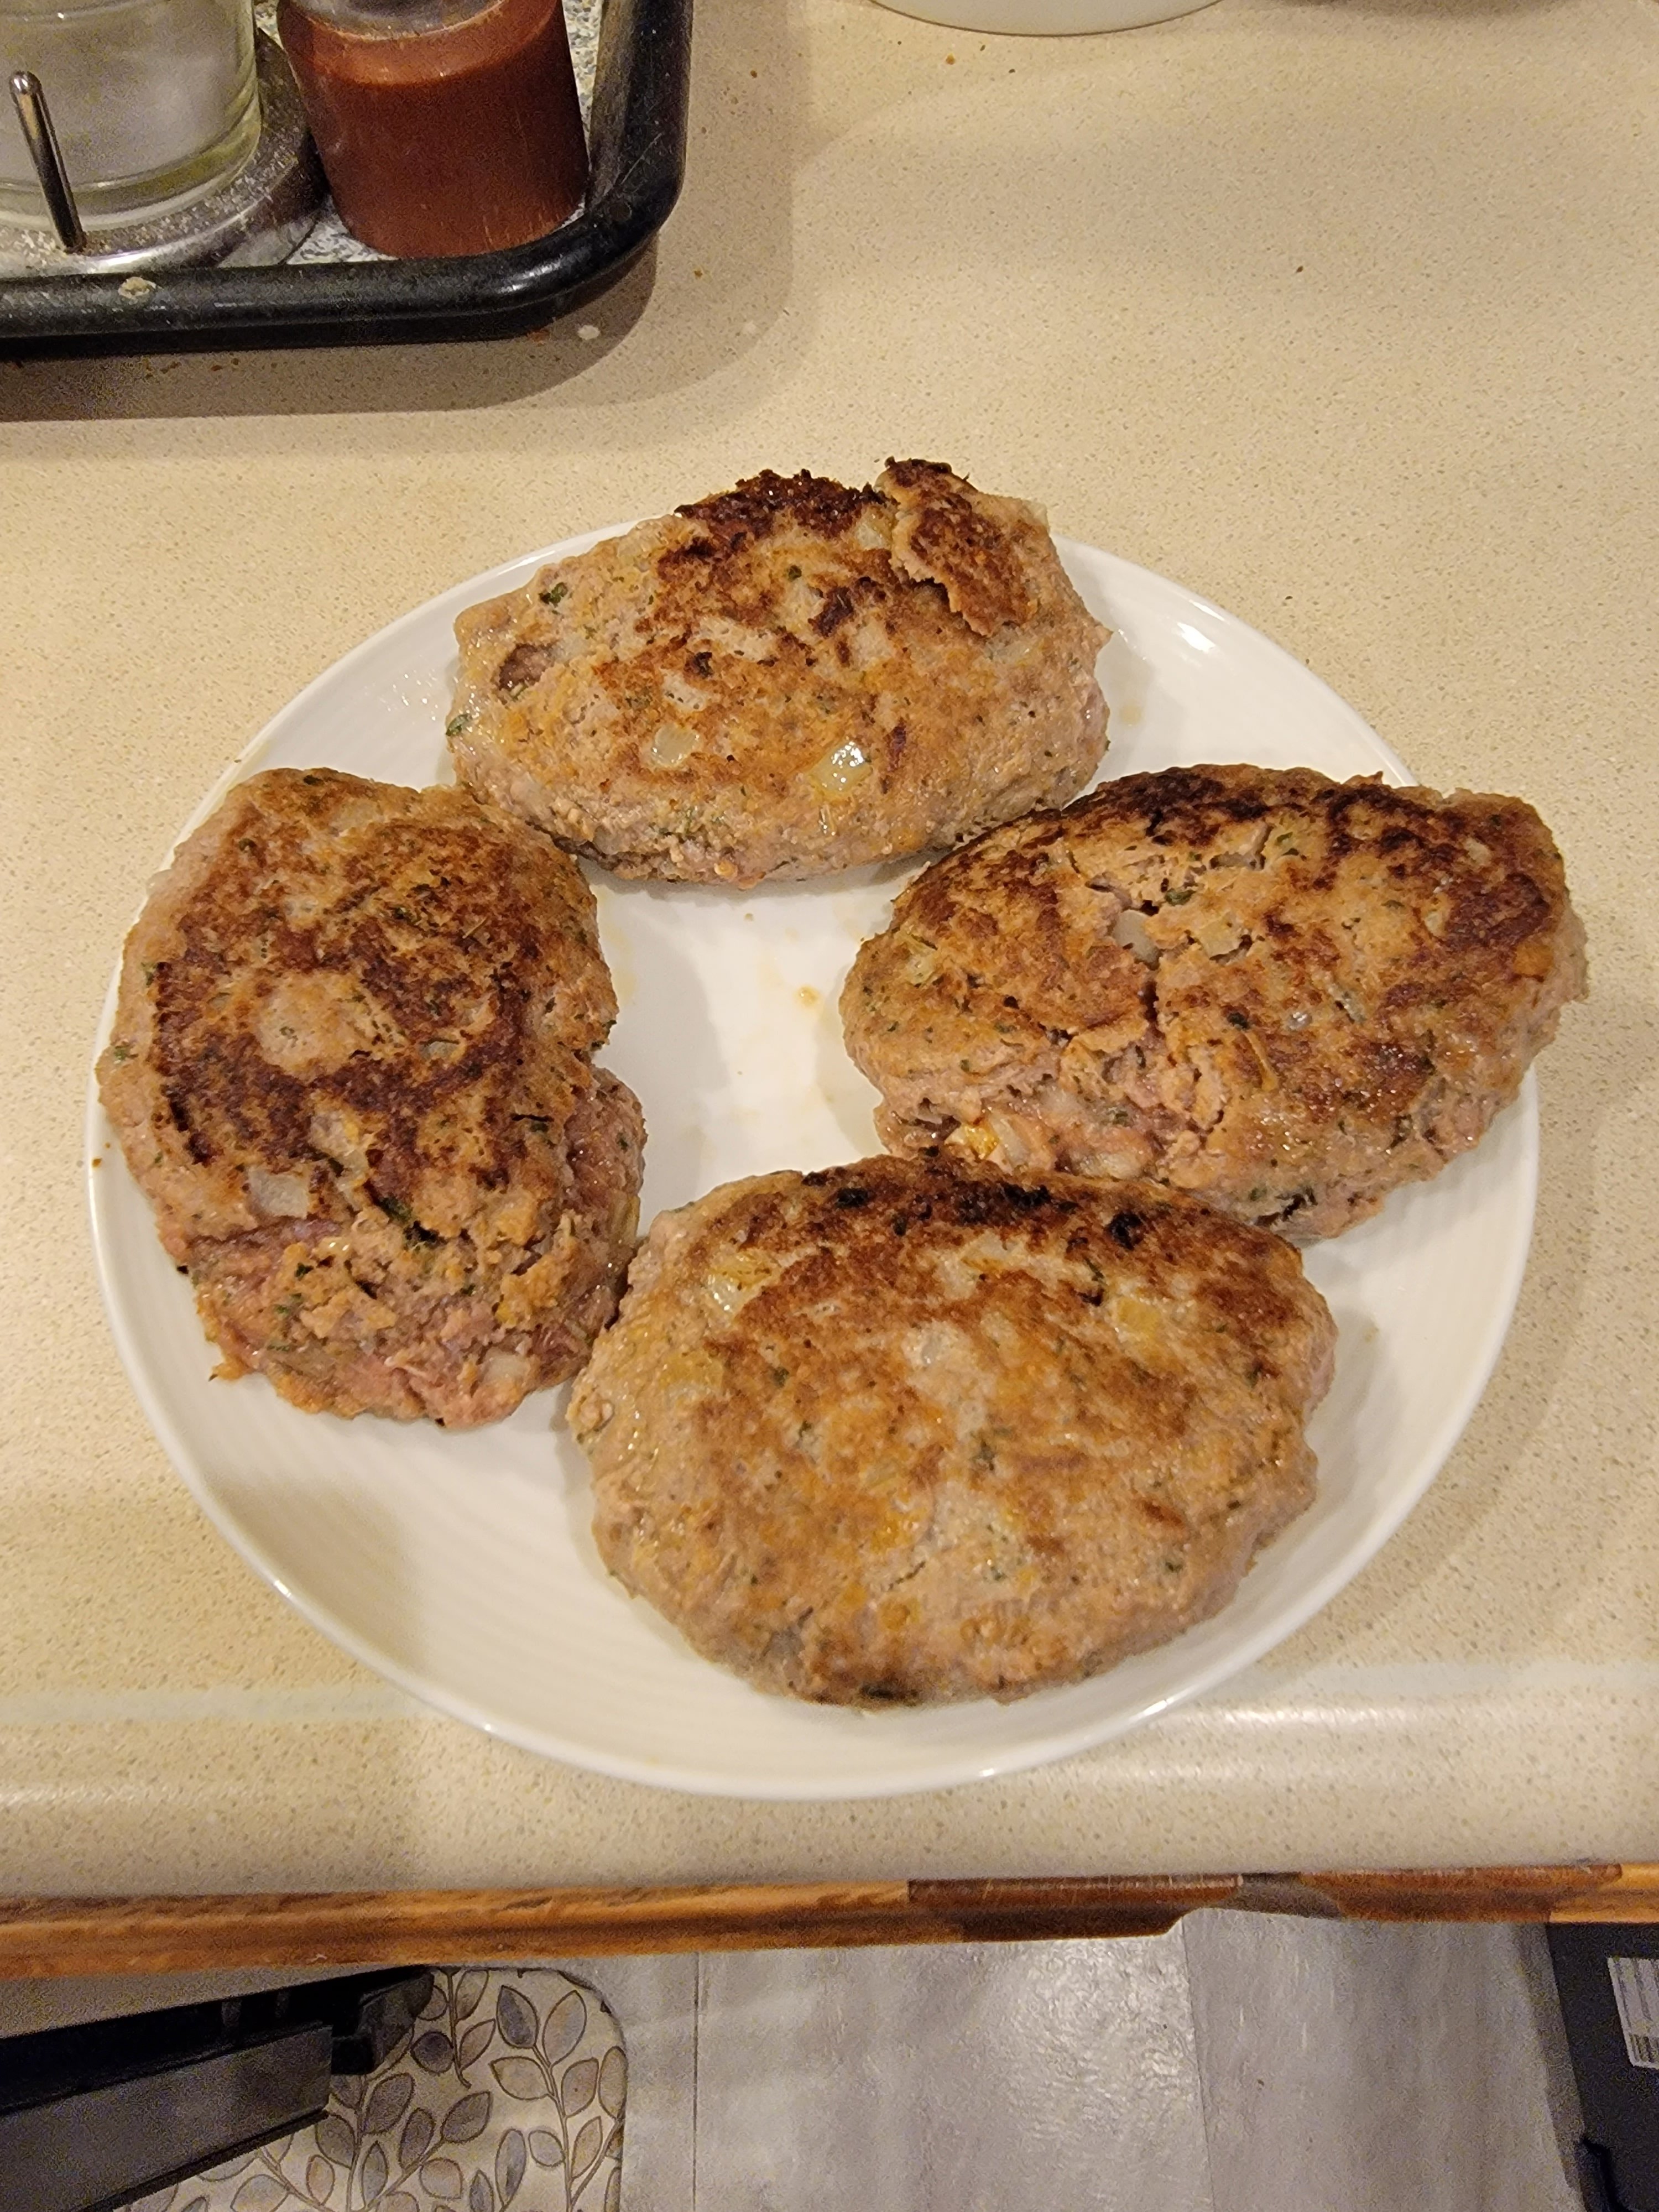
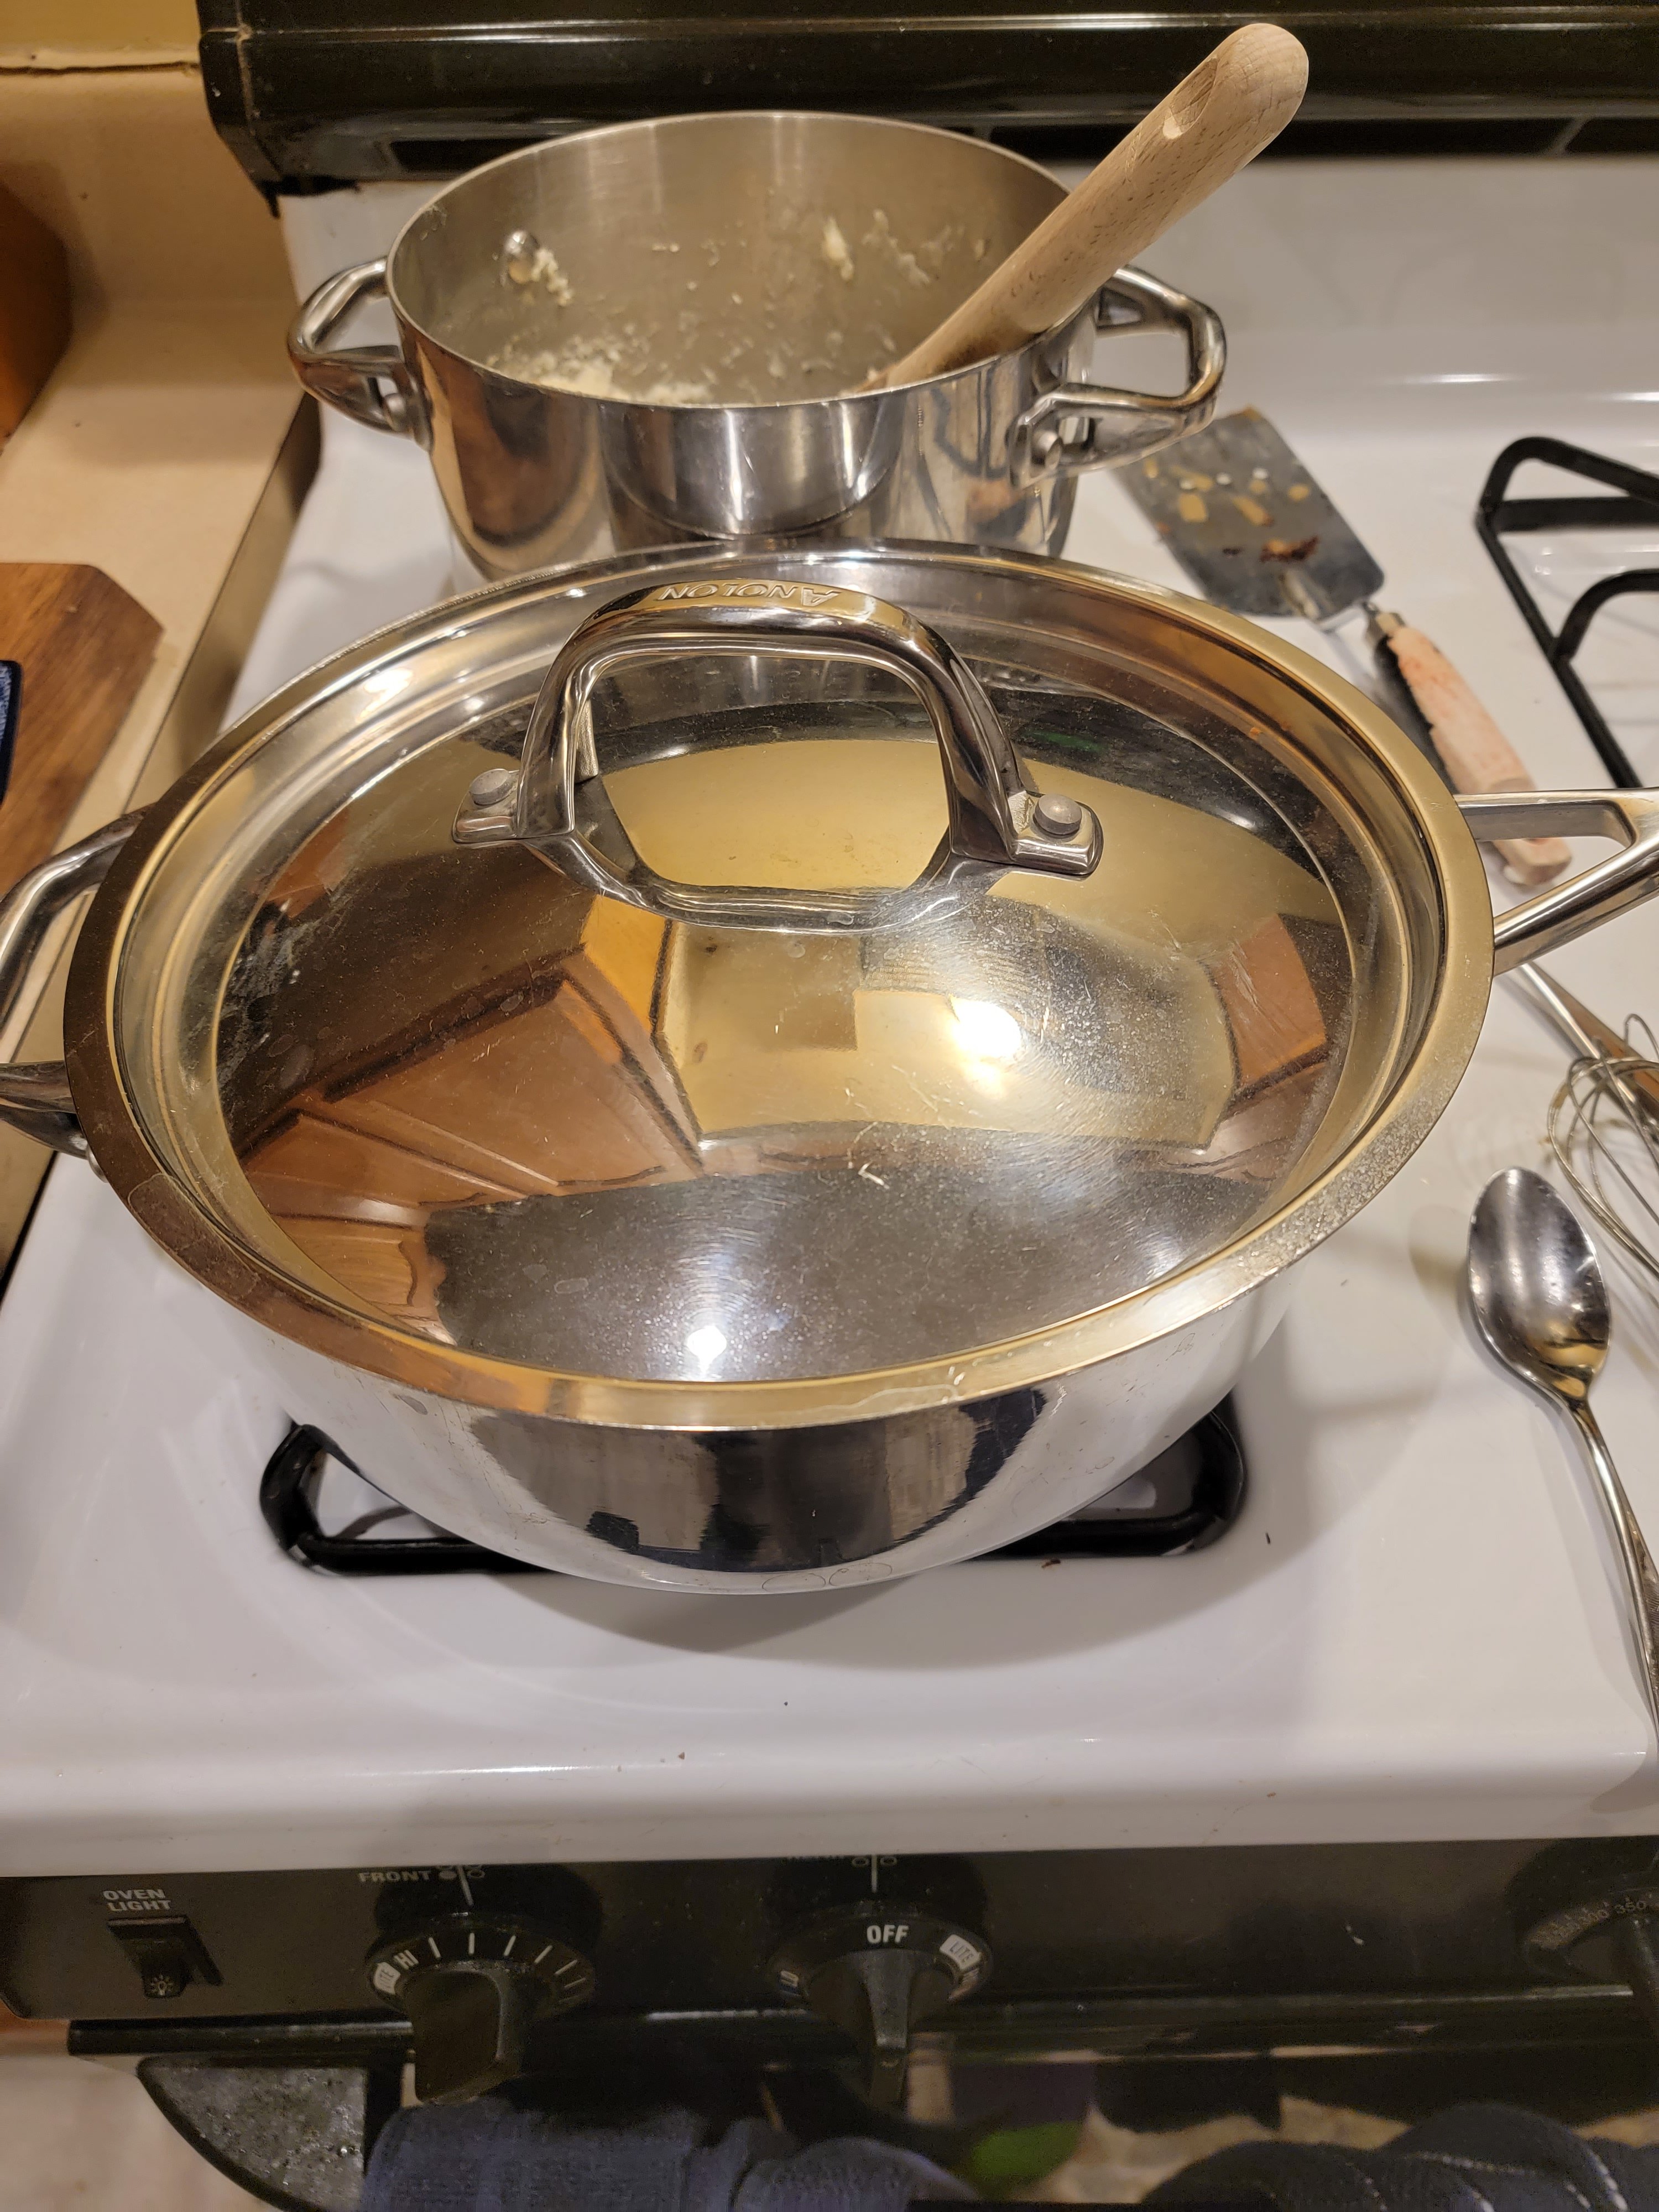
Put a large high sided frying pan over medium high heat. Add the olive oil. Fry the steaks on each side until golden brown, about 3 or 4 minutes per side. Once both sides are golden brown set steaks aside. They won’t be fully cooked at this point.

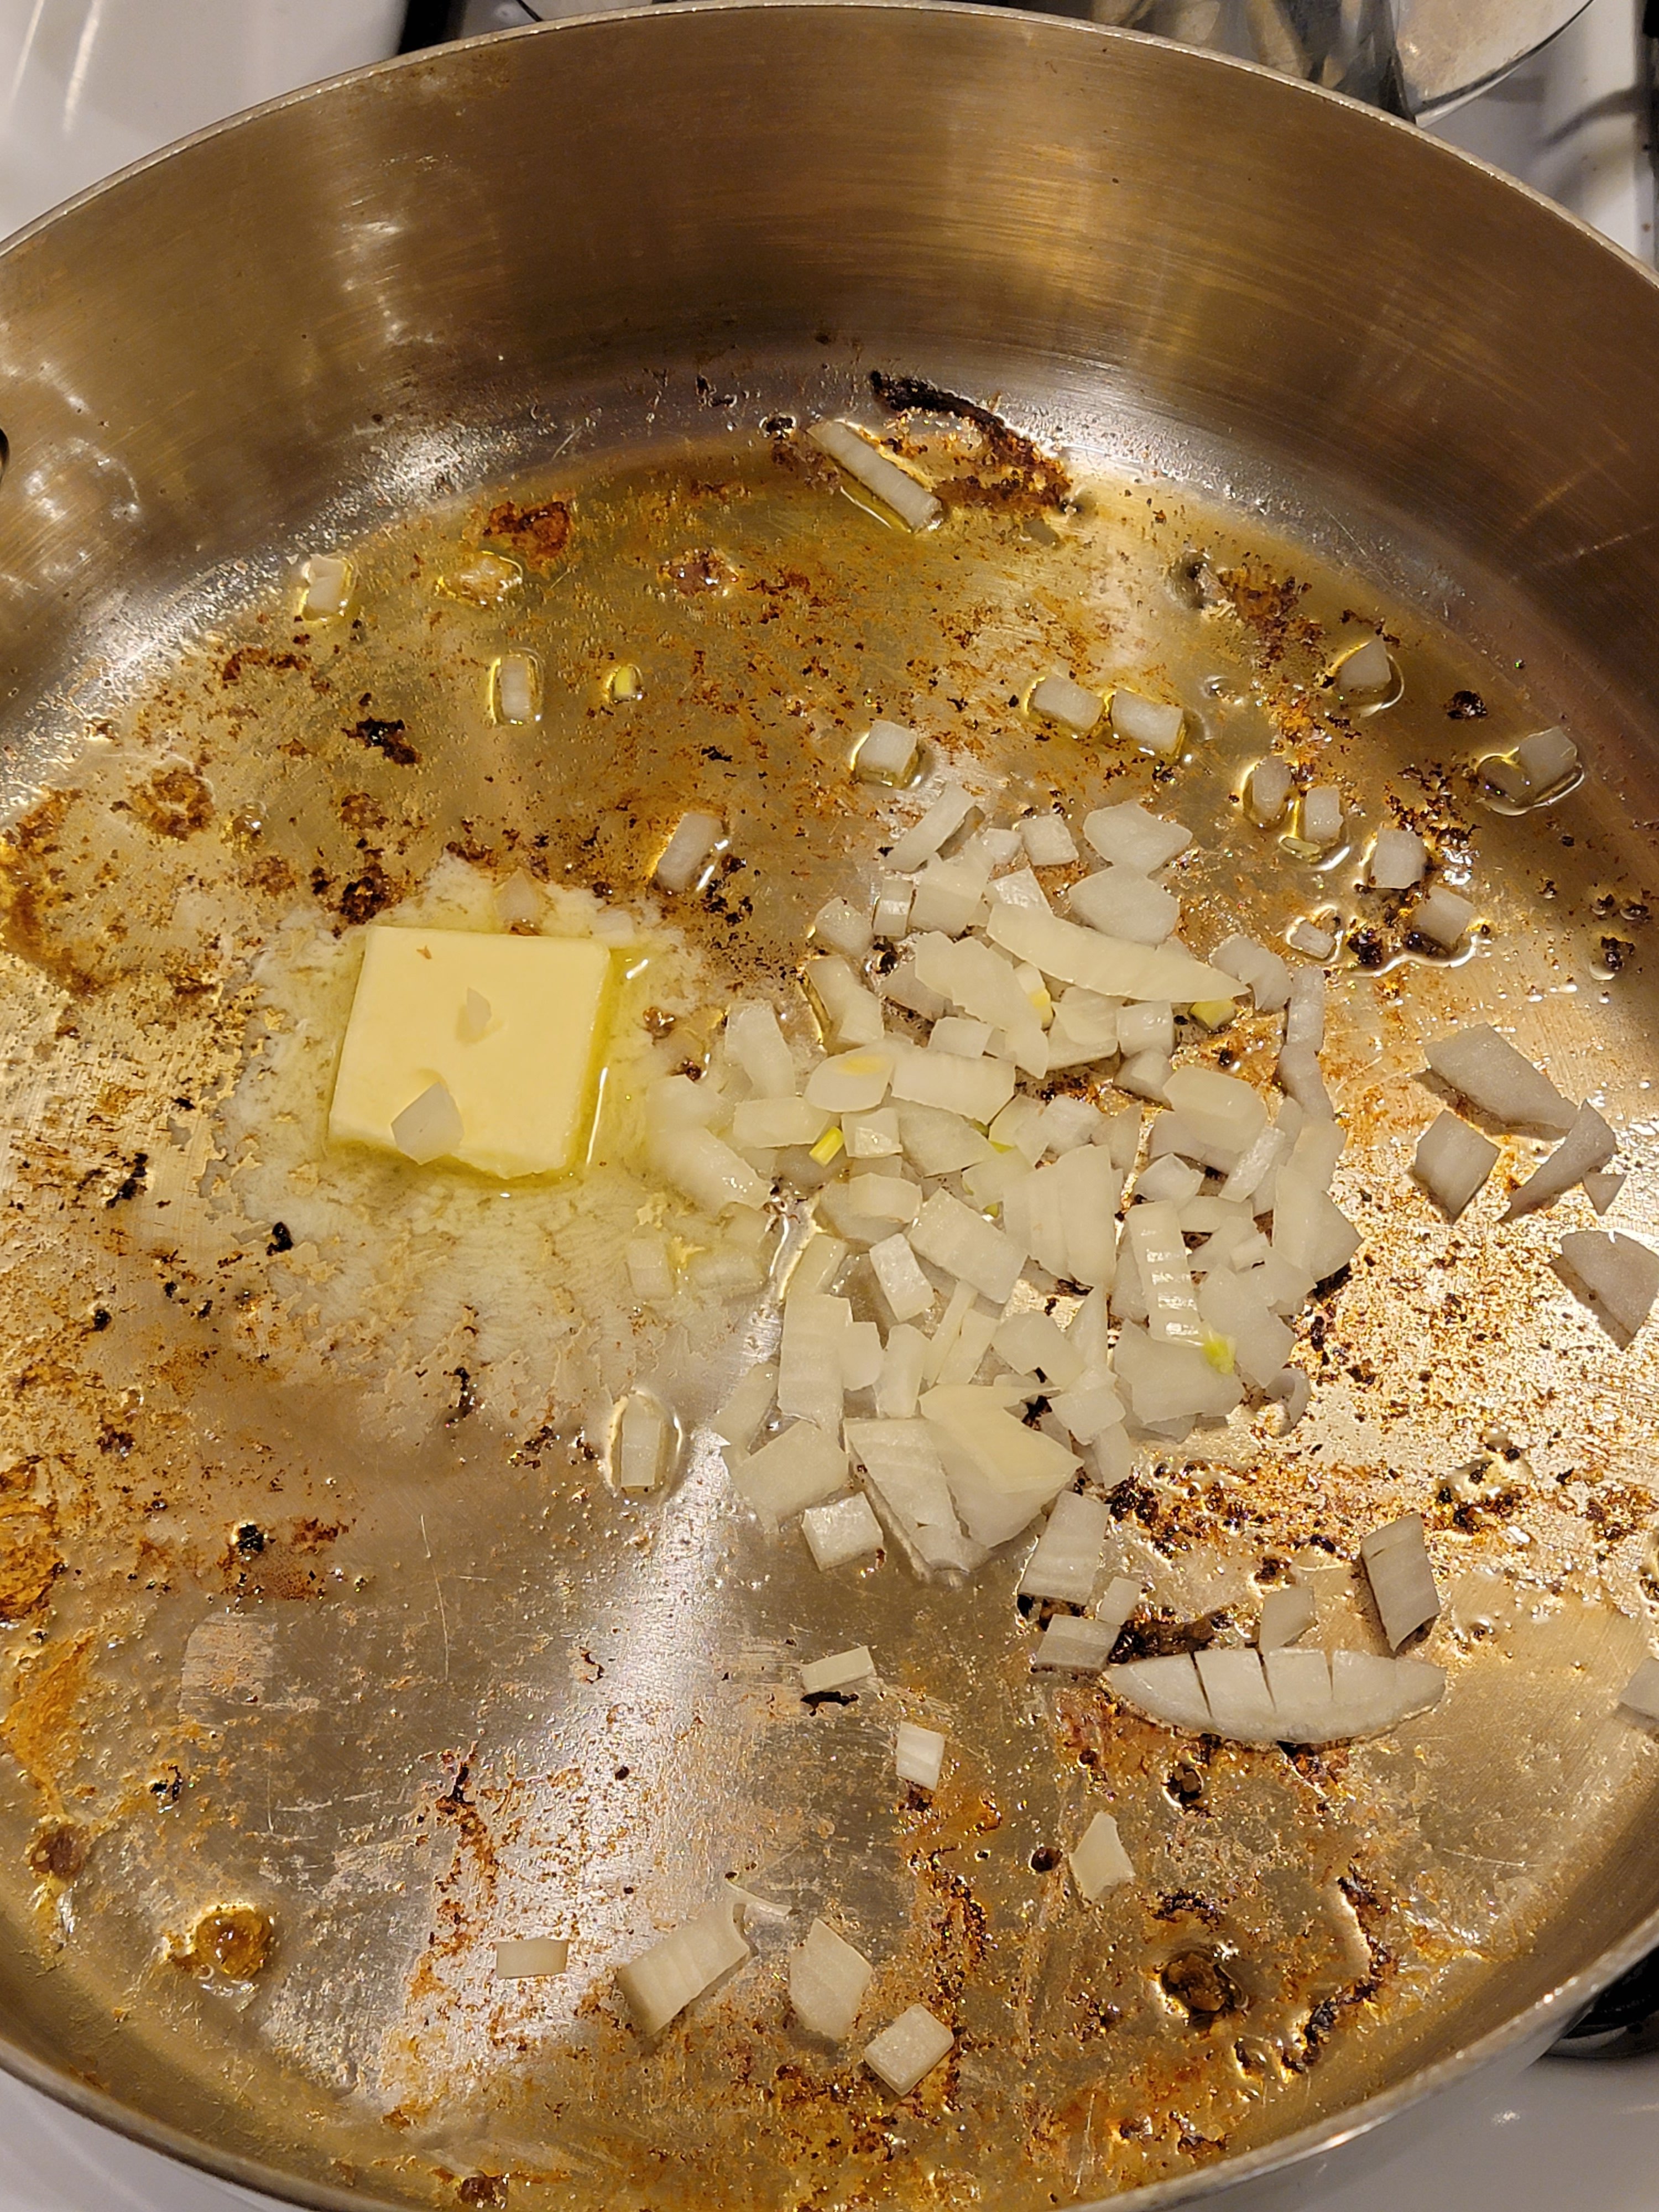
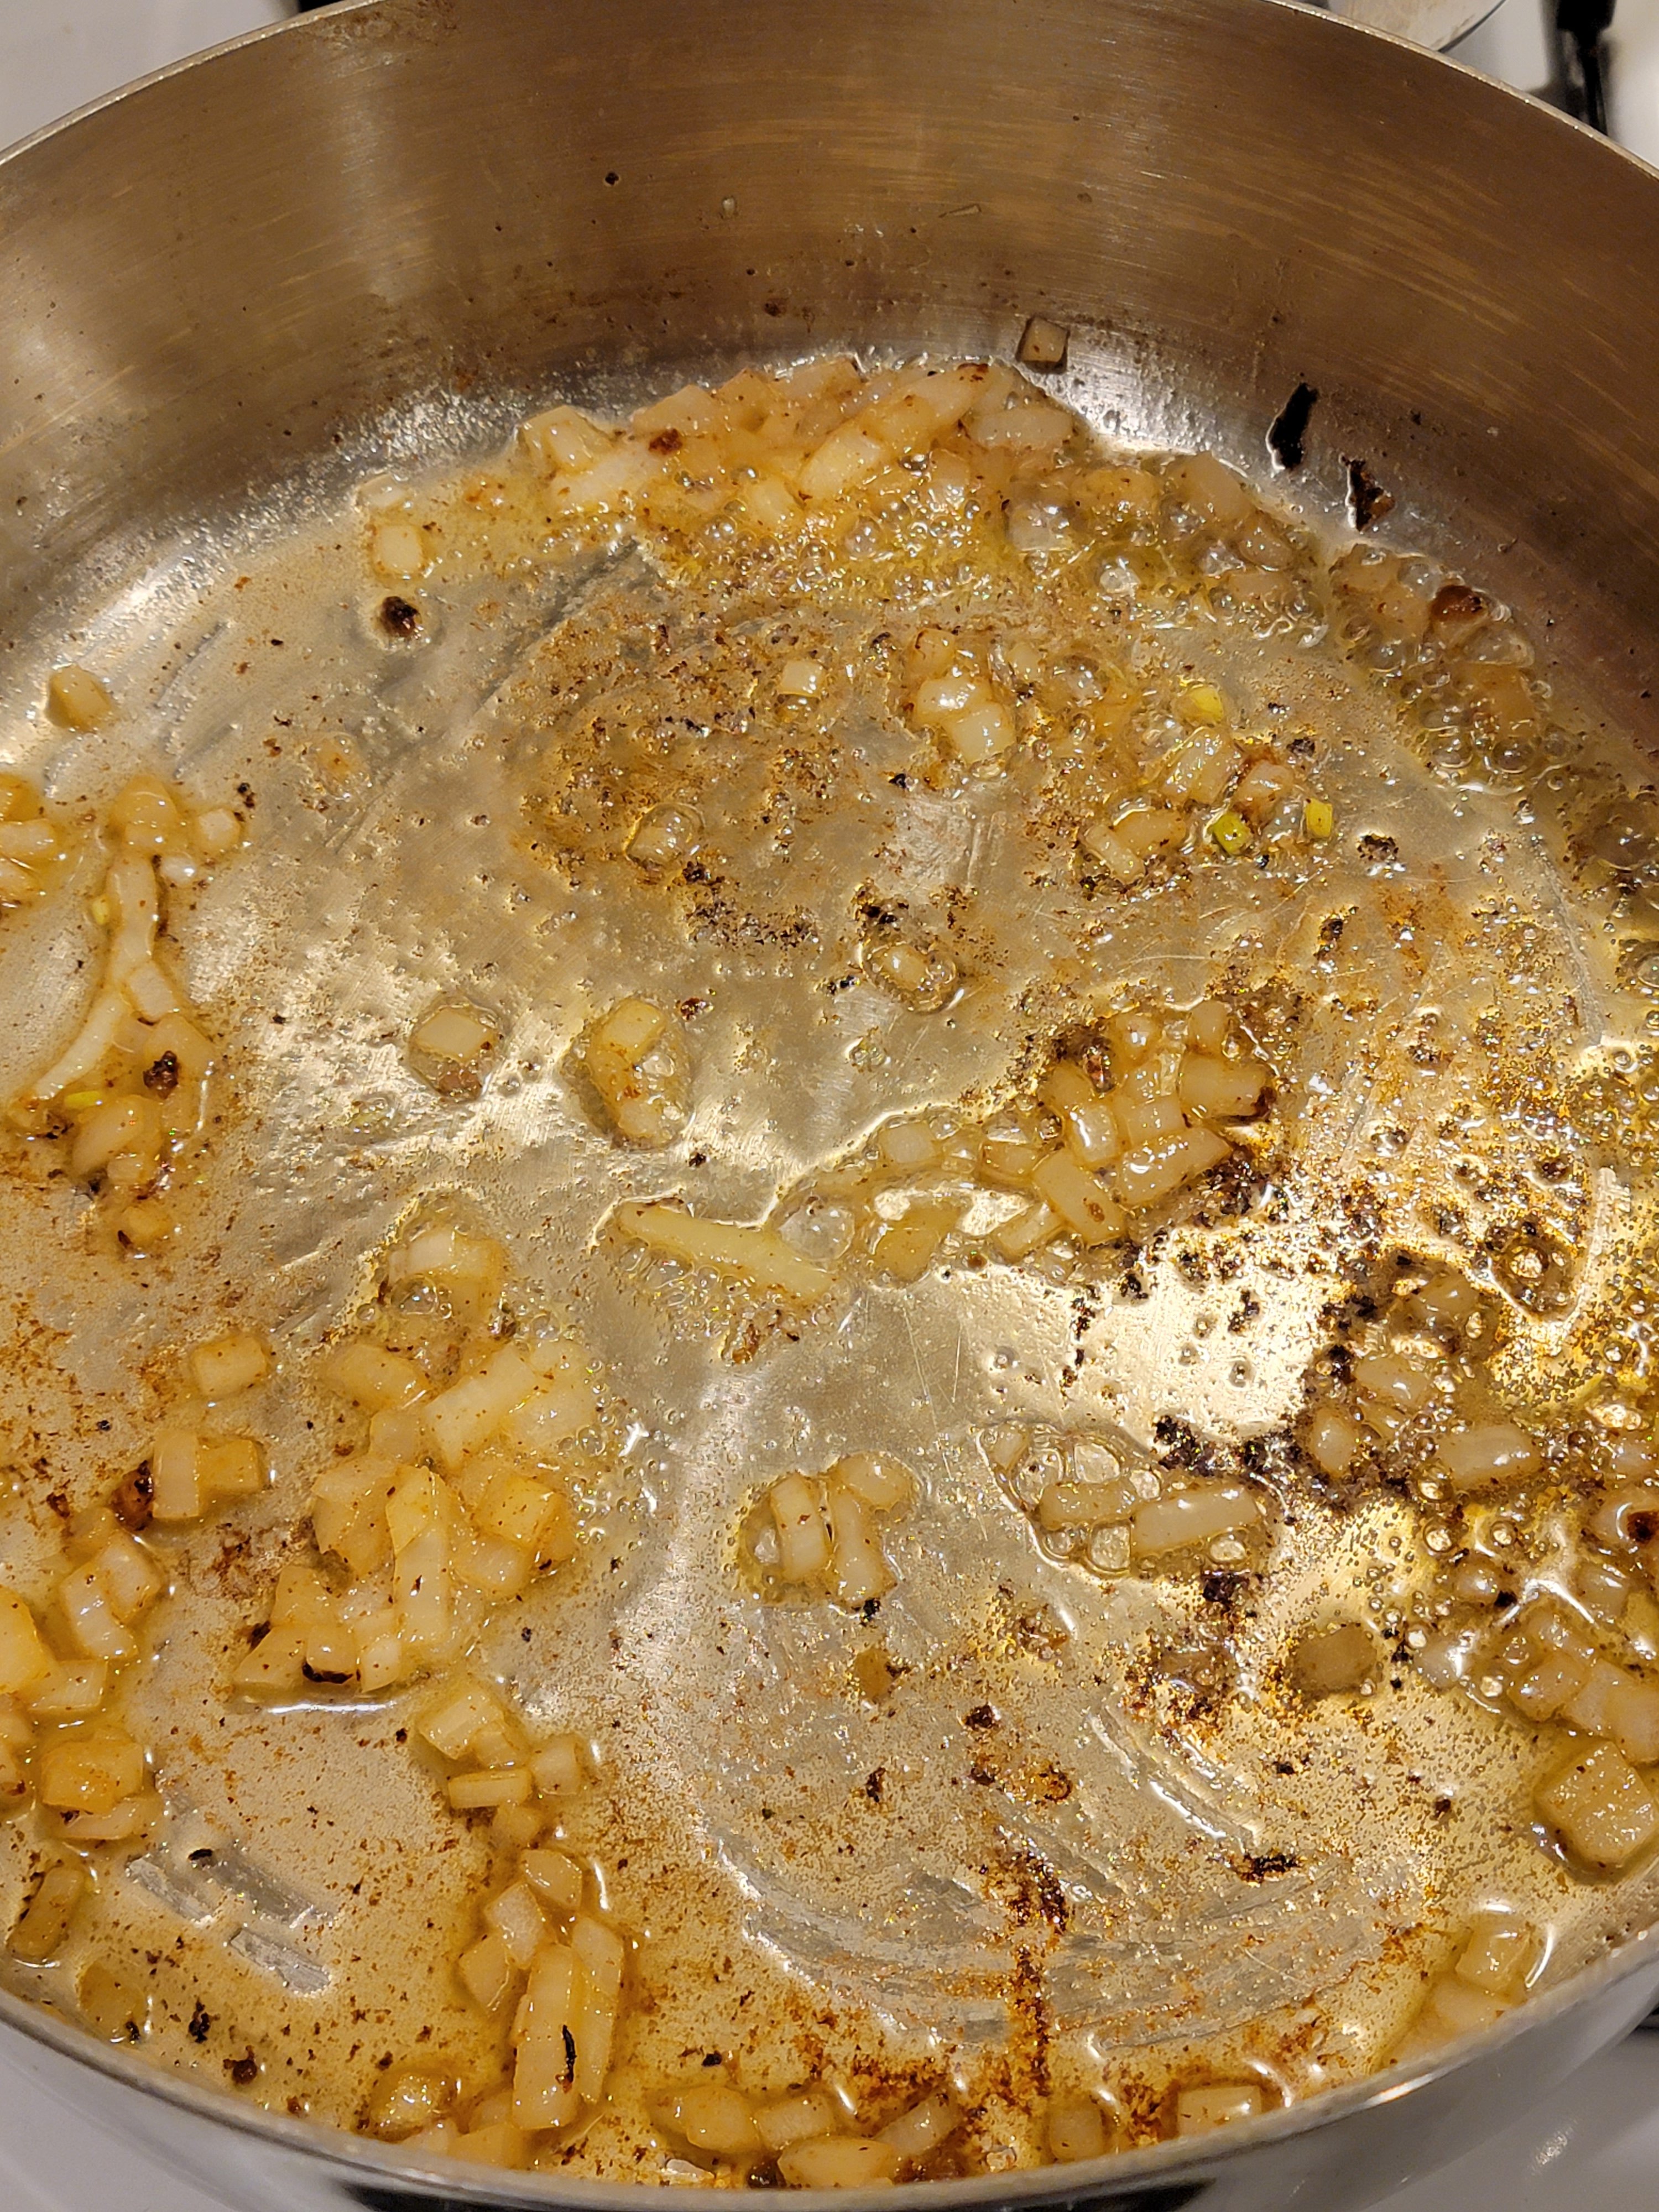
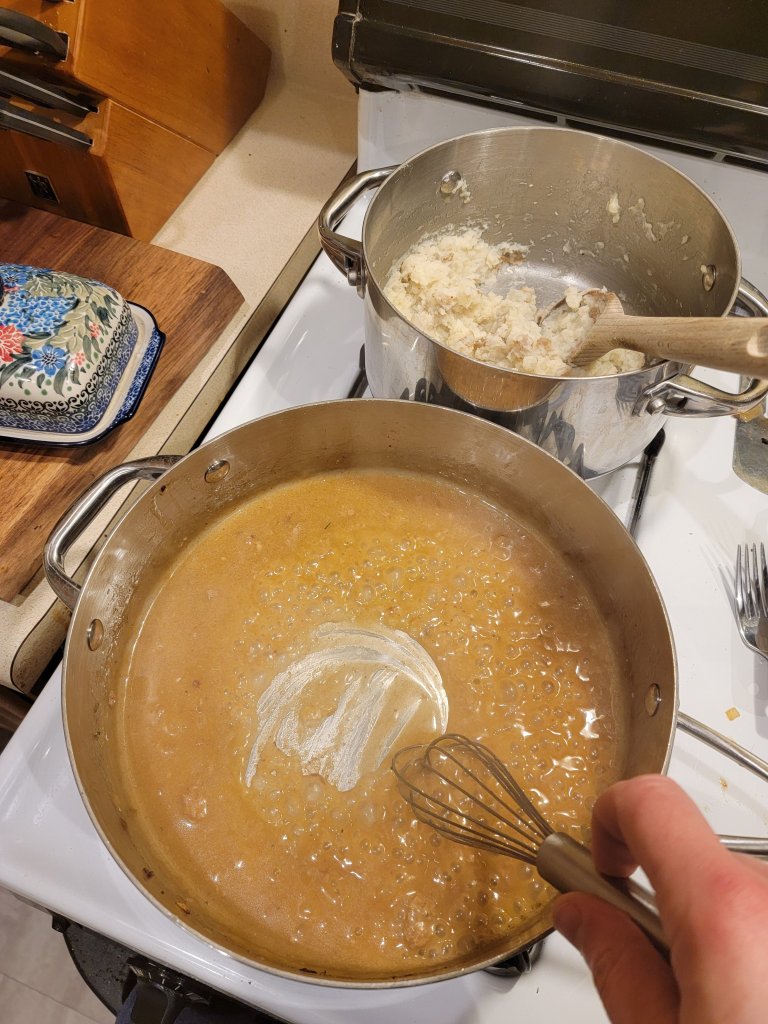
Now it’s time to start the gravy. Take the same frying pan you cooked the steaks in and put it over medium heat. You don’t want to clean the pan out because all the deliciousness that is stuck to the bottom will flavor the gravy. Add the butter and onions to the pan and cook for about 4-5 minutes. Then add the flour and whisk it until it forms a slight paste. Cook this paste for 2-3 minutes to cook out the raw flour taste.

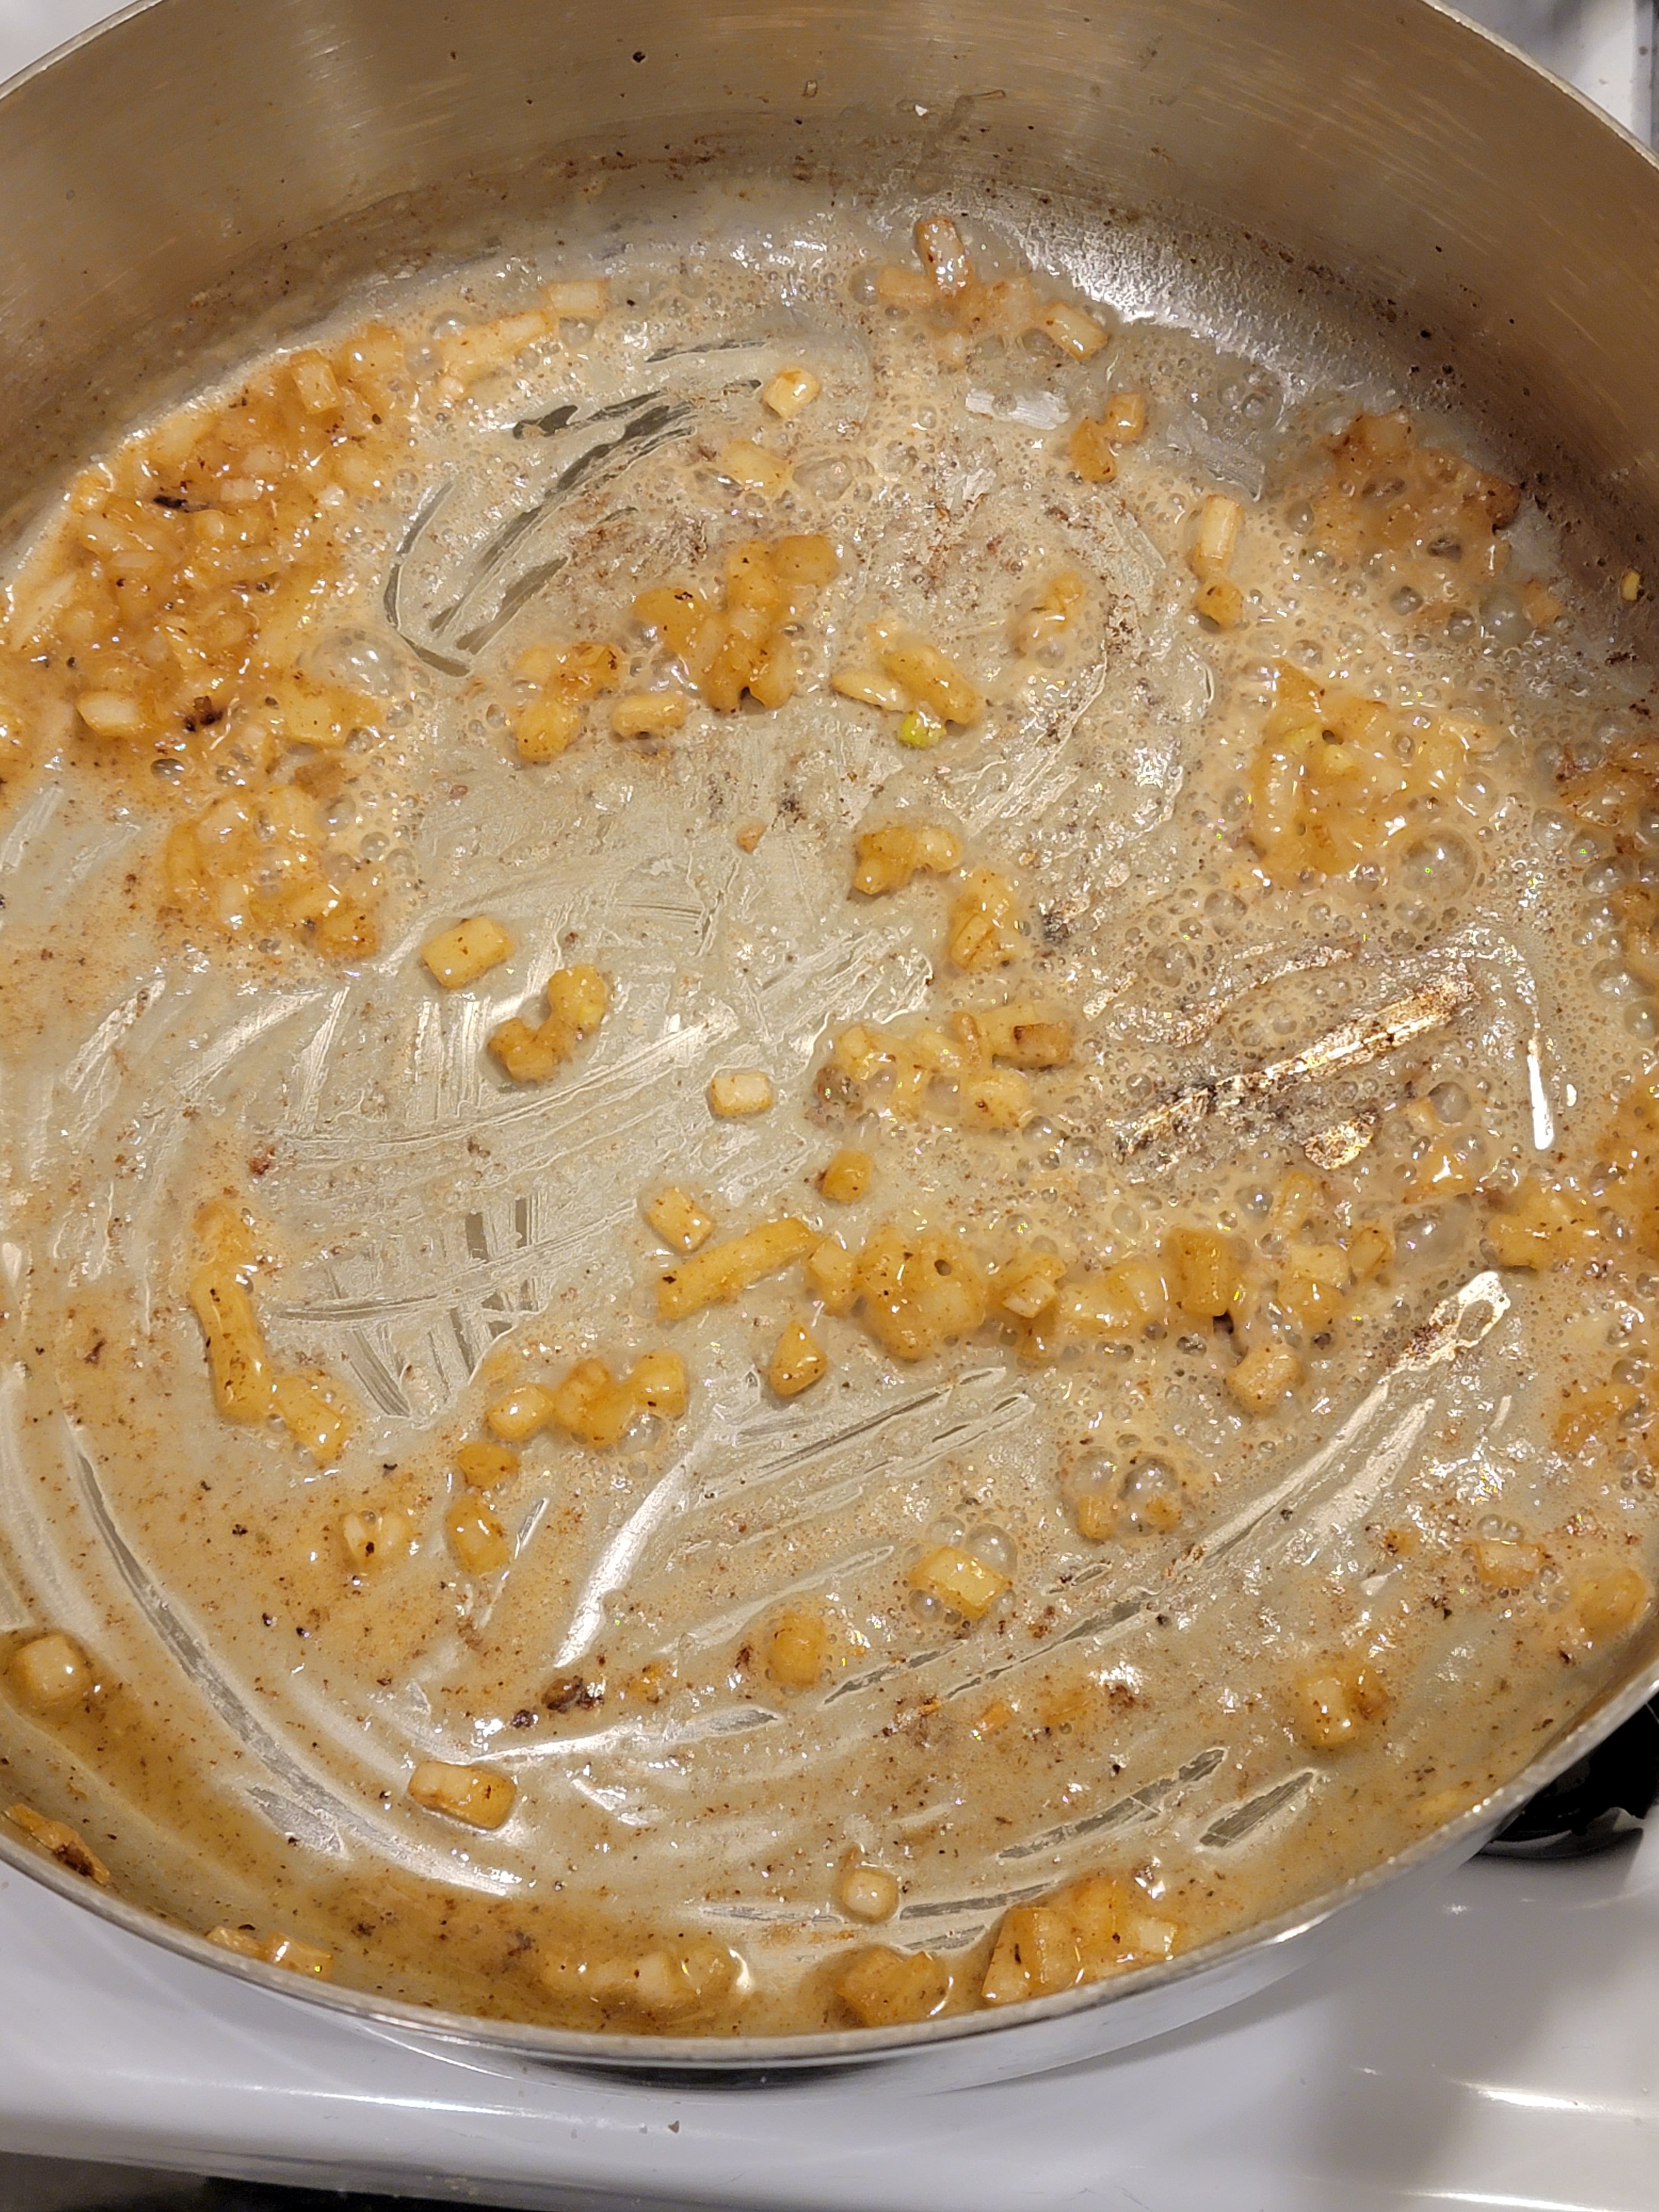
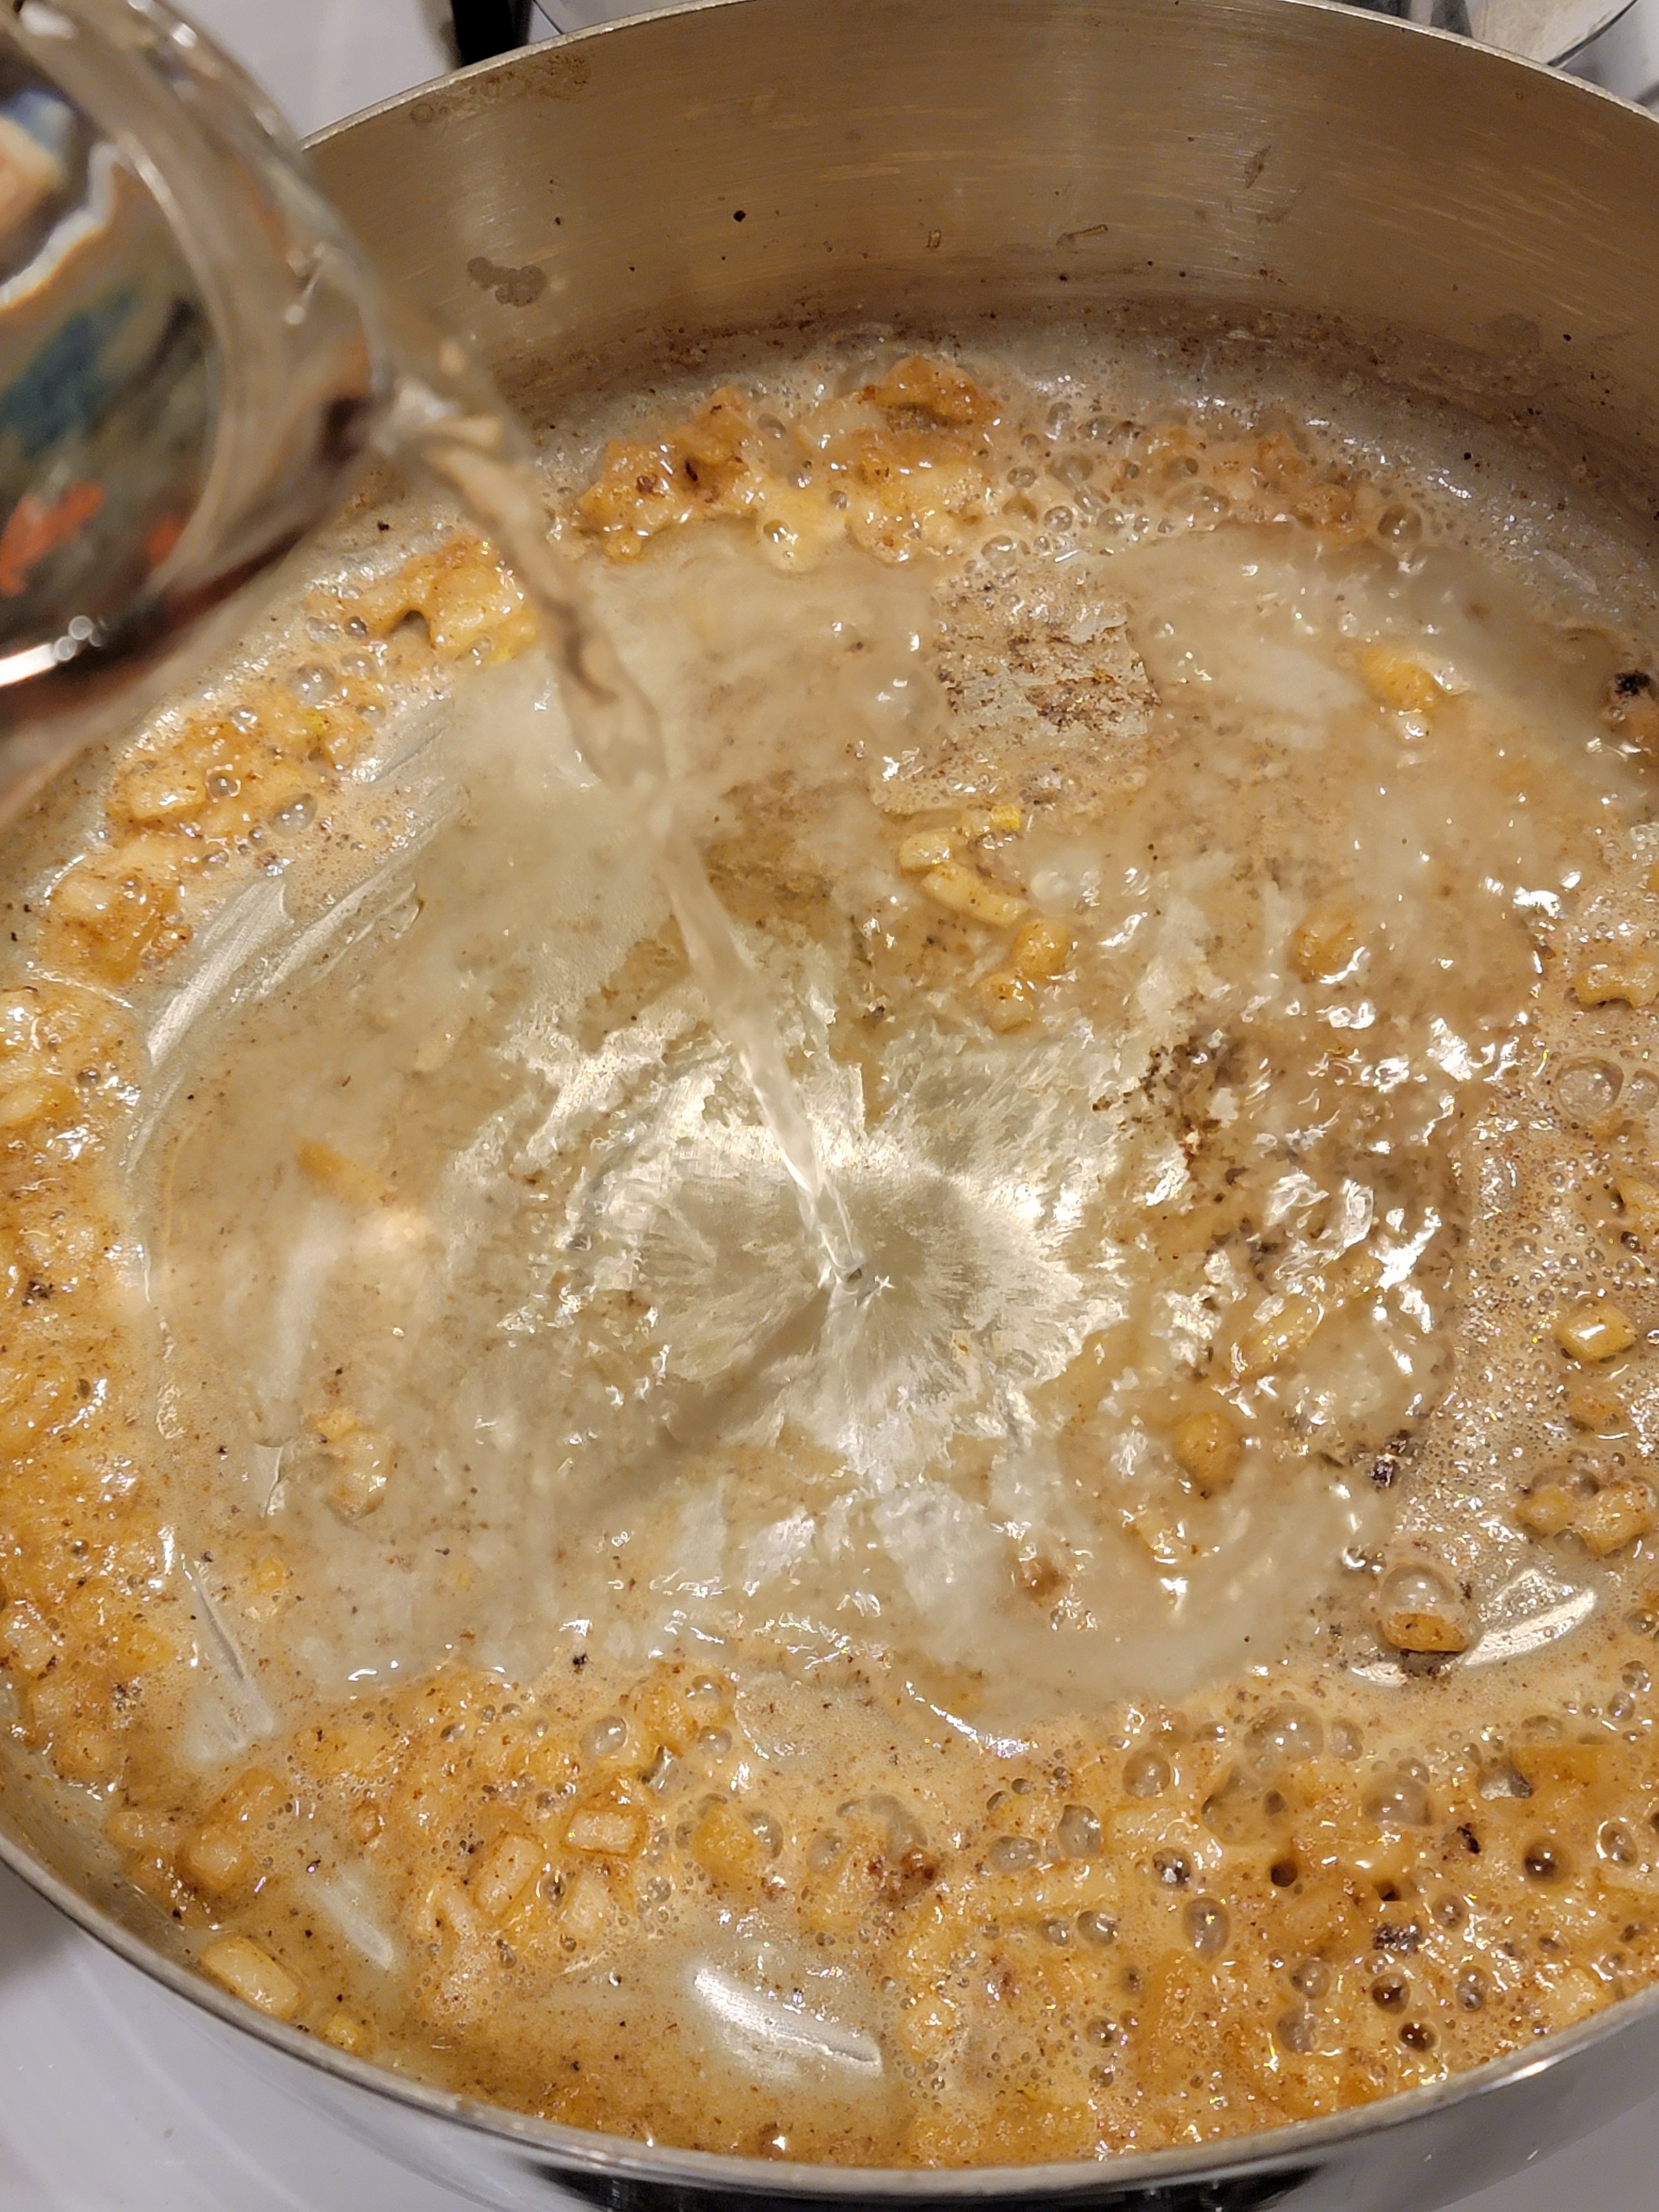
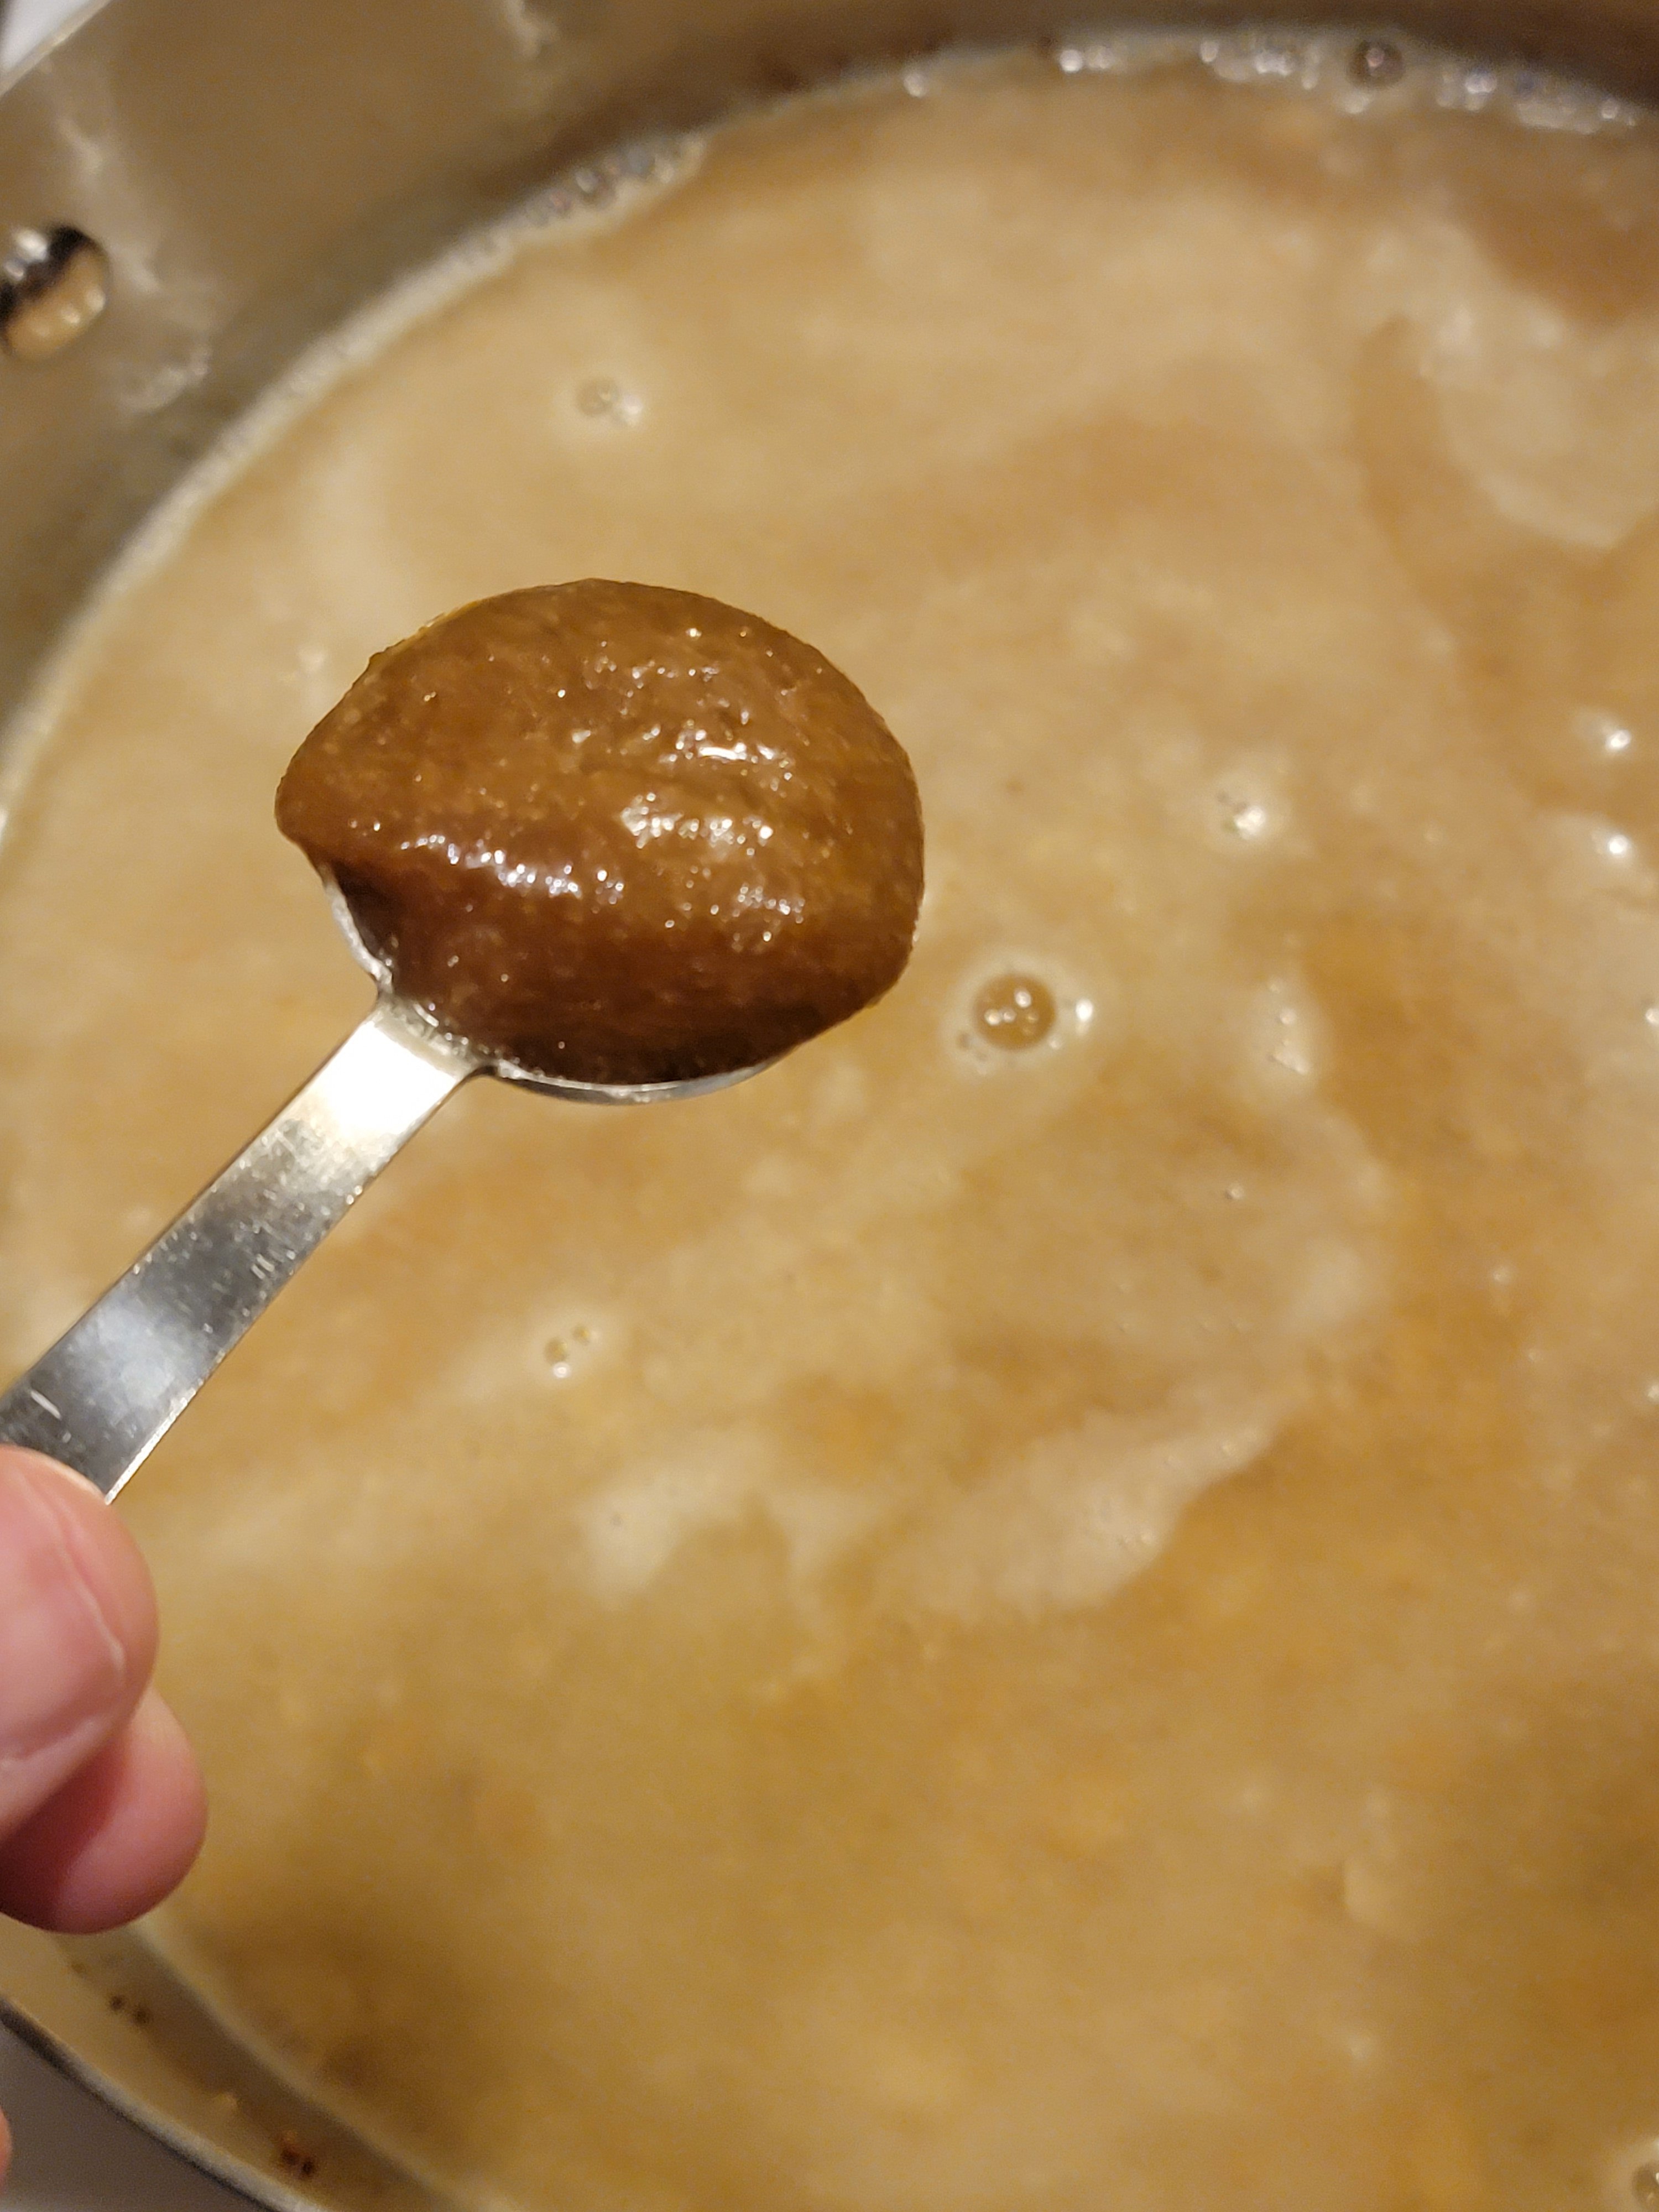
Add 1.5 cups of water and turkey bouillon to the pan and whisk until the bouillon is dissolved. (Don’t have bouillon paste? 1 bouillon cube works too!)

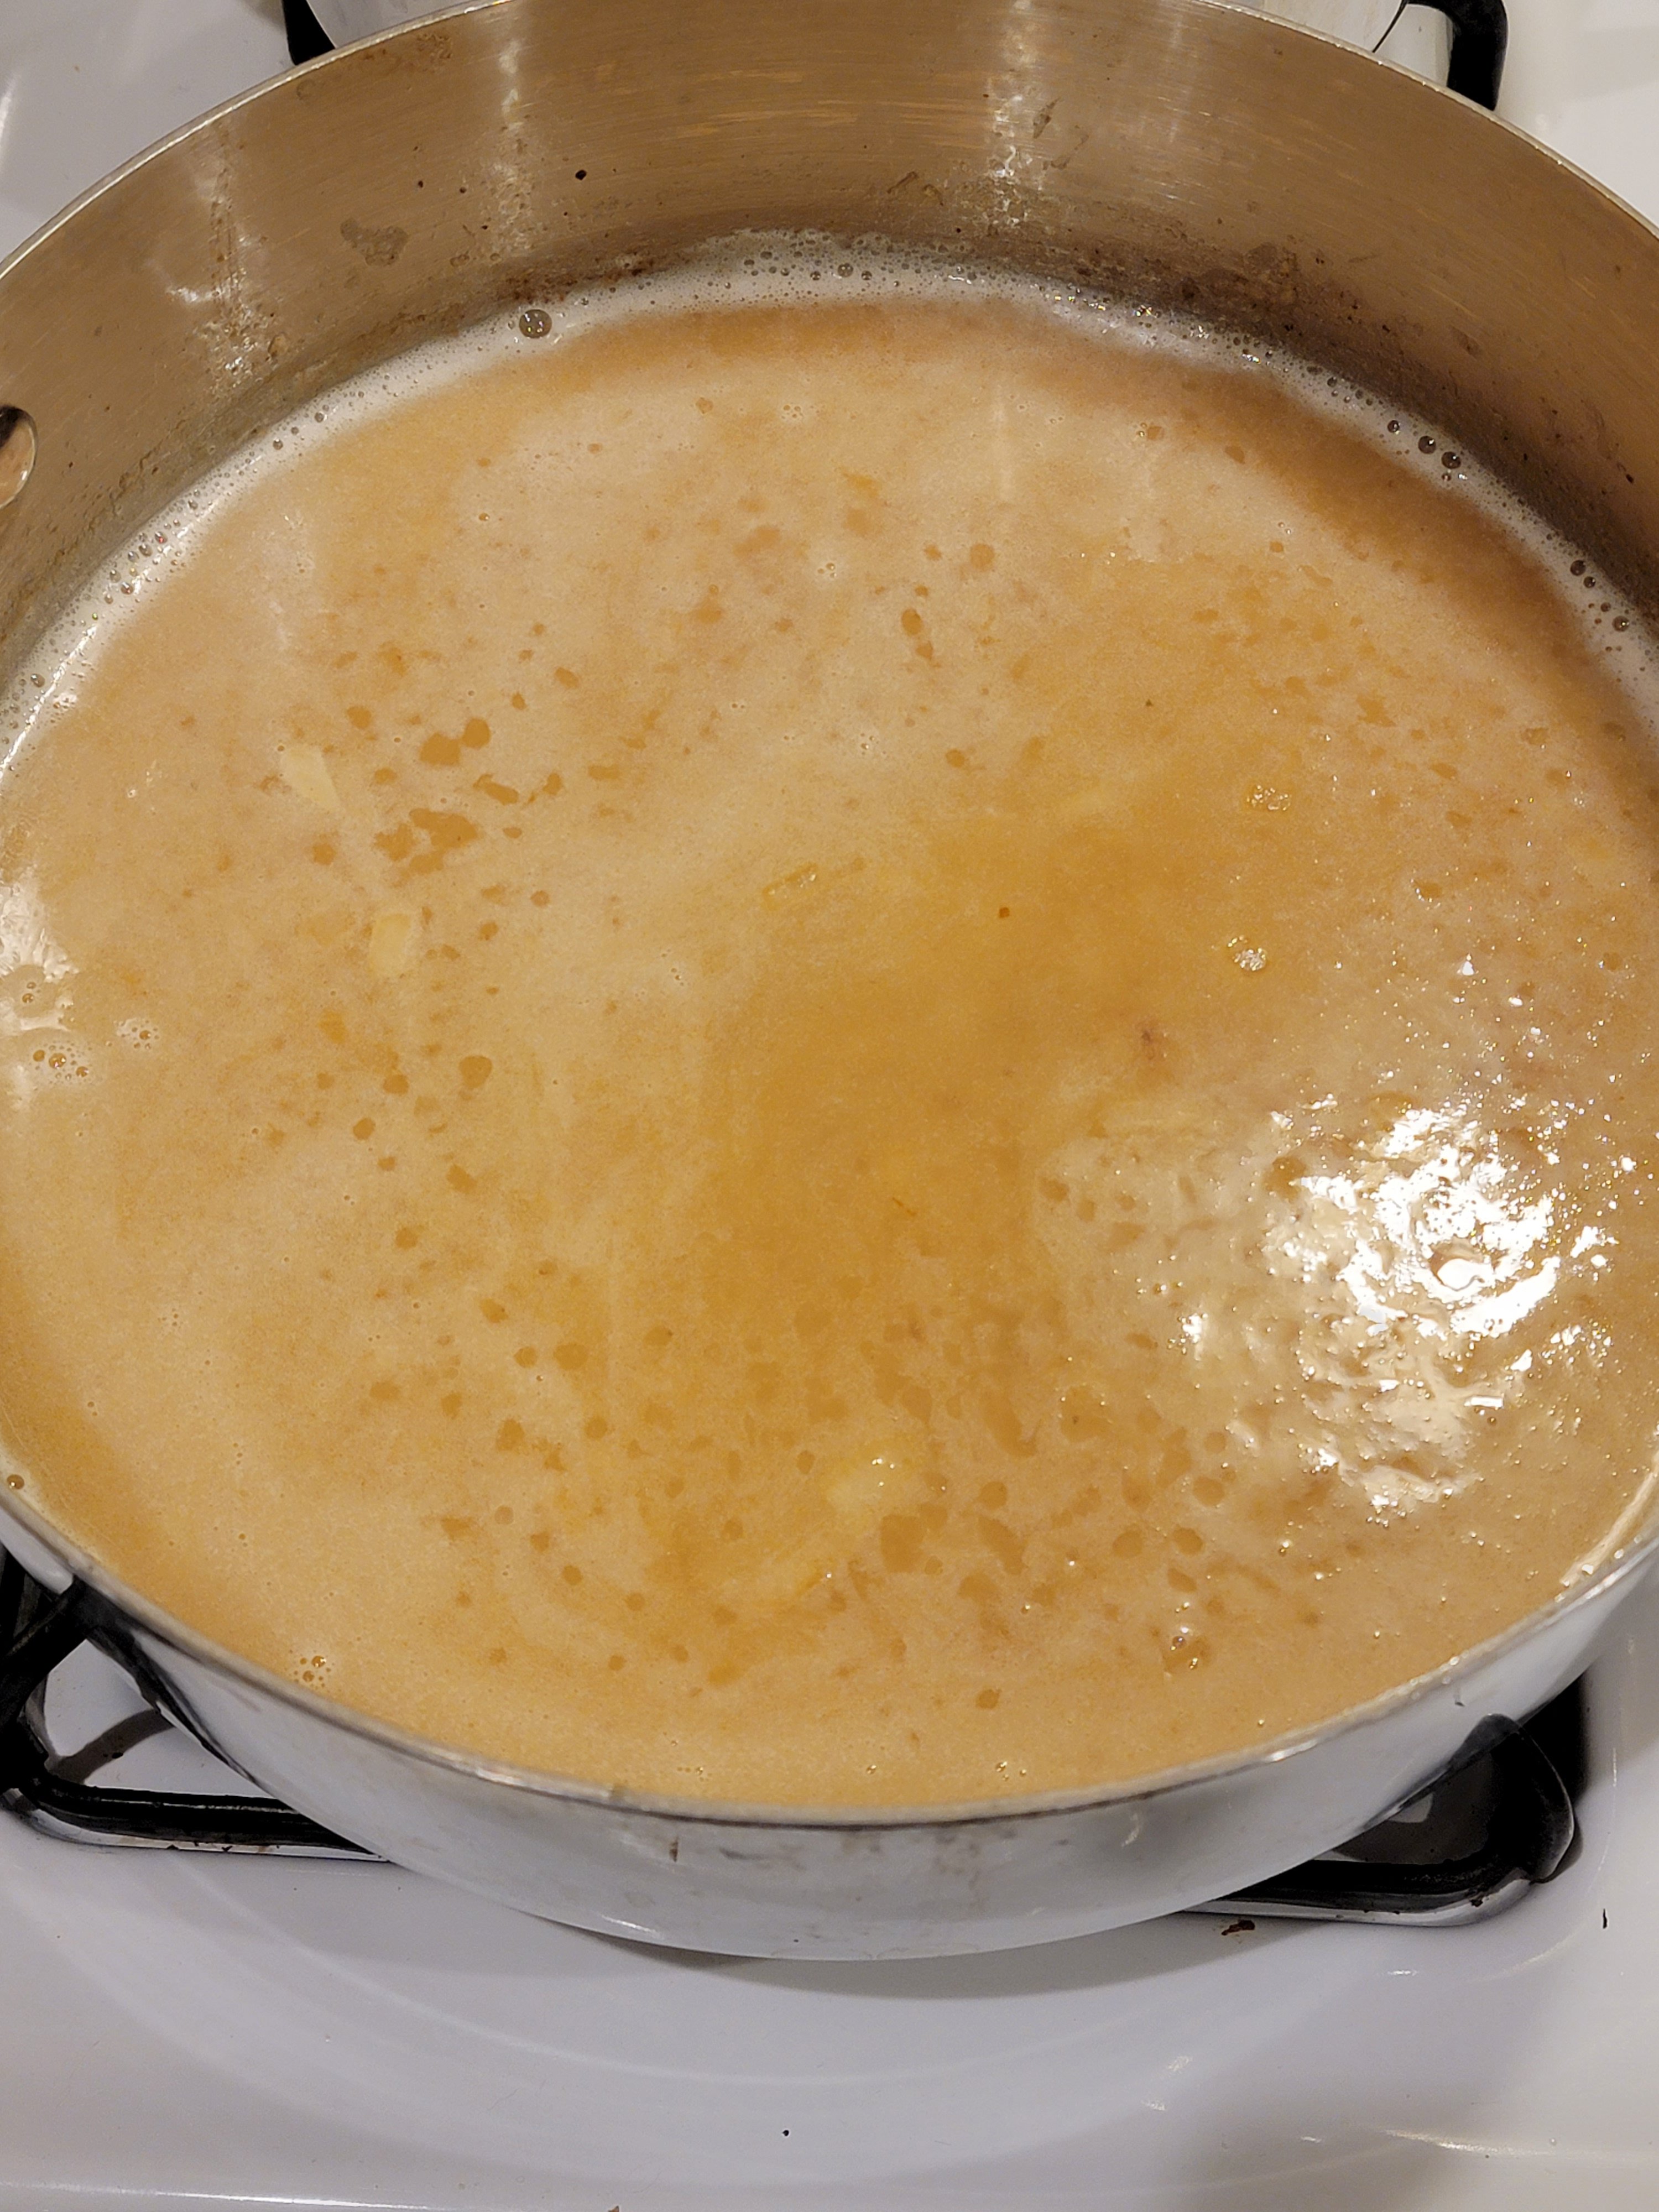
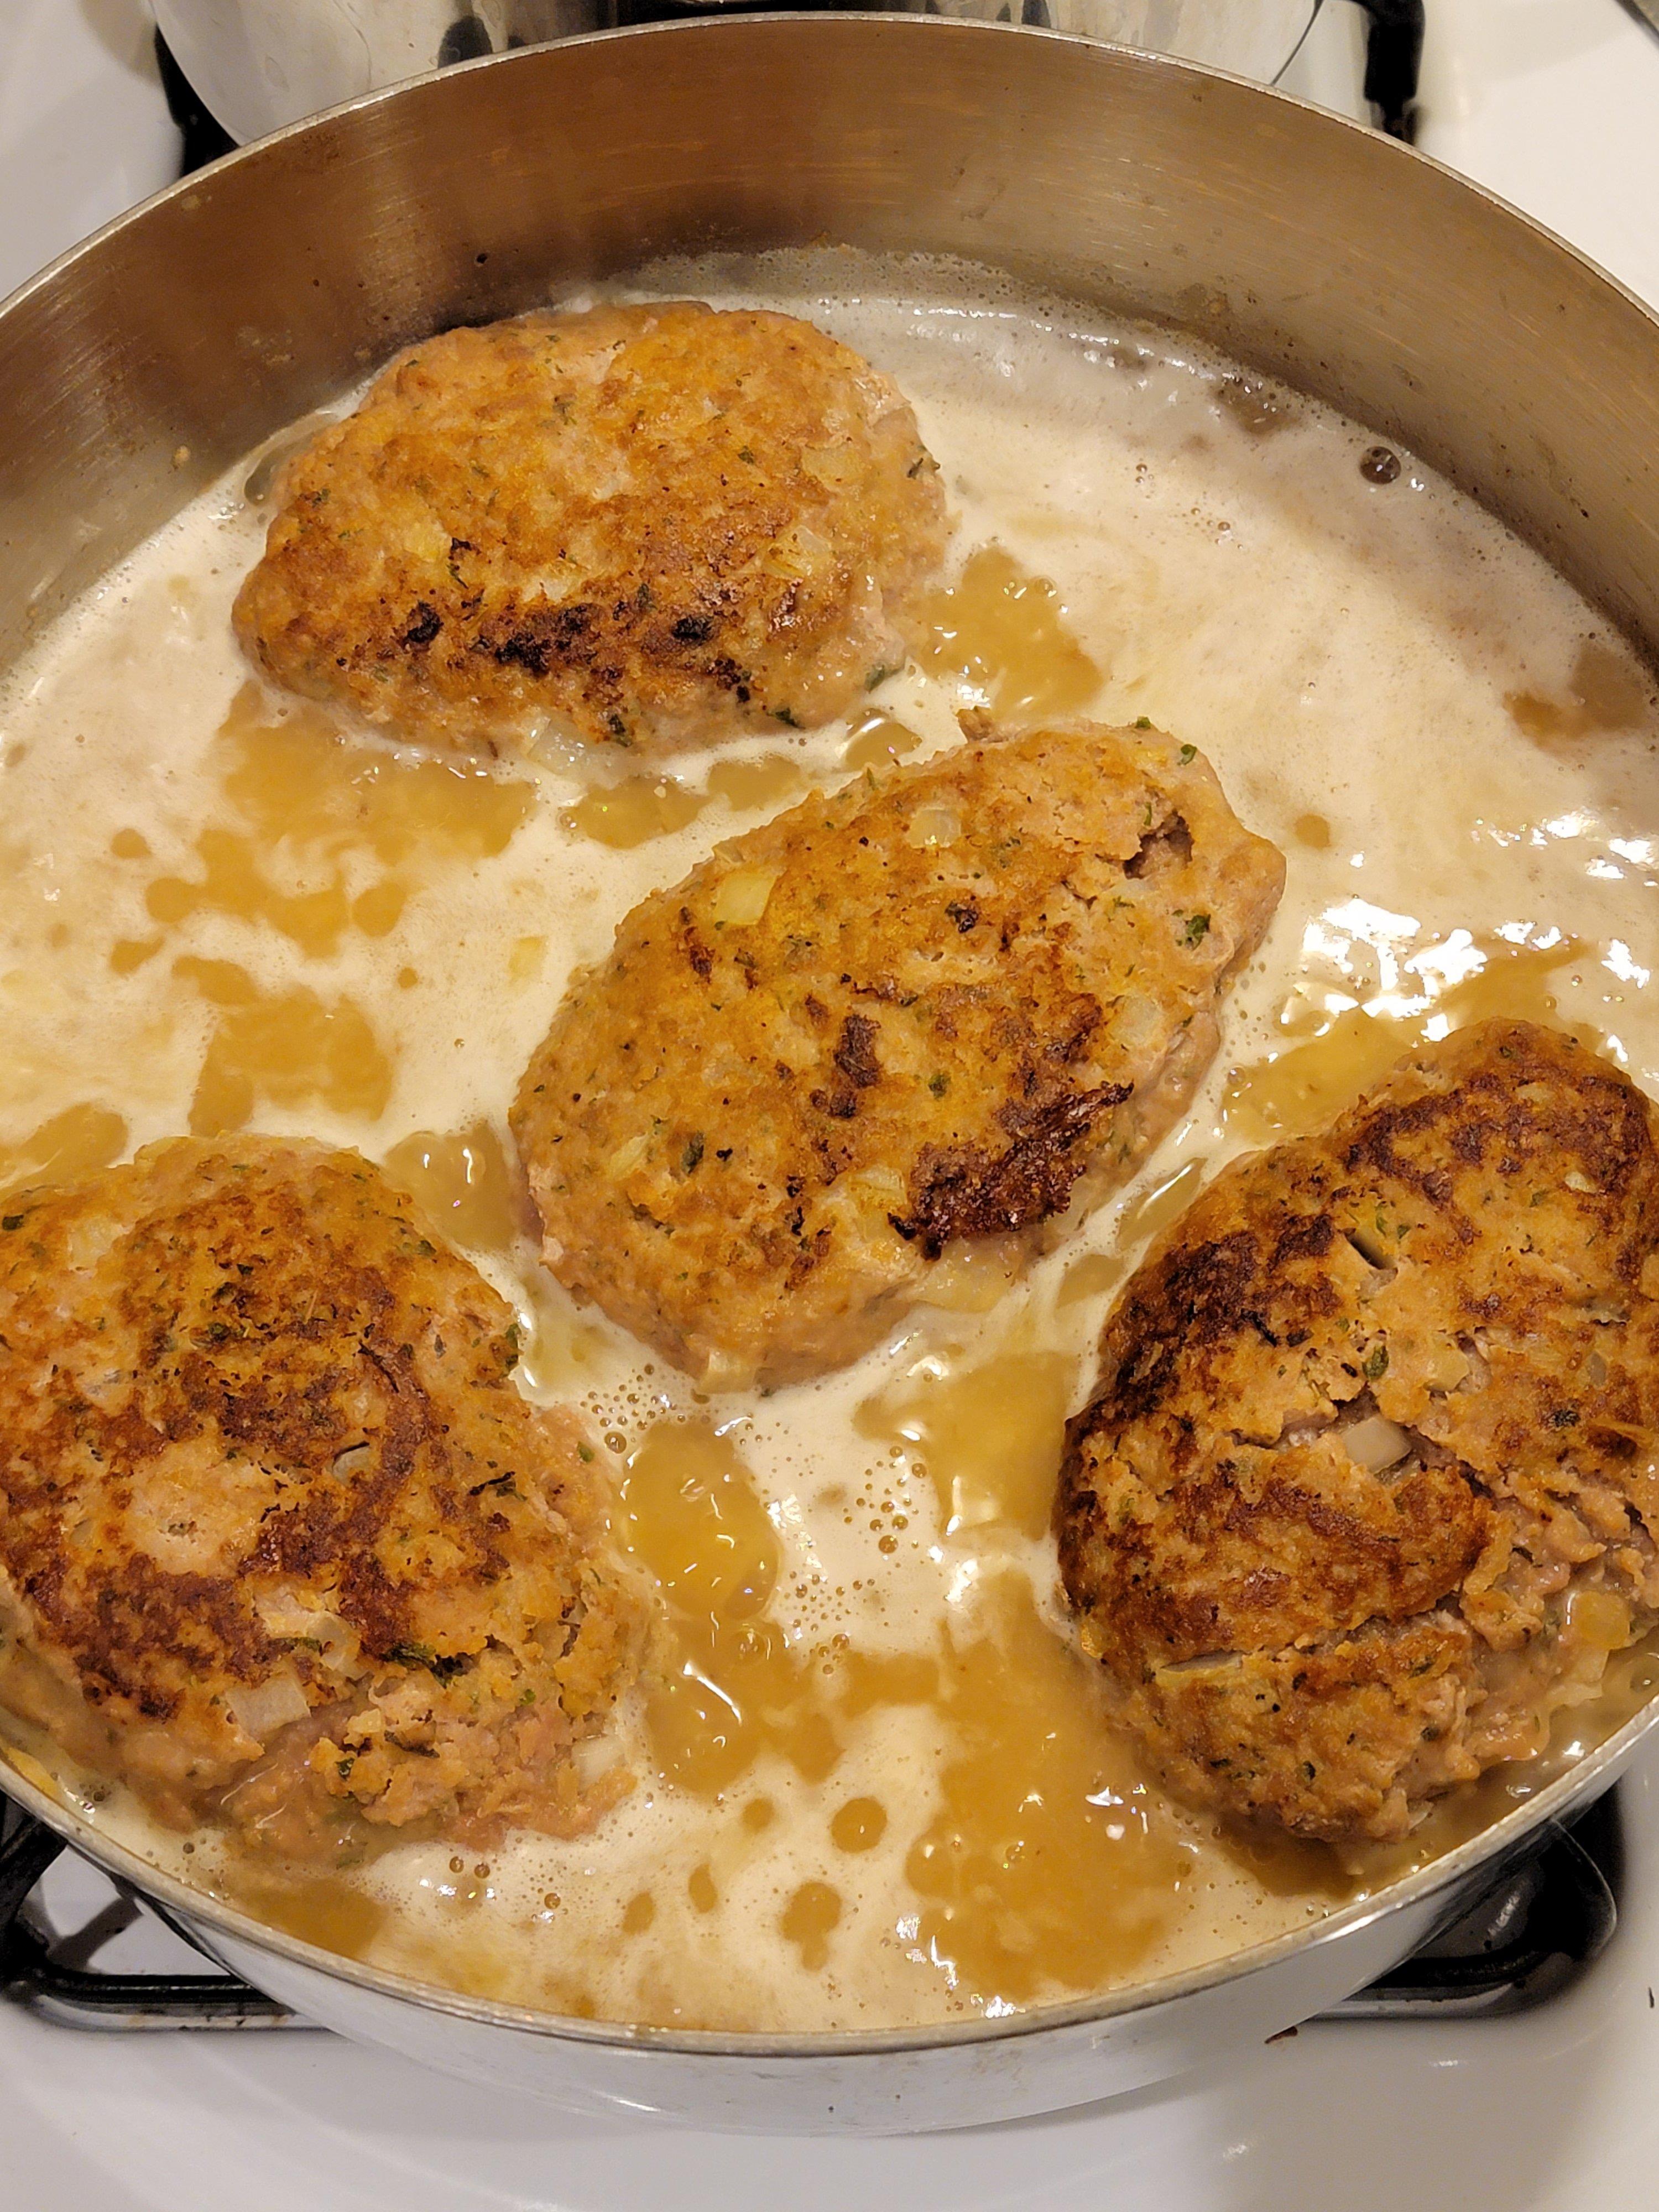
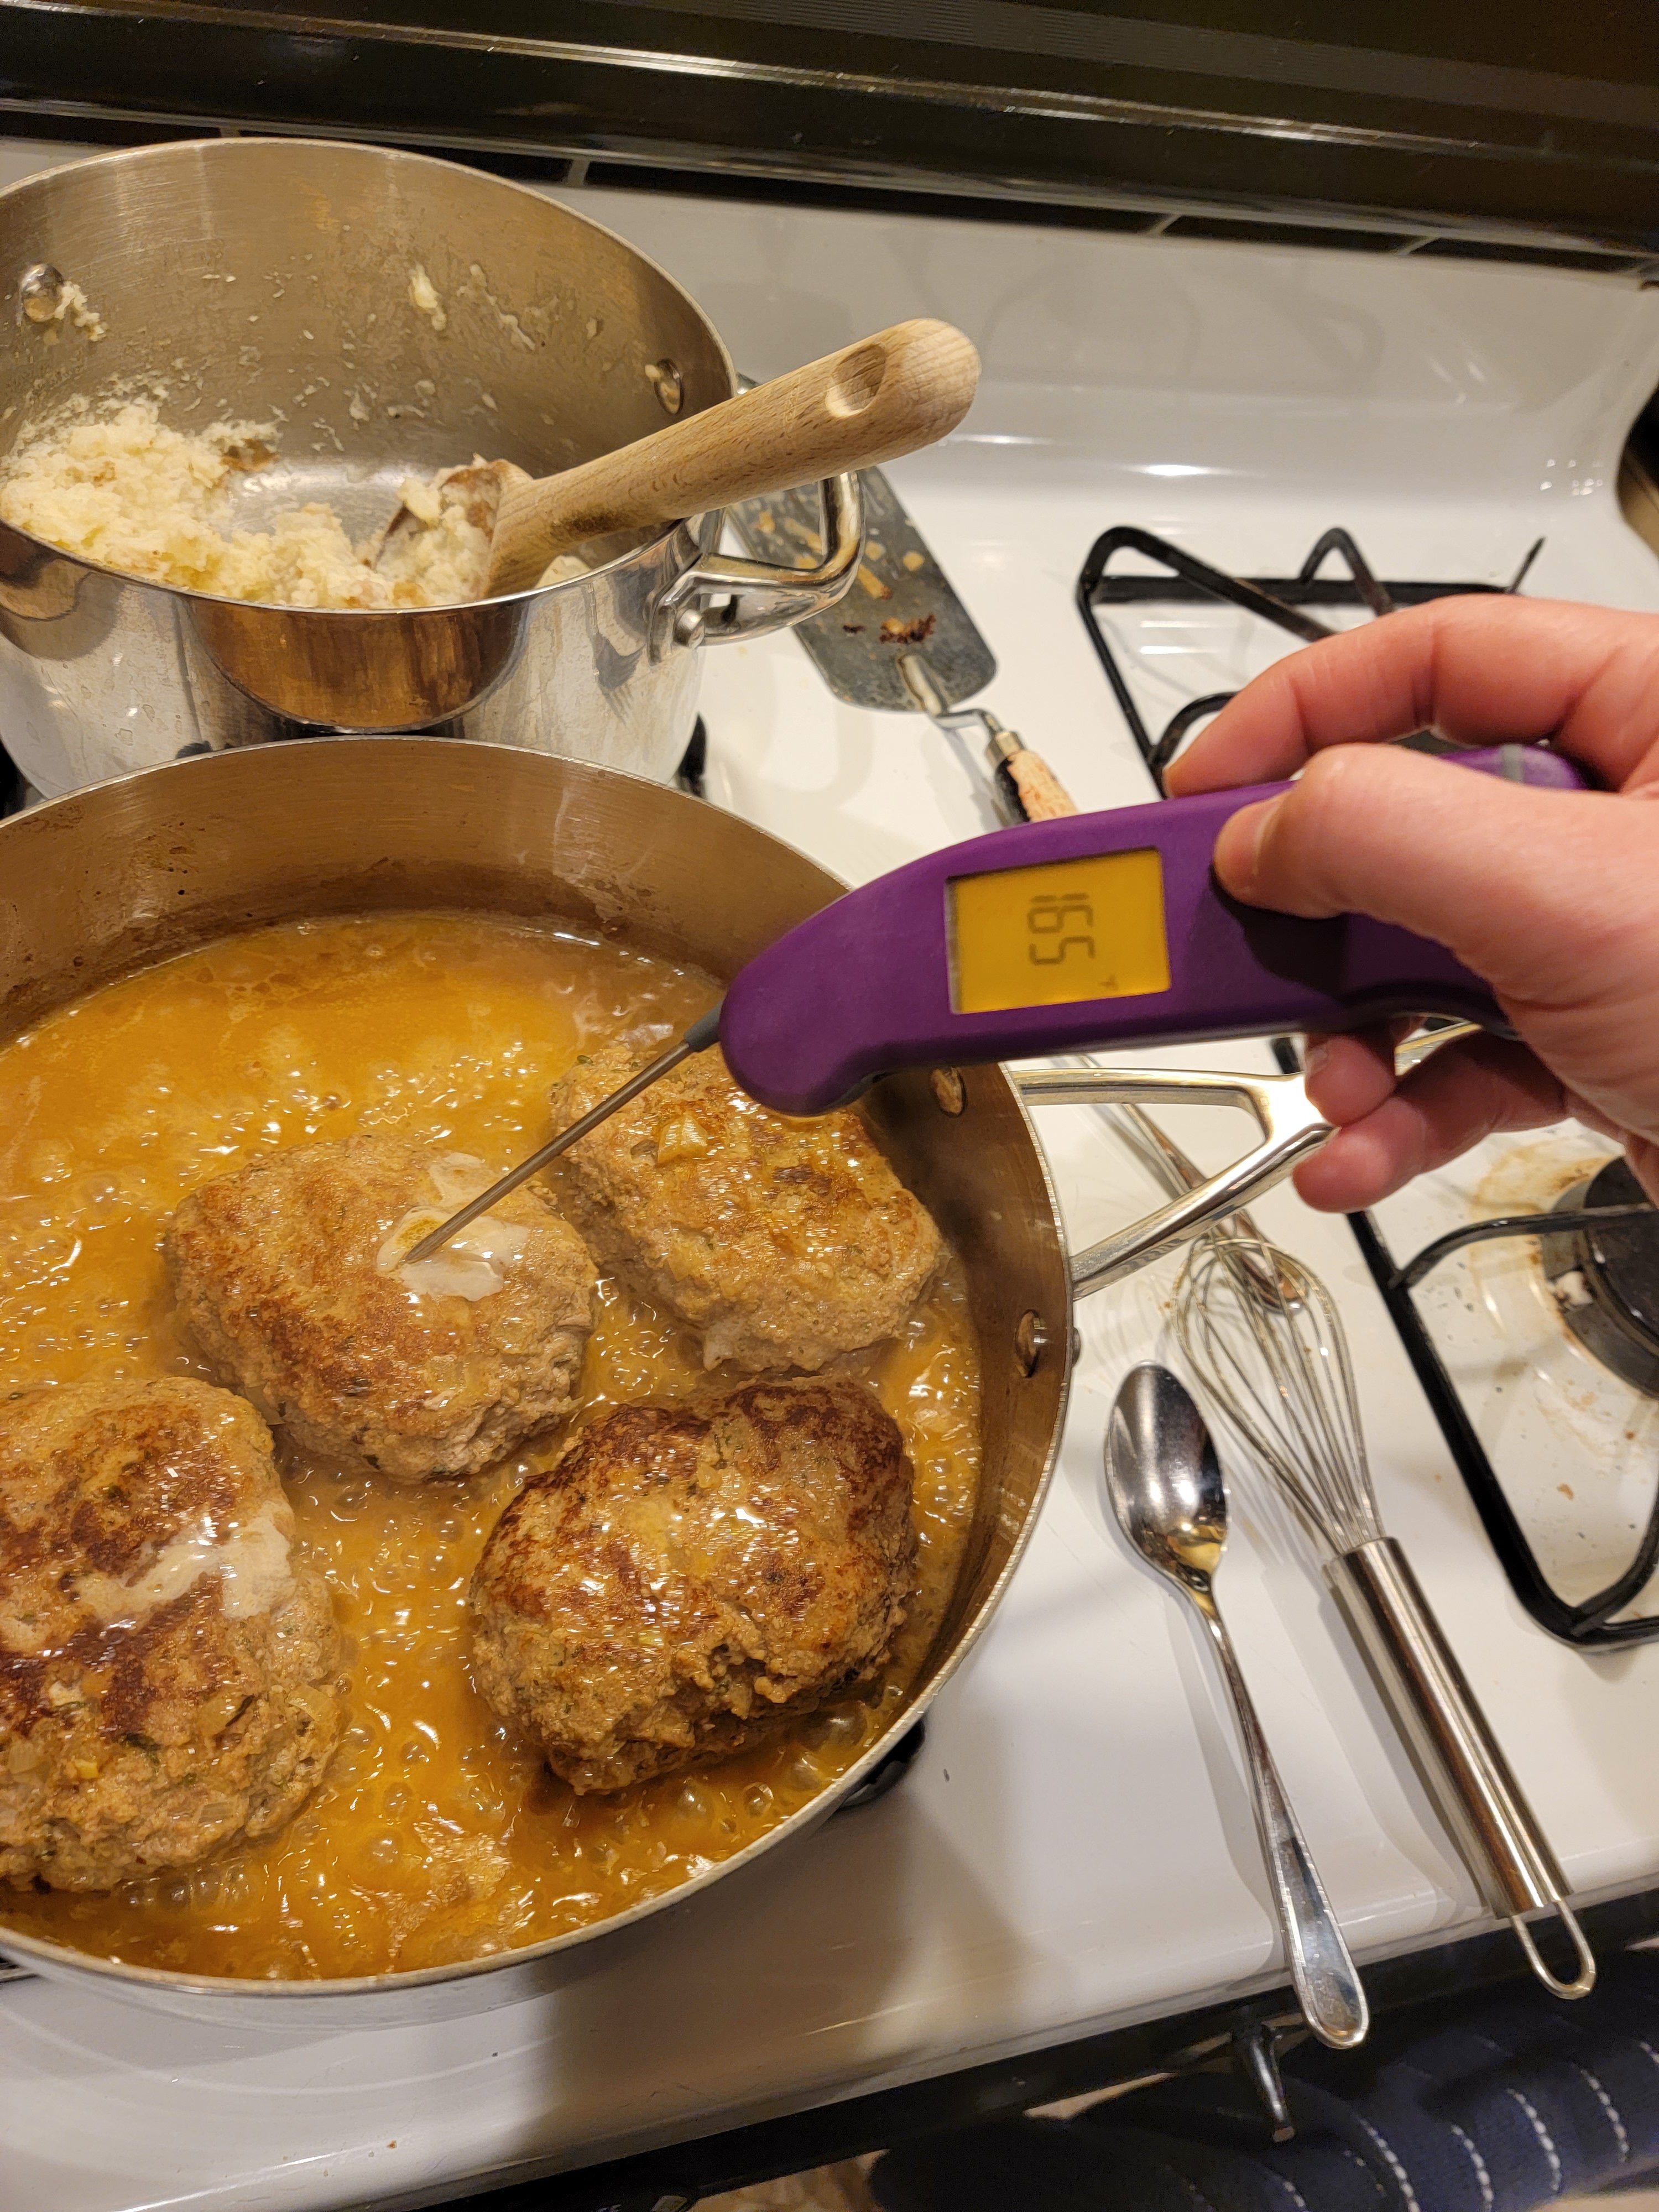
Bring the mixture to a boil and then reduce it to a simmer. Once the gravy reduces to a simmer add the steaks and raise the heat to medium high. Simmer the steaks covered in the gravy for 10-12 minutes or until the steaks reach 165F.

Once the steaks get to 165F take them out of the pan. If the gravy hasn’t thickened by now let it simmer until it reaches your desired thickness.

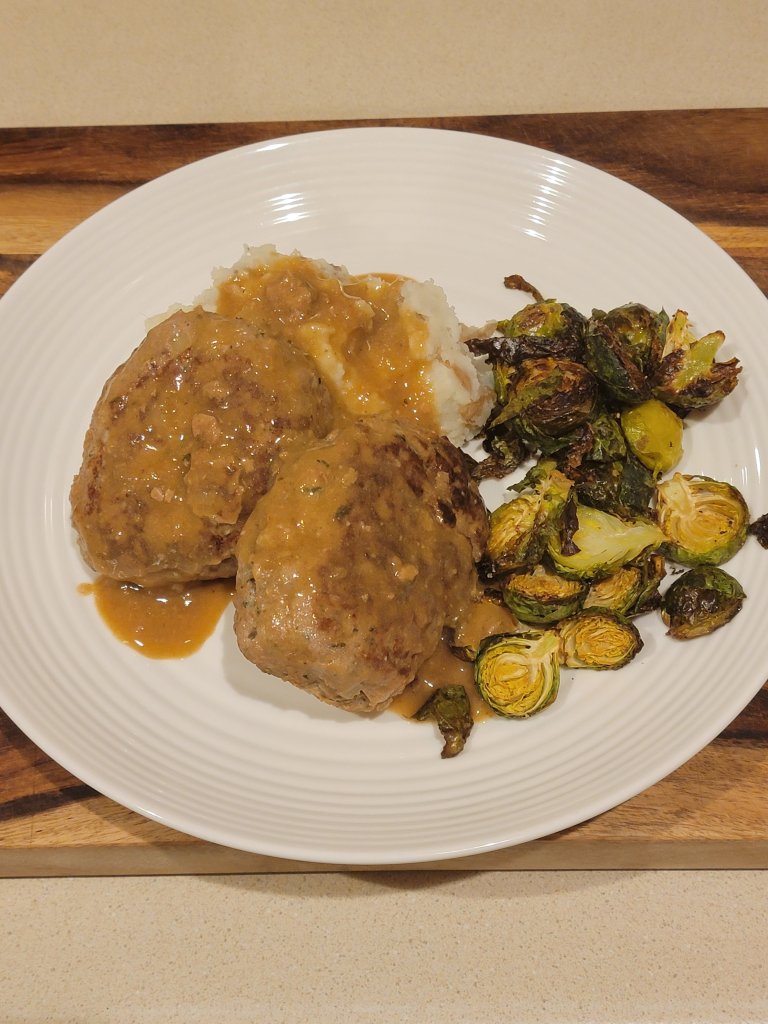
Serve your steaks with your favorite sides, we chose mashed potatoes and Brussels sprouts, and smother with the onion gravy!

I hope you enjoy this dish as much as we do!

-Dan

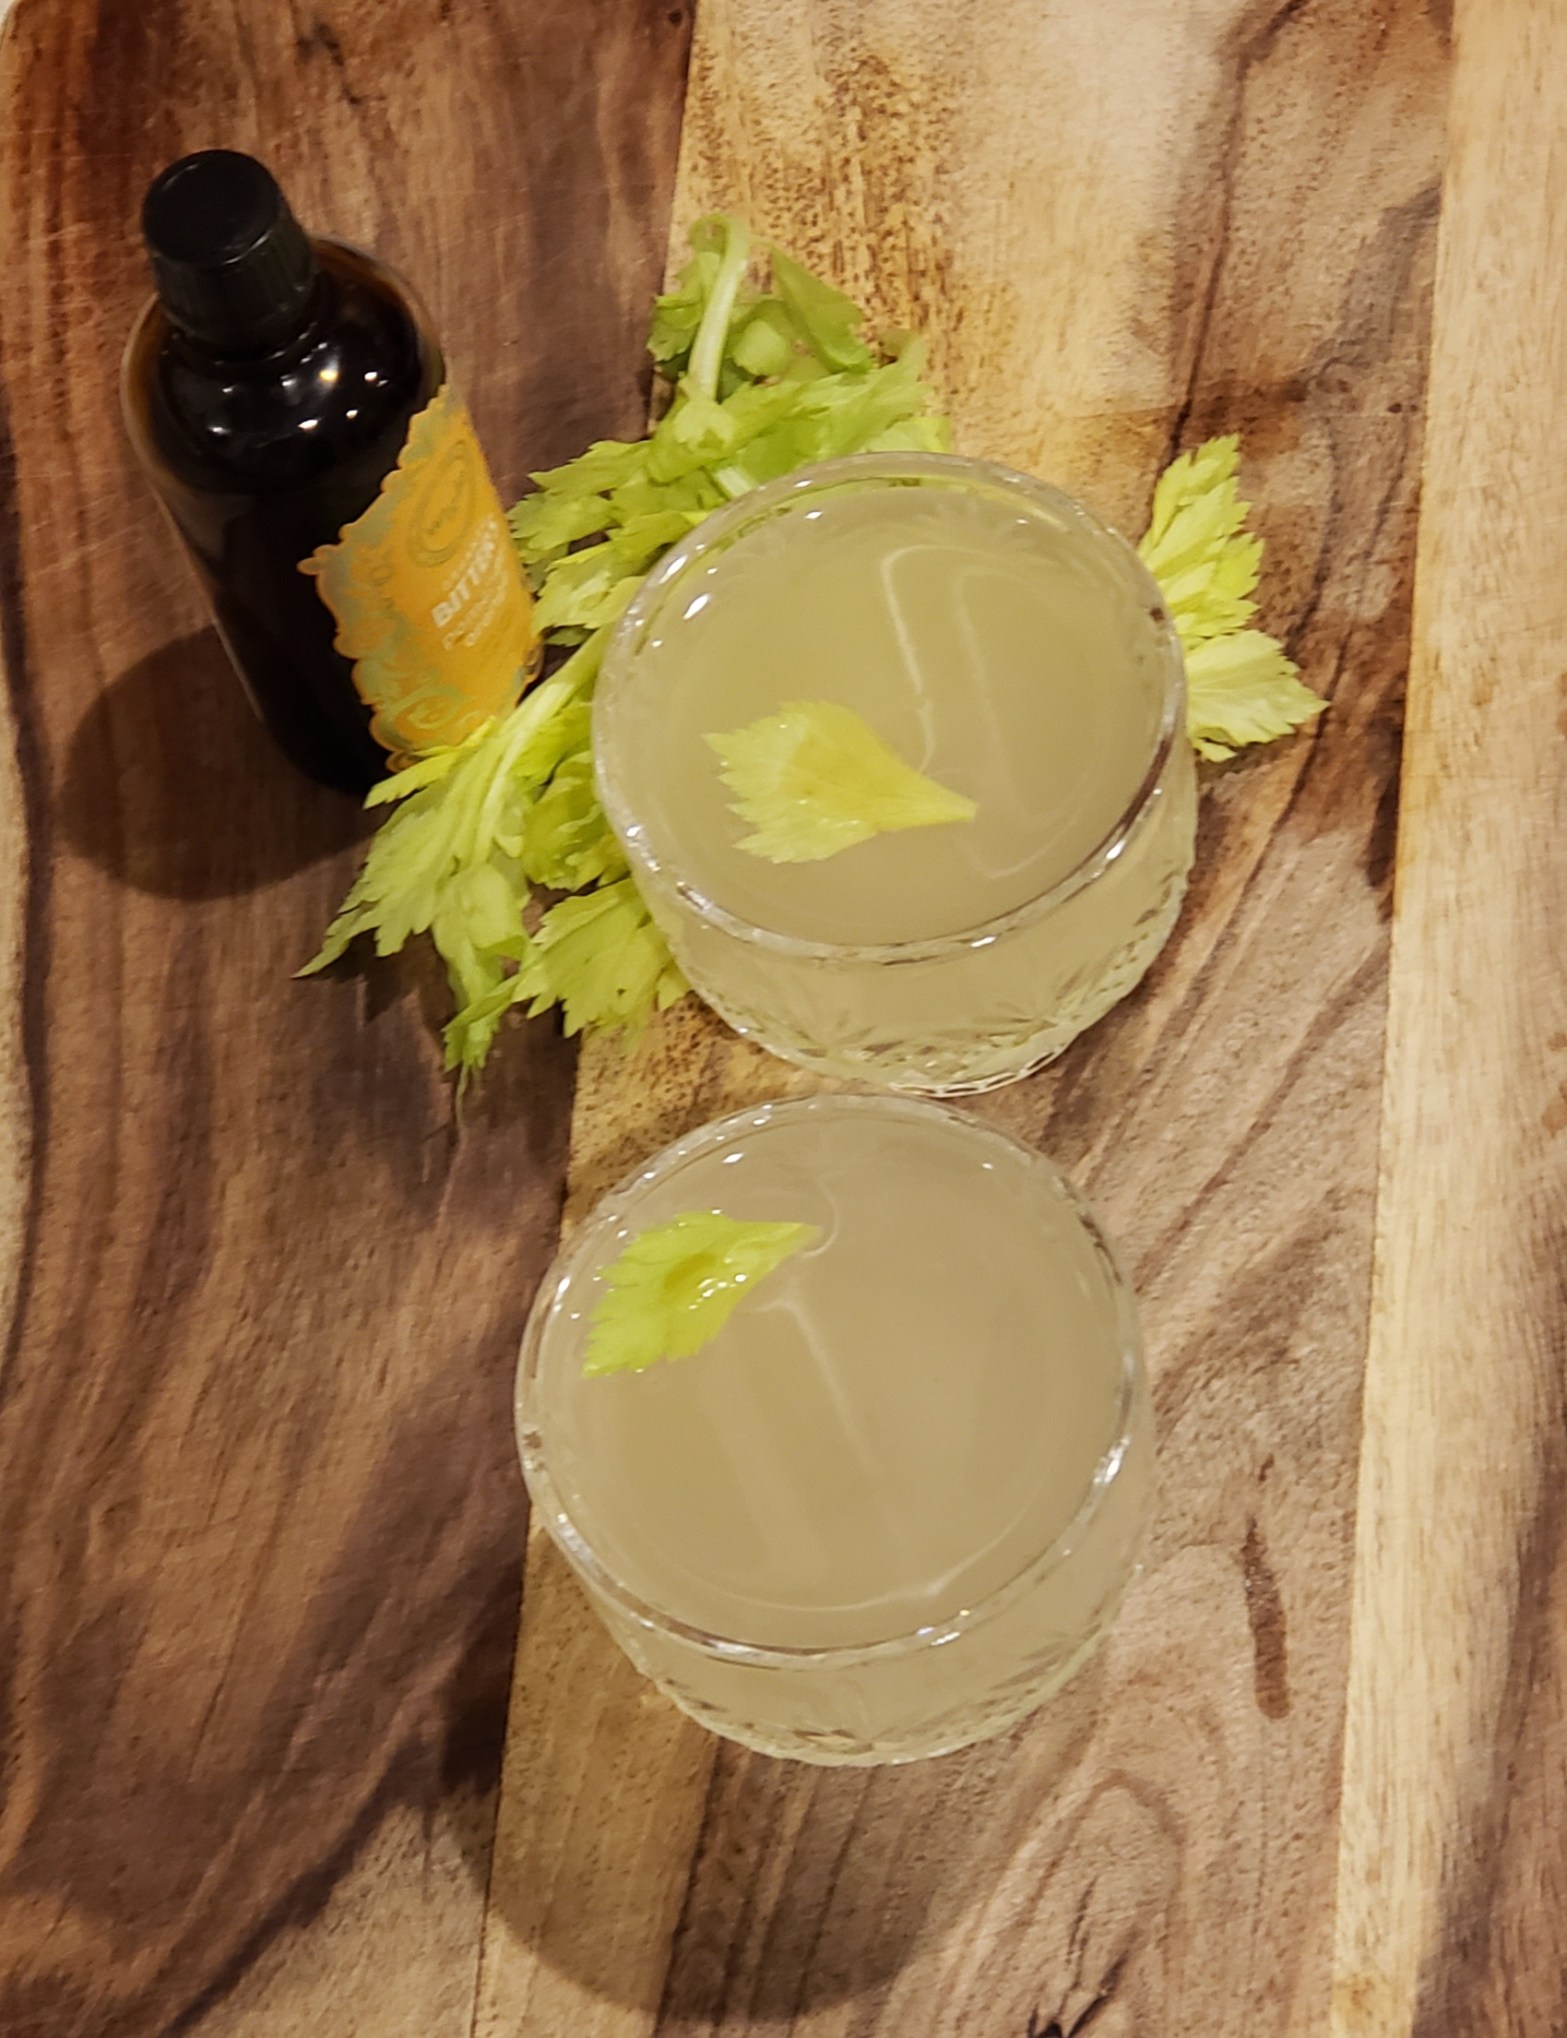
Celery Gimlet

Wondering what to do with all that left over celery from Thanksgiving? Why not make a drink! Here is one of our new favorite drinks, Celery Gimlet

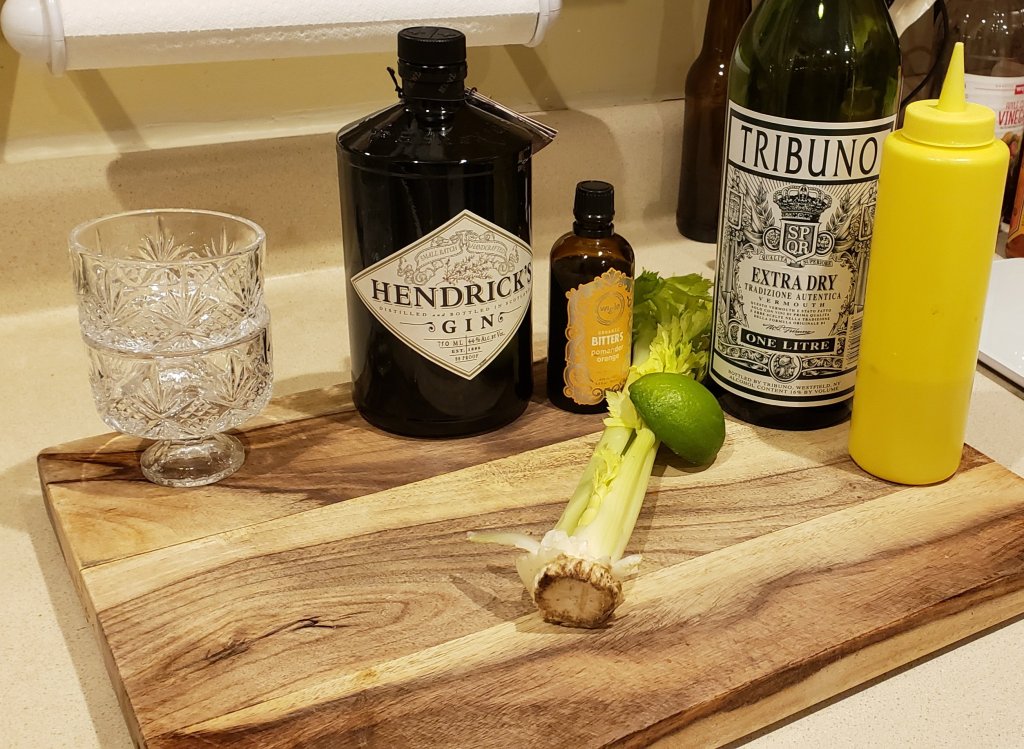
Here’s what you’ll need (this makes 2):

  • 2-3 Celery Stocks
  • 1oz Simple Syrup
  • 1oz Dry Vermouth
  • Juice from 1/2 a Lime
  • 4oz Gin
  • 5 dashes Orange Bitters
  • Ice

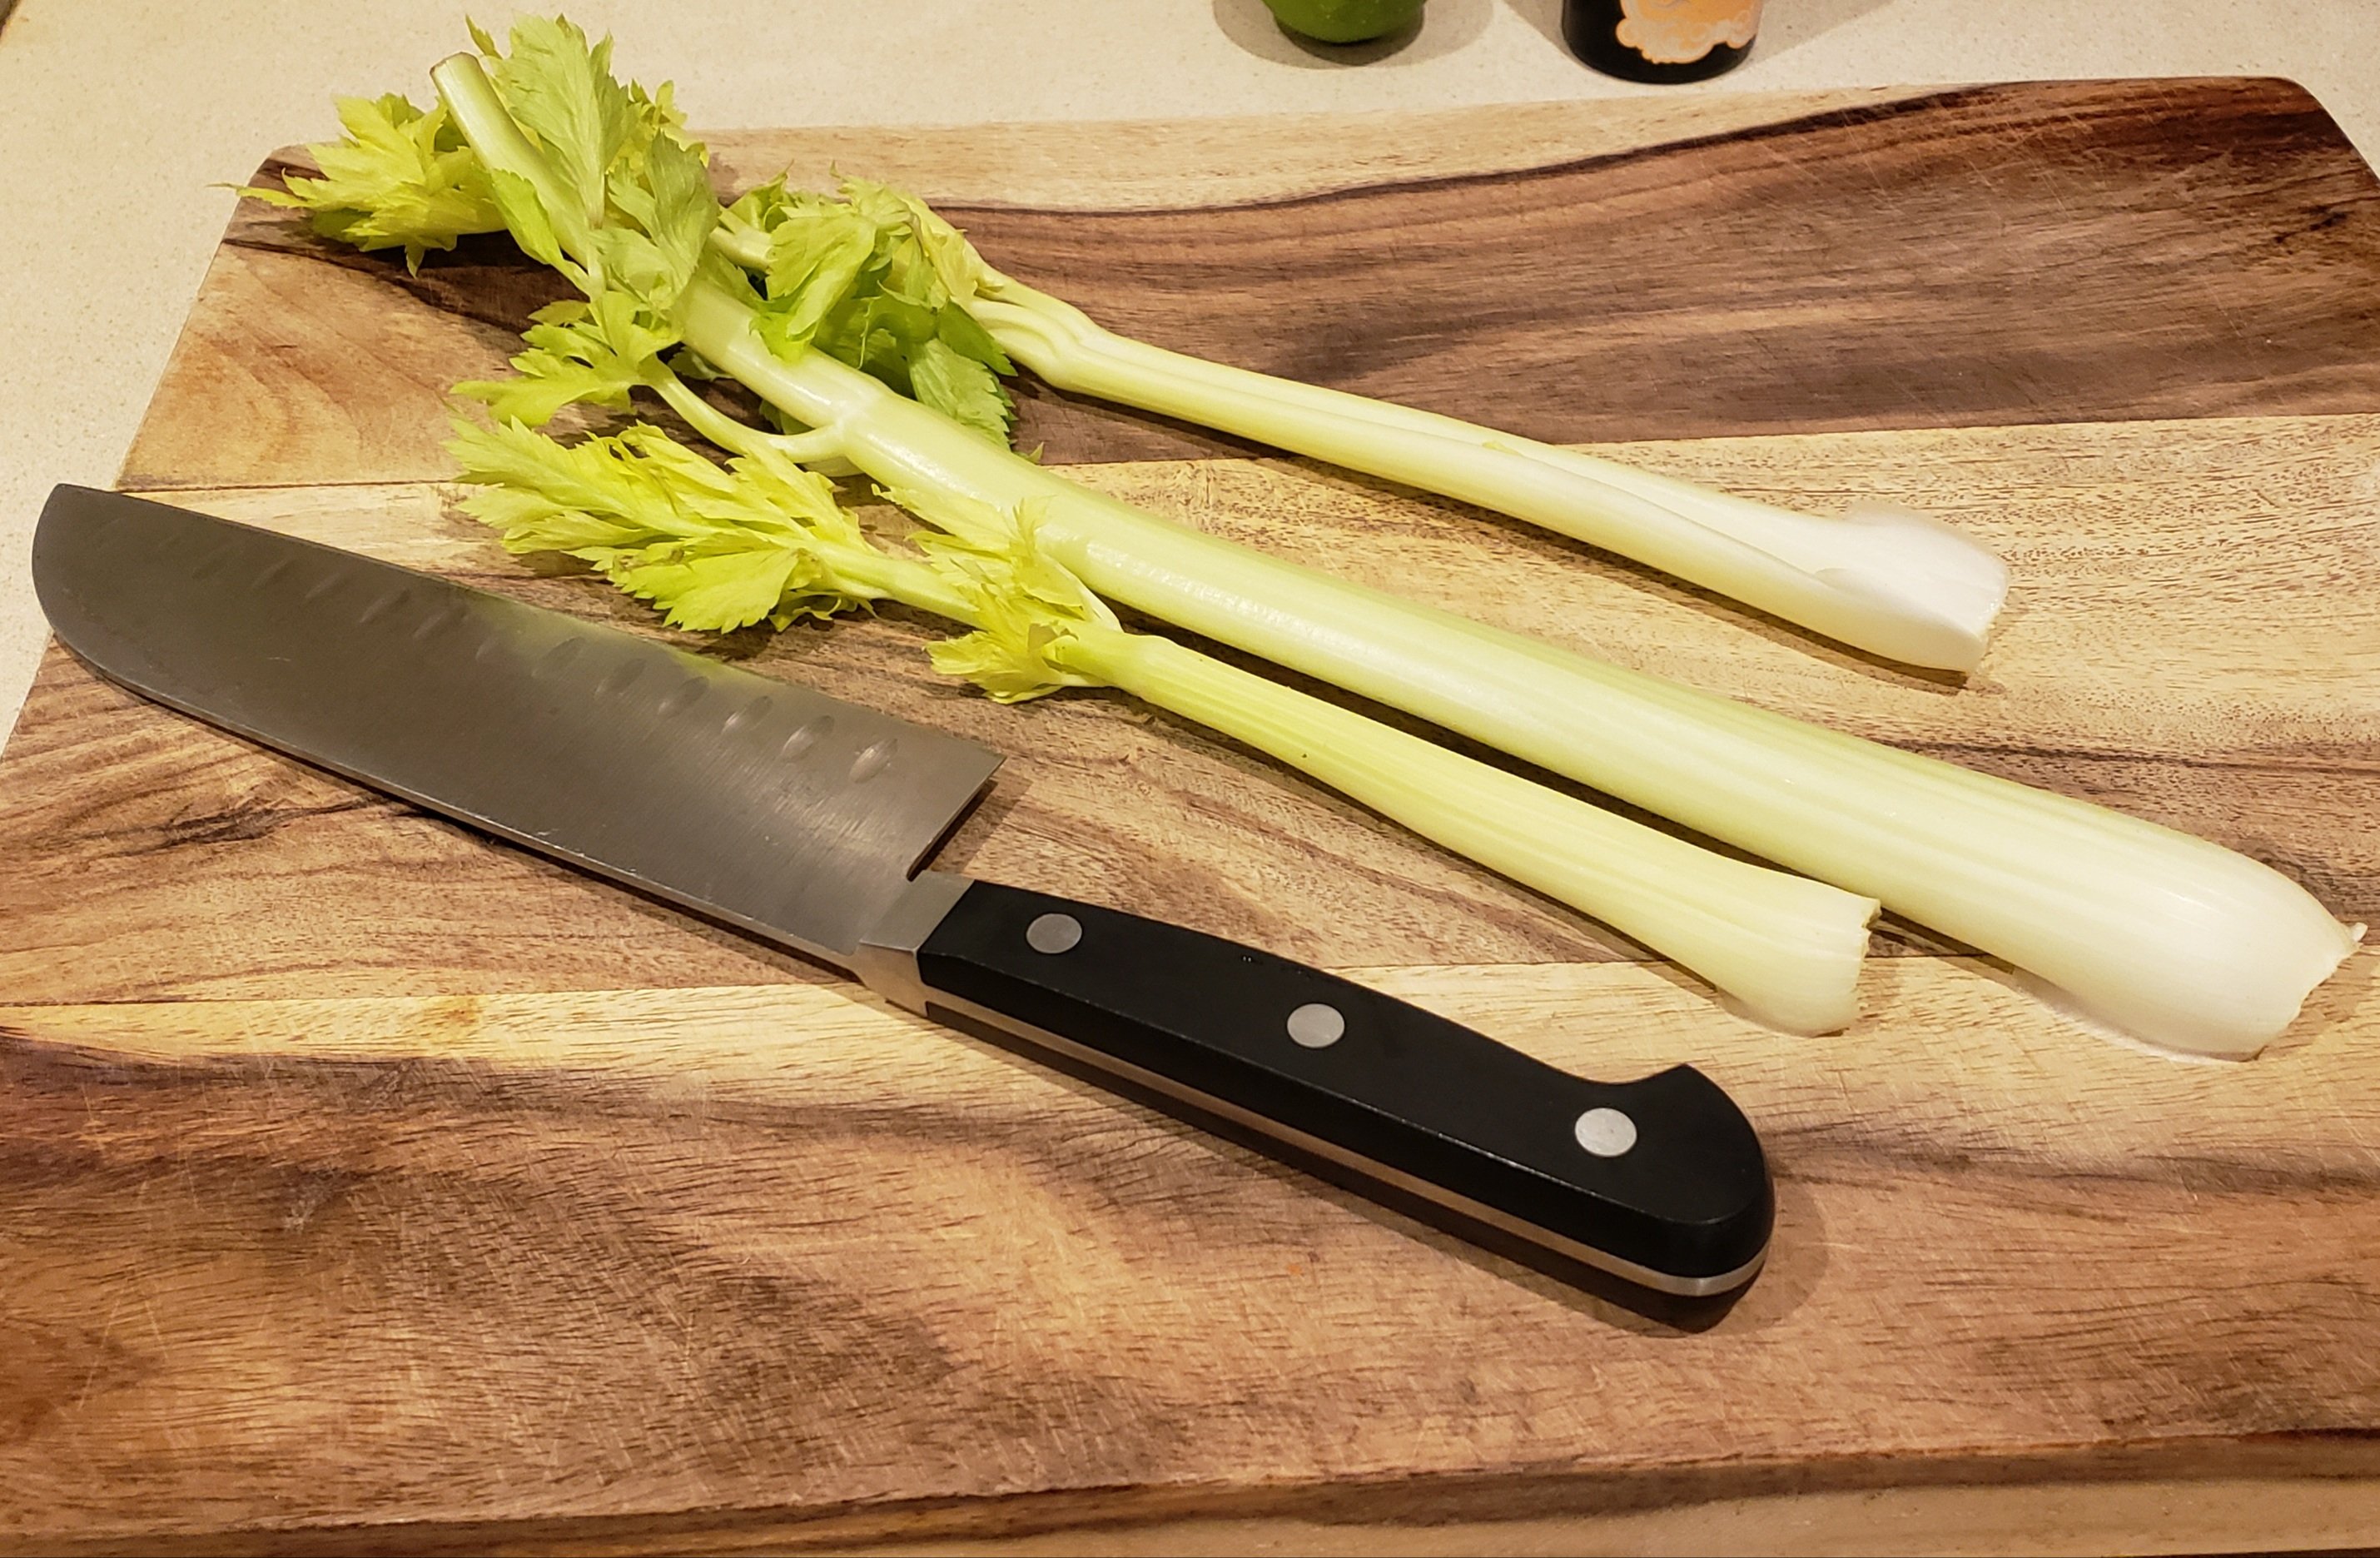
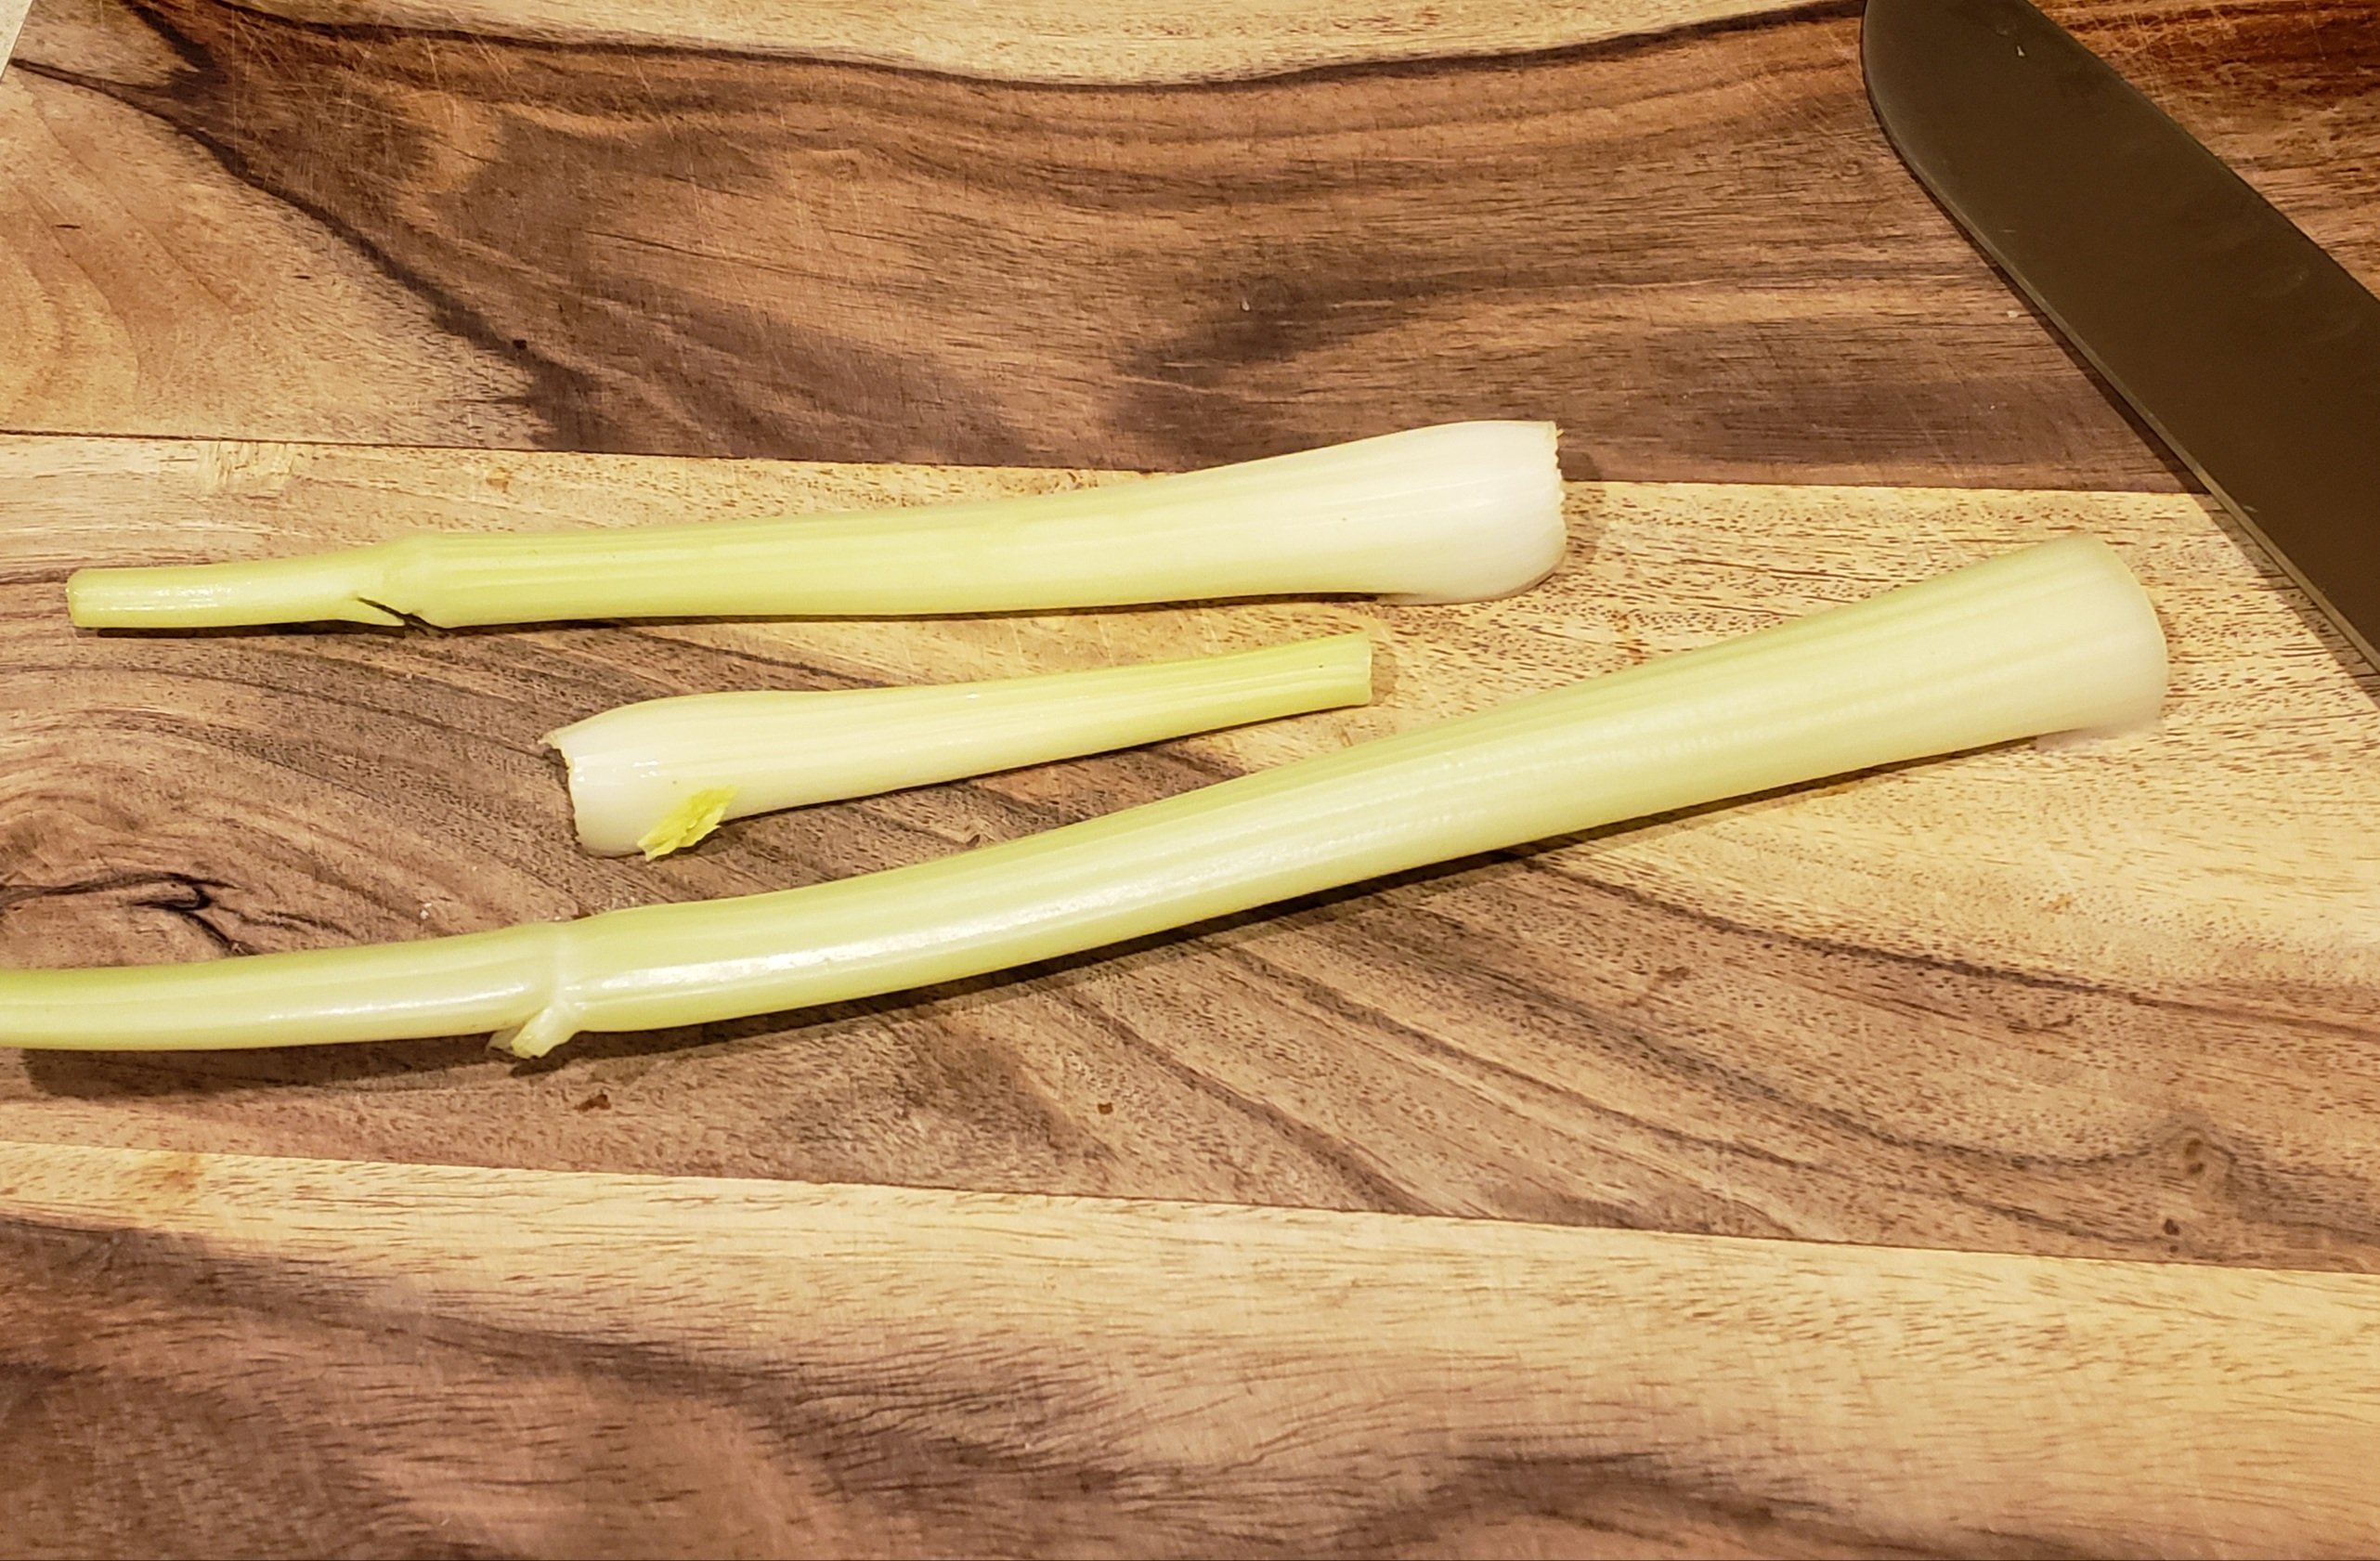
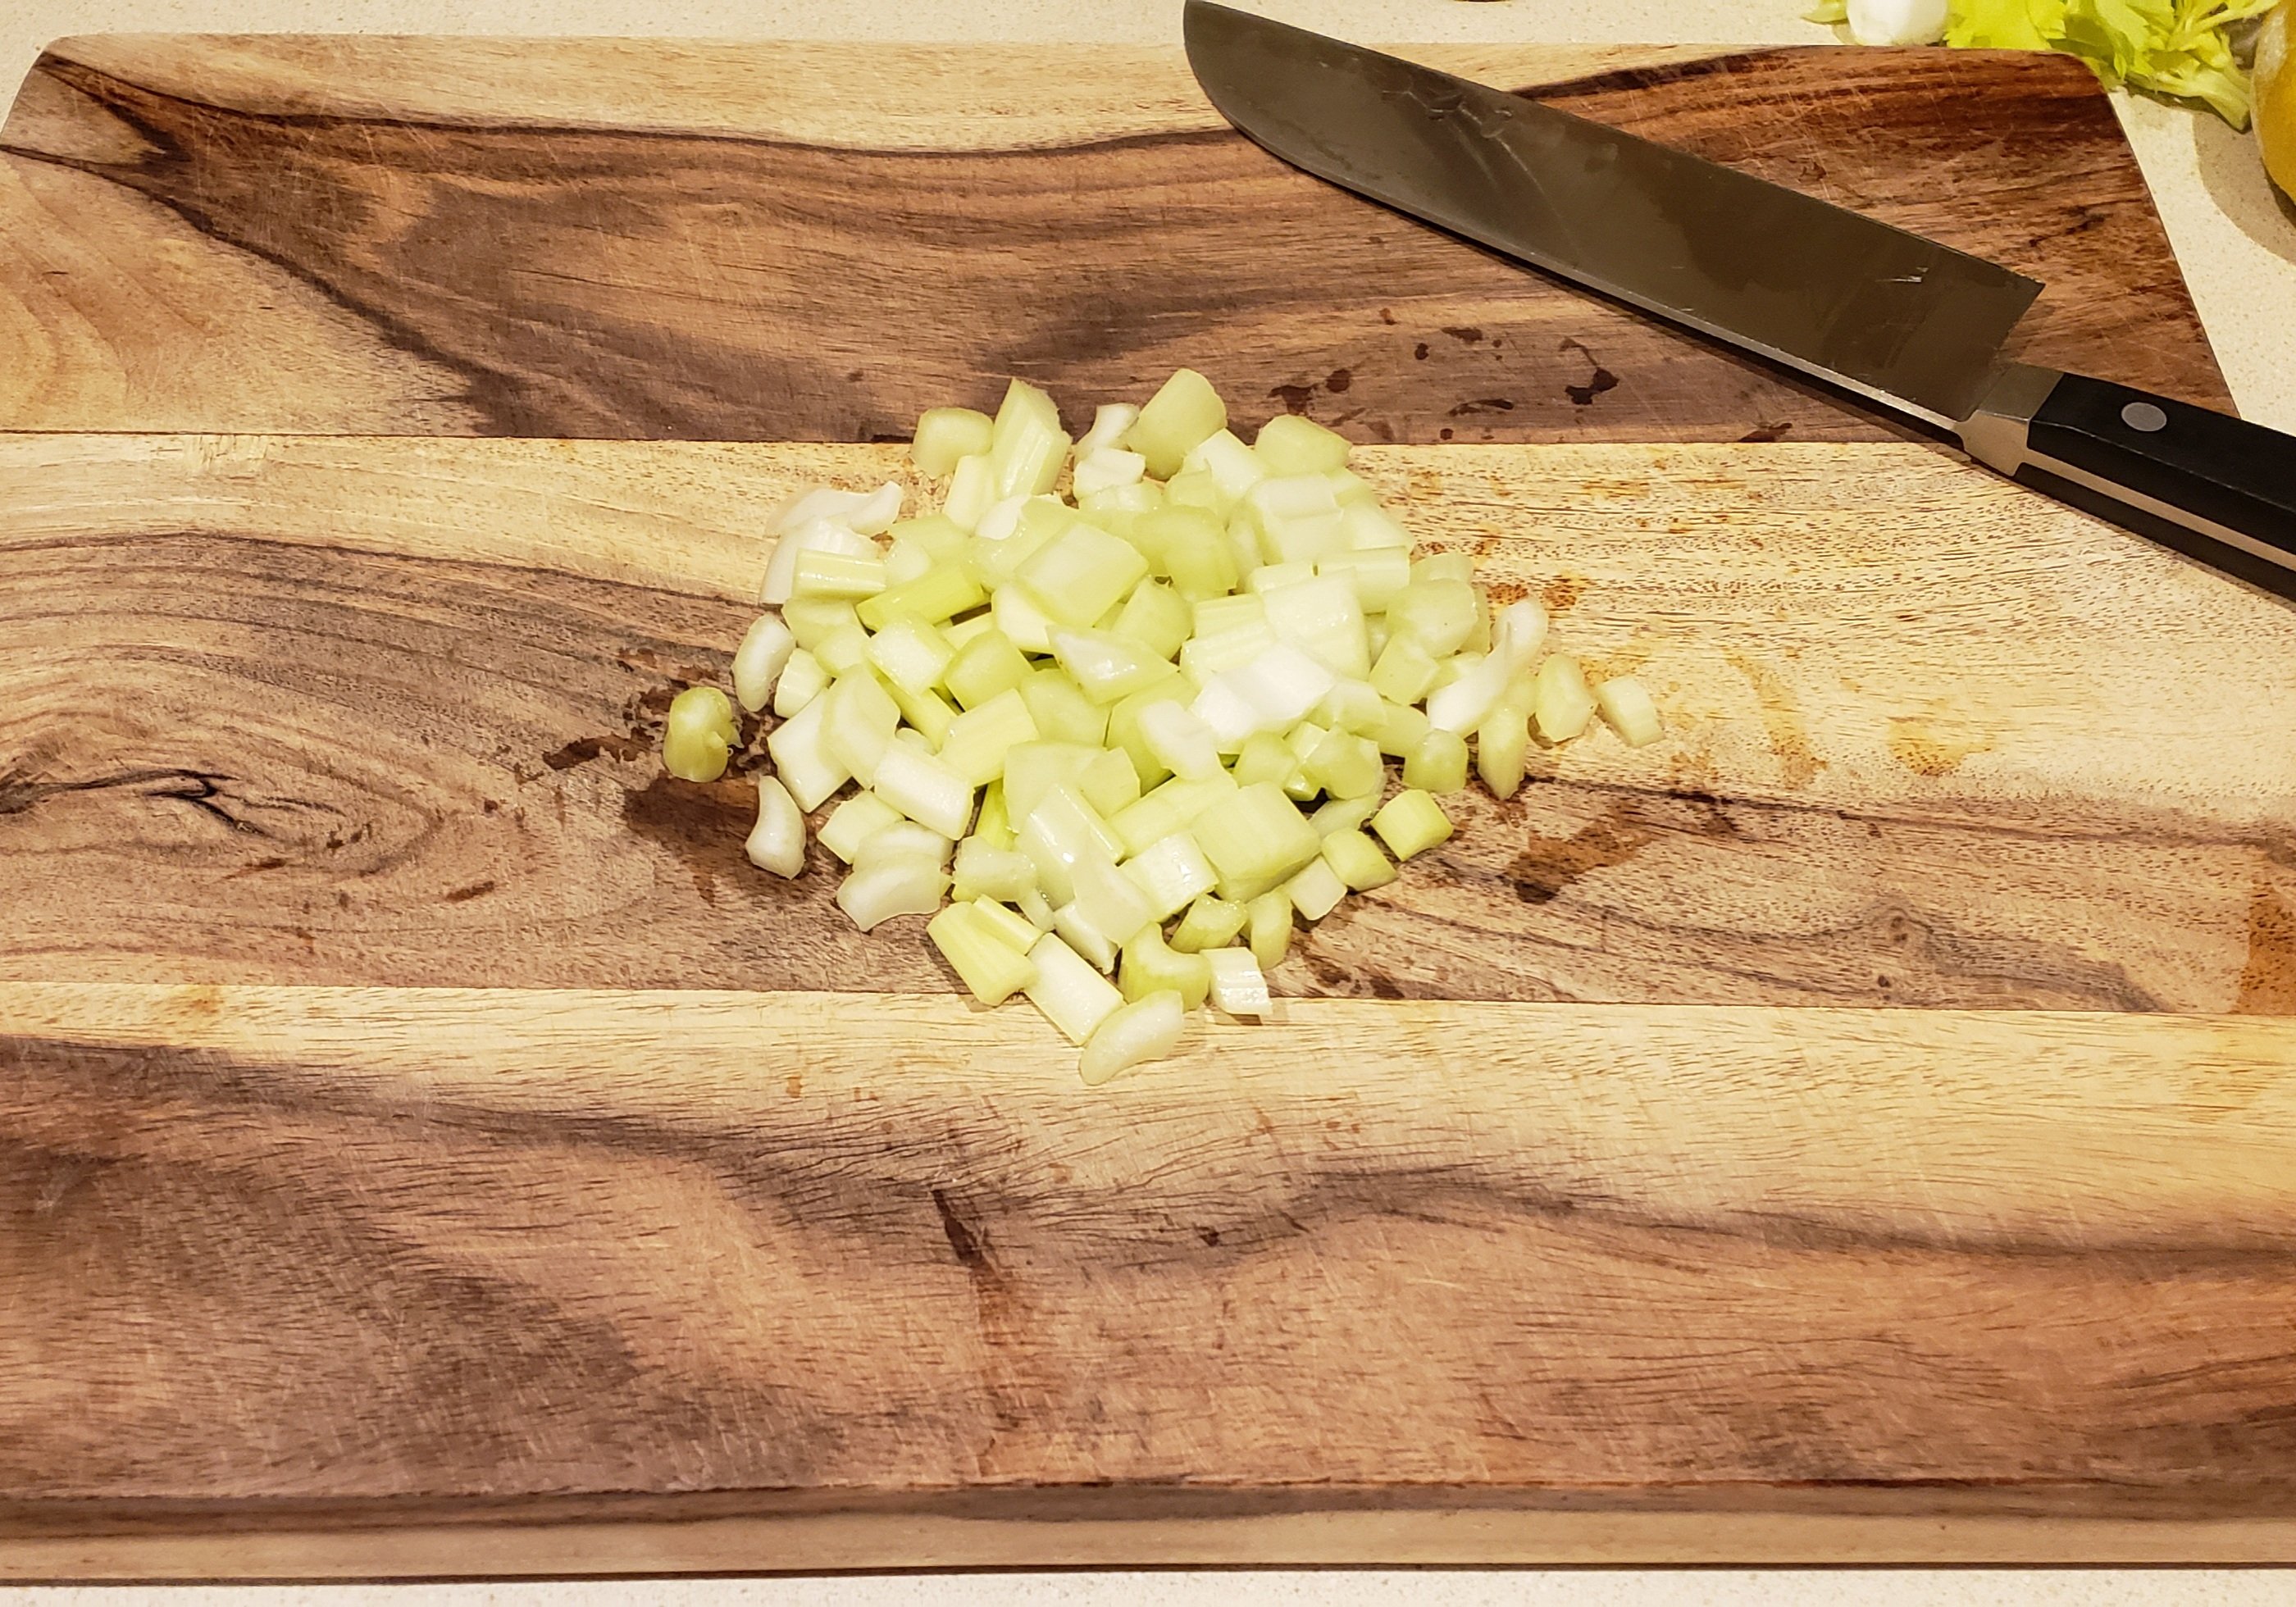
First trim off the ends and leaves of your celery. Save some of the celery leaves for garnish. Then give the celery a rough chop.

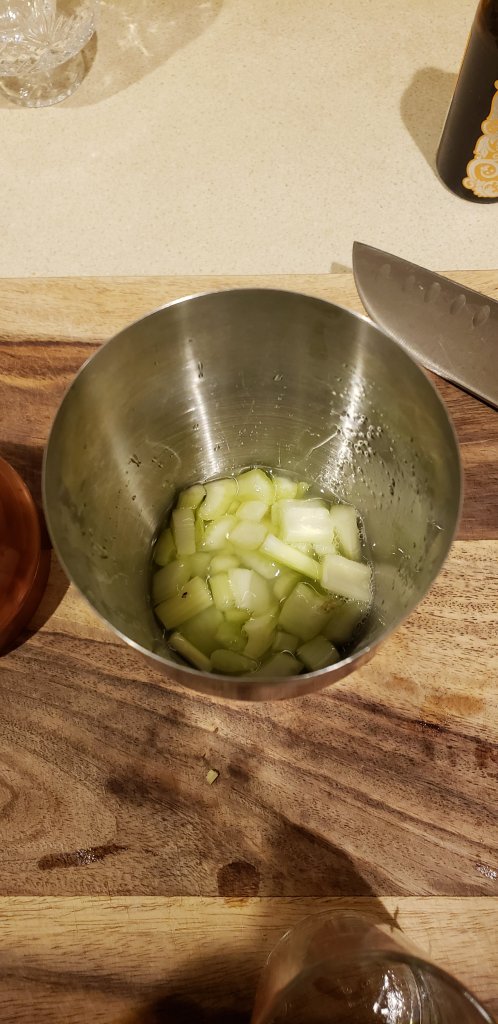
Add the celery to a cocktail shaker and pour in the simple syrup, vermouth, and lime juice.

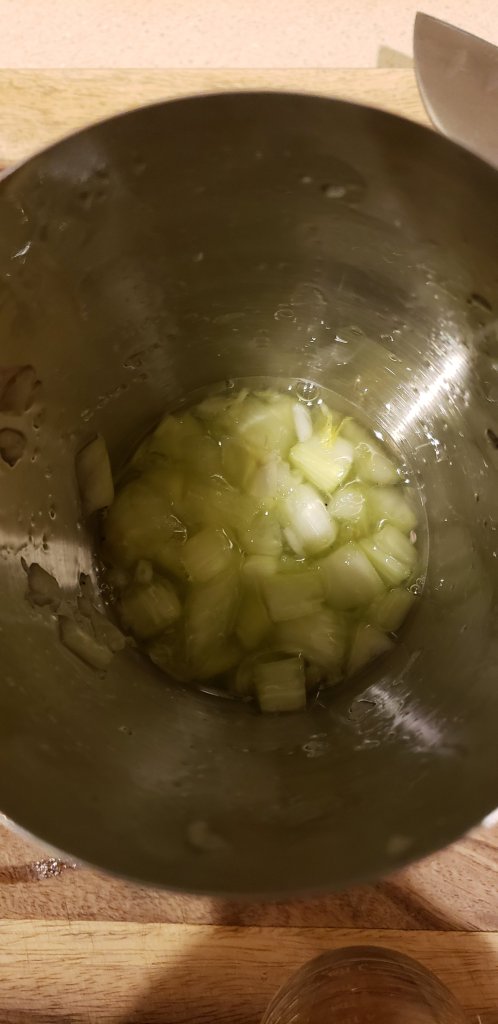
Muddle (or mash up) the celery for a few minutes to release all its lovely flavors. We don’t have a muddling tool so I use the handle of a wooden spoon.

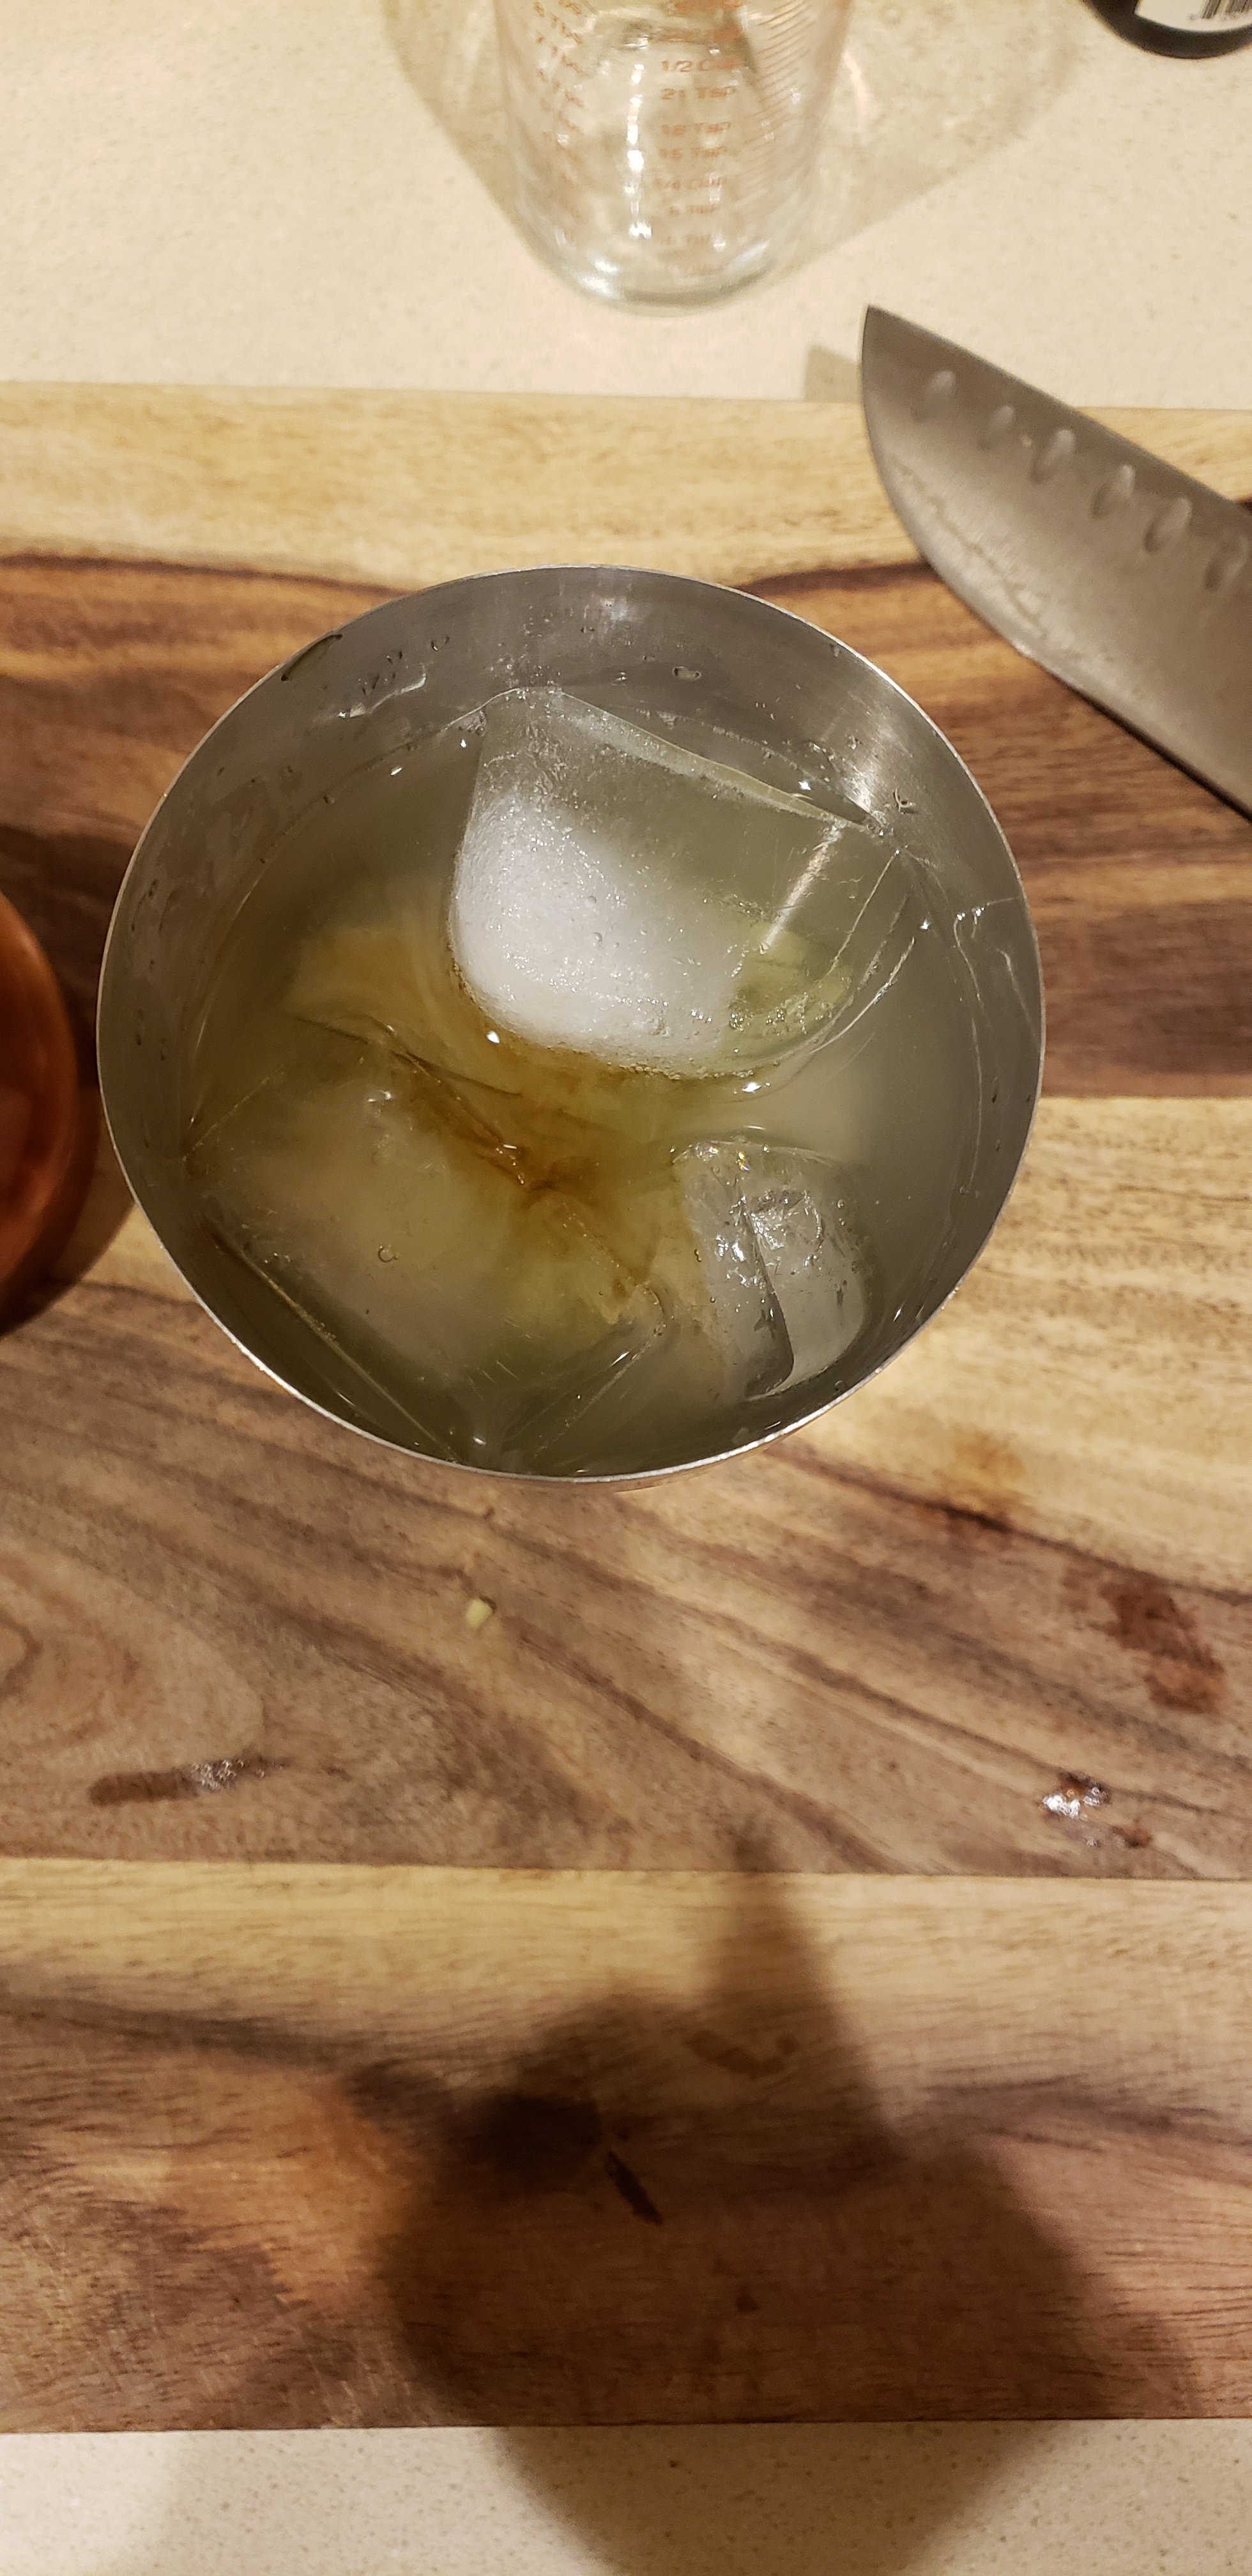
Once you can really smell the celery you are ready to add the gin, bitters, and ice.

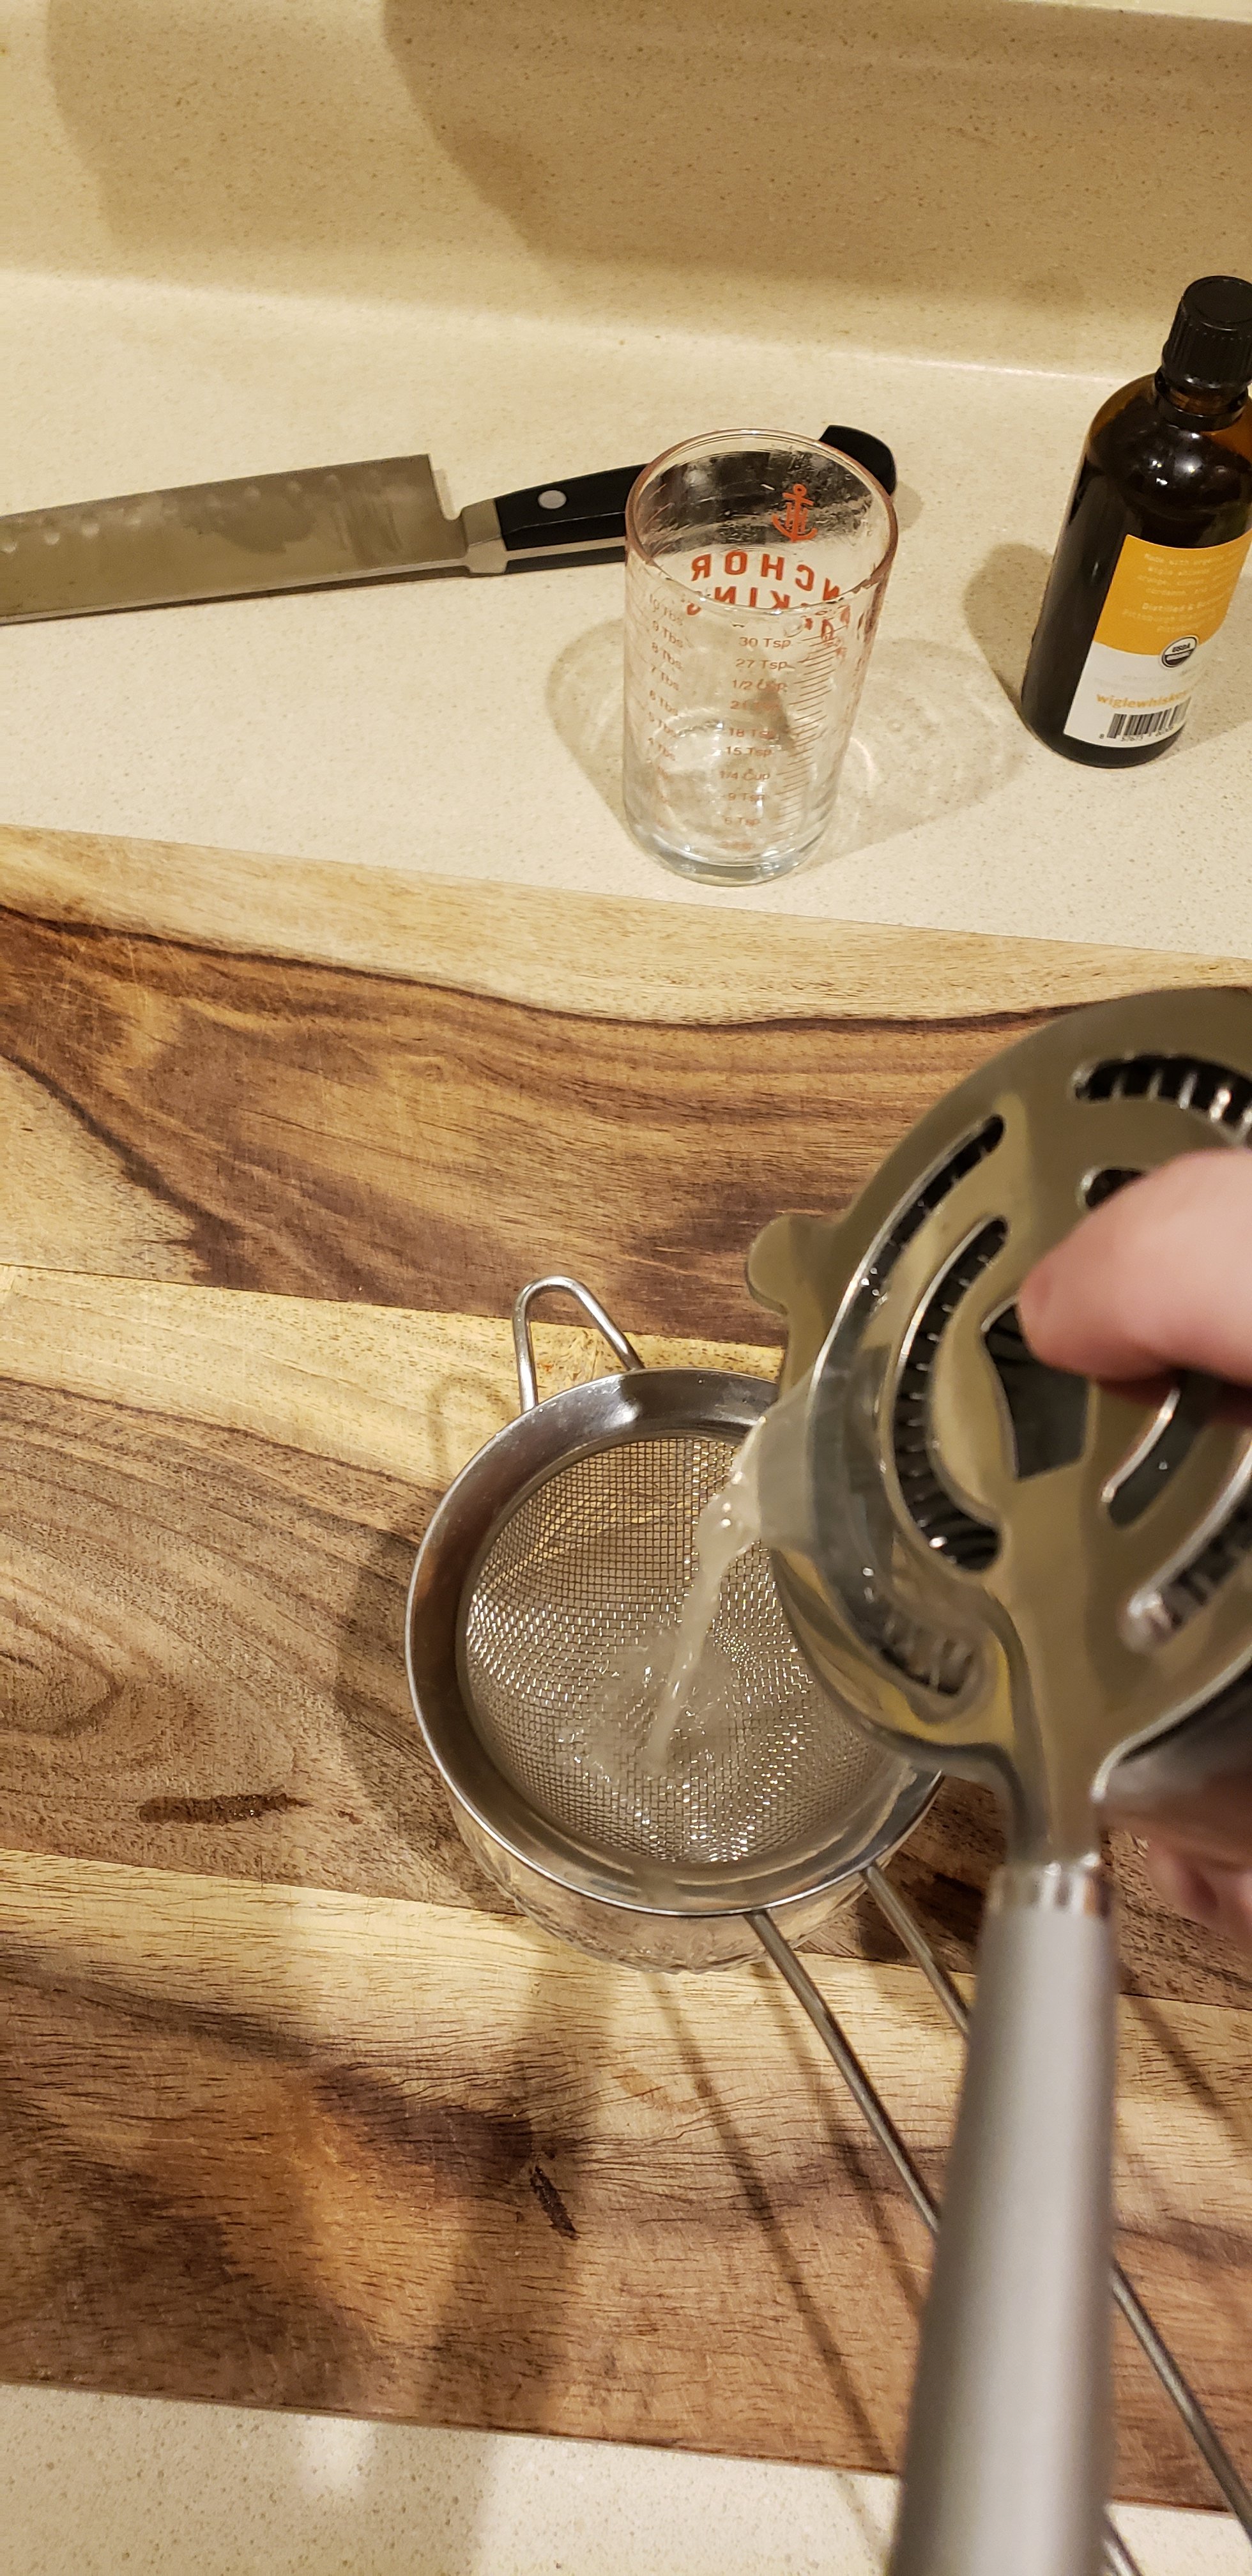
Now shake away. Try and shake this as long as you can to release more flavor from the celery. When pouring into your glass of choice (this recipe will fill two 4 oz glasses perfectly) you are going to want to double strain it to catch extra celery pulp.

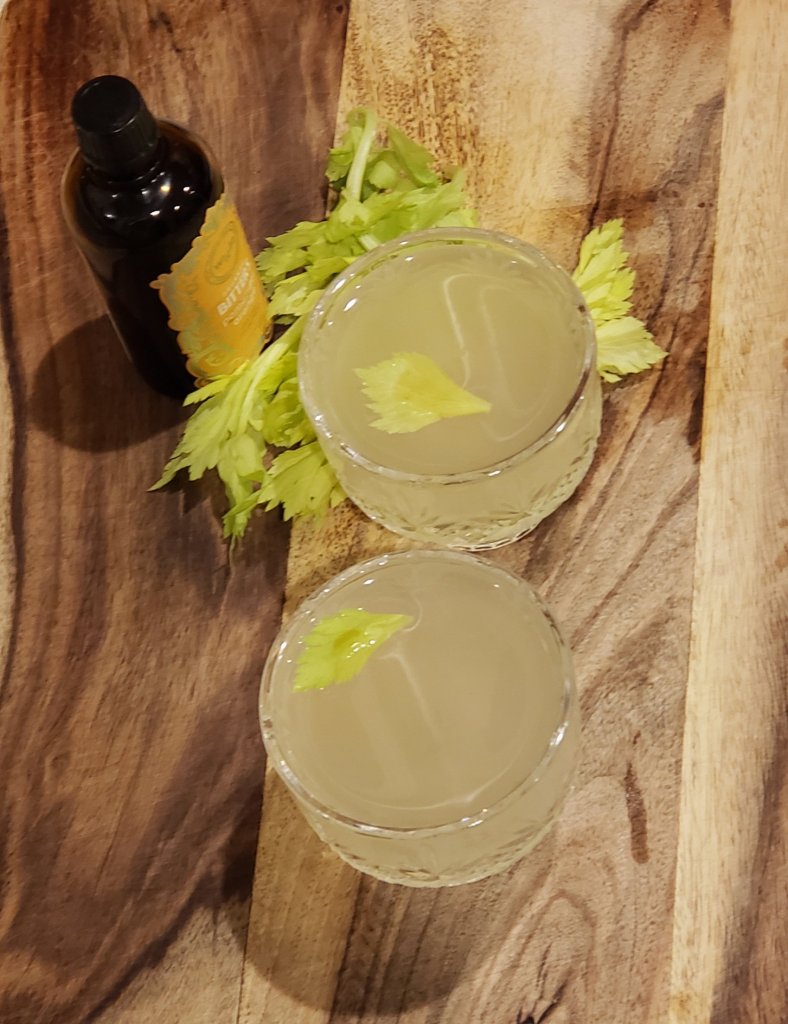
Garnish with a celery leaf and an extra drop of bitters and enjoy!

Cheers!

Dan