The last thing you want to do on a busy day is come home and take the time to cook a healthy low carb meal. Well, do I have some news for you! You can make a delicious low carb meal in less than 30 minutes.
Here’s what you’ll need:
2 chicken breasts
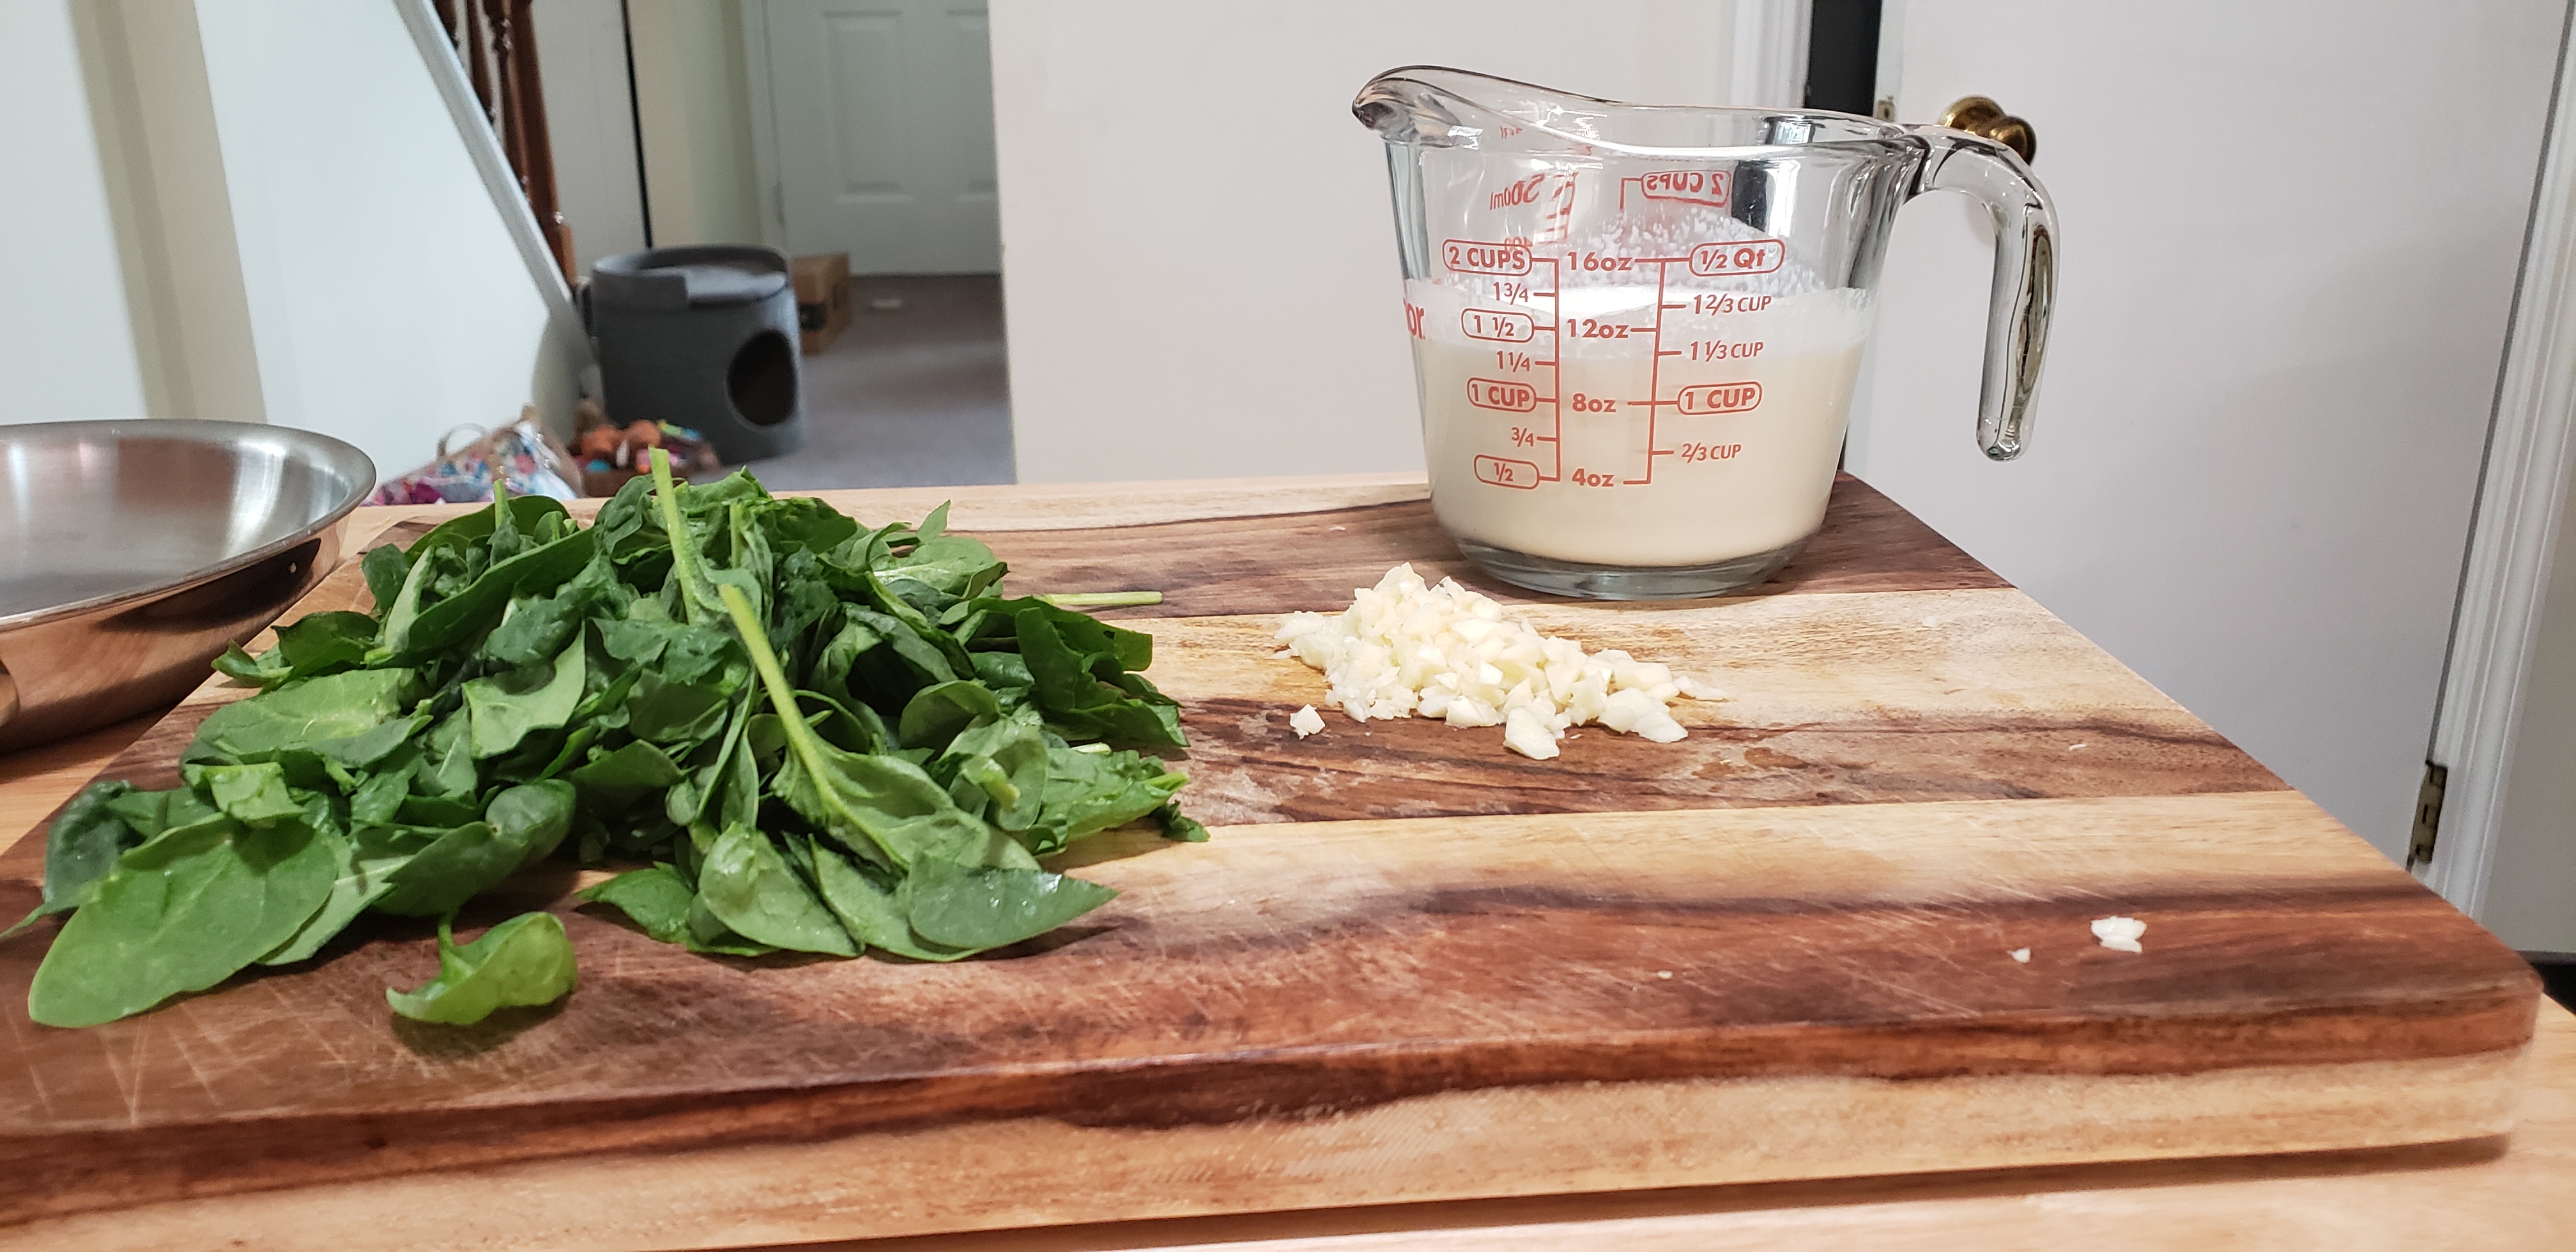
2 cups fresh spinach – chopped
4 cloves garlic – chopped
1 medium tomato – chopped
1 1/2 cups heavy cream
2 tablespoons butter
Salt
Pepper
1 1/2 teaspoons dried oregano
1 1/2 teaspoons dried thyme
1 1/2 teaspoons dried parsley
2 tablespoons vegetable oil
Preheat your oven to 425 degrees.
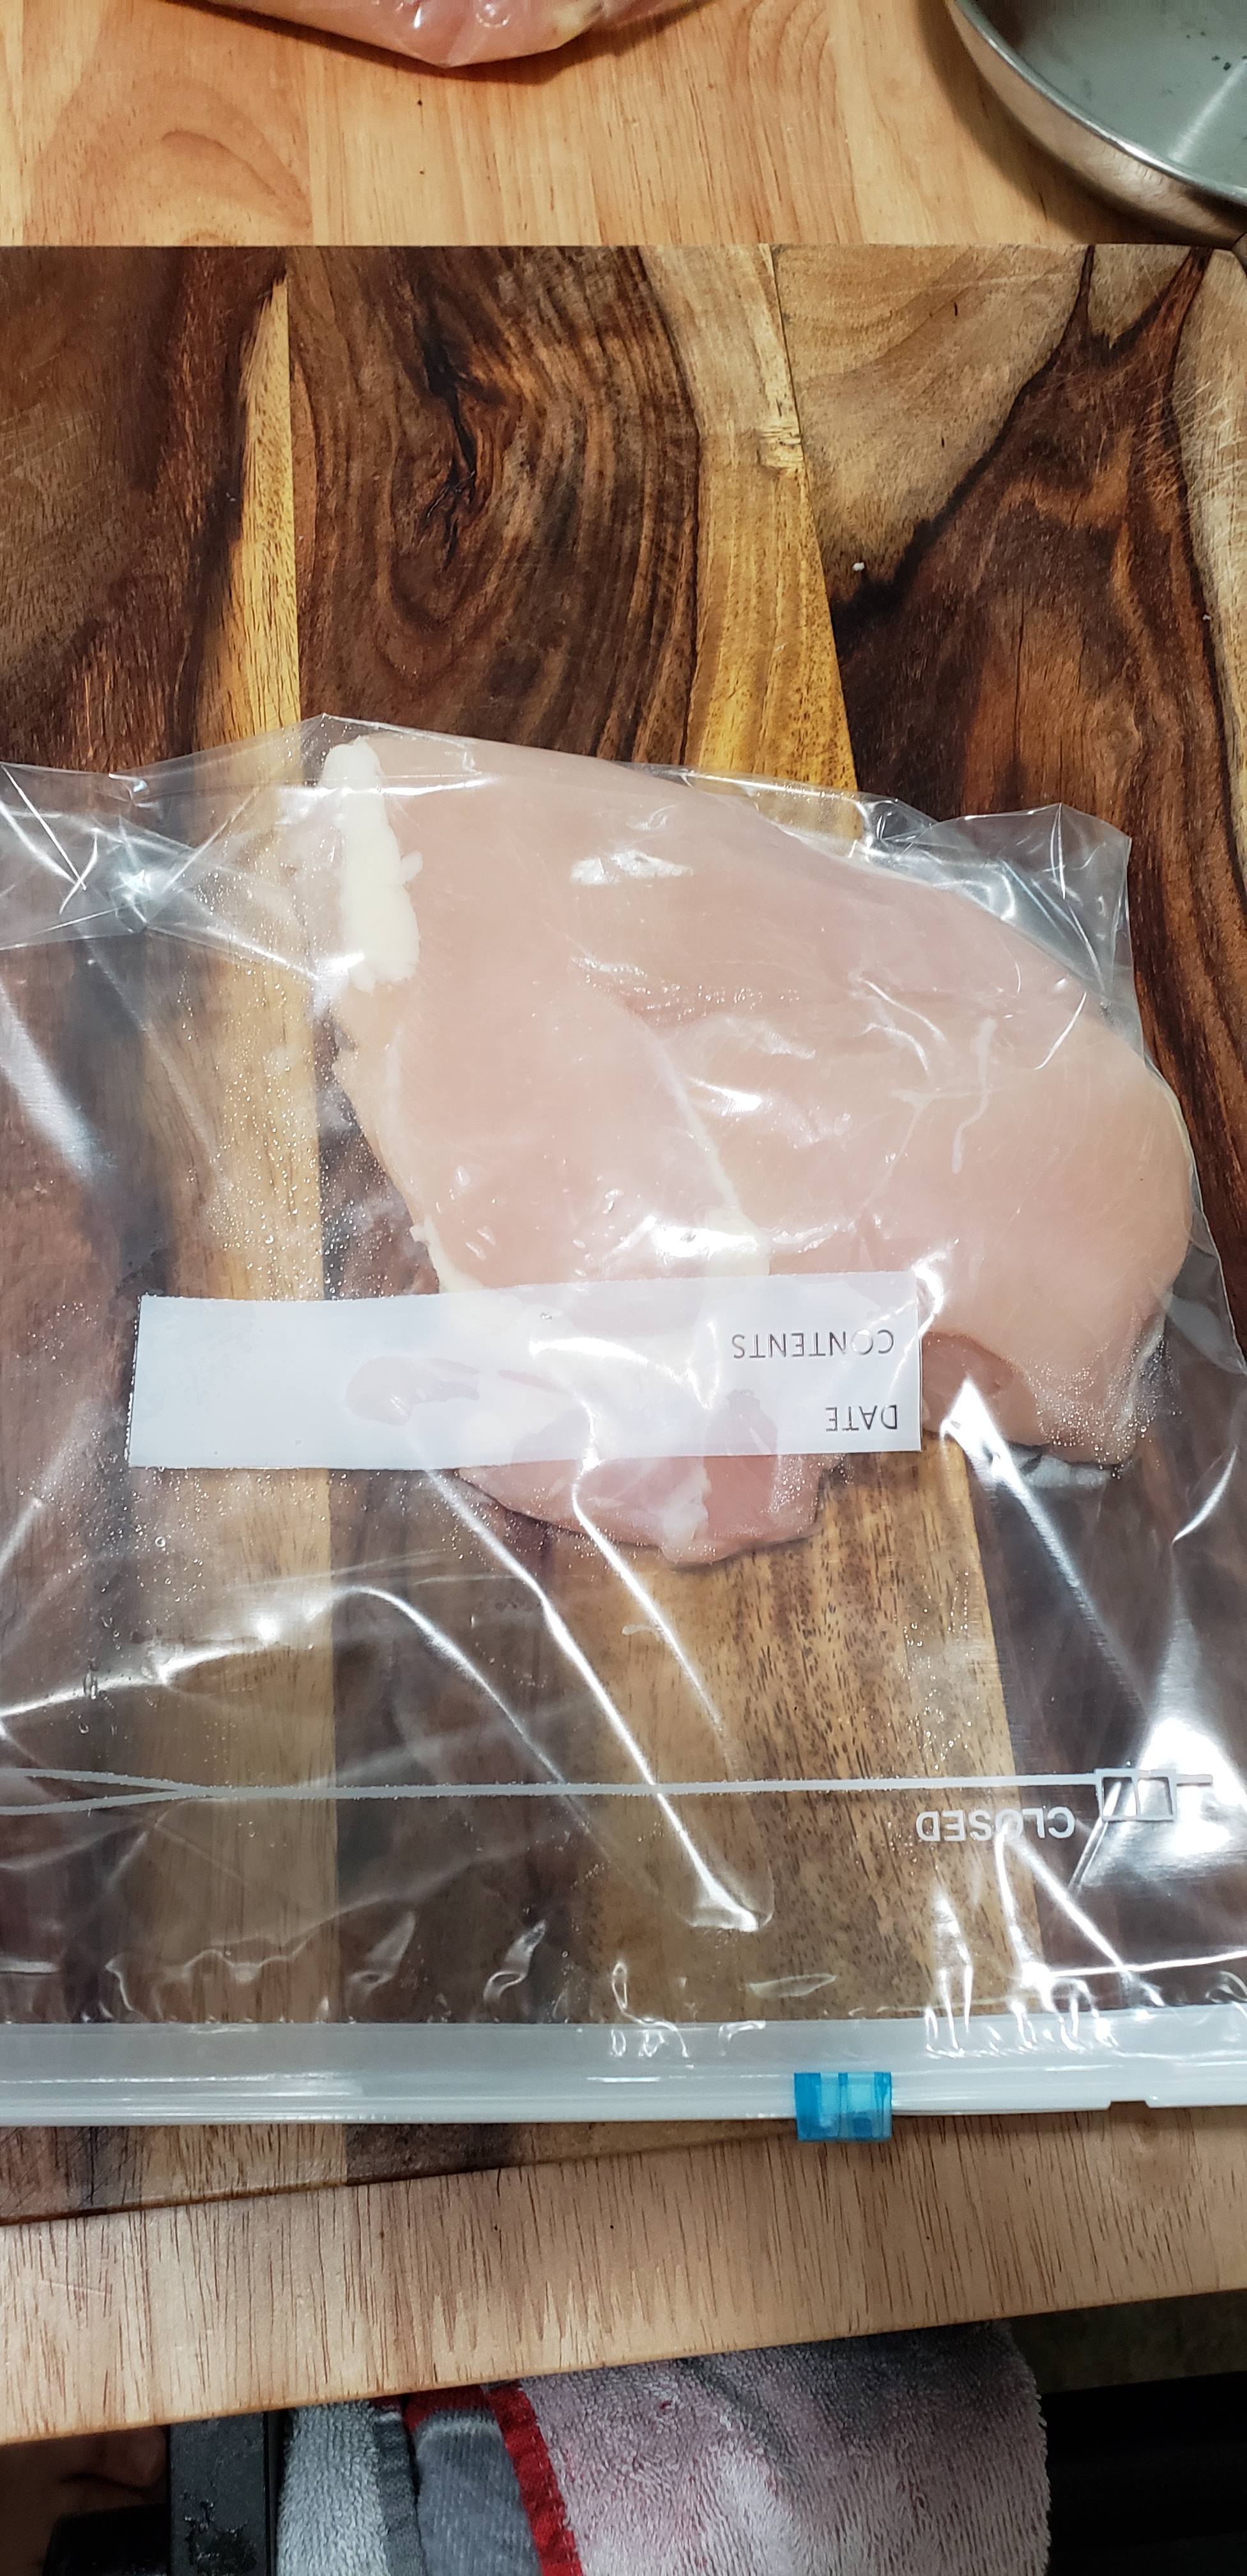
First things first- you are going to want to pound out your chicken breasts. You want to make them about three quarters of an inch thick so they cook more quickly and evenly. To flatten them, put one breast at a time in a zip lock bag. Then grab a heavy flat surface like a small frying pan and pound the chicken in an outward motion- don’t just smash the chicken down. Go in a down and out like you are spreading it out.
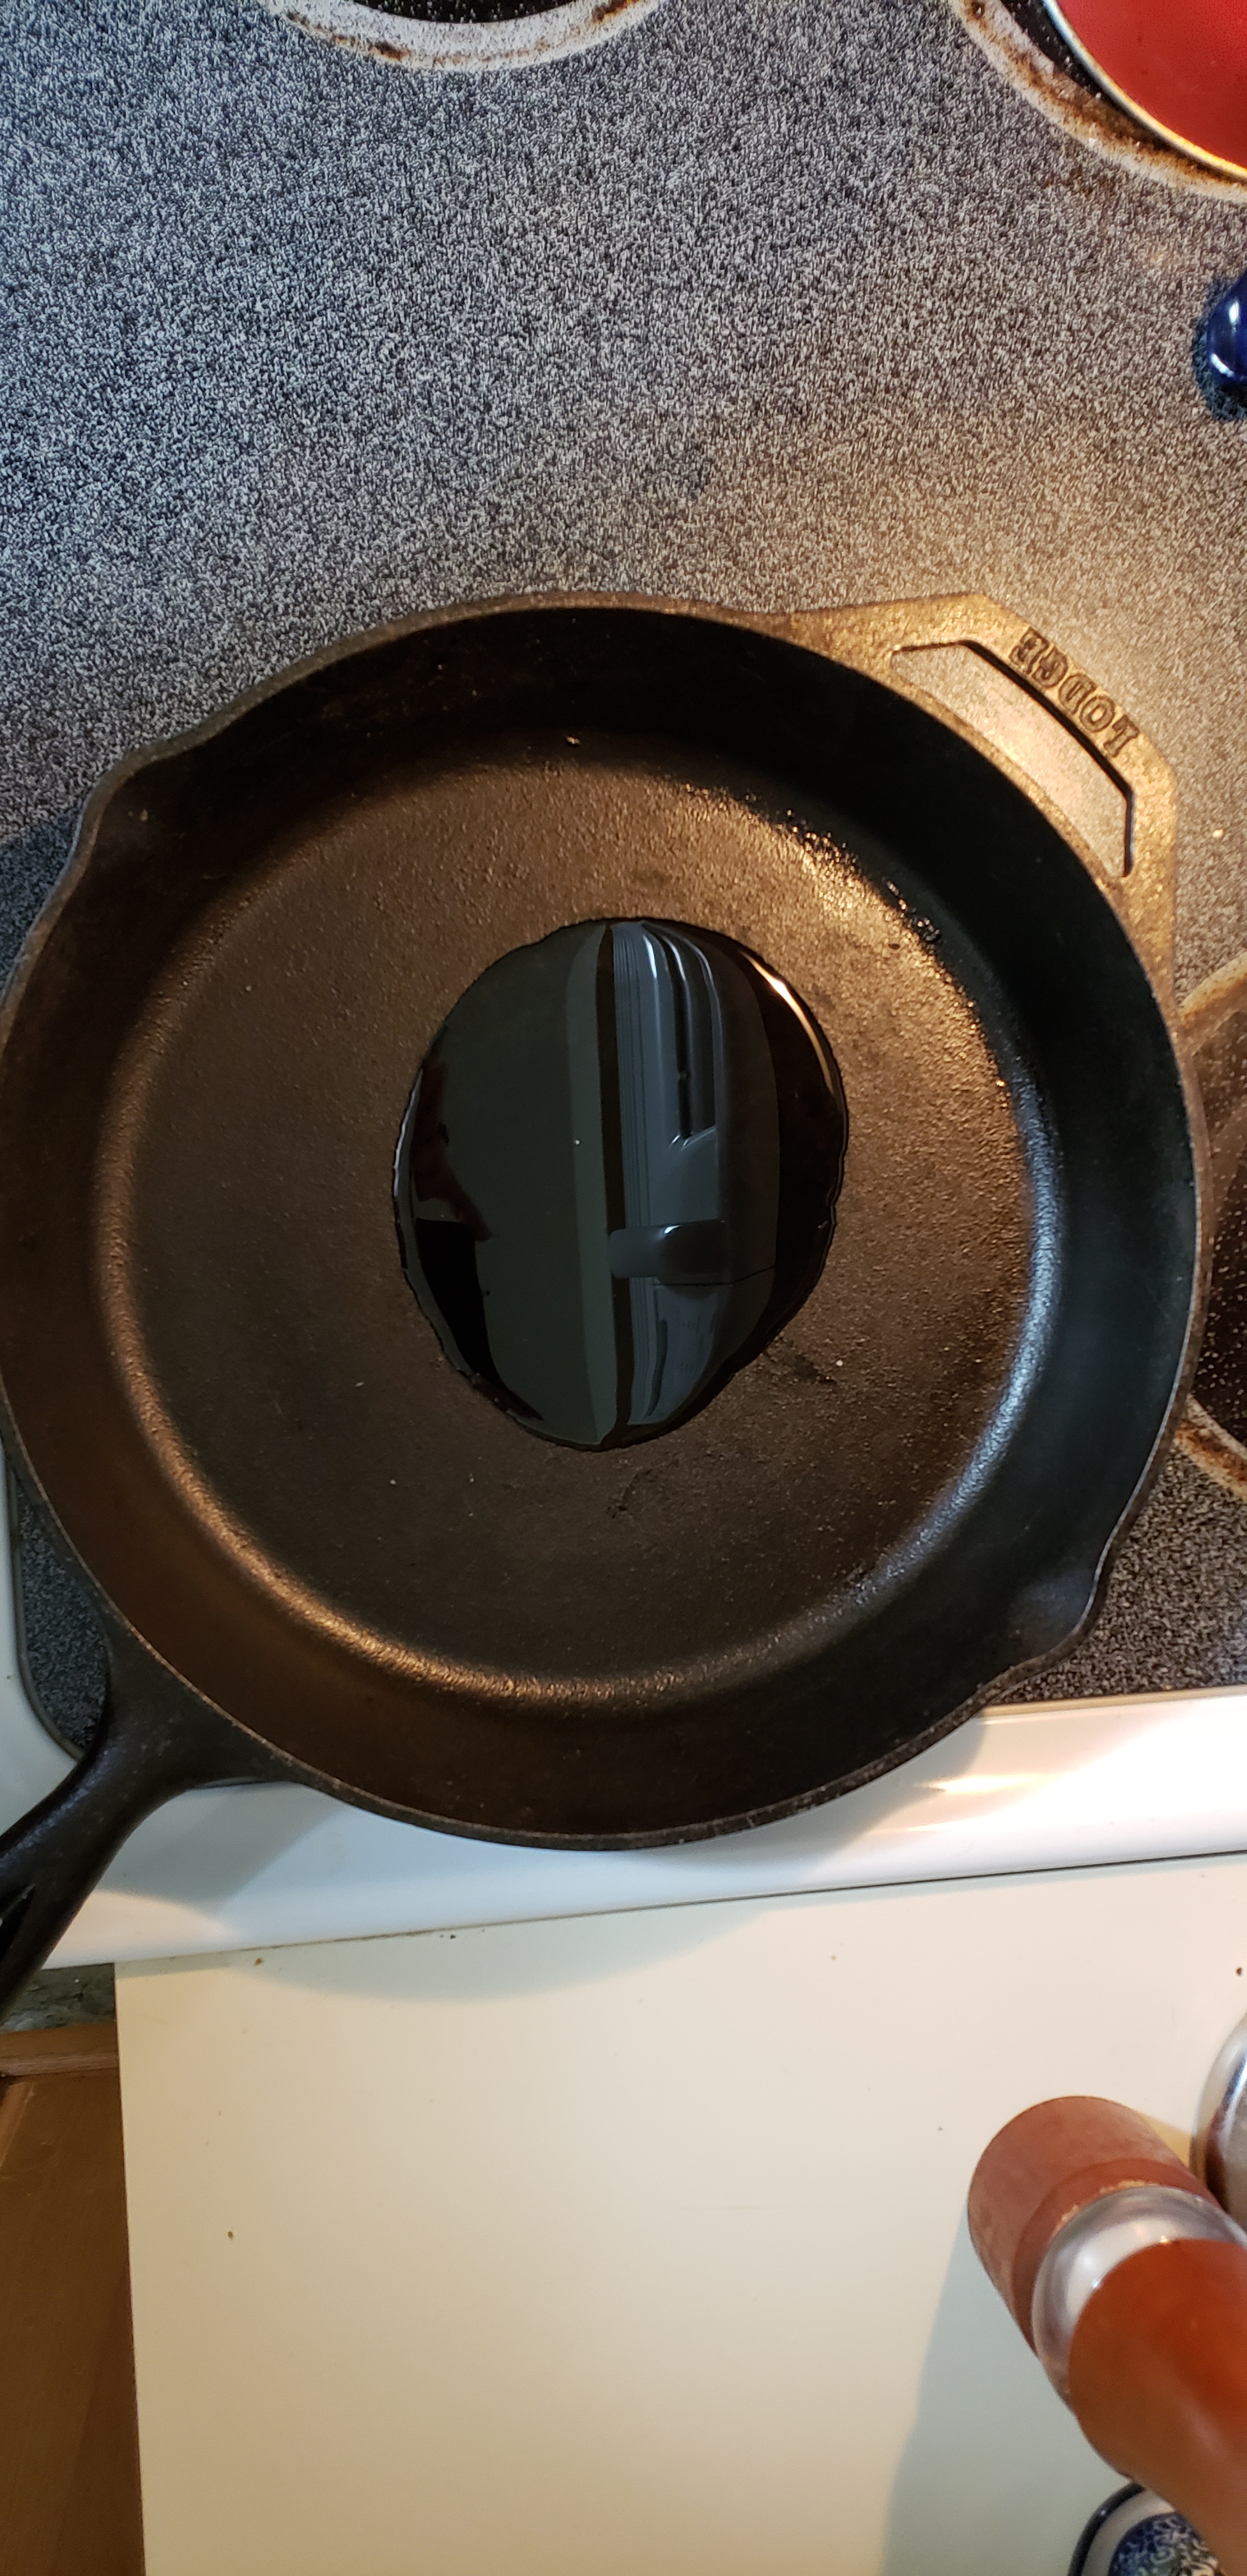
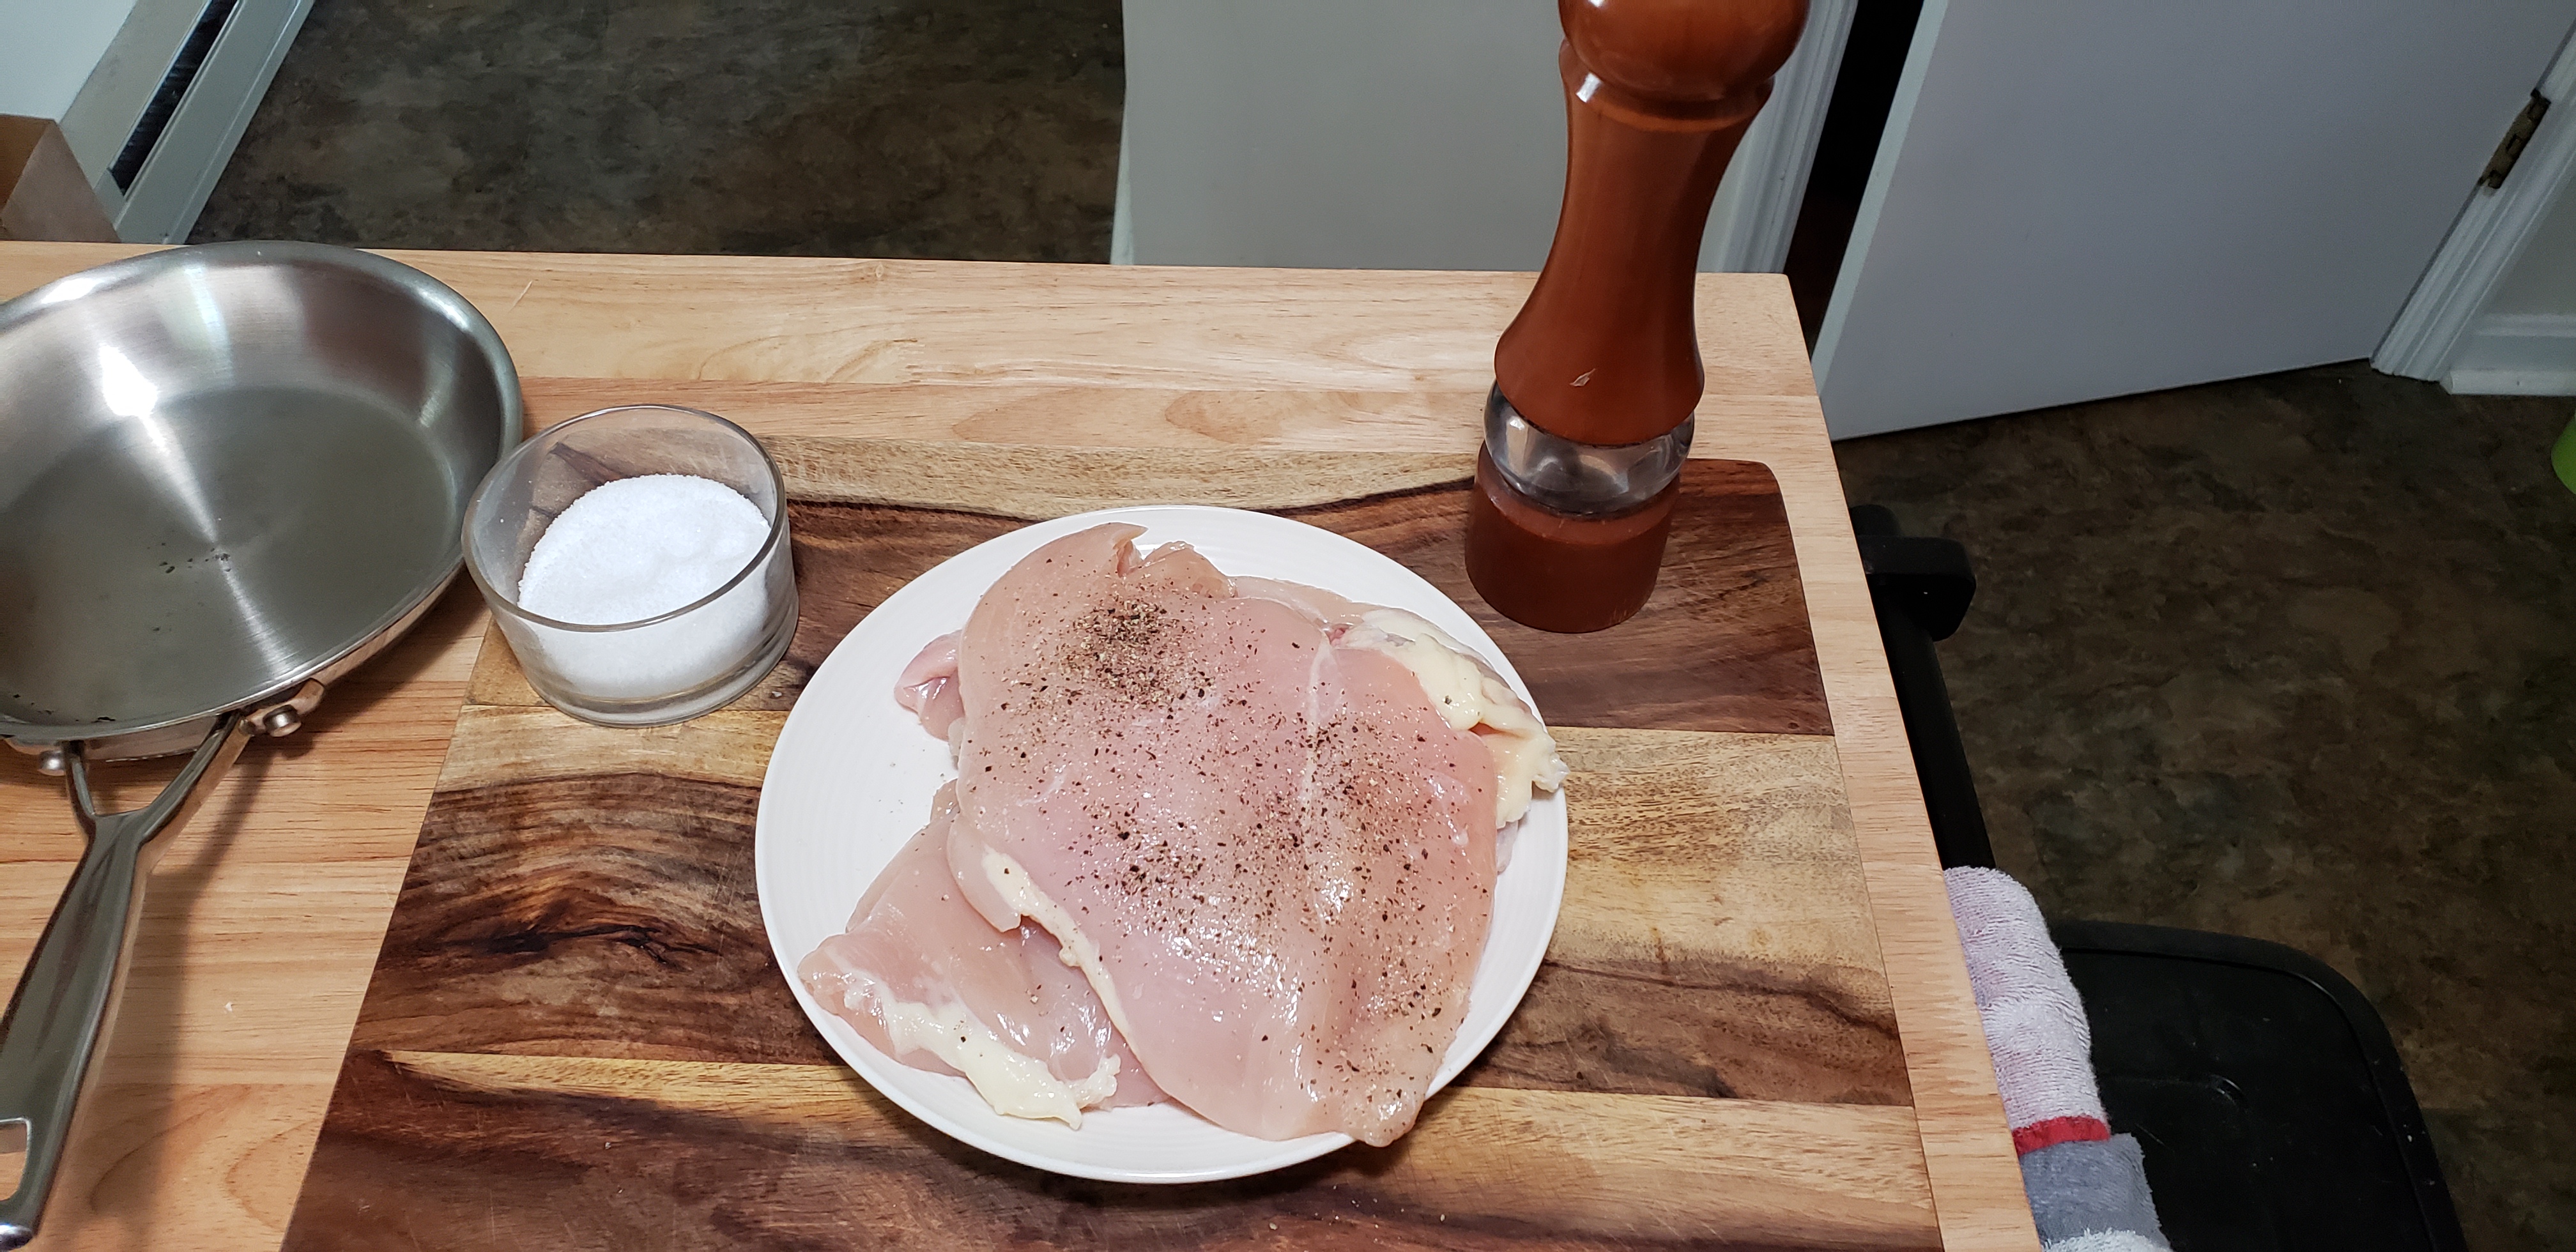
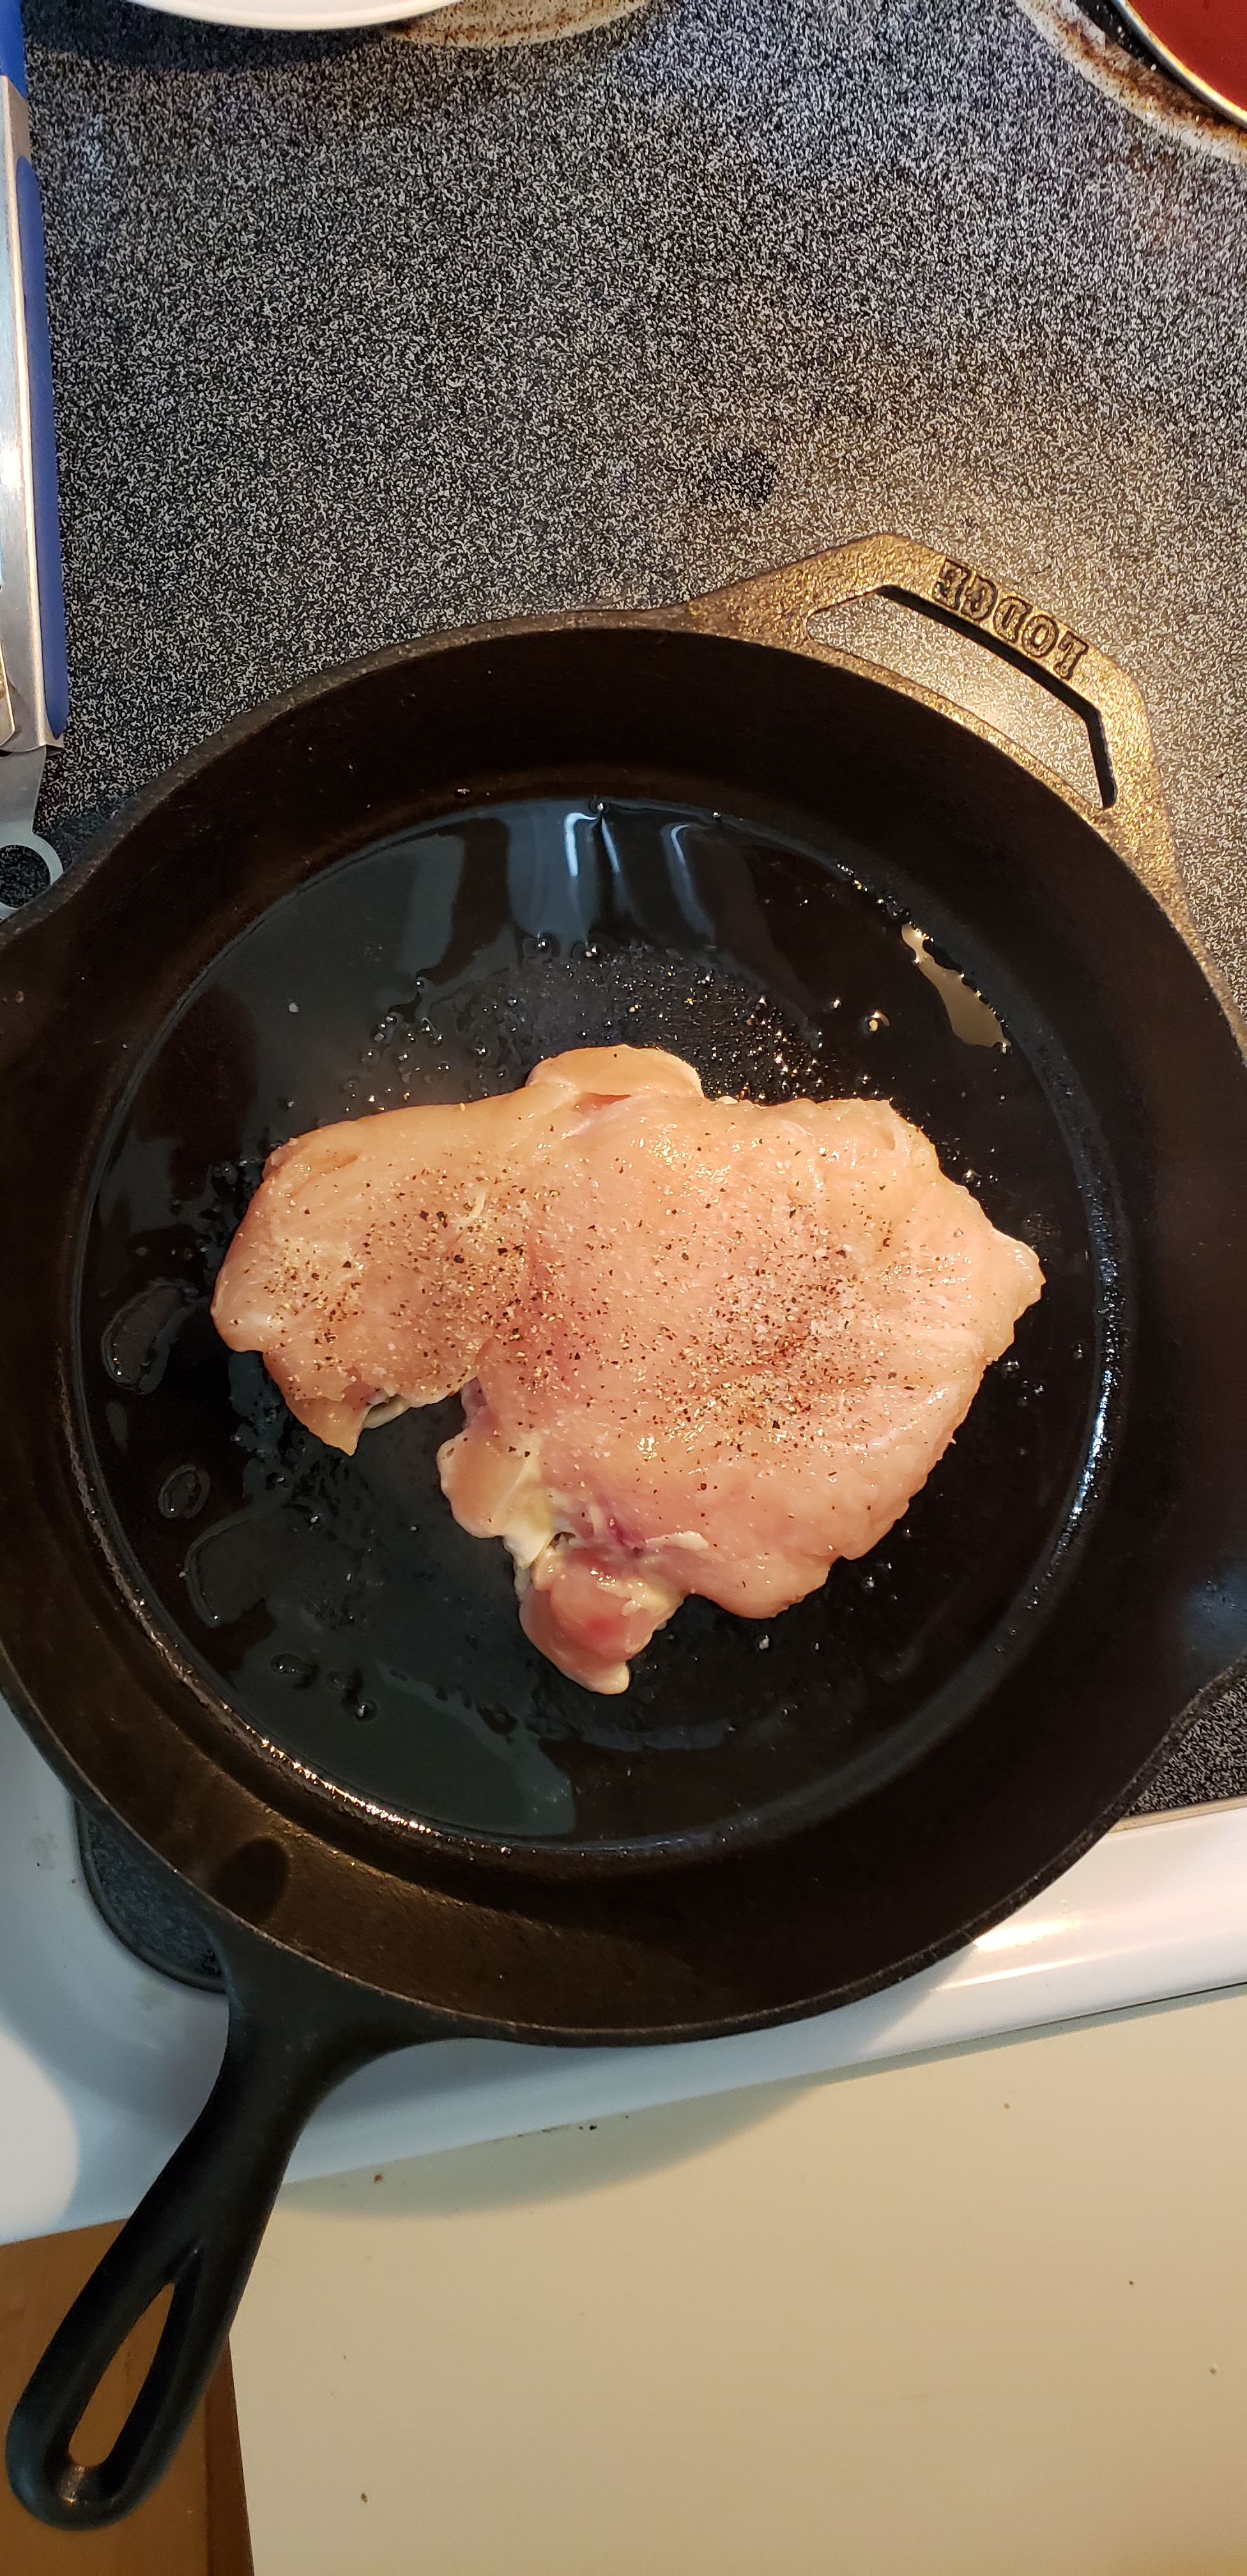
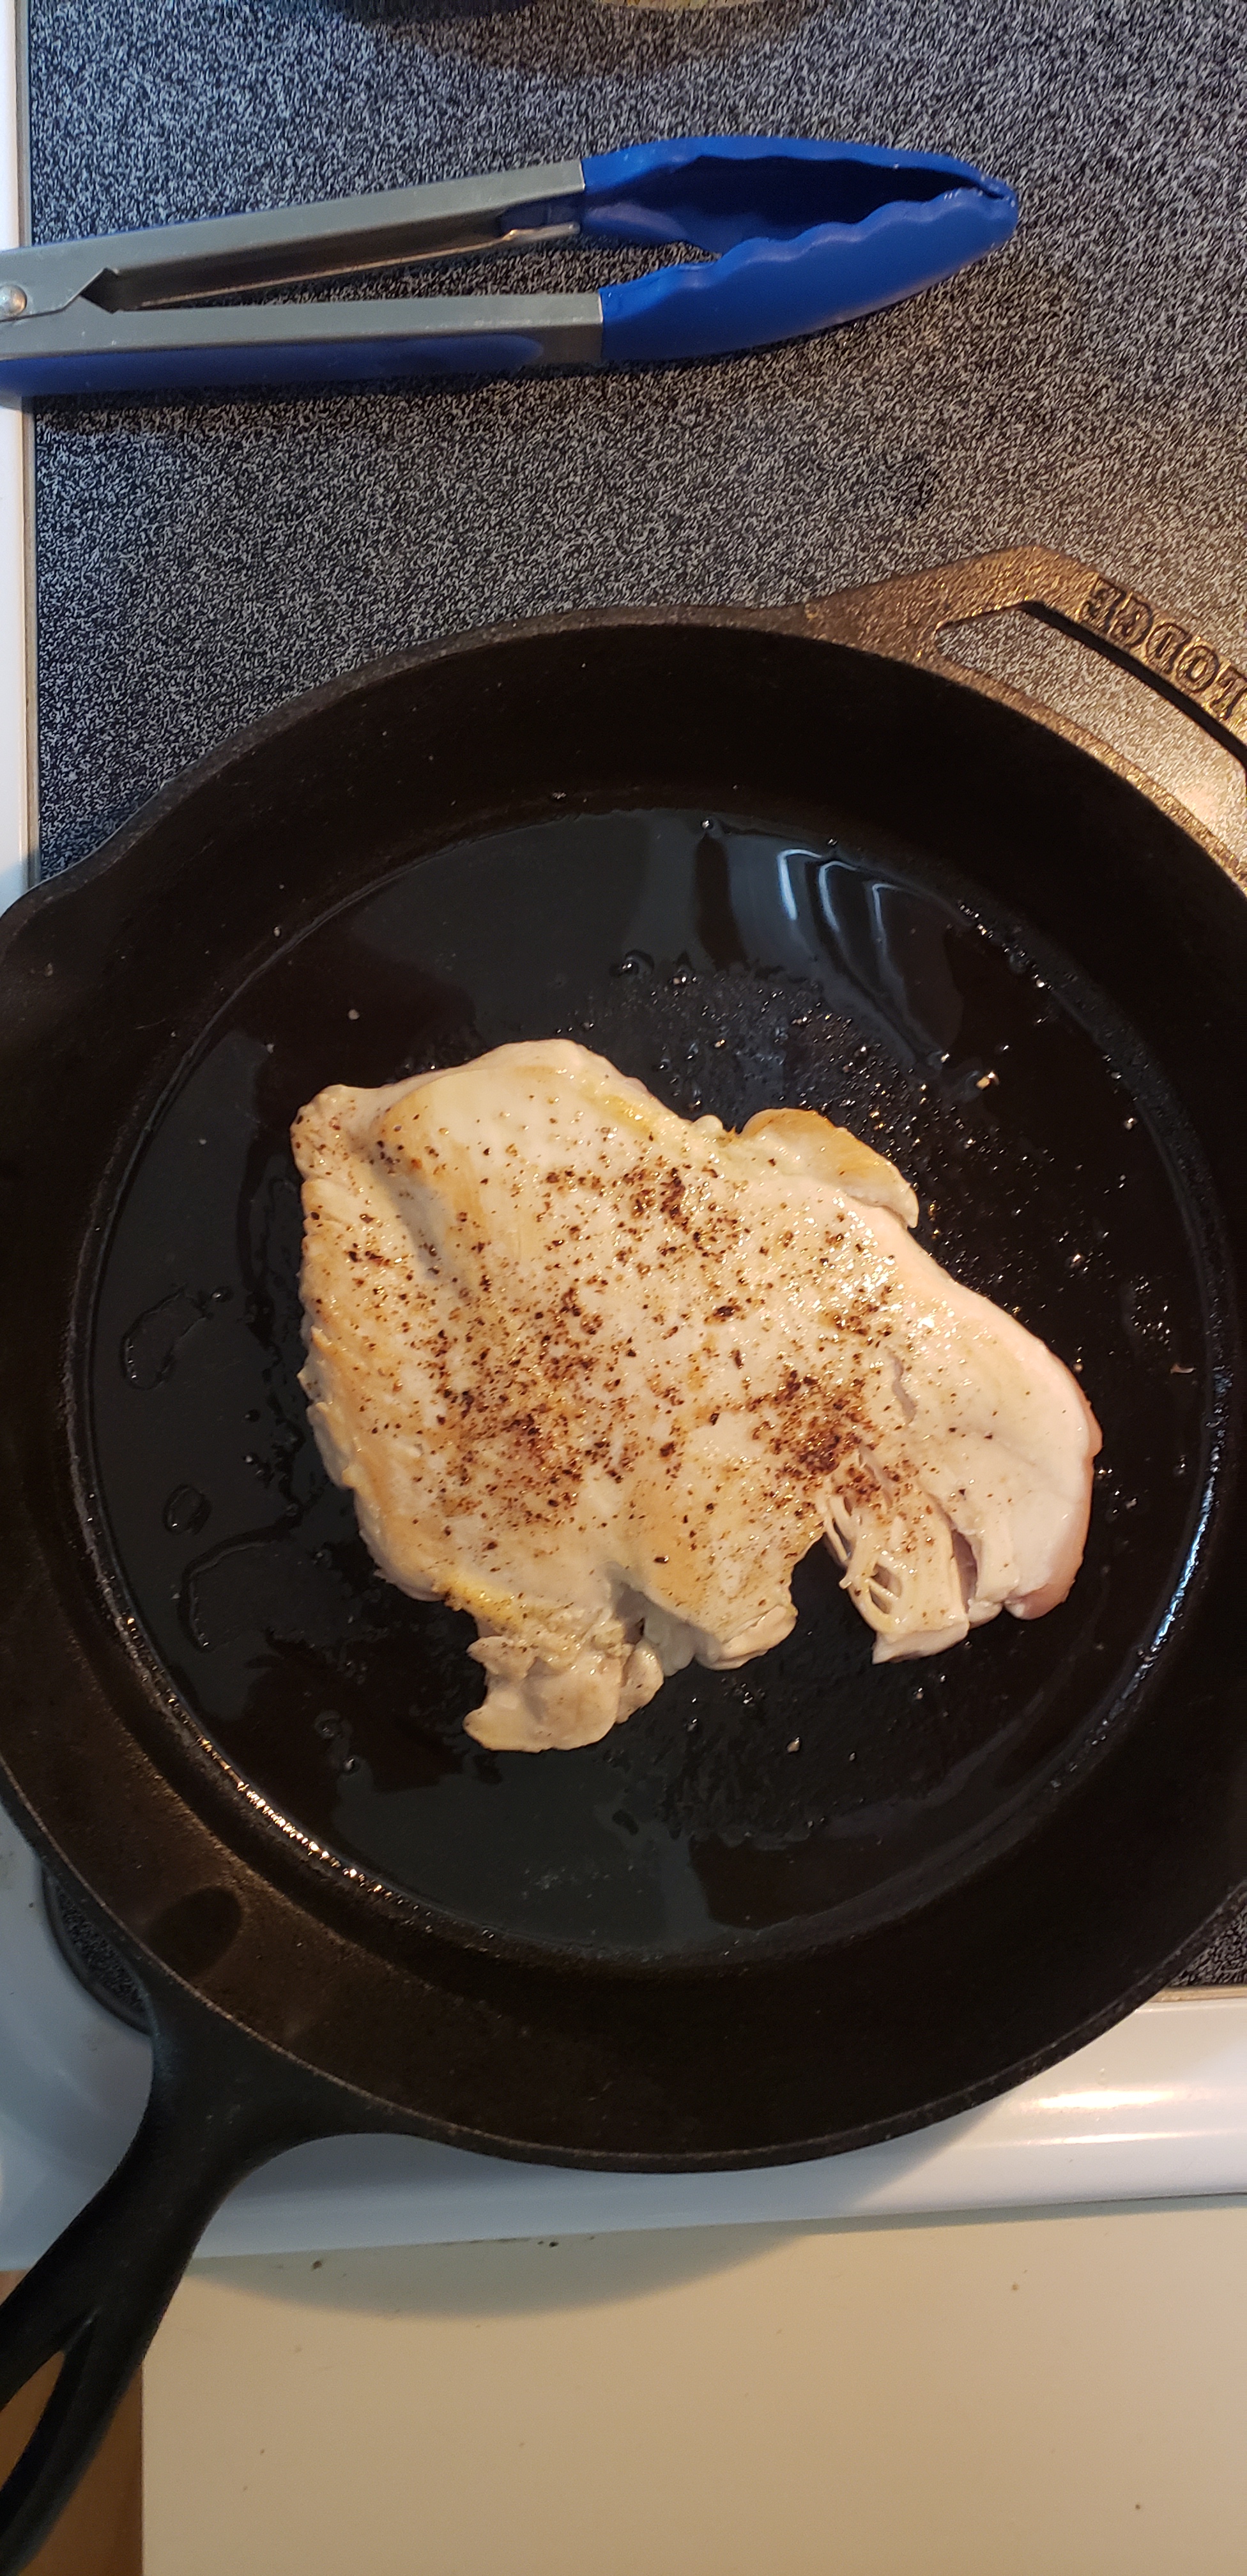
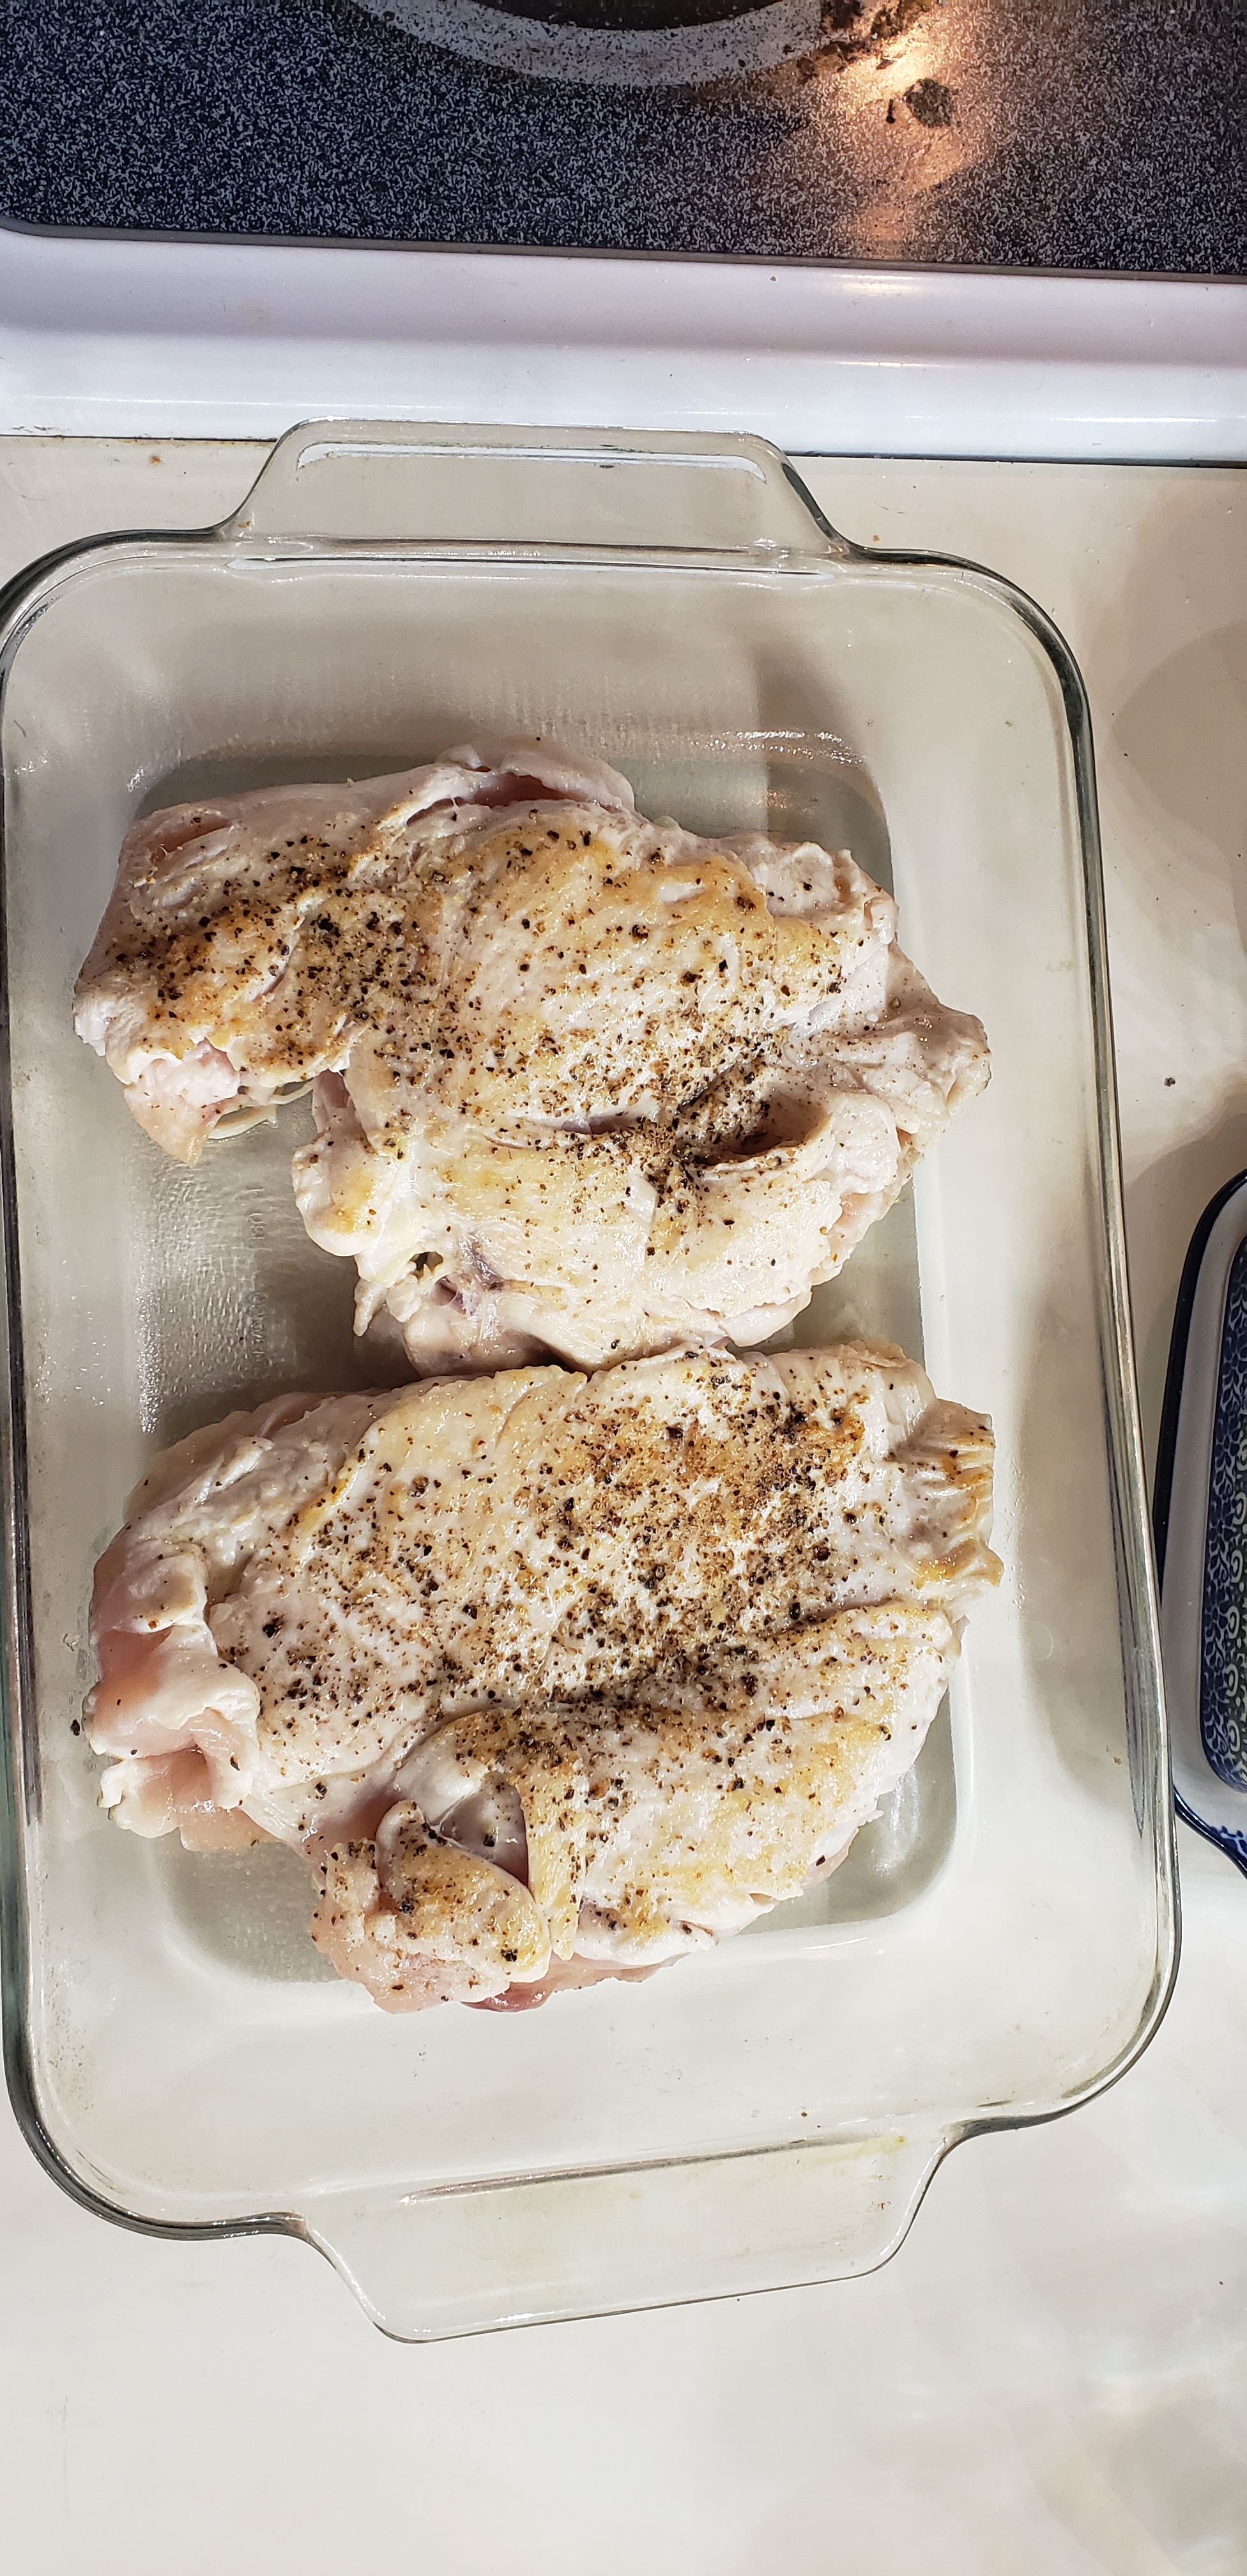
Once the chicken is flattened out, heat up a cast iron pan with about 2 tbsp of vegetable oil over medium-high heat. Season each side of the chicken with salt and pepper and cook on each side until golden brown. If your chicken doesn’t reach 165 F before it’s browned, don’t panic! Transfer it to a casserole dish to finish cooking in the preheated oven
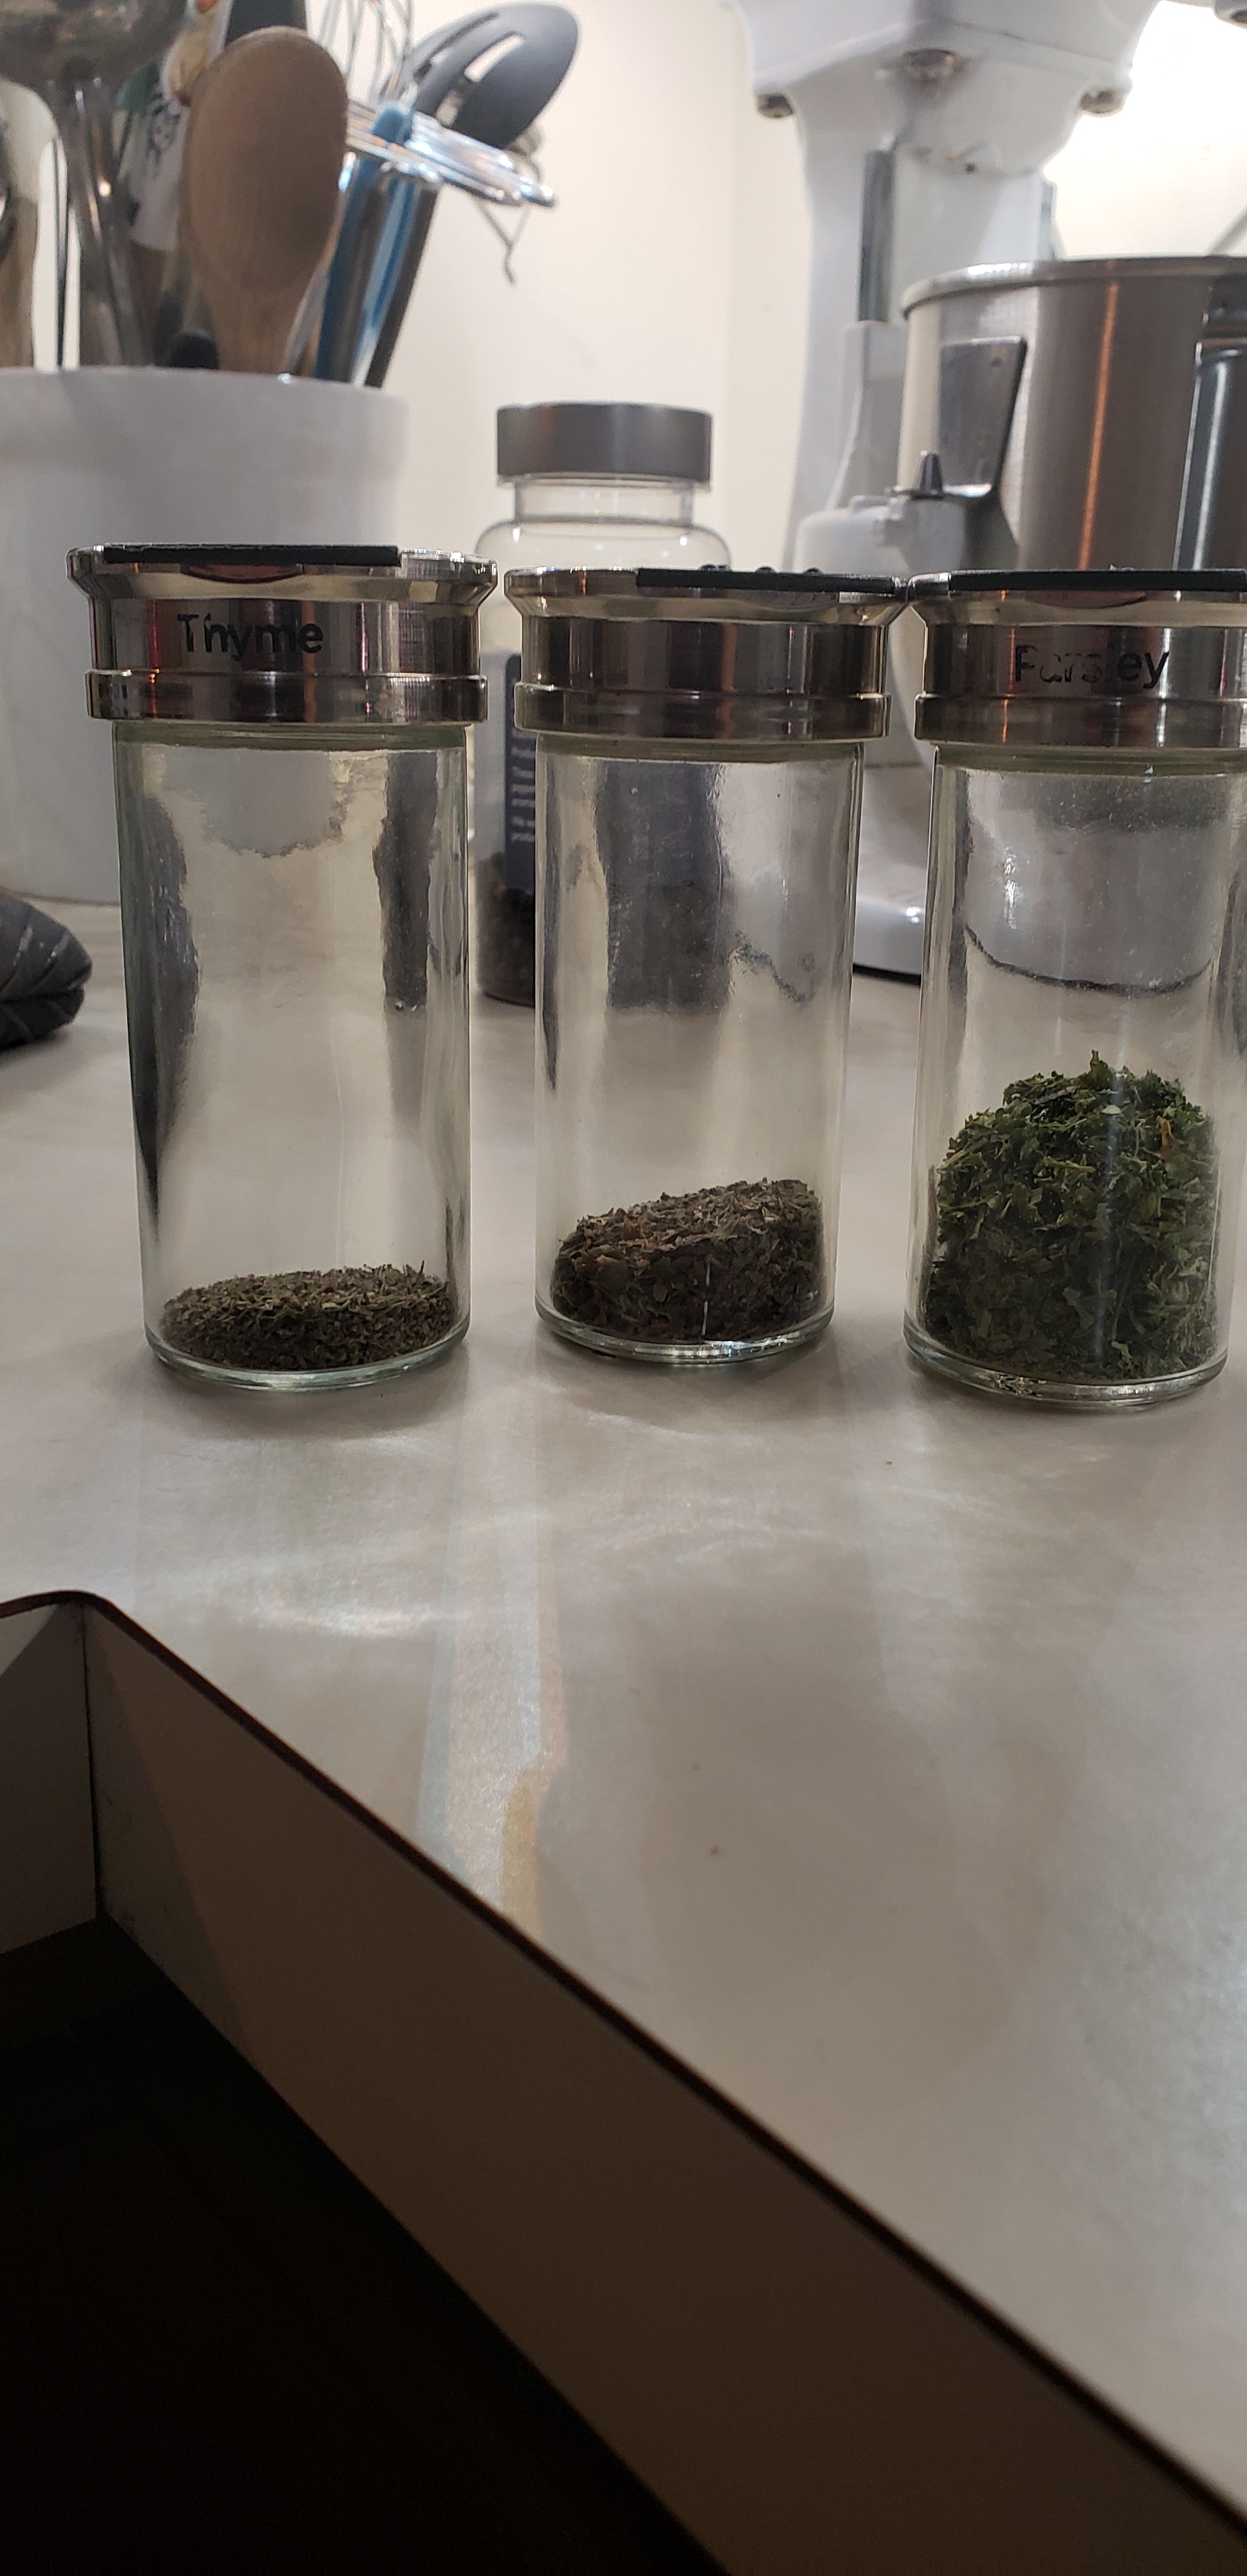
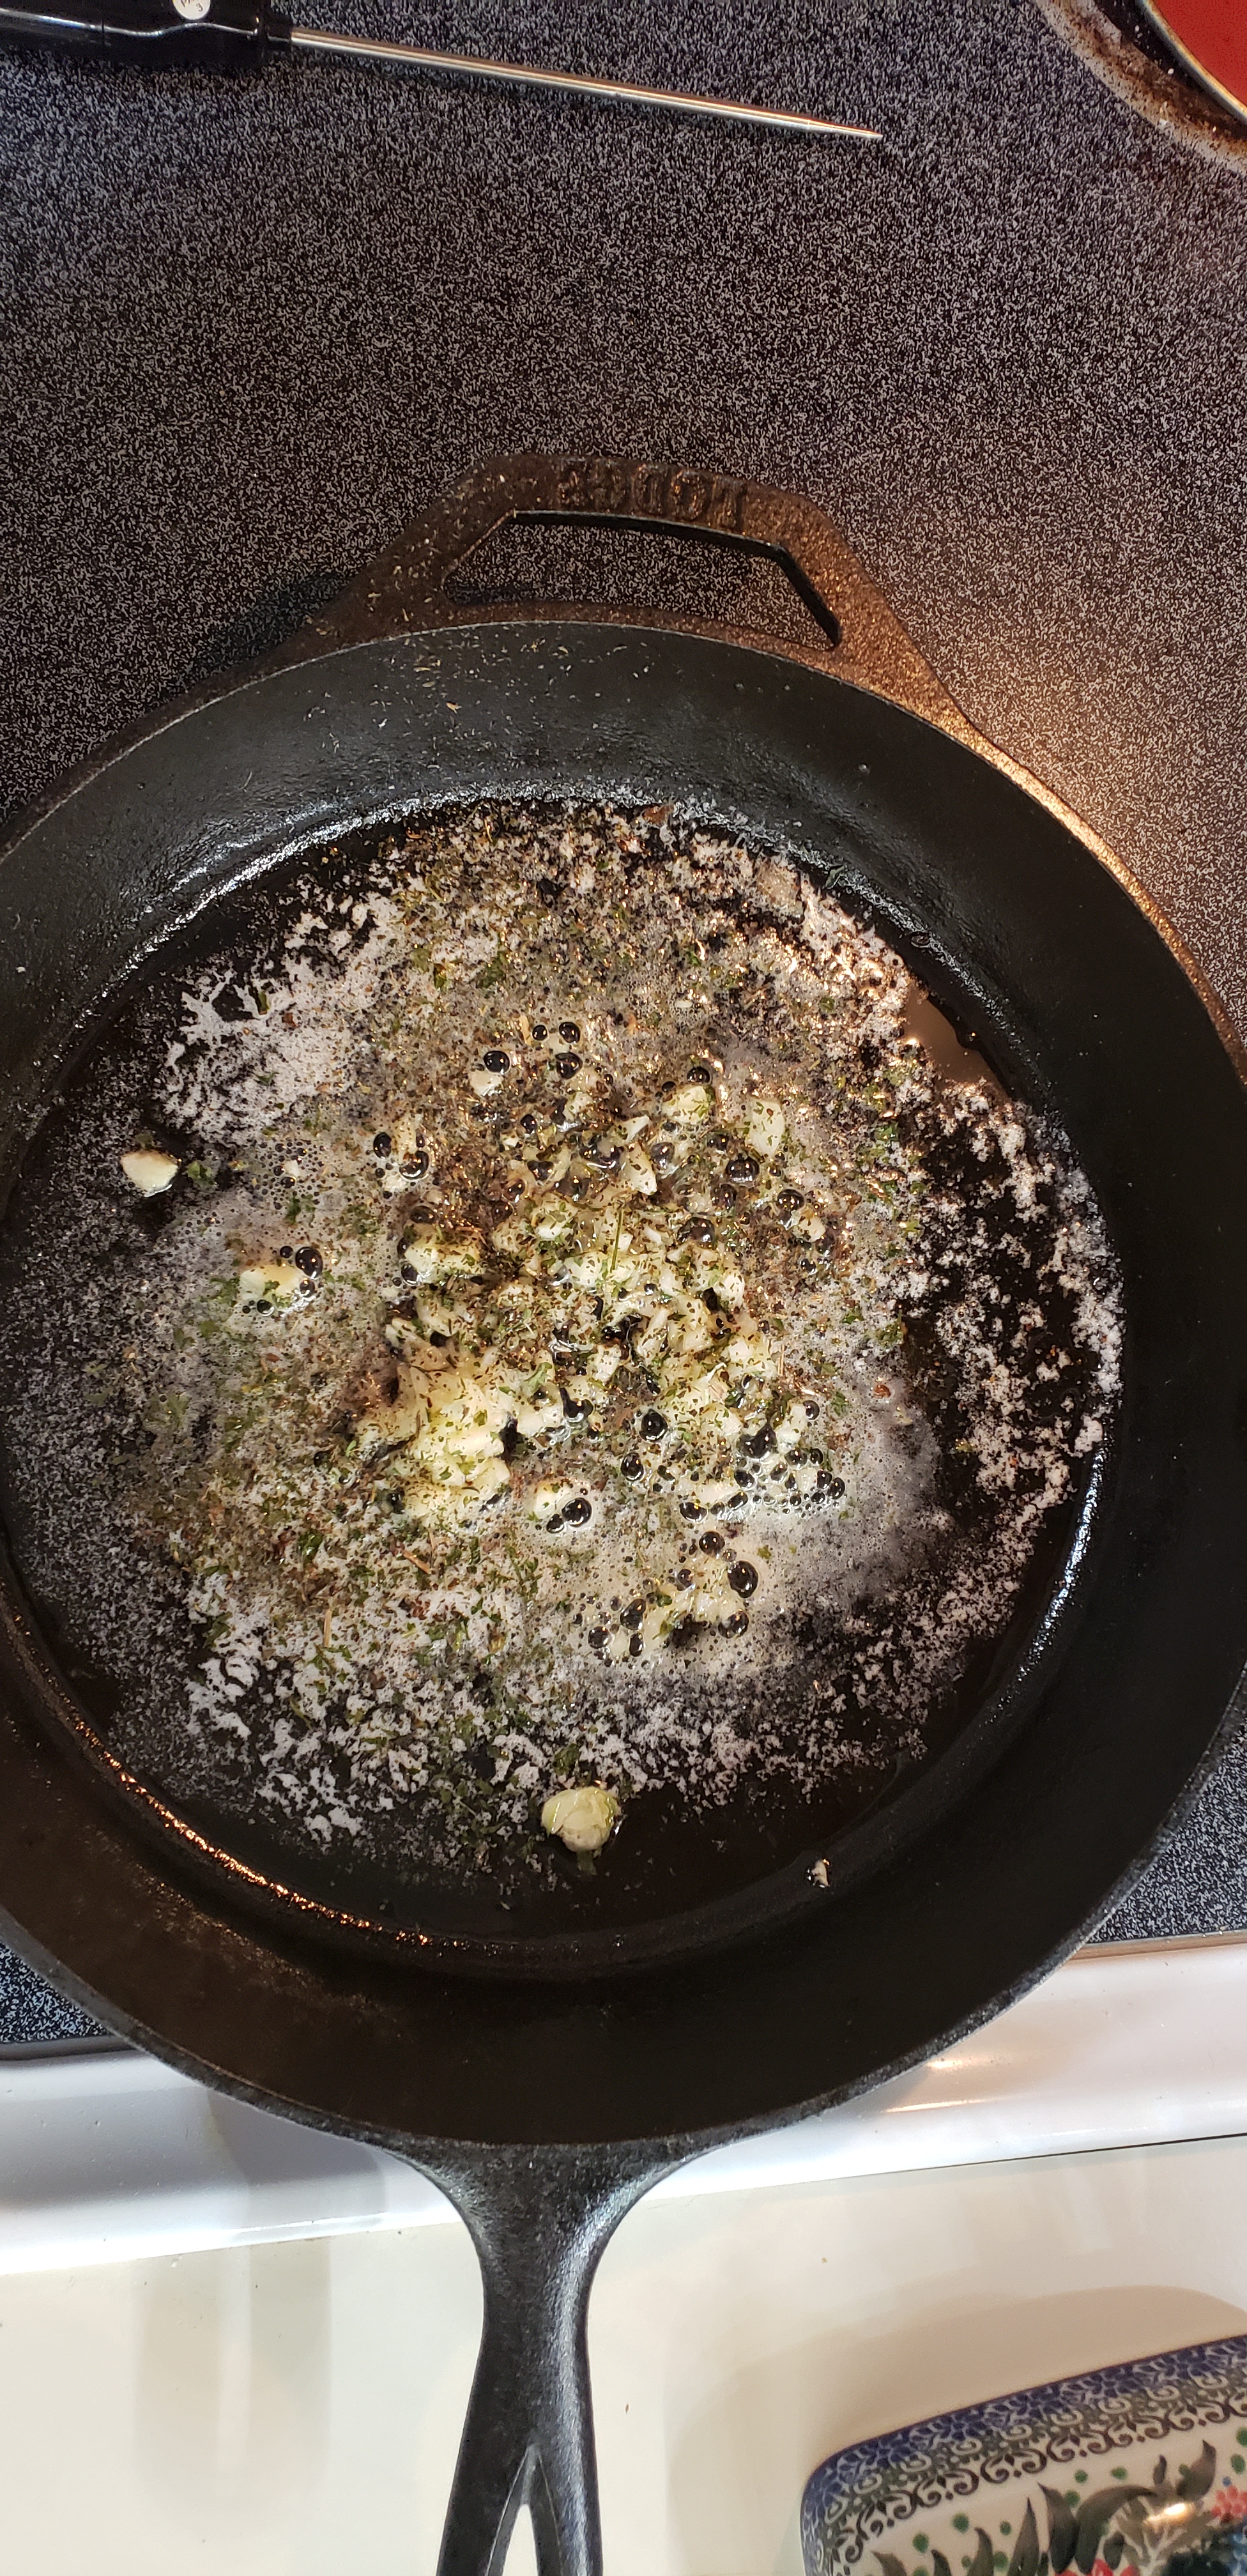
Reduce the heat to medium in the same cast iron pan, and add 2 tbsp of butter, chopped garlic, oregano, parsley, and thyme.
Let the garlic cook for about 4 or 5 minutes, but don’t let it get too brown! Browned garlic tends to be bitter.
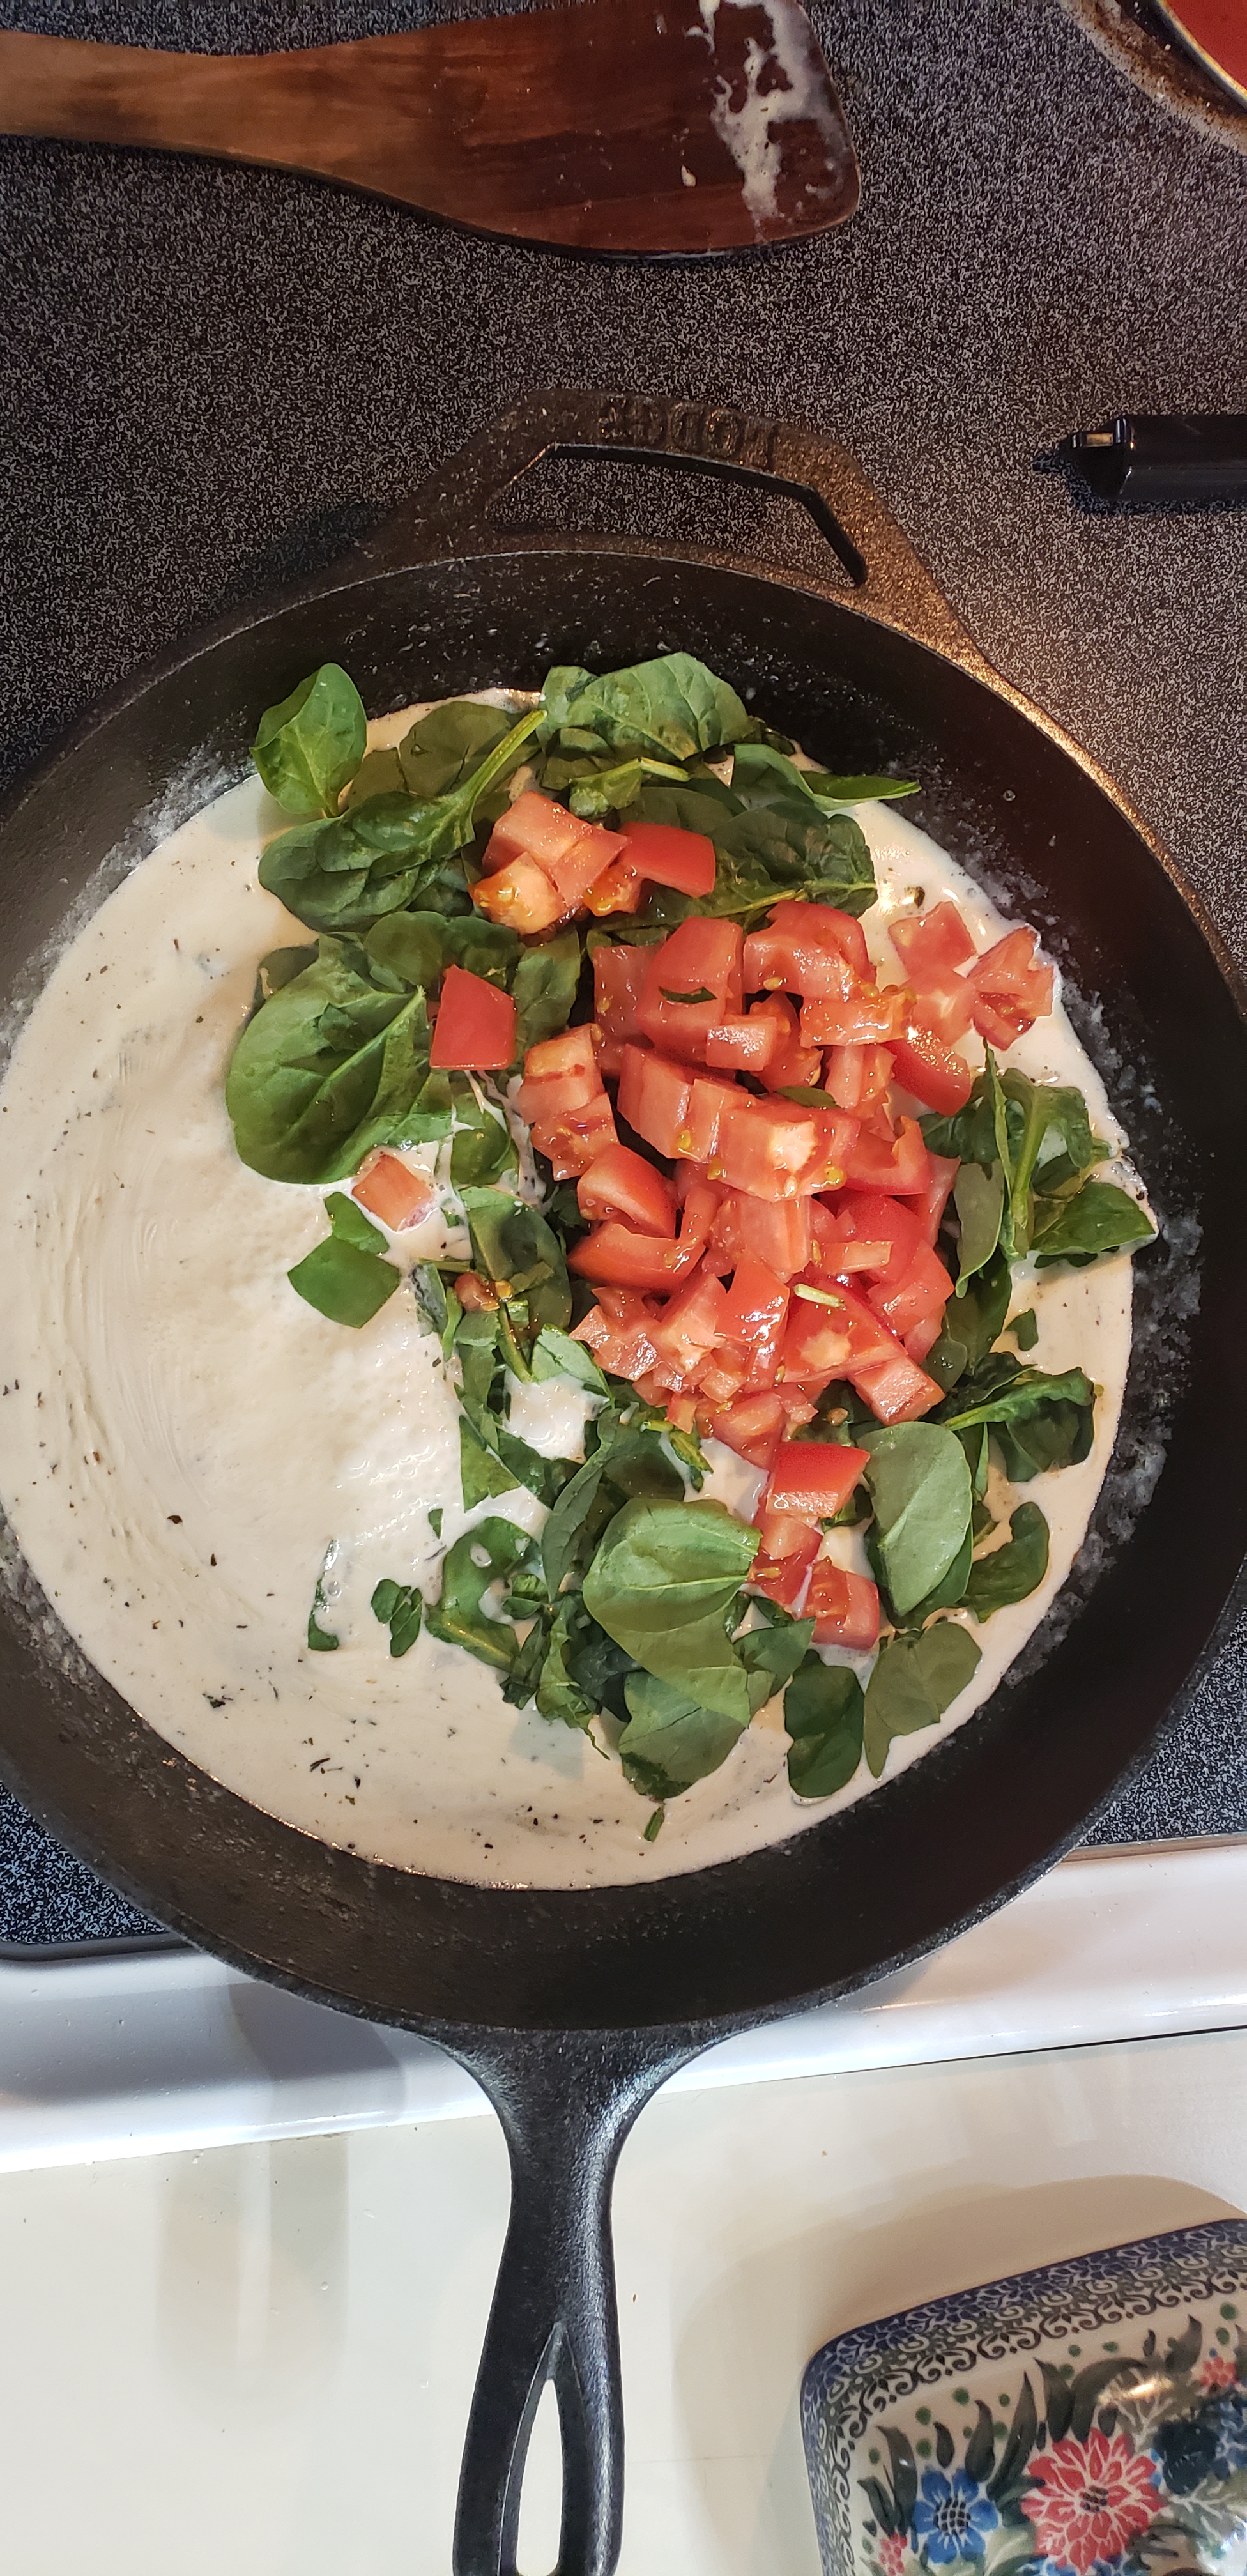
Next, add heavy cream, parsley, and chopped tomato (I totally forgot about tomato and Jess saved the day). Let cook for another 3 or 4 minutes. It will thicken a bit and the tomatoes will start to break down.
Reduce the heat under the sauce while you wait for the chicken to finish cooking. The best way to know this is to test it with a thermometer- chicken should register 165 degrees.
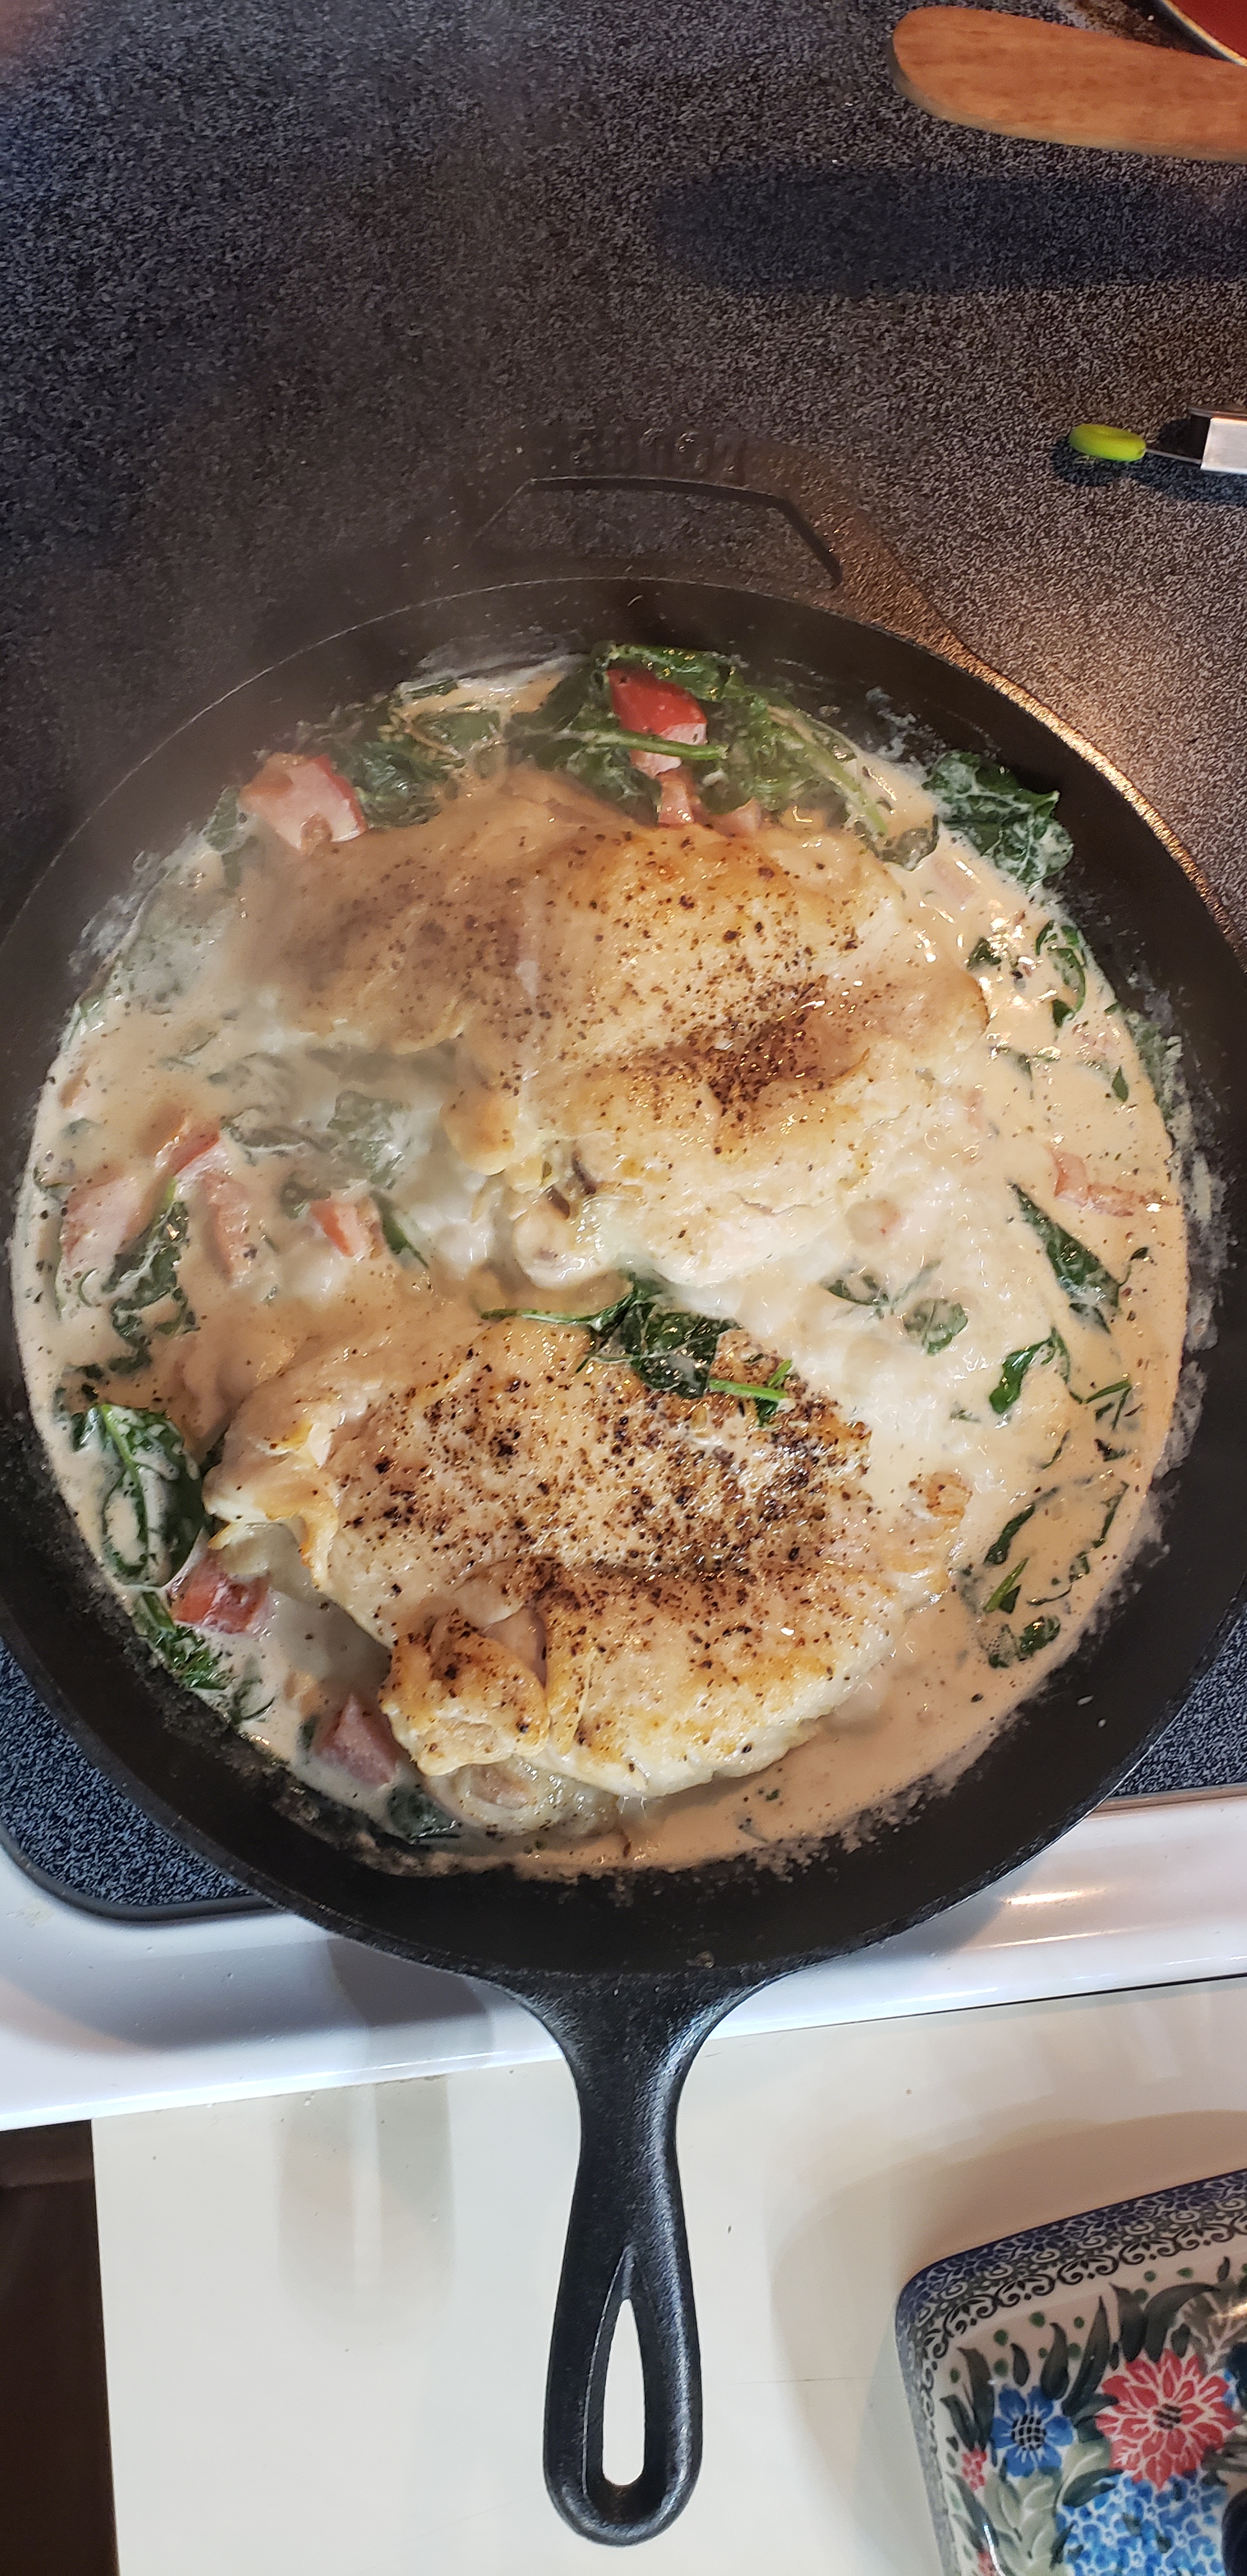
When it’s cooked through, add your chicken breast back to the pan and toss and coat them with the sauce, letting the chicken warm up and marry with the creamy sauce.
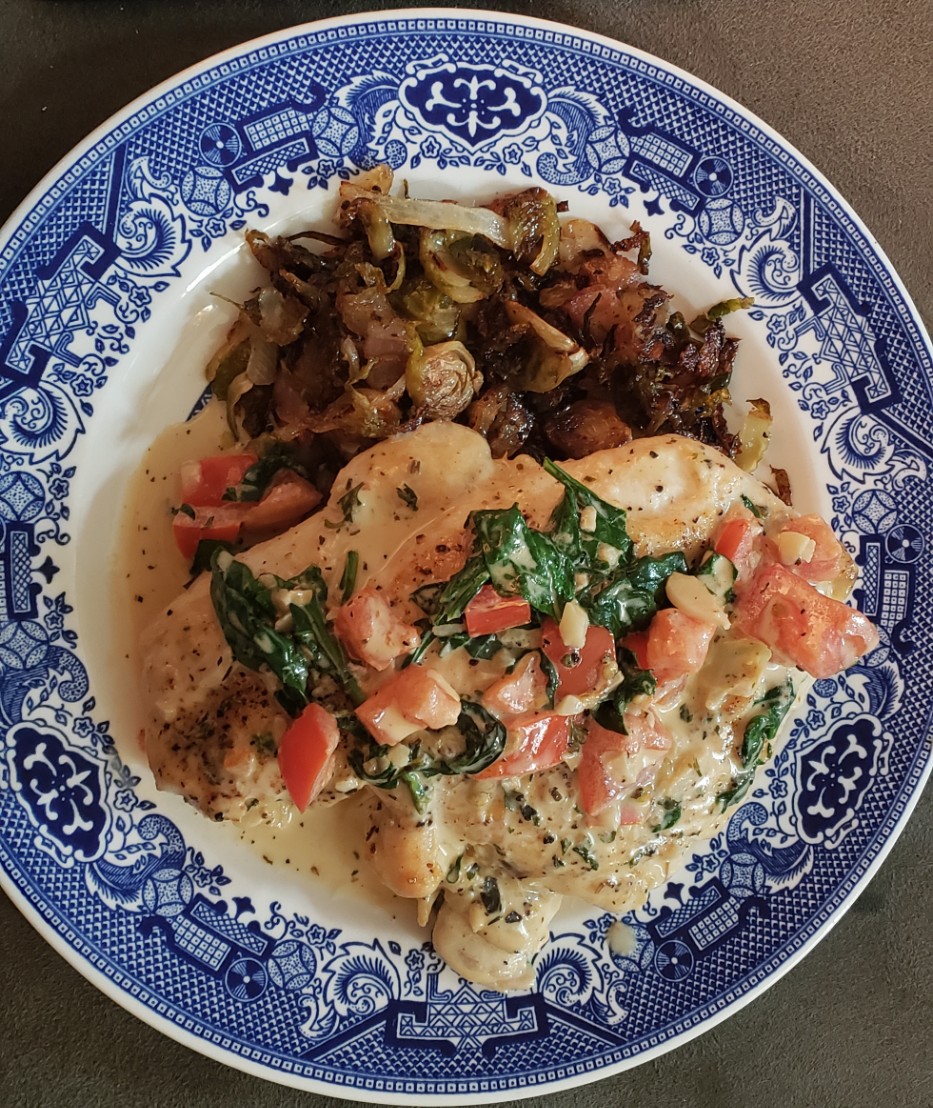
Taste your sauce and add more salt and pepper as desired. And yep, that’s it! Serve with your favorite side (Yes mom, my favorite side is Brussels sprouts)*** and enjoy!
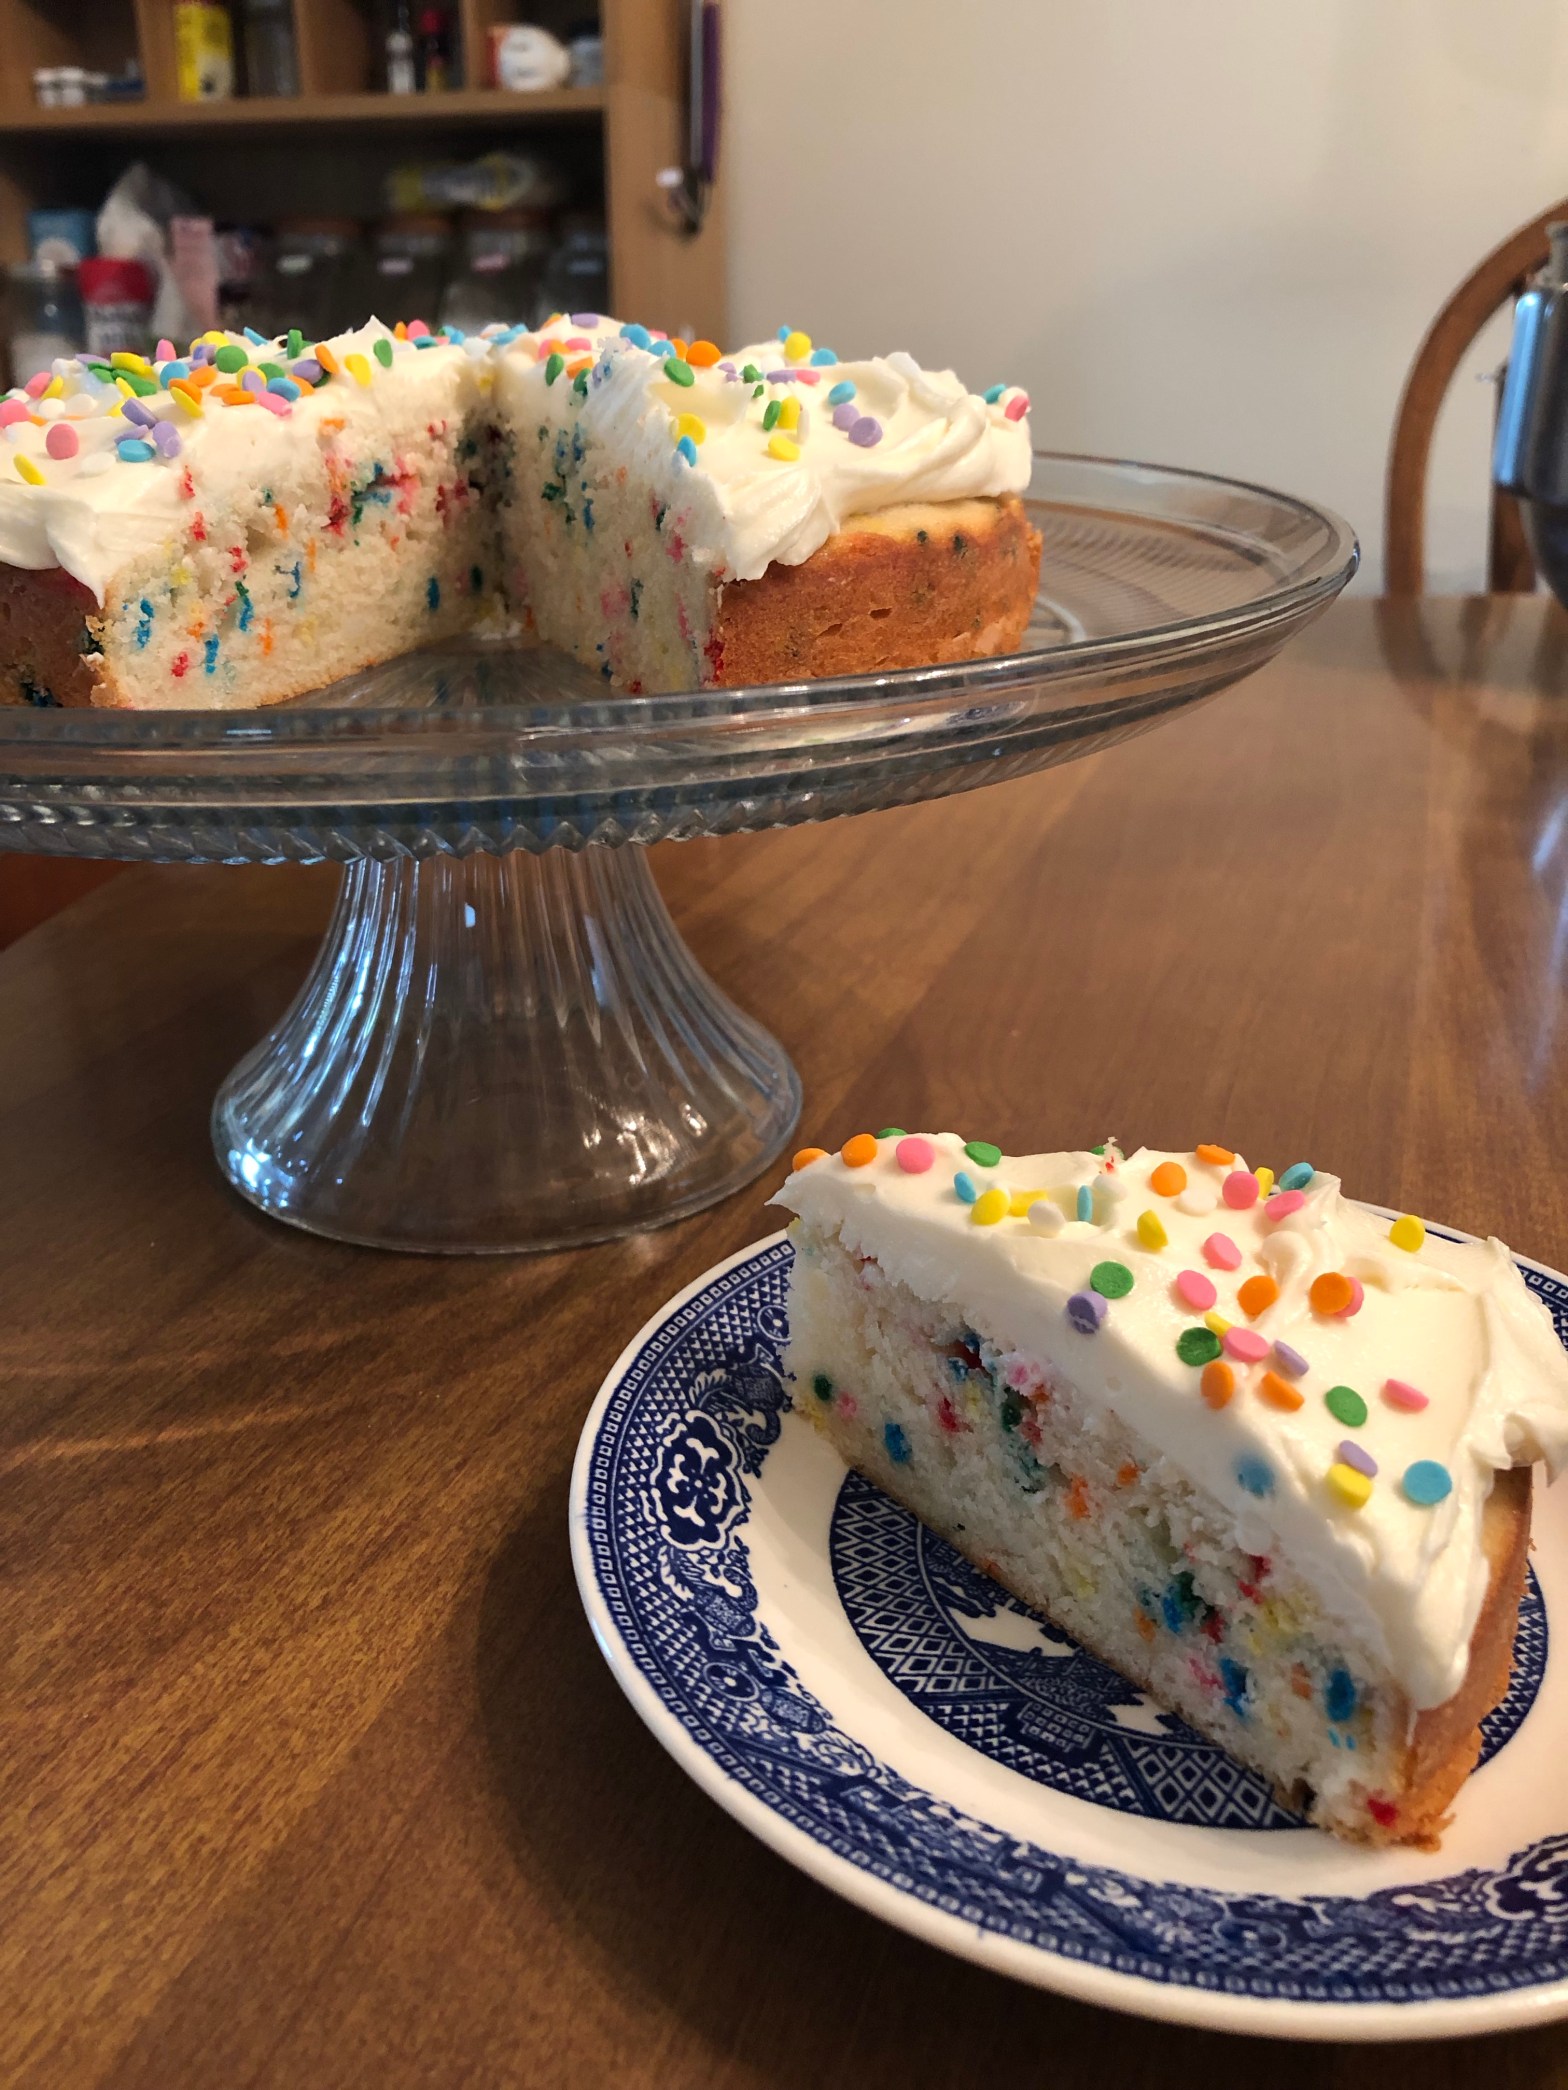
Raise your hand if you love funfetti cake! Who doesn’t? Fluffy white cake with rainbow sprinkles folded into the cake AND the frosting- a child’s (and adult’s) dream. But here’s the deal- you can make it yourself, from scratch. DON’T YOU DARE EVER BUY THAT BETTY CROCKER BOX AGAIN, OKAY?!
Before I show you how to make the cake of your childhood dreams, let’s talk about some general cake-baking tips:
You’ll need to start with softened butter for creaming. Look here for tips on how to soften butter in a pinch.
Why buttermilk? Because it’s delicious! But also because it makes cakes tender and flavorful, and also helps with the leavening. If you don’t have buttermilk, you can top 1 tablespoon of white vinegar or fresh lemon juice with whole milk up to the one-cup line on your measuring cup, letting it sit and get funky for 5 or so minutes. Scale up or down according to your recipe.
What’s the difference between cake flour and all-purpose flour? Many cake recipes call for cake flour, especially for white cake (along with egg whites rather than yolks). Cake flour is flour that has been sifted lots of times with cornstarch, which provides a light, airy texture in cakes. To make things easier, today’s recipe simply calls for a combination of cornstarch and all-purpose flour to achieve that airy texture. Likewise, if you don’t have cake flour on hand and your recipe specifically calls for it, you can measure 1 cup of all-purpose flour, then replace 2 tablespoons of it with 2 tablespoons of cornstarch. Sift those together at least twice before measuring and baking.
Beat flour into your cake batter JUST until you don’t see flour anymore, or even before that point. Cake is delicate. When you add dry ingredients to the wet, beat it on low speed until the flour is almost fully absorbed, and then finish by gently folding in anymore dry bits with a rubber spatula. Scraping the bottom of the bowl also catches any stray chunks of butter that may not have been mixed in. Overbeating cake batter can make for a dense, tight cake which I’ve come up with too many times. For our funfetti cake (and most layer cakes) you want light, airy, fluffy textures, which will work as long as you don’t get crazy with your beaters. Self-control, people!
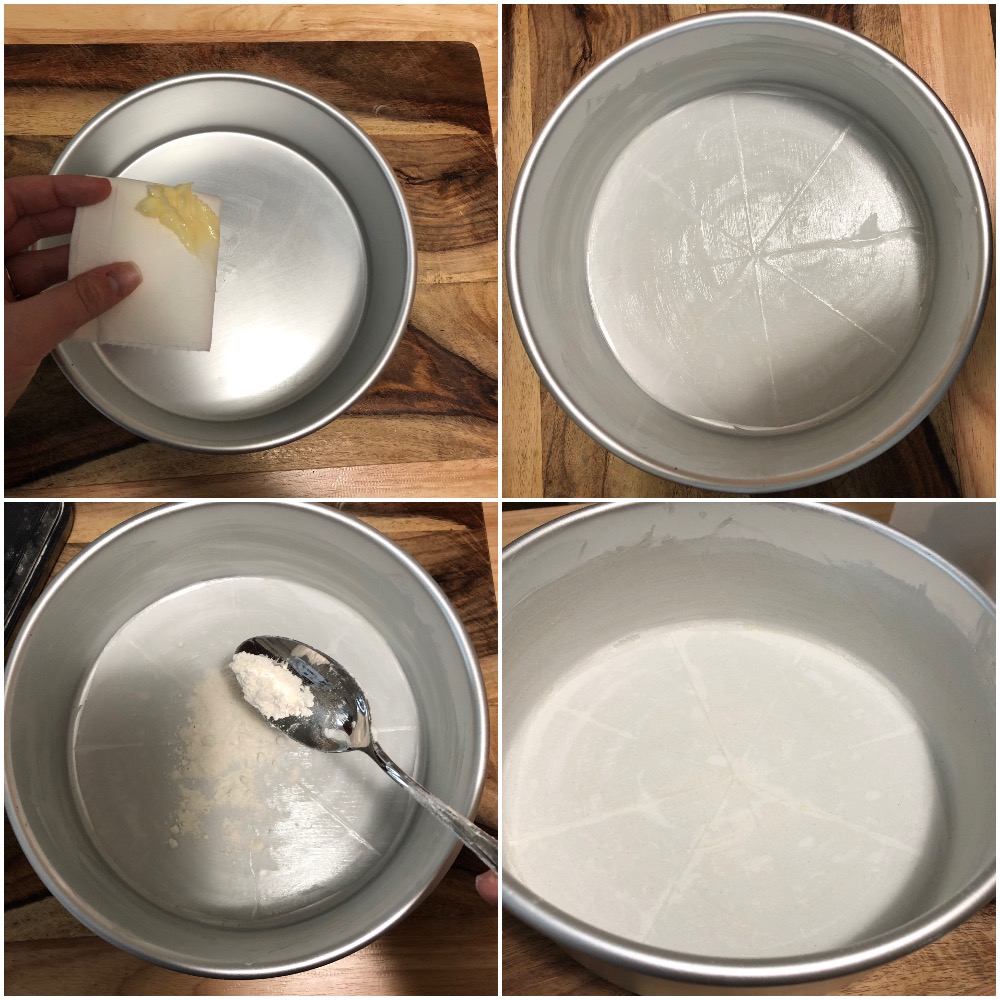
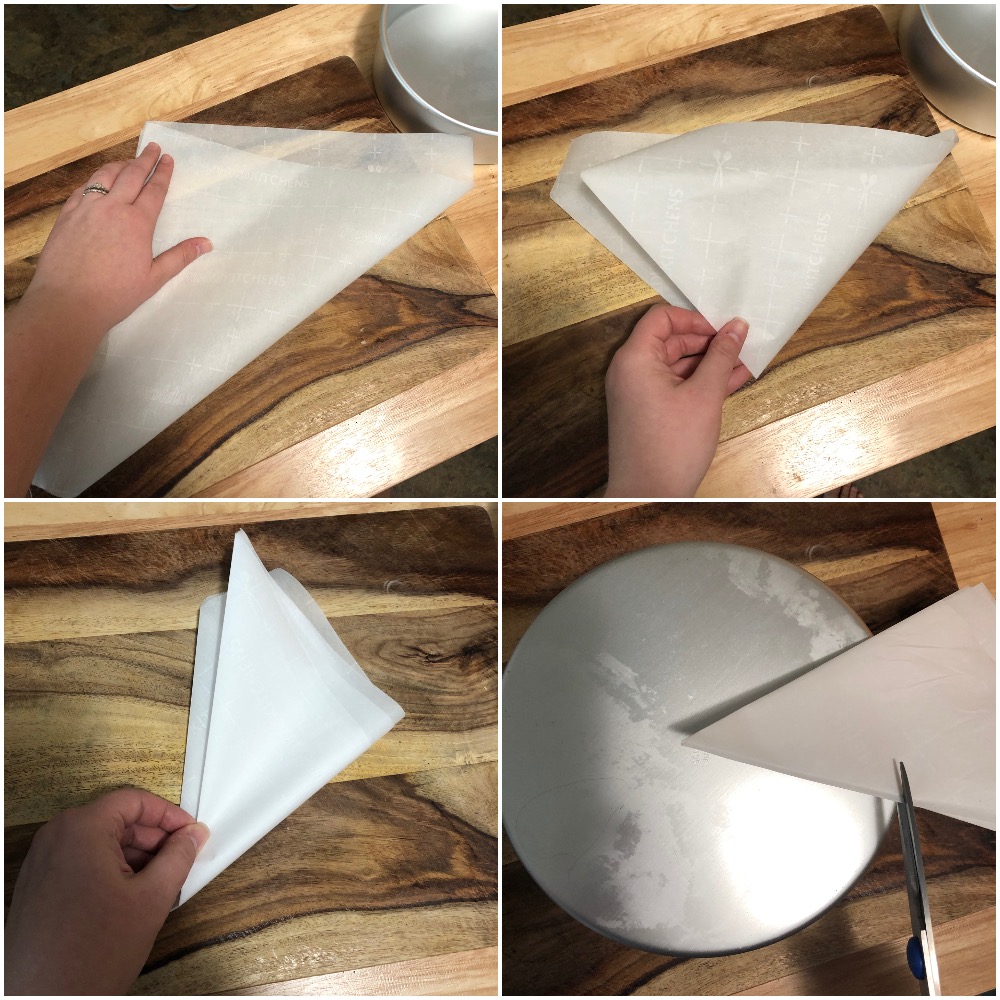
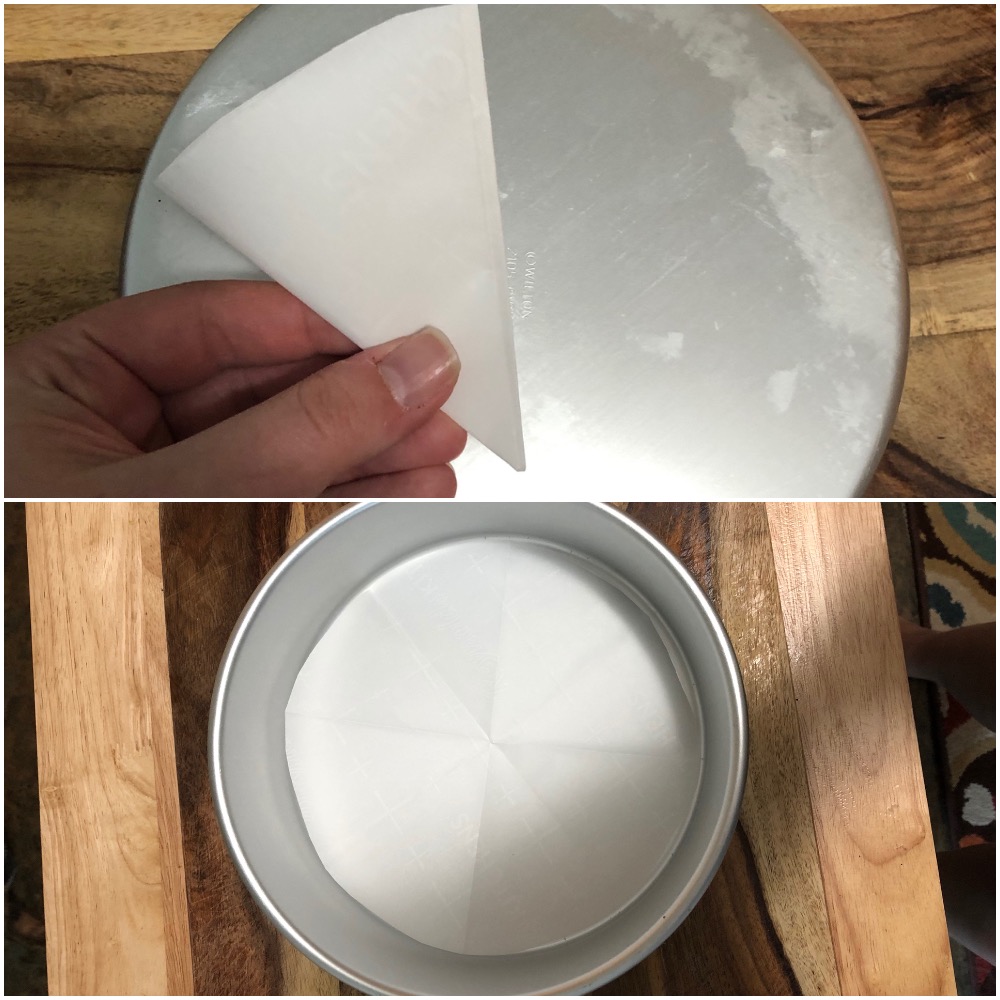
Be generous with your nonstick applications. Line your pans with parchment paper and grease them with butter or nonstick spray. Together, these will ensure your cake will come out of the pan in one piece. Even if your plan is to serve a sheet cake directly from the pan, parchment and butter will make serving it that much easier. I like to line round cake pans with a parchment circle, which I’ll show you how to do here, butter the bottom and sides, and then dust with flour. I get pretty edges and no sticking every time.
Using heavy cream in your frosting is a game-changer. I’ve used the same vanilla frosting recipe now for several years, and you should, too. High ratios of butter to powdered sugar plus heavy cream make for a super creamy, not cloyingly-sweet vanilla frosting that turns out every time. Whip the heck out of it for best results.
We’re ready to bake some cake!
For the funfetti cake:
Makes one single-layer 8-inch round cake, perfect for two people to devour throughout the week.
½ cup (4 oz, one stick) salted butter
Scant ½ teaspoon kosher salt
⅔ cup (130 grams) granulated sugar
2 large egg whites
½ teaspoon vanilla extract
½ cup buttermilk
1 teaspoon baking powder
2 tablespoons cornstarch
1 cup (130 grams) all-purpose flour
¼ cup rainbow sprinkles (or jimmies- not nonpareils, which melt into the batter and disappear)
For the vanilla frosting:
½ cup (4 oz, one stick) salted butter
Pinch of kosher salt
1 ¼ cups powdered sugar
½ teaspoon vanilla extract
1 tablespoon heavy cream
All kinds of sprinkles, for topping
Make the cake: Preheat your oven to 350 degrees and check to see that you have an oven rack situated in the center of the oven. Spray or grease with butter an 8” x 2” (or 8 “ x 3”) aluminum baking pan (I use Wilton aluminum cake pans which are wonderful), and line it with a parchment circle, like I did below:
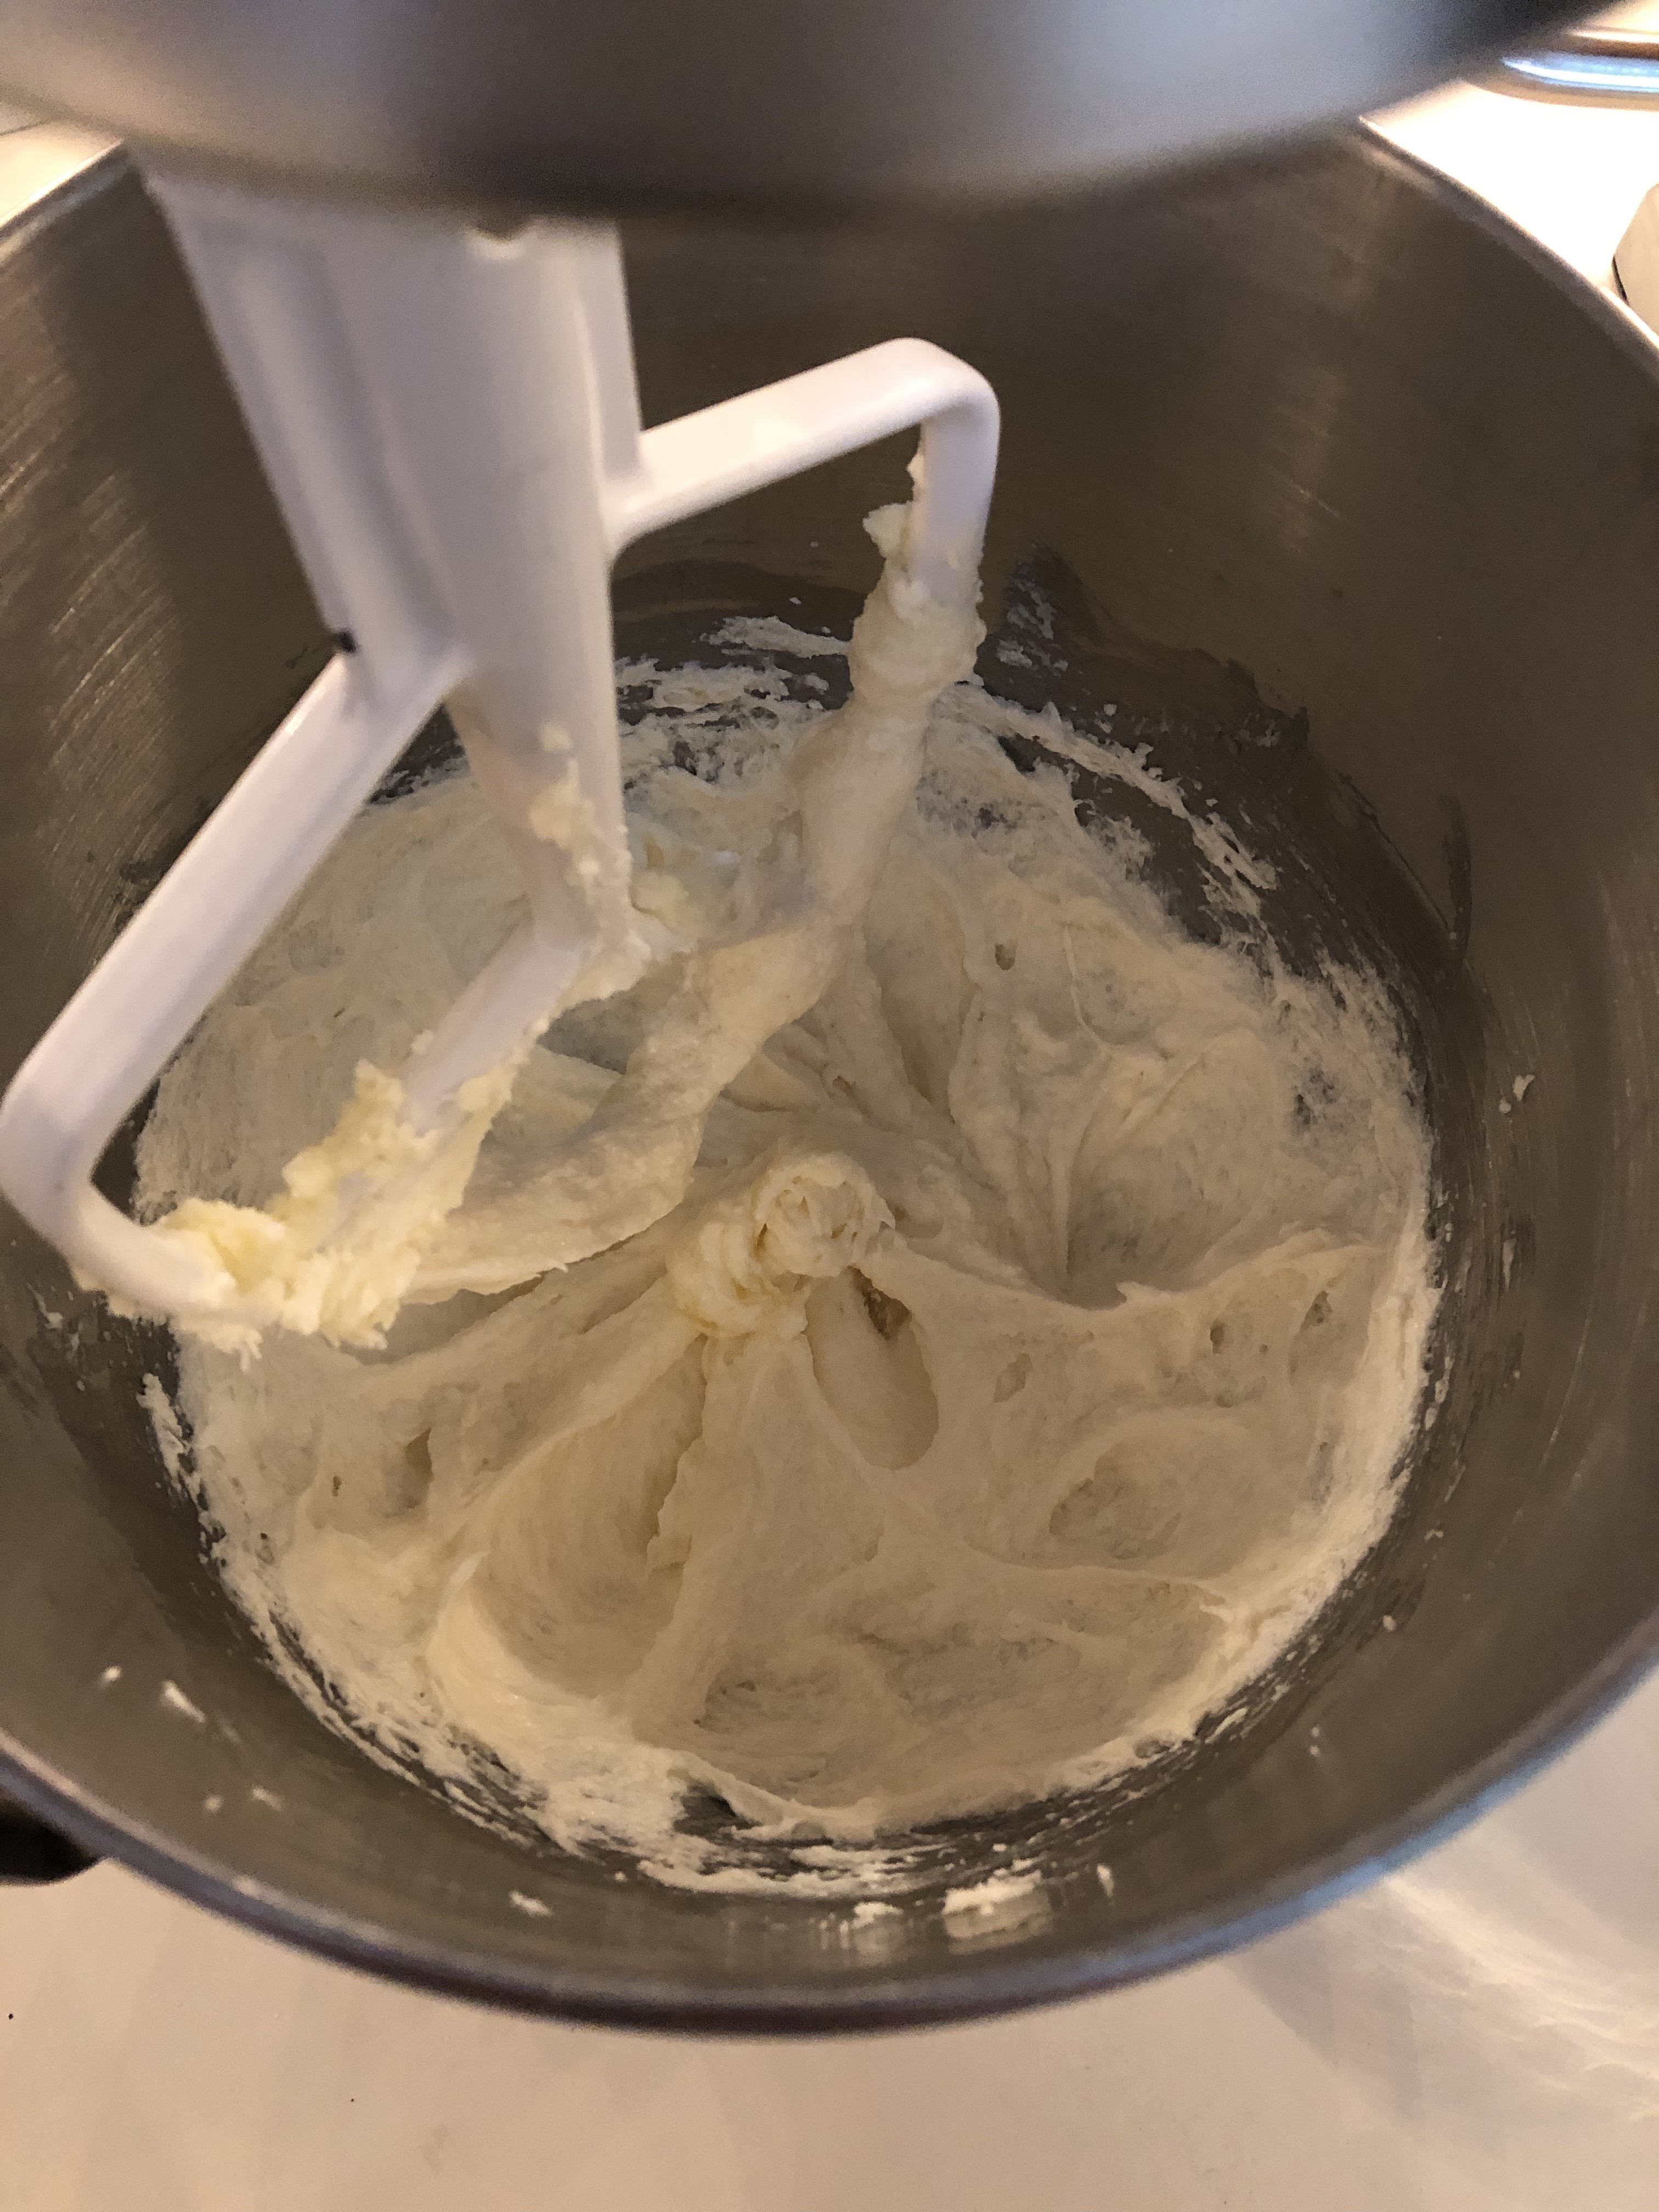
In a stand mixer or in a large bowl with a handheld mixer, cream the butter and sugar together for a solid 3 minutes. Scrape down the bowl with a rubber spatula and add the egg whites, one at a time, beating well between each addition. Add the vanilla and beat to combine. The mixture should look pale and fluffy.
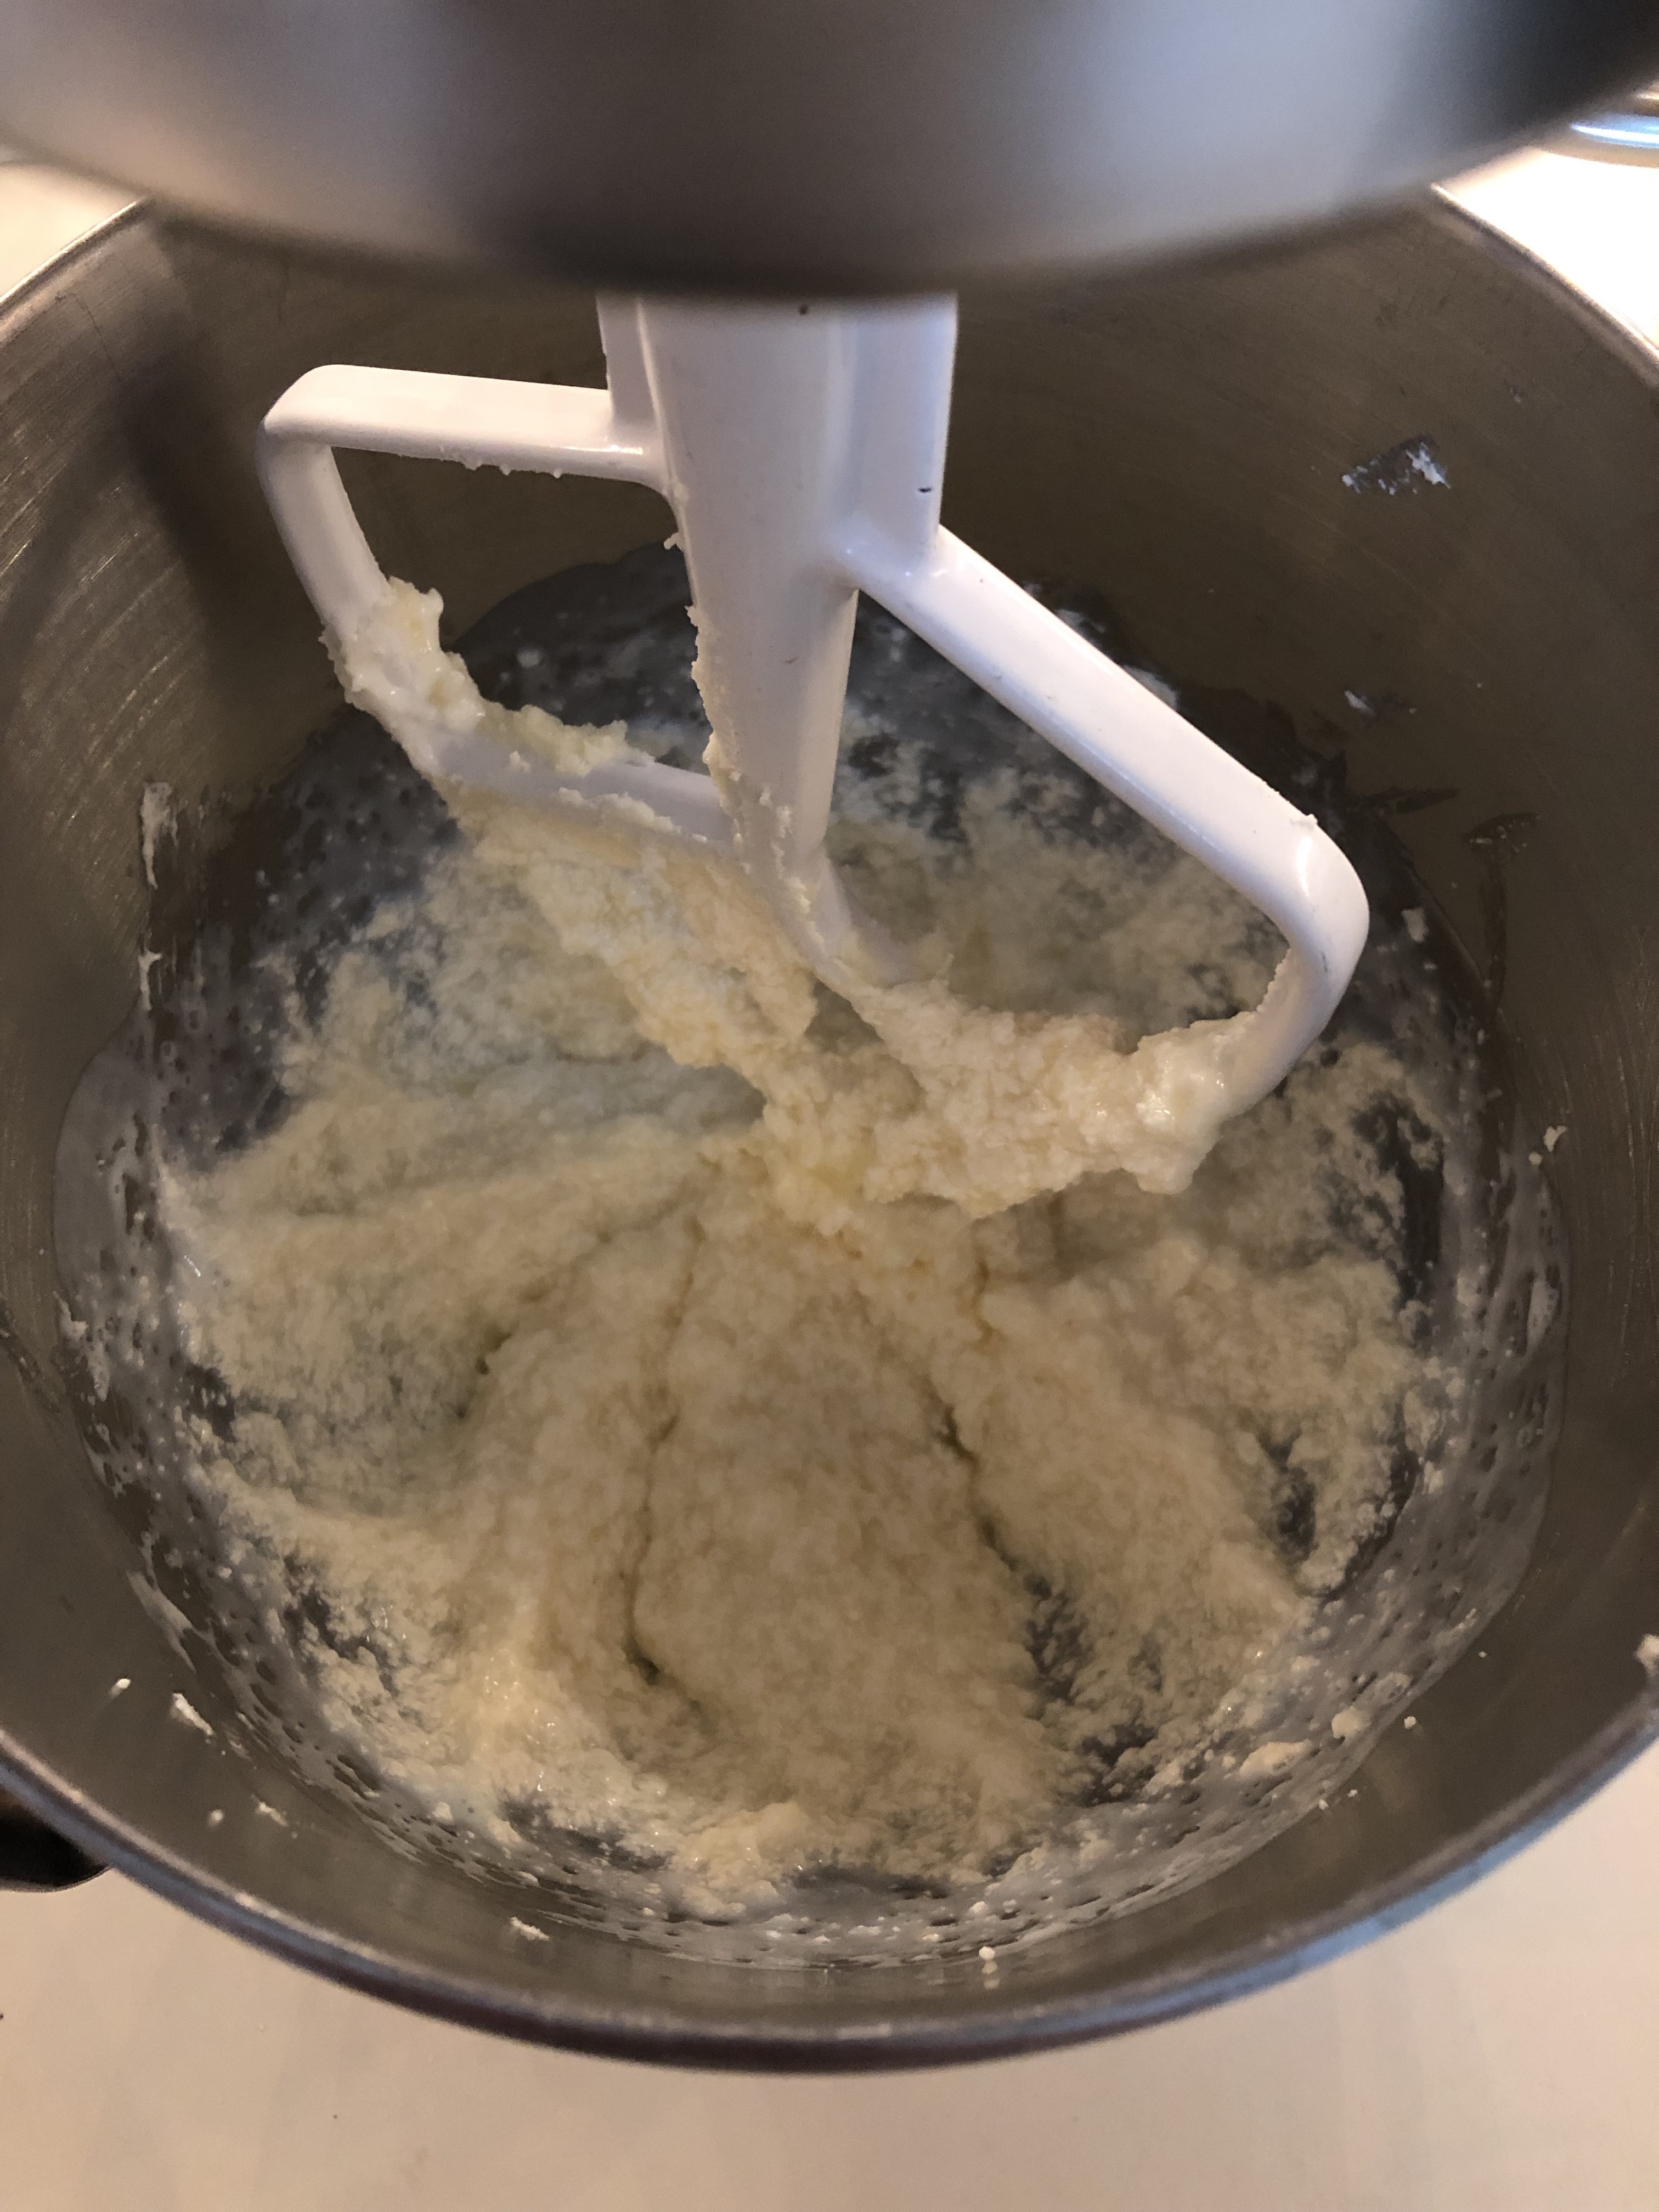
Add the buttermilk and beat to combine, which will make your cake batter look terrifying and curdled and ruined. It’s not, I promise.
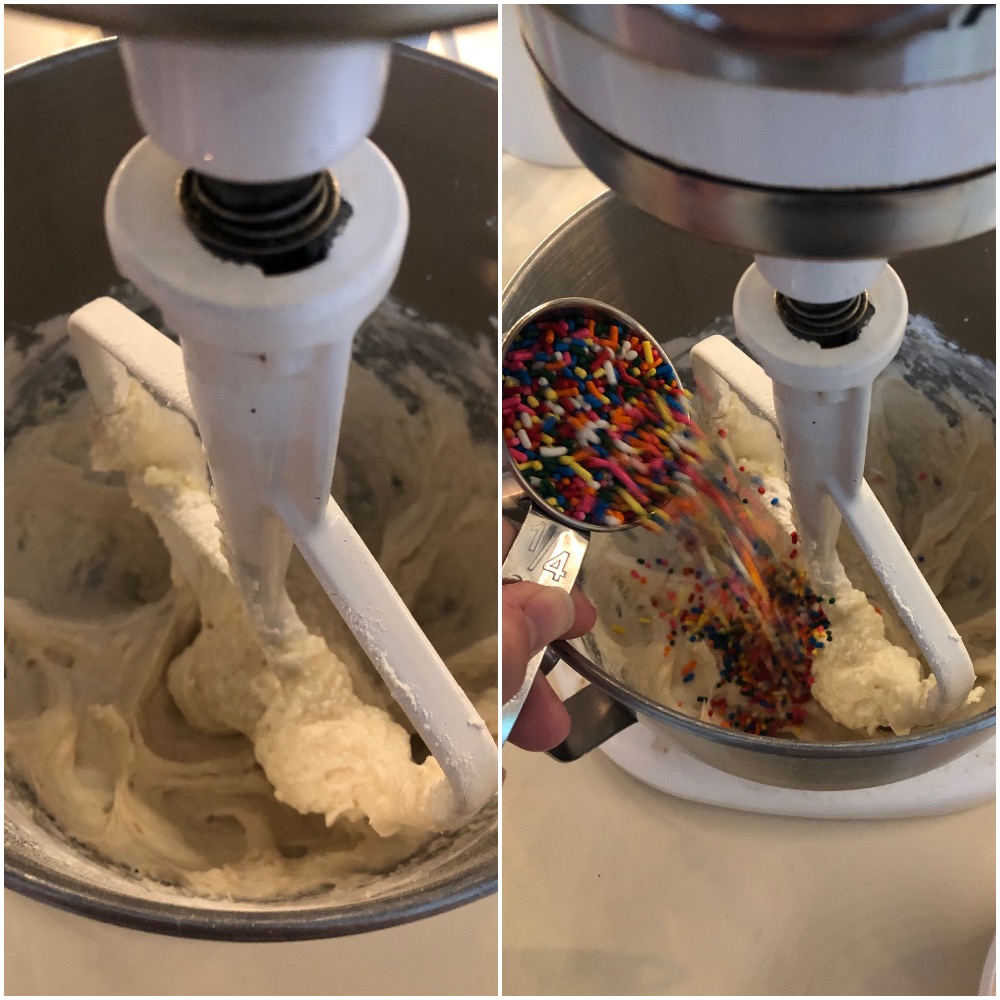
Scrape down the bowl, sprinkle in the baking powder and cornstarch, and beat well to combine. Add the flour (I sifted mine because it was super lumpy, but this is totally optional) and beat on low JUST until the flour is mostly absorbed. Pour in the rainbow sprinkles and beat on low just for a second to mix them in. Gently fold the batter by hand with a rubber spatula to get any loose bits of flour and scrape the bottom of the bowl for stray chunks of butter.
Bake the cake: Scrape the rainbow-studded cake batter into your prepared pan and smooth it out with your rubber spatula to get the surface as flat and even as you can. Slide into the preheated oven and bake for 15 minutes to start. Walk away. Do not open your oven until 15 minutes have passed.
Did you know that opening your oven too early can lead to deflation of your pretty cake? It lets out all of the heat and steam and doesn’t have the structural integrity to withstand it that early in the baking process. Science.
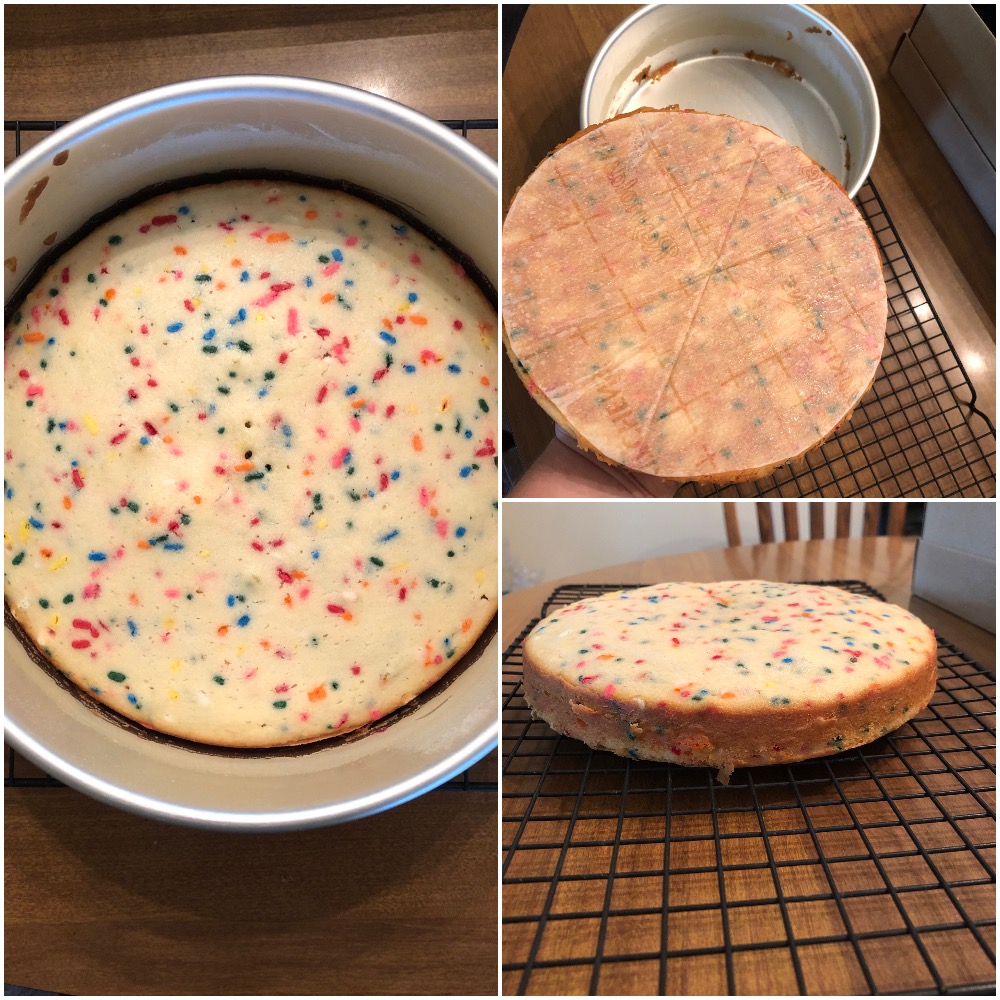
After the first 15 minutes, turn your pan 180 degrees to ensure even baking, and bake for another 10 minutes. At this point, you want to check your cake at 3 minute intervals with a toothpick. Cakes can overbake in a matter of minutes, so be tedious about it. Your toothpick will come out batter-free when the cake is done, and will be slightly springy when gently touched (meaning the cake doesn’t compress or sink when you touch it). Let it cool in the pan on a wire rack until you can manage to flip it out, peel the parchment off of the bottom, and put it back on the rack to cool the rest of the way.
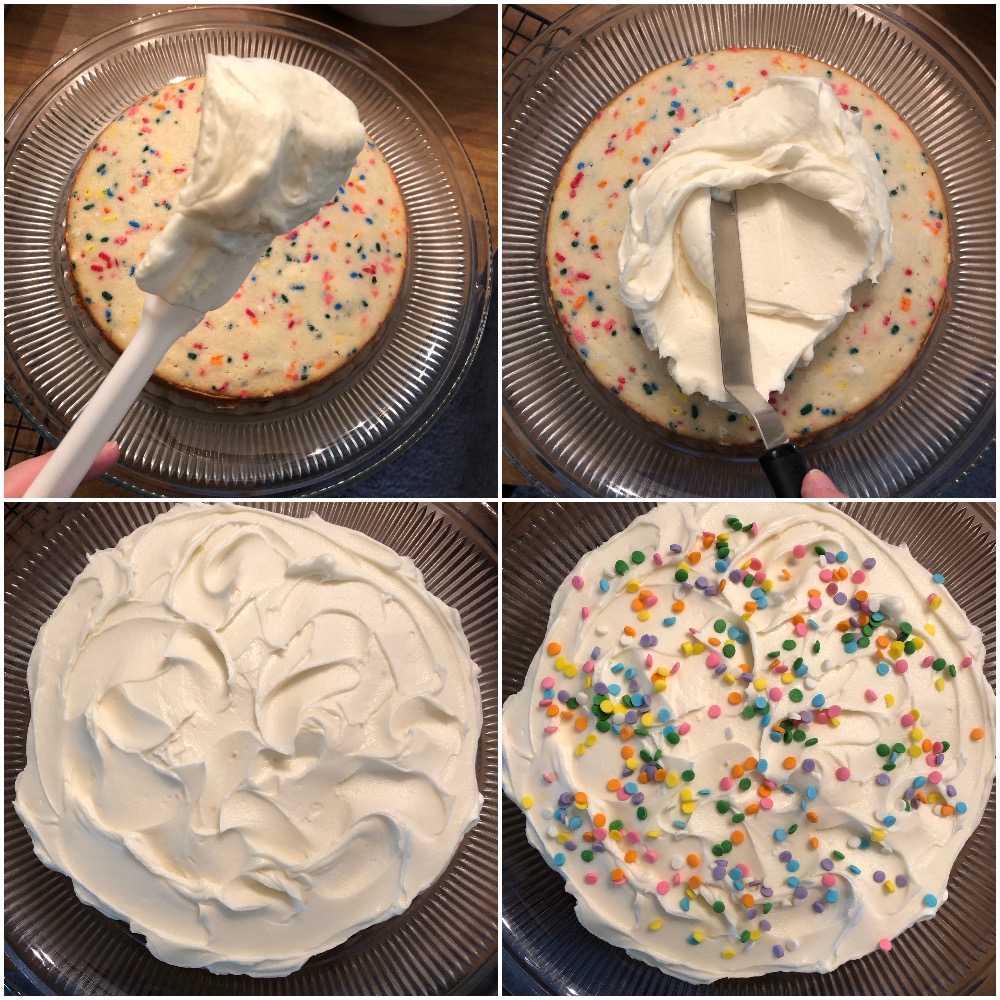
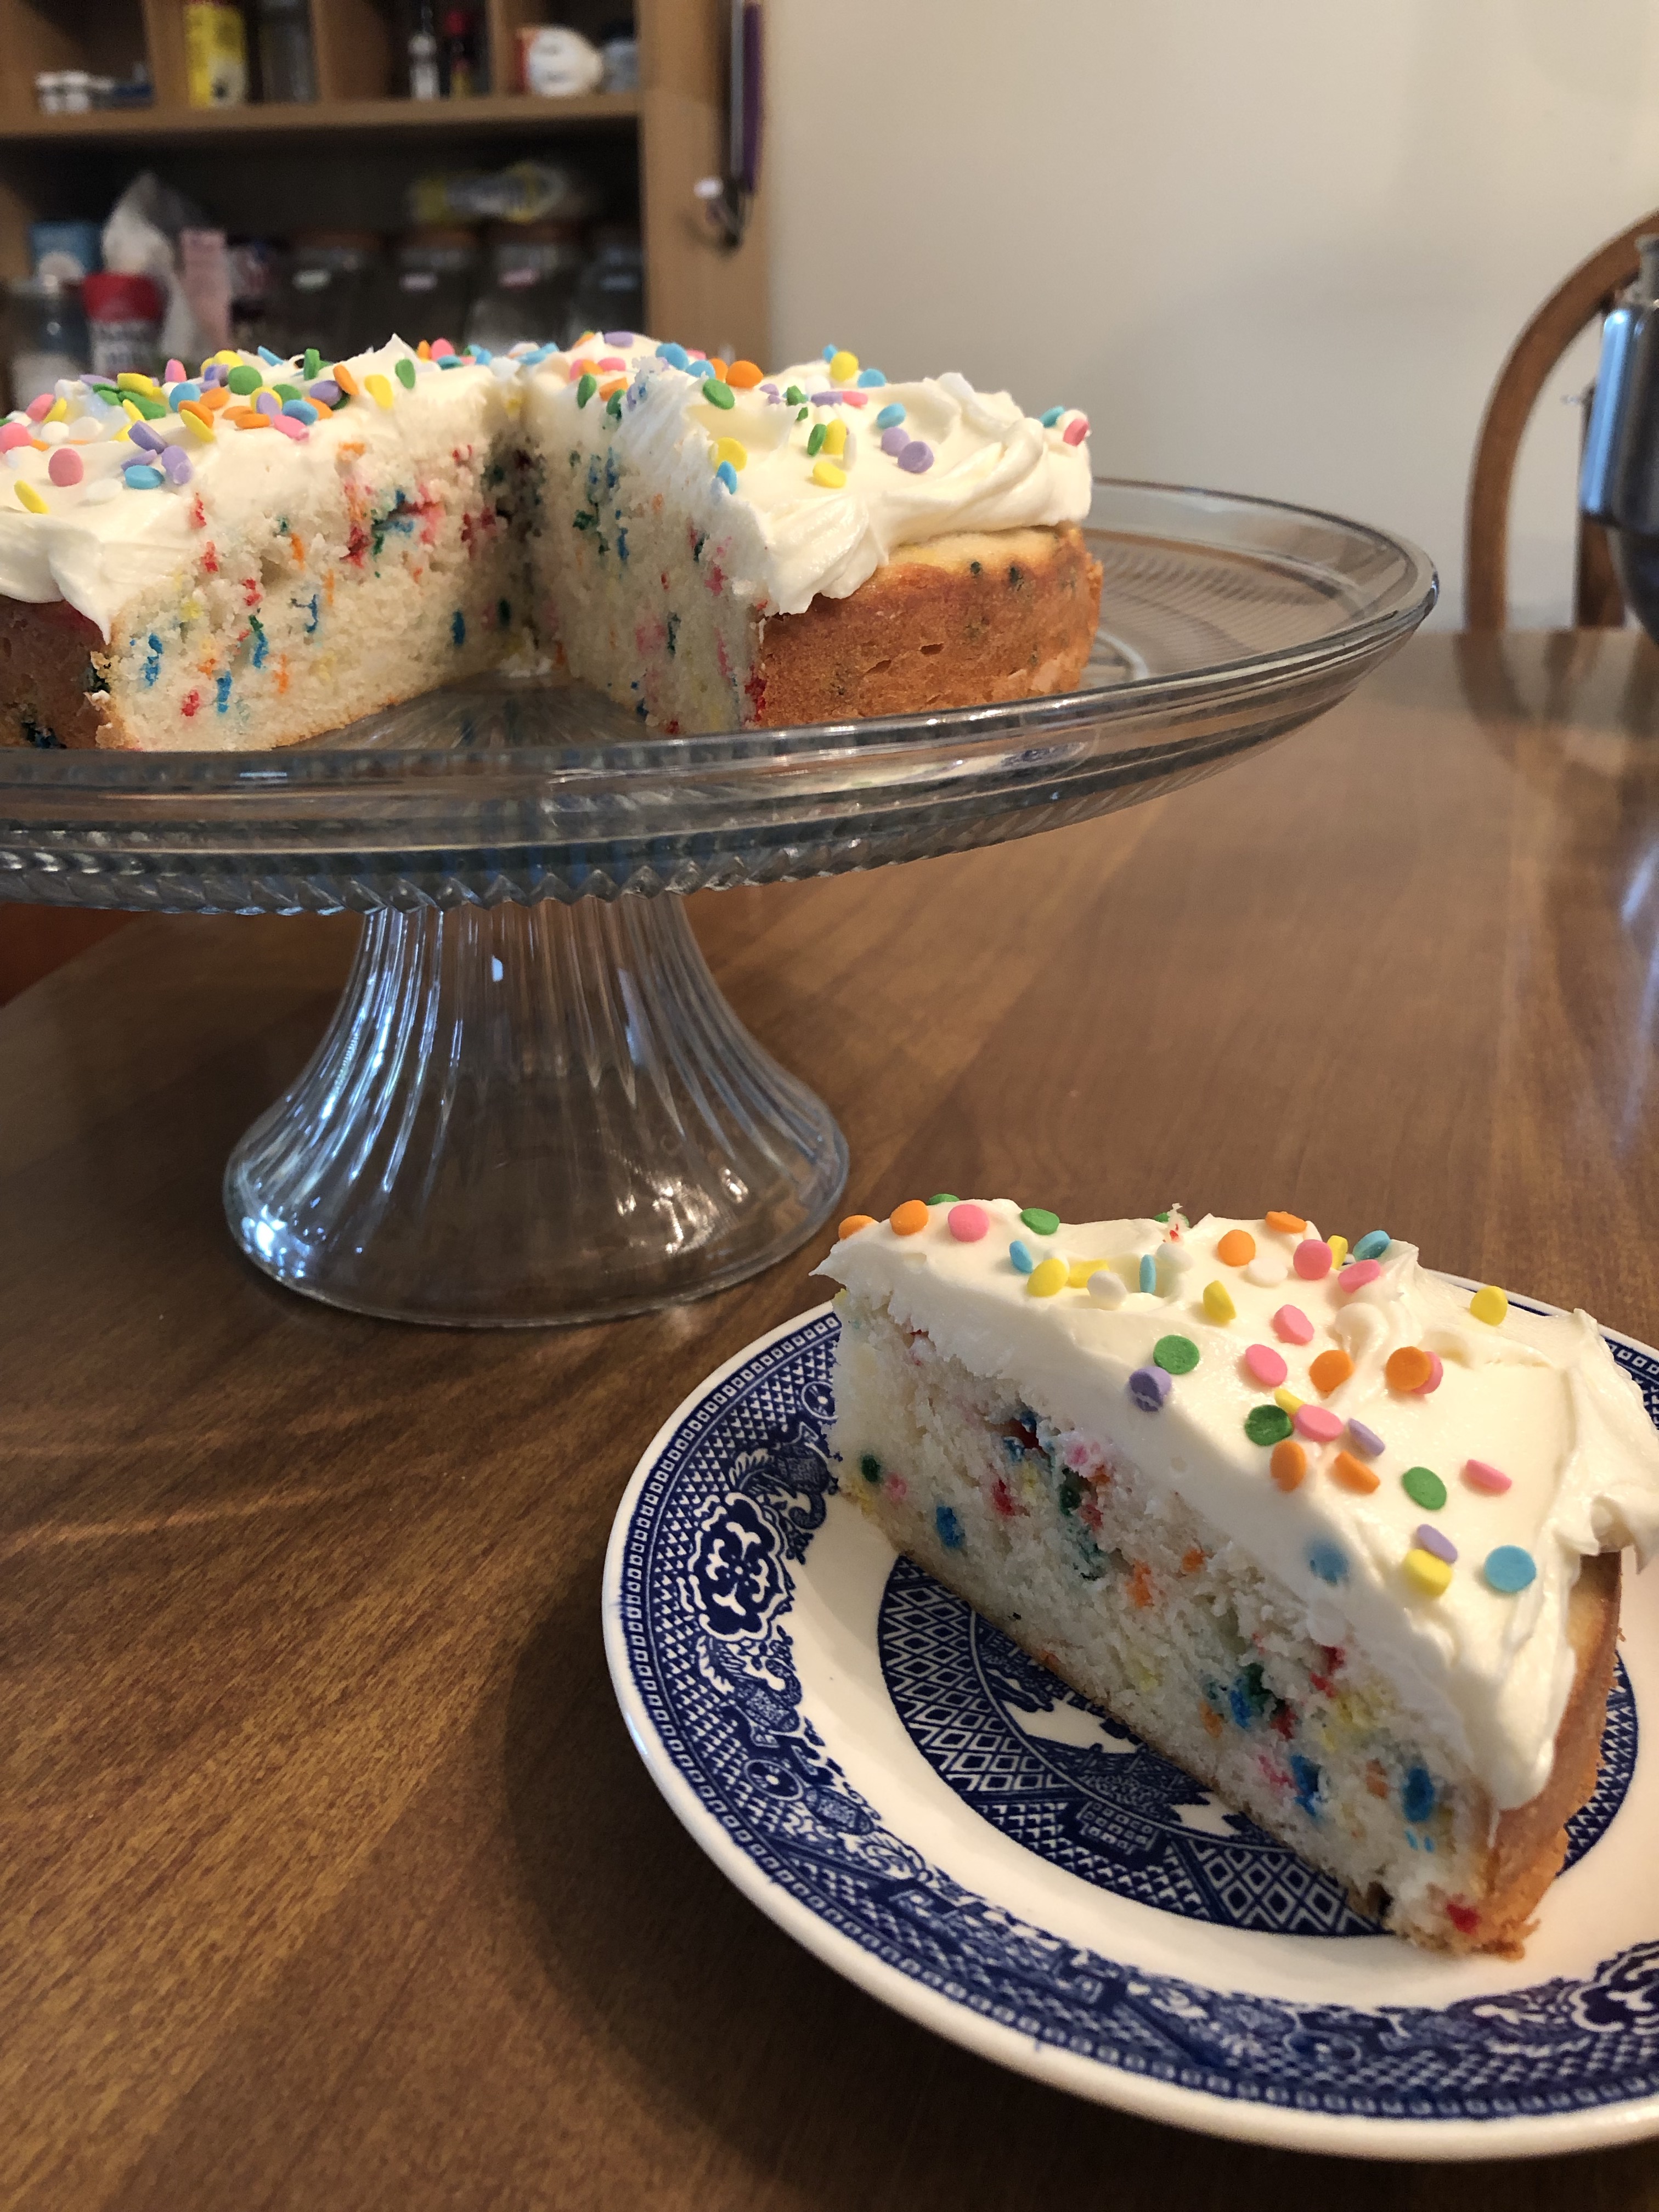
Frost the cake: Beat together the butter, salt, powdered sugar, and vanilla until smooth and combined. Add the heavy cream and beat on medium-high speed for 30-45 seconds, until light and fluffy. Taste and adjust your salt and/or vanilla to taste. This makes enough for a generous pile atop the single 8-inch cake. Scoop or scrape it on top of the completely cooled cake and swirl it around with a small offset spatula or butterknife for a cute, rustic look. Top with any and all sprinkles- the pastel confetti sprinkles that I used here are my personal favorite.
The cake will keep in a covered container at room temperature or in the fridge for about 5 days.
Note: Double the cake and frosting recipe for a 9” x 13” sheet cake.
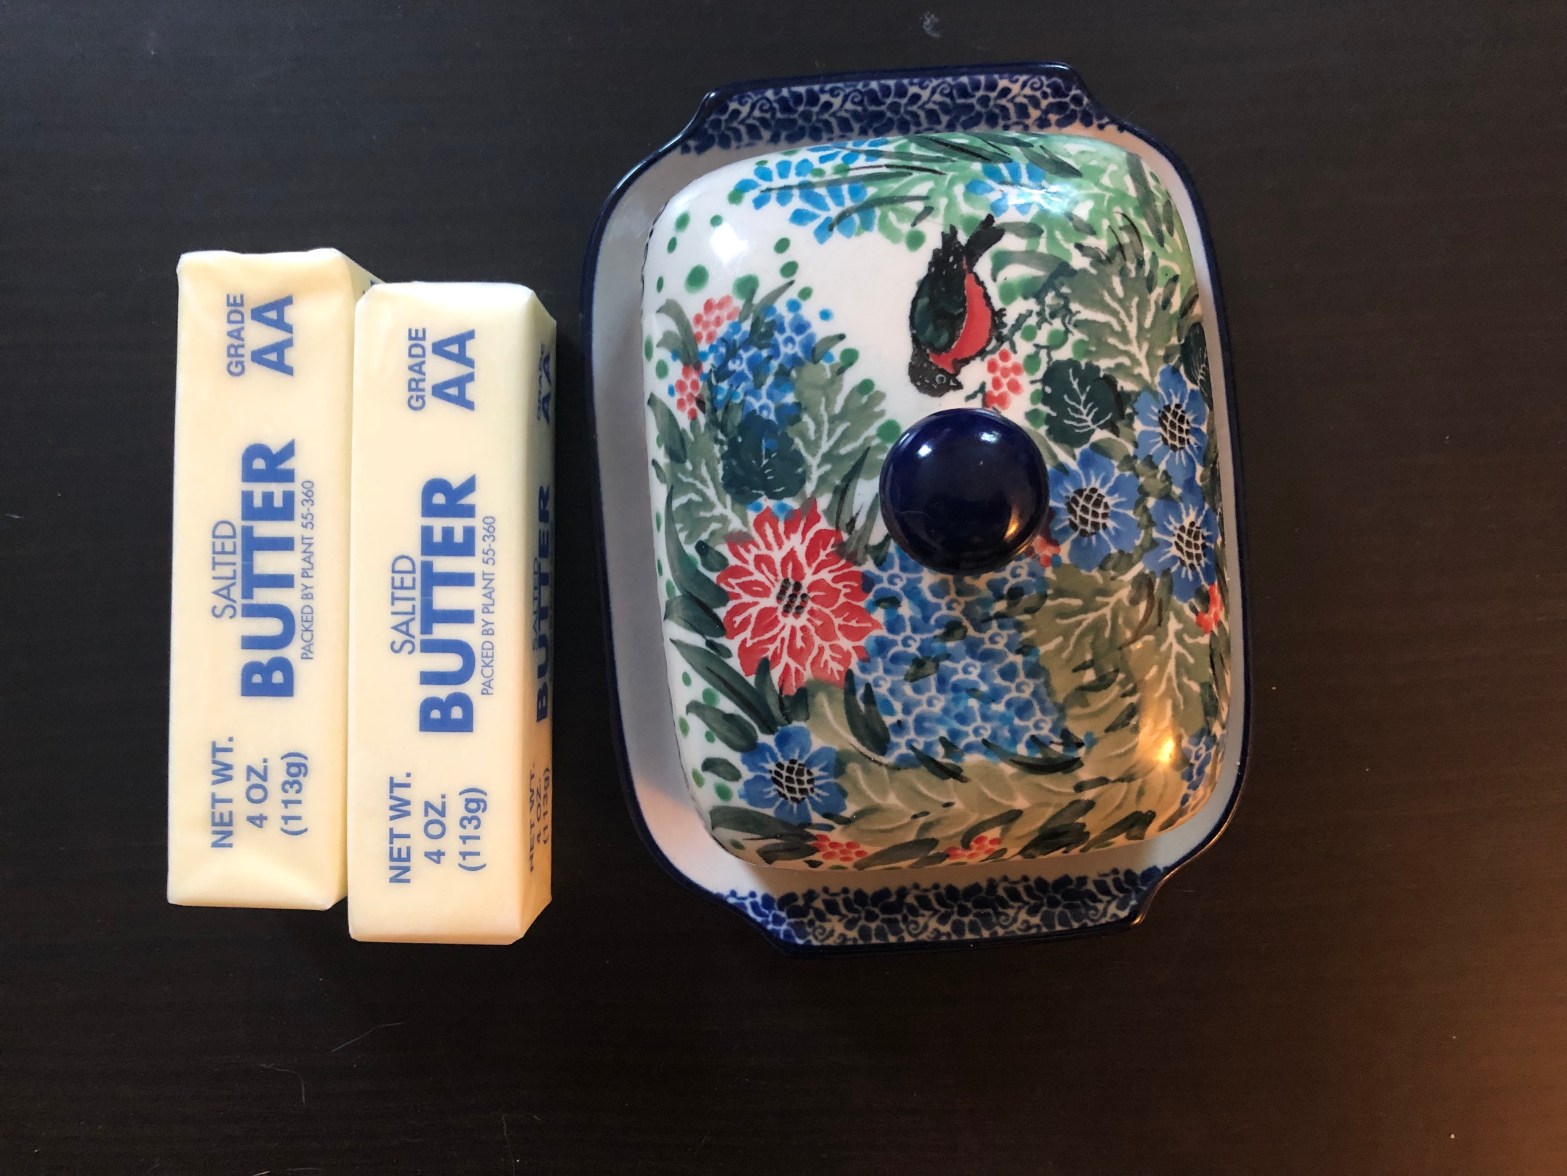
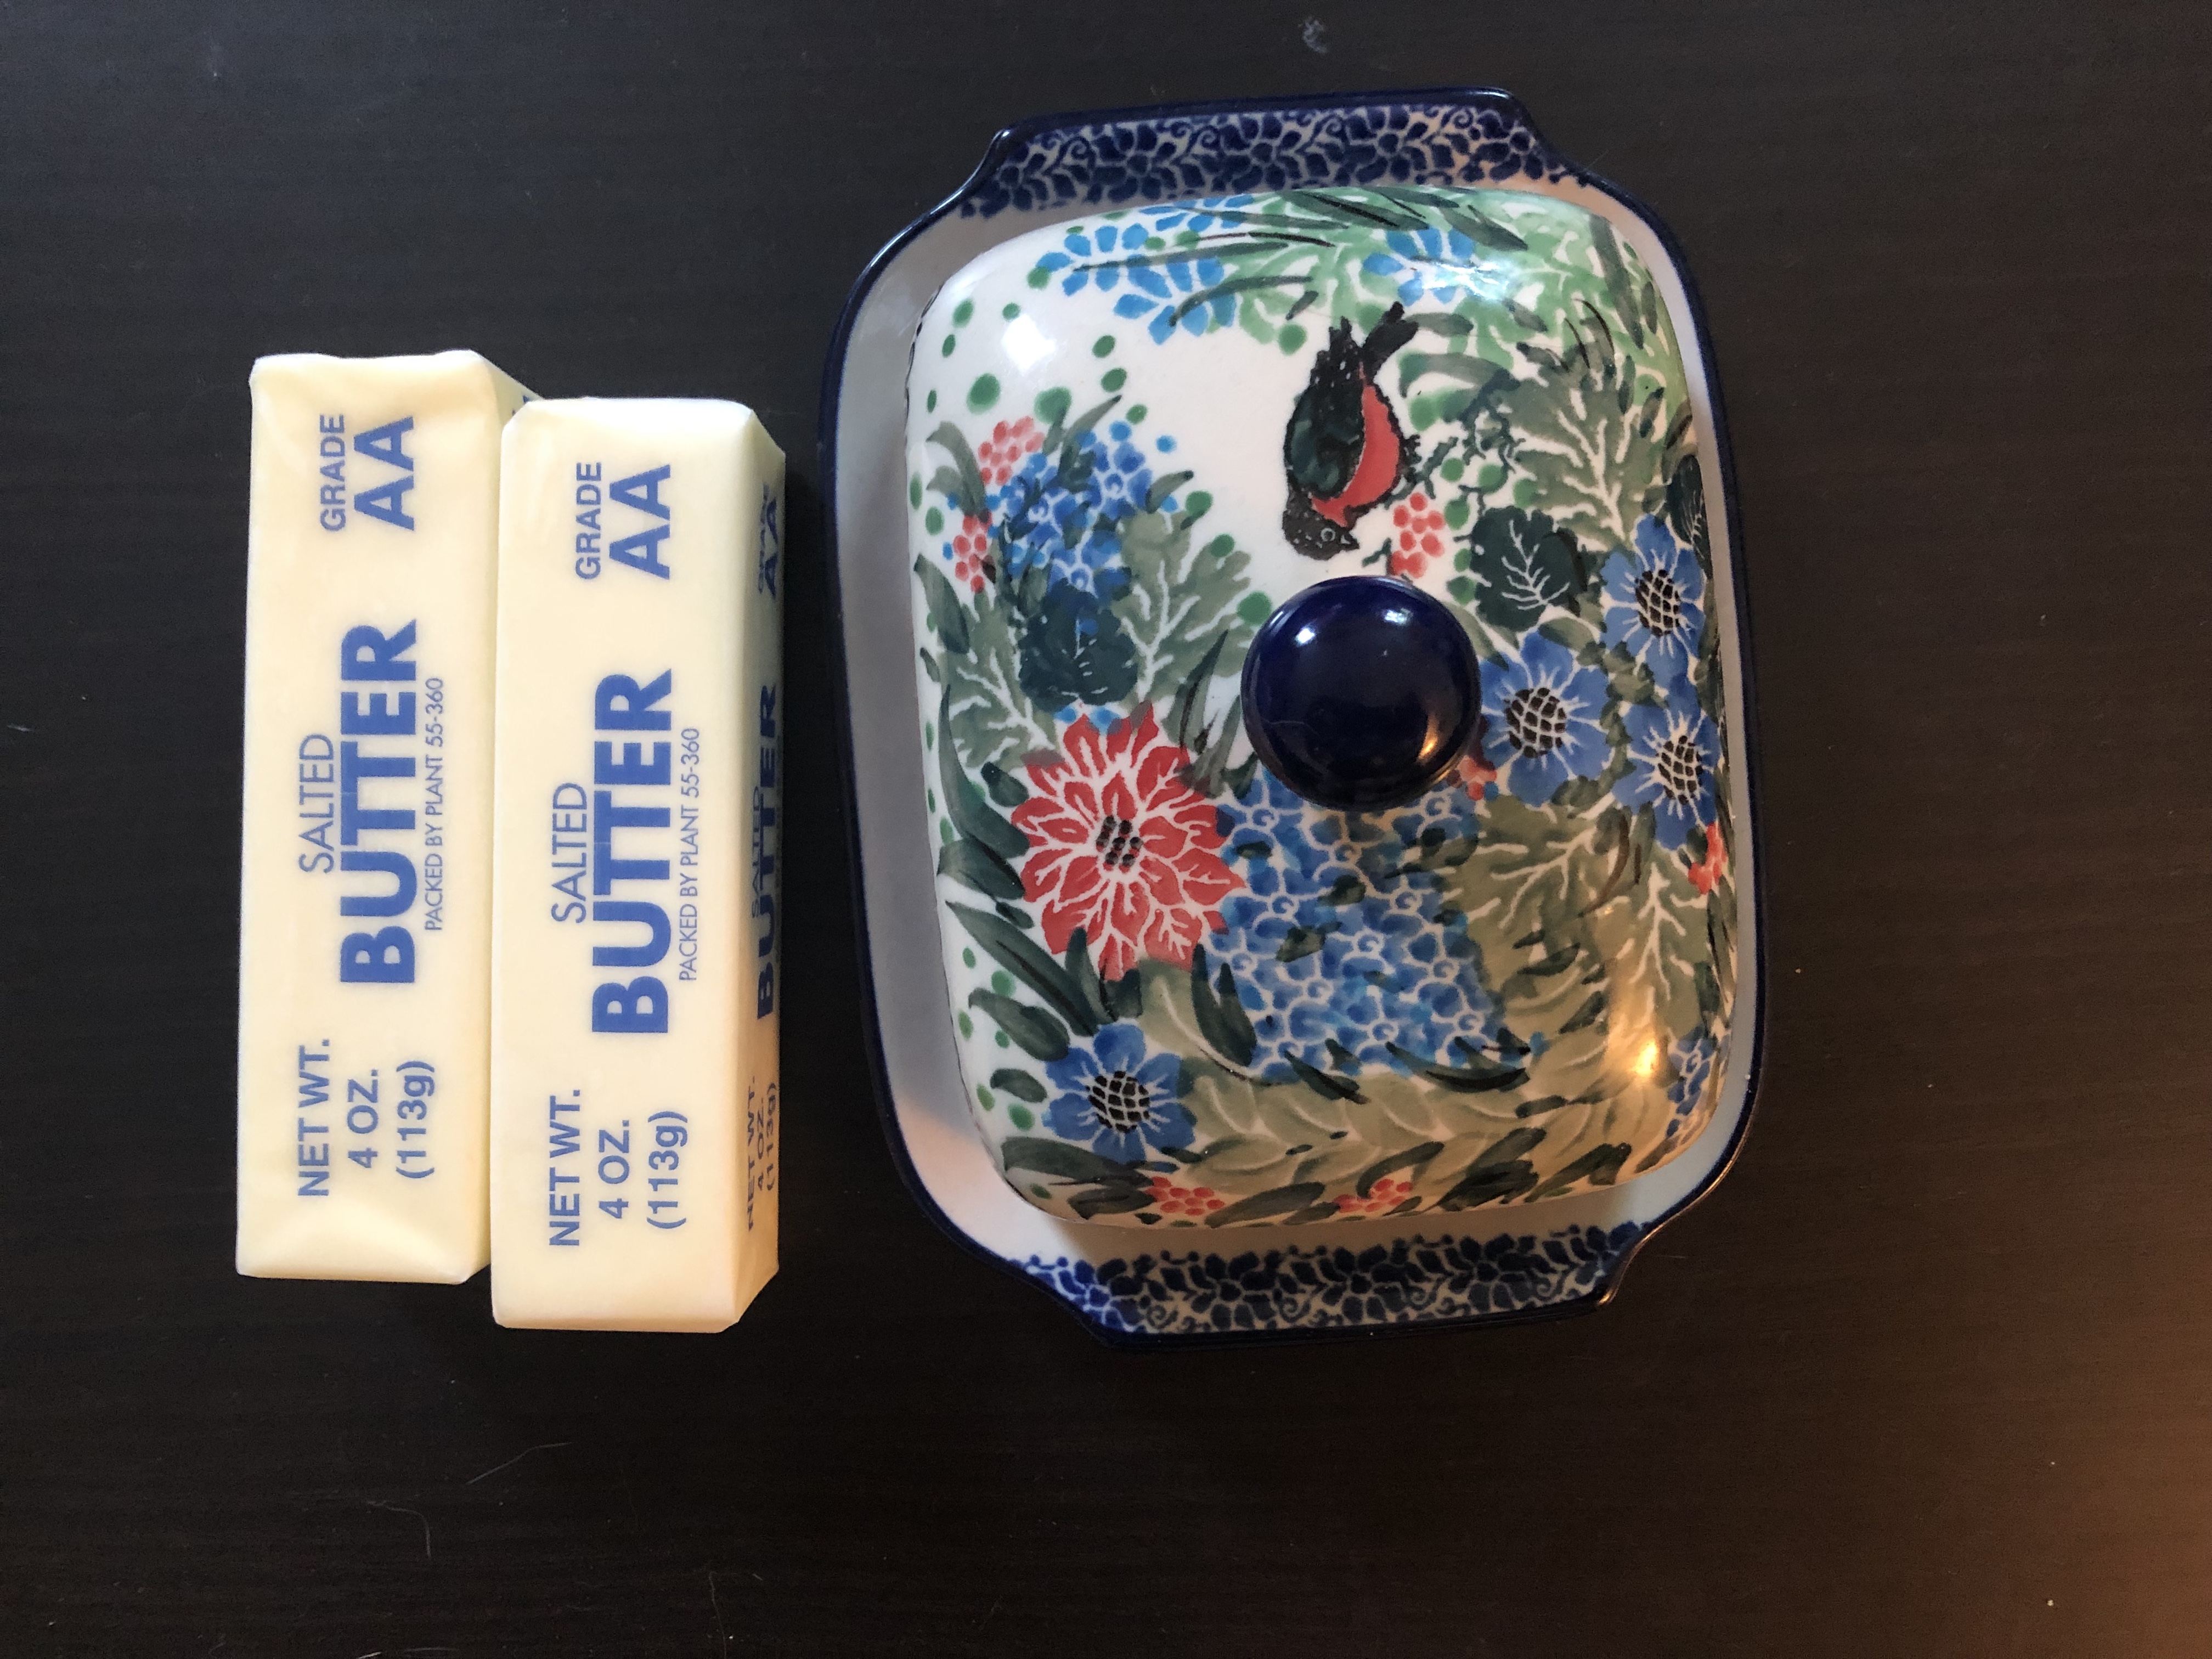
Here I am, wishing to bake a cake for my husband and I to devour later, but like most cake recipes, I need softened or room temperature butter. Well friends, the only butter I have is a solid, cold block in the fridge. What do I do?
Slow, pre-planned softening: Sometimes, I have planned baking days for which I can put butter out the night before or the morning of. I love putting my butter out the night before, because it will guarantee softened butter every time. However, the morning of or a couple hours before baking (especially in warmer months), you can slice your butter into tablespoons, spread them out on a dish, and leave them out to soften just like that. The butter softens much faster once sliced up and able to reach the warmth of the room better. Butter is essentially fat and salt, so leaving it out at room temperature for extended periods of time will not harm you or your family (I’m talking to you, Mom!). Fat and salt have curative properties that keep things shelf-stable for a while! However, if you are one to keep softened butter out on a butter dish, like me, you want to keep an eye on the quality of the butter as time goes by. Color and taste can change after being left out for weeks, though it is still fine to eat.
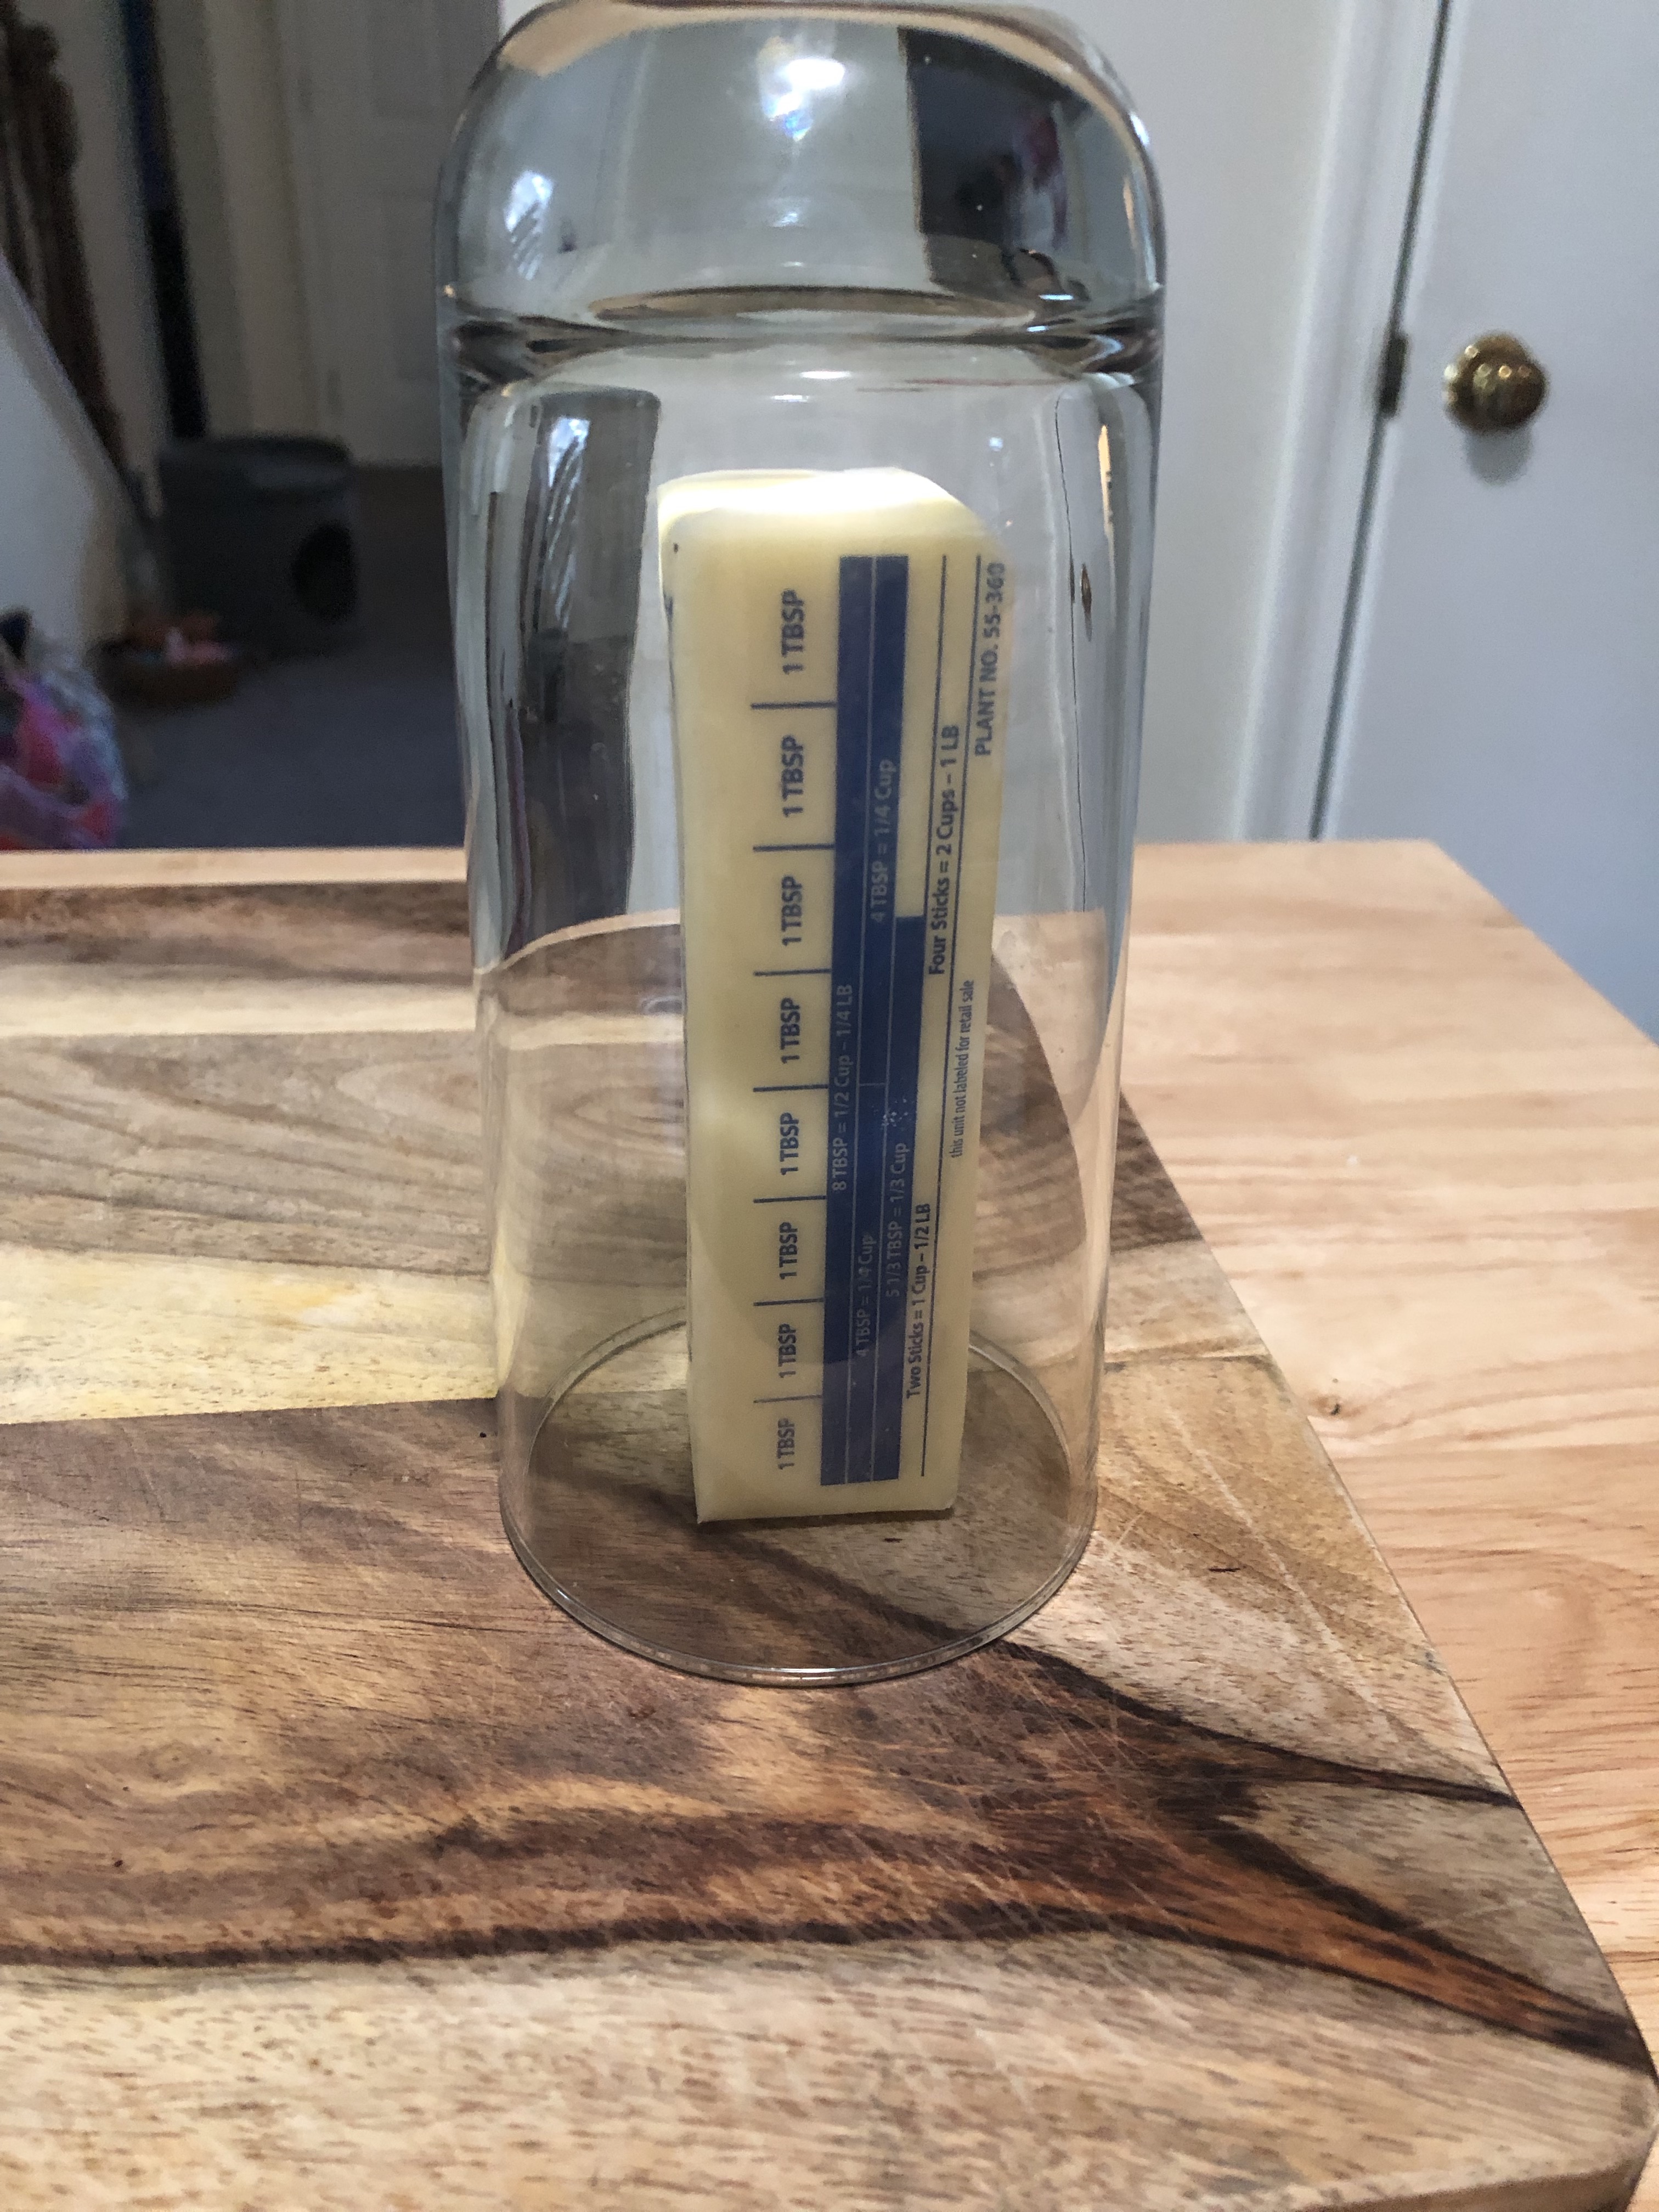
The hot glass method: If you’re like me right now and don’t have large quantities of softened butter at the ready, here’s a method that can help. Fill a tall glass with water- make sure the glass can fit around a stick of butter while it stands upright. Microwave the glass of water until nearly boiling, 2-3 minutes usually. With oven mitts, carefully remove the glass and immediately pour the hot water down the drain or into another glass/bowl (if you need to use it again and want to save water), and place the now very hot glass over a stick of butter. Leave it there until the glass is cool enough to remove with your hands and check your butter. It should be softened, but may need another go with the hot glass. This method works well to evenly soften the entire stick of butter, though it can be a bit time-consuming.
The microwave method: Microwaving butter is a tricky business, walking the line between softened butter and completely melted puddles. Here’s how to do it successfully. Slice your needed butter into tablespoons and spread them out on a microwave-safe plate. Like in the slow softening strategies, slicing the butter and spreading it out allows for more of the butter surface to warm up more quickly. Warm the plate of butter in the microwave in 5 or 6 second increments (no longer than that!), taking the plate out and feeling the butter to see if it gives under your fingertip and leaves an imprint. I usually have to do this 3 times to soften 2 sticks of sliced butter. I often shift the pieces around as well to make sure they are evenly softened. This method also works best for recipes that call for butter softened to a specific temperature (like in Stella Parks’ Bravetart cookbook, which is life-changing). Repeat the microwave increments and test with an instant read thermometer until it reaches the desired temperature.
One last tip: If a recipe calls for softened or room temperature butter, it is super important that it actually is softened butter, and not melted butter. The difference can change the texture of your baked goods drastically.
Happy baking! And remember- butter makes everything better.
I want my baby back, baby back, baby back Instant Pooooooooot baby back ribs….
I figured it was time to put our new Instant Pot to the test and see if we really could get delicious, tender baby back ribs in under 45 minutes. The pressure is on, Instant Pot! The pressure is on!! Let’s get started.
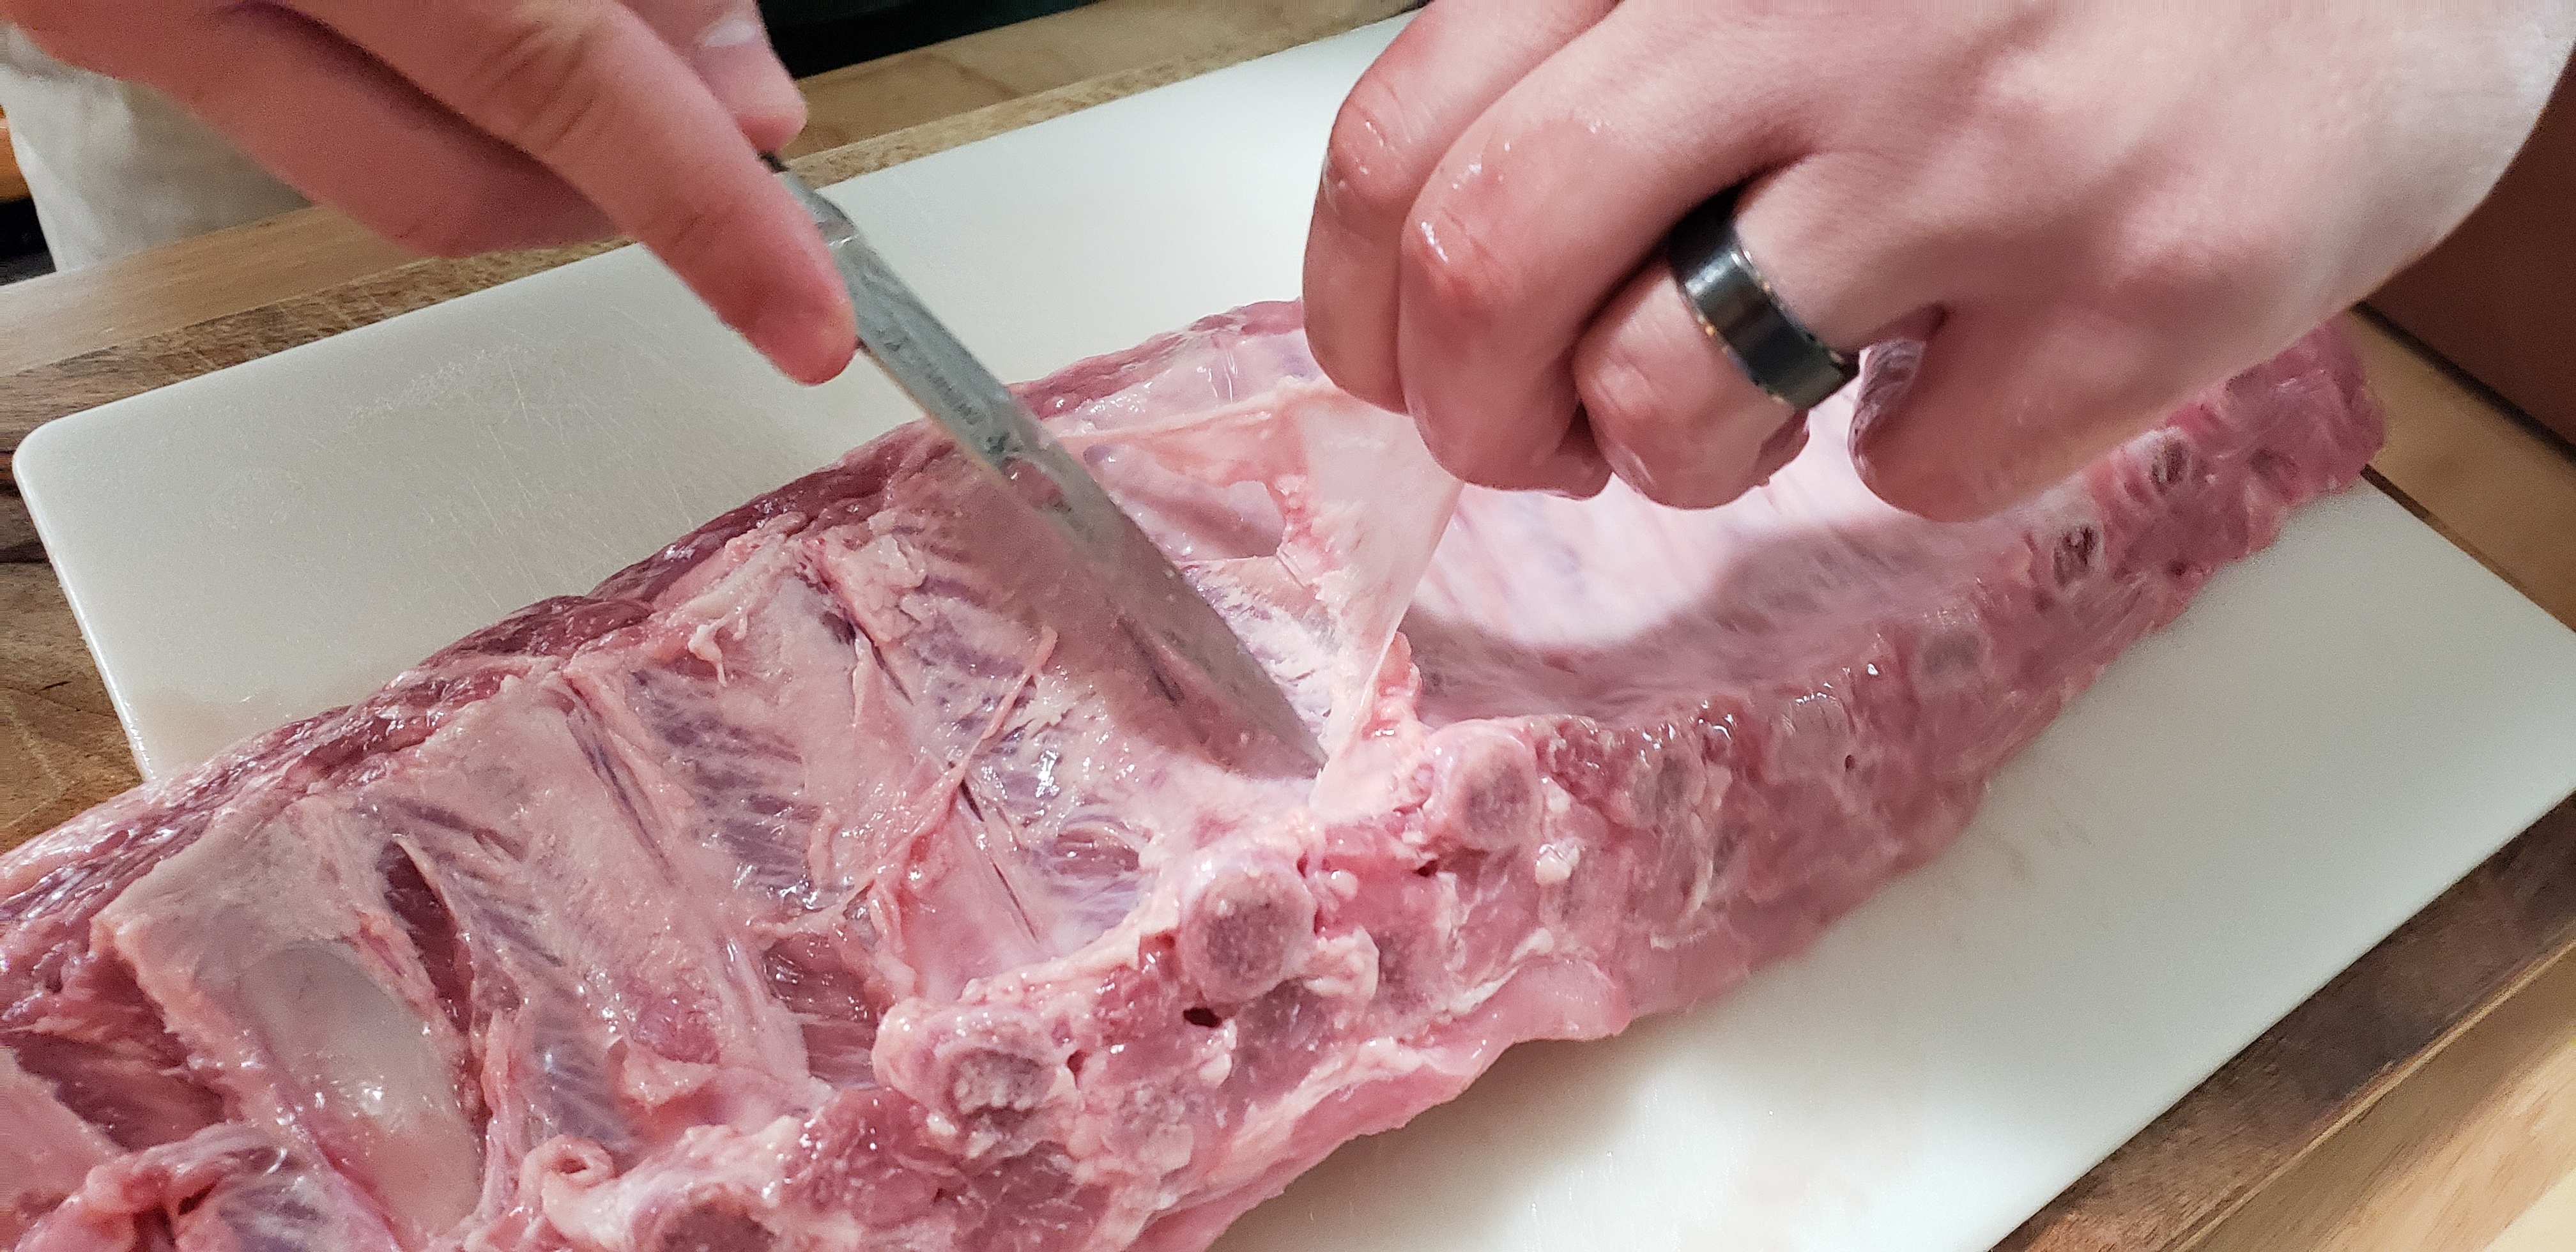
Get yourself a nice rack of baby backs. I found a big 3.5 lb rack at Aldi. The first thing you are going to need to do is remove the silver skin from the back side of your ribs. If you leave this on it will get really tough and it will actually create a barrier that your dry rub cannot penetrate. To remove the skin get a paring knife and get under the skin. Once you create a little opening it actually peels away quite nicely. You might need to do it in sections depending on how easily it comes off.
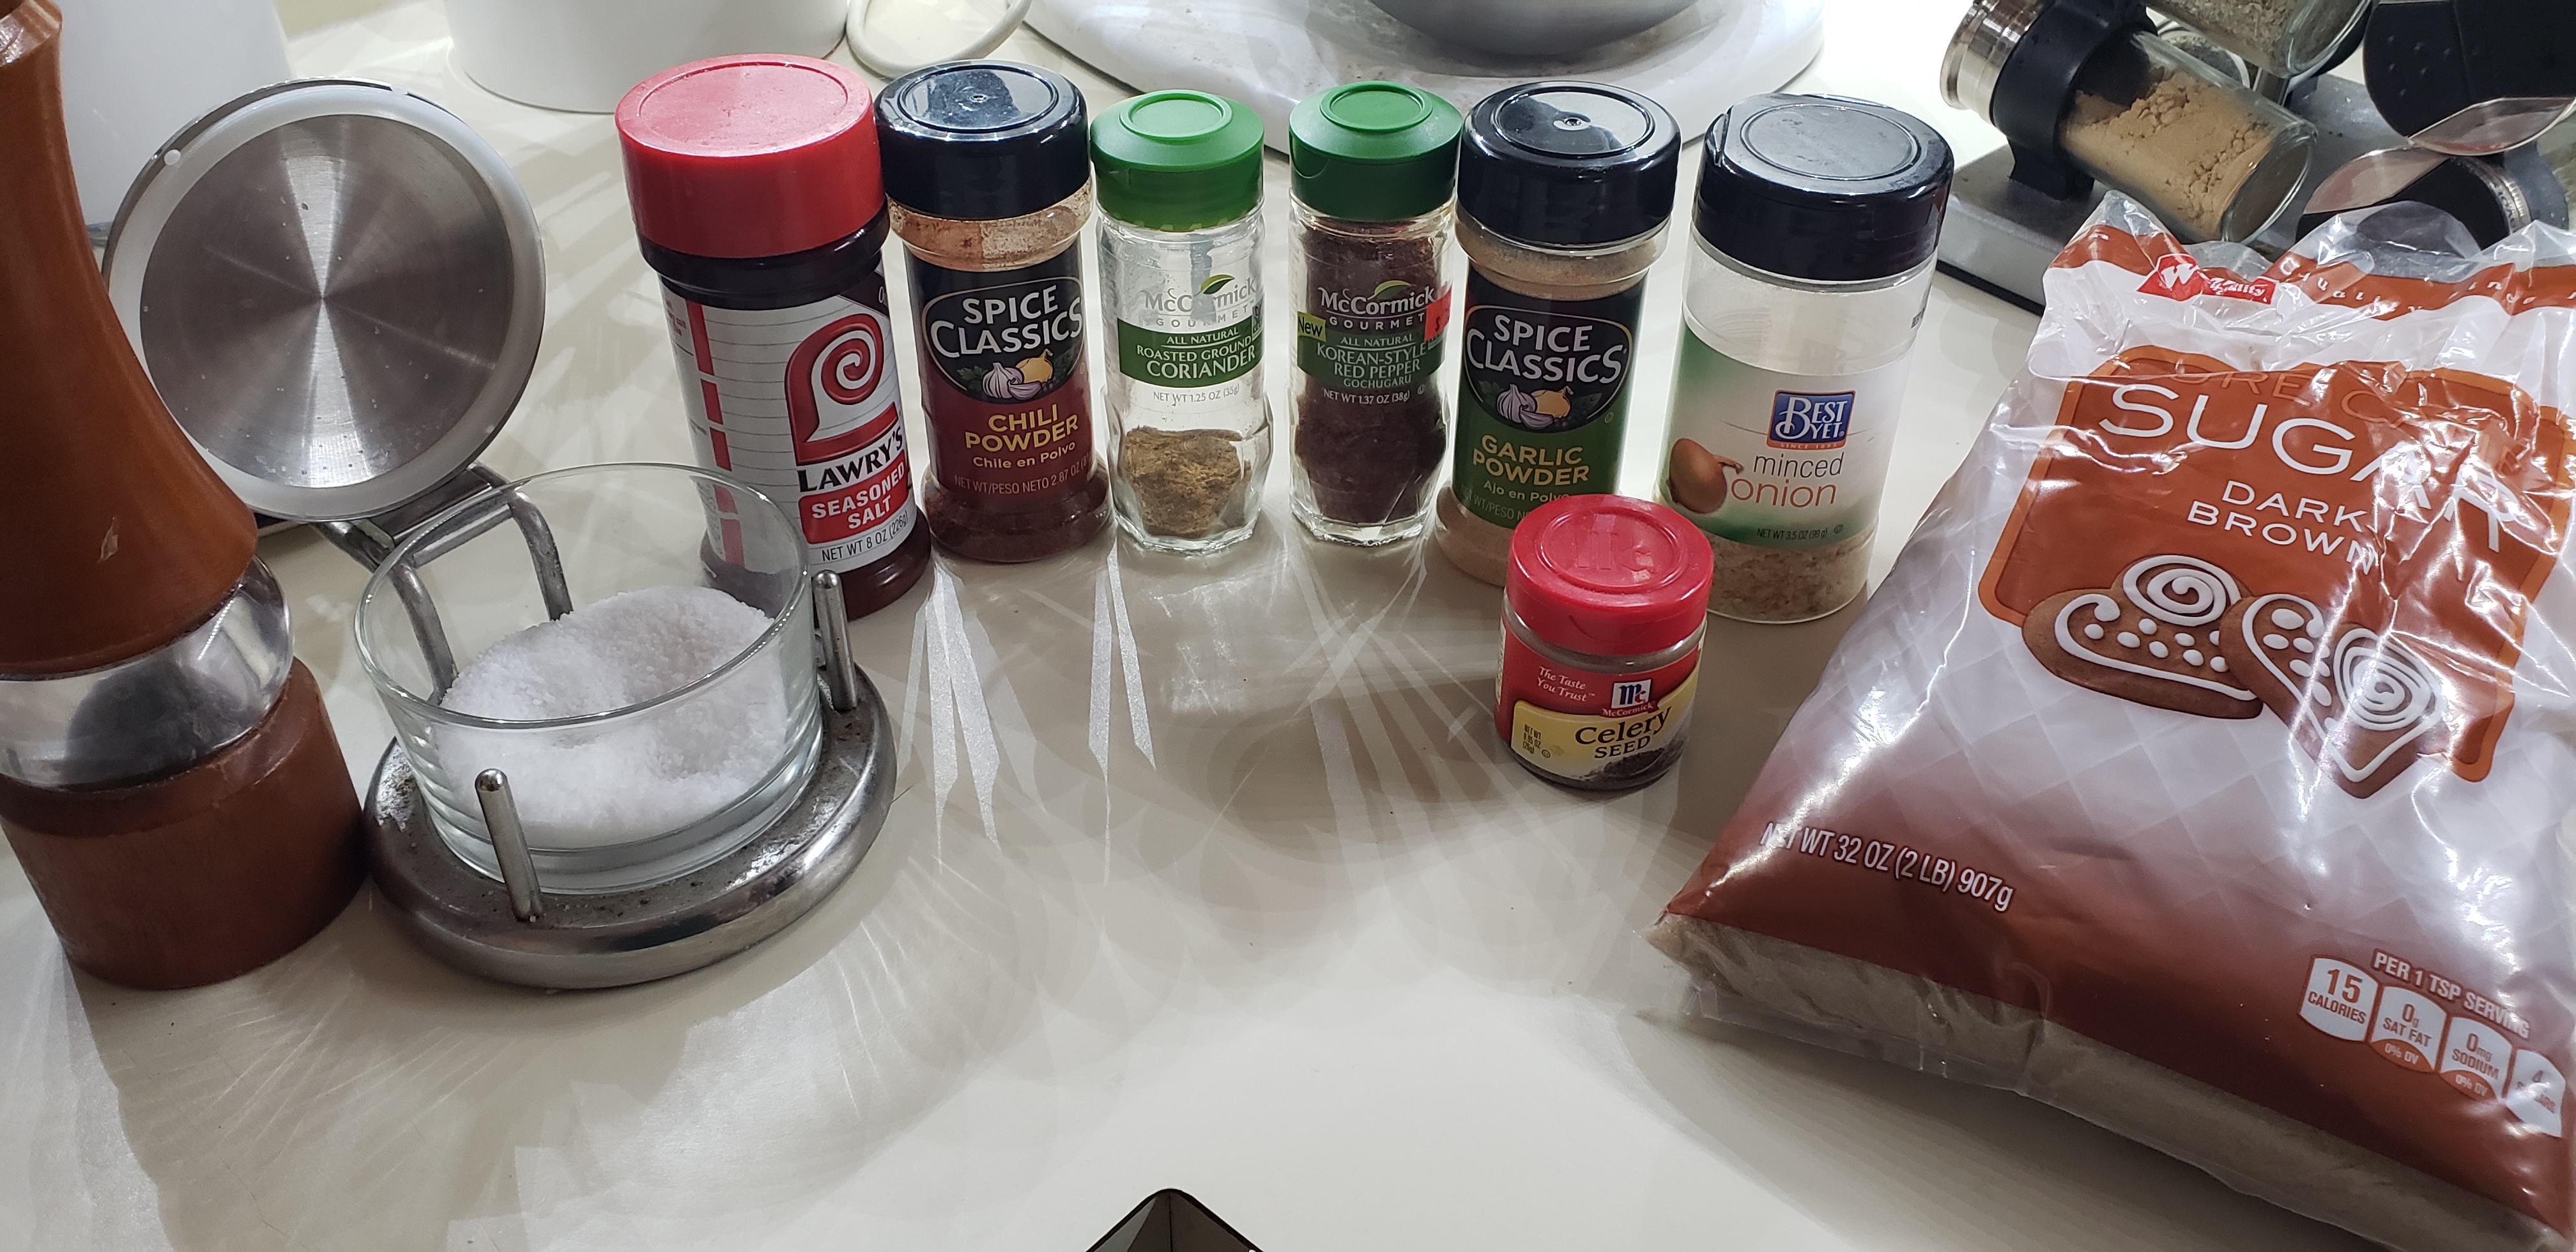
Now, it is time to make your dry rub! Here is what I use but feel free to experiment with your favorite flavors:
2 tbsp kosher salt
1 tbsp fresh cracked black pepper
½ tbsp seasoned salt
1 tbsp chili powder
½ tbsp ground coriander
1 tsp red pepper flakes (I used Korean style)
1 tbsp garlic powder
1 tbsp minced onion
1 tsp celery salt
¼ cup brown sugar
To make the rub, add all of your ingredients to a mixing bowl and whisk until evenly mixed.
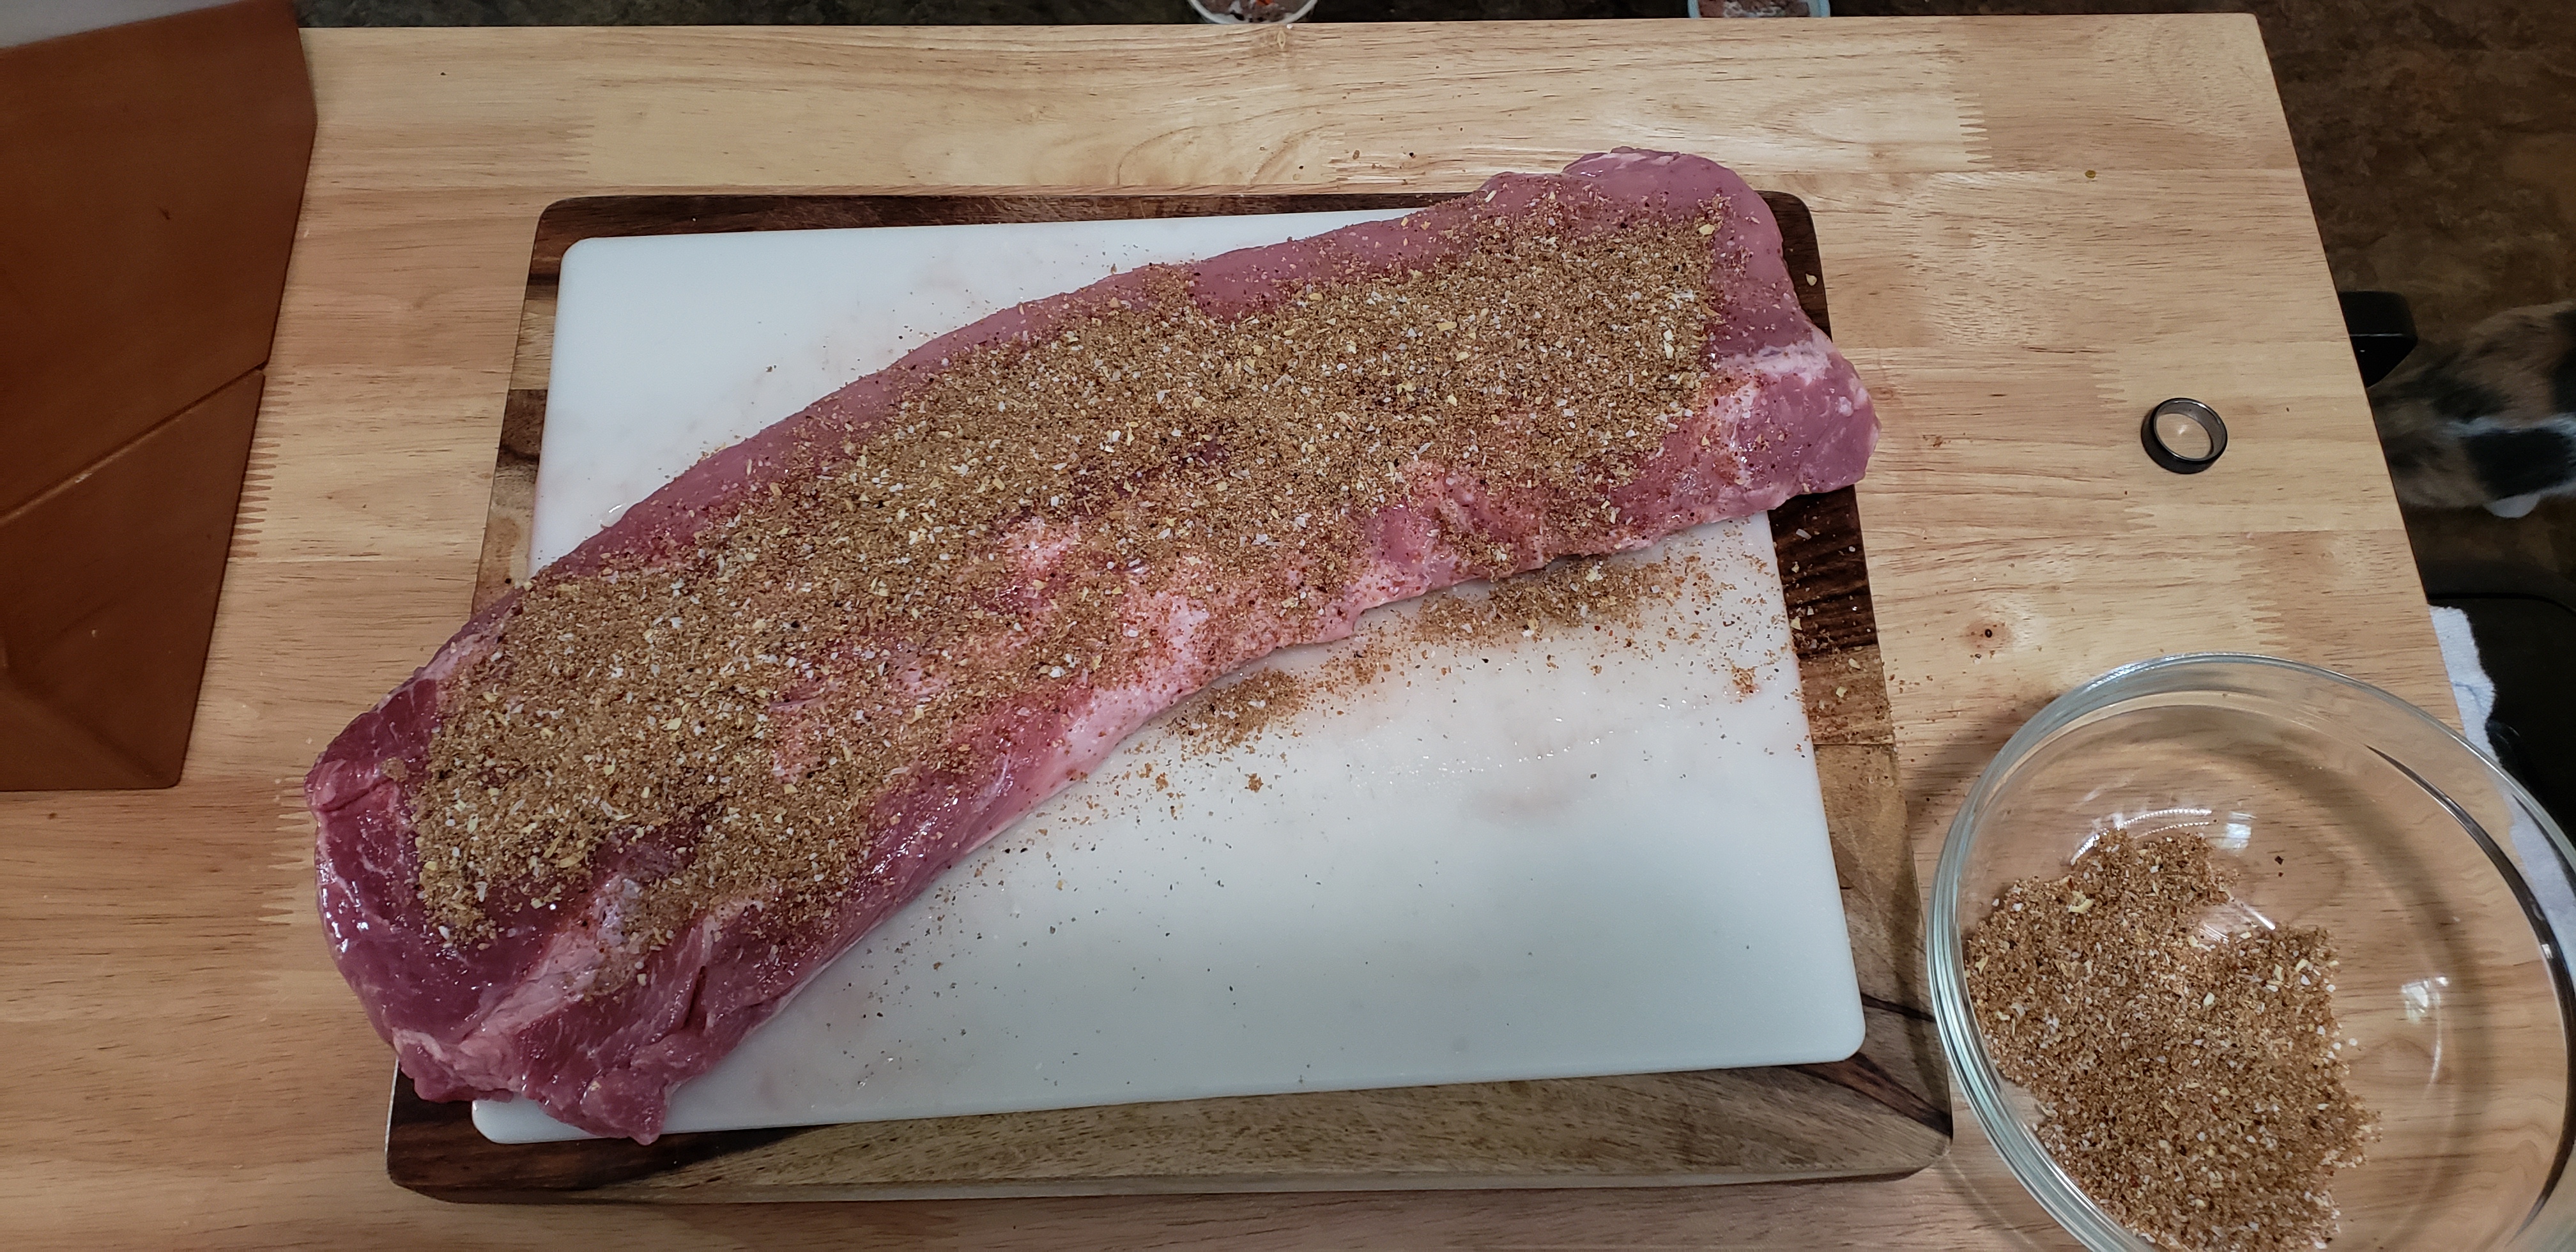
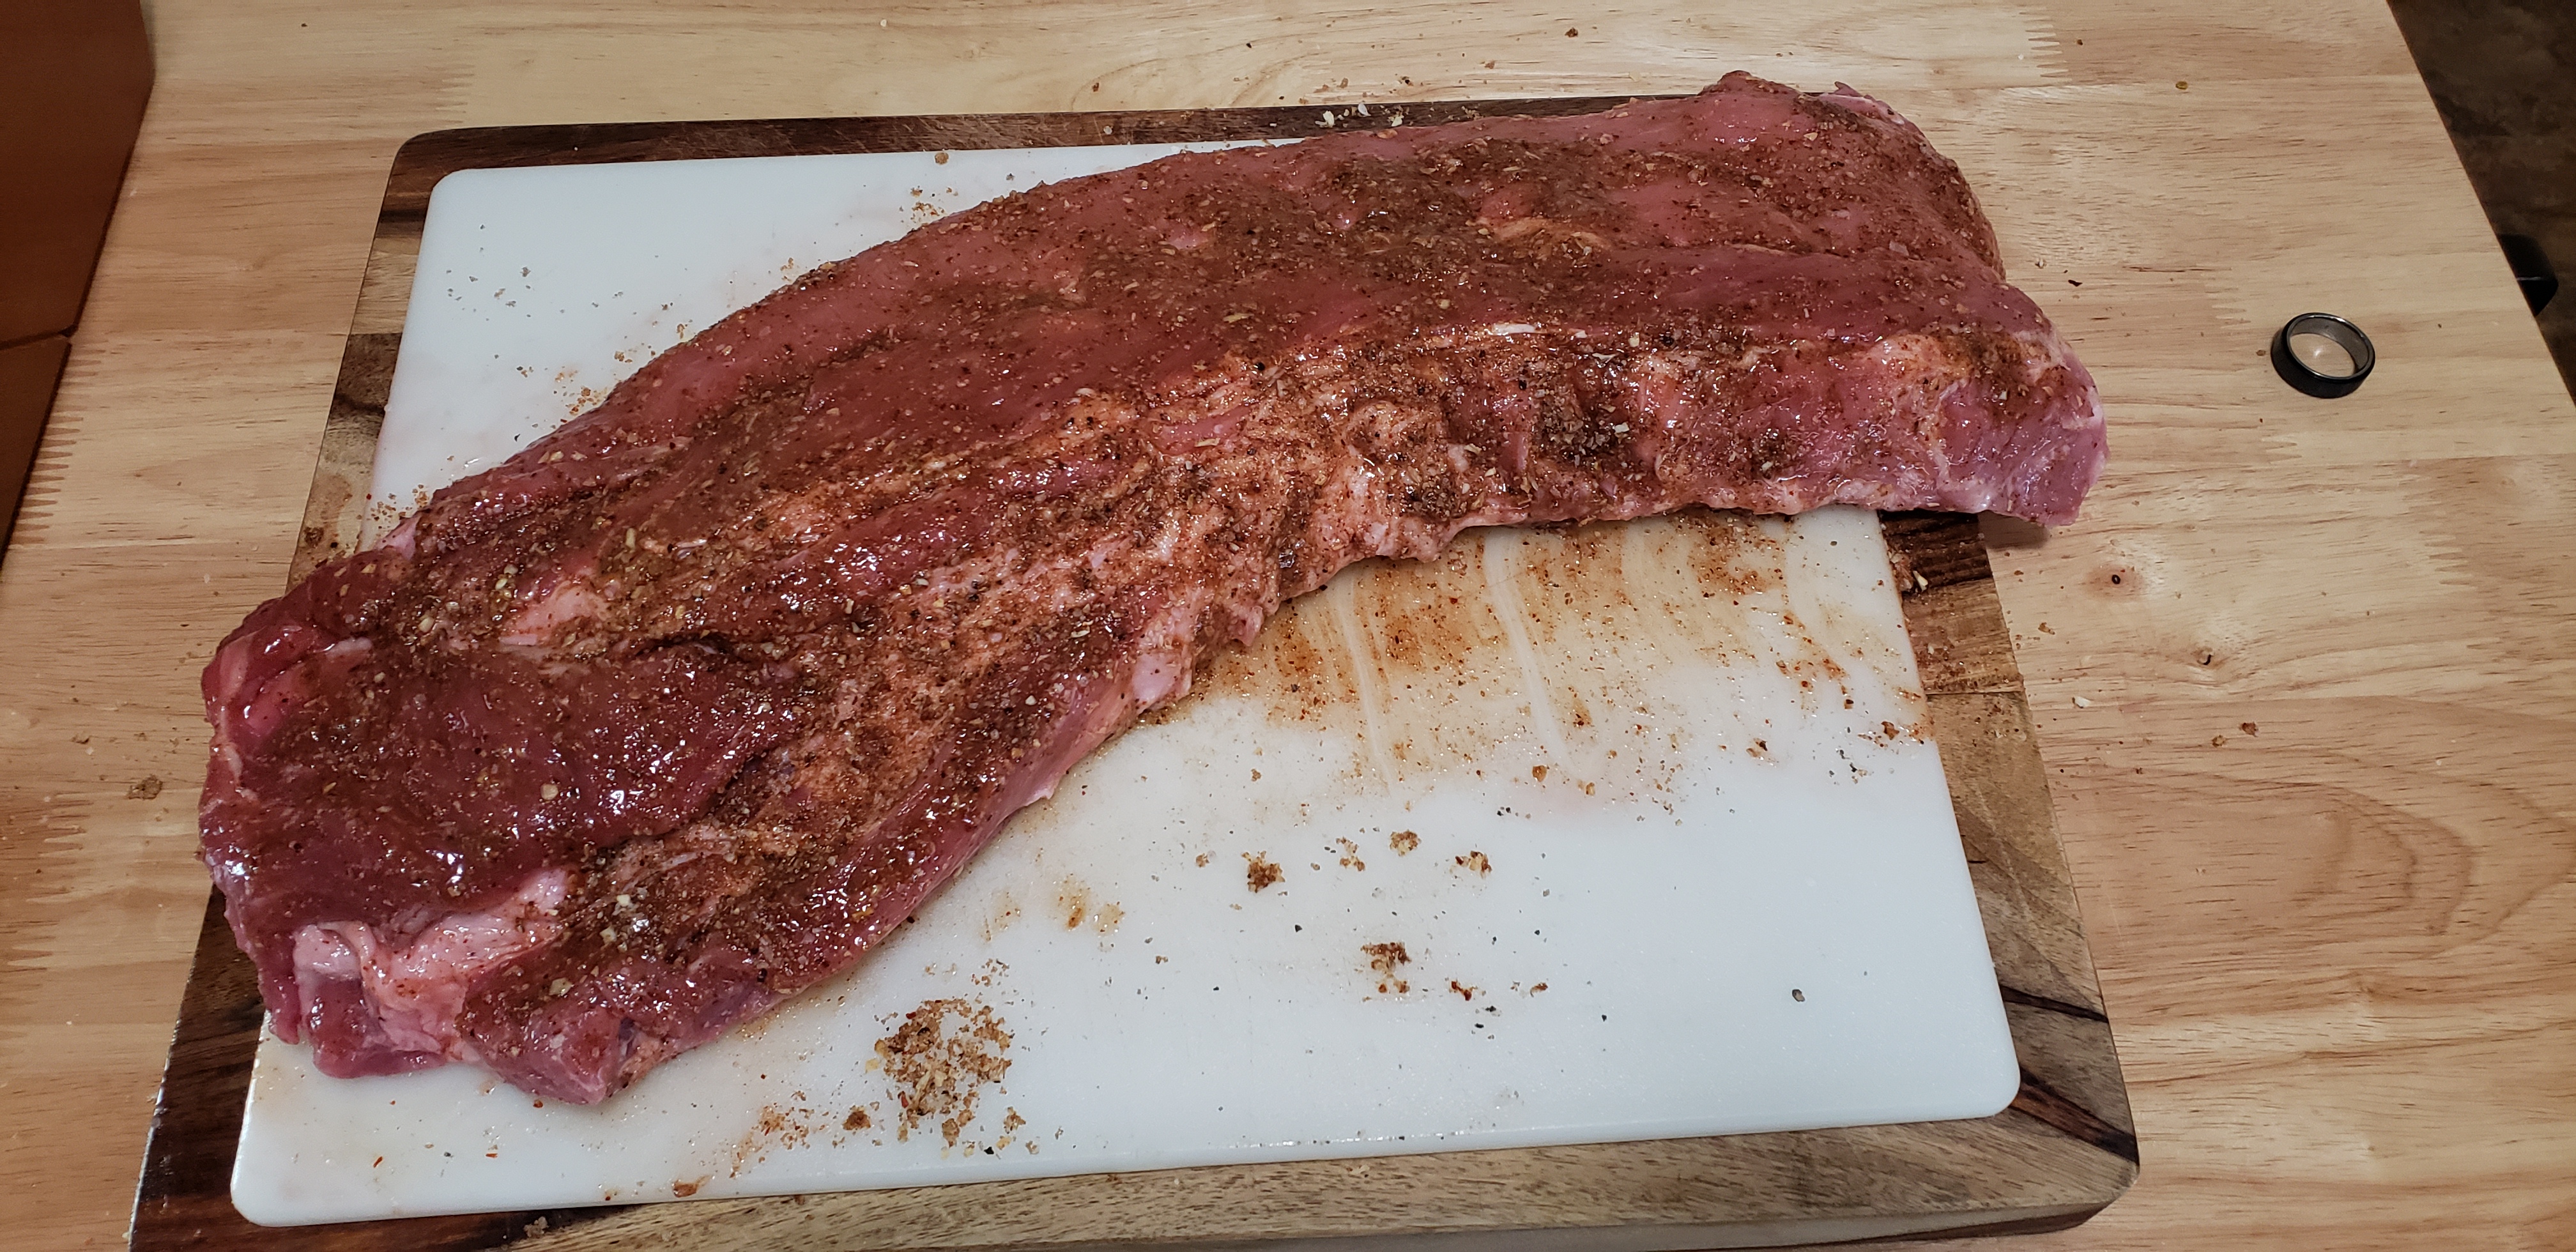
Before you start rubbing the ribs make sure your hands are clean and remove any jewelry that you don’t want to be caked with rub. Pour half of the rub on top of the ribs and don’t be afraid to get rough with it. You want the rub to penetrate the meat. After you get the rub evenly distributed on top of the ribs, flip them over, pour on the other half of the rub, and massage it onto the back side of the ribs.
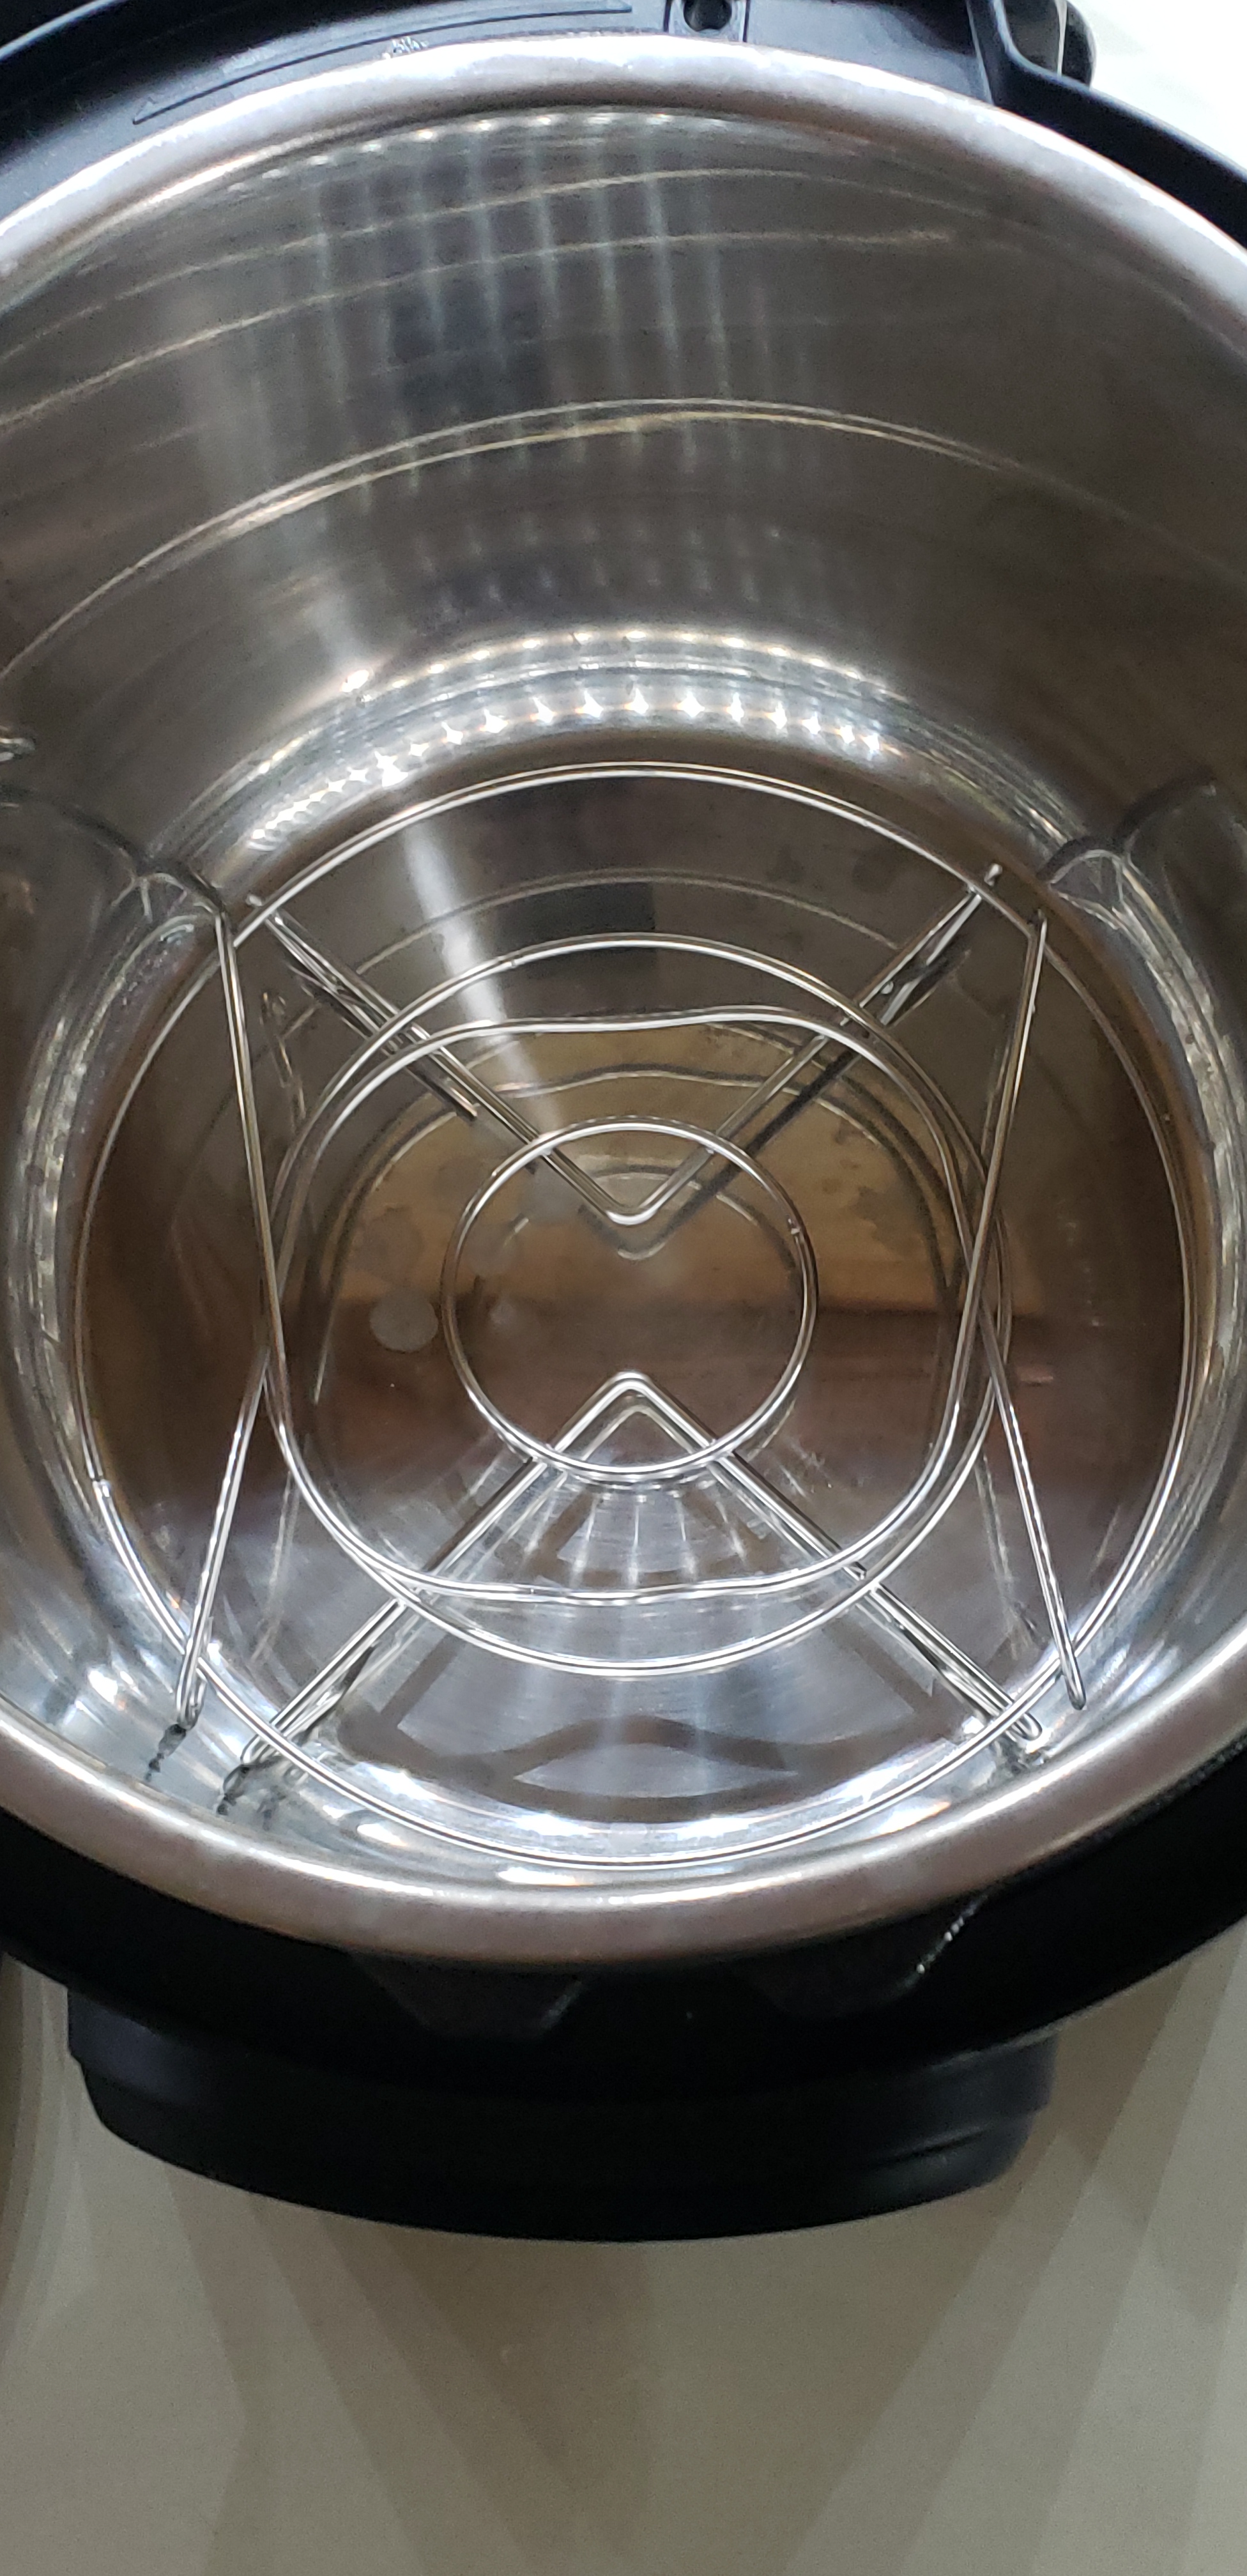
I’m going to cook these ribs in an Instant Pot but you can also cook them in a slow cooker. First, put a steamer rack in your Instant Pot or slow cooker. If you don’t have one, you can make your own steamer rack by rolling a long piece of foil into a thick log and then spiraling it like a snail shell, so that your ribs sit on top of it.
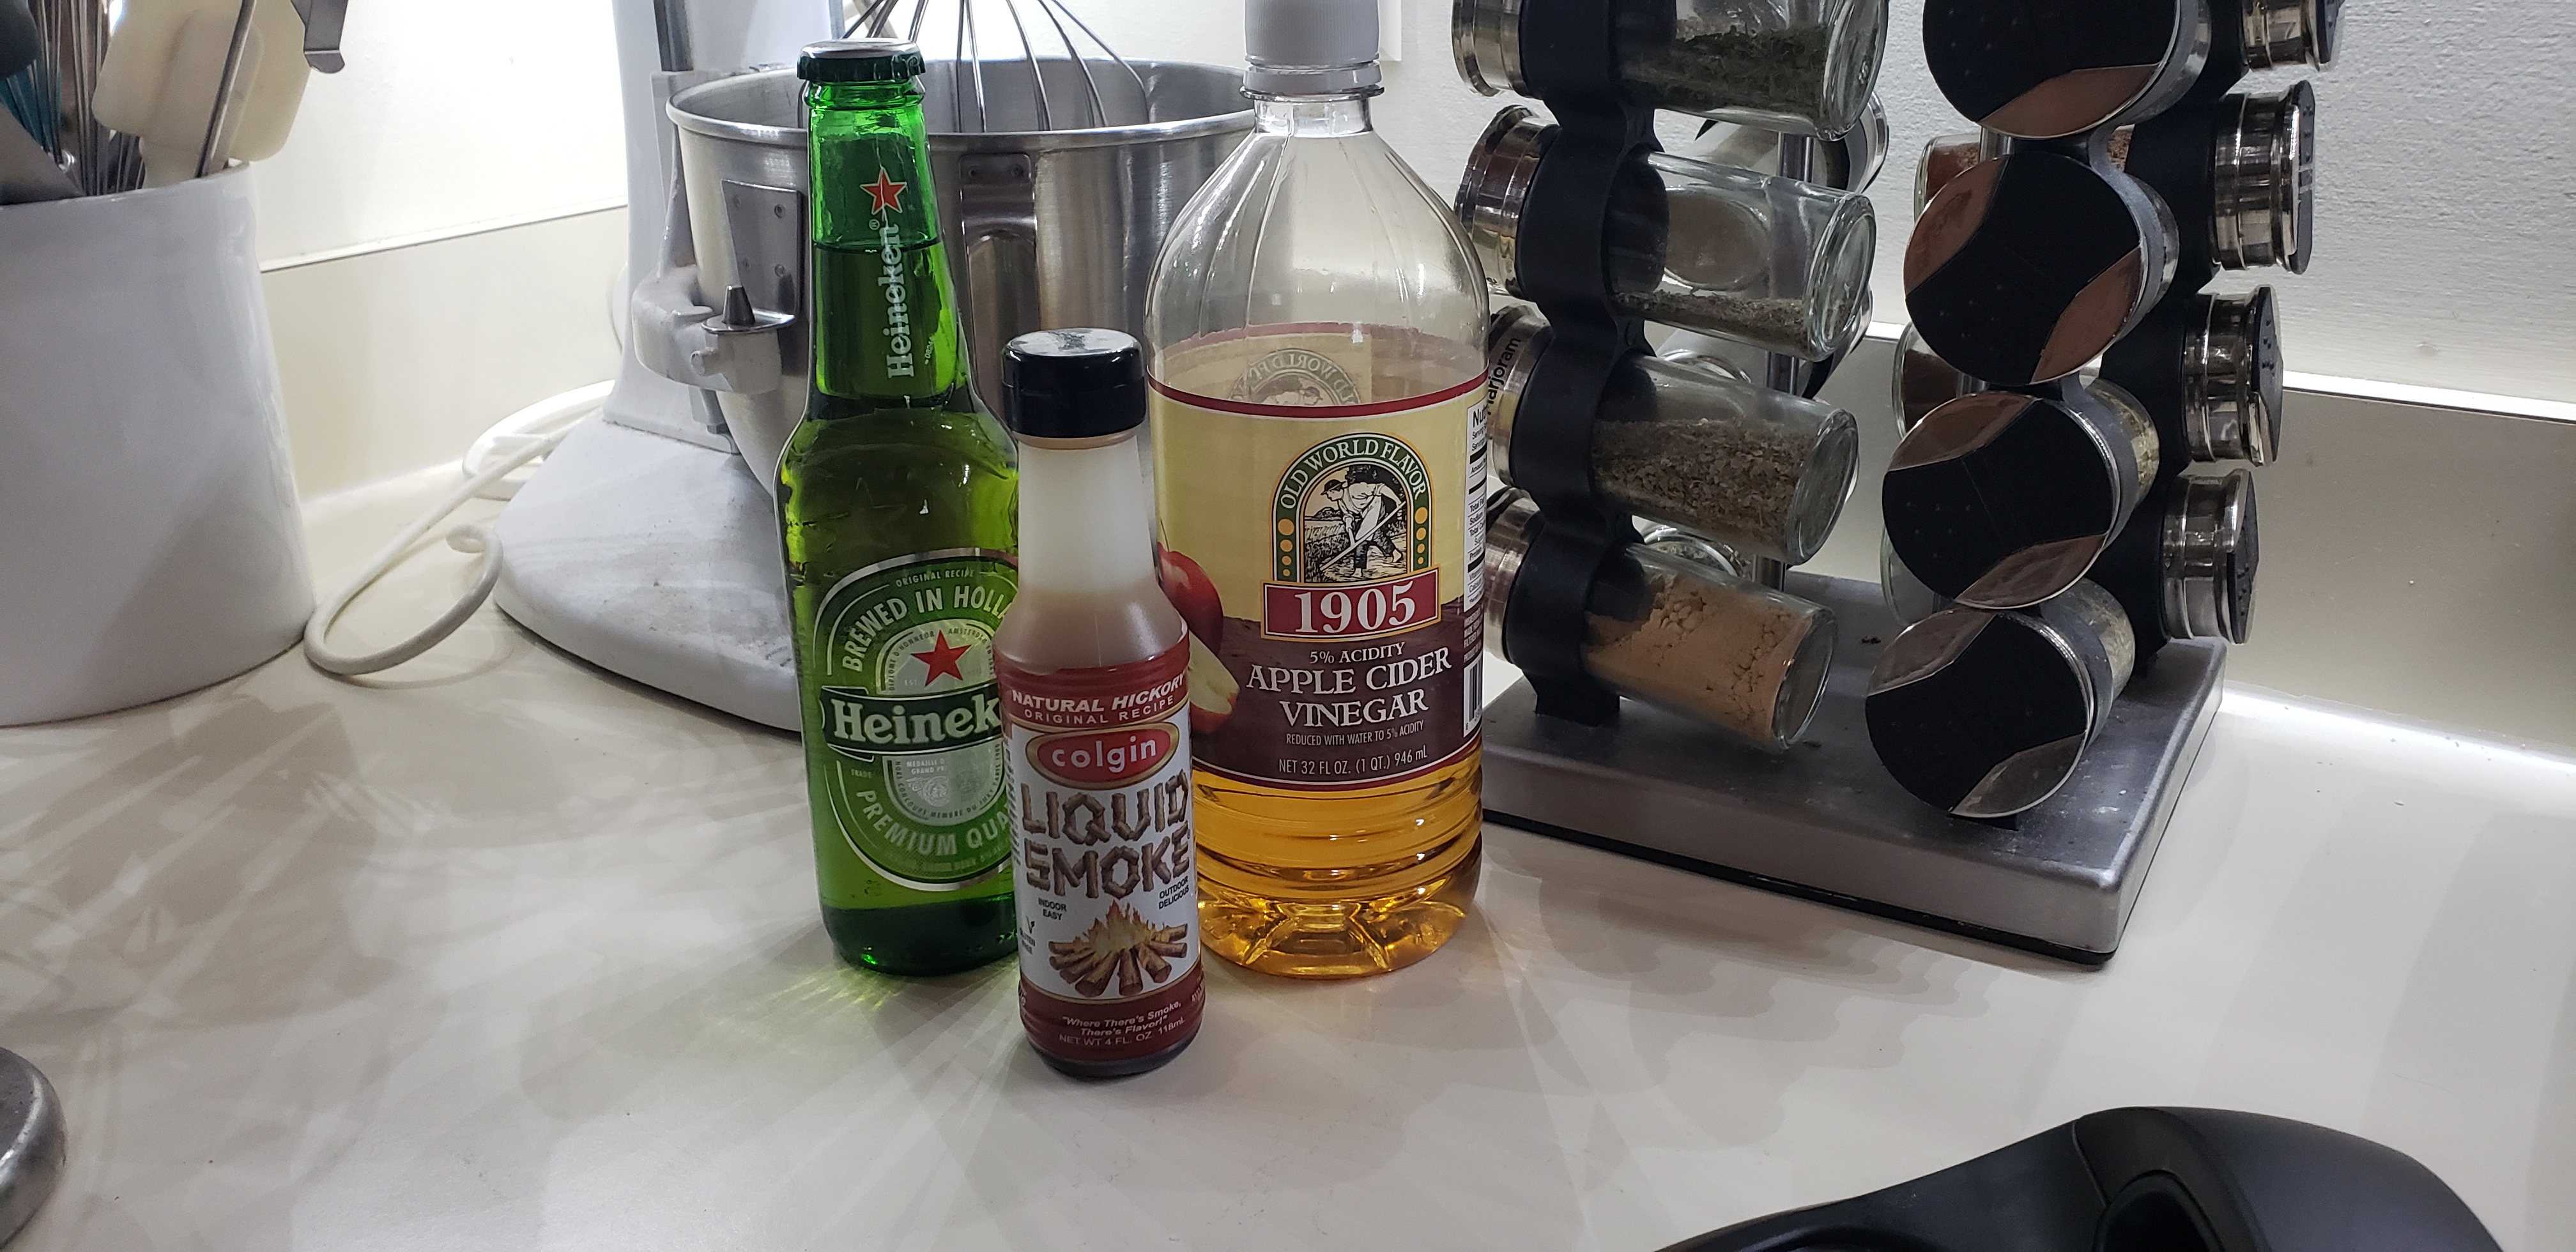
Next add some liquid to the bottom of the pot. This is what I used:
12 oz light flavored beer (I’ve used heavy IPAs in the past but they add too much of a bitter flavor to the meat)
4 oz apple cider vinegar
8-10 drops liquid smoke (Optional)
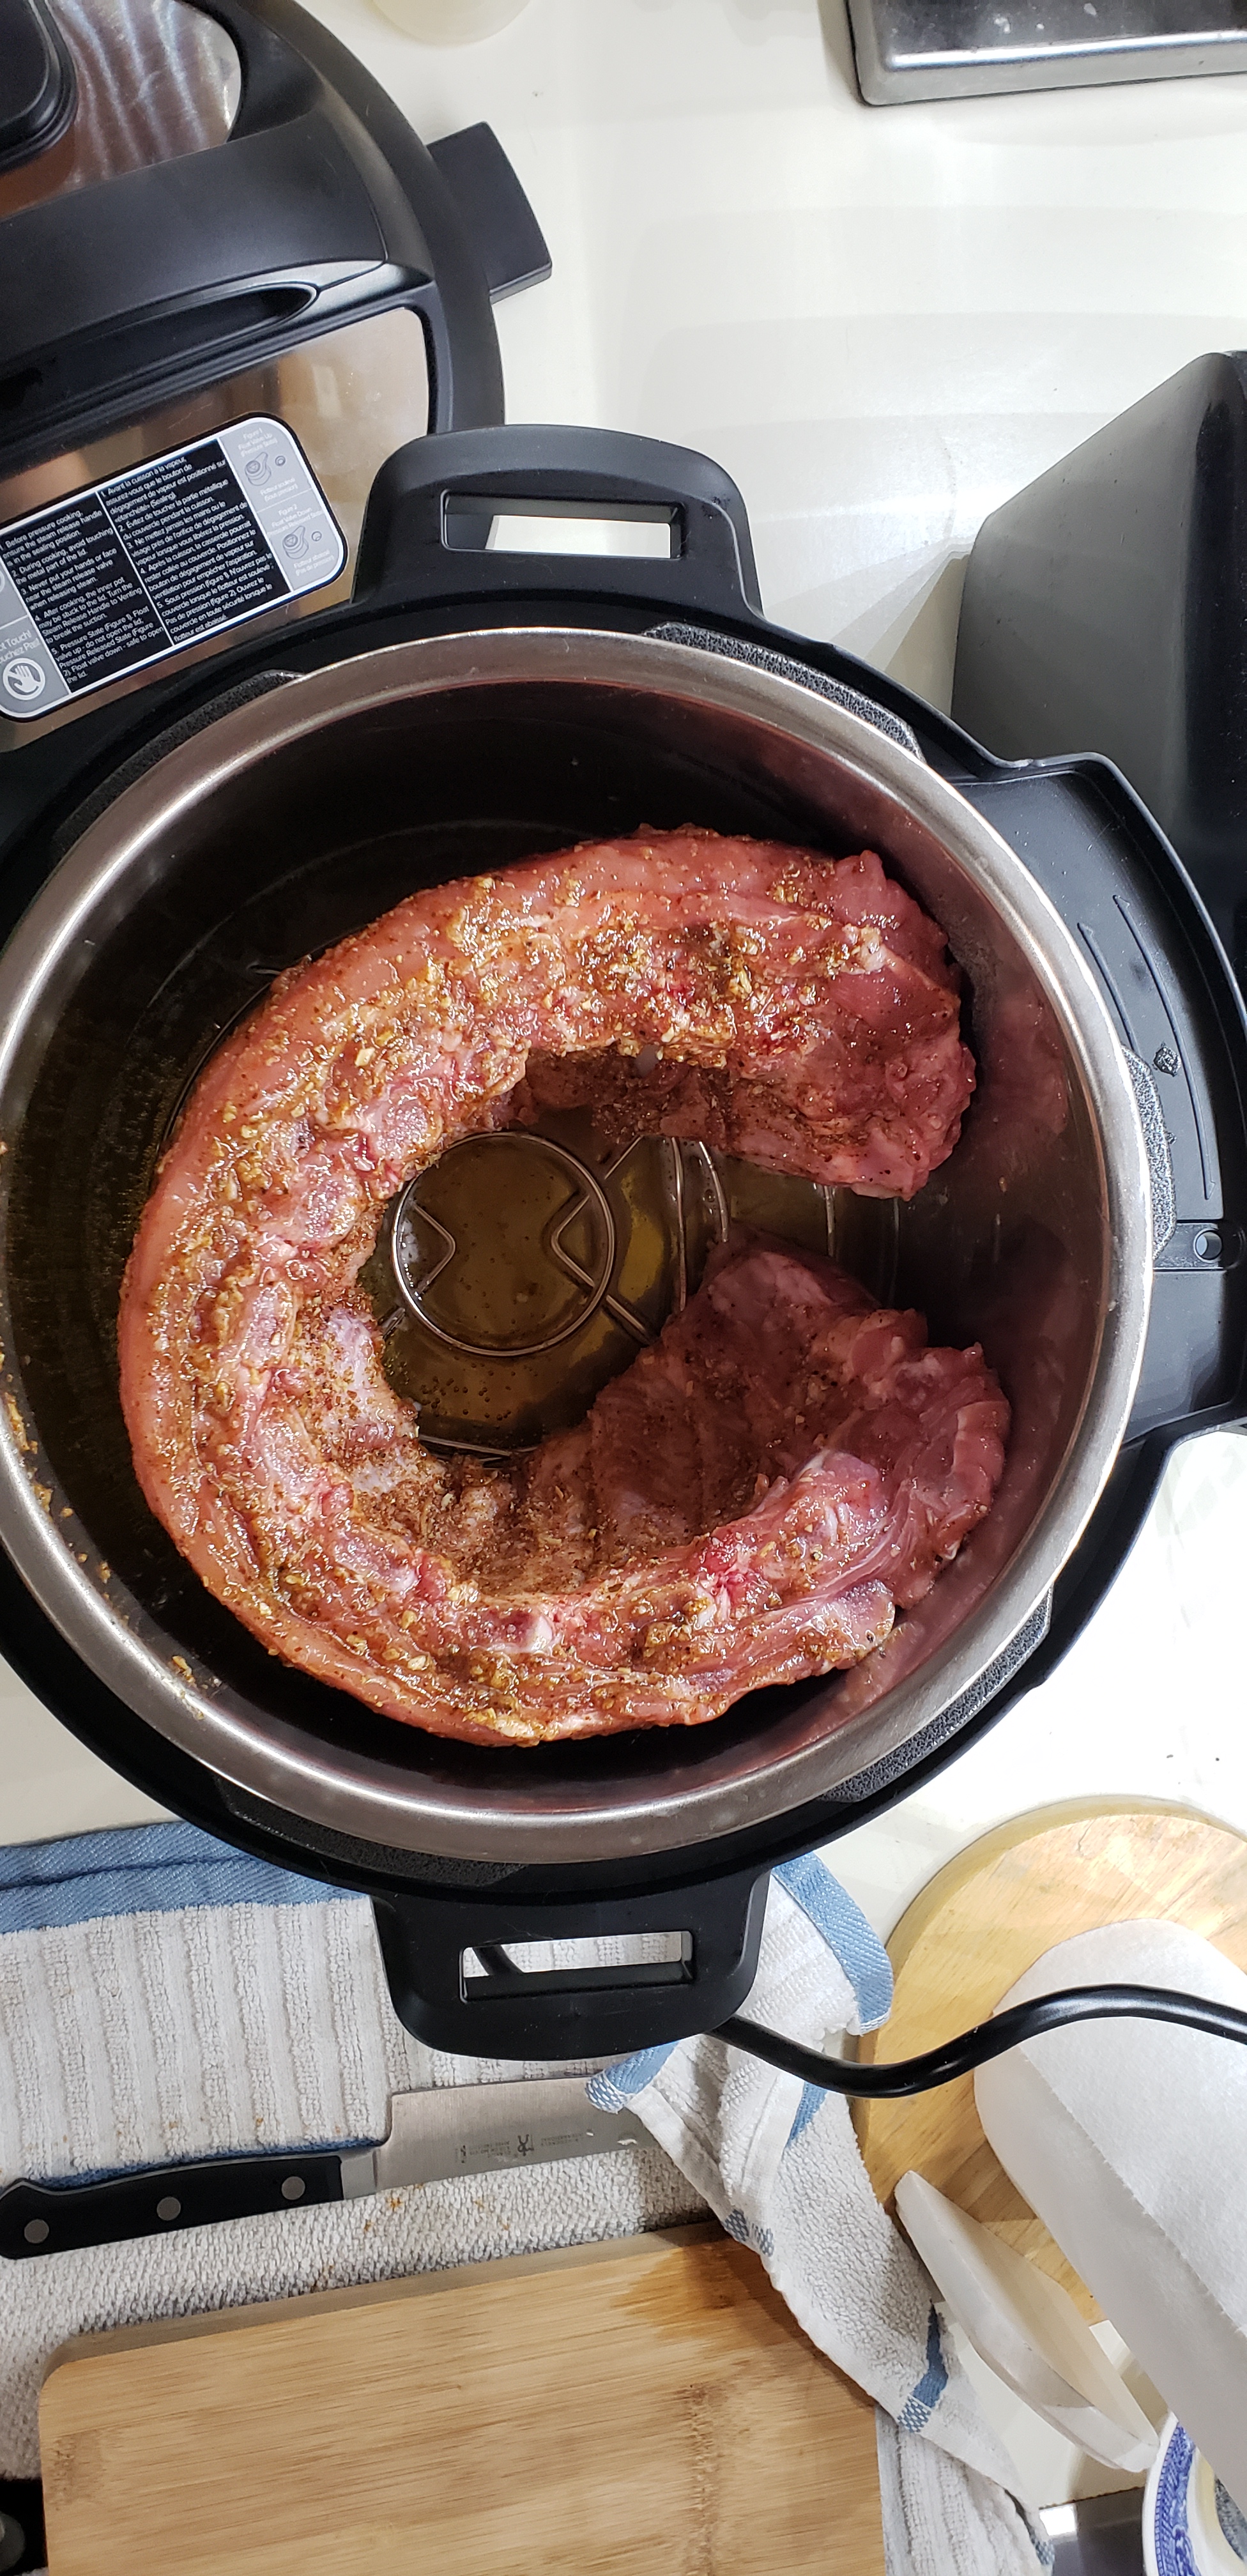
Once you’ve added your liquid it is time to transport the ribs into the pot. They typically fit in a “C” shape in the pot but if they are too big you can cut the rack in half.
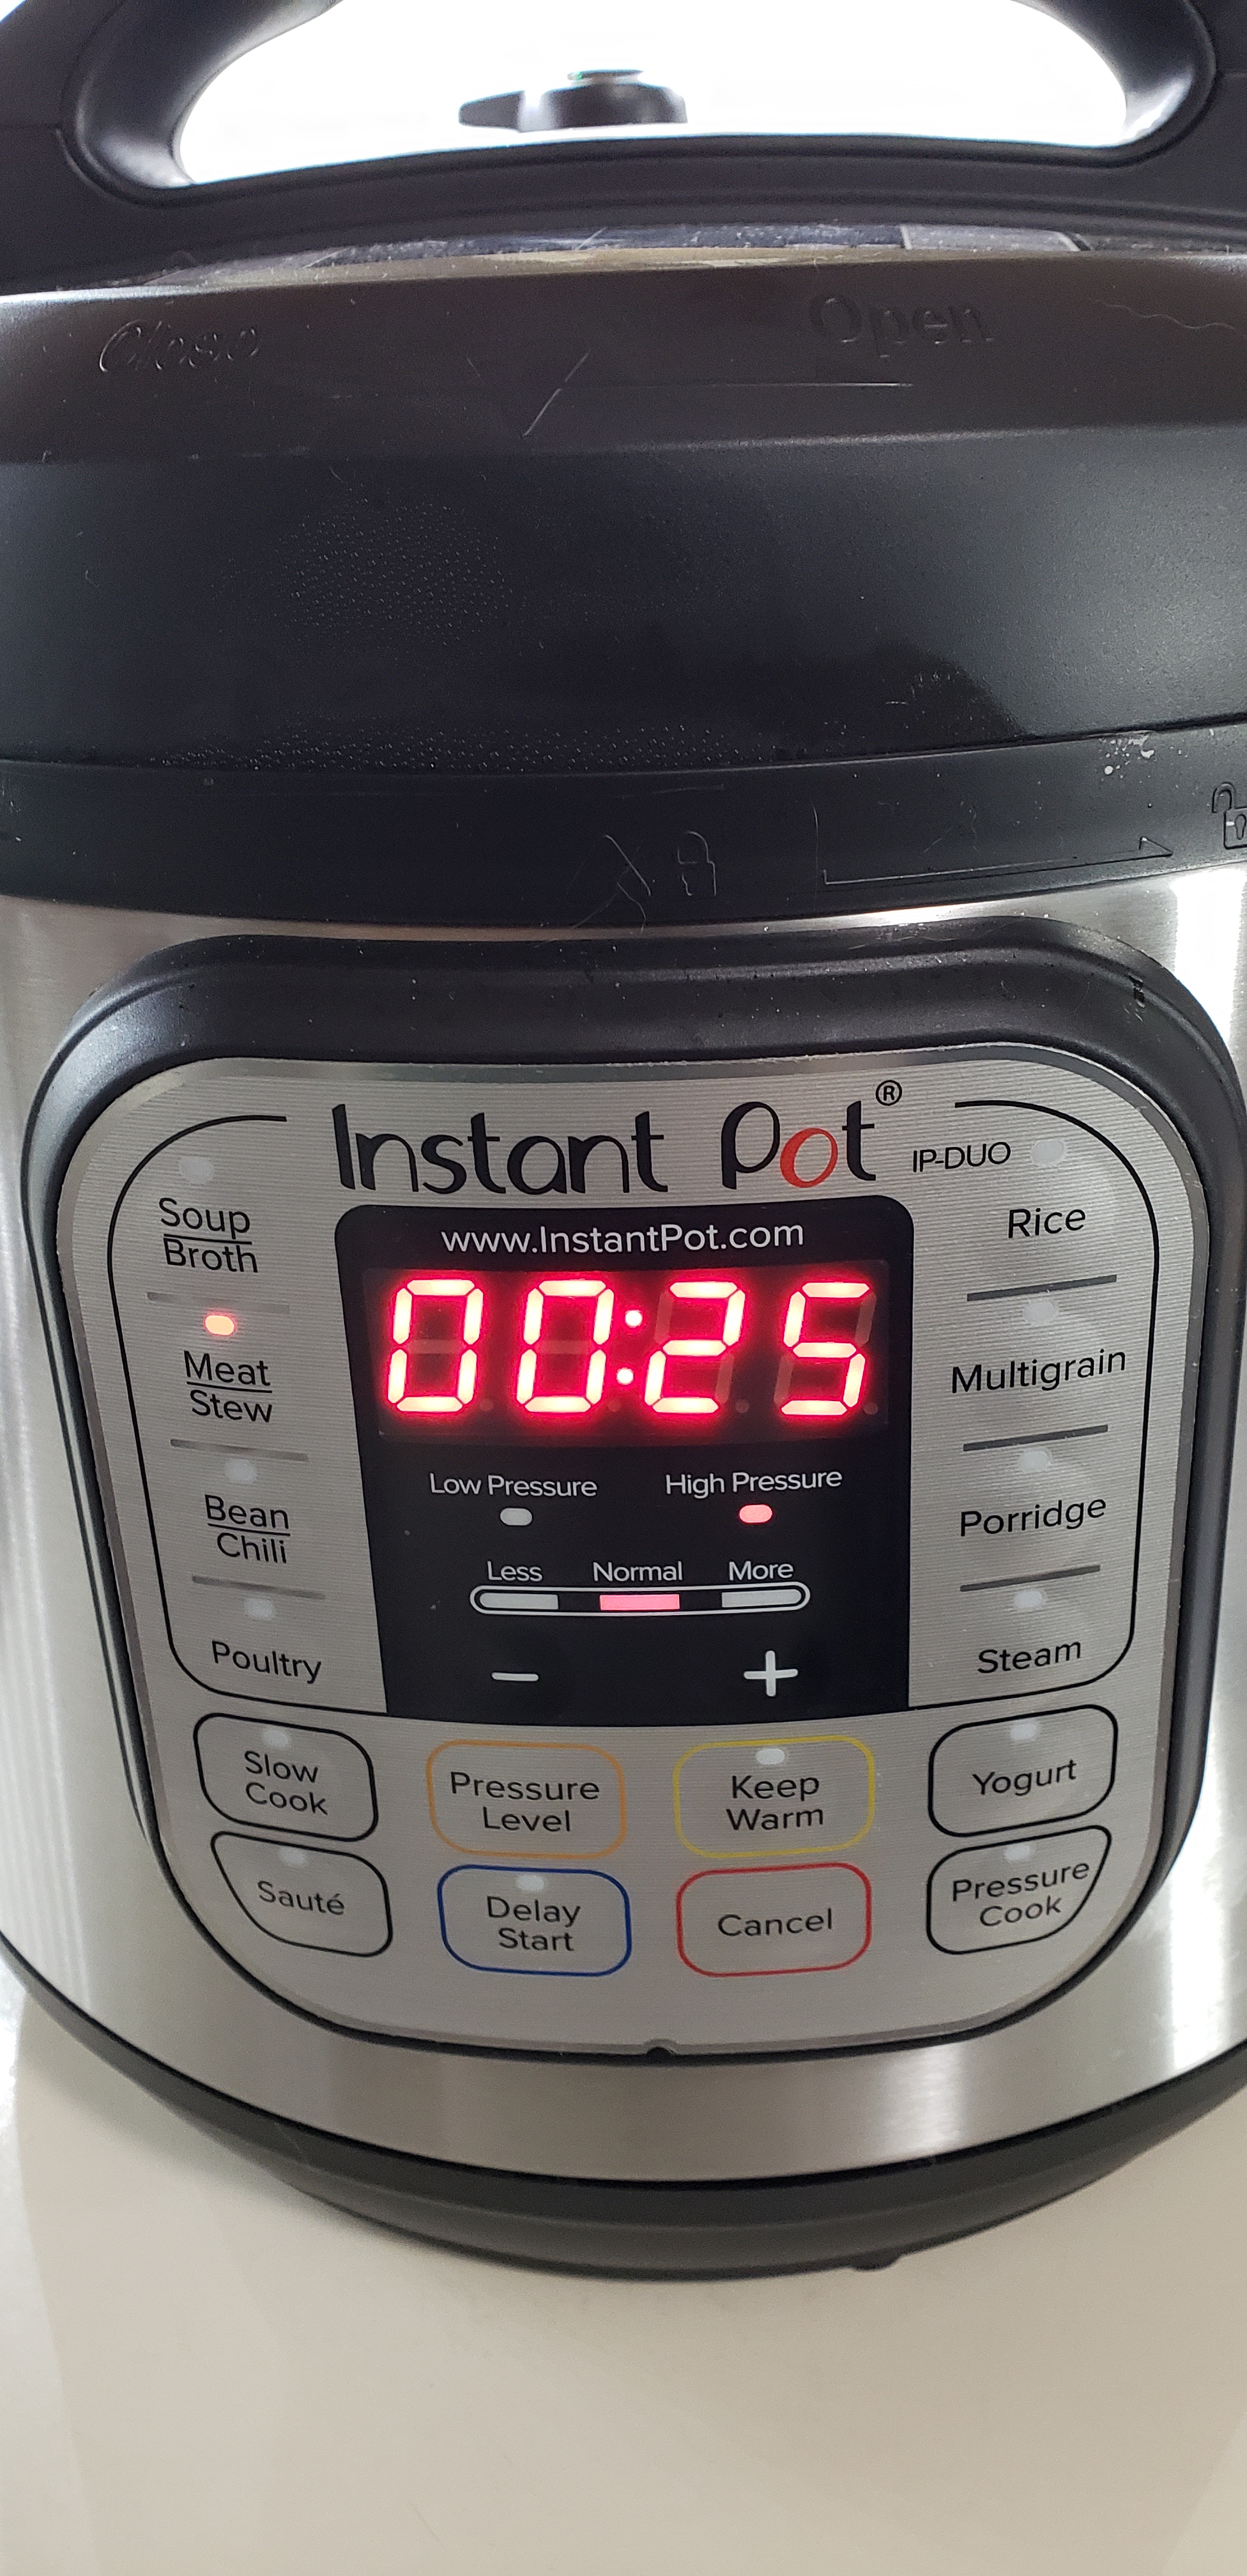
If you’ve never used an Instant Pot, like my favorite teacher in high school Mr. R used to say, “Don’t be ascared”. Make sure the lid is secured properly and the steam valve is set to sealing and you will be good to go! Select the meat setting on high pressure and cook for 25 minutes. Once cooking is done let the ribs rest for 10 minutes under pressure before releasing the steam. **Caution, when releasing steam wear an oven mit. It is extremely hot!**
If you don’t have an Instant Pot you can get the same results in a slow cooker. Follow all the above directions and then cook the ribs on high for 4 hours or on low for 8.
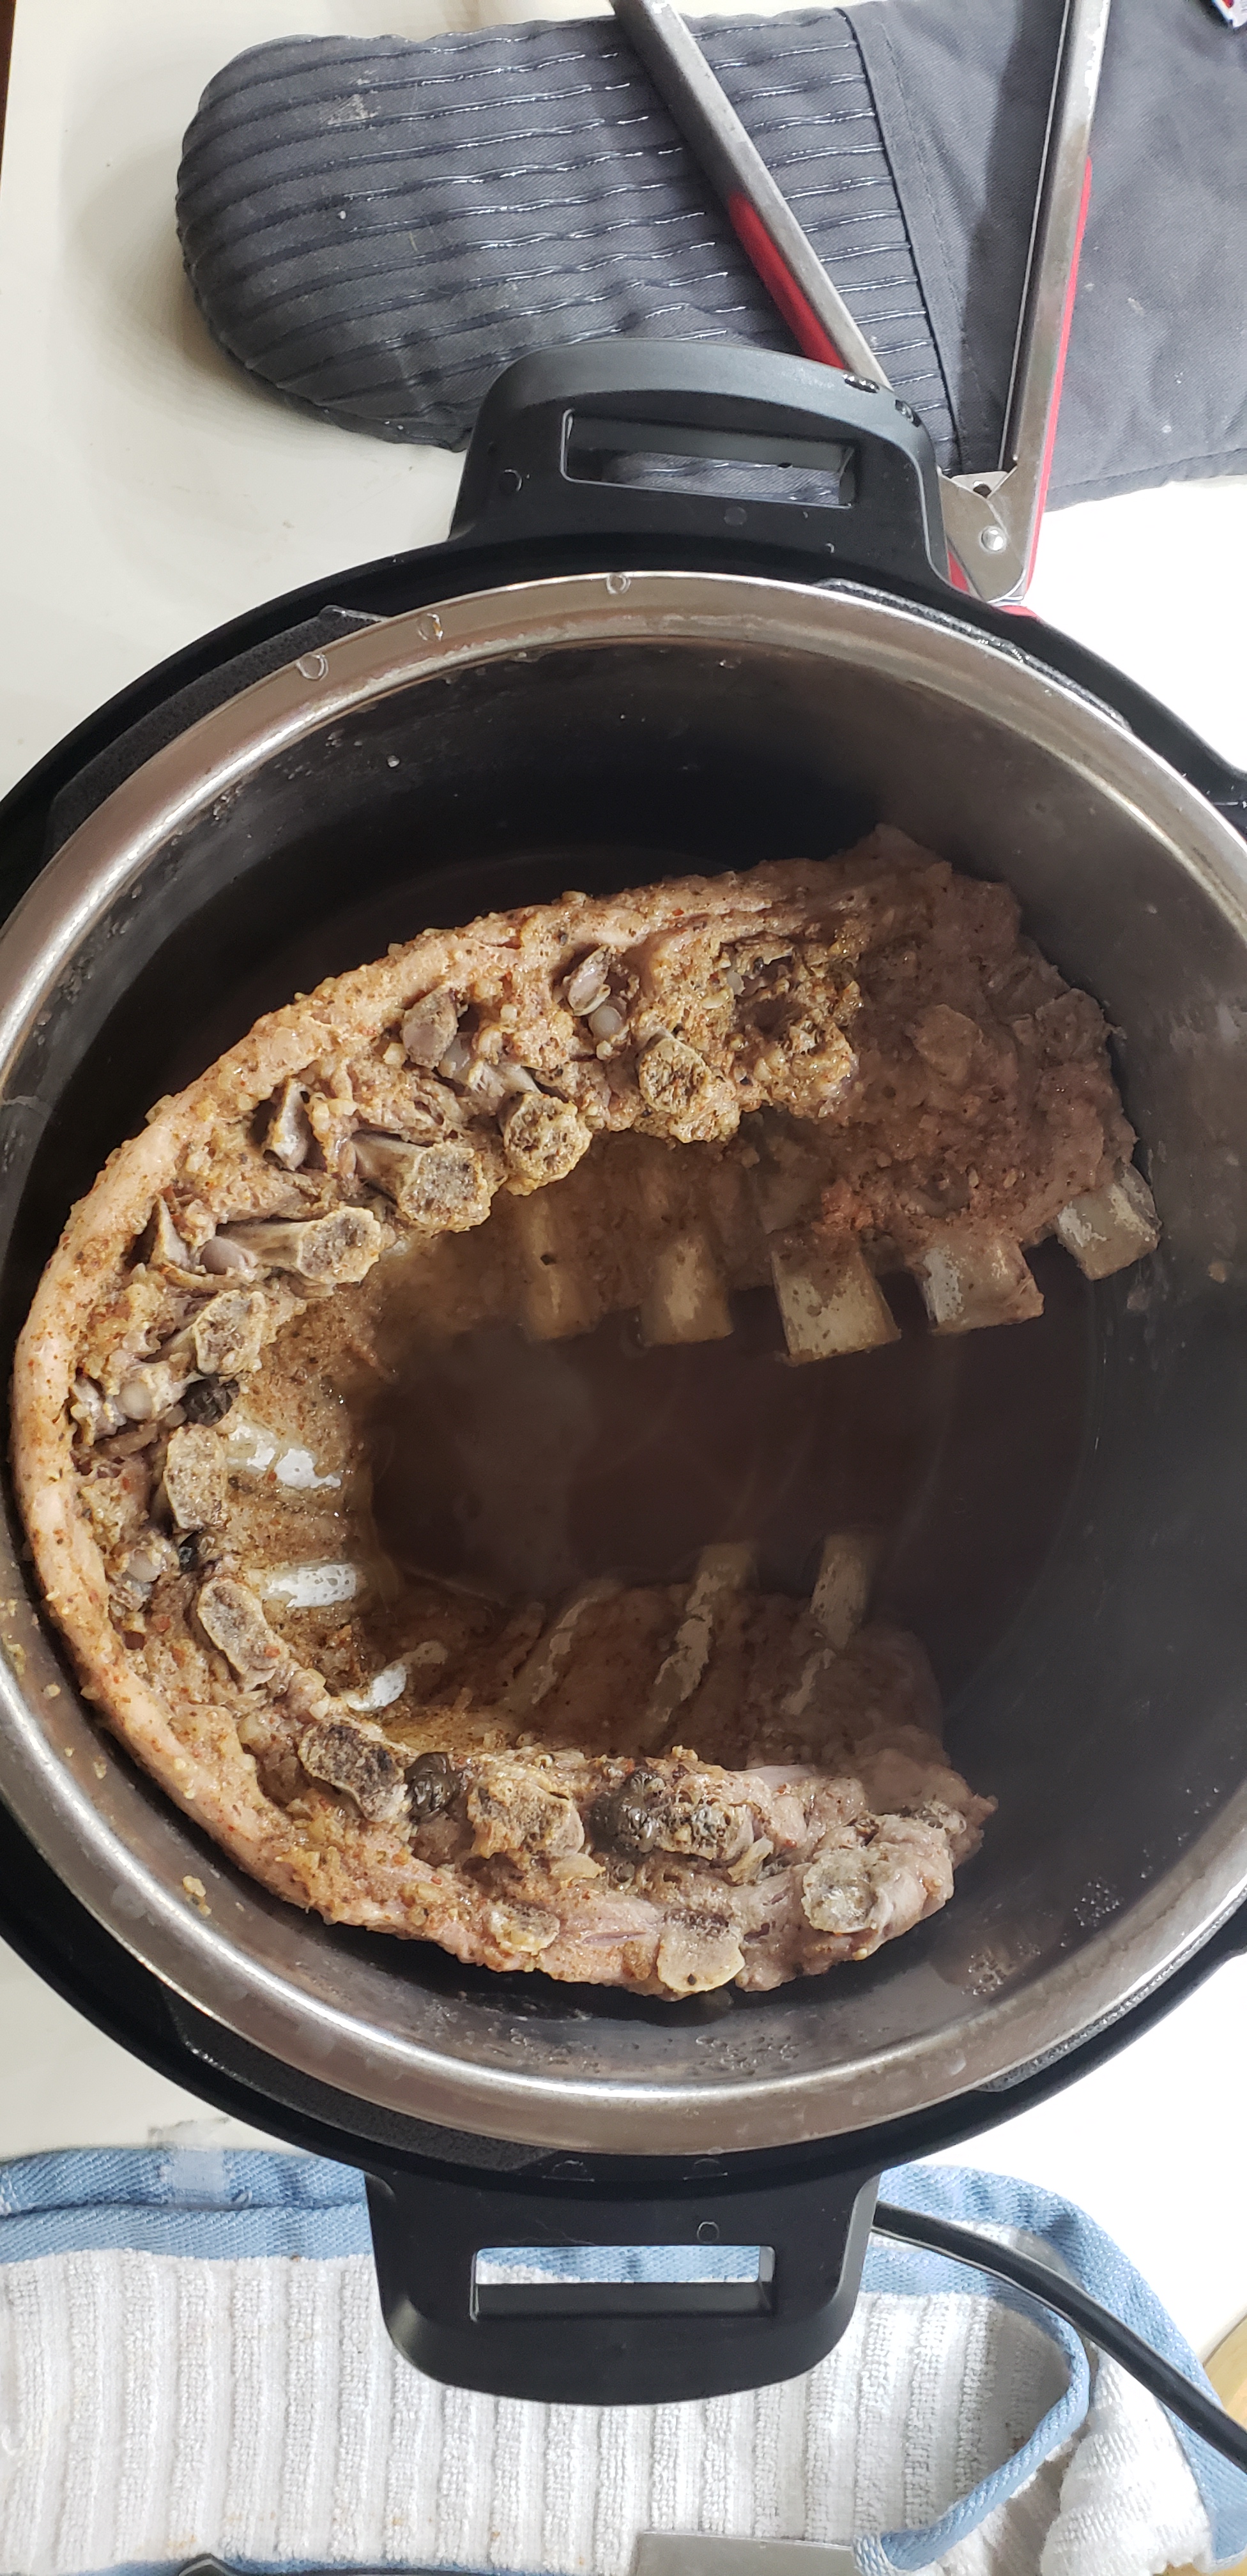
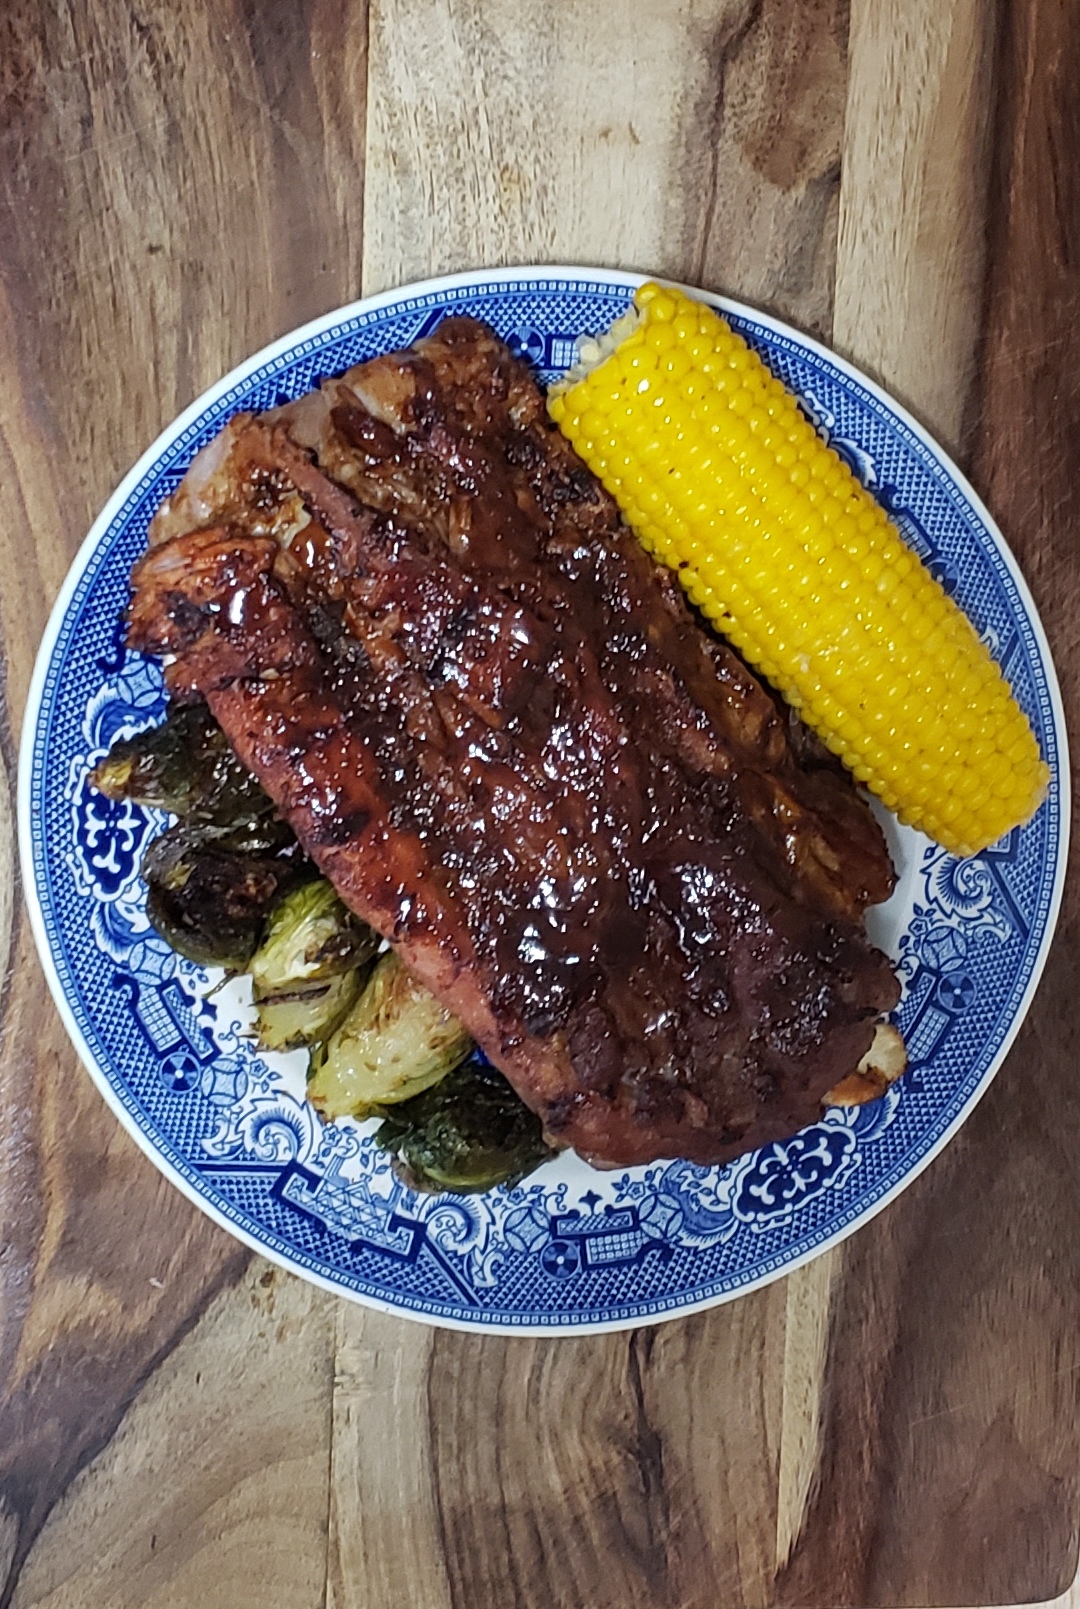
I was very surprised with how well the ribs came out in the Instant Pot. After only 25 minutes of cooking they were fall-off-the-bone tender.
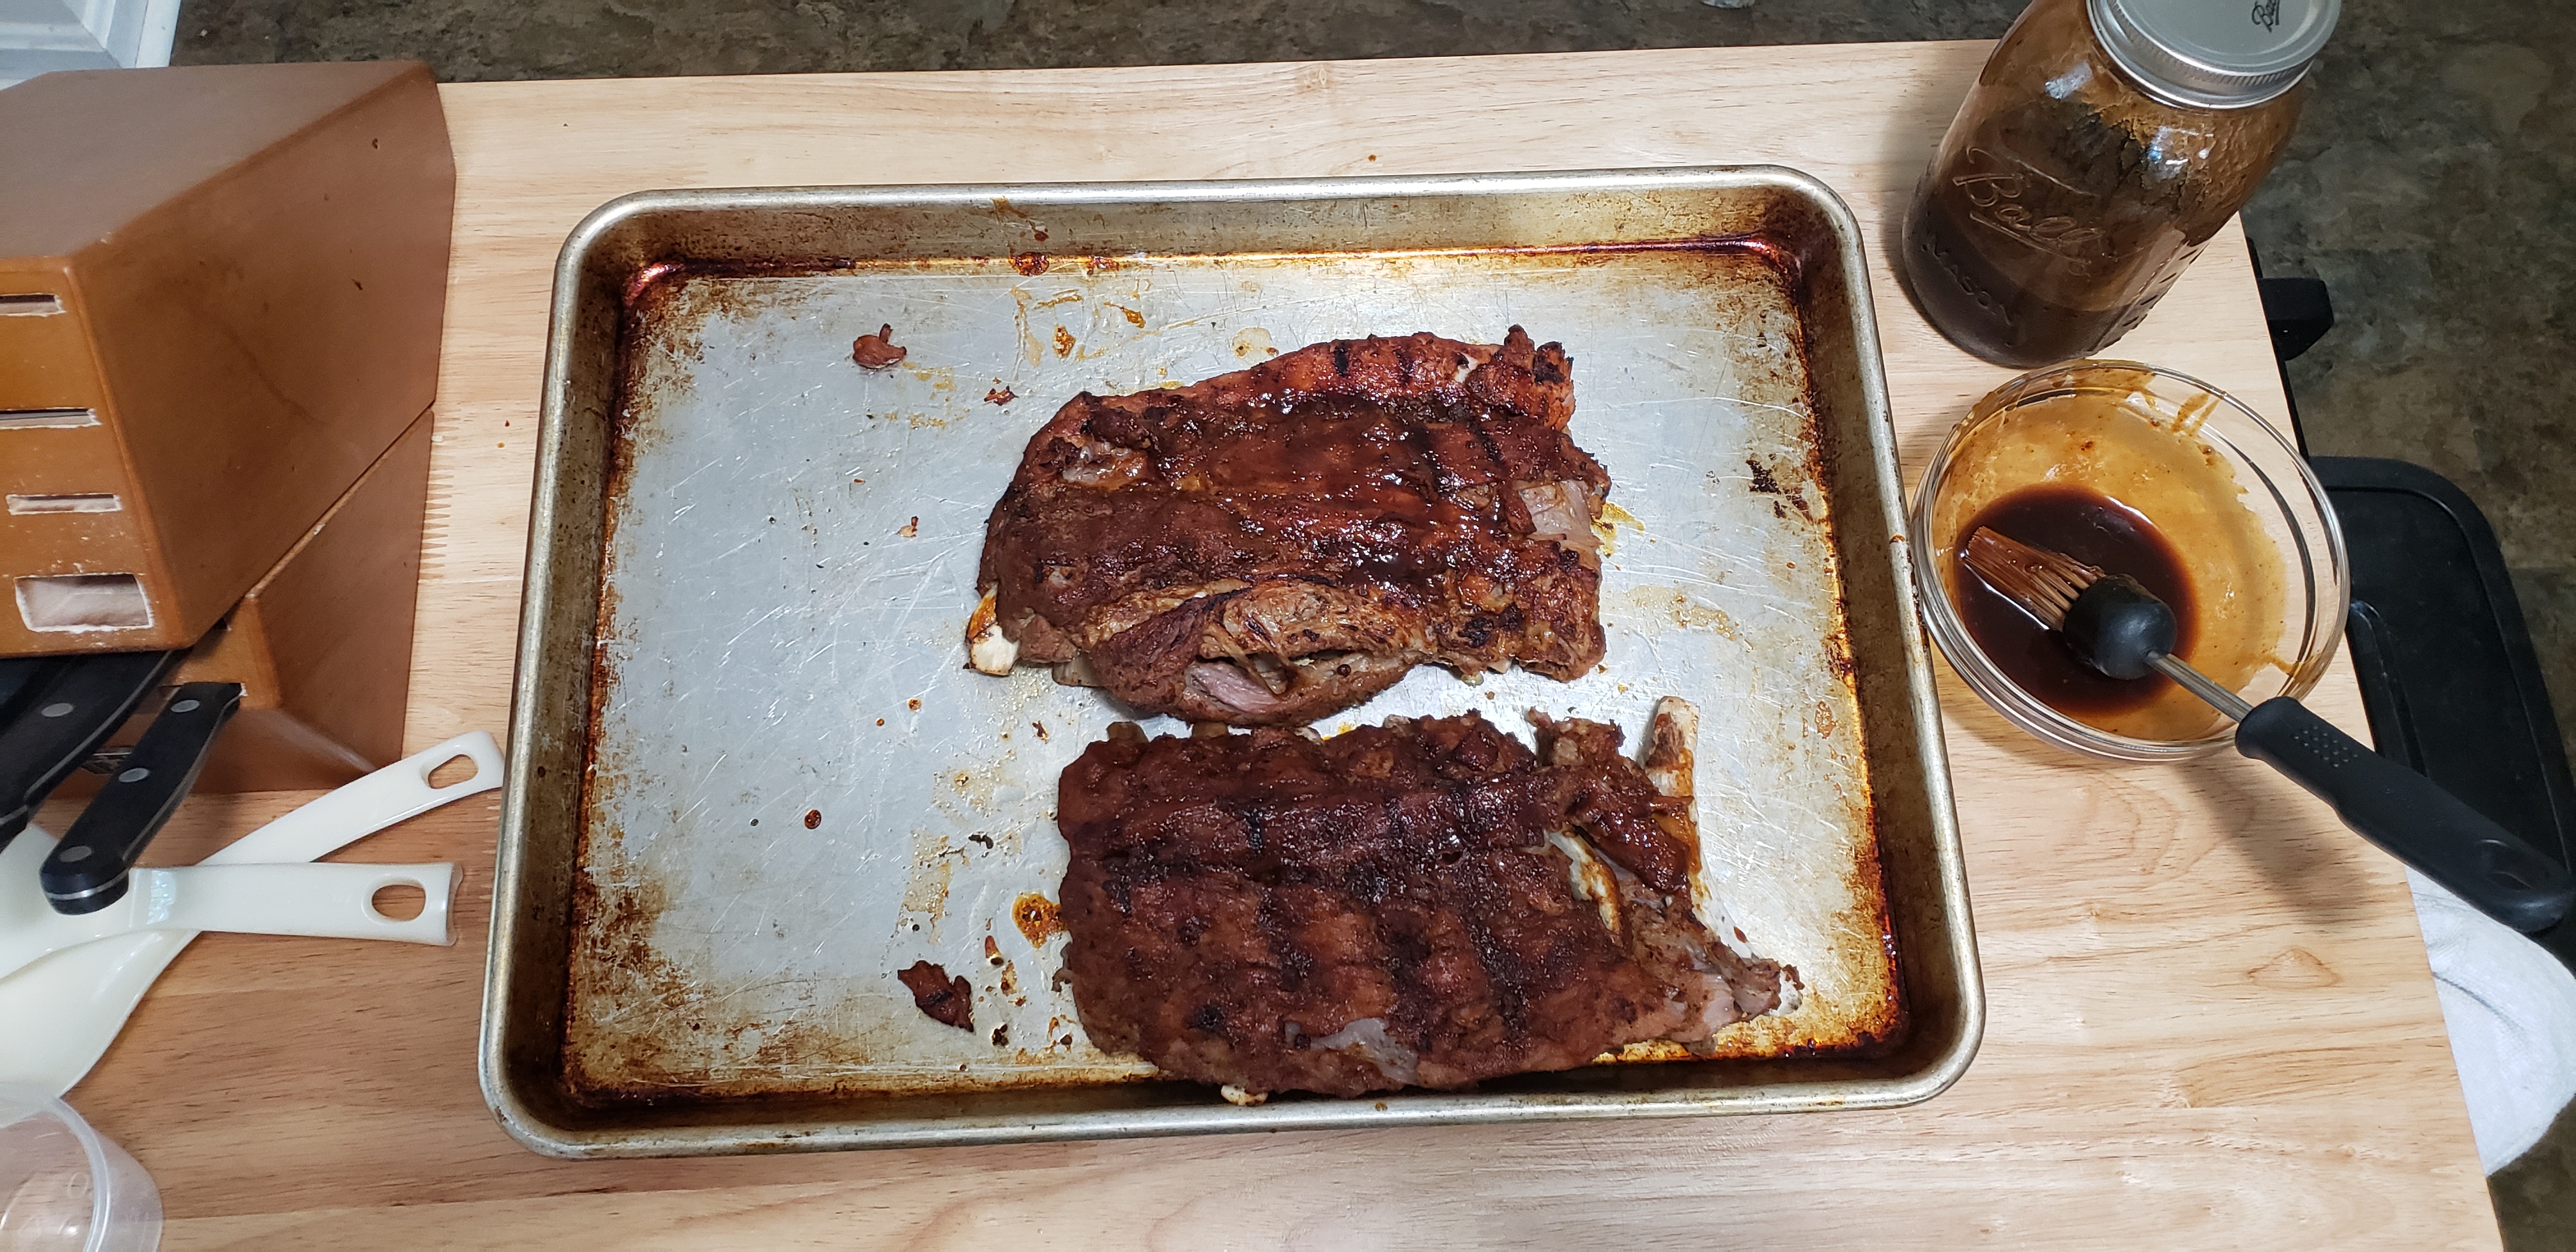
Once you remove the ribs from the pot slather them with your favorite BBQ sauce, or with Jess’ bangin’ BBQ sauce, and either grill them for 10 minutes or put them under the broiler for 6-8 minutes. Our ribs were so tender that we decided to use the broiler so they didn’t fall apart.
Serve the ribs with your favorite sides and enjoy!
If you have any questions, comments, or if you tried this recipe let us know!
Hey, did you know it’s National Ice Cream Day TODAY? So, I made ice cream, and you can, too!
This is one of Dan’s absolute favorite recipes, because it combines two of his favorite things- ice cream and marshmallows. Toasted marshmallow ice cream is a SUPER step up from your average vanilla ice cream. This stuff is addictive and just screams to be sandwiched between two graham crackers and then dipped in chocolate (do it, for me).
If you’ve never made ice cream, there exists no better time than during a heat wave from the fiery pits of hell. Don’t be scared- I’ll walk you through it!
Note: Be prepared to wait for your completed custard base to cool in the fridge for several hours or overnight. This recipe is worth it, promise.
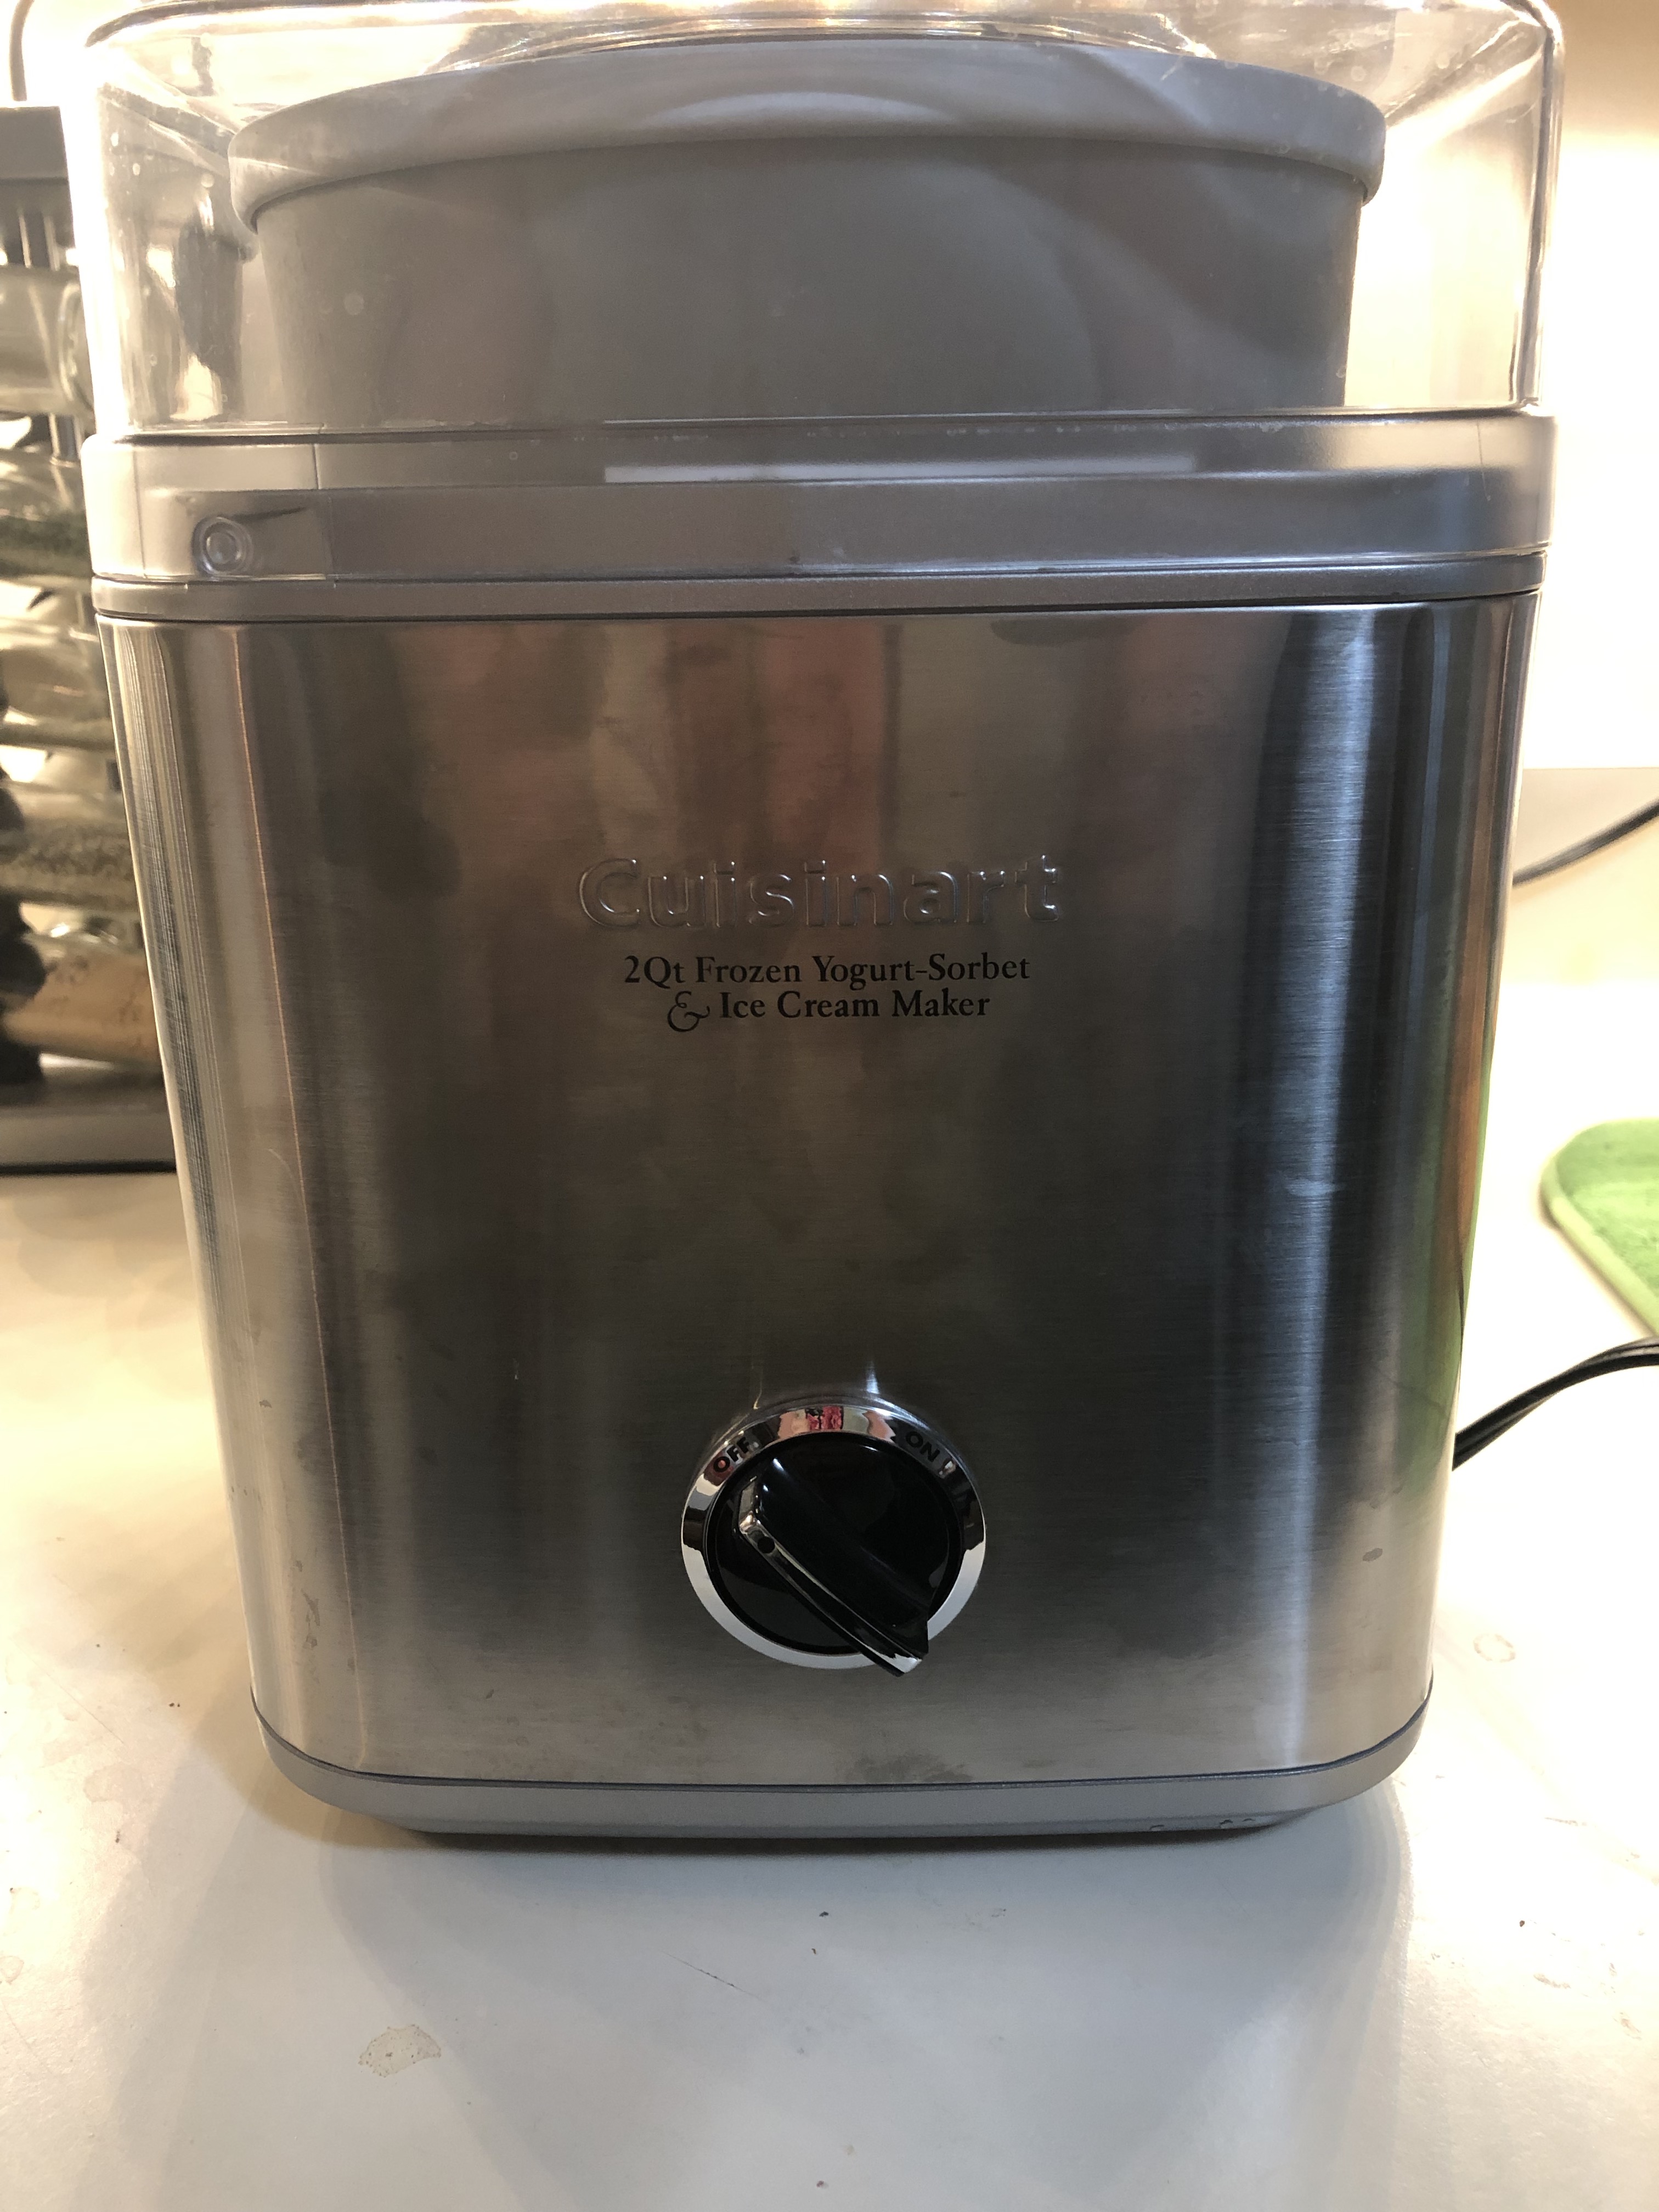
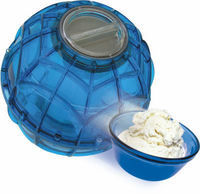
Let’s talk about equipment first. Unfortunately, this is not a “no churn” ice cream recipe, so you can’t really skip the ice cream maker. I have a Cuisinart 2-Quart stainless steel ice cream, frozen yogurt, and sorbet maker and it works wonders. However, almost any countertop electric ice cream maker or mixer attachment churner will do, as long as it’s not one of those hamster balls that you fill with ice and then roll around your house. These, sadly, do not work at all.
Are we sure that’s ice cream and not a hamster?
Note: Your bowl insert must be totally frozen, ideally for a couple days in the freezer, in order to get a proper churn.
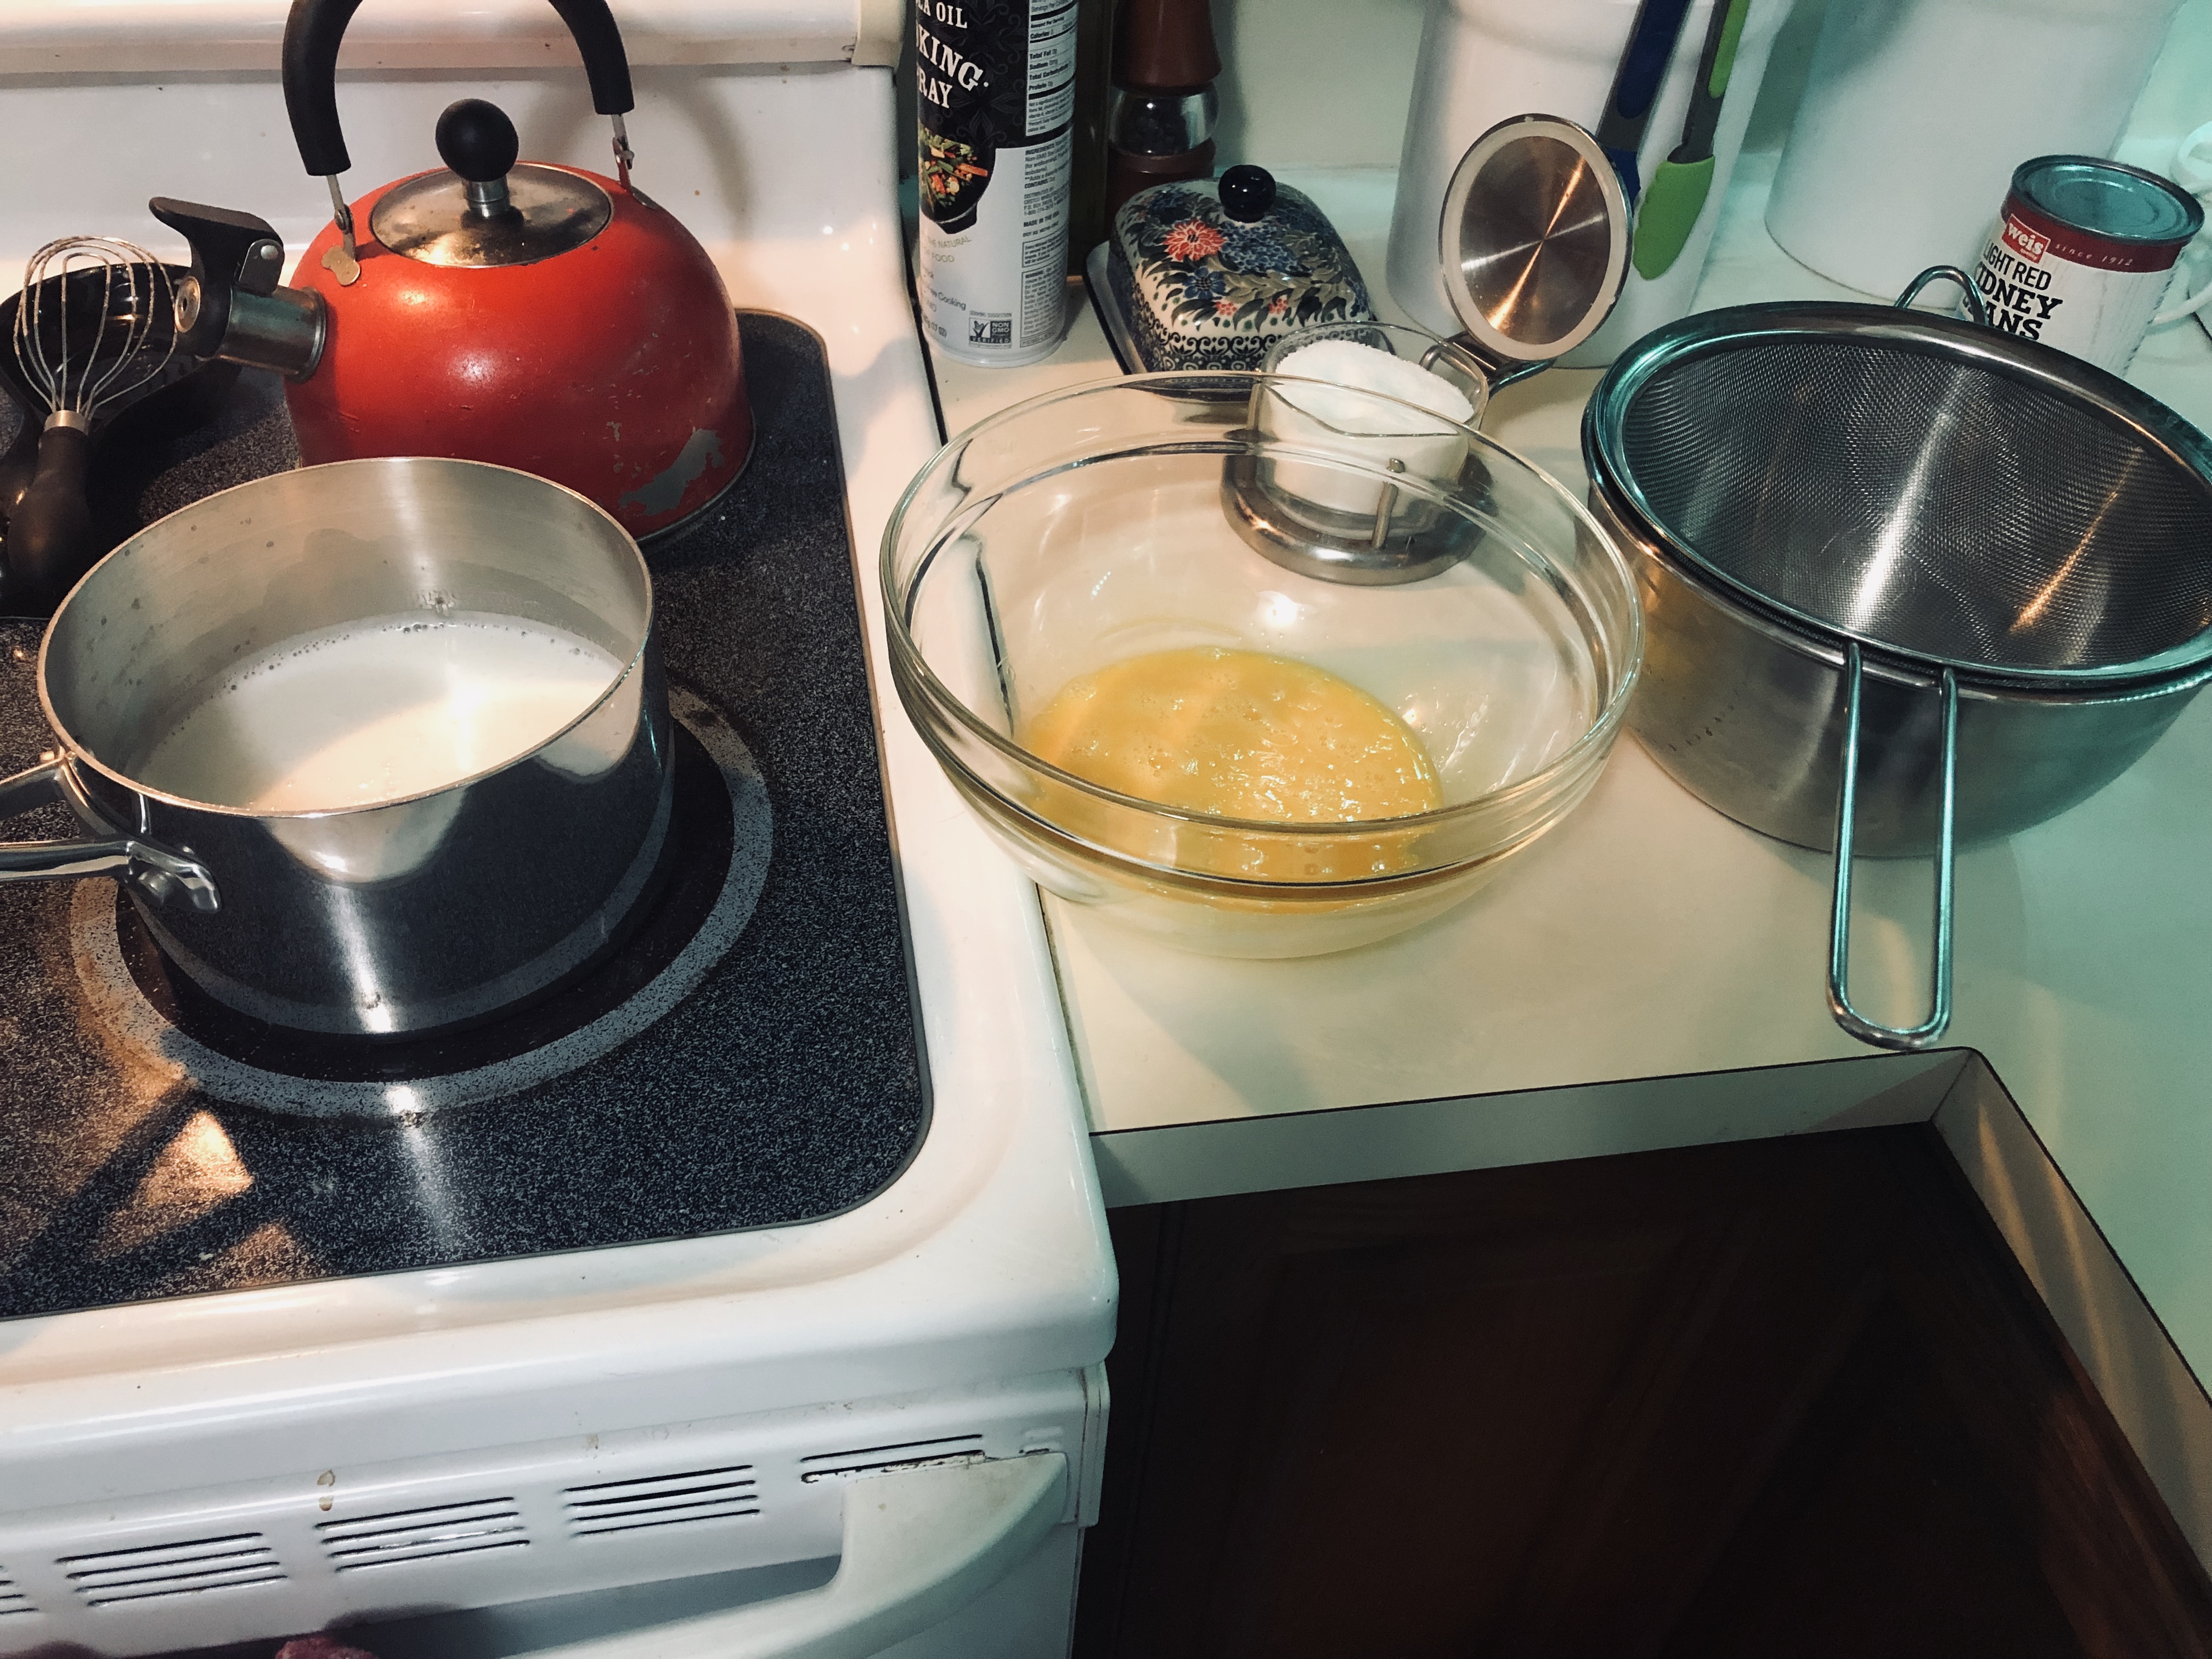
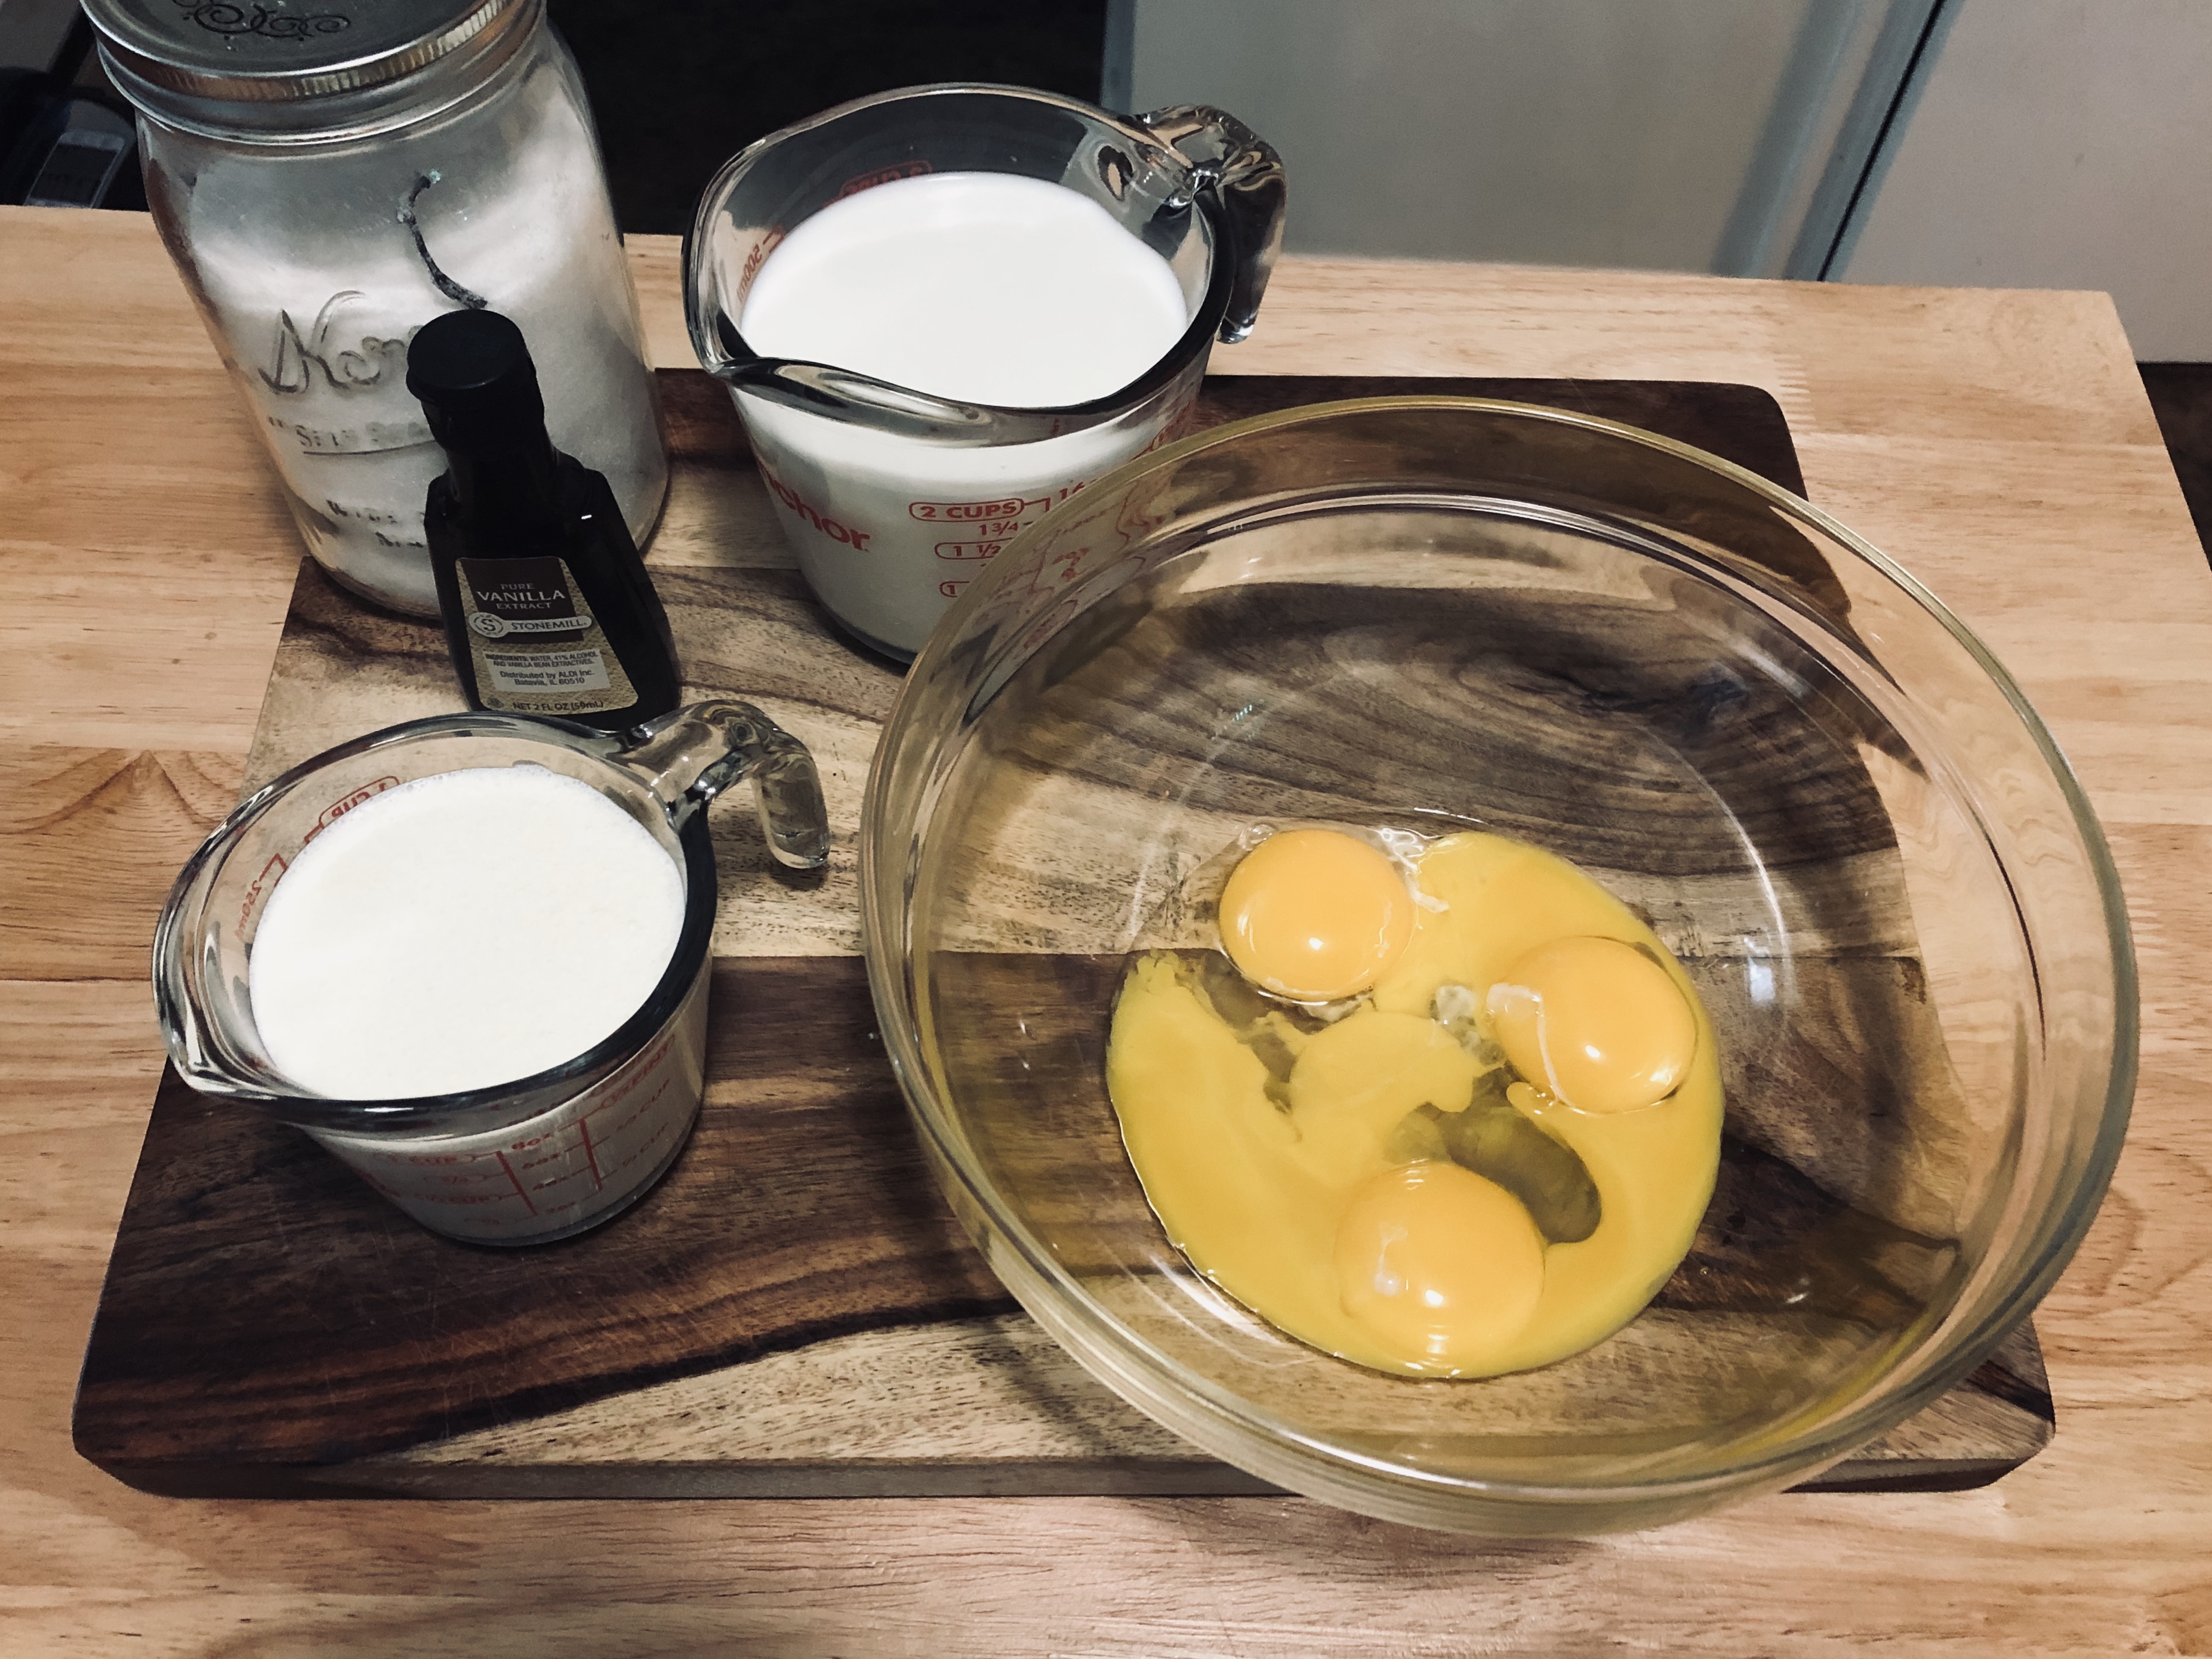
It’s also a good idea to gather all of your yummy ice cream ingredients and tools beforehand, like I did below. The process happens quickly once you begin the custard, which can curdle very quickly if it gets too hot. Have your egg yolks whisked in a nearby bowl, along with a second bowl set up with a fine mesh strainer, and have a rubber spatula and whisk at the ready. Feel like a pro baker yet?
Now let’s get to ice cream-making!
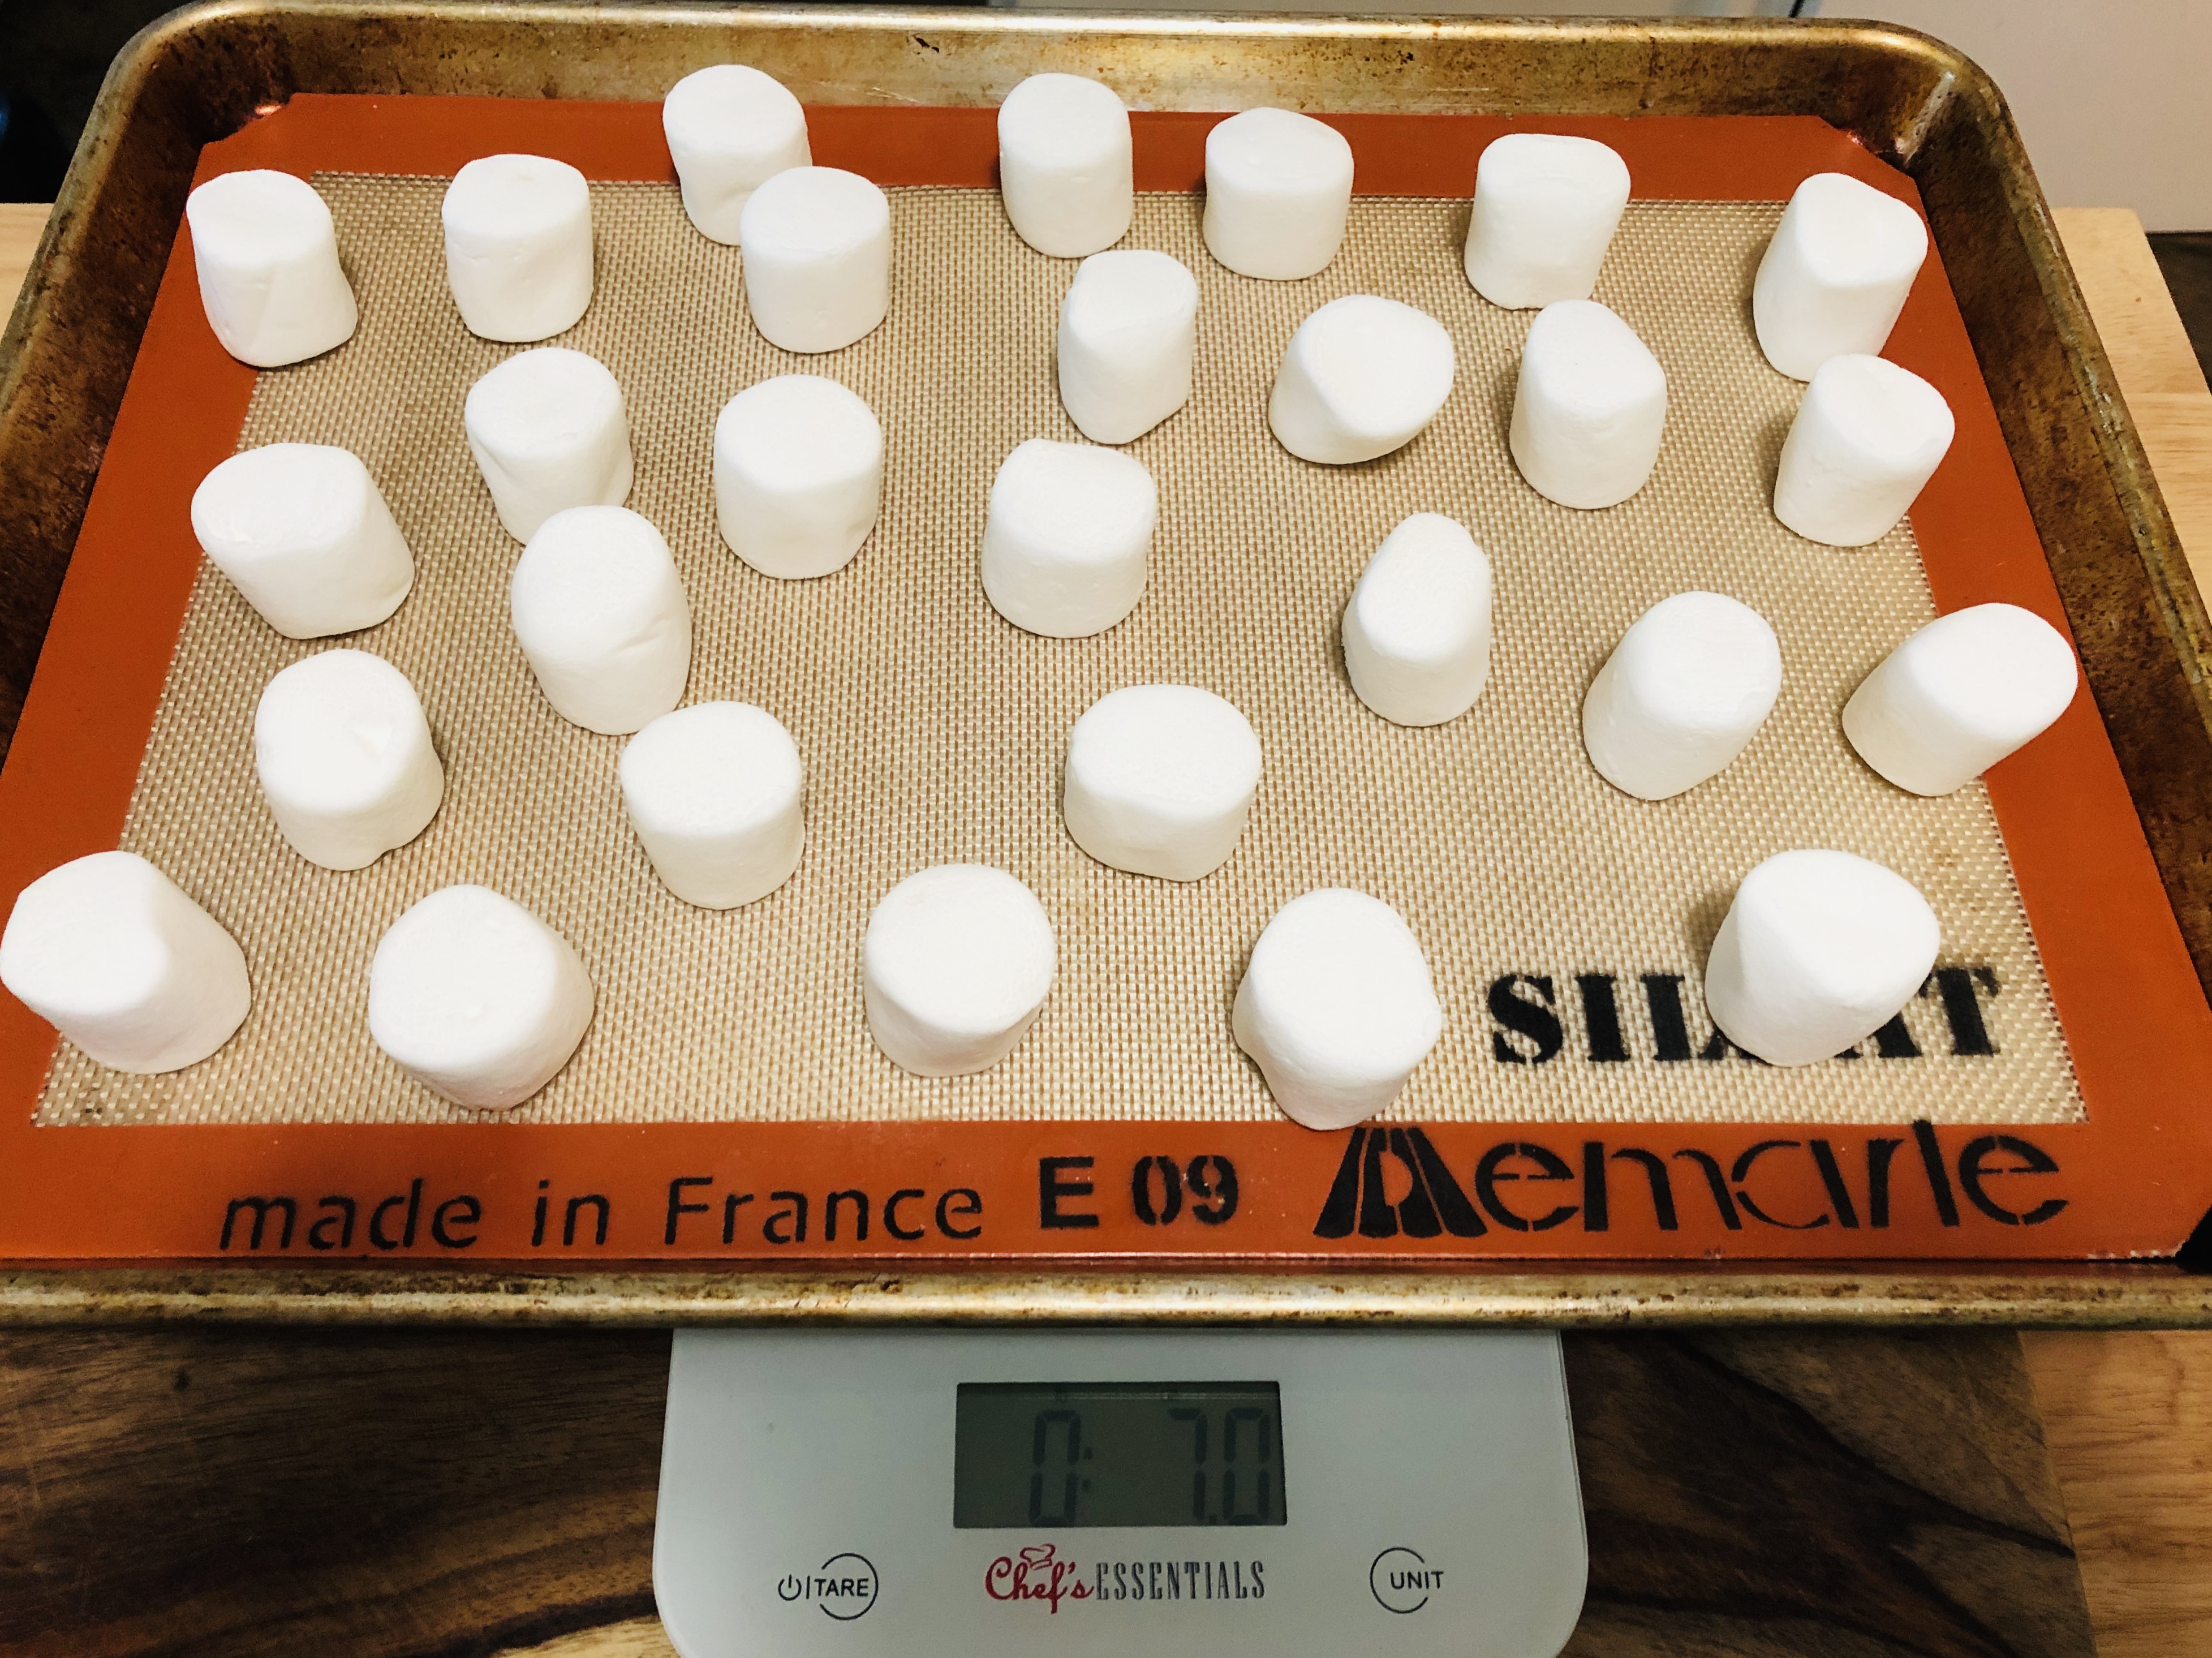
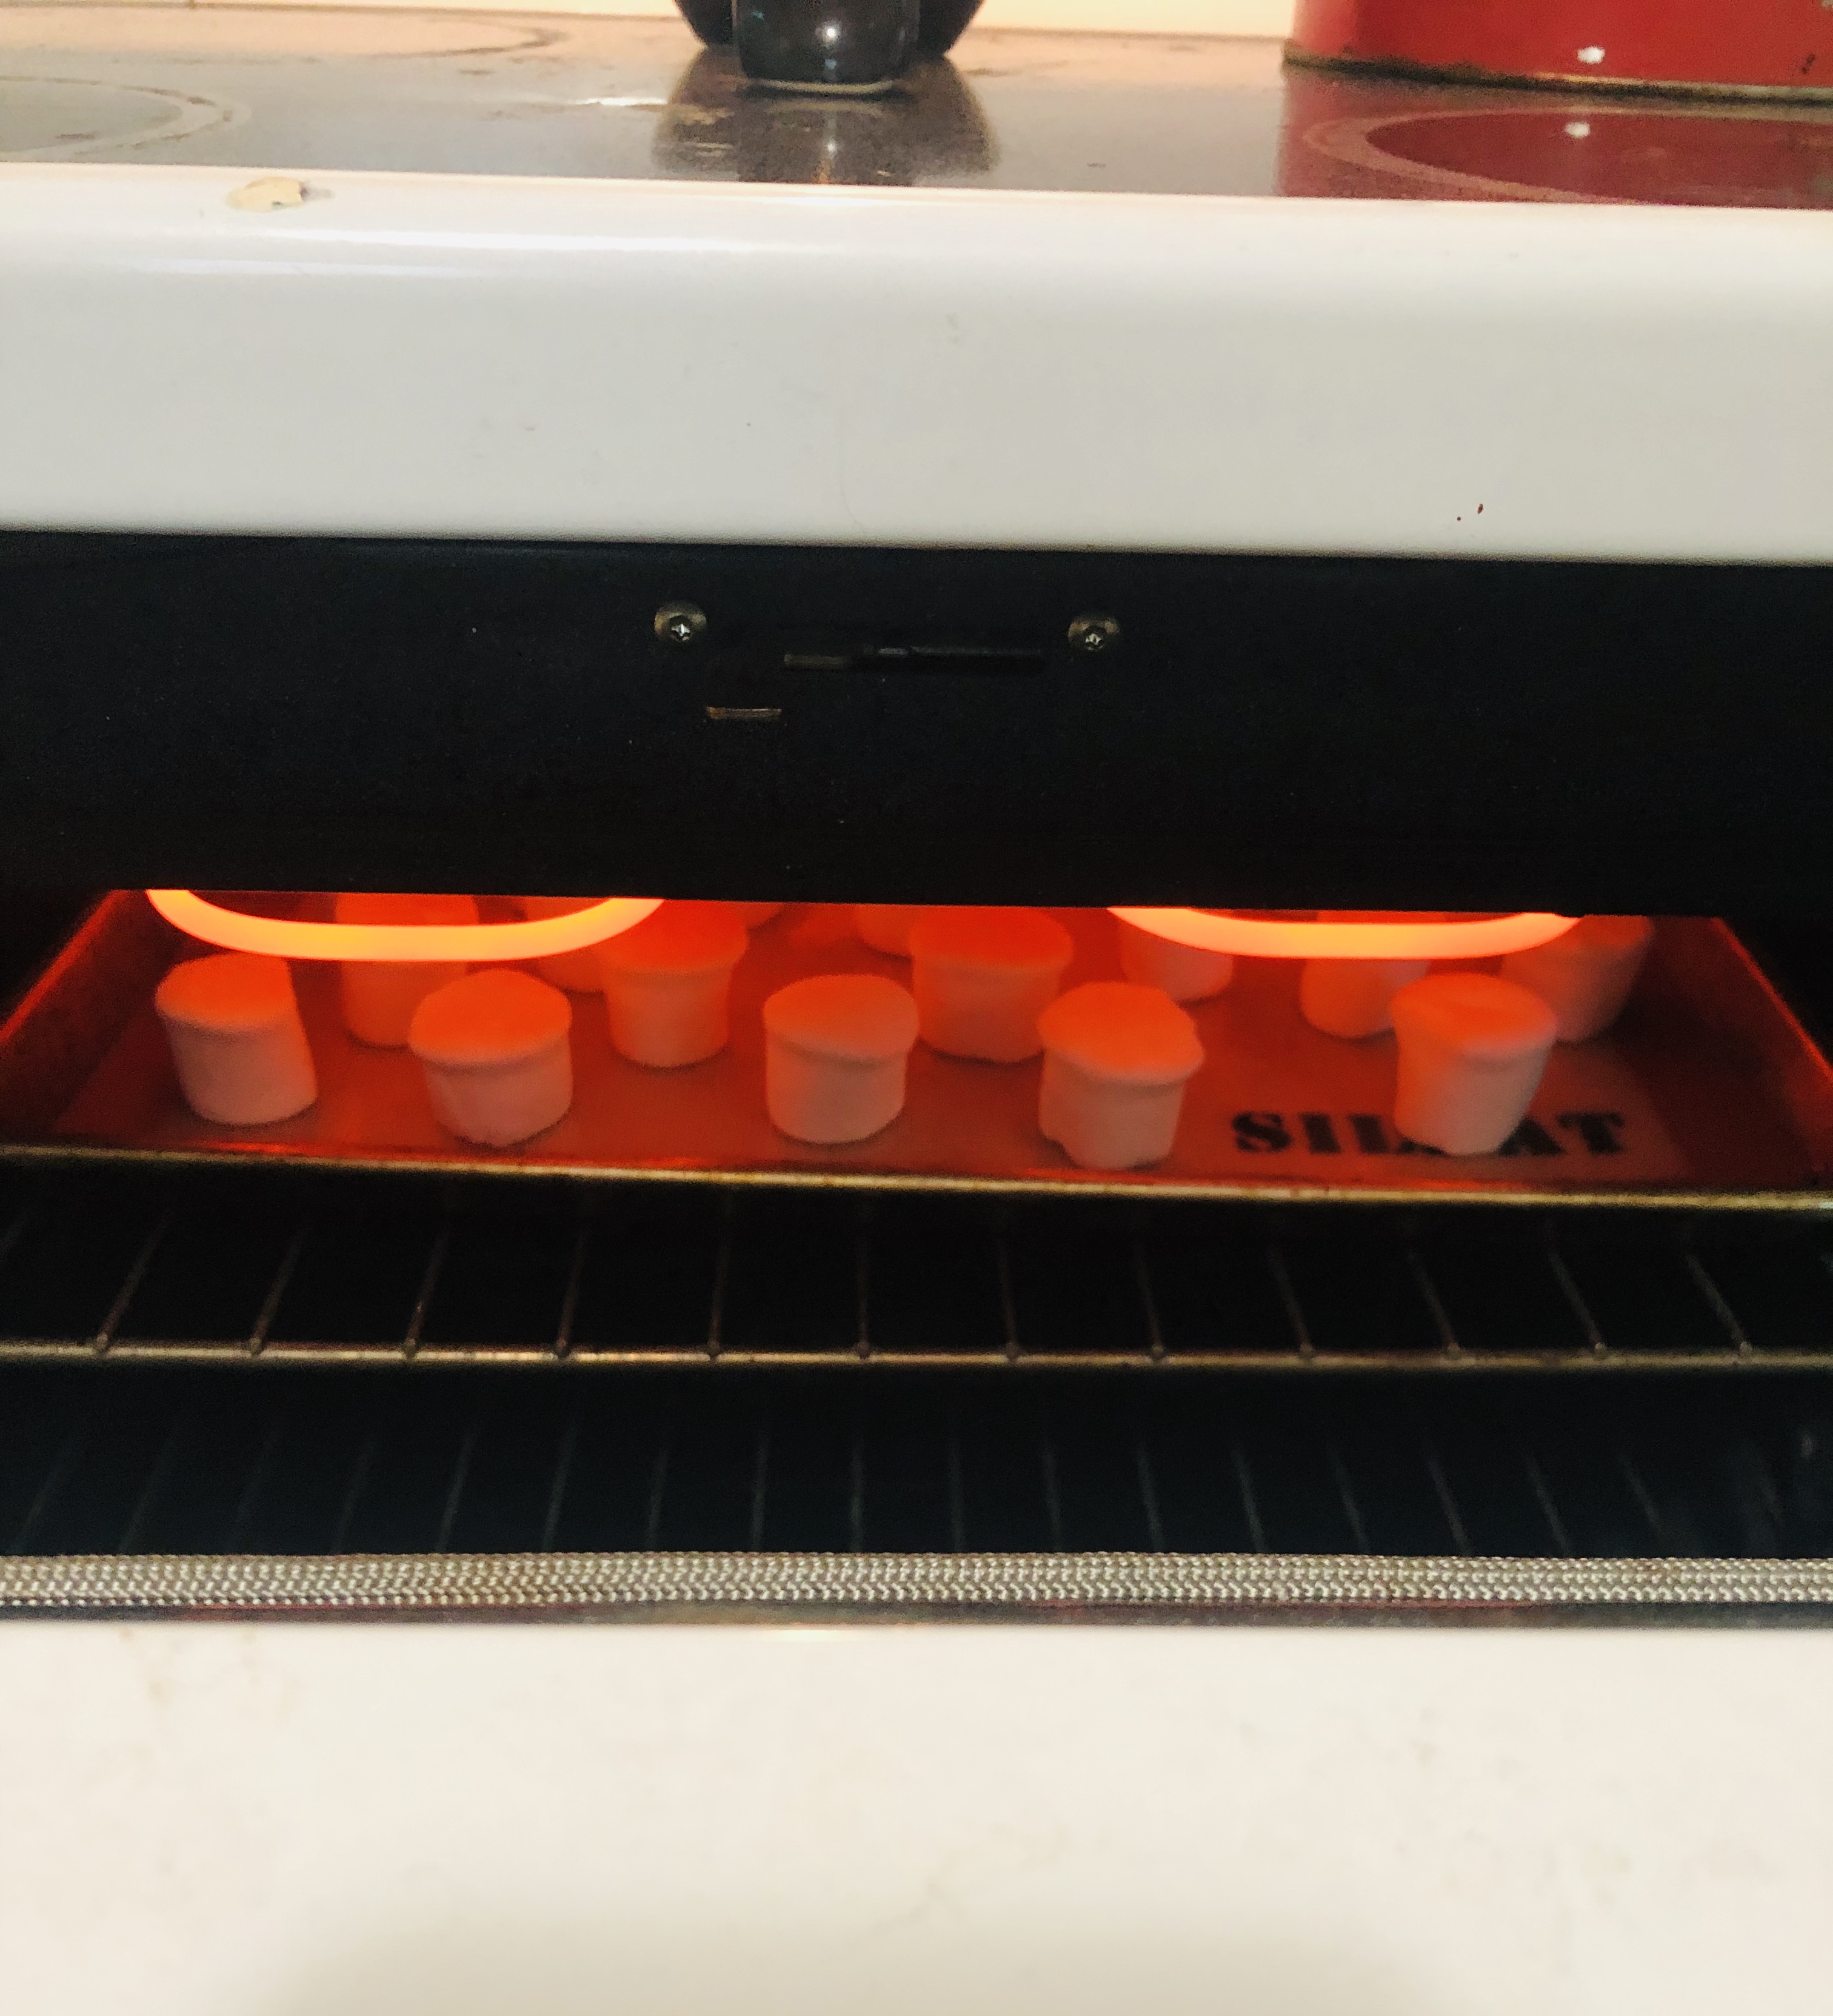
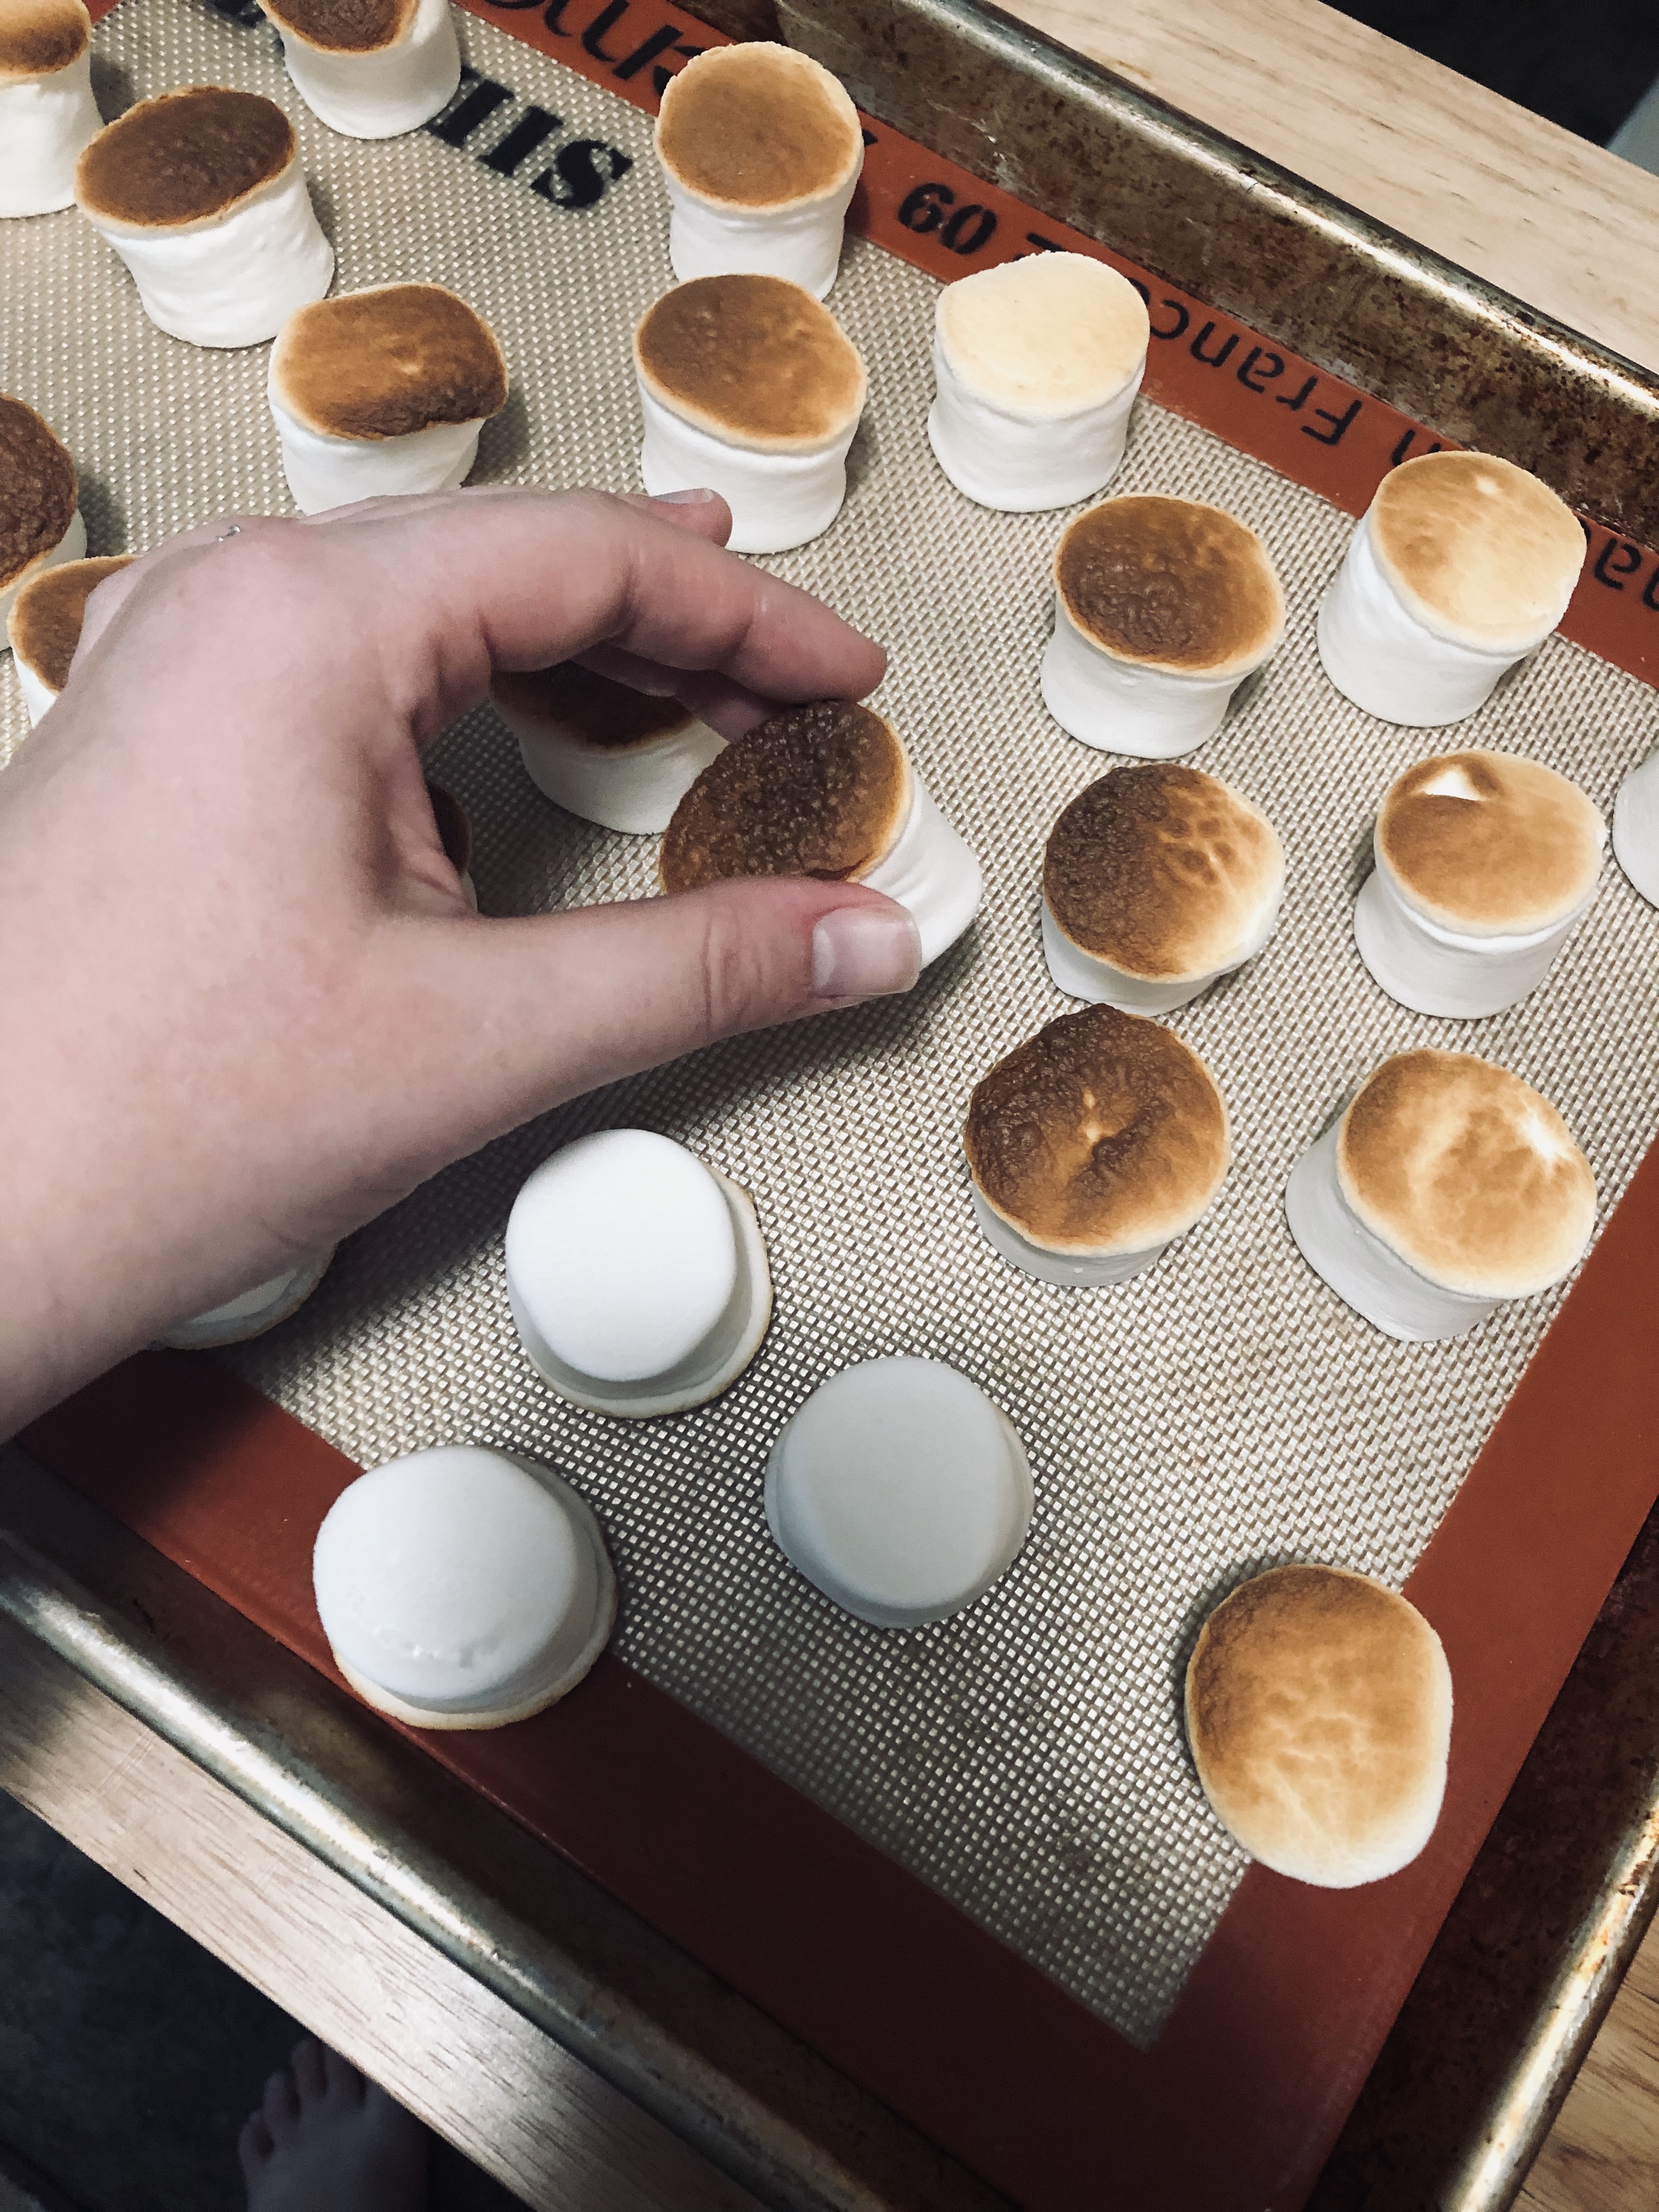
Toast the marshmallows: Preheat your oven to its broil setting and move the top rack to the position closest to the source of heat, whether in a gas or electric oven. Line a baking sheet (have you gotten your aluminum baking sheets yet?!) with a Silpat (a French non-stick rubber baking mat for extra sticking security) or your trustworthy parchment. Line the marshmallows up neatly, which seems ridiculous but you’ll see how much easier it is to flip them over when the time comes. Slide the baking sheet into the piping hot oven and watch your mallows like a hawk. I leave the door cracked open and watch them the whole time, turning the pan around to make sure all the marshmallows get nice and brown. Remove the pan when you’re satisfied with their toastiness and flip each marshmallow over to toast the other side. (They cool pretty quickly, so I just brave it and gently flip them with my hands, or else they’ll start sticking to any tools you use.) It only takes a minute or two on either side to brown them. Set the pan of mallows aside to cool.
Yes, this smells amazing in your kitchen. Feel free to do this toasting at your leisure, for a toasted marshmallow snacky treat any time you want.
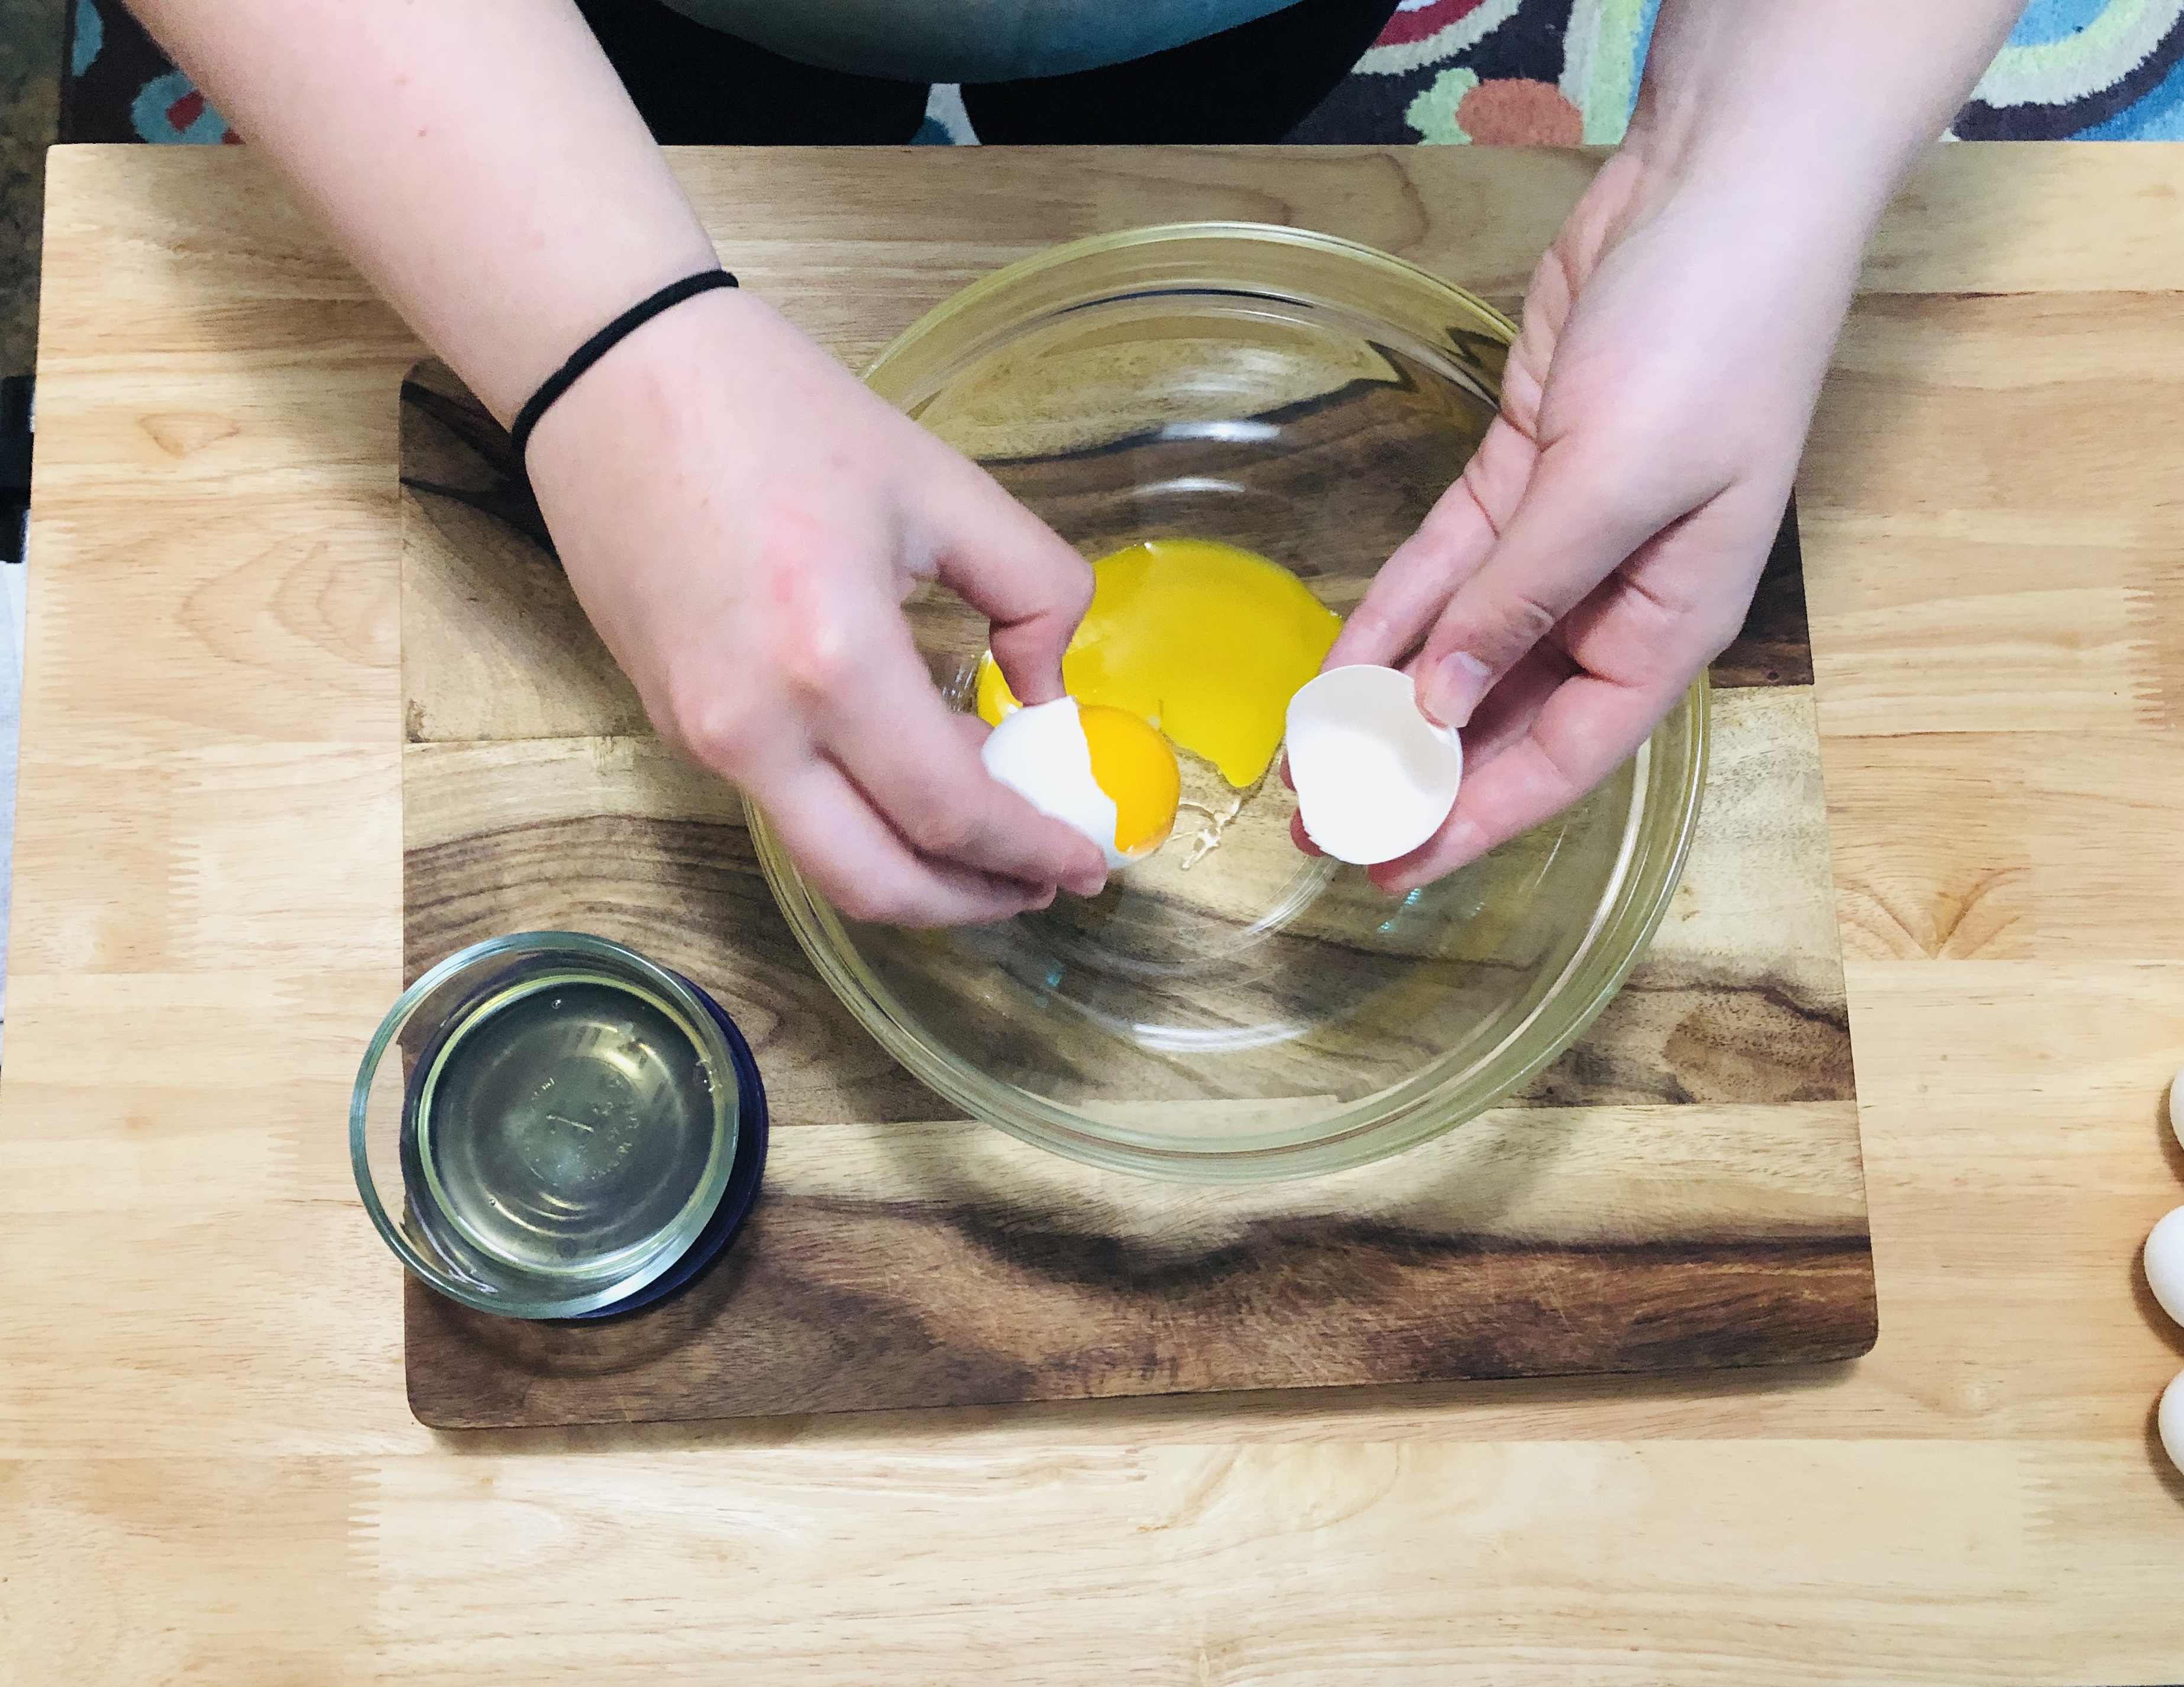
Prepare the custard: Separate the 5 egg yolks into a medium-sized bowl and save the whites for another use (Dan likes to add them to his scrambled eggs- what a health nut). The whites will keep in the fridge for a week or more. Whisk the yolks to combine them and set them aside.
In a medium saucepan over medium-low heat, whisk together the whole milk and sugar until the mixture is steaming, but not boiling. Be patient- you don’t want anything getting boiling hot in this process.
Tip: I used vanilla sugar, which is just sugar I put aside in a jar with some dried out vanilla beans. The result is a lovely, vanilla-fragranced sugar that you can just keep topping off as you use it.
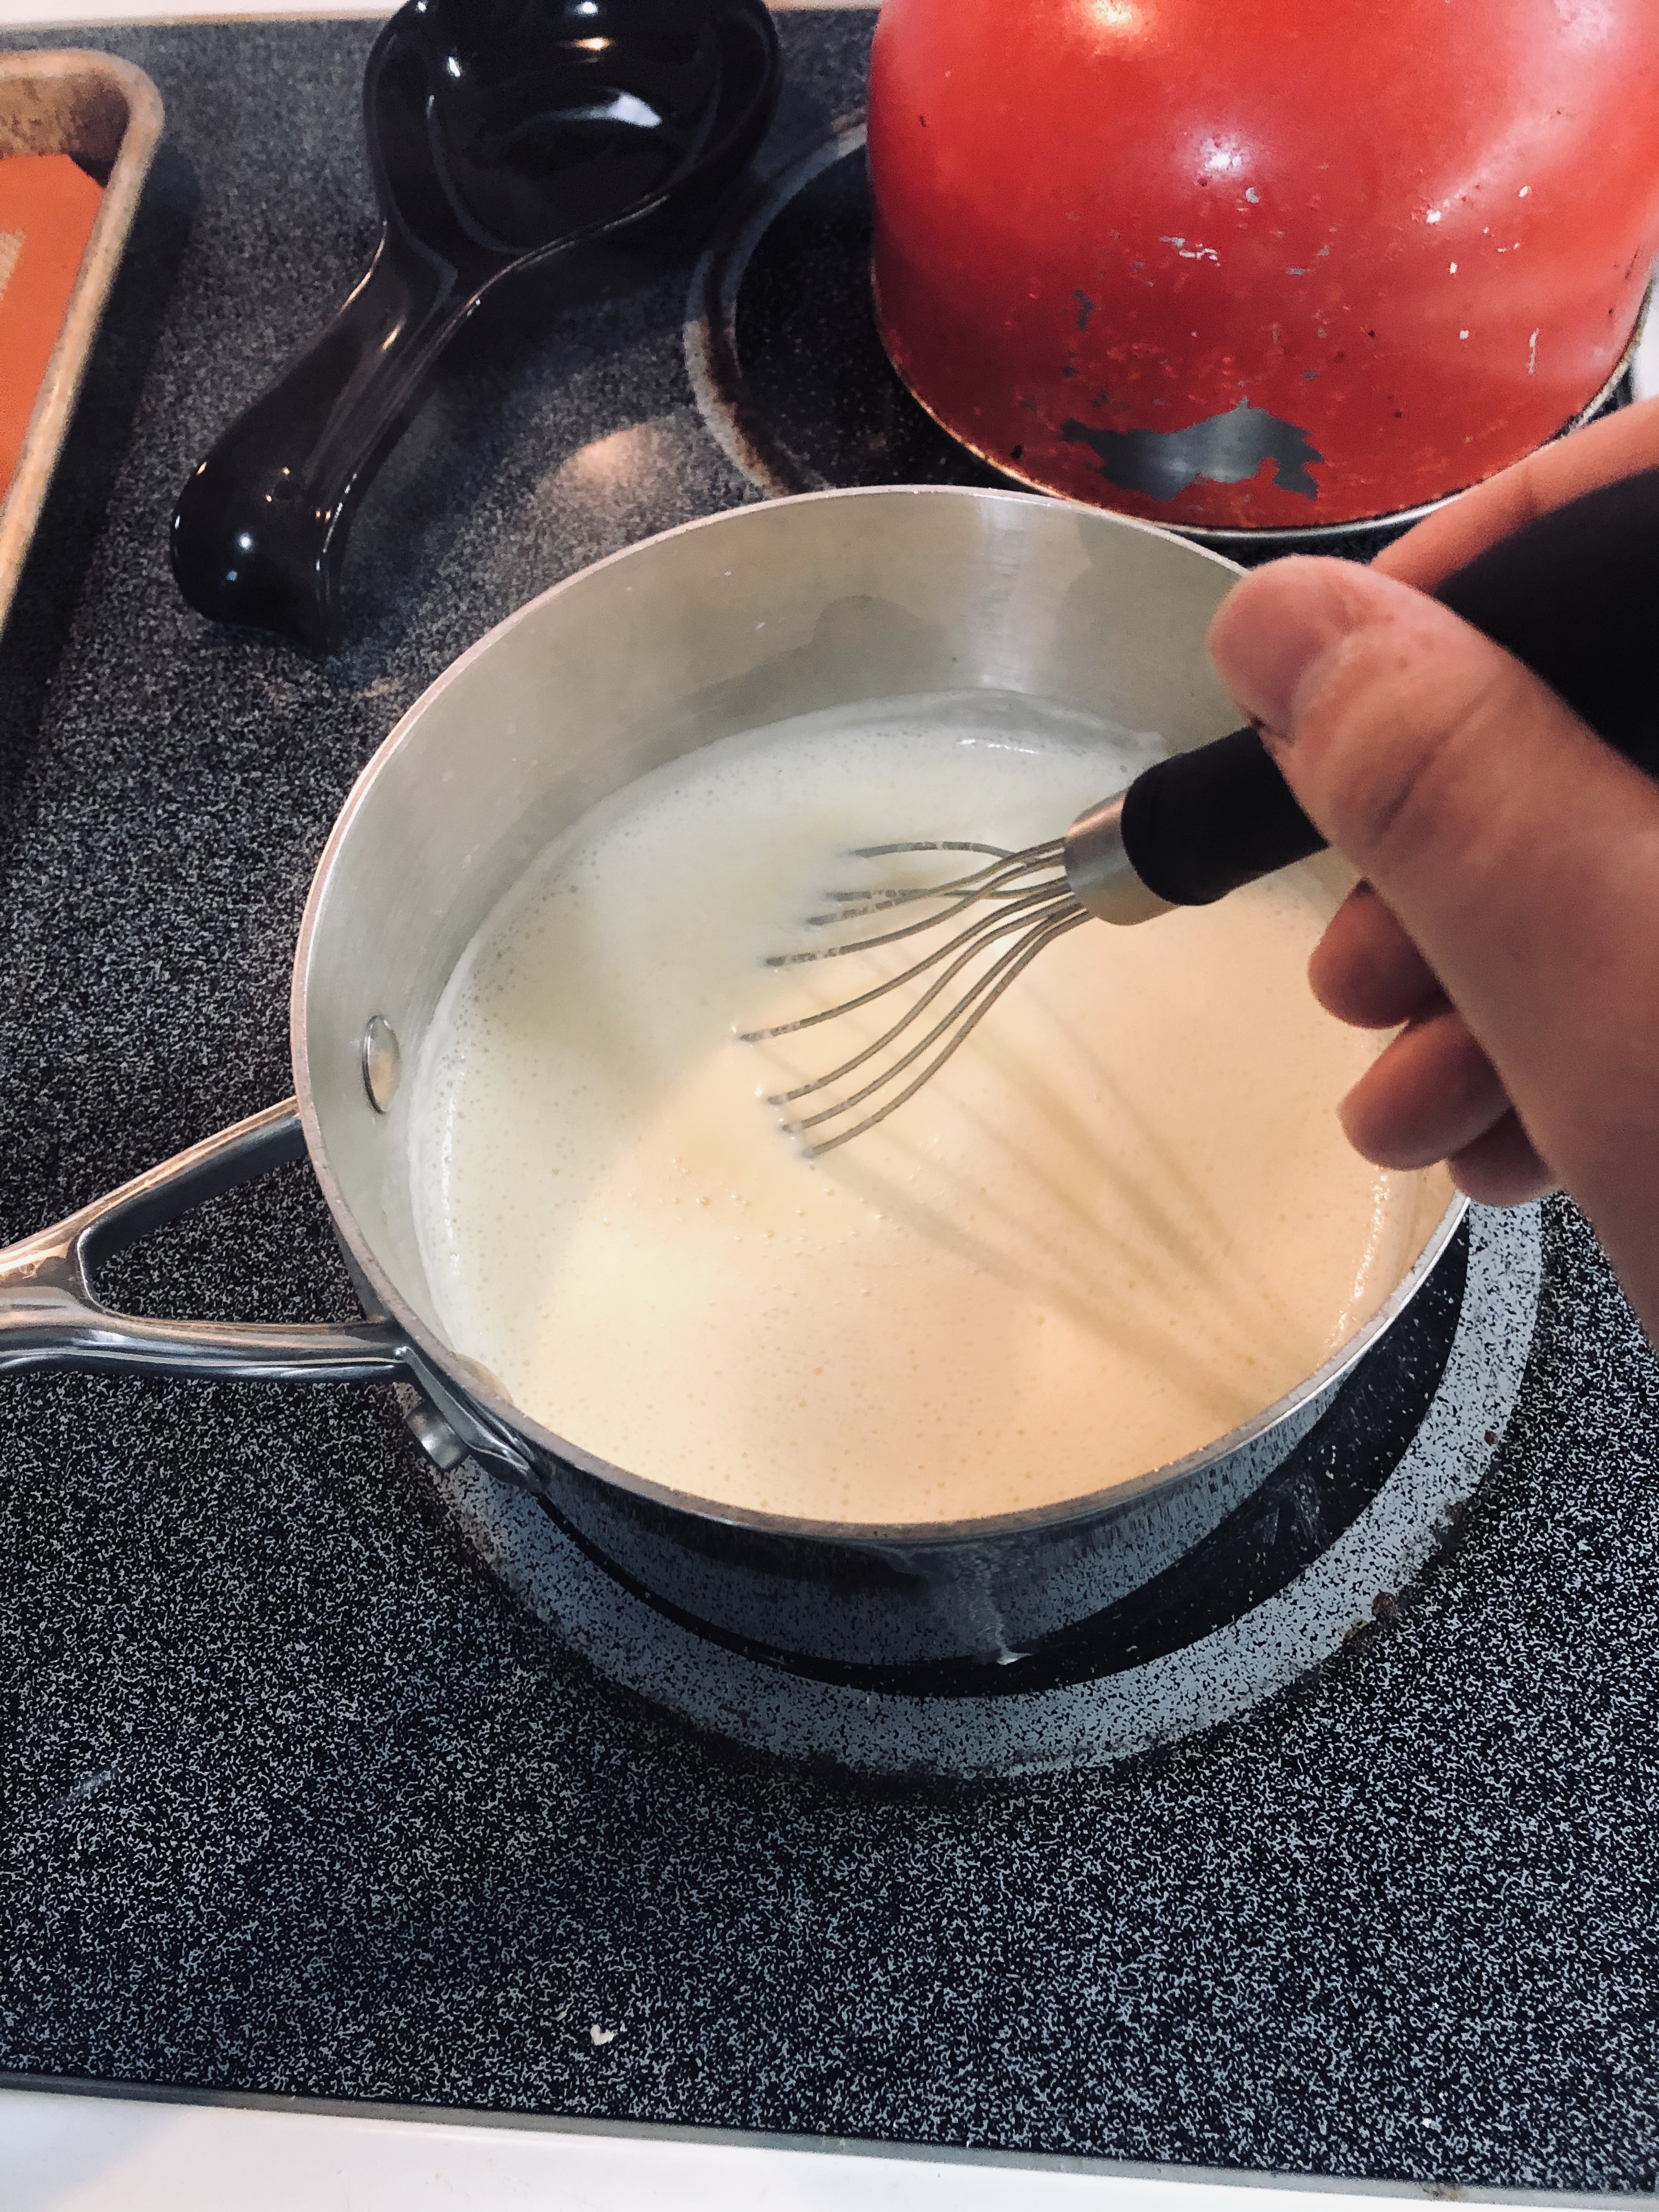
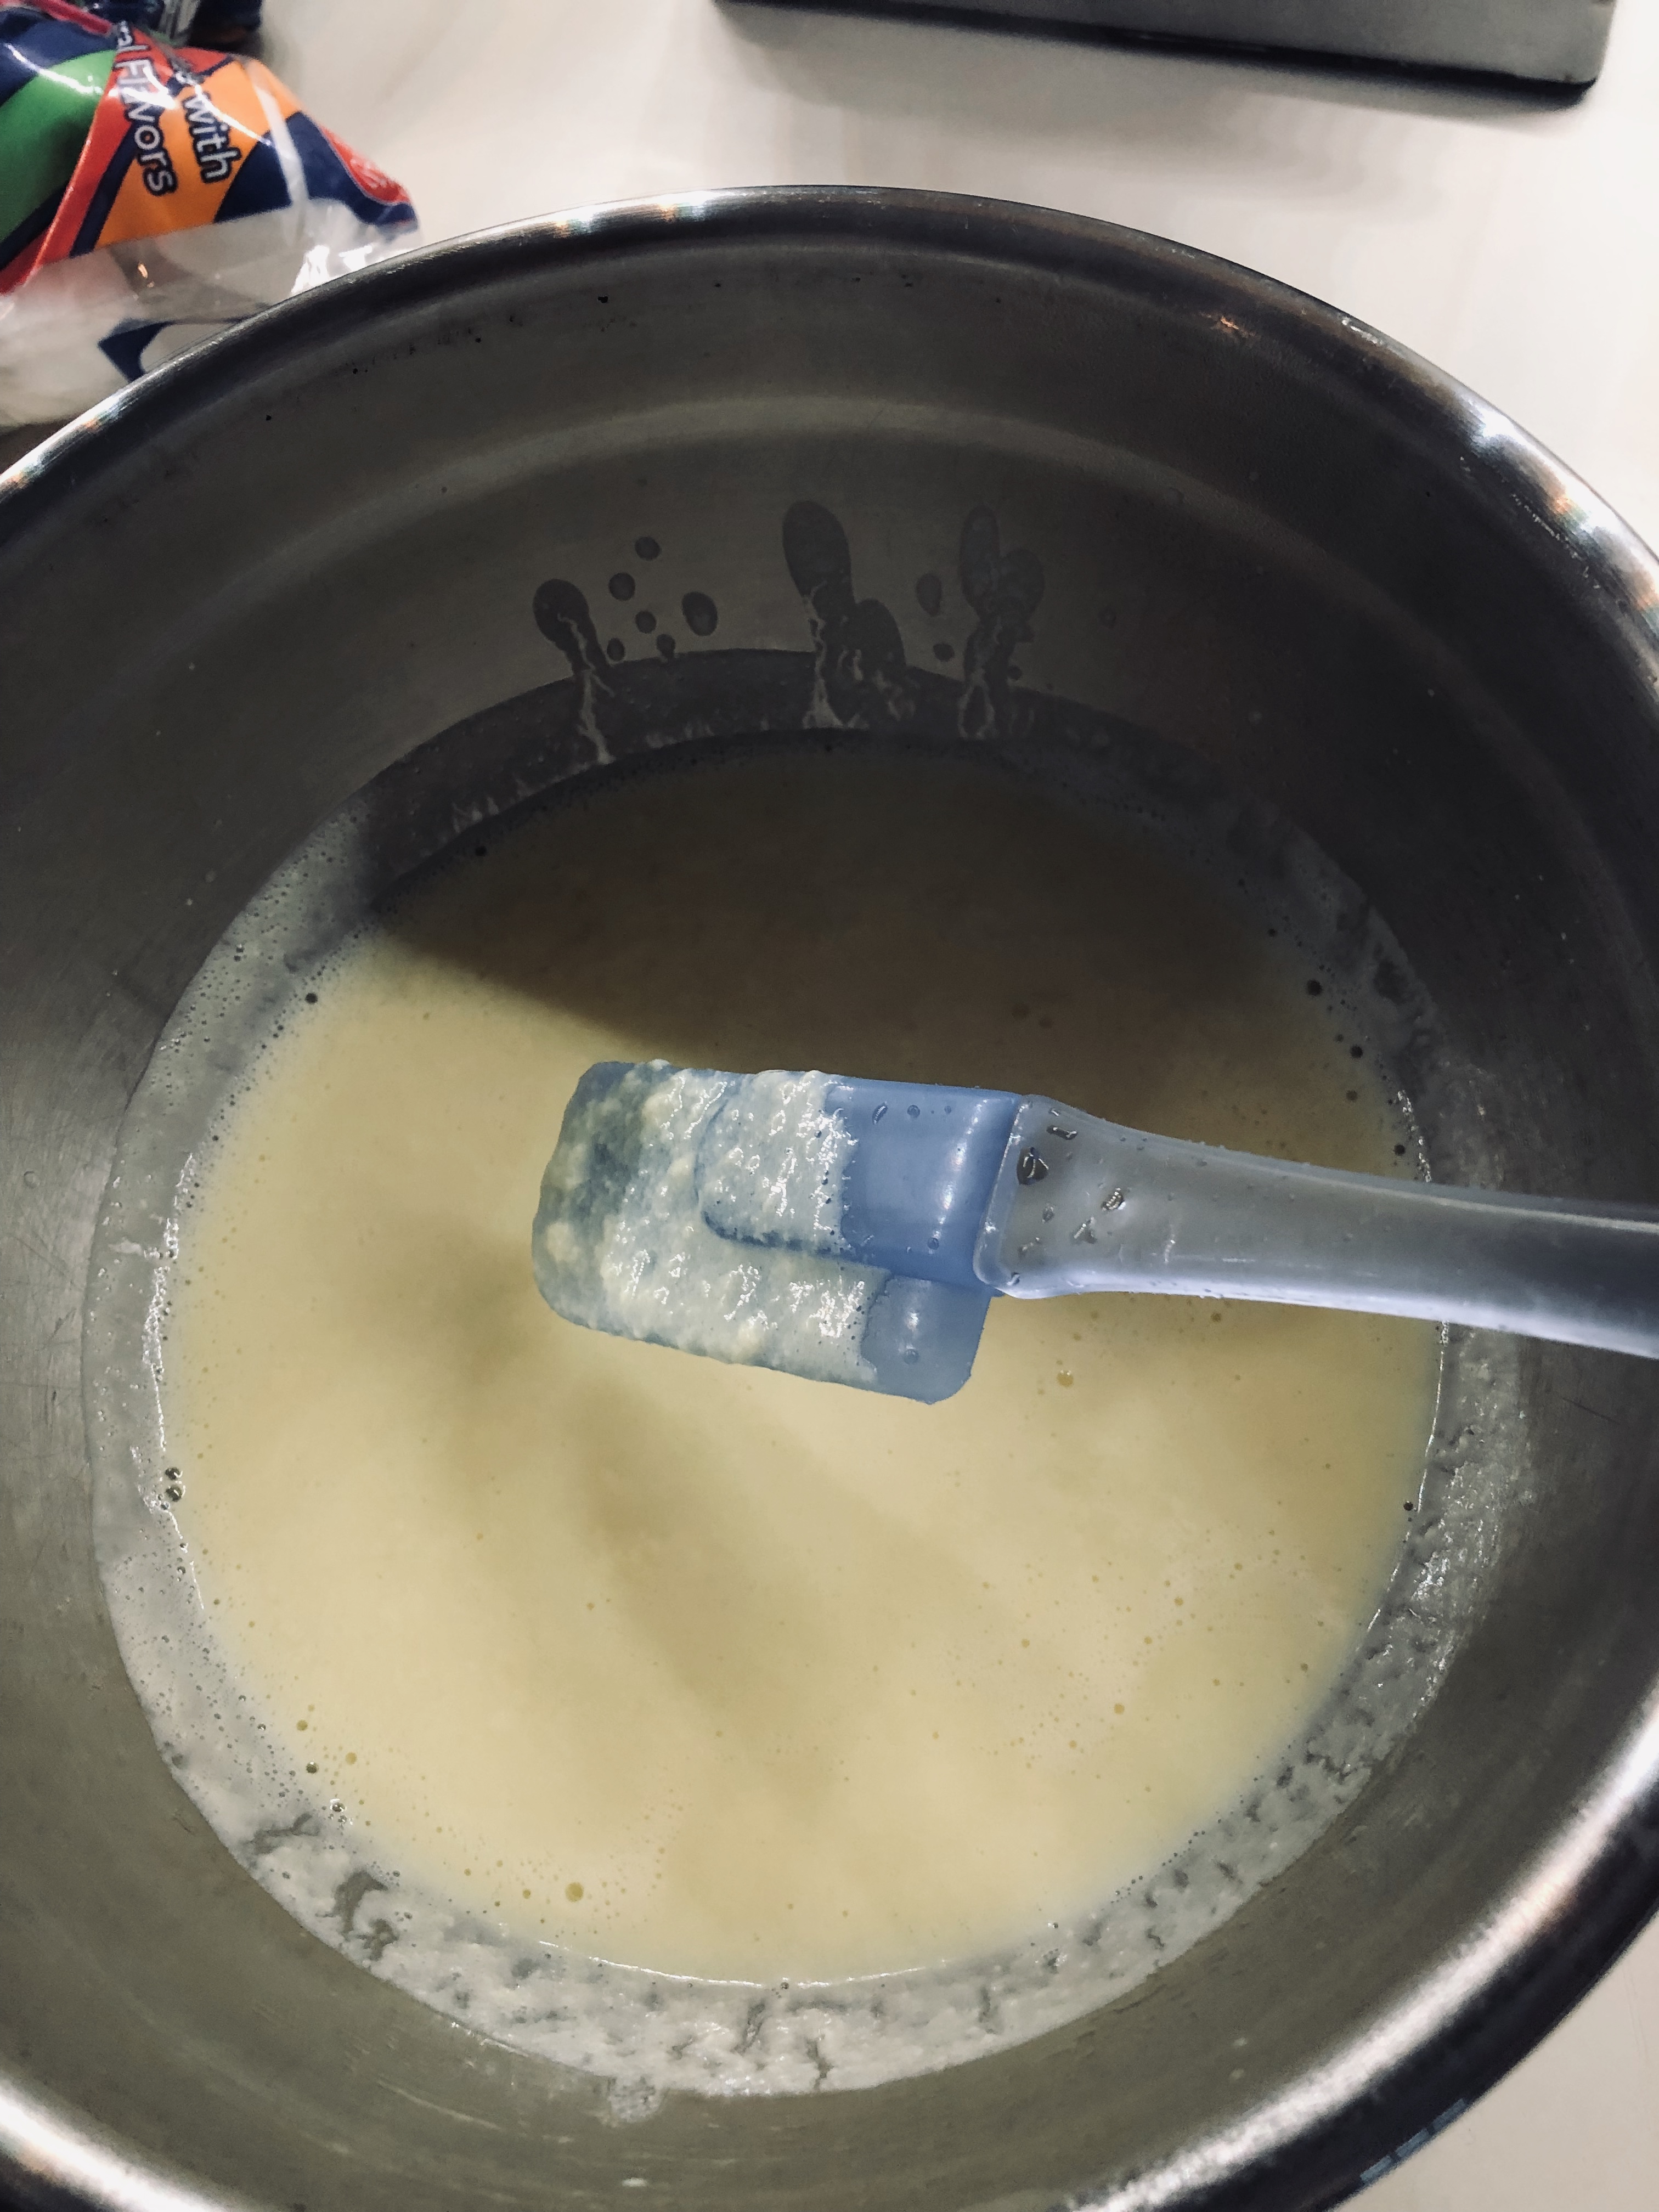
Slowly and carefully pour the hot milk and sugar mixture into the bowl with the egg yolks, whisking vigorously the whole time. This will temper the egg yolks- or bring them up to temperature- SLOWLY so you don’t end up with scrambled eggs. Pour that mixture back into the saucepan, still over medium-low heat. Whisk the mixture or switch to a rubber spatula to stir, and keep the mixture moving constantly. All you want is to see that the custard is steaming. Anything further than that and you risk curdling the eggs, which looks like this:
The mixture has separated and is filled with egg yolk solids. However many times I’ve made ice cream, I still get overzealous with the heat sometimes and curdle my mixture every once in a while. It’s an excellent idea to have a surplus of ingredients on hand for this very reason. Don’t be like me.
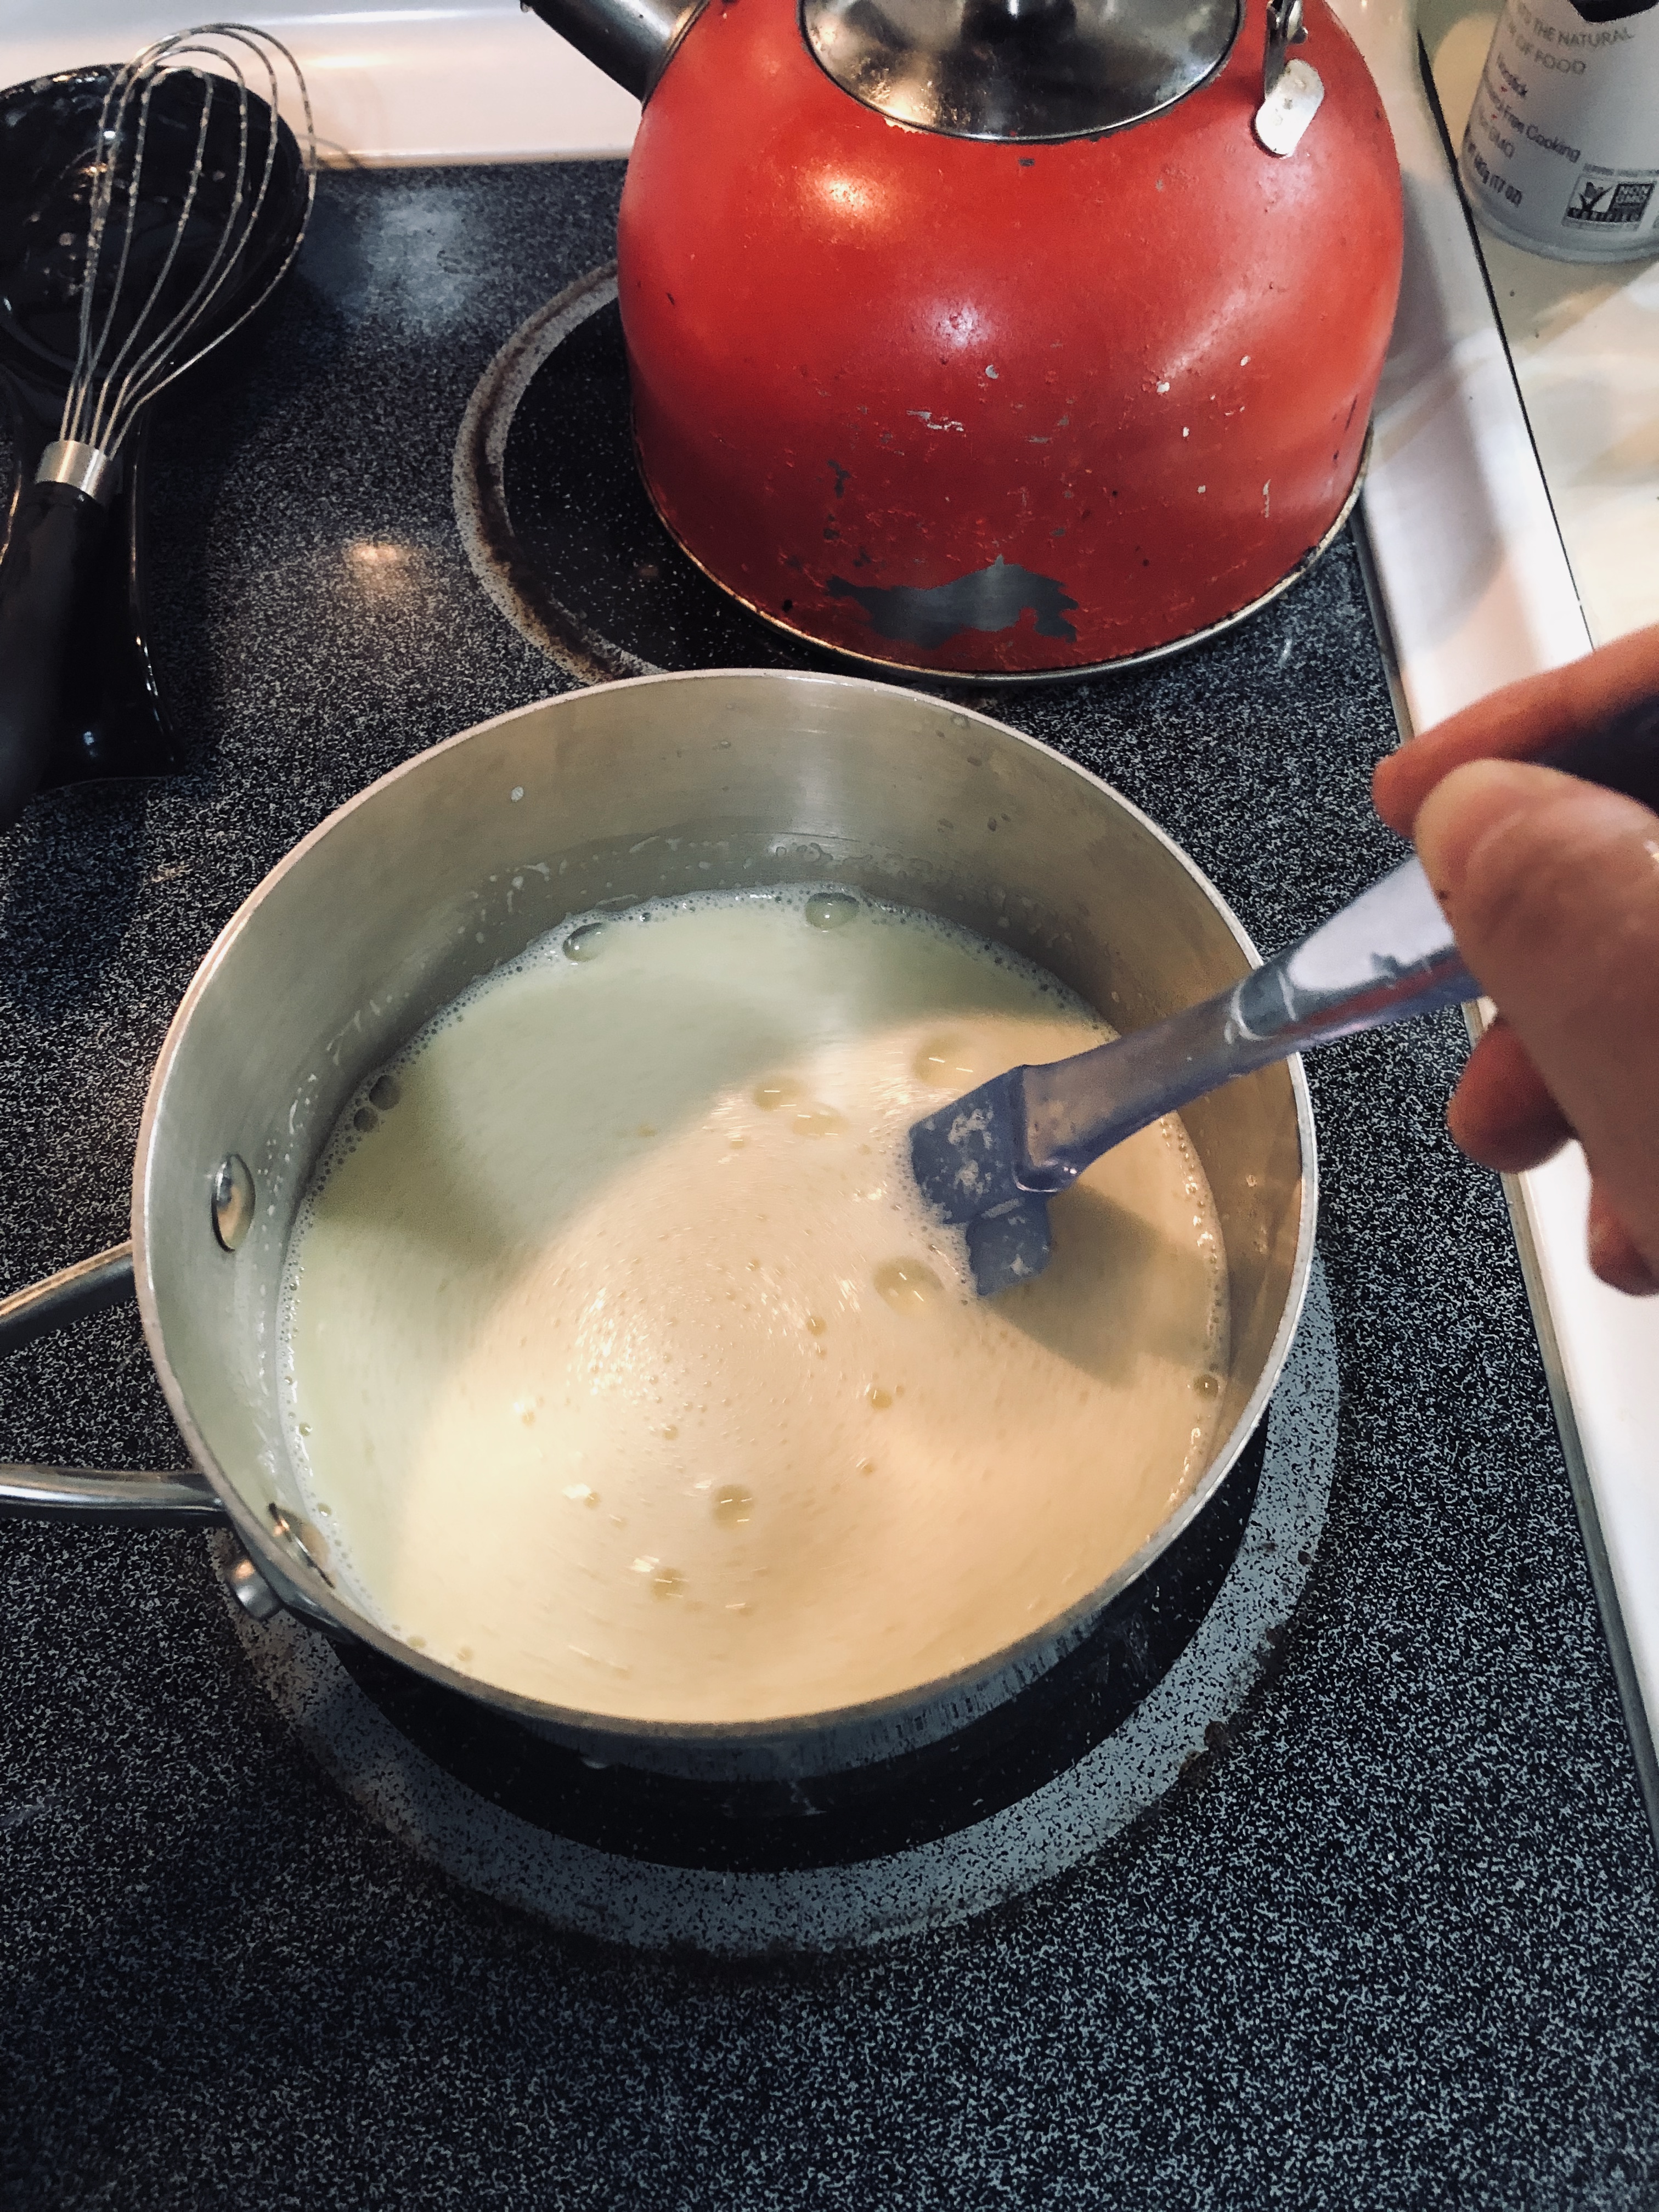
Here is my second batch:
Much better! Please ignore the dilapidated teapot on our dilapidated stove.
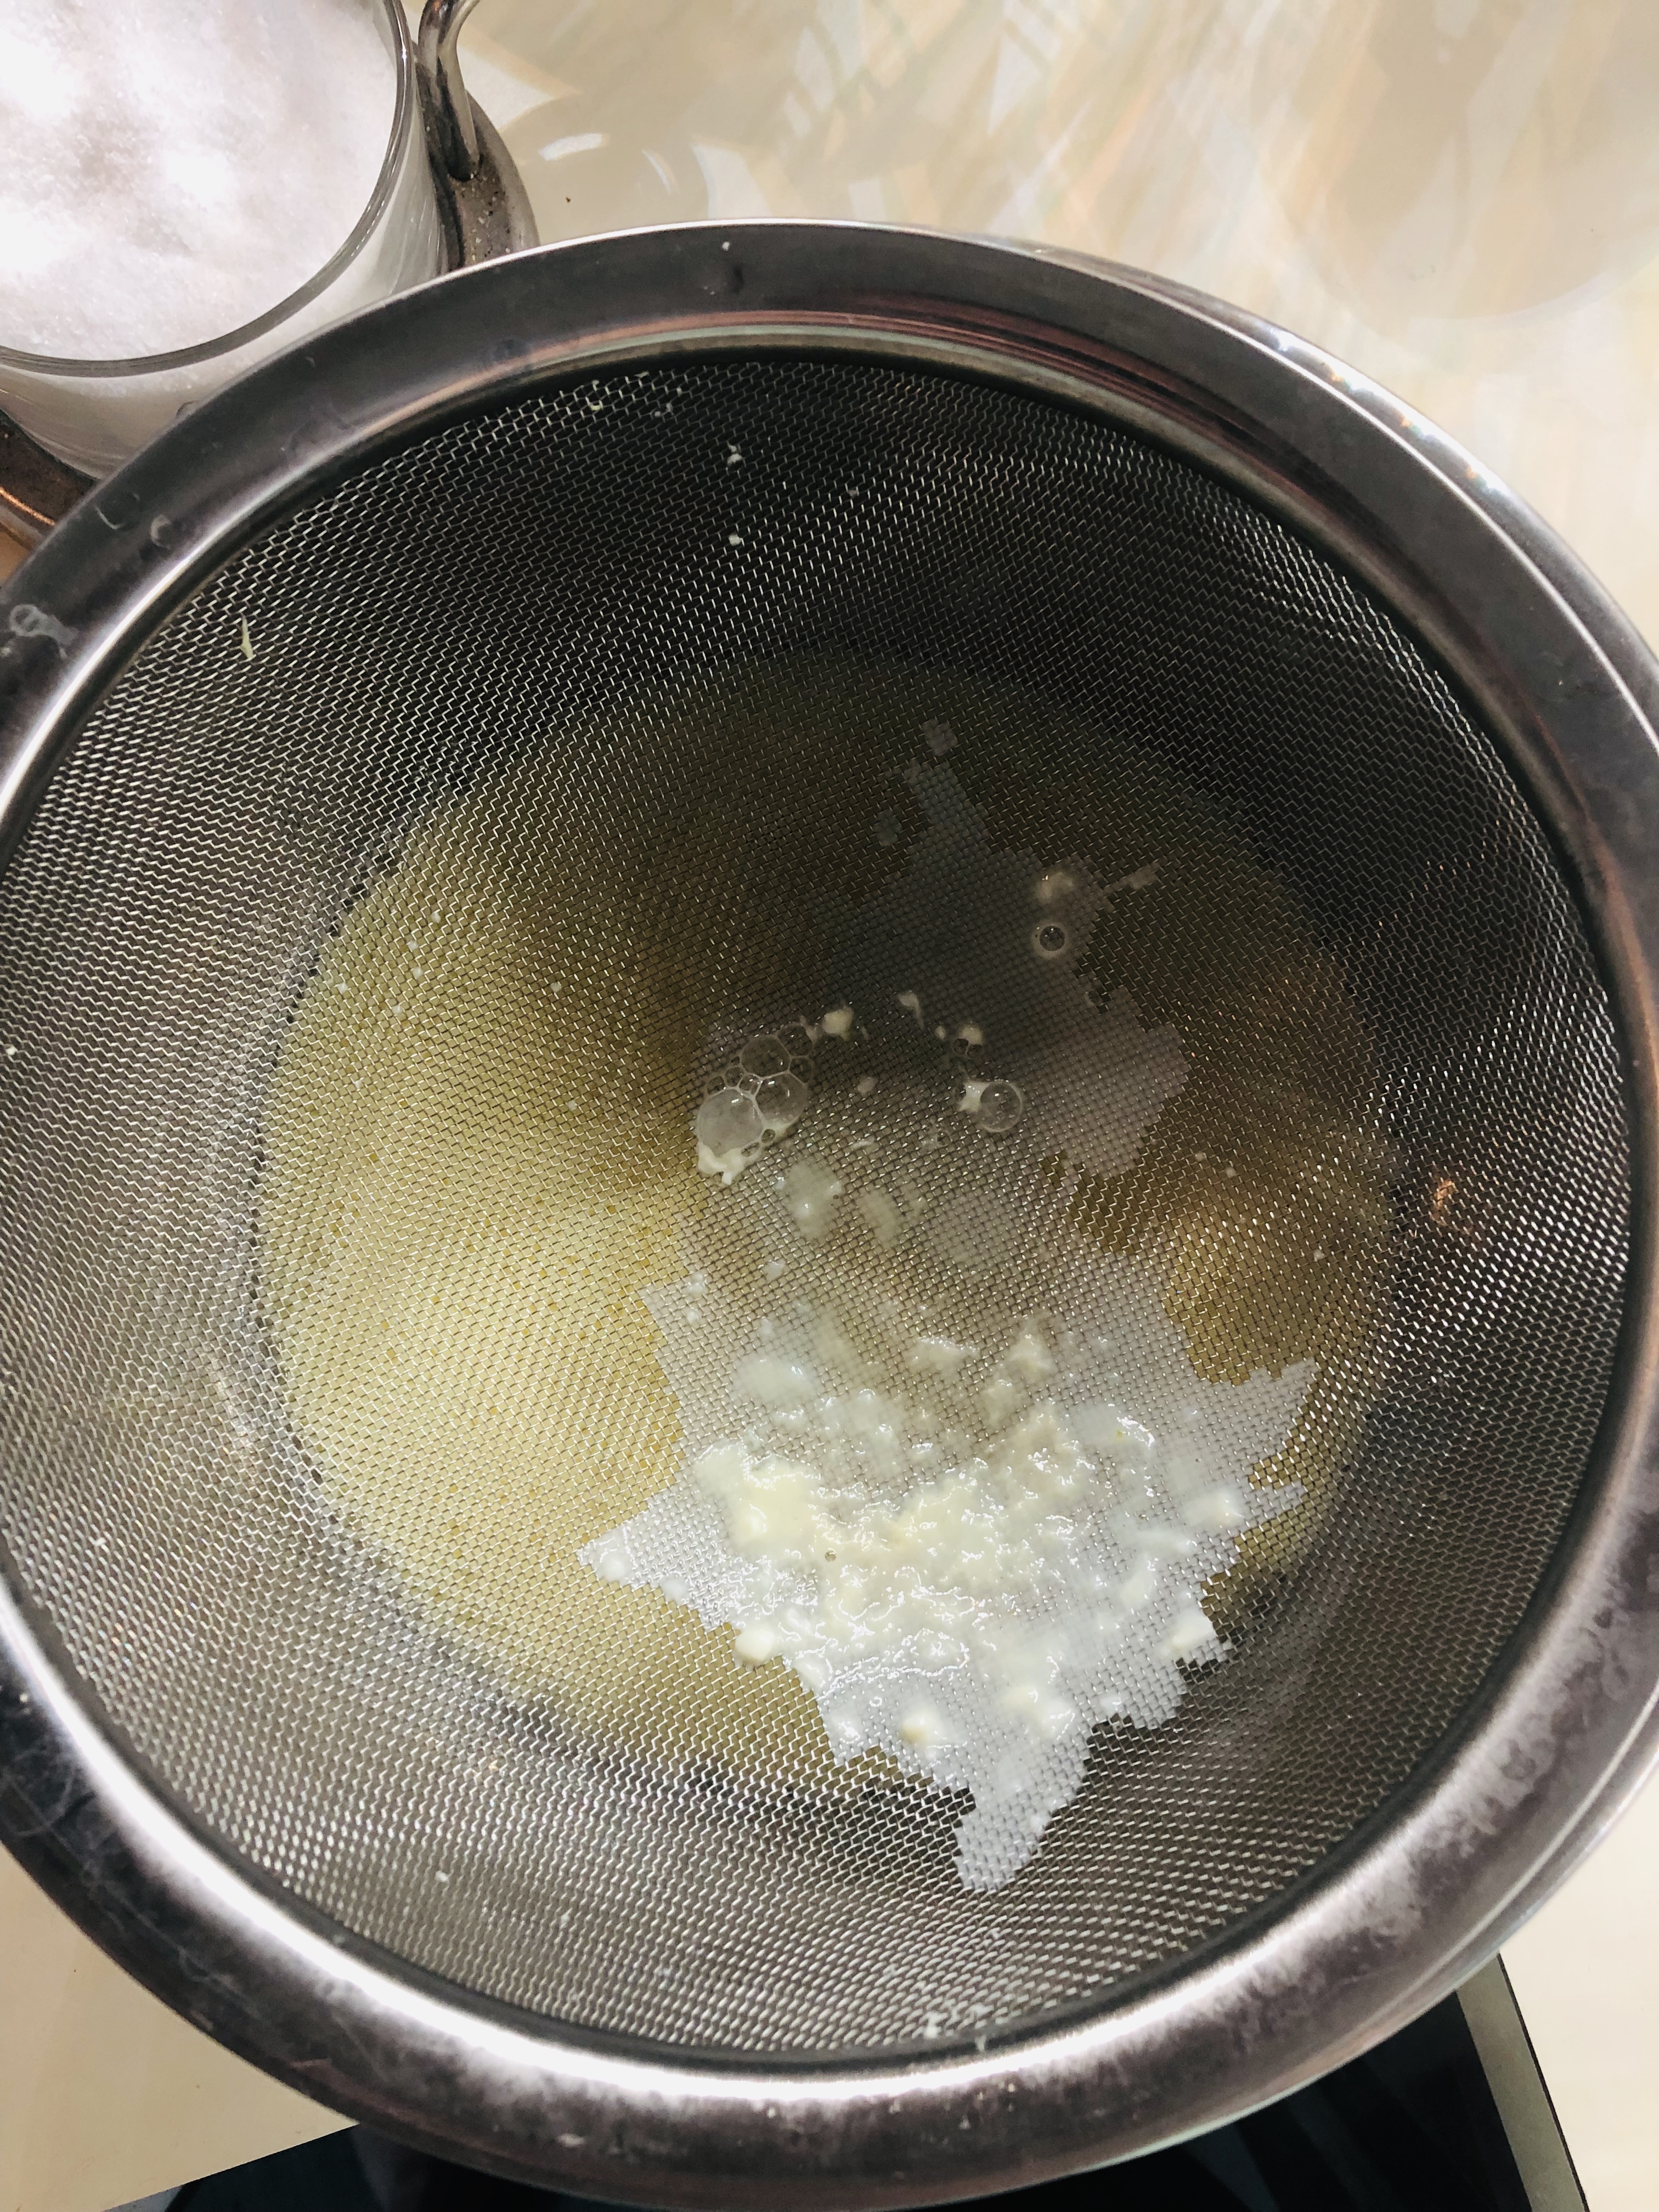
It is frothy because of the vigorous whisking, which is just fine. The rubber spatula allows you to see the texture of the mixture much more easily, as it sits on the spatula. Once your custard is hot and steamy (ay-oh!) pour it immediately into the bowl fitted with the fine mesh strainer. There is almost always a small collection of solids at the bottom, which you don’t want in your ice cream.
Remove the strainer and stir in the heavy cream, vanilla, and a pinch of salt.
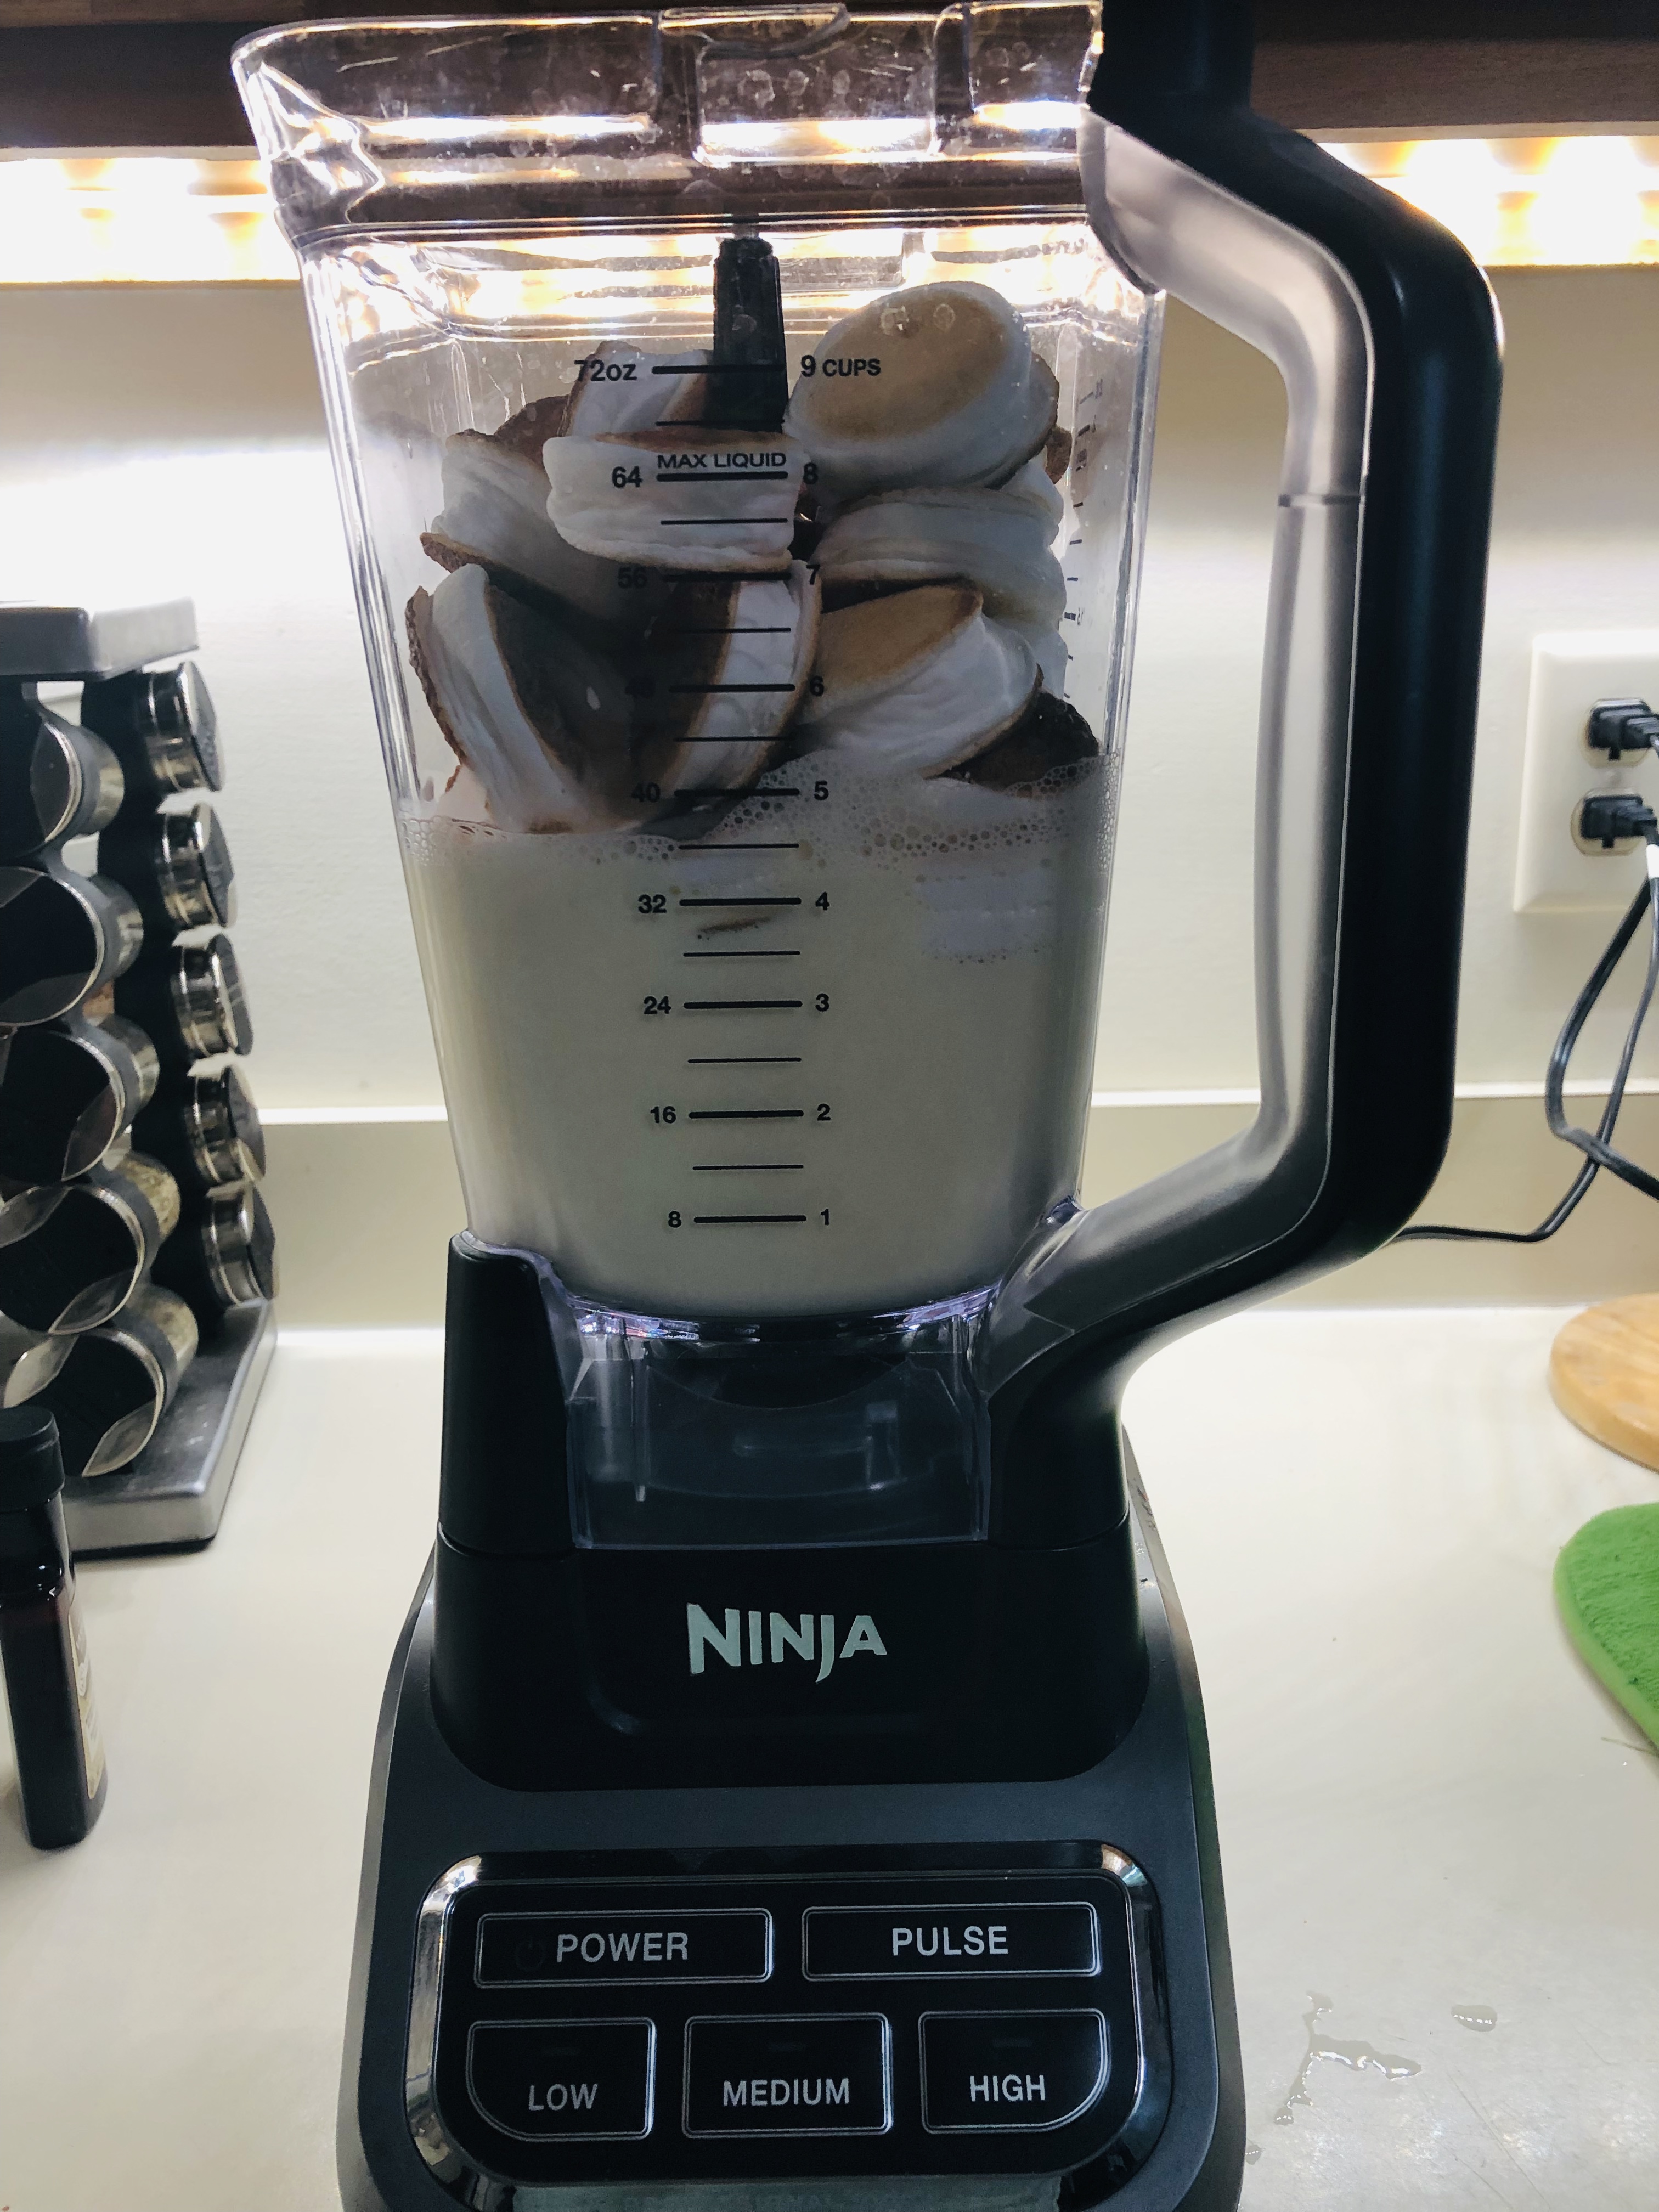
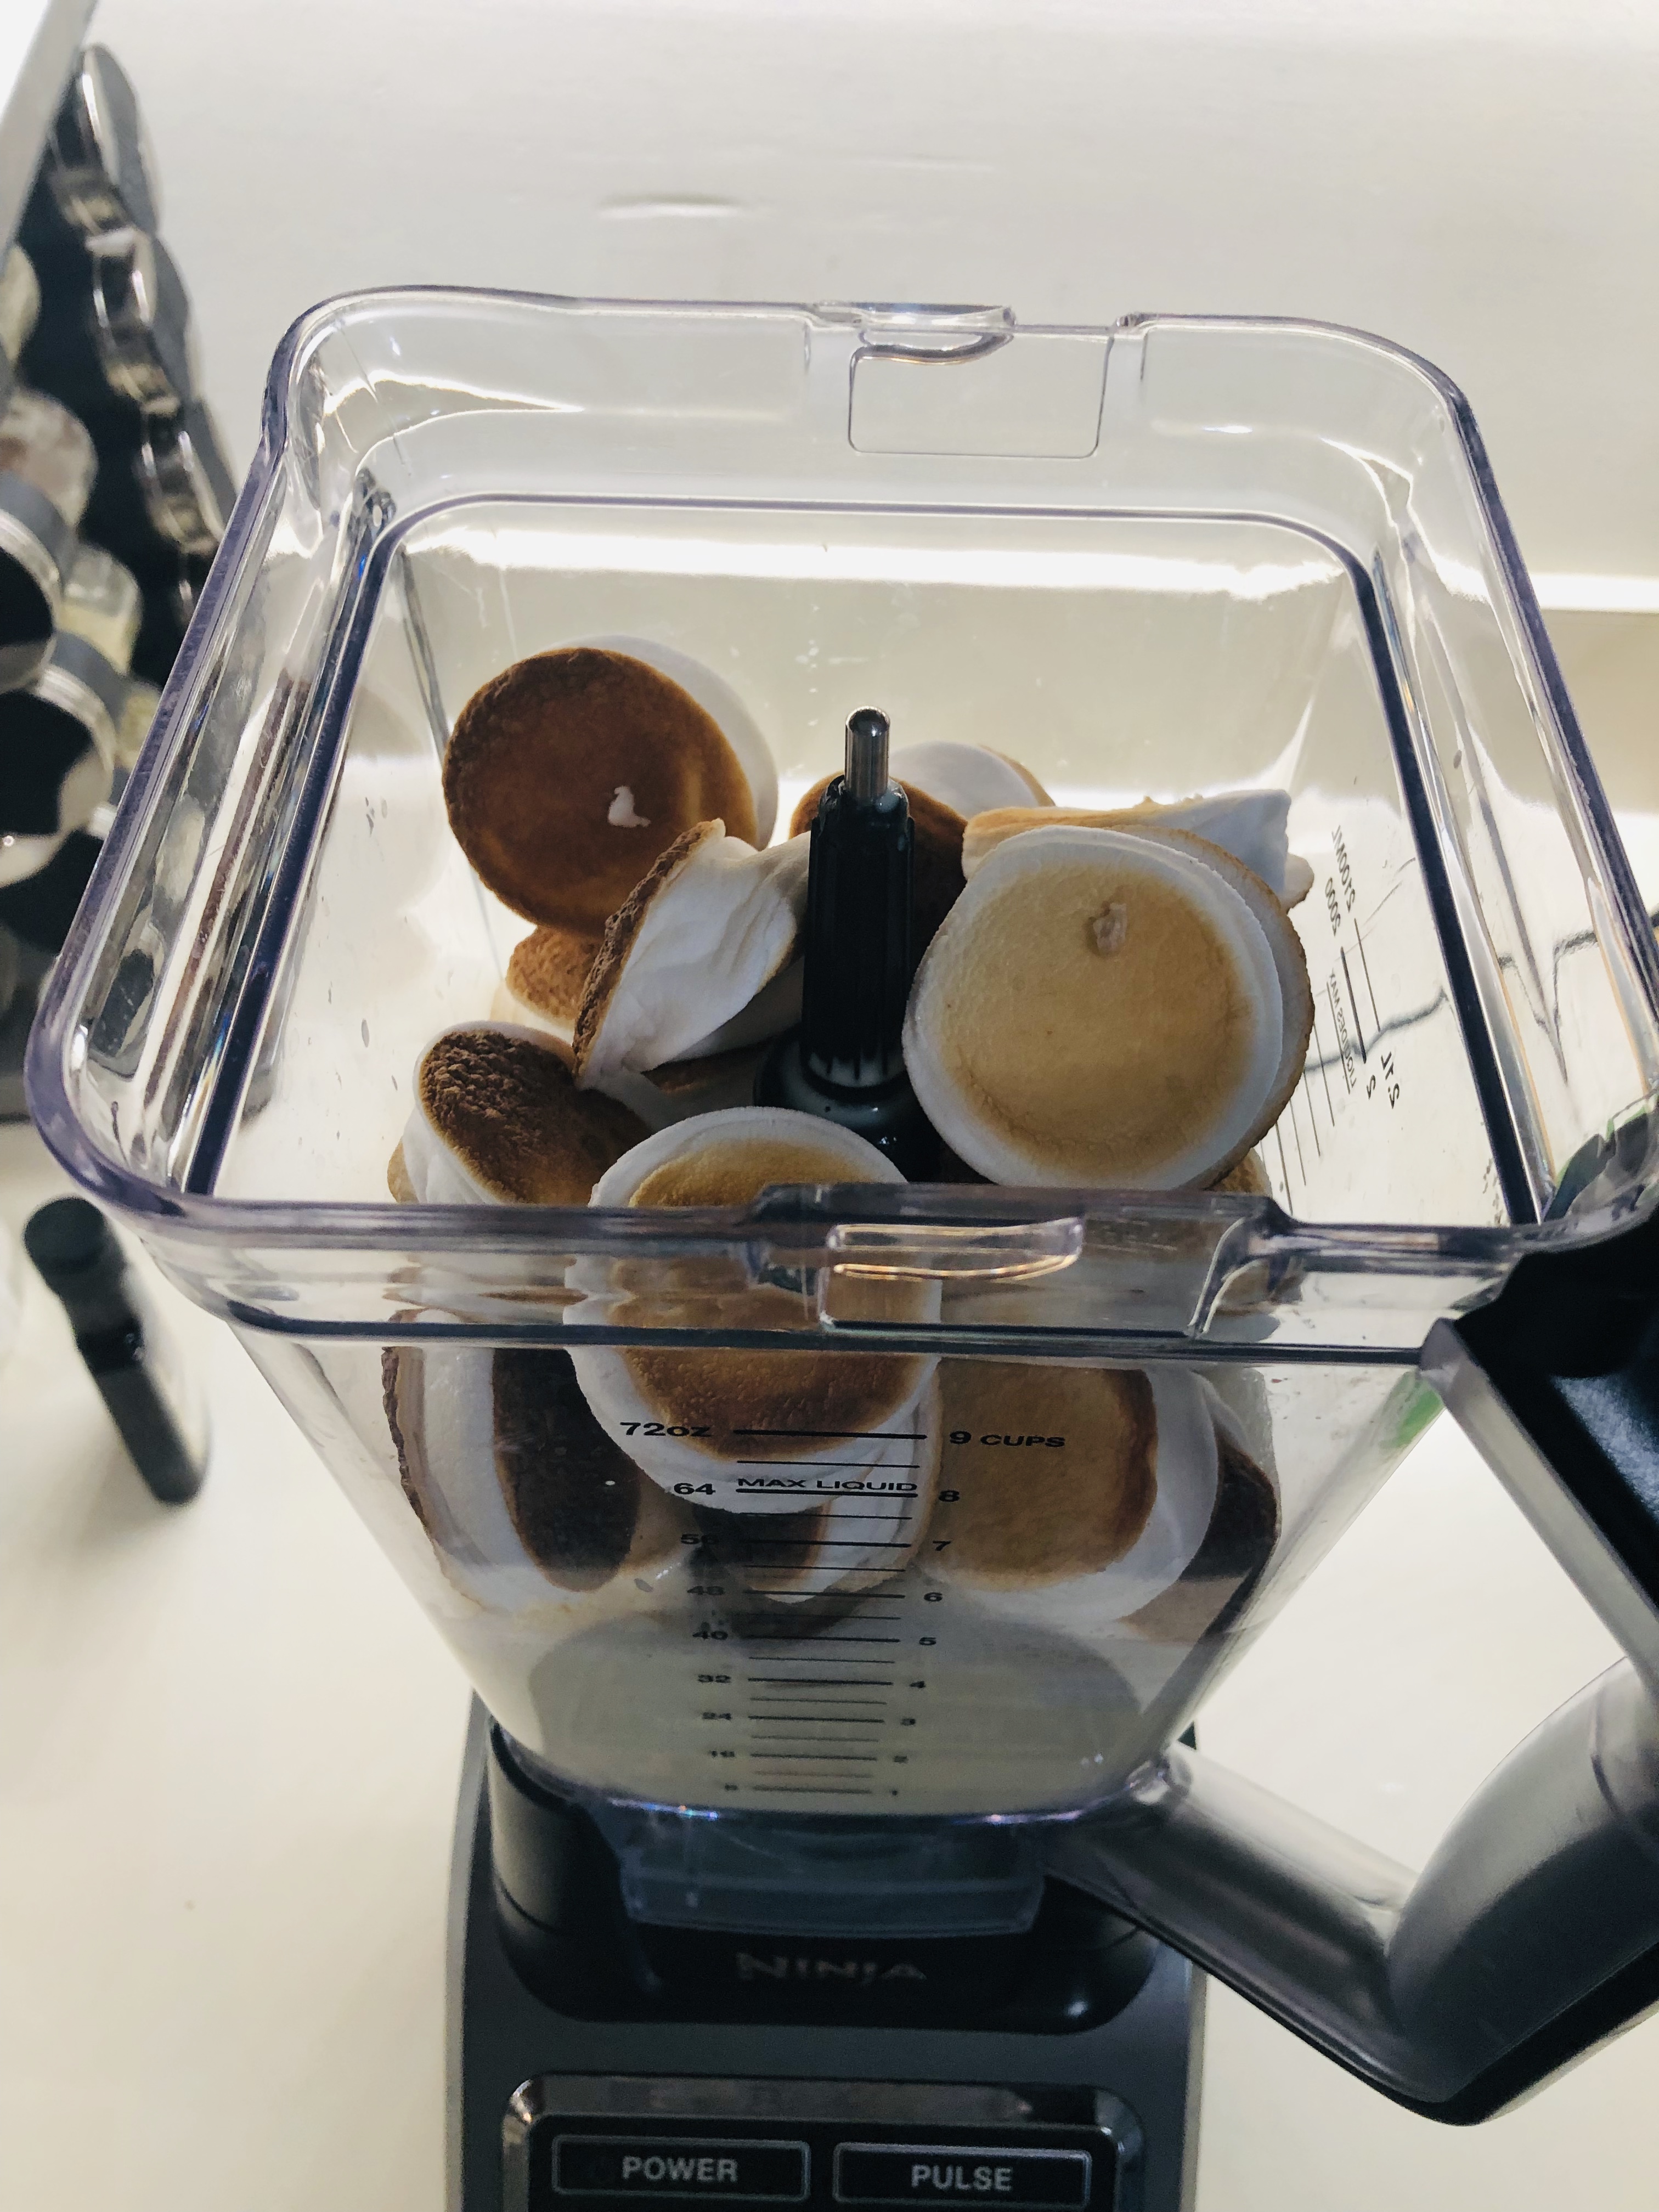
Blend the custard: This is when the true magic happens. Carefully pour your smooth, silky custard base into a blender or food processor (check your appliance’s liquid capacity BEFORE you do any pouring, just in case) and plop in the cooled, toasted marshmallows. Then blend, blend, blend! You’ll still see tiny specks of toasted marshmallow, but otherwise the mixture should be totally blended and smooth. Then pour your ice cream base into a bowl with a lid or an airtight container and stick in the fridge until it is completely cold. I know, you thought you’d be eating ice cream within an hour or two. Sorry…
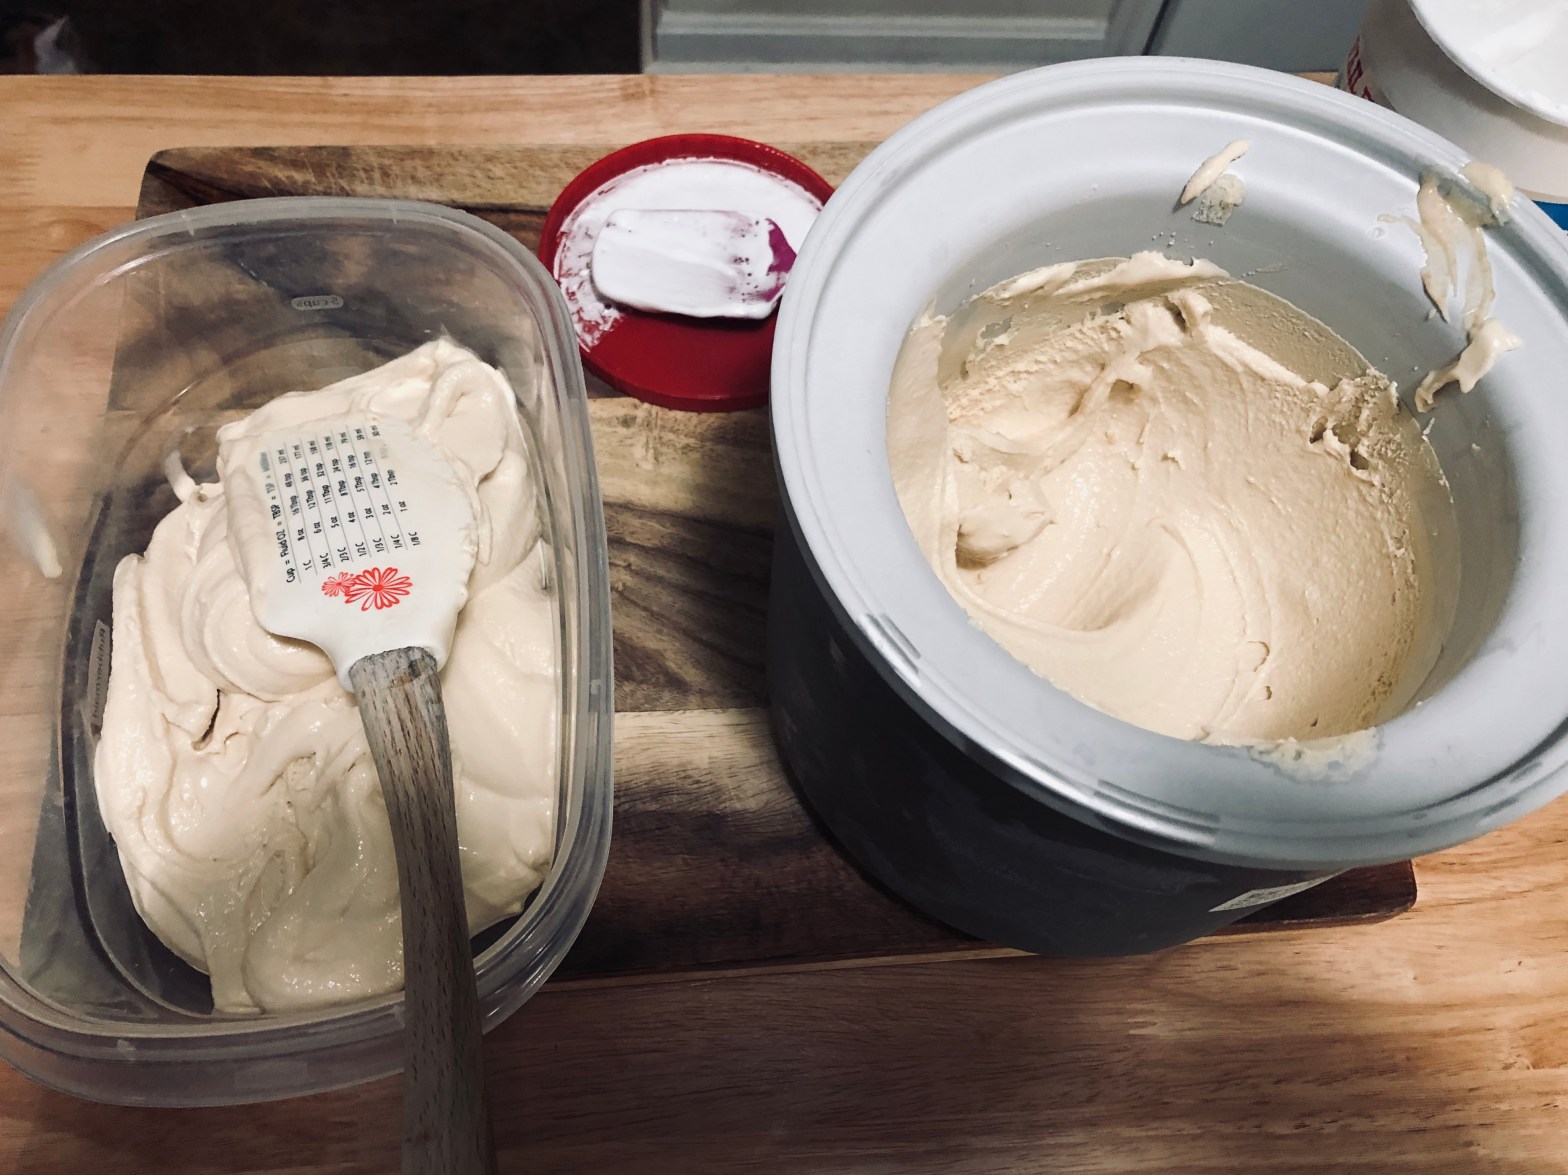
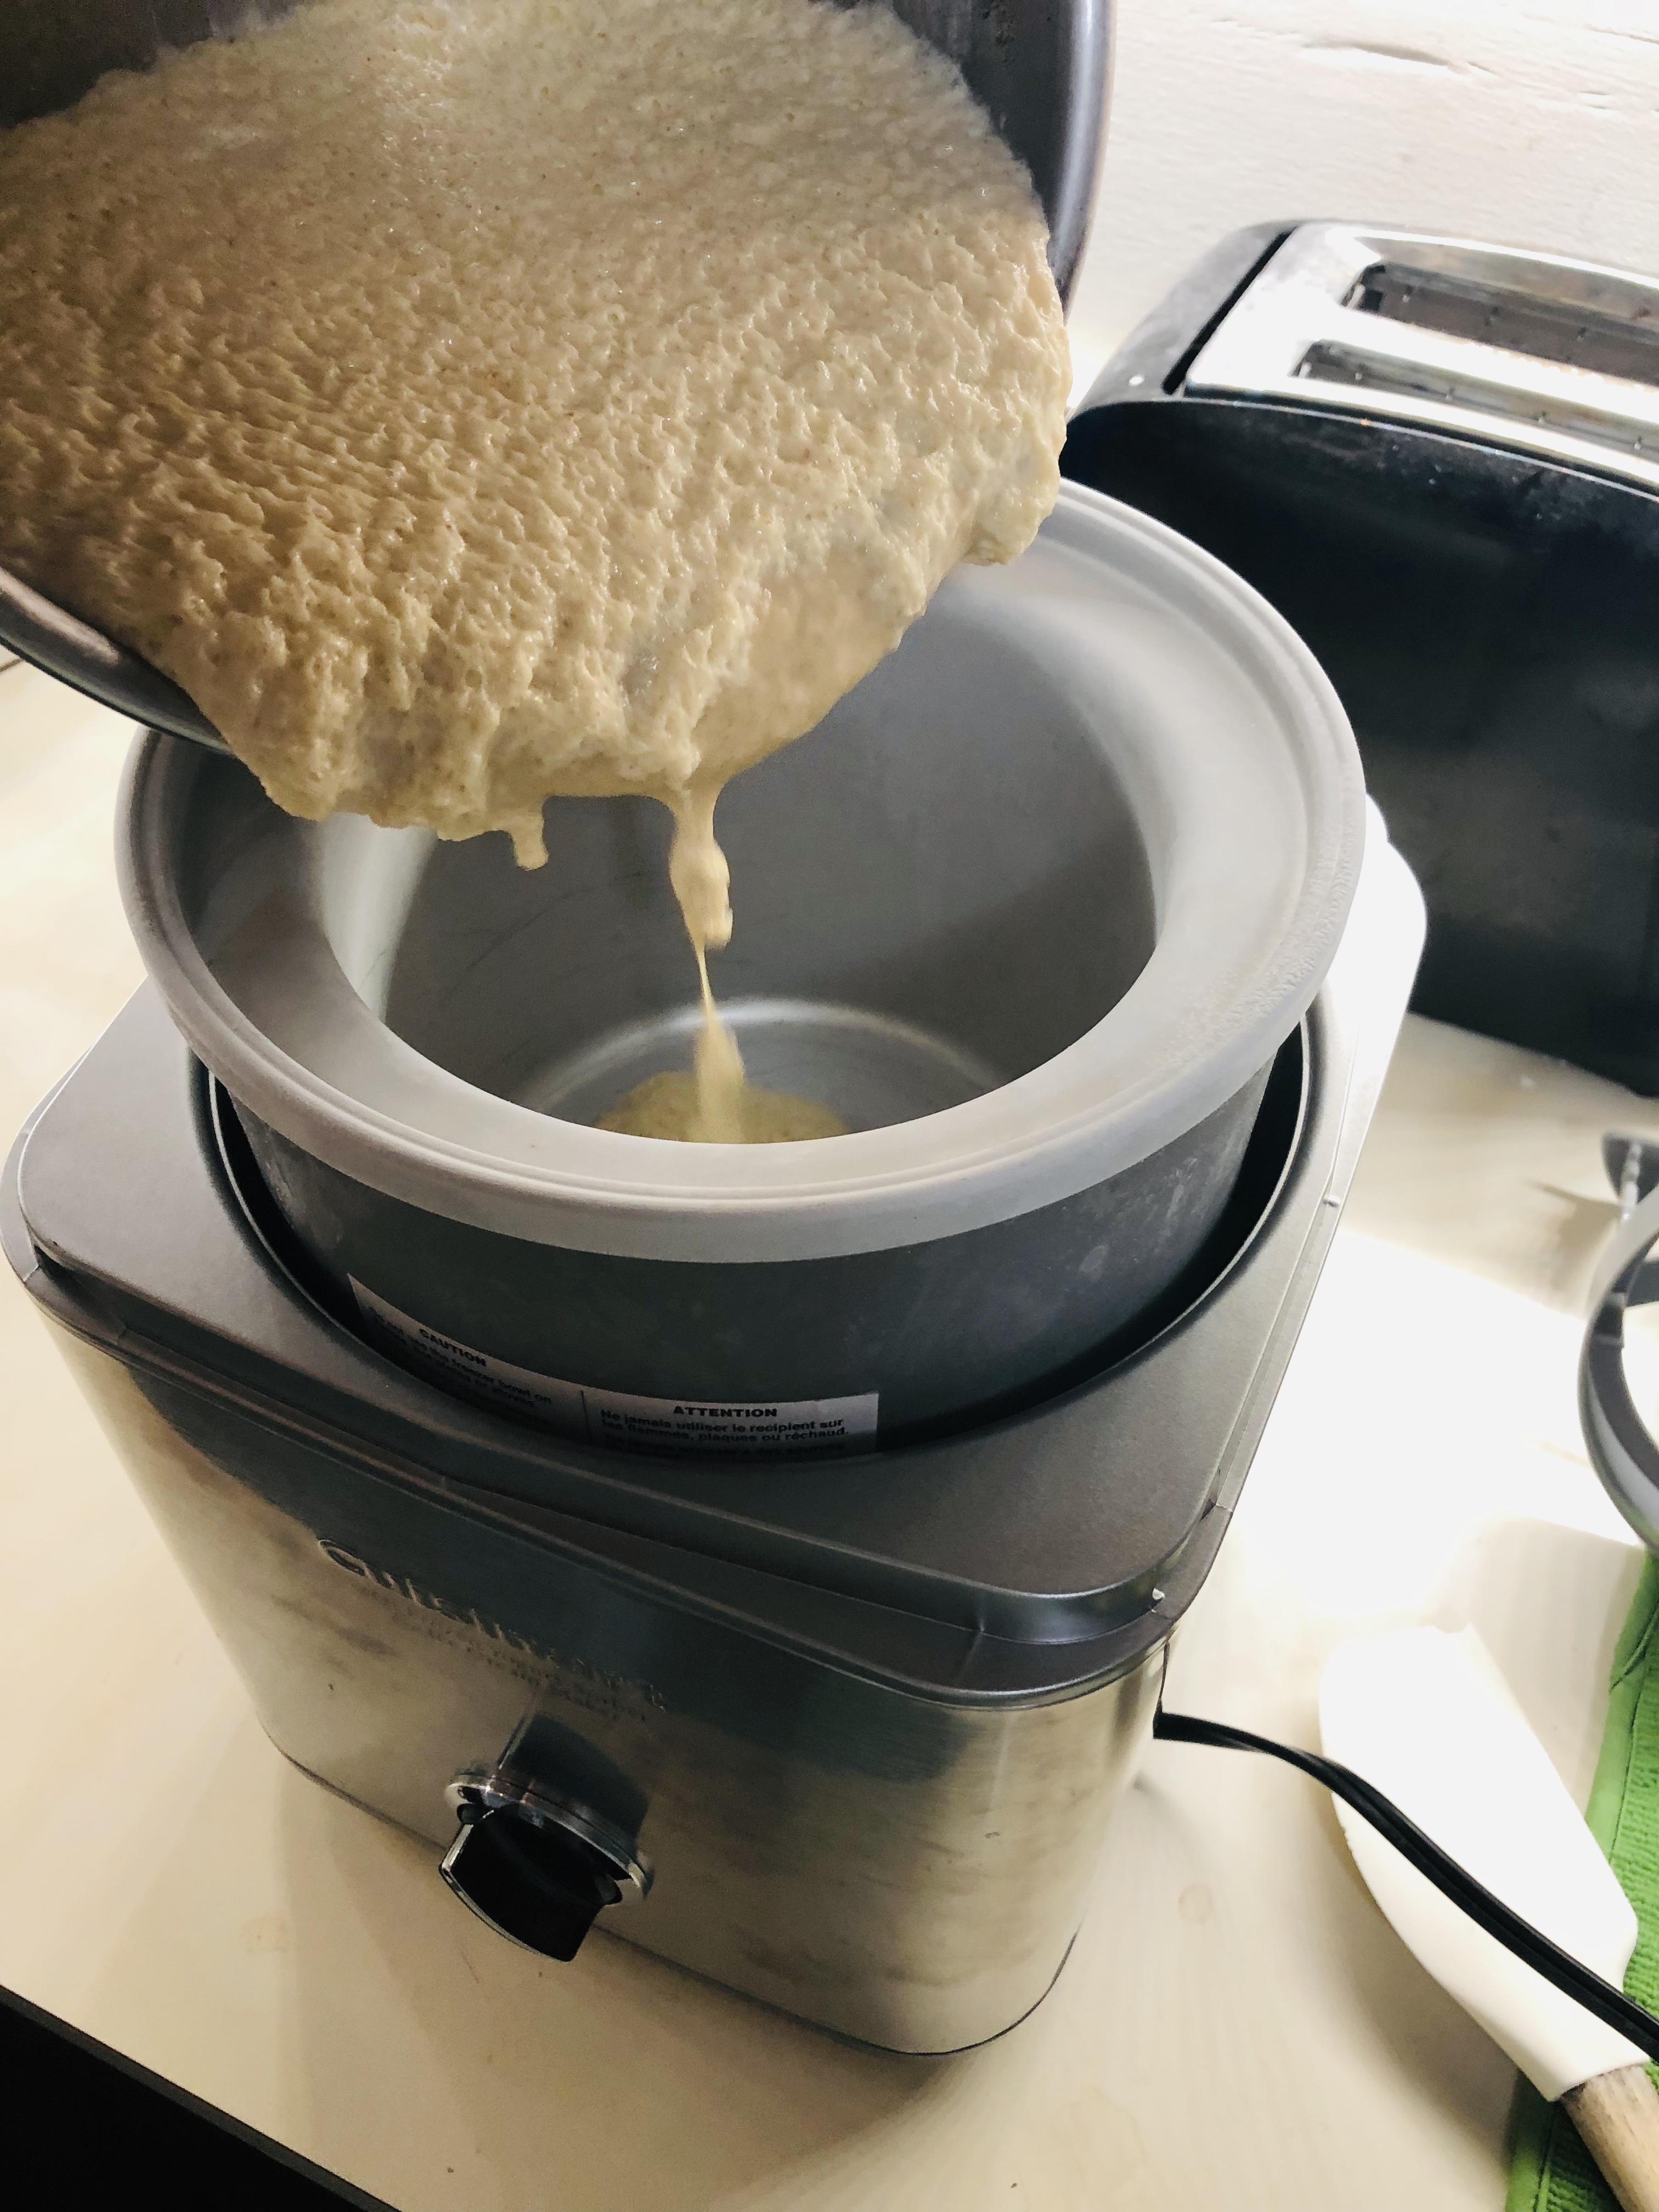
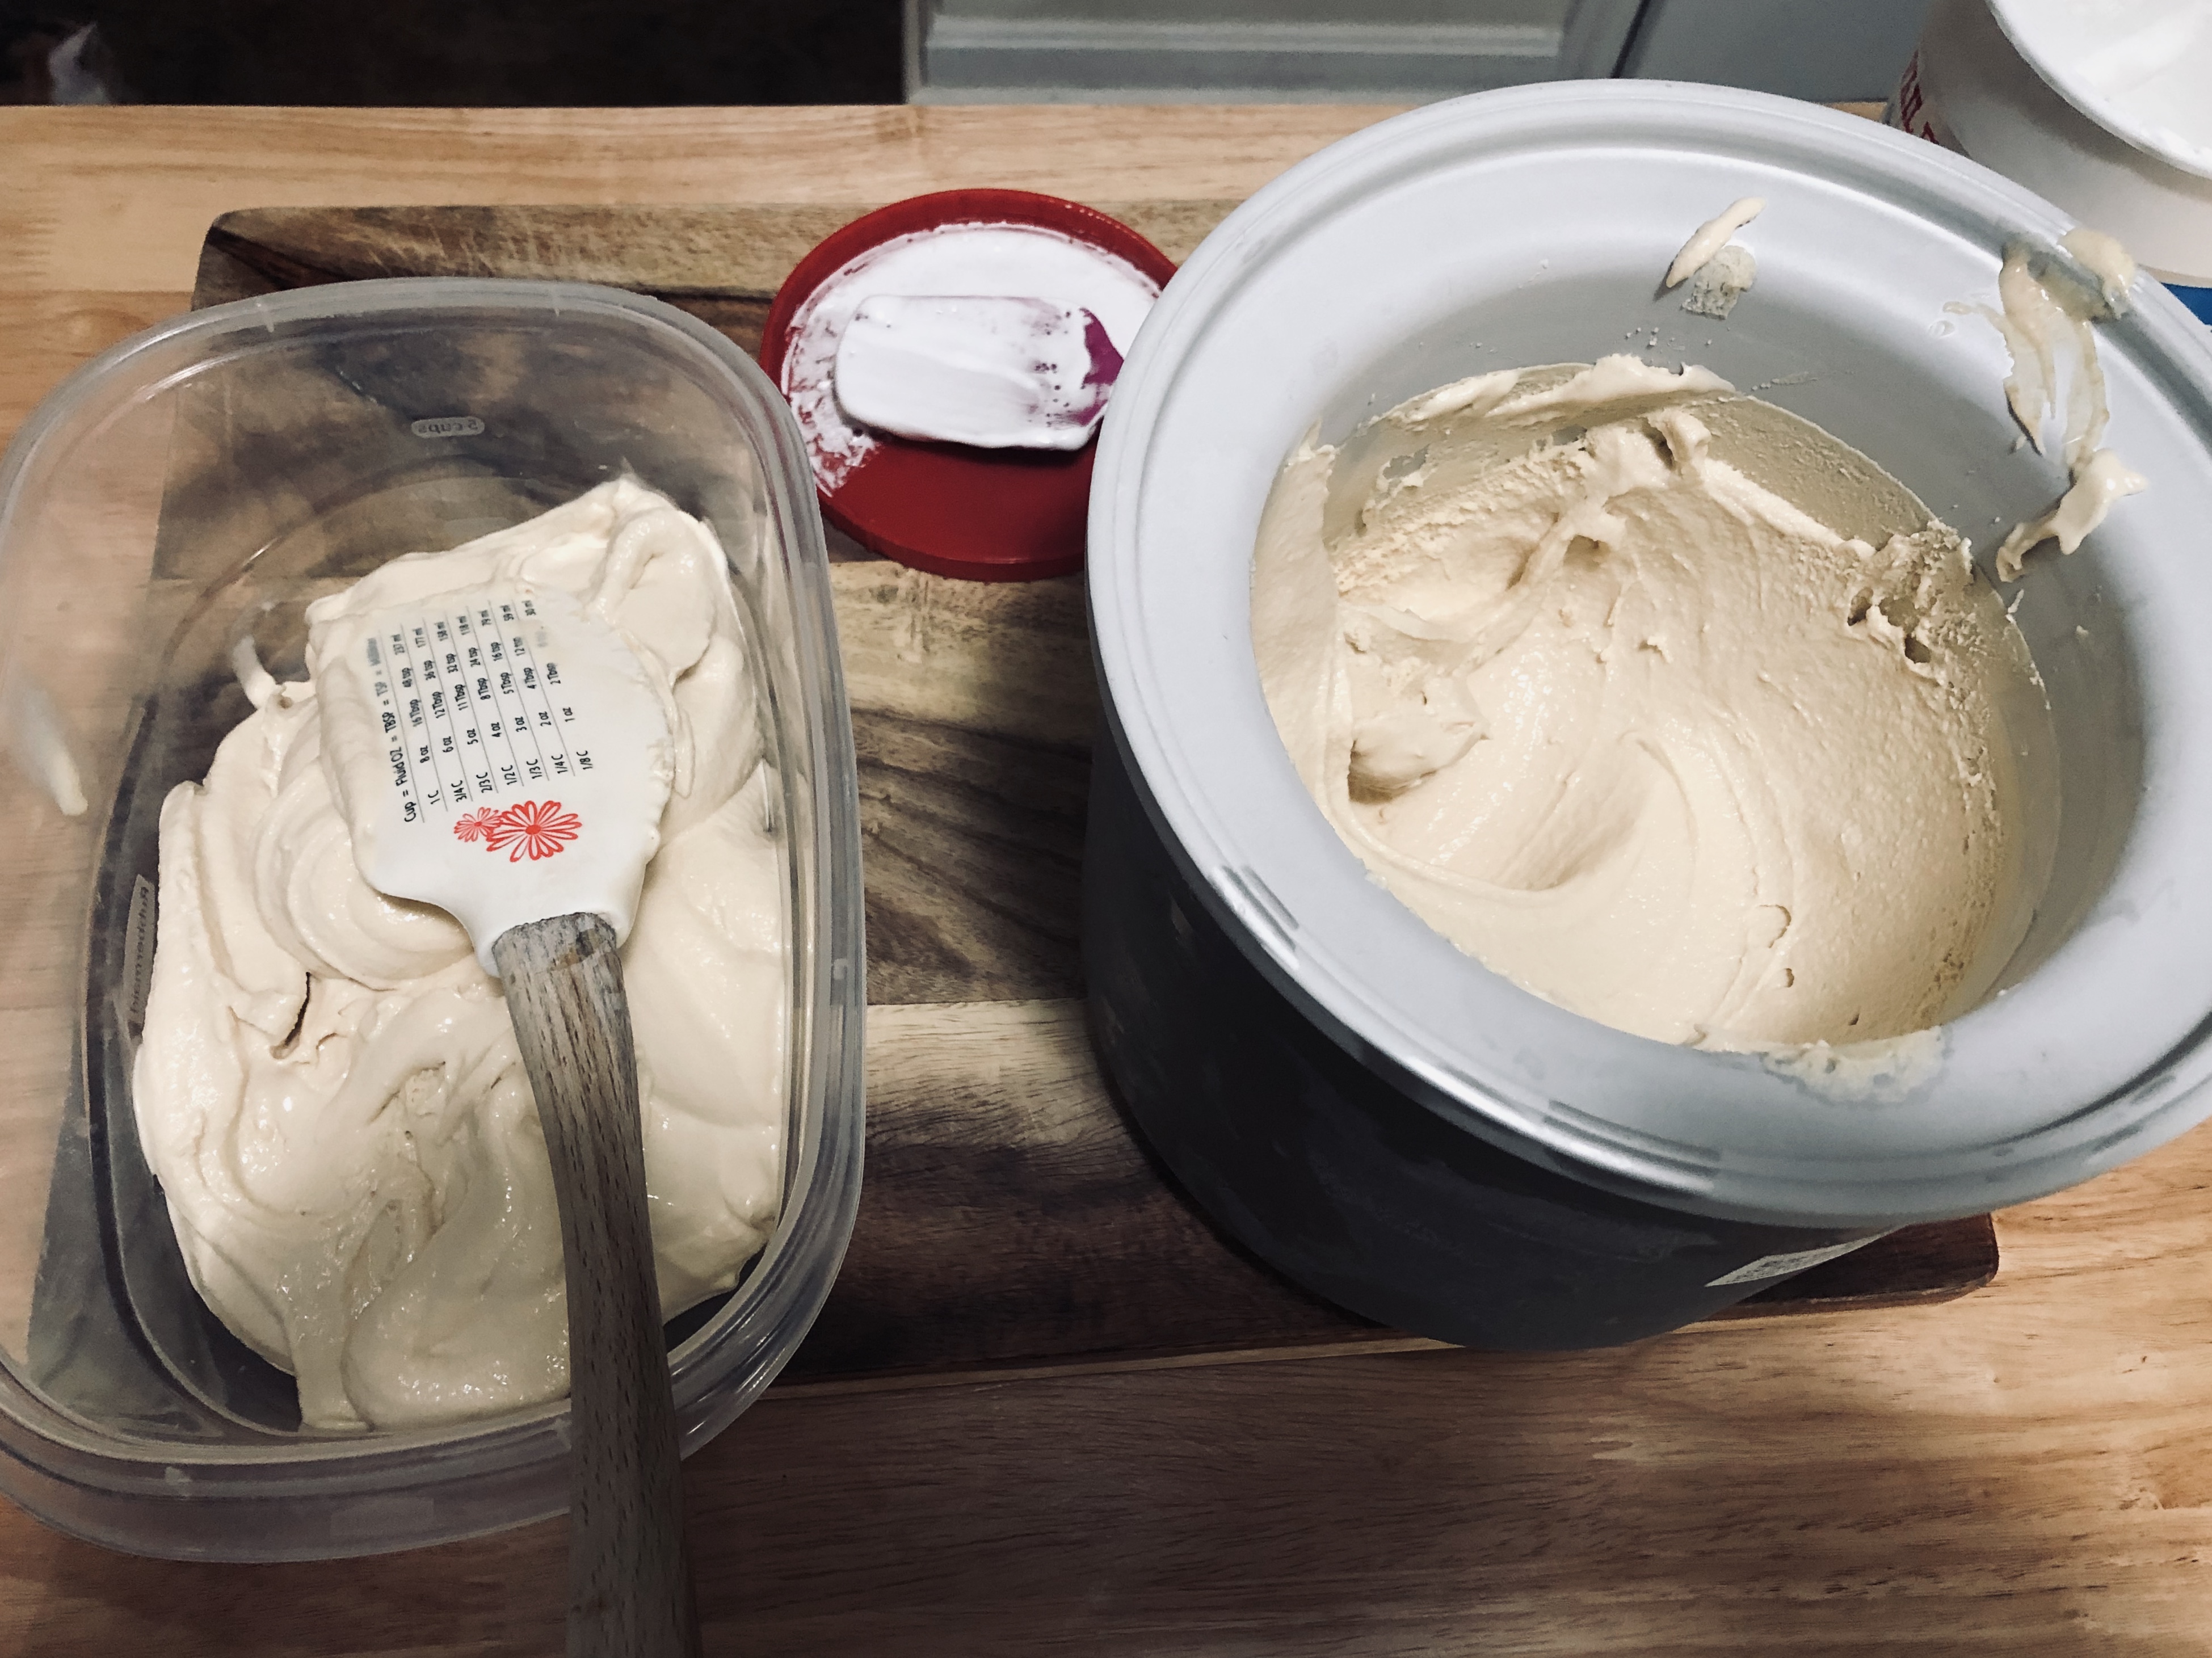
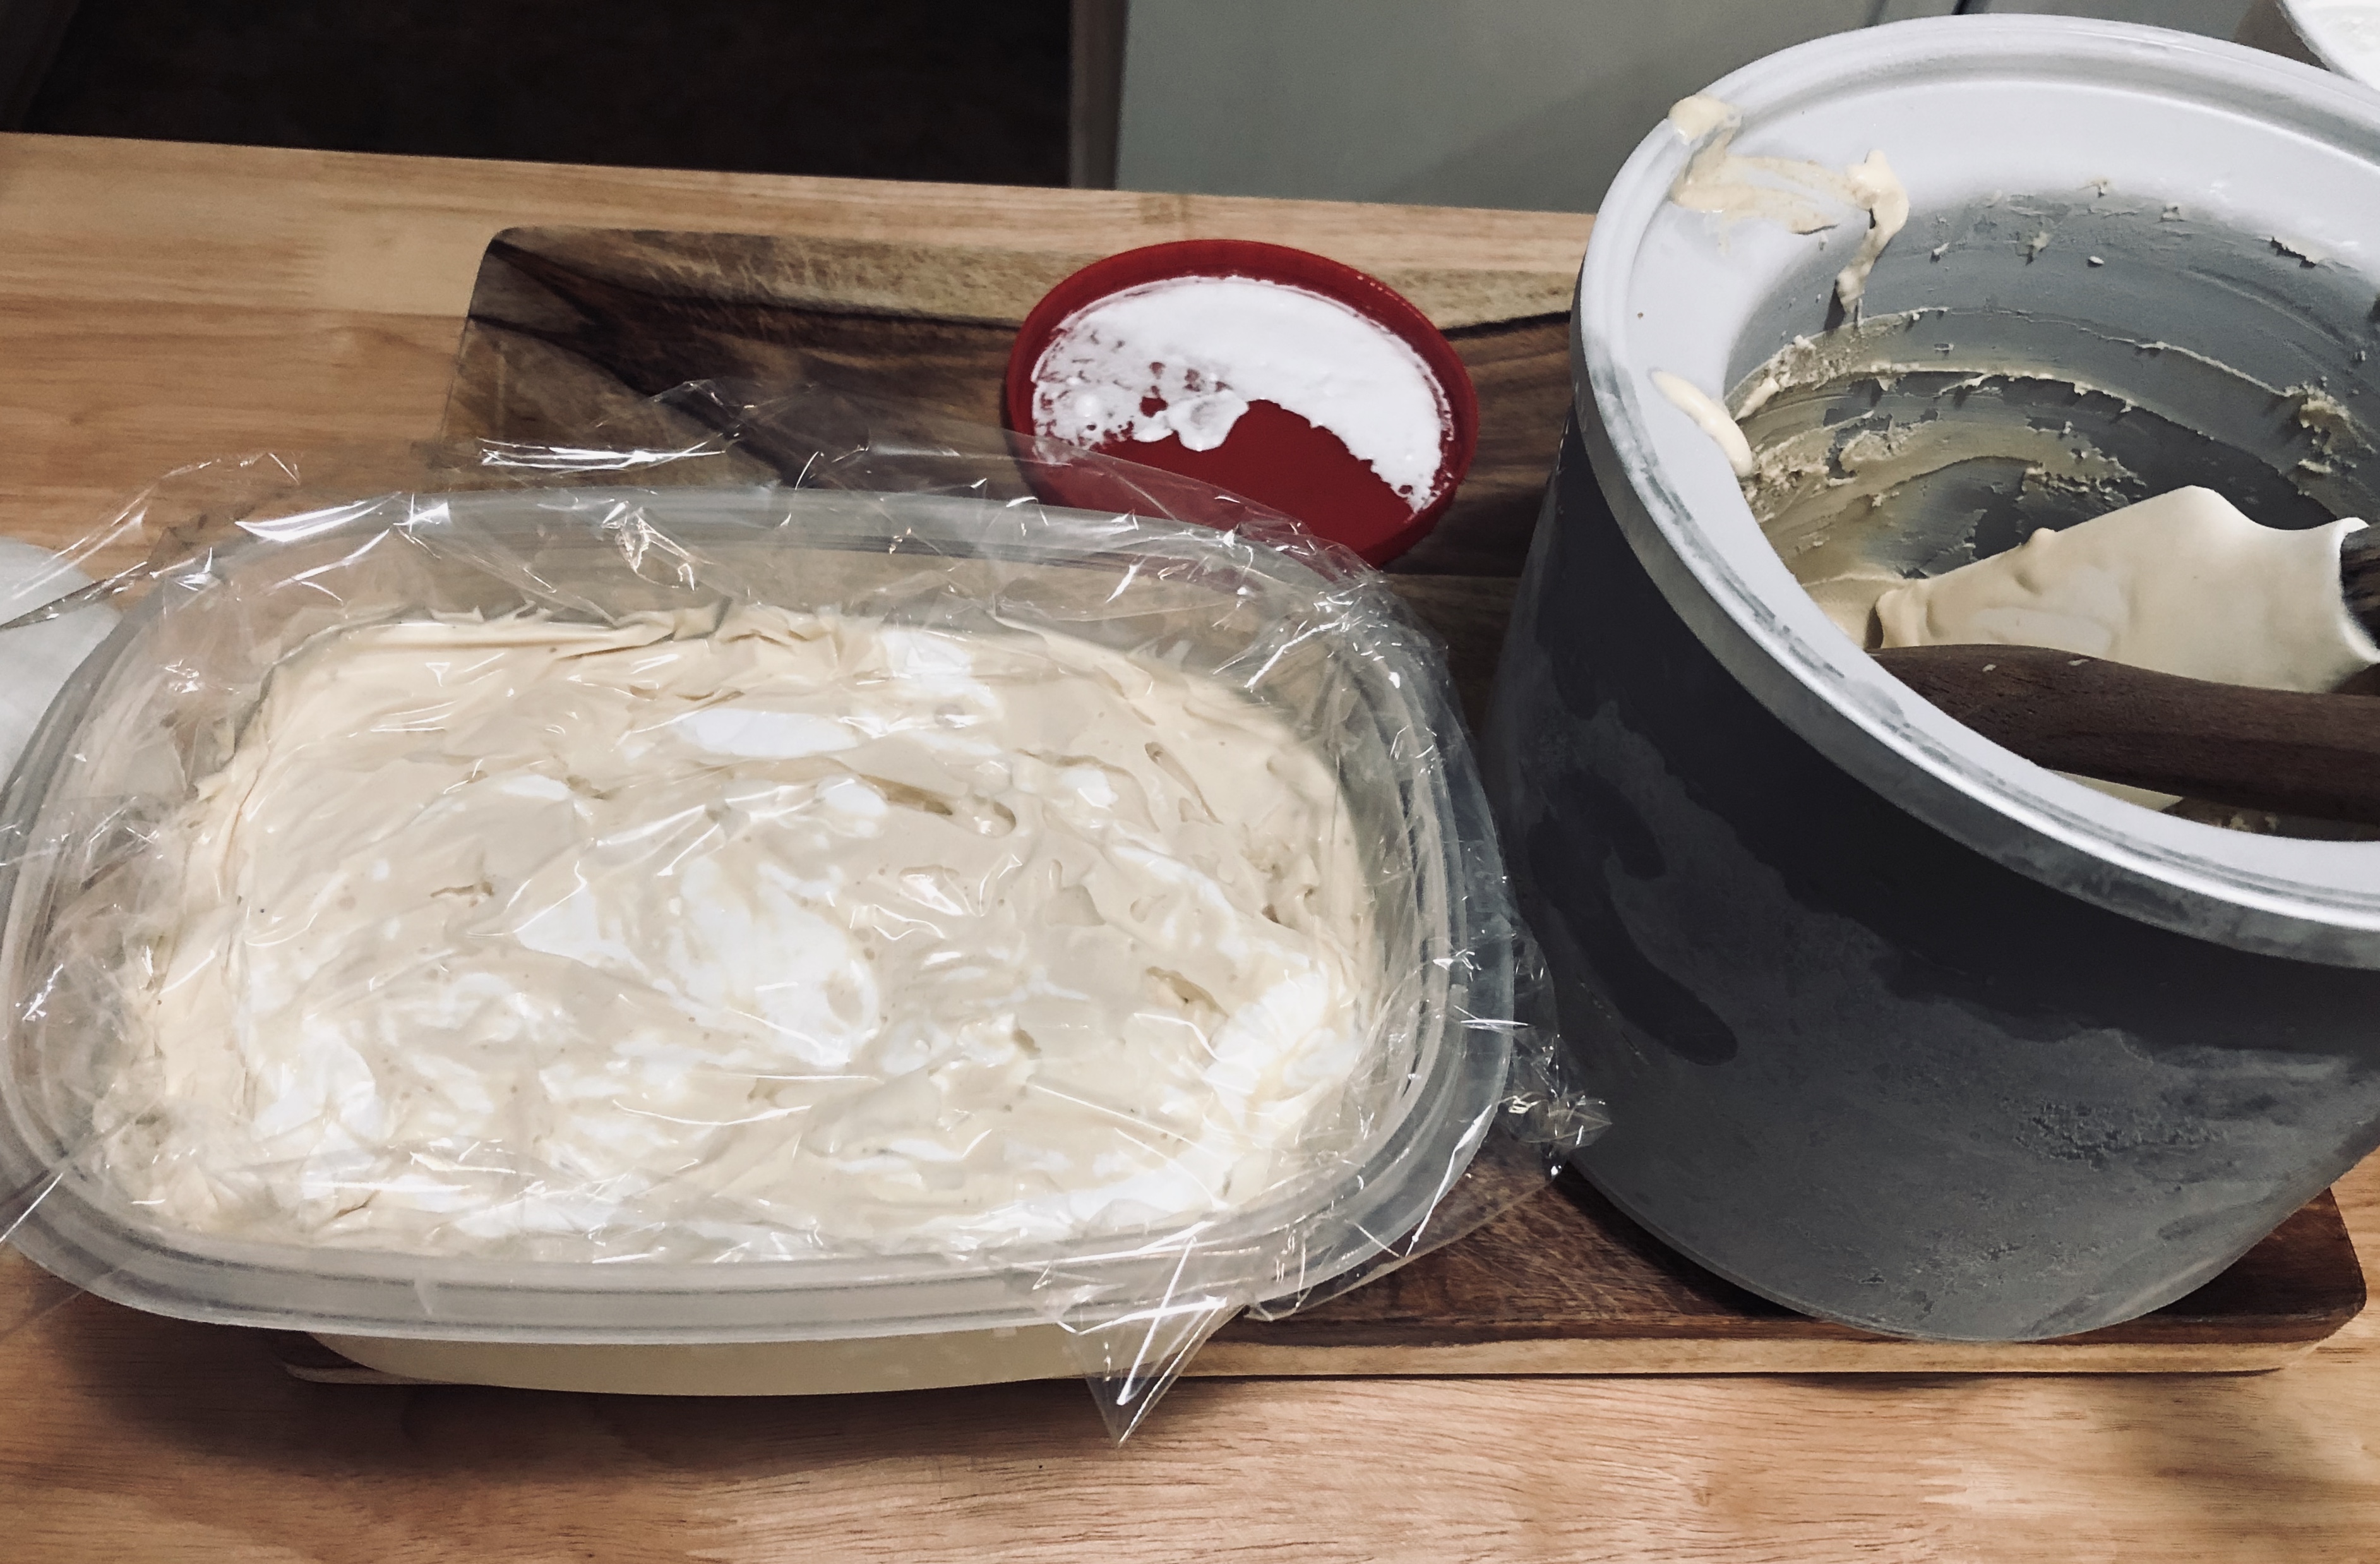
Churn and freeze the ice cream: Pour the completely cooled custard into your frozen insert and churn according to the manufacturer’s directions. Once it looks like soft-serve, scoop and scrape the ice cream into a quart-sized container or larger (glass or plastic is fine, as long as it has an air-tight lid). Put a piece of plastic wrap directly on top of the ice cream surface to prevent freezer burn as much as possible. Freeze the ice cream until firm or to your liking. Oh, and make sure you grab two spoons and a friend to scrape the last bits of heaven out of the ice cream maker. This is a waste-free zone!
The marshmallow in the custard creates a strange foam on top, but this is totally normal.
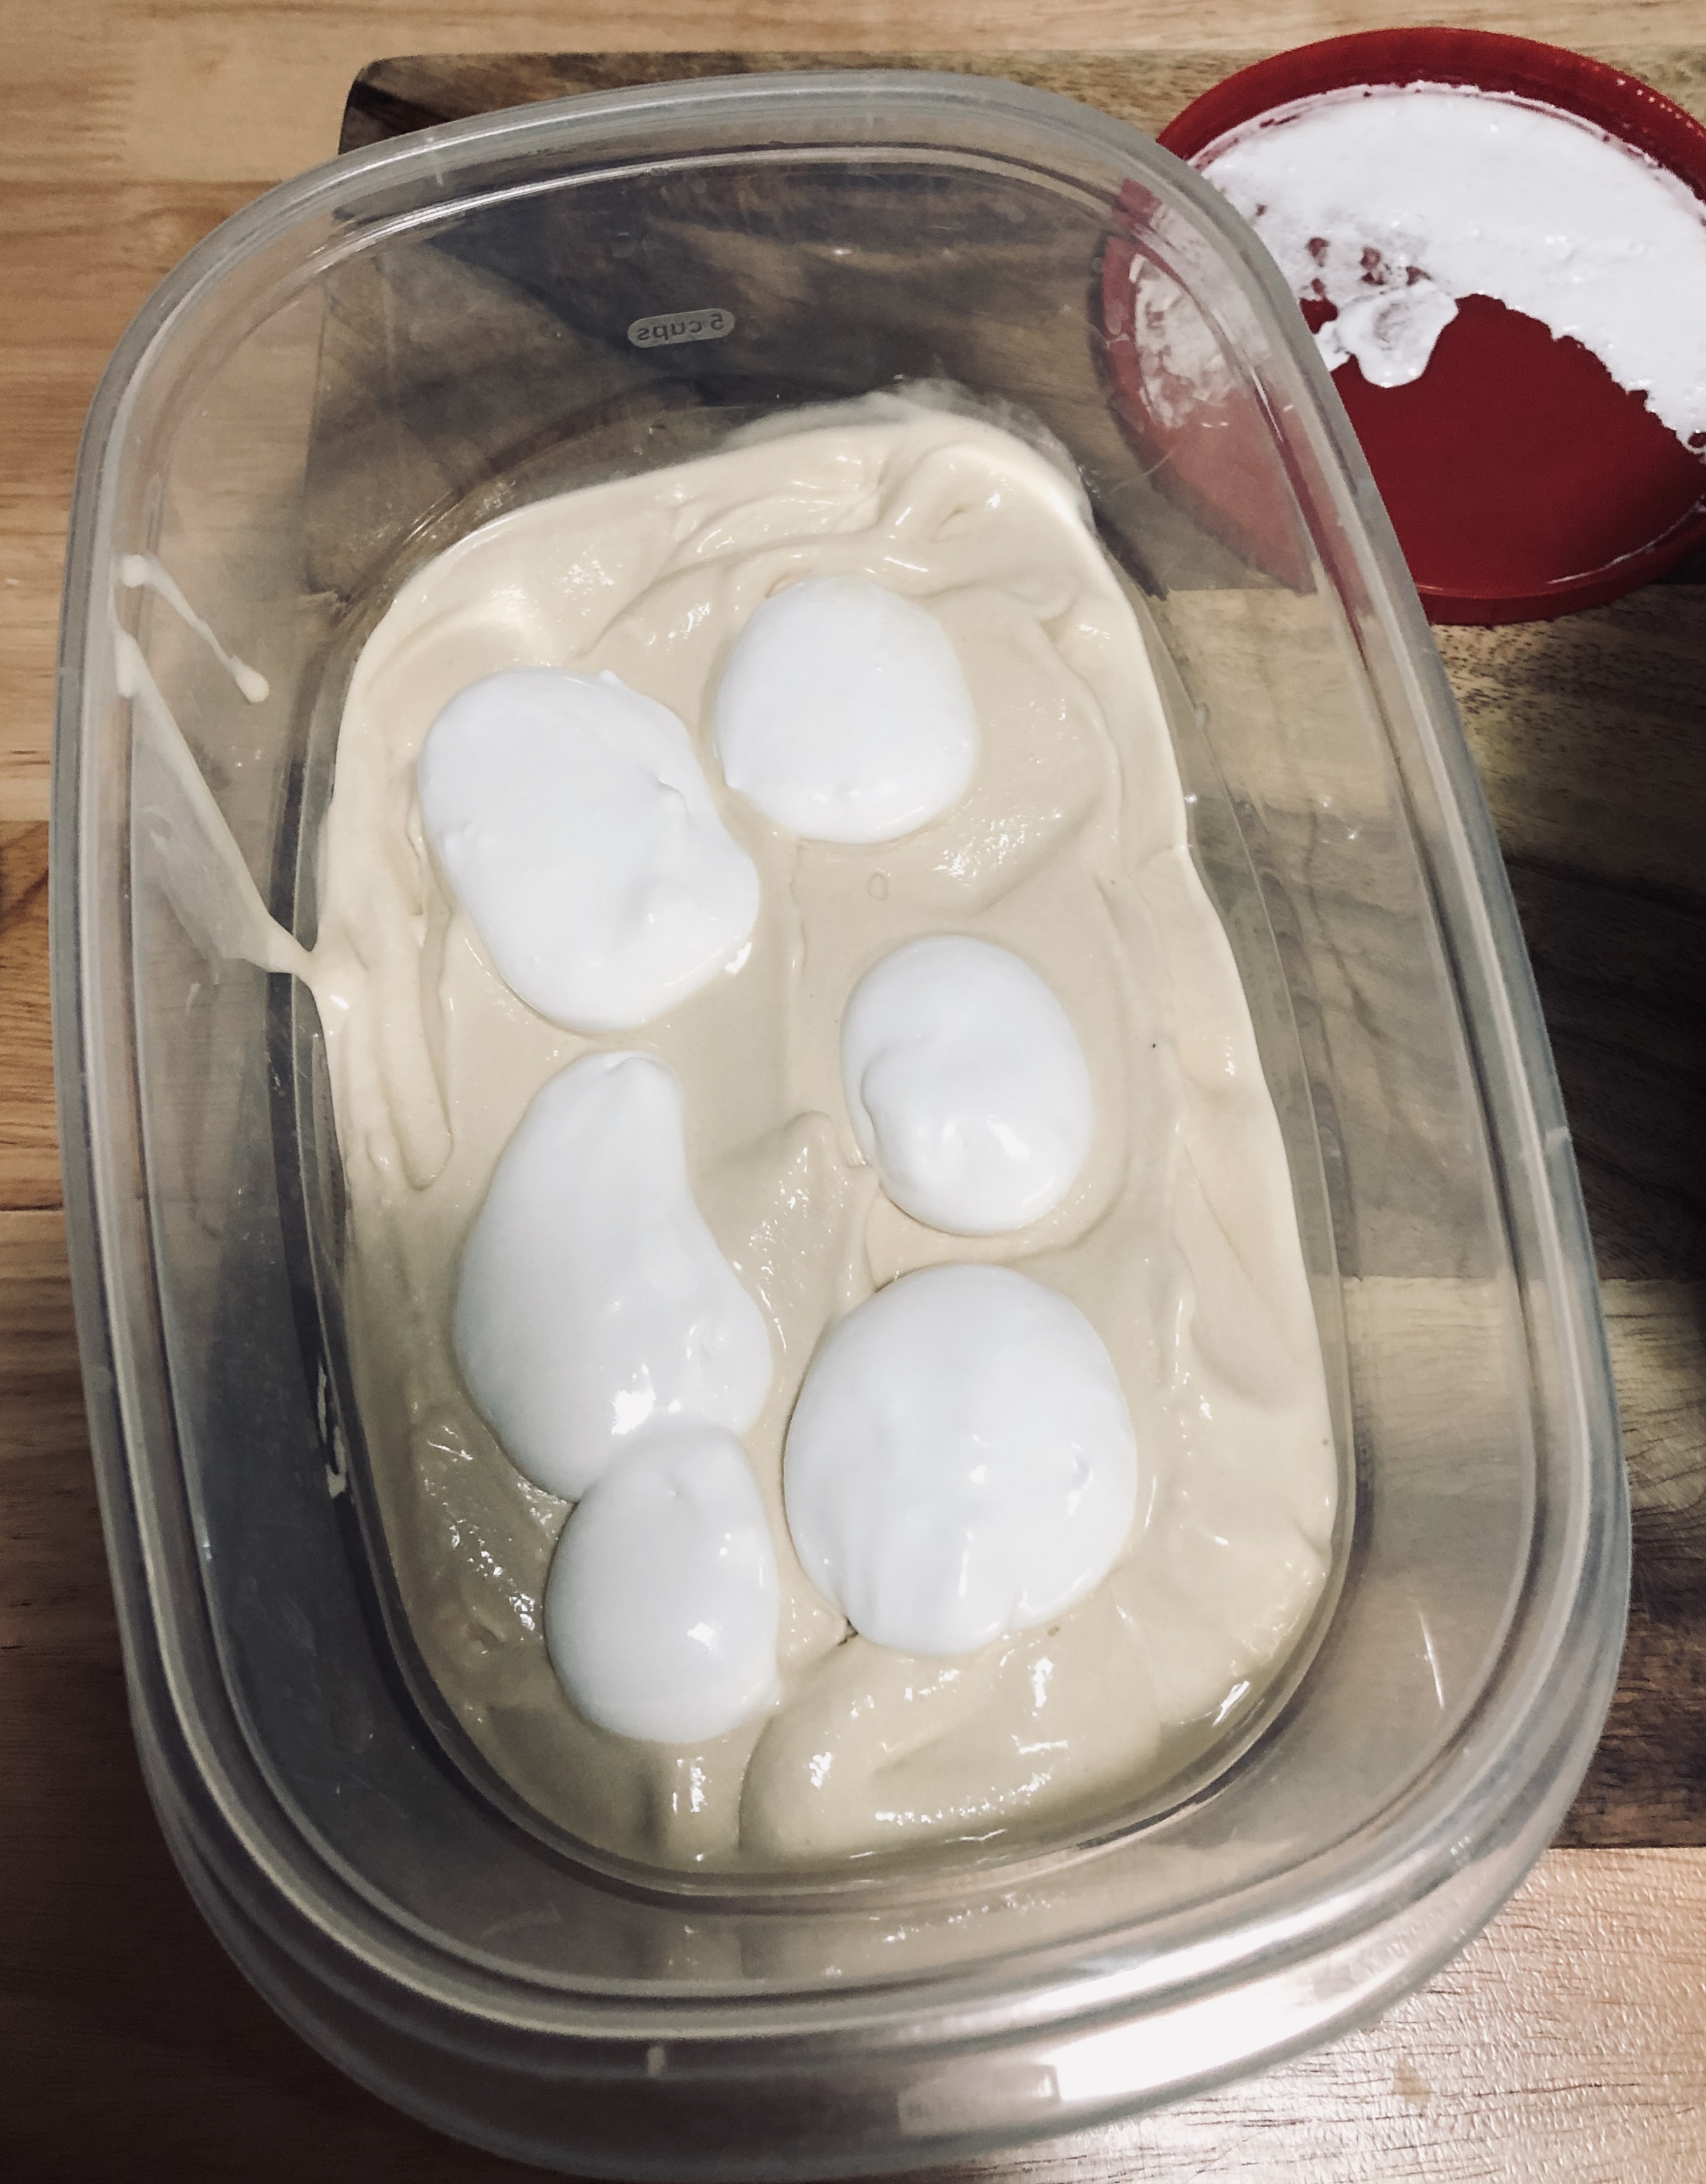
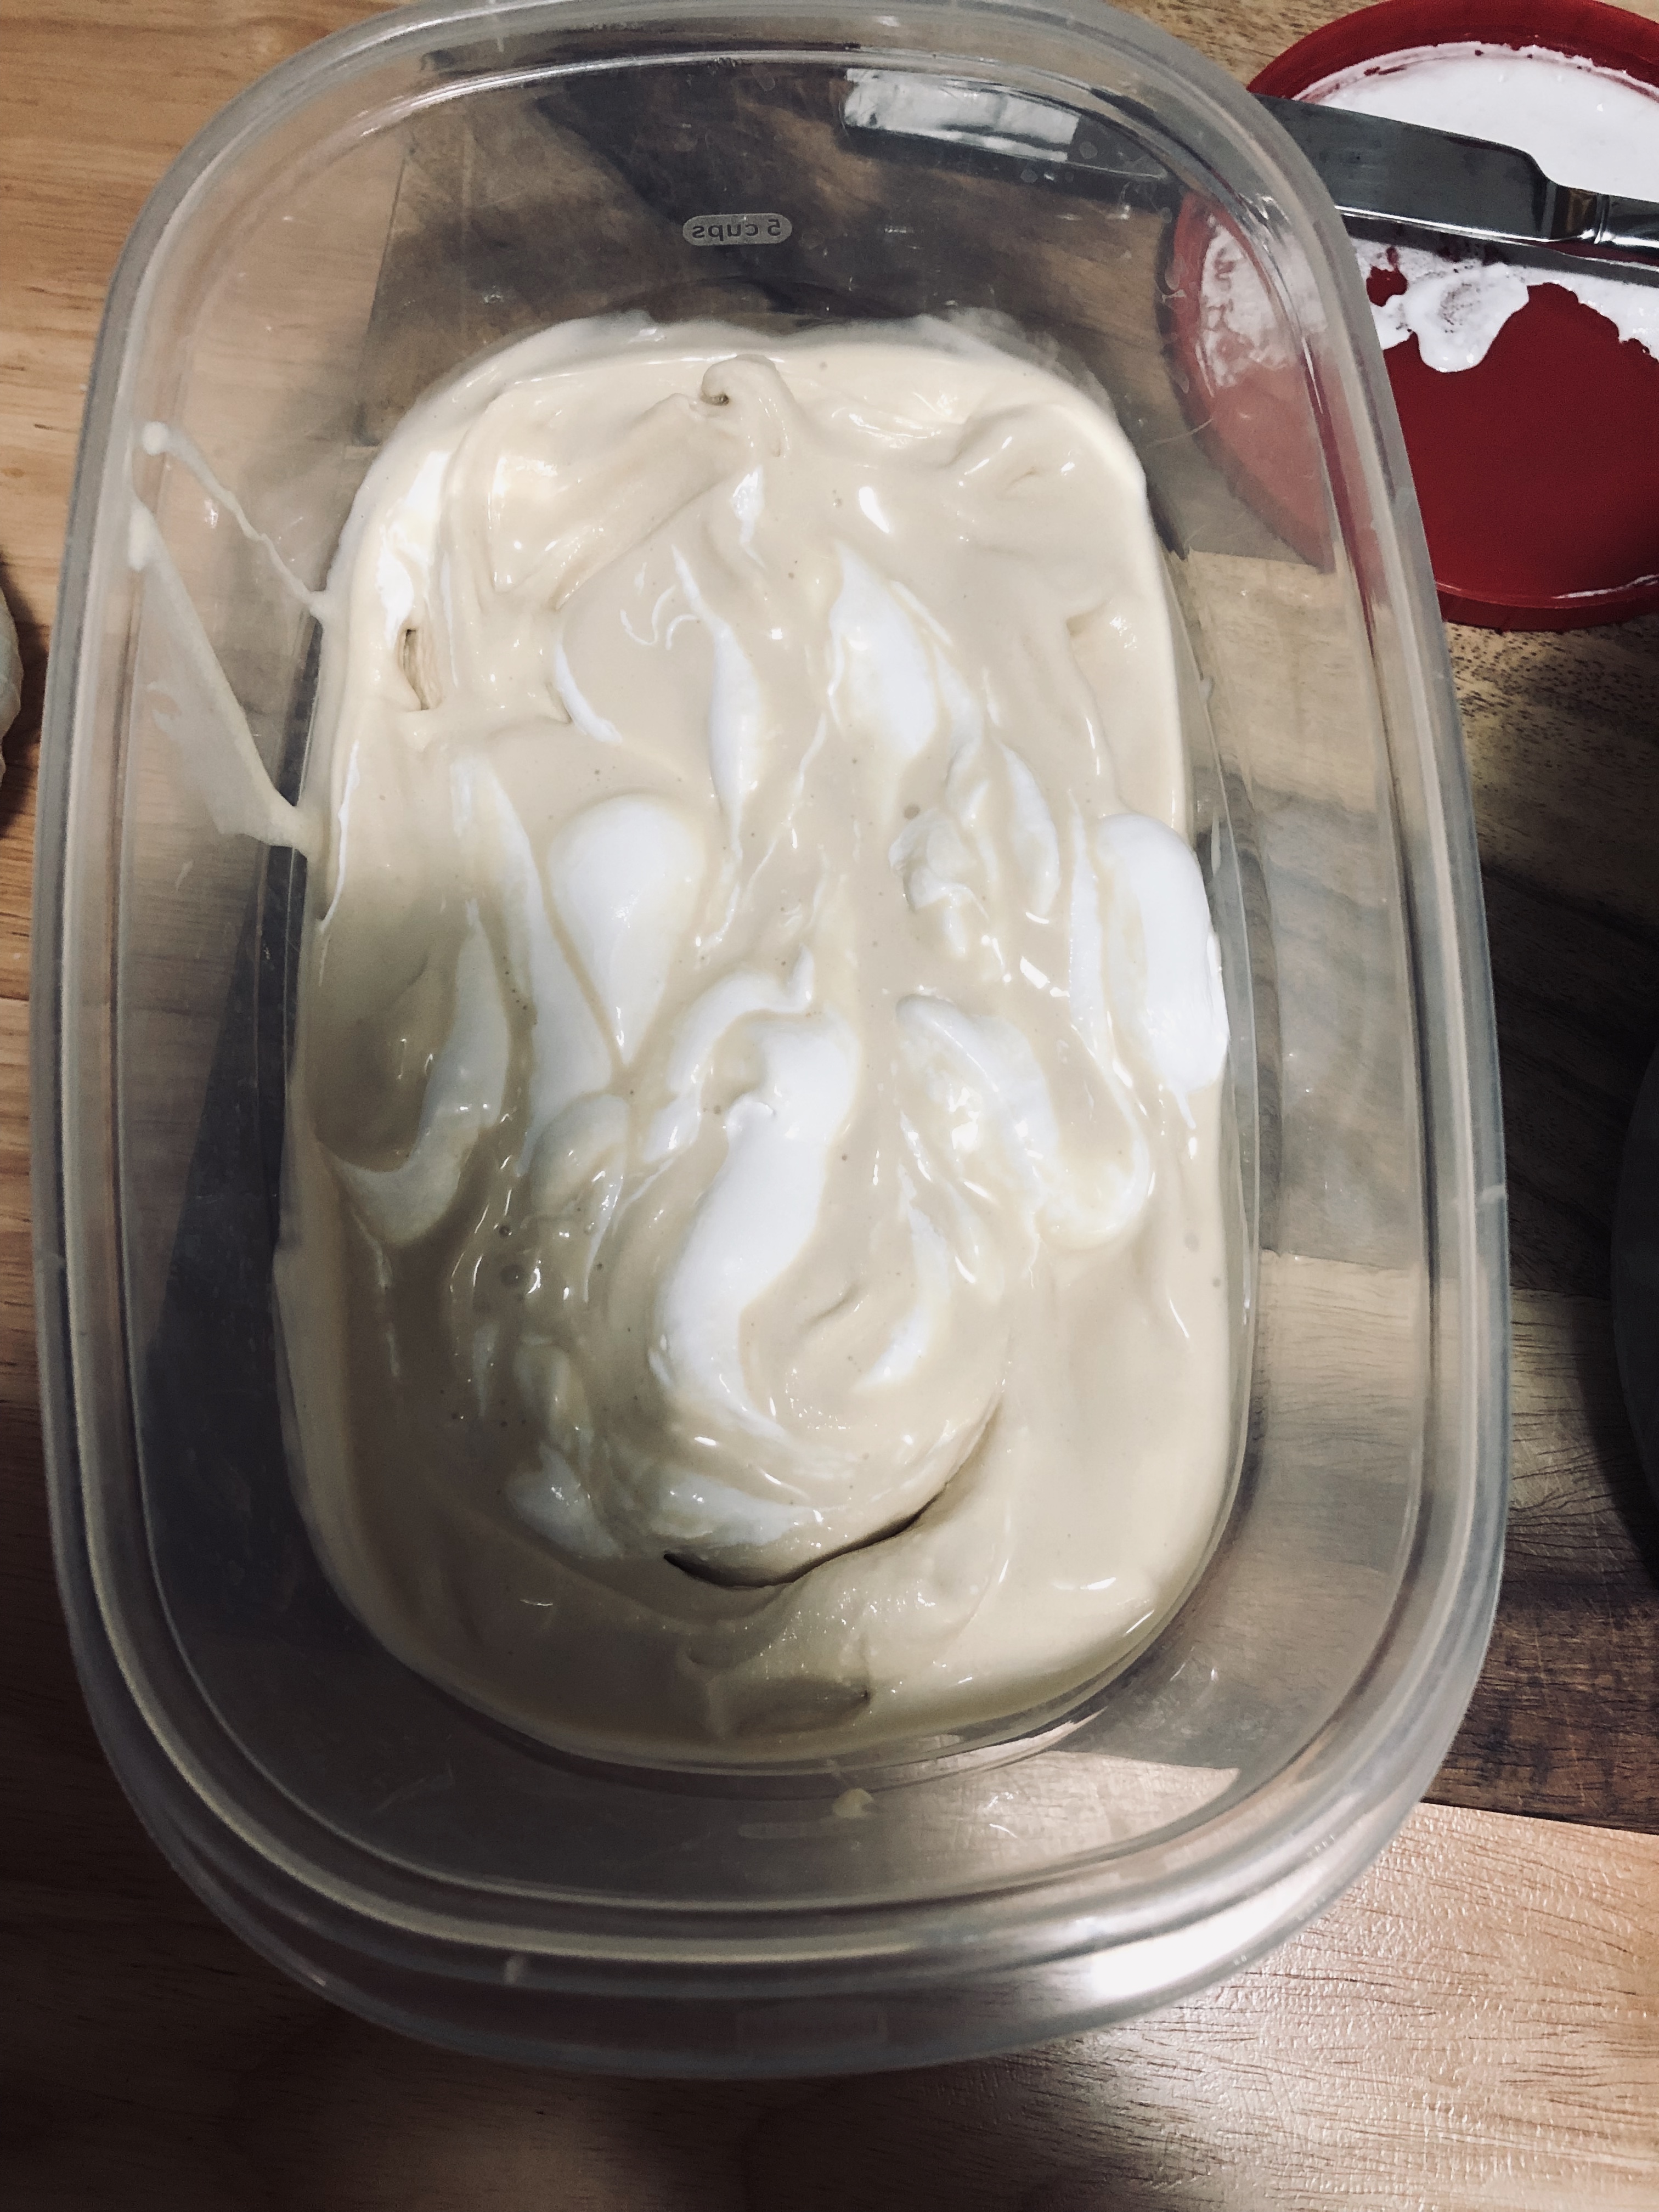
Tip: If you want an extra marshmallowy boost, swirl in some marshmallow fluff or creme that has been softened a bit in the microwave. I did this in two layers- half the ice cream, swirl of fluff, topped with the other half of ice cream, and another swirl of fluff. Just dollop on top of the ice cream and swirl it in with a butter knife, so you see pearly white streaks of marshmallow. The warm fluff will seize as it hits the cold ice cream, but be diligent and just work it around with your butter knife. It’ll look pretty no matter what.
Here it is! Smooth, creamy, rich, and begging to be topped with hot fudge, crushed graham crackers, and whipped cream. Cherry optional.
Enjoy and celebrate your ice cream accomplishment! Comment below with questions, comments, or recipe trials.
I am always amazed by a sauce that comes out fabulously without being cooked. This barbecue sauce is one of those. It also requires basic pantry ingredients that you probably have on hand (or if you need to buy them, they are CHEAP). Use this sauce for all of your barbecue needs, whether you’re grilling chicken or pork, dipping some tenders, or even grilling veggies. It is versatile and can be altered based on your personal tastes. Even better, this sauce keeps indefinitely in the fridge. Make a double batch and store it in one of your many unused (but cute) Mason jars, if you’re like me.
A couple notes:
If you’re not used to using molasses and you’re a bit hesitant, don’t be. It’s complex, dark, richly sweet, and a little smoky- perfect for barbecue sauce. You will LOVE it.
This sauce is thinner than your average bottled sauce, so don’t be alarmed when you get a slightly runny sauce.
Easy, No-Cook Barbecue Sauce
Makes about 1 cup. Multiply as needed.
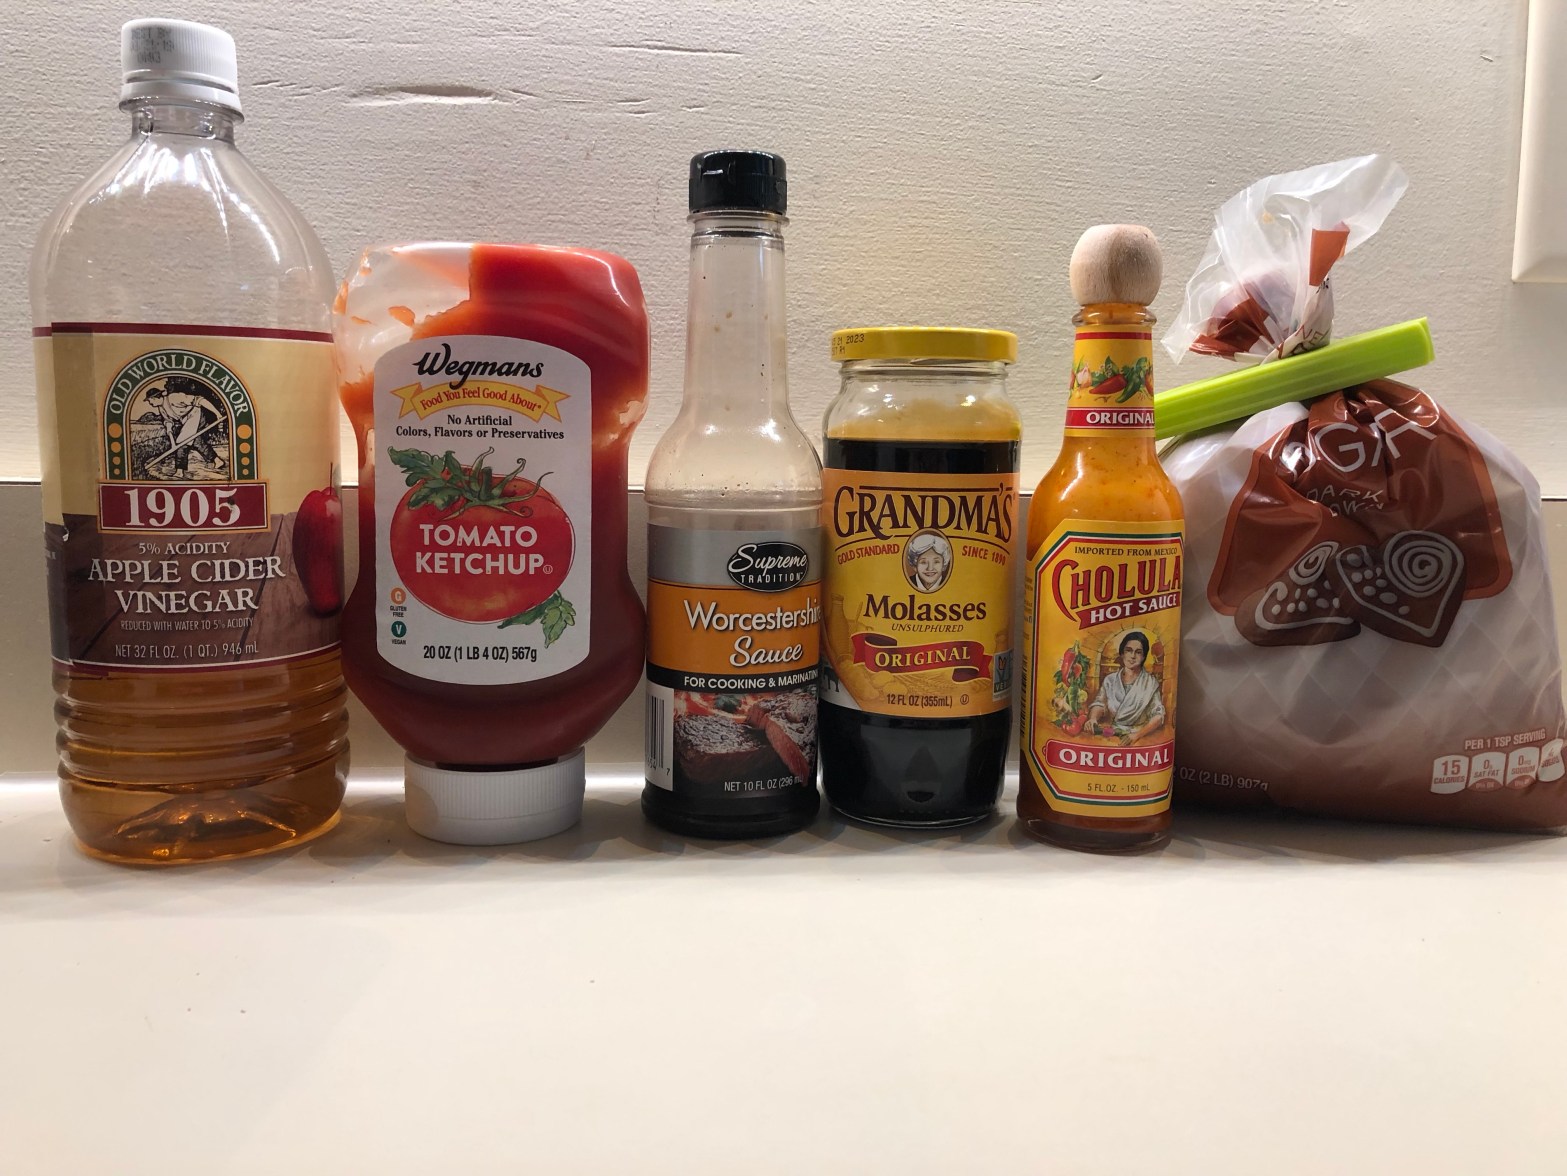
¼ cup ketchup, heaped
¼ cup unsulphured molasses (blackstrap is probably too intense)
¼ cup apple cider vinegar
2 tablespoons unpacked brown sugar (dark or light both work here)
1 tablespoon hot sauce of your choice, plus more to taste (I’ve been using Chalula recently)
1 tablespoon Worcestershire sauce
Salt and pepper to taste
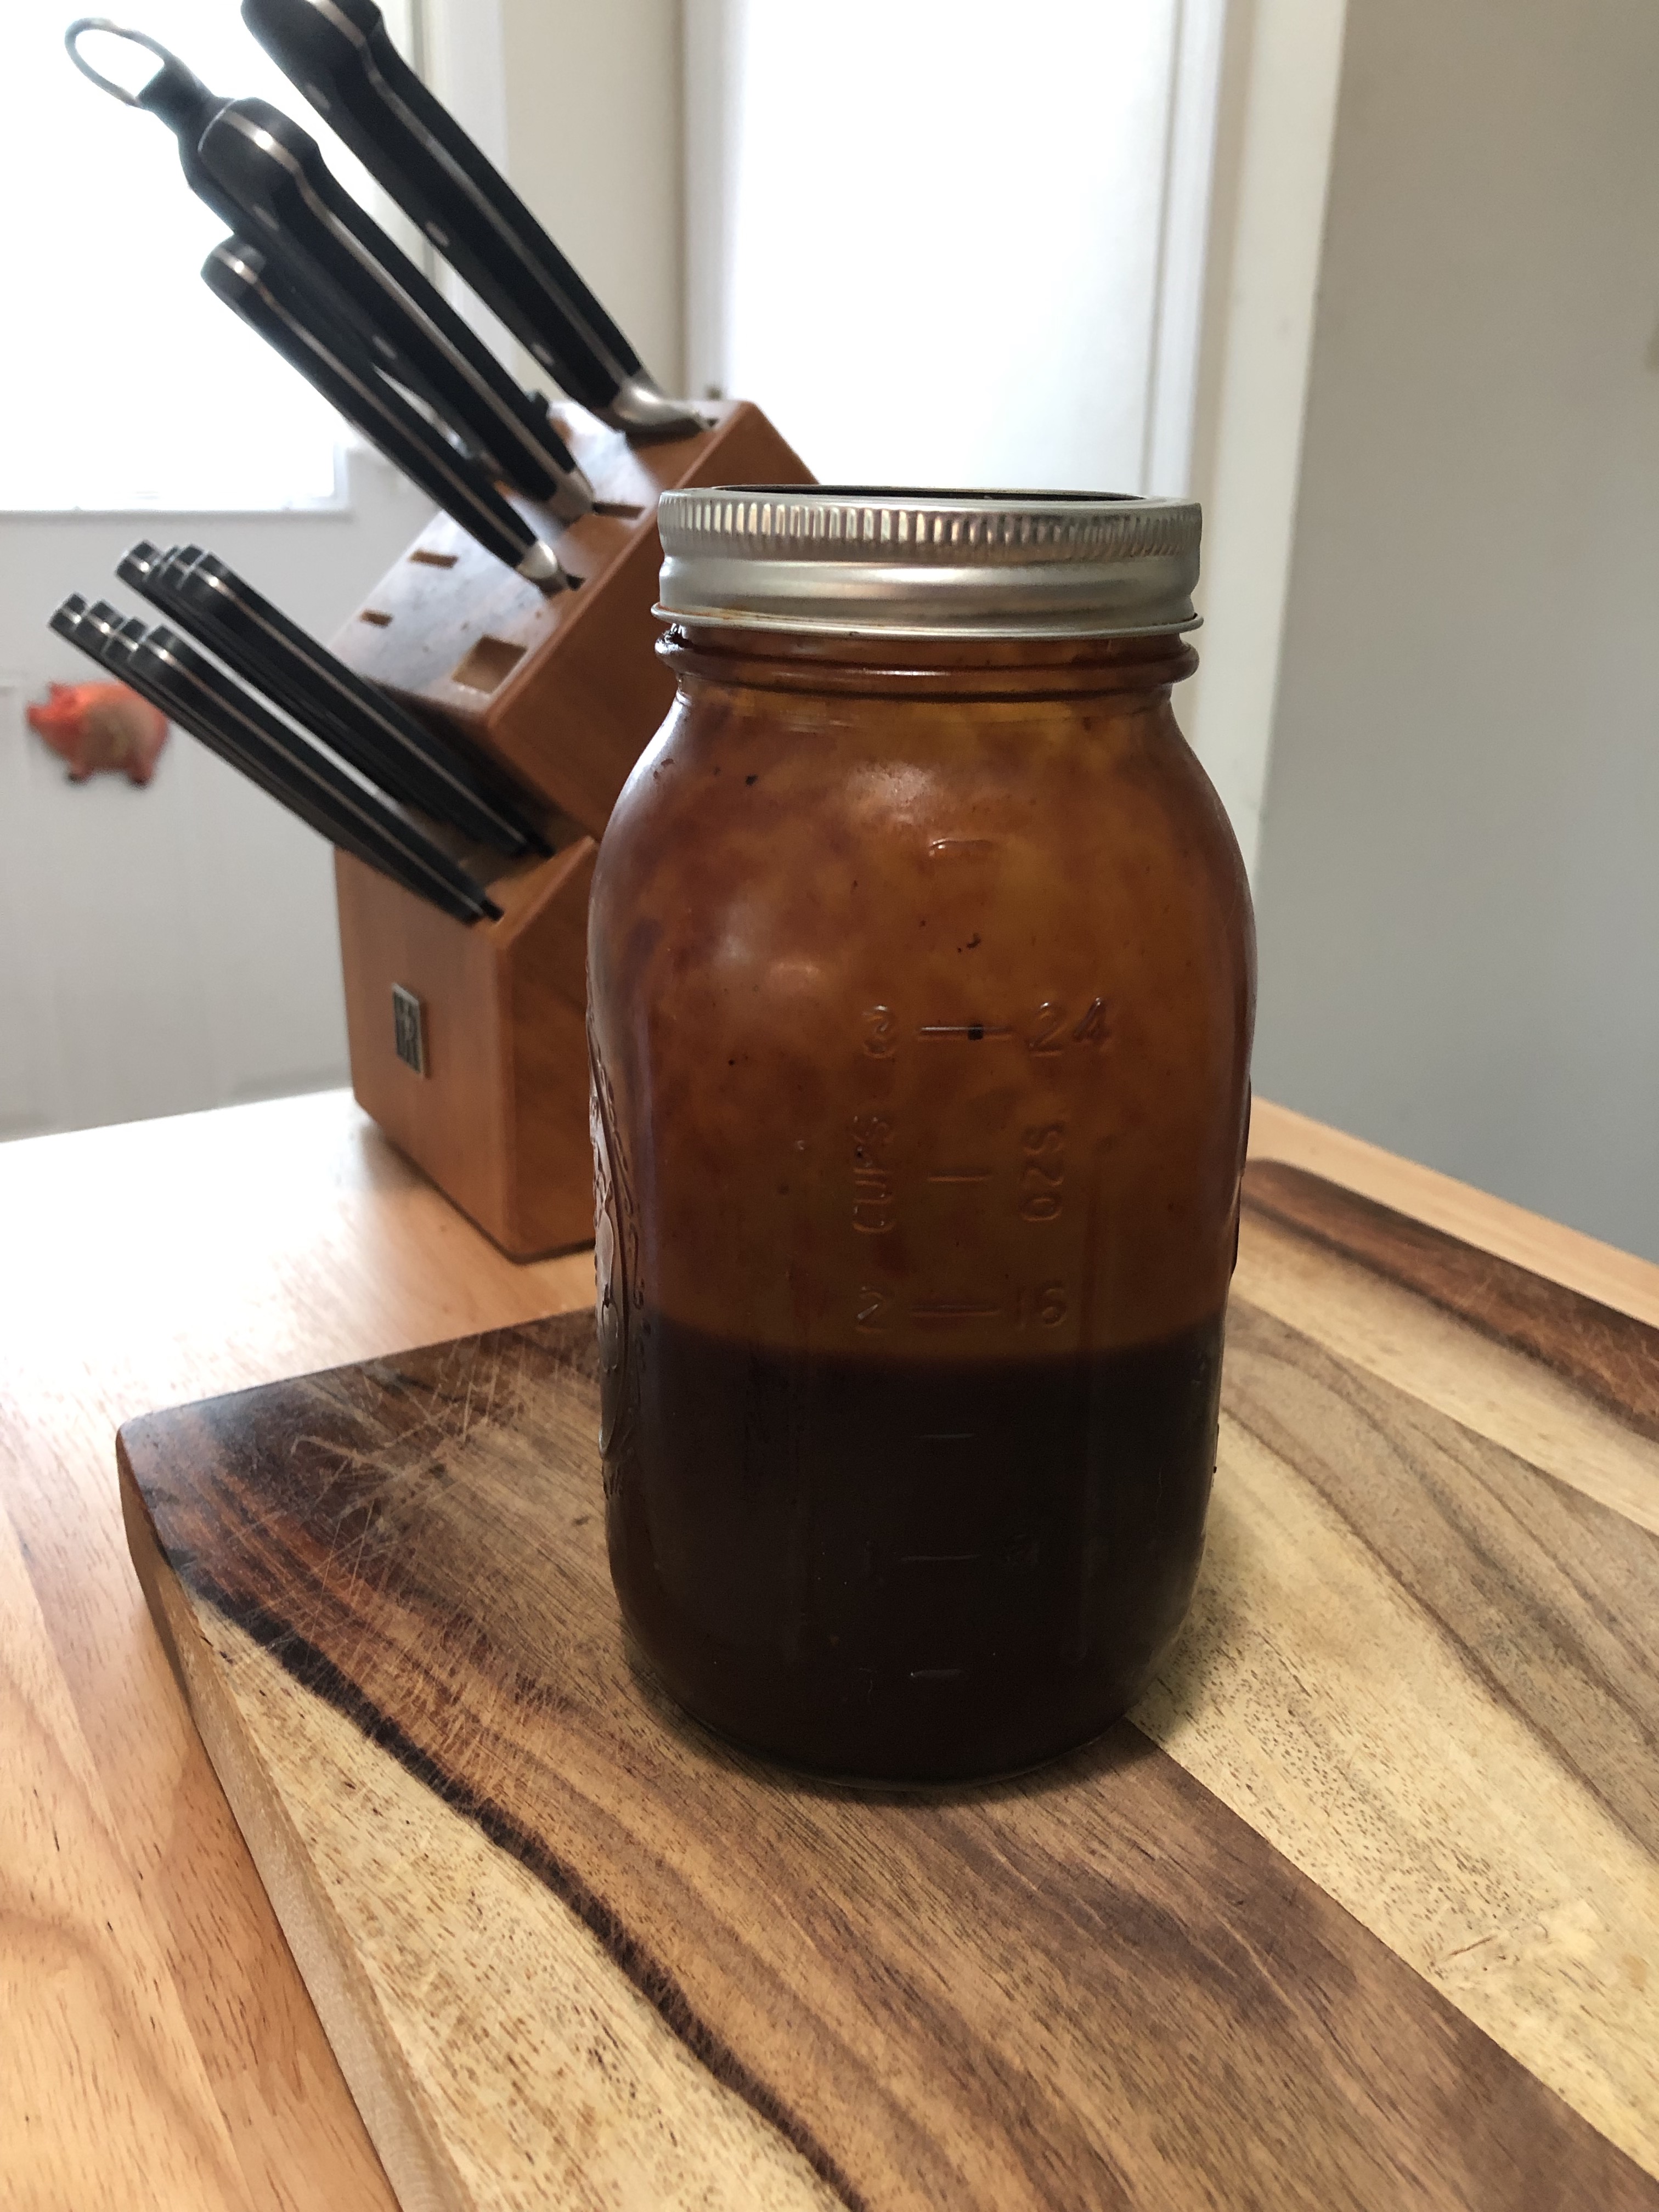
Whisk all ingredients in a small bowl and taste for seasoning. Adjust any ingredients you wish. Add more ketchup for a less intense sauce (closer to what you might get at the store) or add more molasses for a more intense flavor. Store in a jar or other container in the fridge.
-Jess
P.S. Stay tuned for a meaty recipe later where you can use this very sauce.
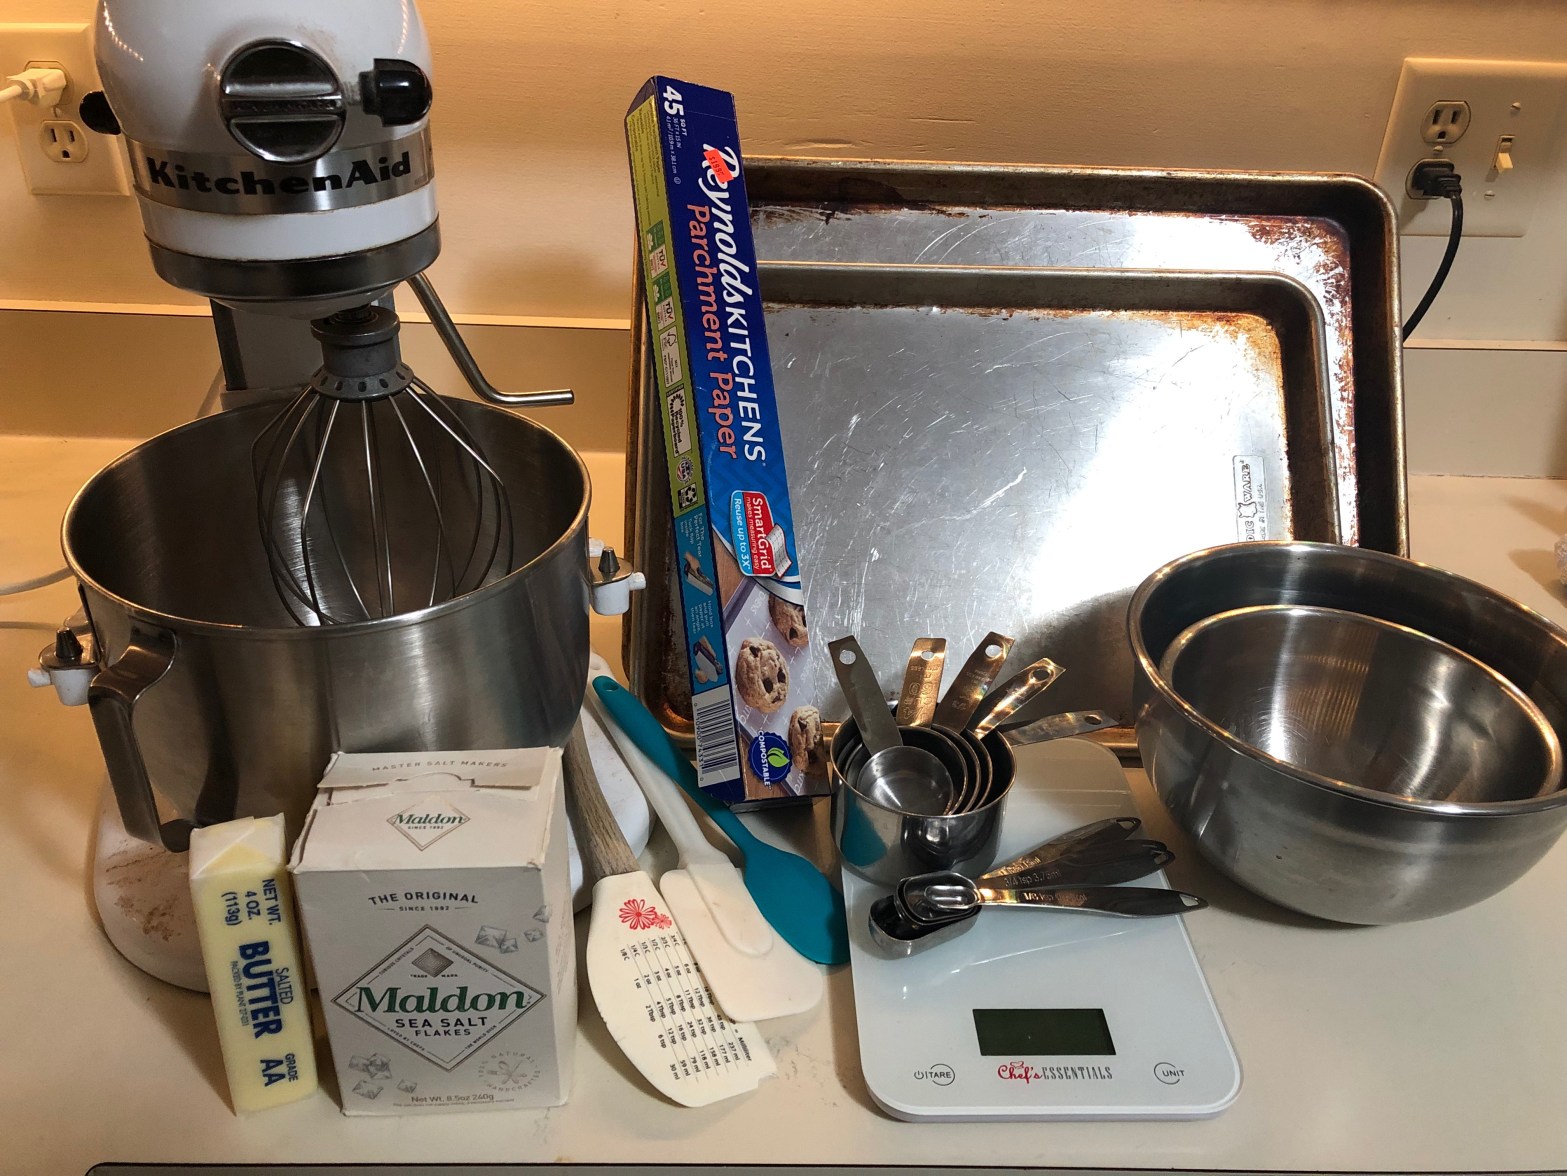
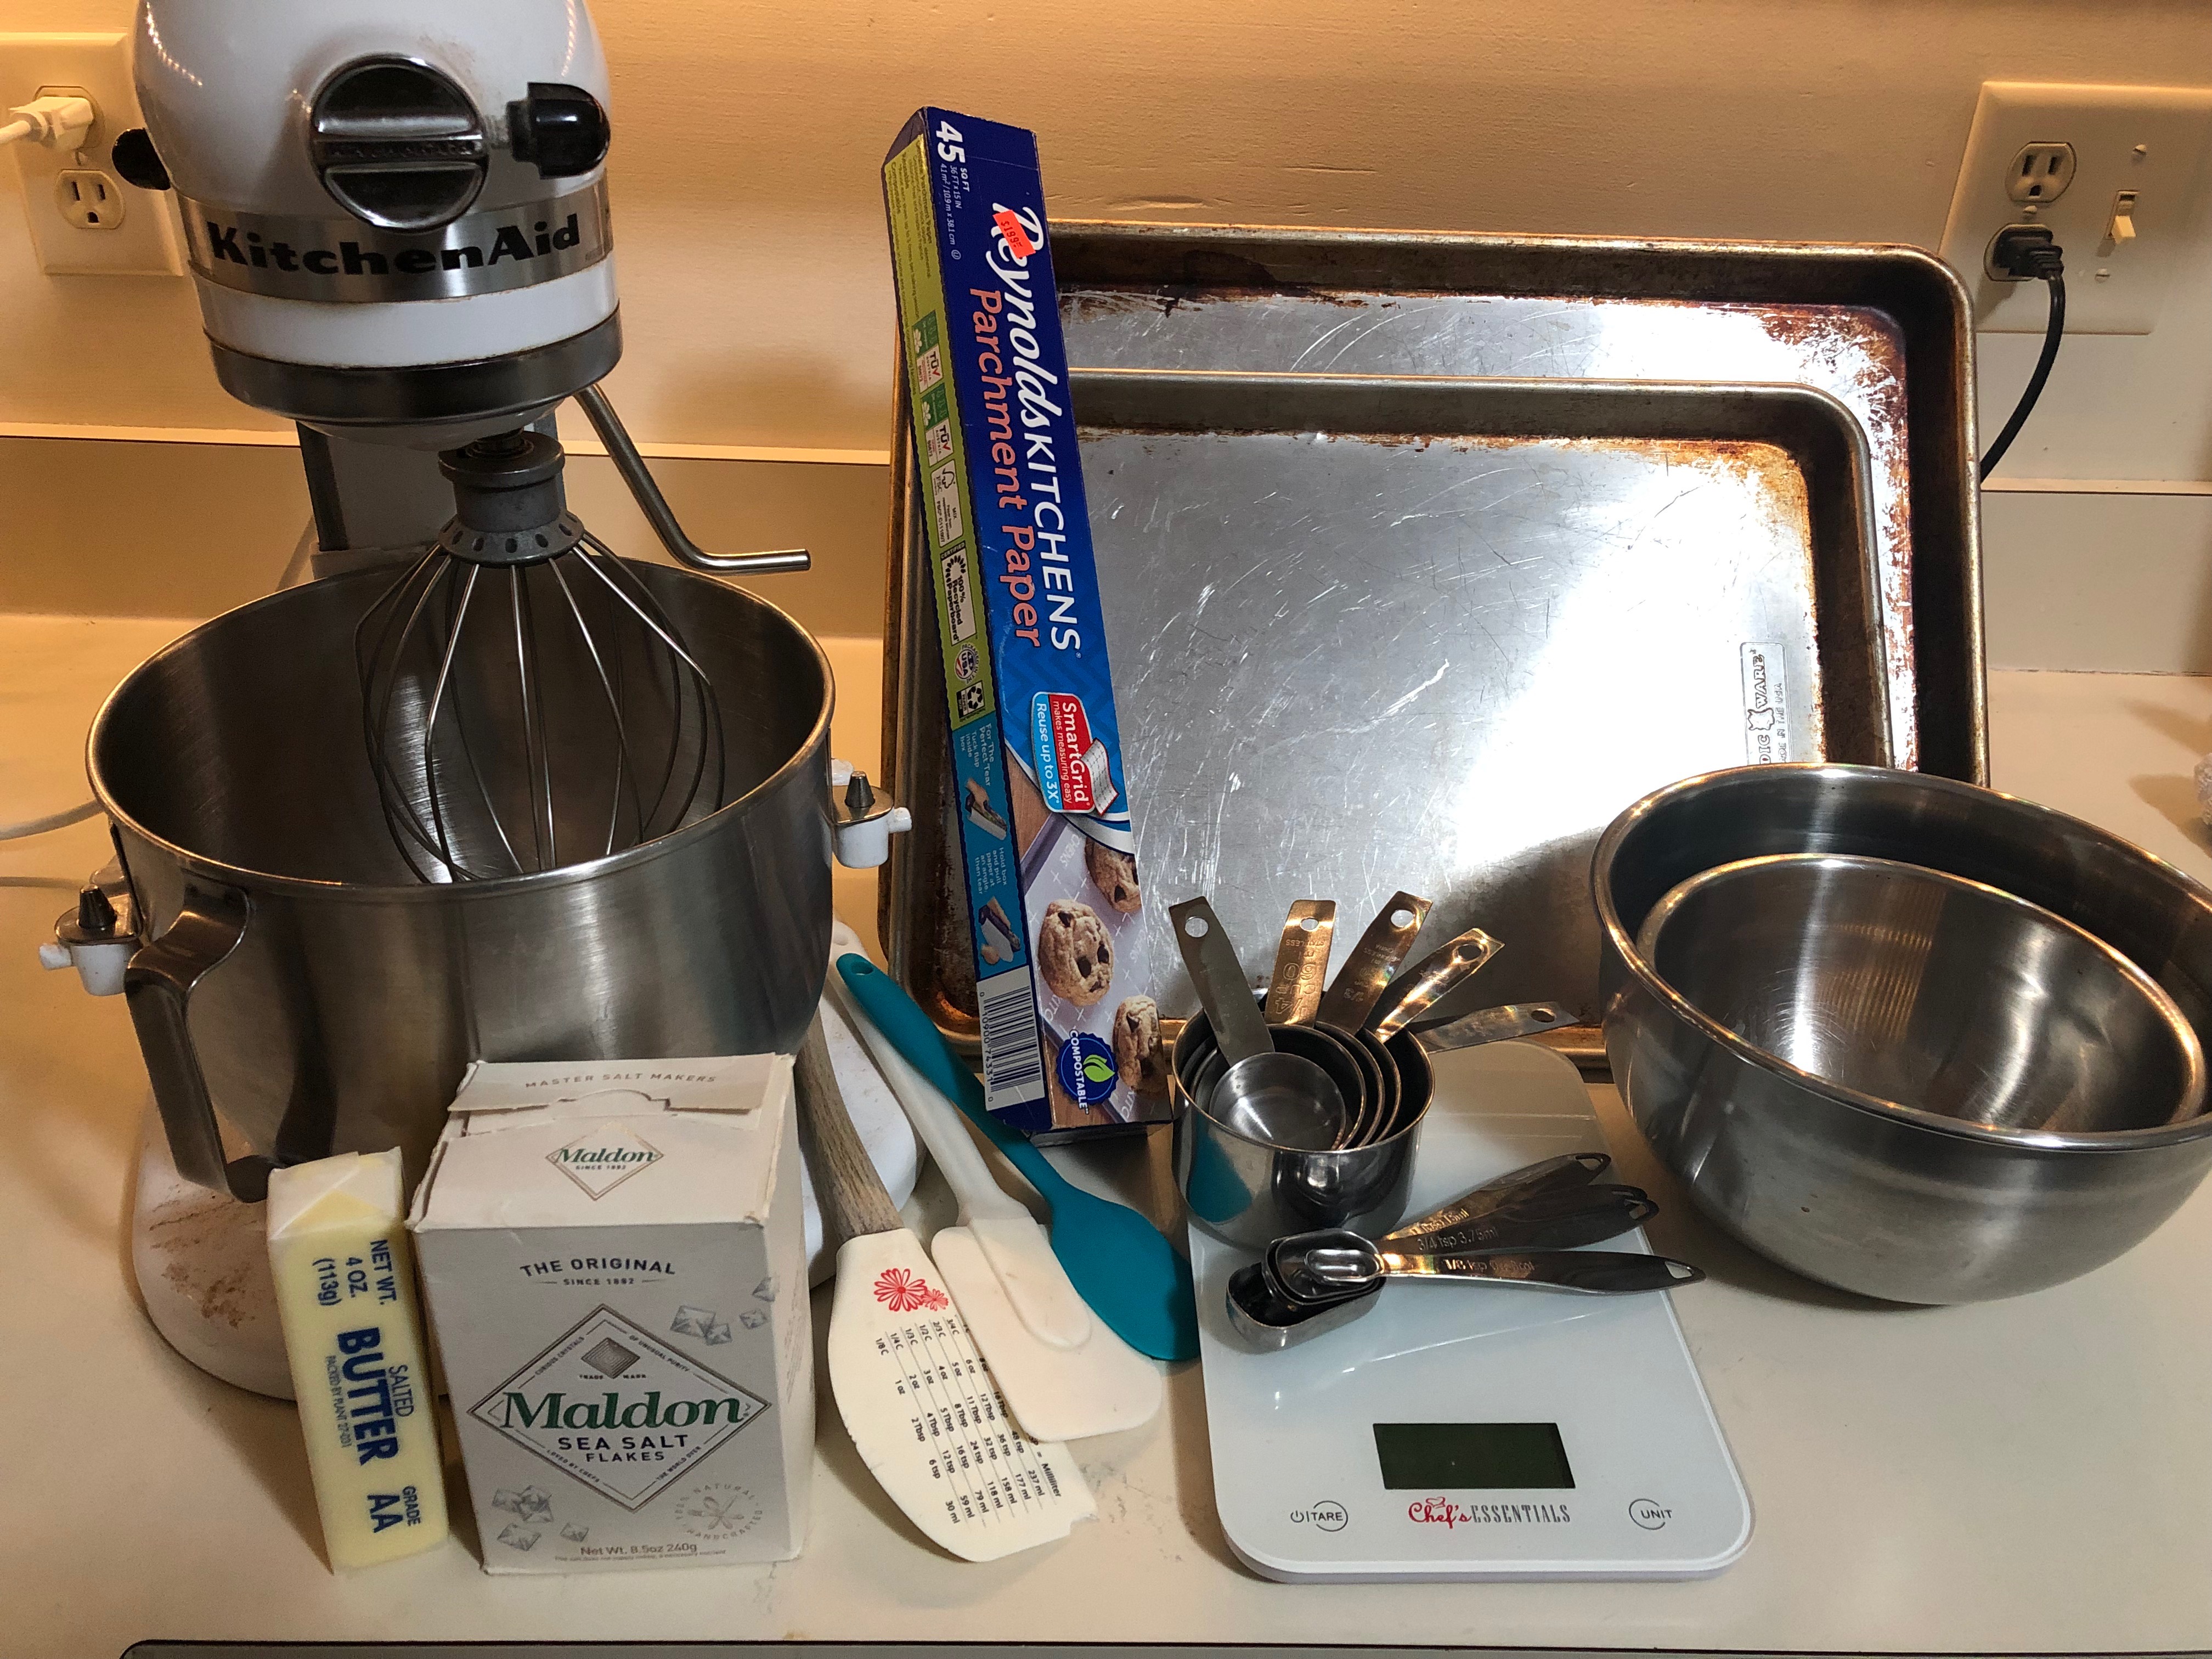
If you’re like me, you scour the internet for food- savory, sweet, both- anything at all that makes you think, “Oooooh, that looks amazing.” But how do we make those delicious creations with technique and success? After lots of years of trial and error and LOTS of failure, plus me scouring the internet for my favorite recipes, inspiration, and my own tweaking, I bring you my top tips for baking. Dan might come back to give you some cooking tips- that’s his deal. But I want to share some of my tried and true ingredients, tips, and tricks that help me every time I drag out the KitchenAid (more on that magical appliance to come). I’ve linked some equipment and ingredients within the text for your shopping convenience.
First off, let’s talk equipment:
Get yourself a good, heavy duty mixer. The KitchenAid mixer is a magical beast that I use weekly, from stirring up cake batter to whipping egg whites to making homemade marshmallows (thanks, Mom, for giving yours up all those years ago!). They are versatile, easy to clean, and gorgeous on your countertop. I highly recommend investing in the Professional Series 5-quart model, with the crank handle that lifts the bowl up to the mixer. It is durable, heavy duty, and just amazing to work with. But worry not! If a KitchenAid isn’t in your budget quite yet, you can absolutely find worthy hand mixers. I have this one, which is one of the best I’ve used (another thanks to Mom!).
Aluminum baking sheets will save you from burnt, unevenly baked cookies, every time. I have two half sheet pans plus one jelly roll pan, and I wish I had about 10 more. Be warned- they are hand wash only, but oh so worth it.
Tip: You can use them to make large sheets of cookie or cake bars, too, because of their handy rim.
Rubber spatulas for the win! These flexible spatulas are a godsend when it comes to scraping your bowls and getting every last bit of batter. Of course, you want to purposely leave some behind to eat, otherwise what’s the point? These are a great set.
Stainless steel is the way to go for bowls, cups, AND spoons. Stainless steel is easy to clean, durable, and sexy as heck in your kitchen. Stop buying plastic measuring cups, spoons, and bowls, and invest in some sturdy stainless steel. All you need are two or three bowls of varying sizes (make sure one of them is nice and big, especially if you’re using a hand mixer for your baking), but take advantage of this awesome set on Amazon that has SIX BOWLS! Amazon also has very affordable sets of stainless steel measuring cups and spoons.
Sidebar: I also really love glass mixing bowls. I use both kinds in my kitchen.
Now that we have some solid baking equipment to work with, let’s take a look at some general tips that I’ve learned throughout my years of baking:
Greasing isn’t always necessary if you have the most amazing product ever created in the baking world- parchment paper. If you’re thinking that parchment paper is the same as wax paper, YOU ARE VERY WRONG AND WILL HAVE MELTED WAX IN YOUR OVEN. Phew. Now that we’ve gotten that clarification out of the way, we can start using parchment for any and all baked goods. Line your baking sheets, pans, and casseroles with it to not only prevent sticking, but to protect your bakeware for years to come. I’ve never had anything stick to parchment paper. It is a very sad day here when we run out of it.
Beat that butter and sugar WAY longer than you think you should. If you have any baking experience, you’ve probably seen the start of the recipe read “Beat the butter and sugar until fluffy.” But very few recipes tell you how long to beat them or what the heck “fluffy” should look like. I beat butter and sugar together for a solid 3 minutes, at least. I even set a timer, because I’m anal that way (I set timers for everything to the amusement of my husband). Three minutes feels longer than you would expect! But I assure you that 3-5 minutes of beating at medium-high speed will result in truly creamed butter and sugar and will be the “fluffy” you need for proper texture and blending of your batter.
Don’t be afraid of salt. I’m talking to you, Julie! Just kidding. My sister has an aversion to overly salty things. Anyway, any baked good will be taken from good to great with the addition of salt. A lot of recipes will call for it in very miniscule amounts, but don’t be afraid to up that amount to your tastes. Or, sprinkle some coarse salt on top of your cookies, brownies, or blondies before baking. You’ll be amazed at the complexity it adds to anything sweet. I primarily use Morton Coarse kosher salt, but have recently tried Diamond Crystal kosher salt and really like that it doesn’t contain any additives that could in the slightest chance alter a recipe (especially candy-making). For fancy sprinkling and a pretty, flaked look, I use Maldon Sea Salt Flakes.
Note: Table salt and coarse kosher salt are very different products, besides the iodine addition. Kosher salt is less intense and can be used in larger amounts, as opposed to table salt which is very intense and extra salty. Keep this in mind when substituting them in recipes.
I think salted butter is great, and you should, too. I’ve pretty much always used salted butter for baking, because I don’t feel the need to get TWO types of butter at the store. I’ve never noticed huge differences and I’ve already told you how good salt is in baked goods, so unless you’re watching your sodium intake, just use salted butter. If you’re really worried about the saltiness and you only have salted butter on hand, decrease the added salt in the recipe a bit to make up for it.
Baking is an exact science, which I’m sure you’ve heard before. But, be really anal retentive with anything you’re baking. Follow the recipe directions exactly (at least the first time), ALWAYS measure, and set all the timers. If you want to get even more serious with your baking, consider buying a digital kitchen scale, especially for measuring dried goods like flour, chocolate, and nuts. Flour in particular is very difficult to measure accurately with measuring cups because of the variation in packing, tossing, sifting, and leveling. Your results will be more accurate with a kitchen scale and you’ll rest easy knowing that you measured everything exactly. A little extra flour or a drop more milk could truly alter your baked goods. I have this scale, thanks to my wonderful sister. However, it seems to be unavailable now, so look for something similar.
Note: Not all recipes have measurements in grams or ounces. In those cases, just be as accurate as you can with hand measuring.
Now go forth and bake something! I’m here for you through your successes and failures.
I have decided to take on a blog to share not only my pictures with you but some recipes, tips, and maybe even some kitchen gadgets and food reviews. We love cooking and baking (I’ll leave the baking to Jess) but most of you don’t get the opportunity to taste our creations. This makes us sad. So, we decided that we are going to start sharing not only or mouth-watering photographs but also our recipes, tips, and tricks so you can make the same delicious dishes at home!
I know, you are thinking to yourself, “Self, how on EARTH can I make something like Dan and Jess?!” Don’t worry. Like I say to anyone who asks how I learned to cook, if you can read, you can cook. Just follow along and give it a shot. If you’re stuck and have questions feel free to reach out. Worst case- you set off a few smoke alarms and order a pizza.
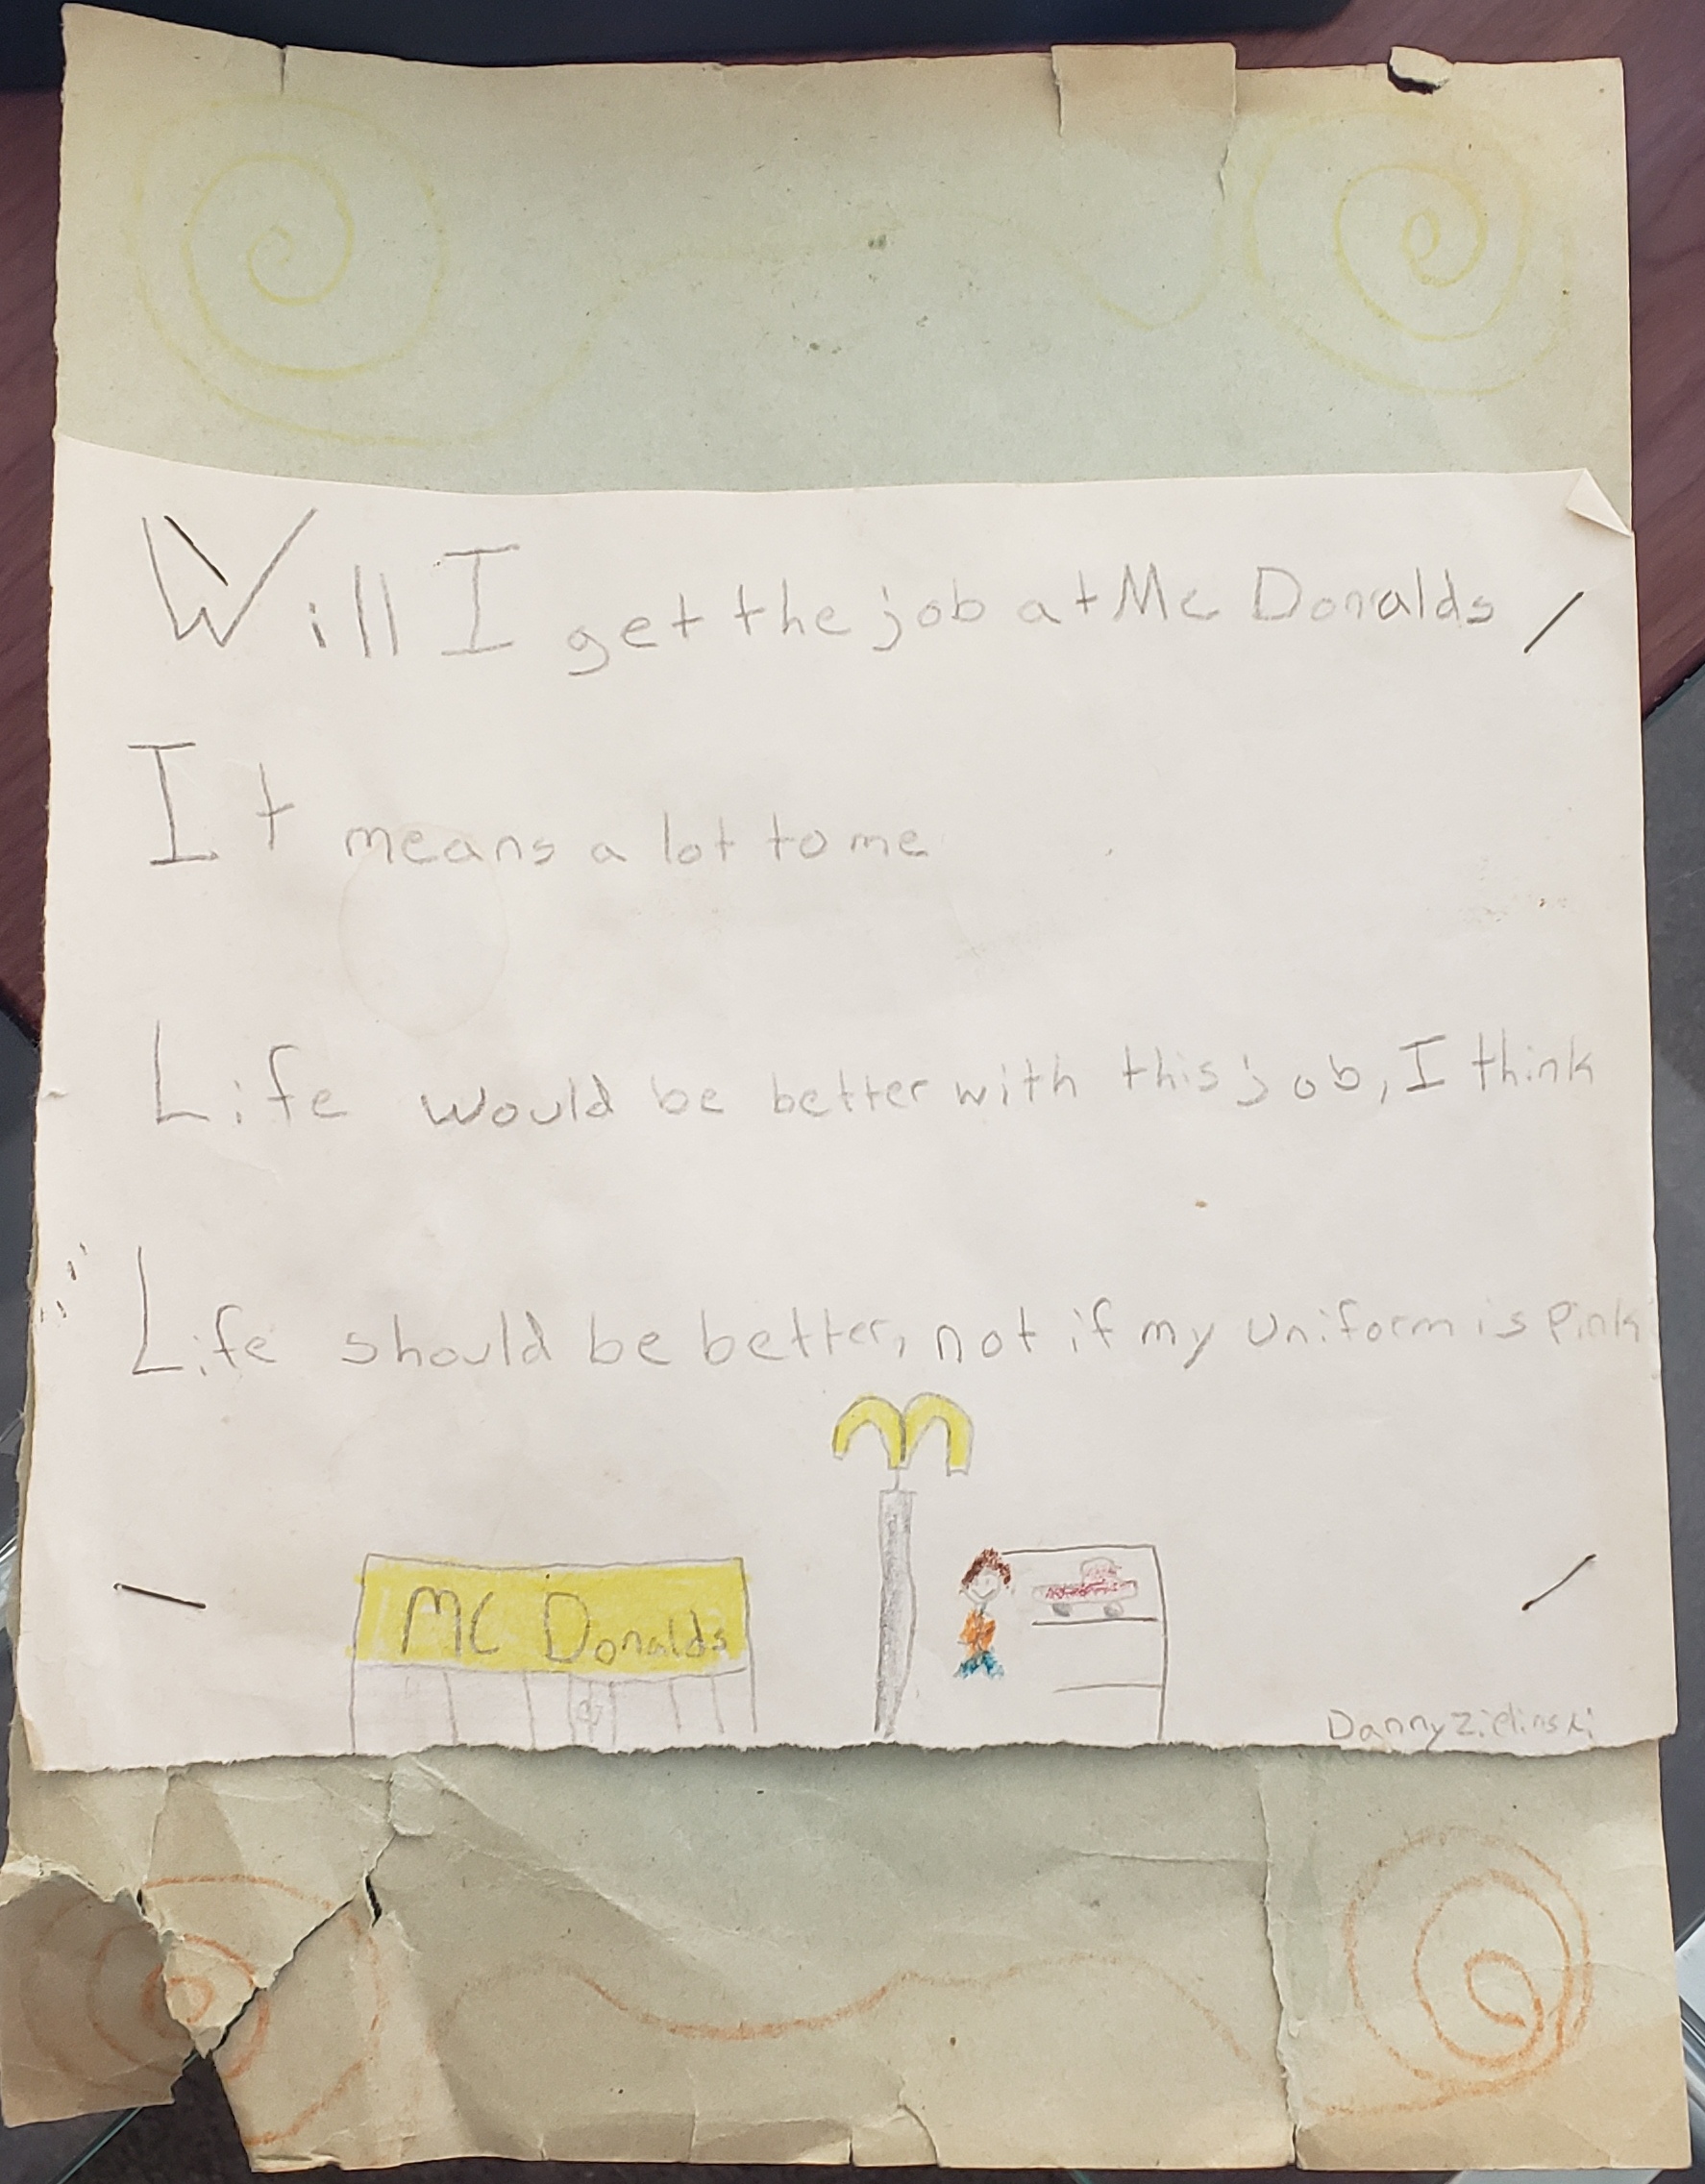
Food is something that has always been an important part of my life. From pretending to be a chef with my parents’ Tupperware containers as a kid to pursuing a degree in Hospitality Management in college, food has always been present. I even wrote a poem in grade school about wanting to work in a restaurant:
“Will I get the job at McDonald’s
It means a lot to me
Life would be better with this job, I think
Life should be better, not if my uniform is pink“
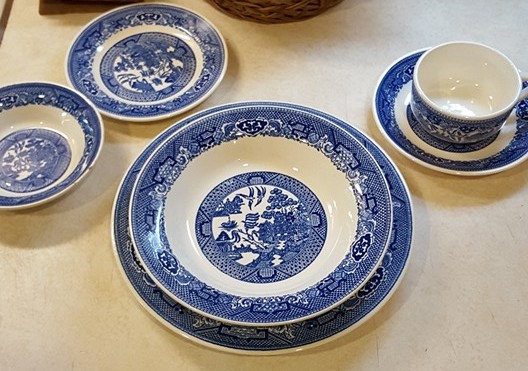
The name Blue Willow Plate comes from a gorgeous set of Blue Willow china that I acquired from my Grandma Kotula. I remember eating off of these very dishes on special occasions as a kid at my grandmother’s house and am honored to be able to use the same dishes today in my home.
The plan is to try and post at least one recipe a week as time permits. As I get better at this I’ll probably try and post more. Let me know what you think and if you have any suggestions drop me a line. This should be fun!