With the holidays coming up and 2020 fighting back in full swing I thought I’d share with you my favorite but simple martini recipe!
Here’s what you’ll need:
2.5oz Vodka
0.5oz Extra Dry Vermouth
5 dashes Orange Bitters
Lemon Zest
If I’m having a vodka martini I always go for Grey Goose but you can use what ever brand you prefer. I also picked up a bottle of pomander orange bitters from the liquor store to try.
This is a simple one. Fill a cocktail shaker with ice. Pour in your vodka, vermouth, and bitters. Shake shake shake. Strain into your favorite martini vessel. I like to add a “twist” of lemon to my martini. To do this I take a veggie peeler to a lemon and peel a layer of skin off and try to leave behind any of the bitter white pith.
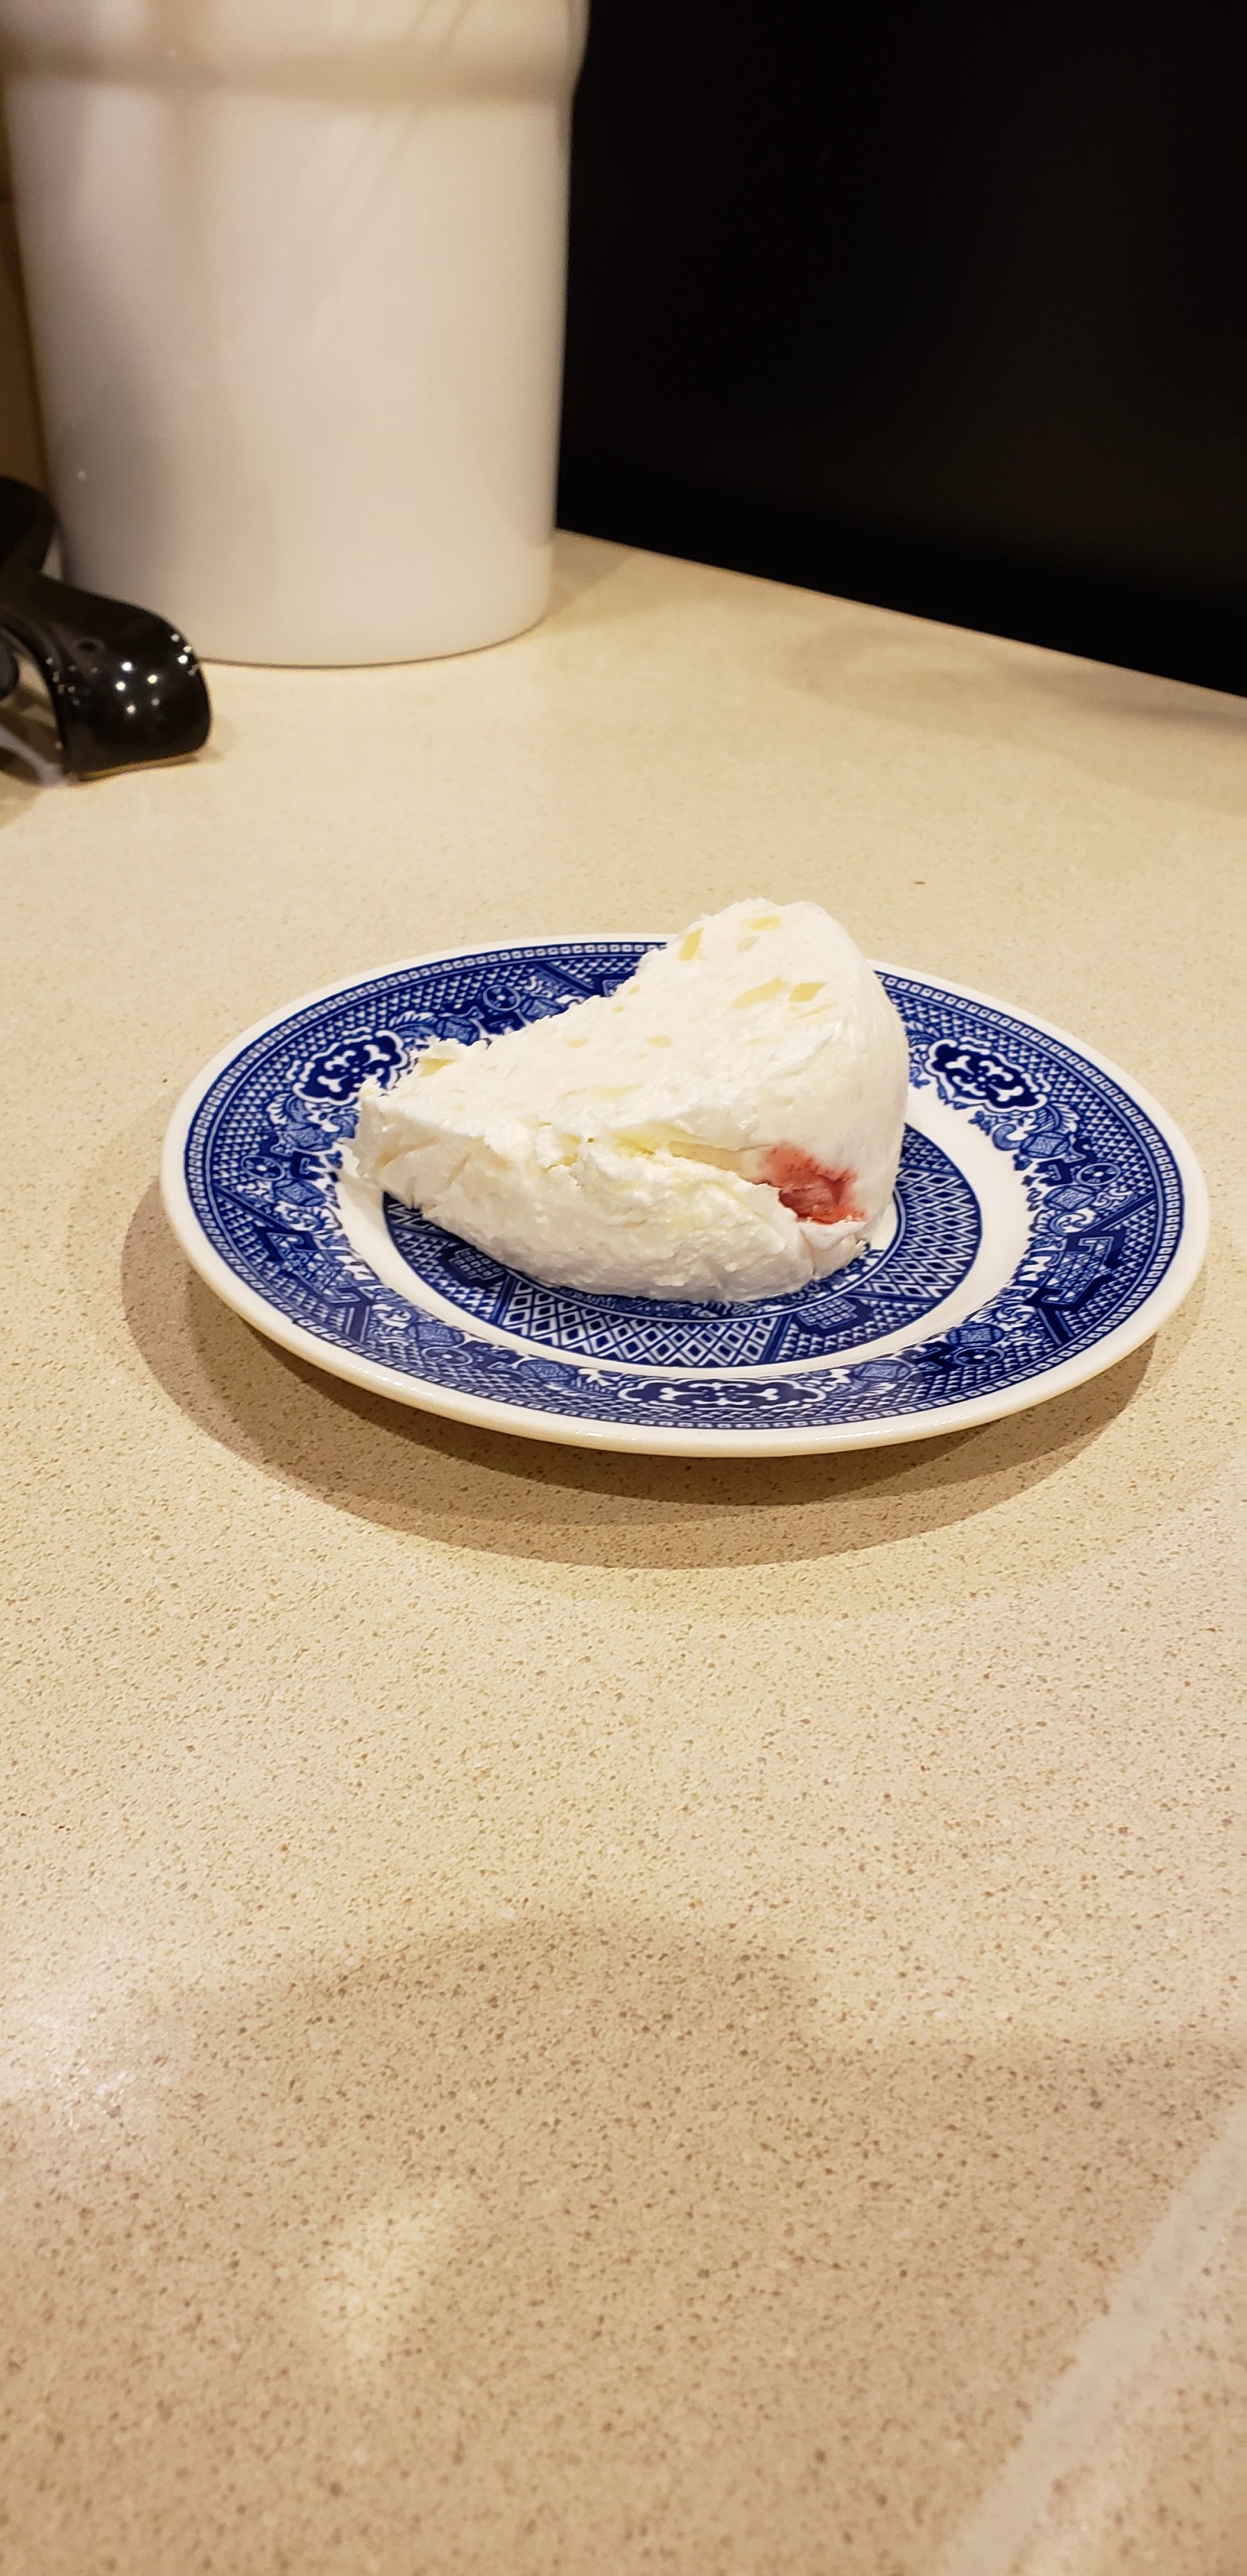
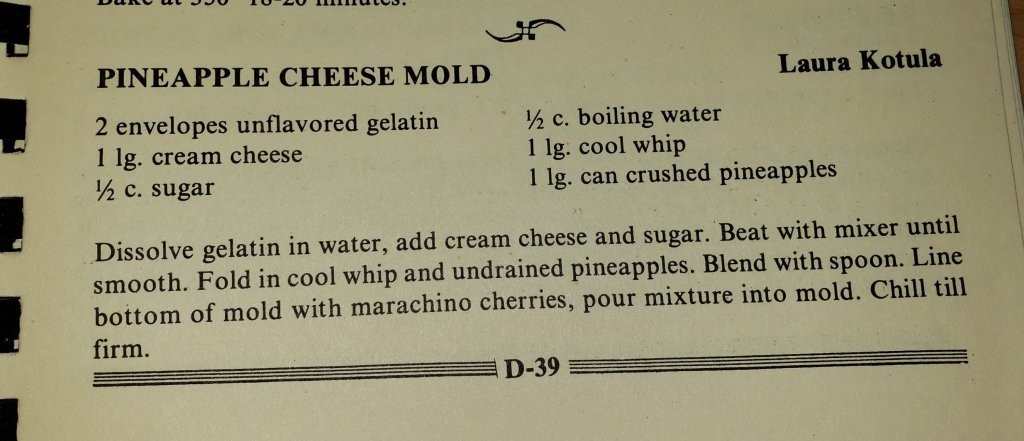
I found an old church cookbook while unpacking and realized it had some old family recipes in it so I had to try one! We lost Gram Kotula earlier this year and the minute I saw her Pineapple Cheese Mold recipe I knew I had to try it.
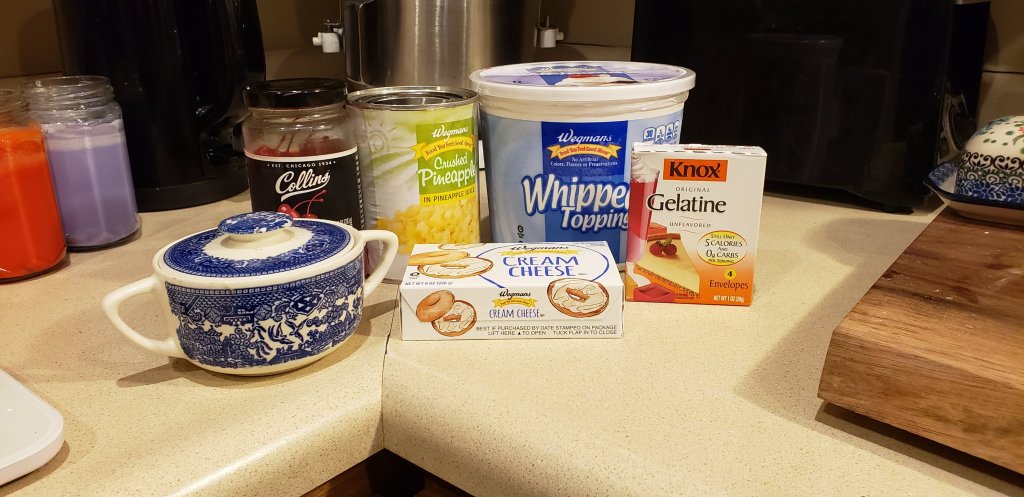
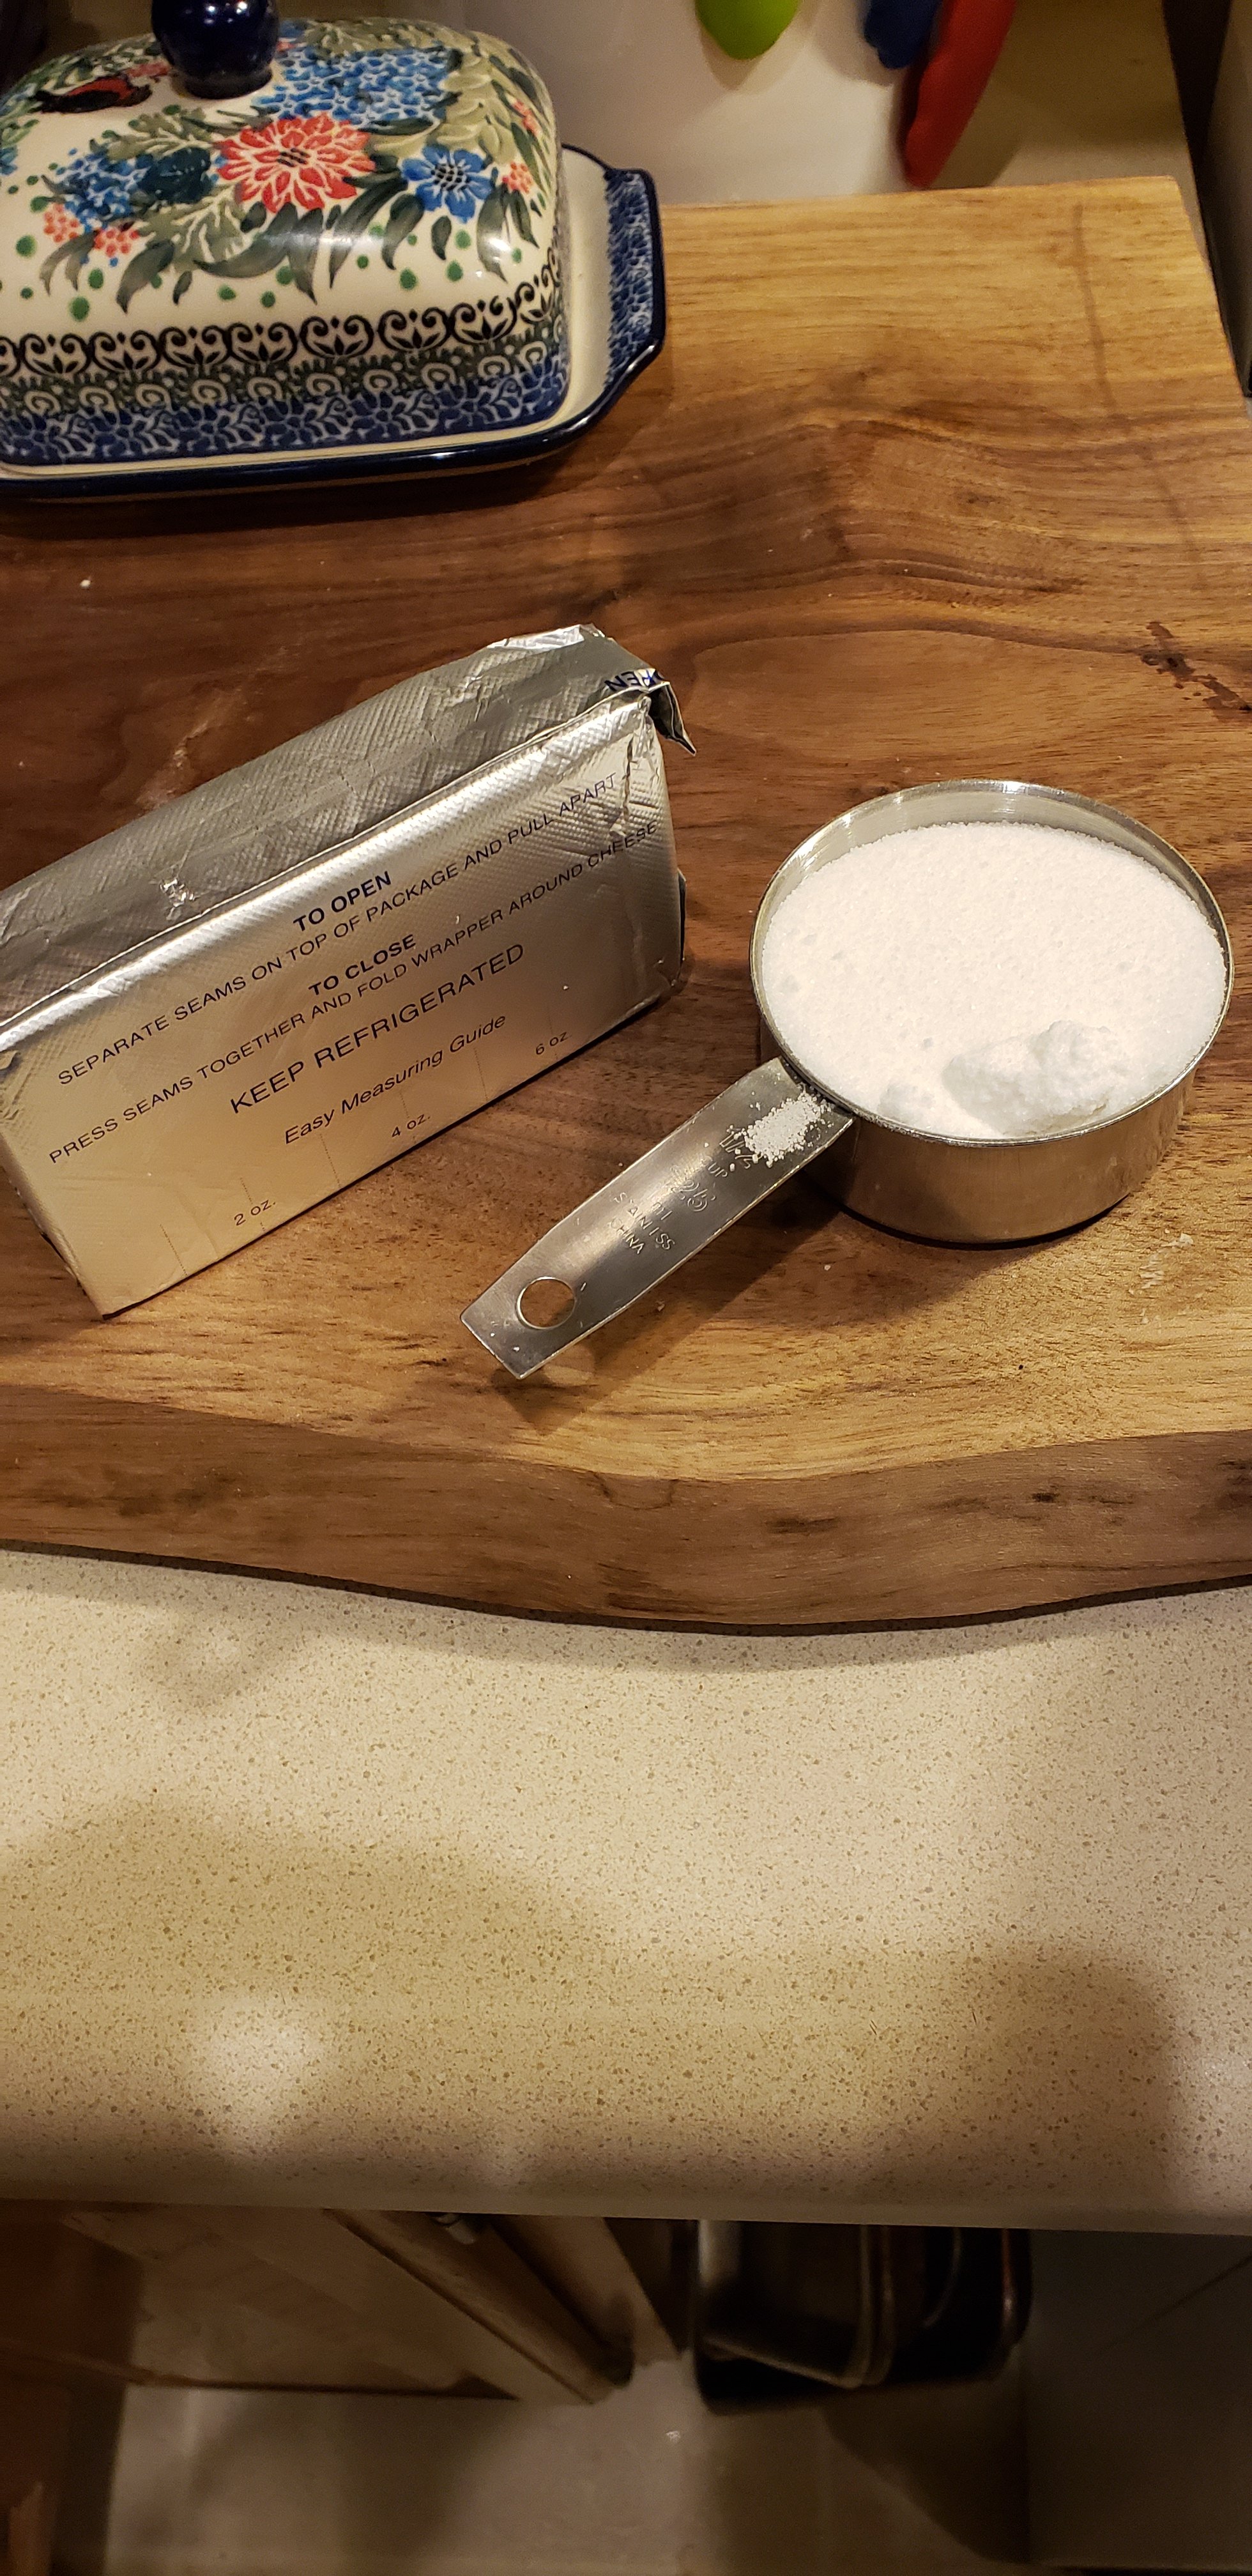
As you can see there are no exact measurements for some items so I consulted with my mom and decided a 16oz tub of cool whip, 20oz can of crushed pineapple, and 8oz block of cream cheese constituted the large options.
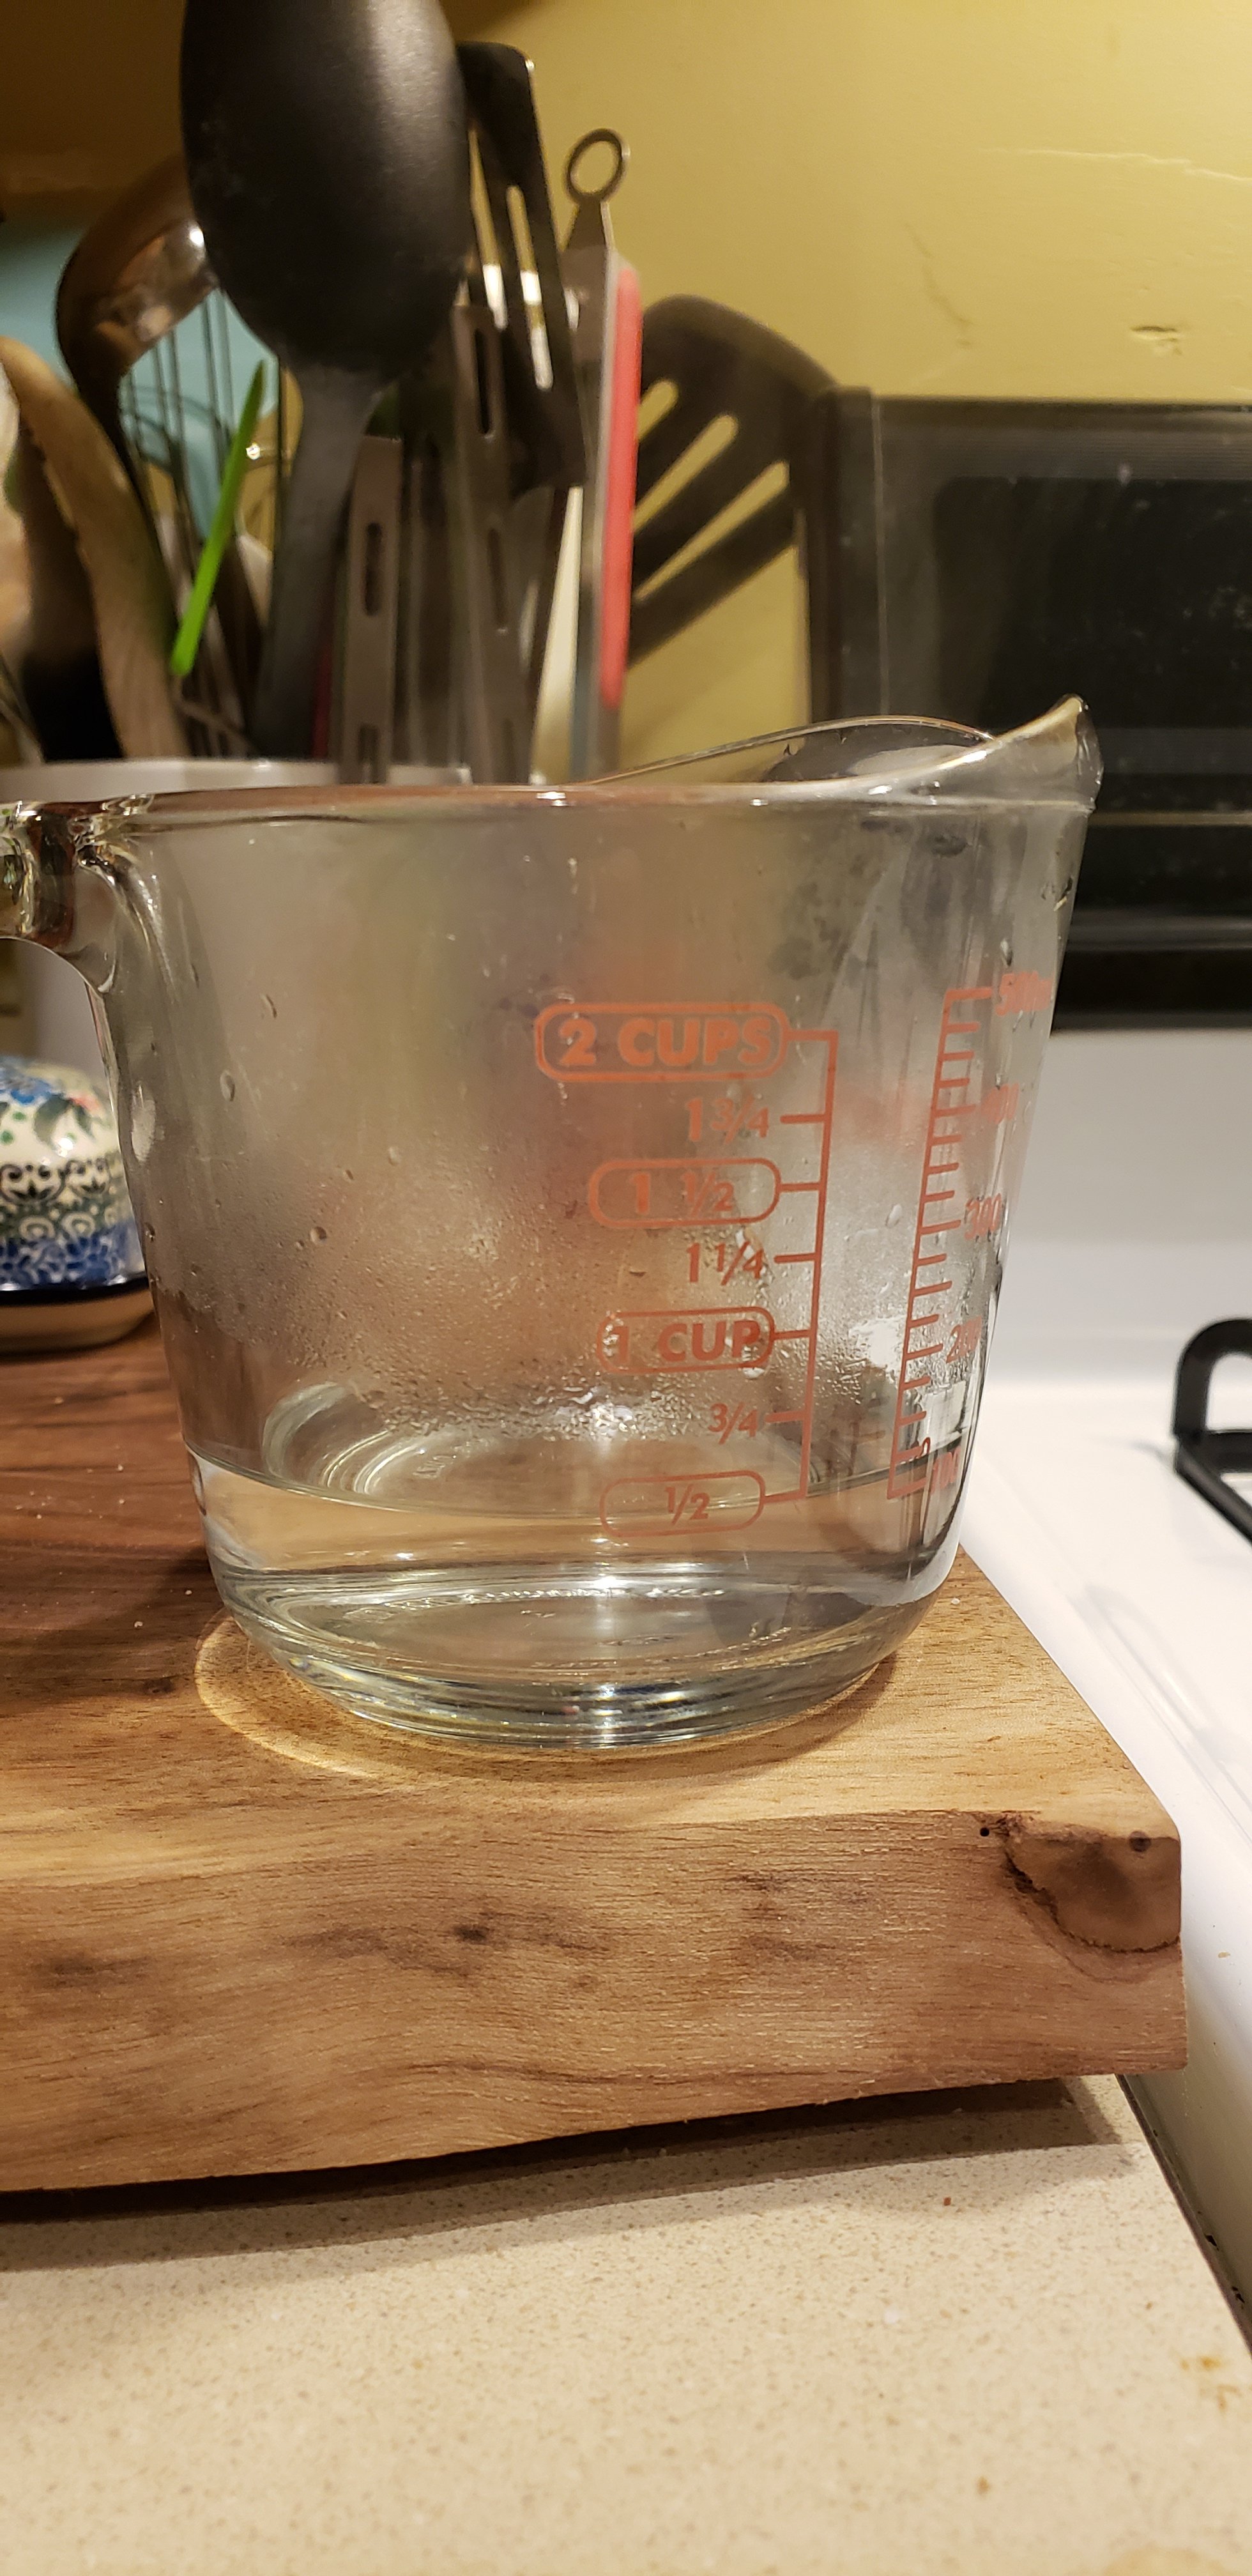
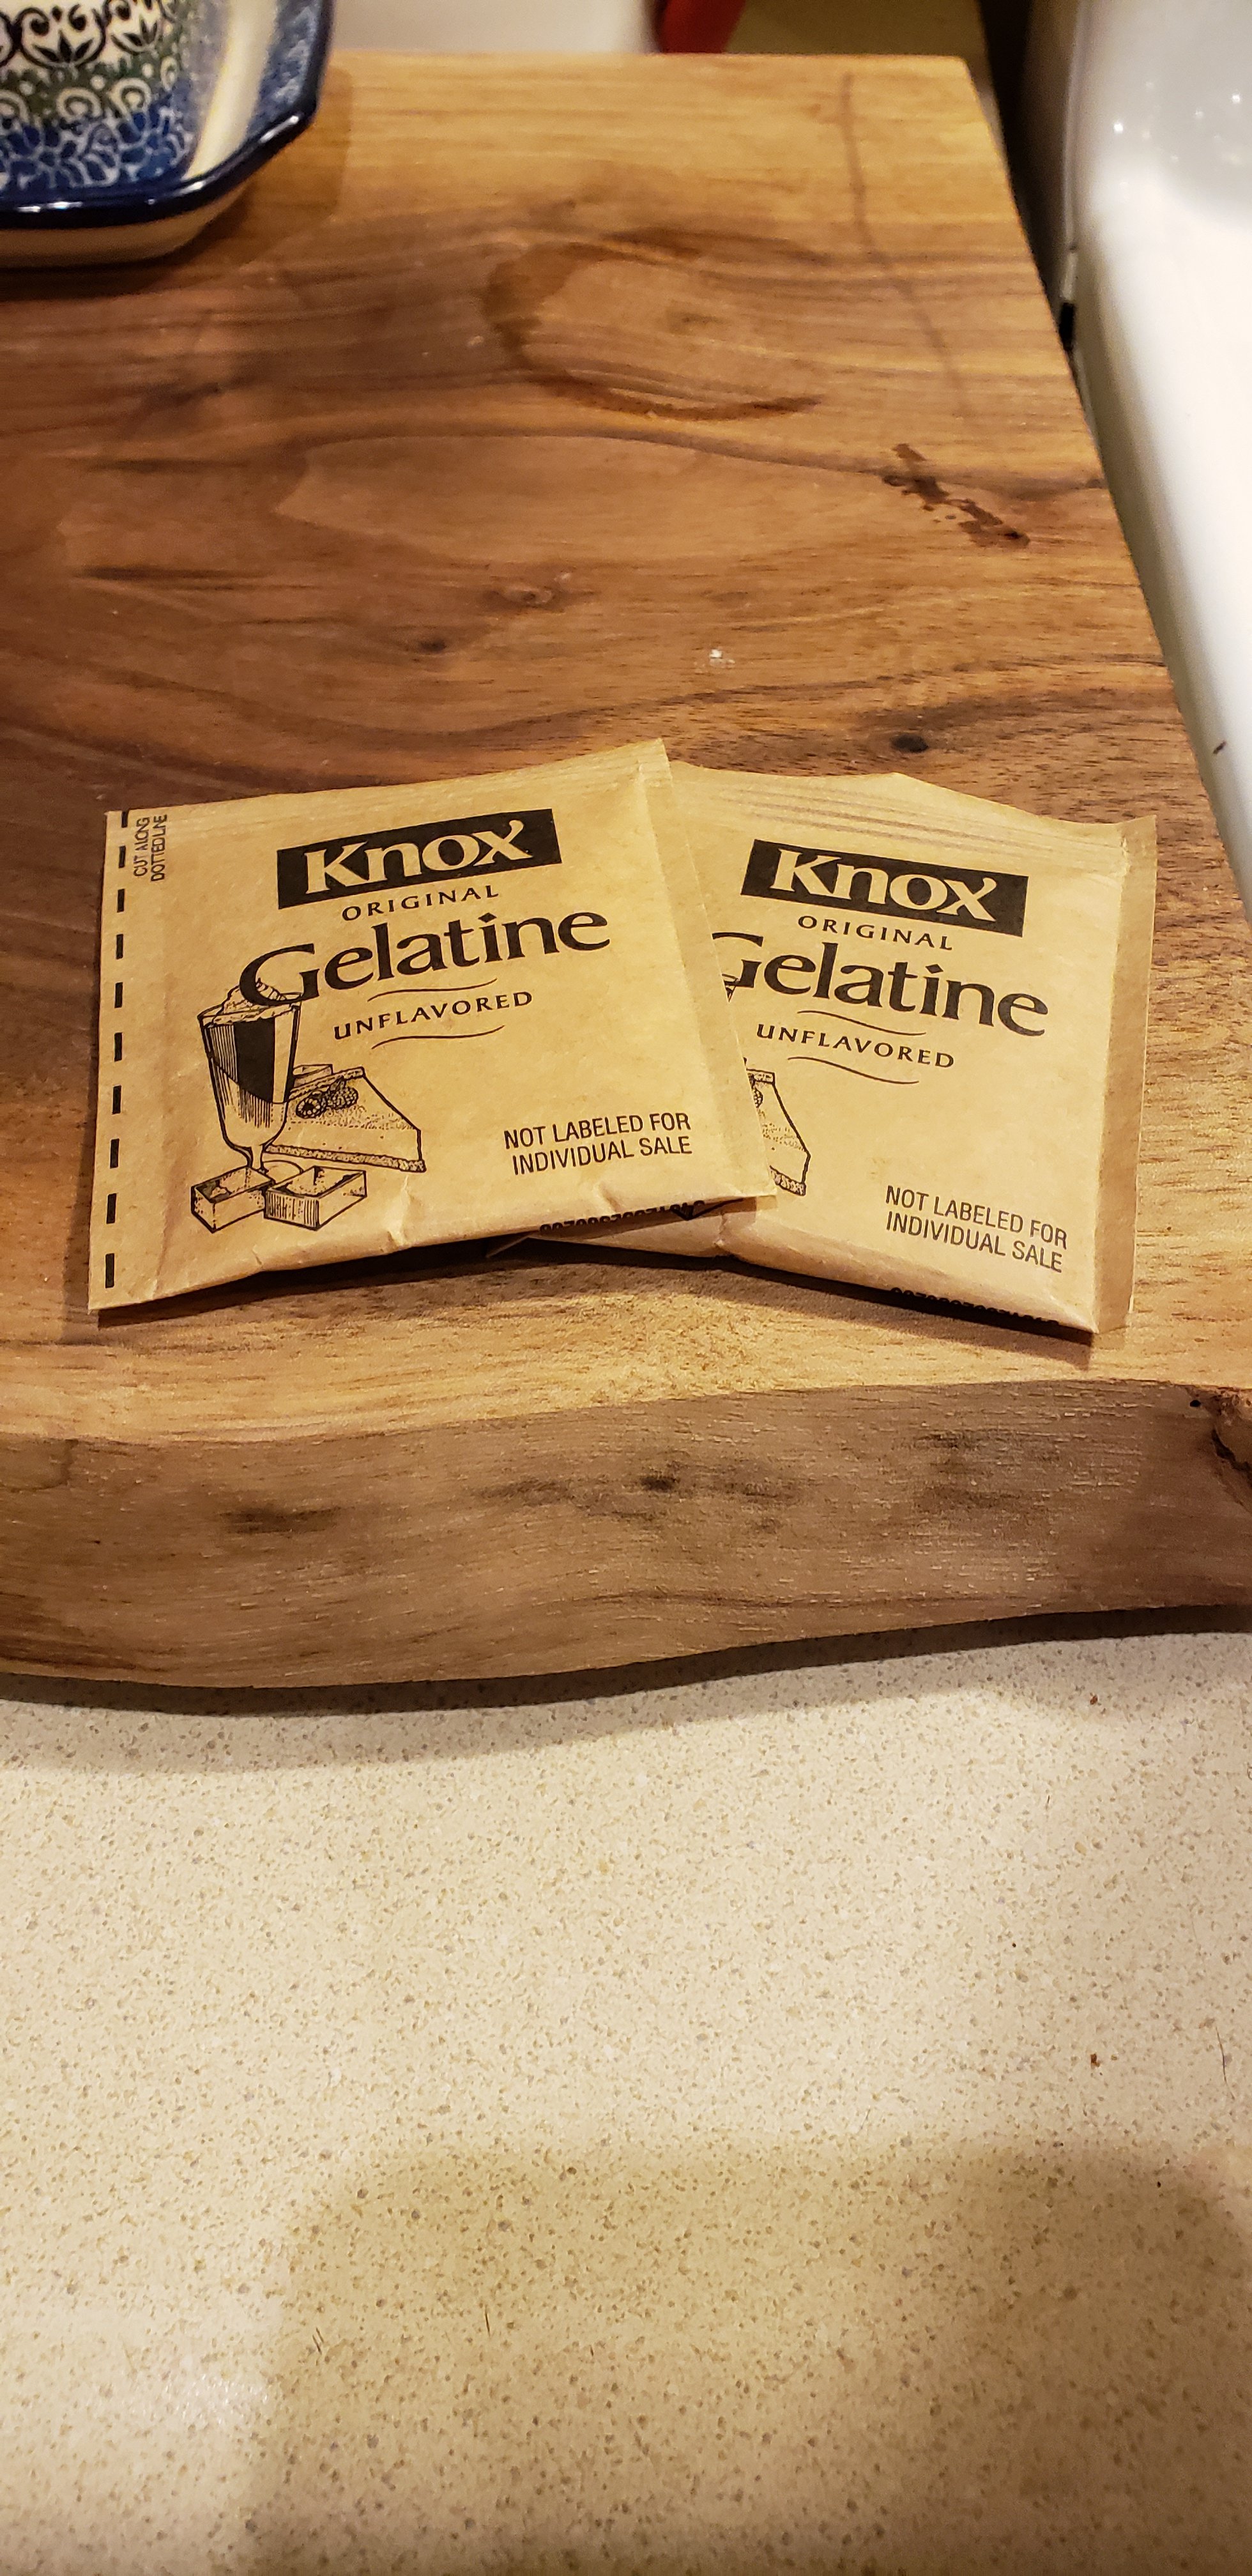
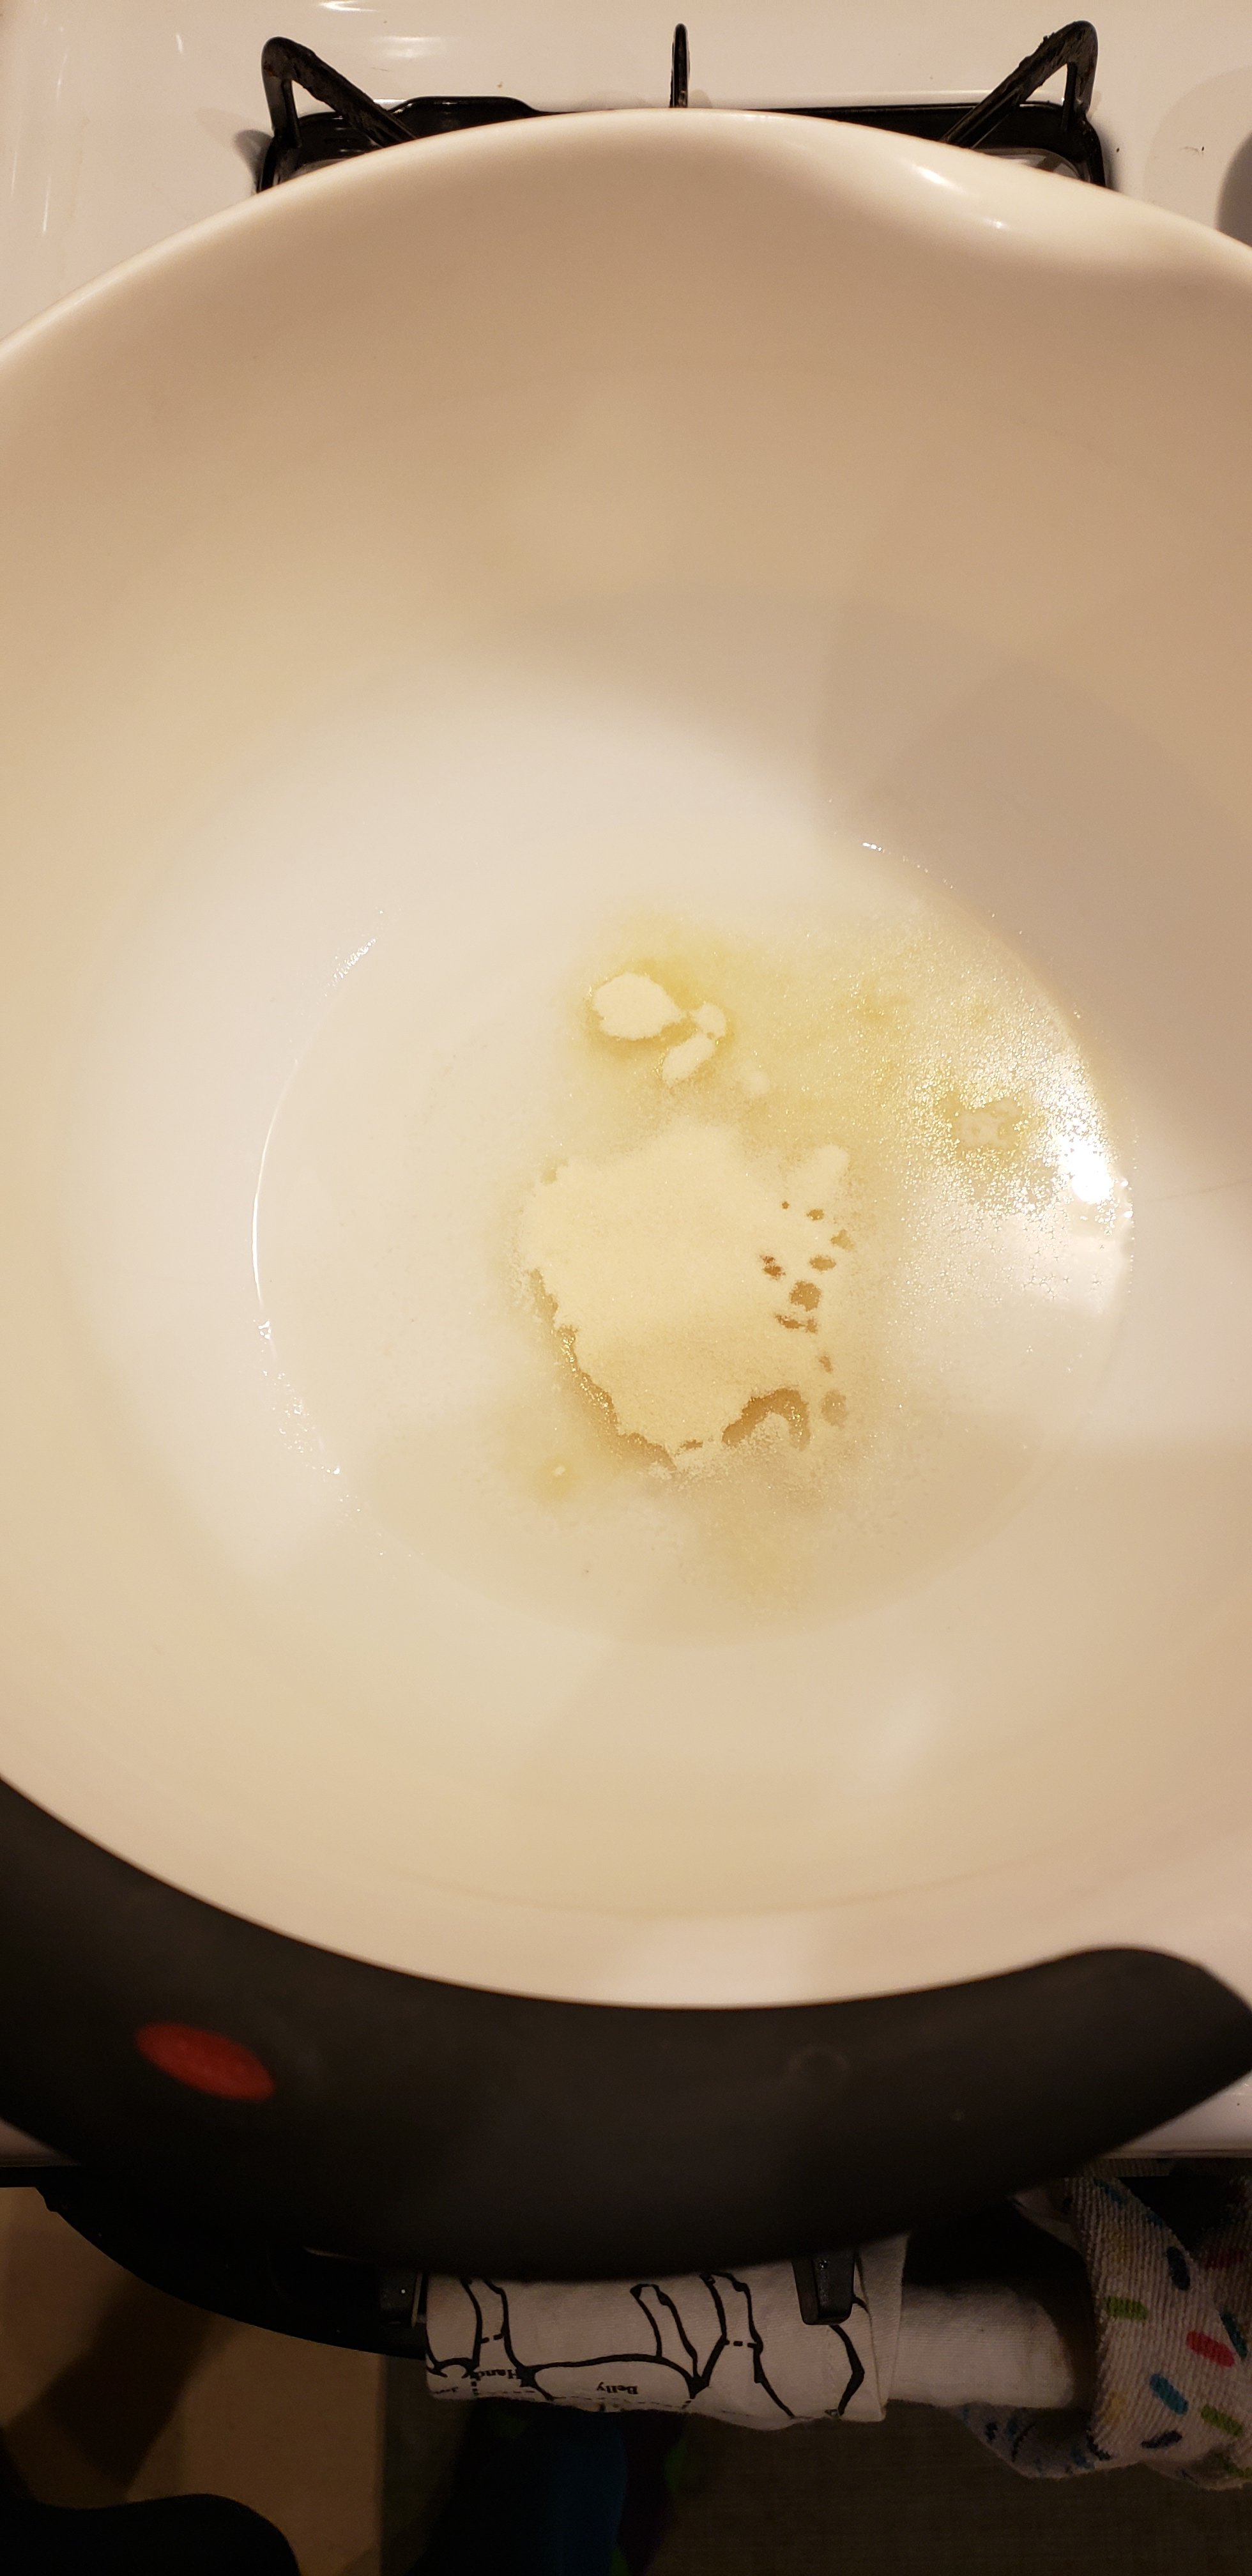
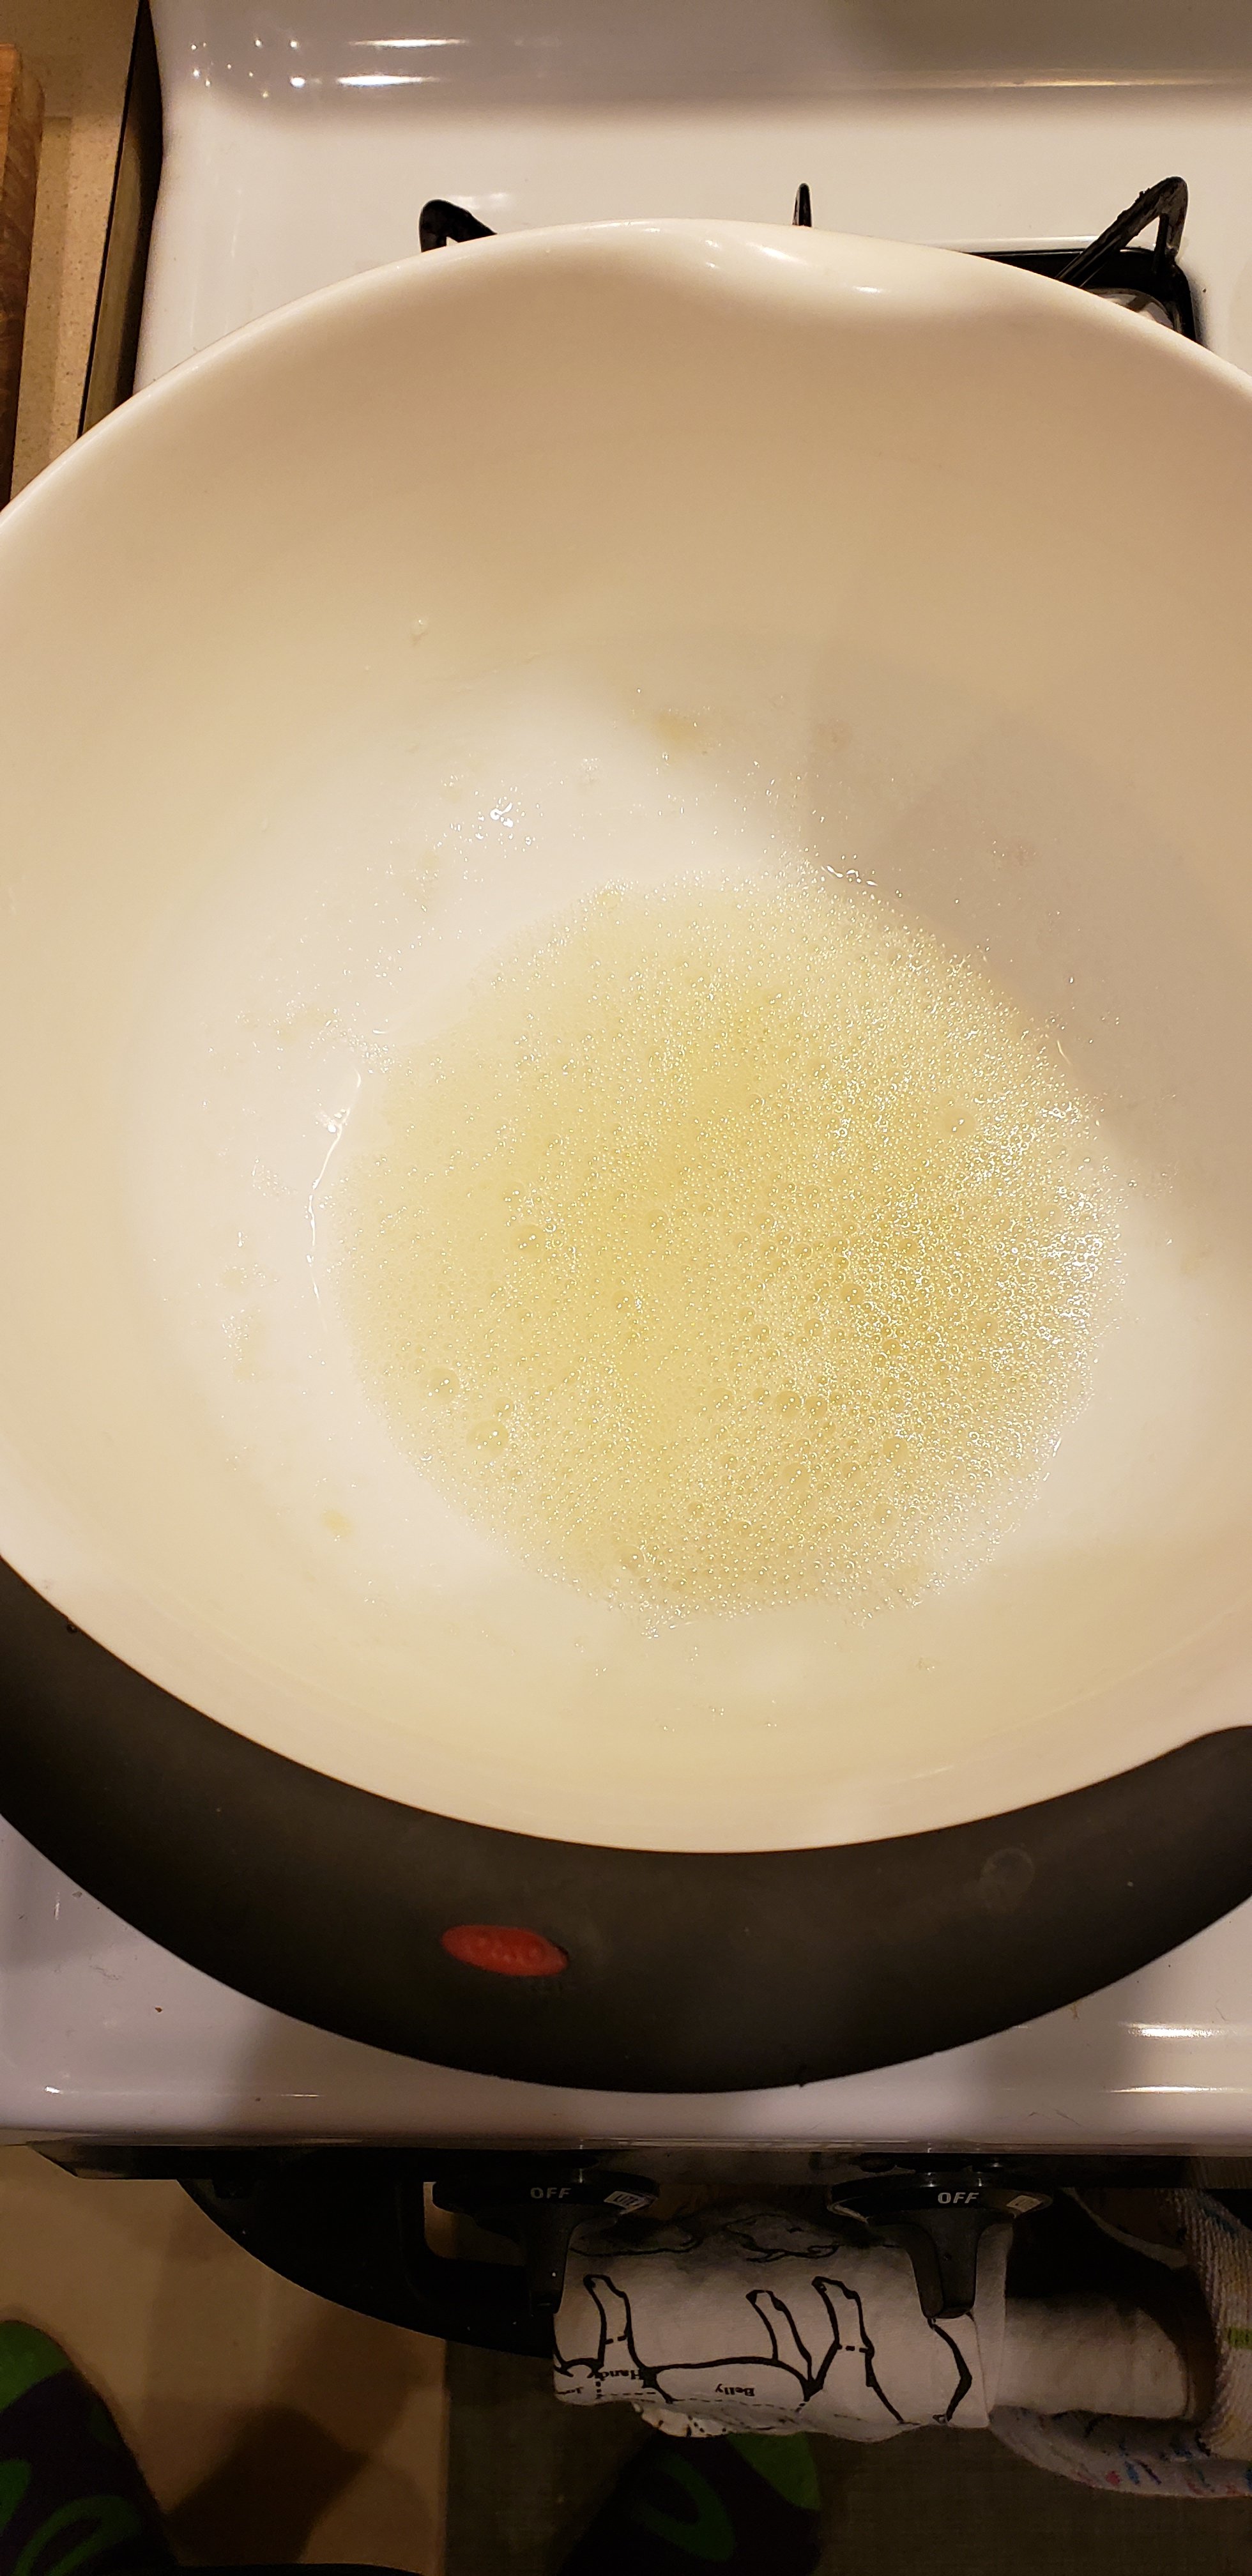
The first step in the recipe is dissolve gelatine in water. I went ahead and boiled the water first, then added the 2 envelopes of gelatine, and whisked it around a bit to dissolve.
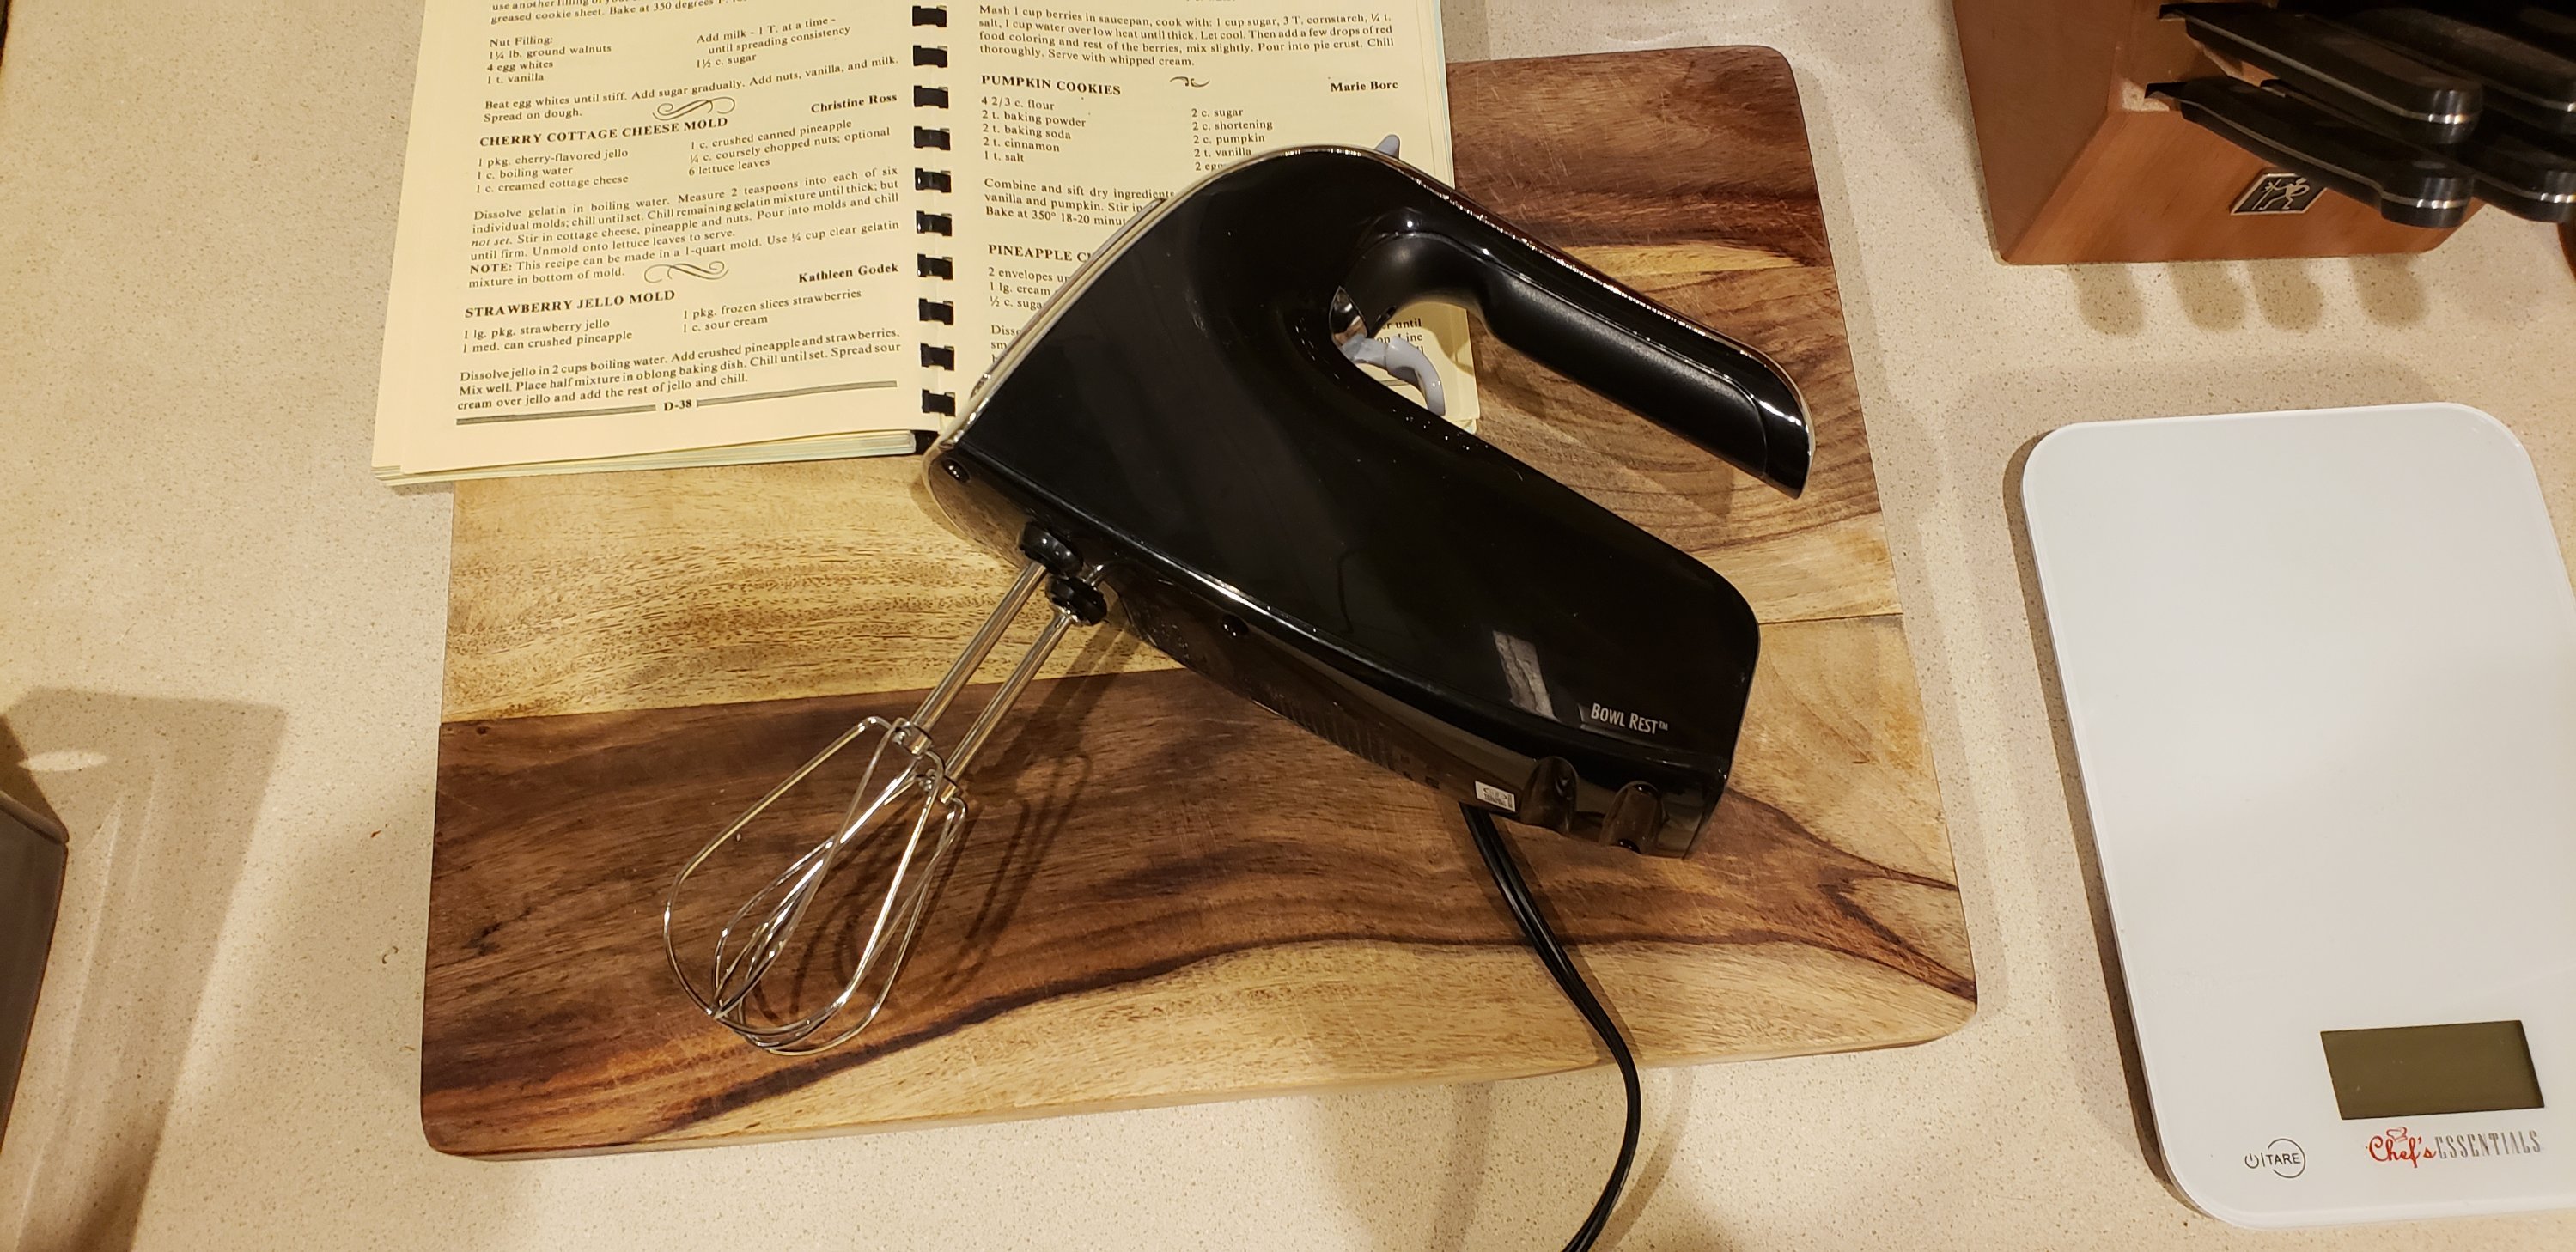
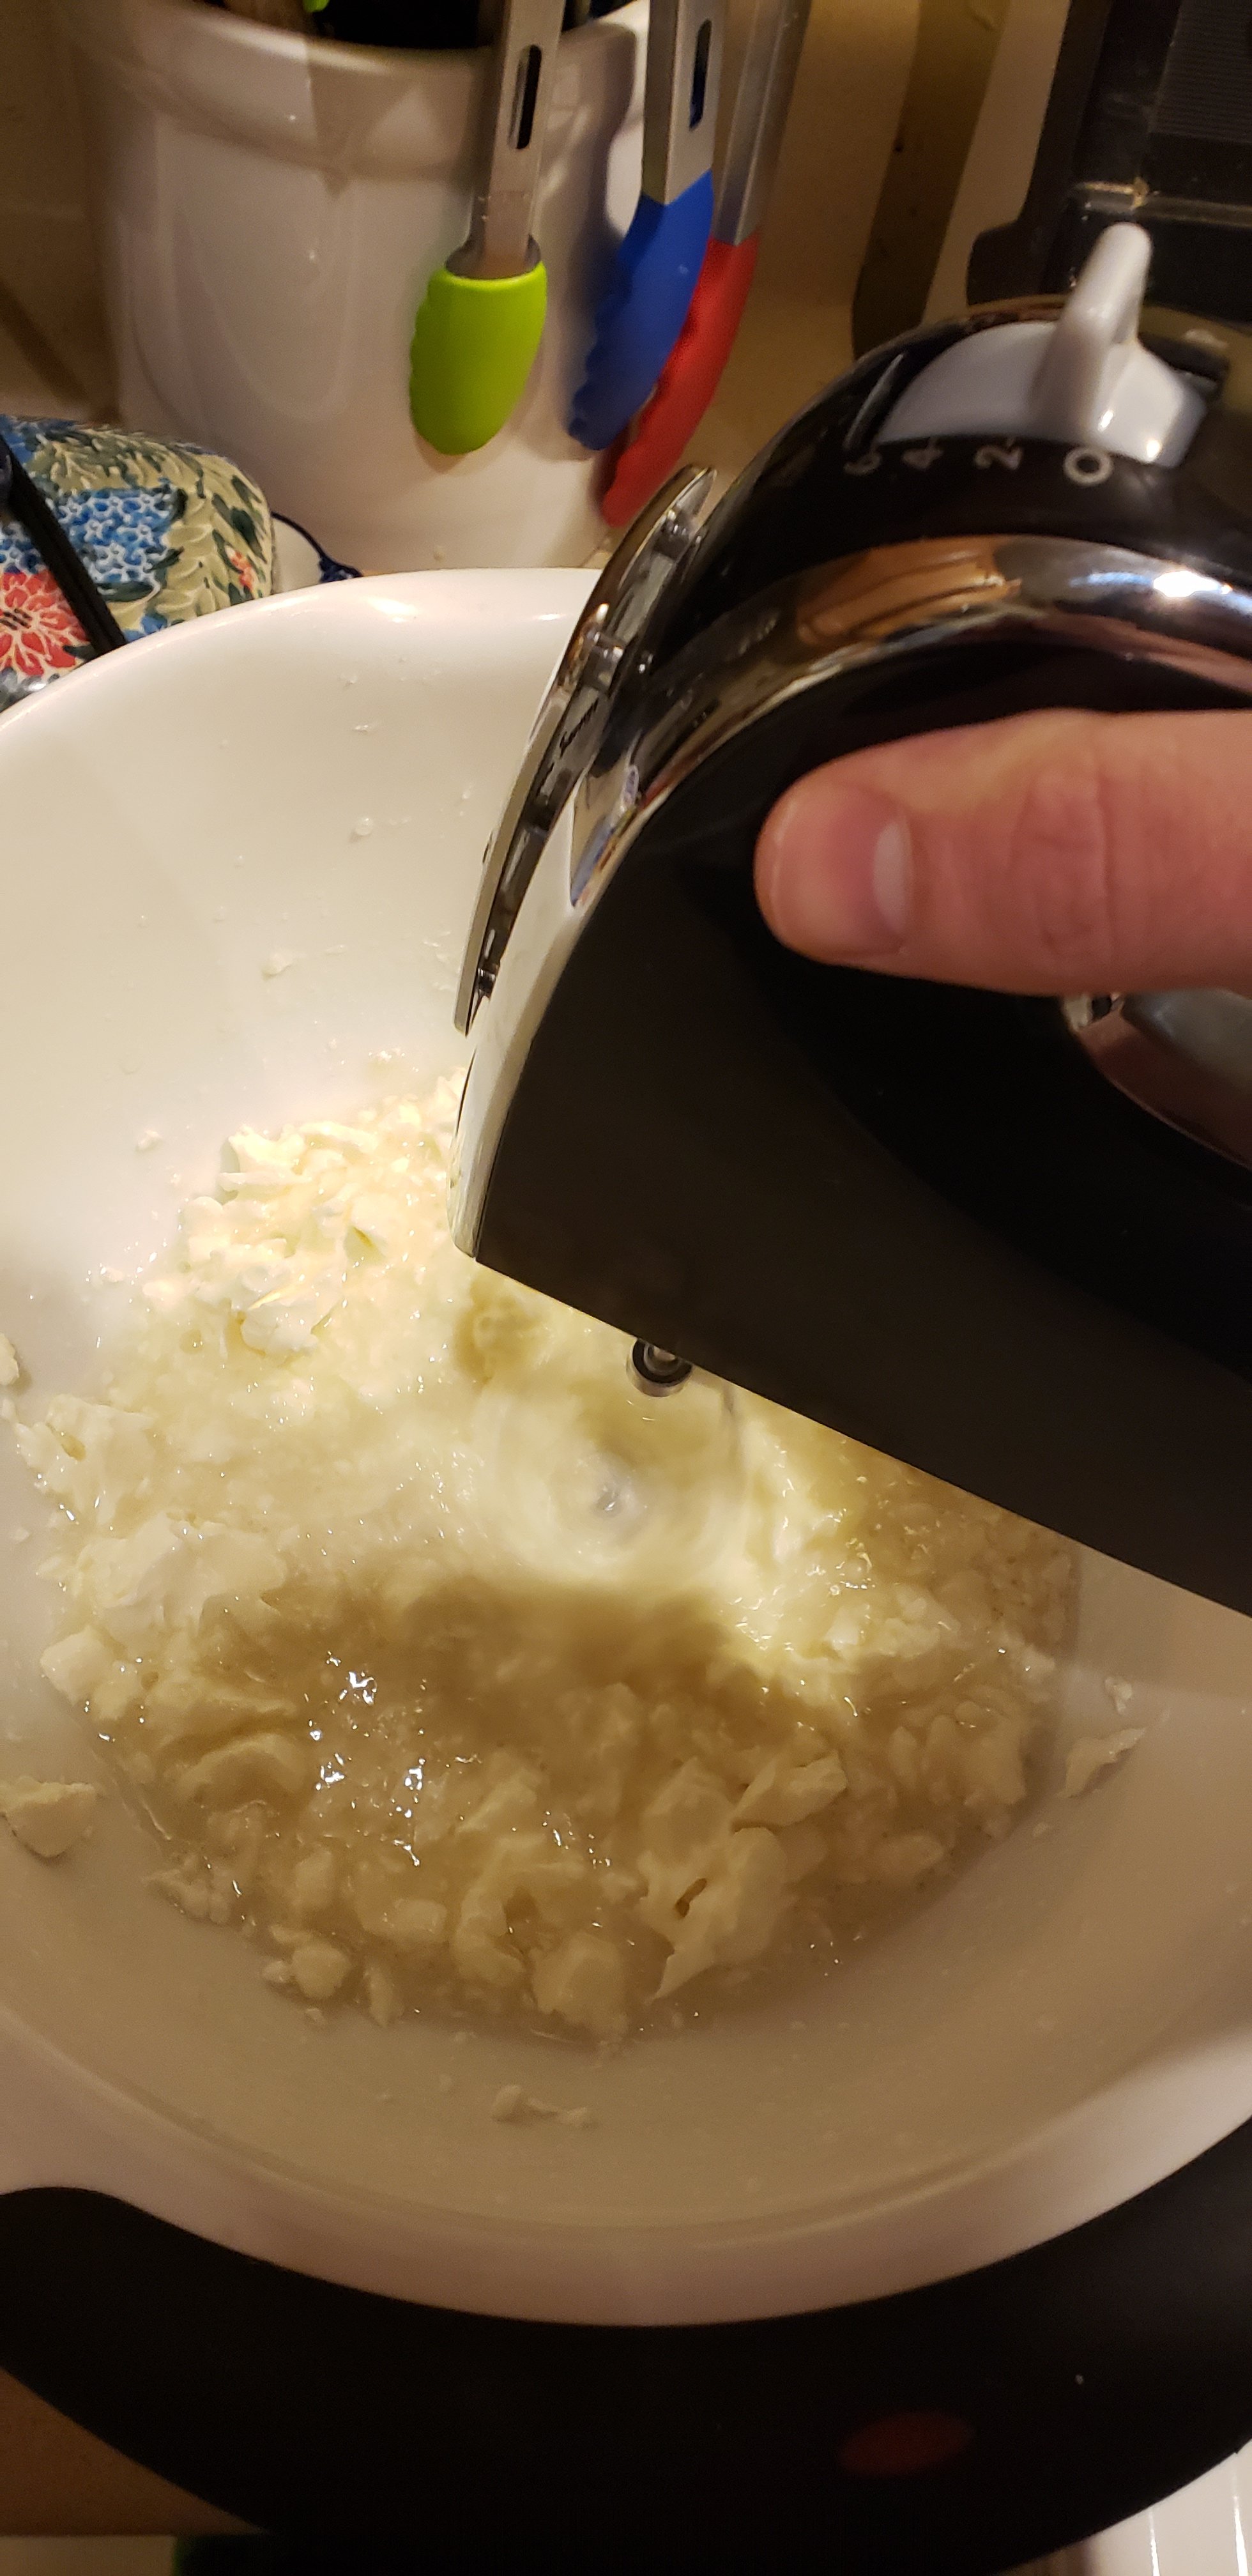
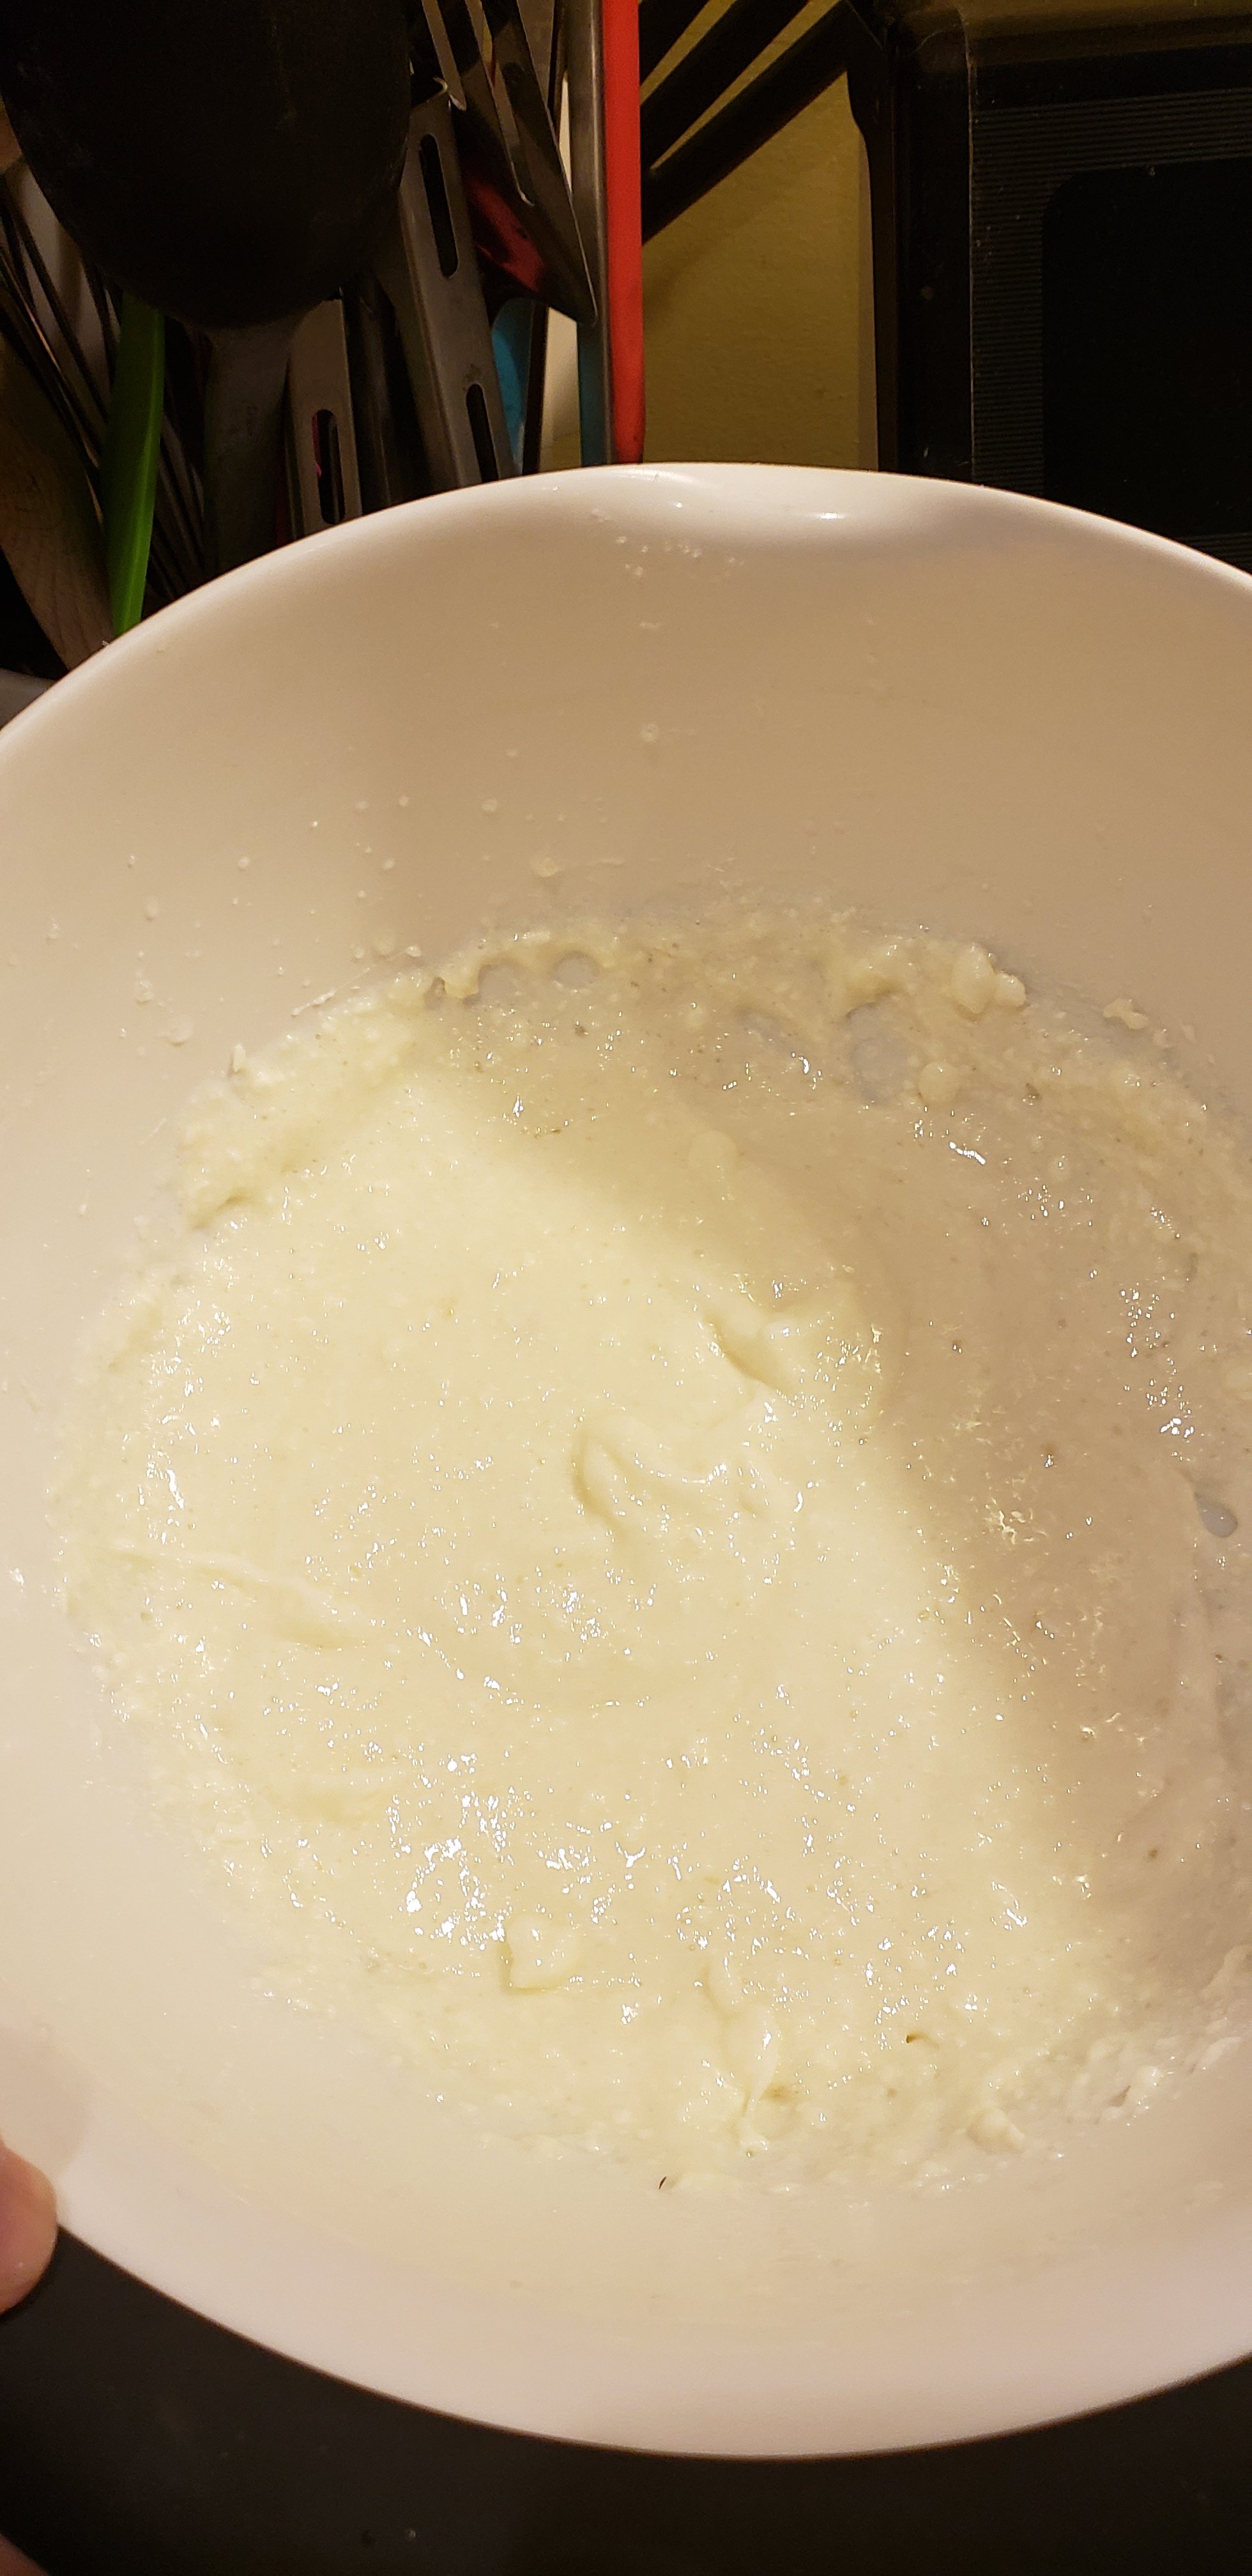
Next I added the cream cheese and sugar and using a hand mixer beated the mixture until smooth. This took about 2 minutes.
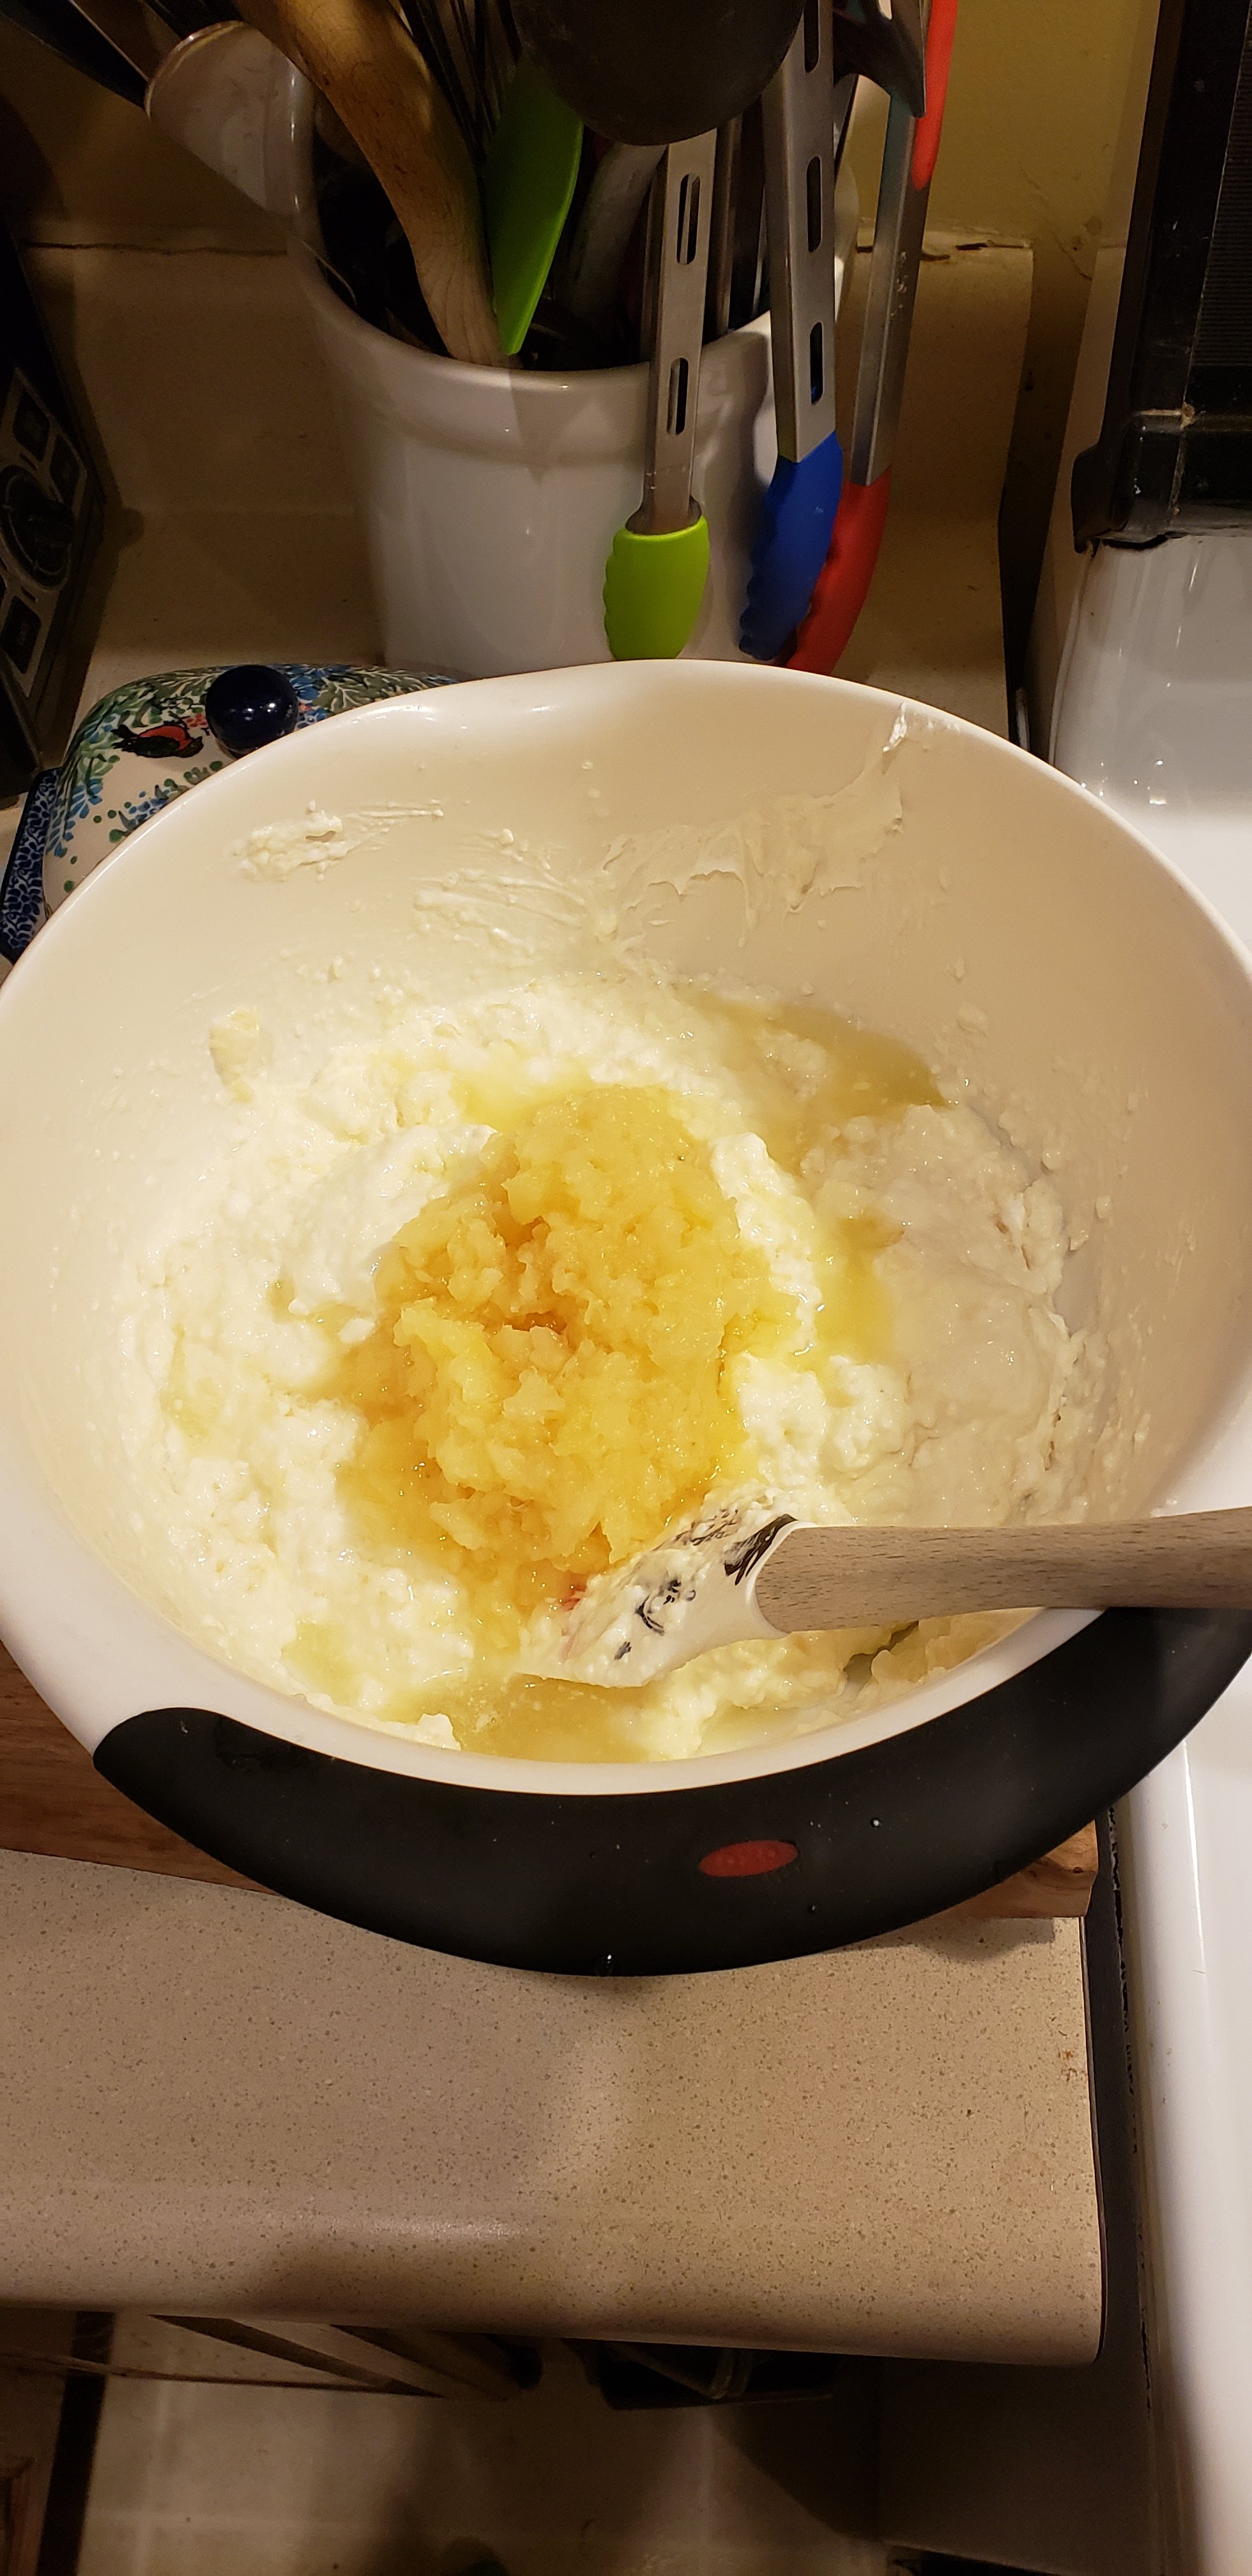
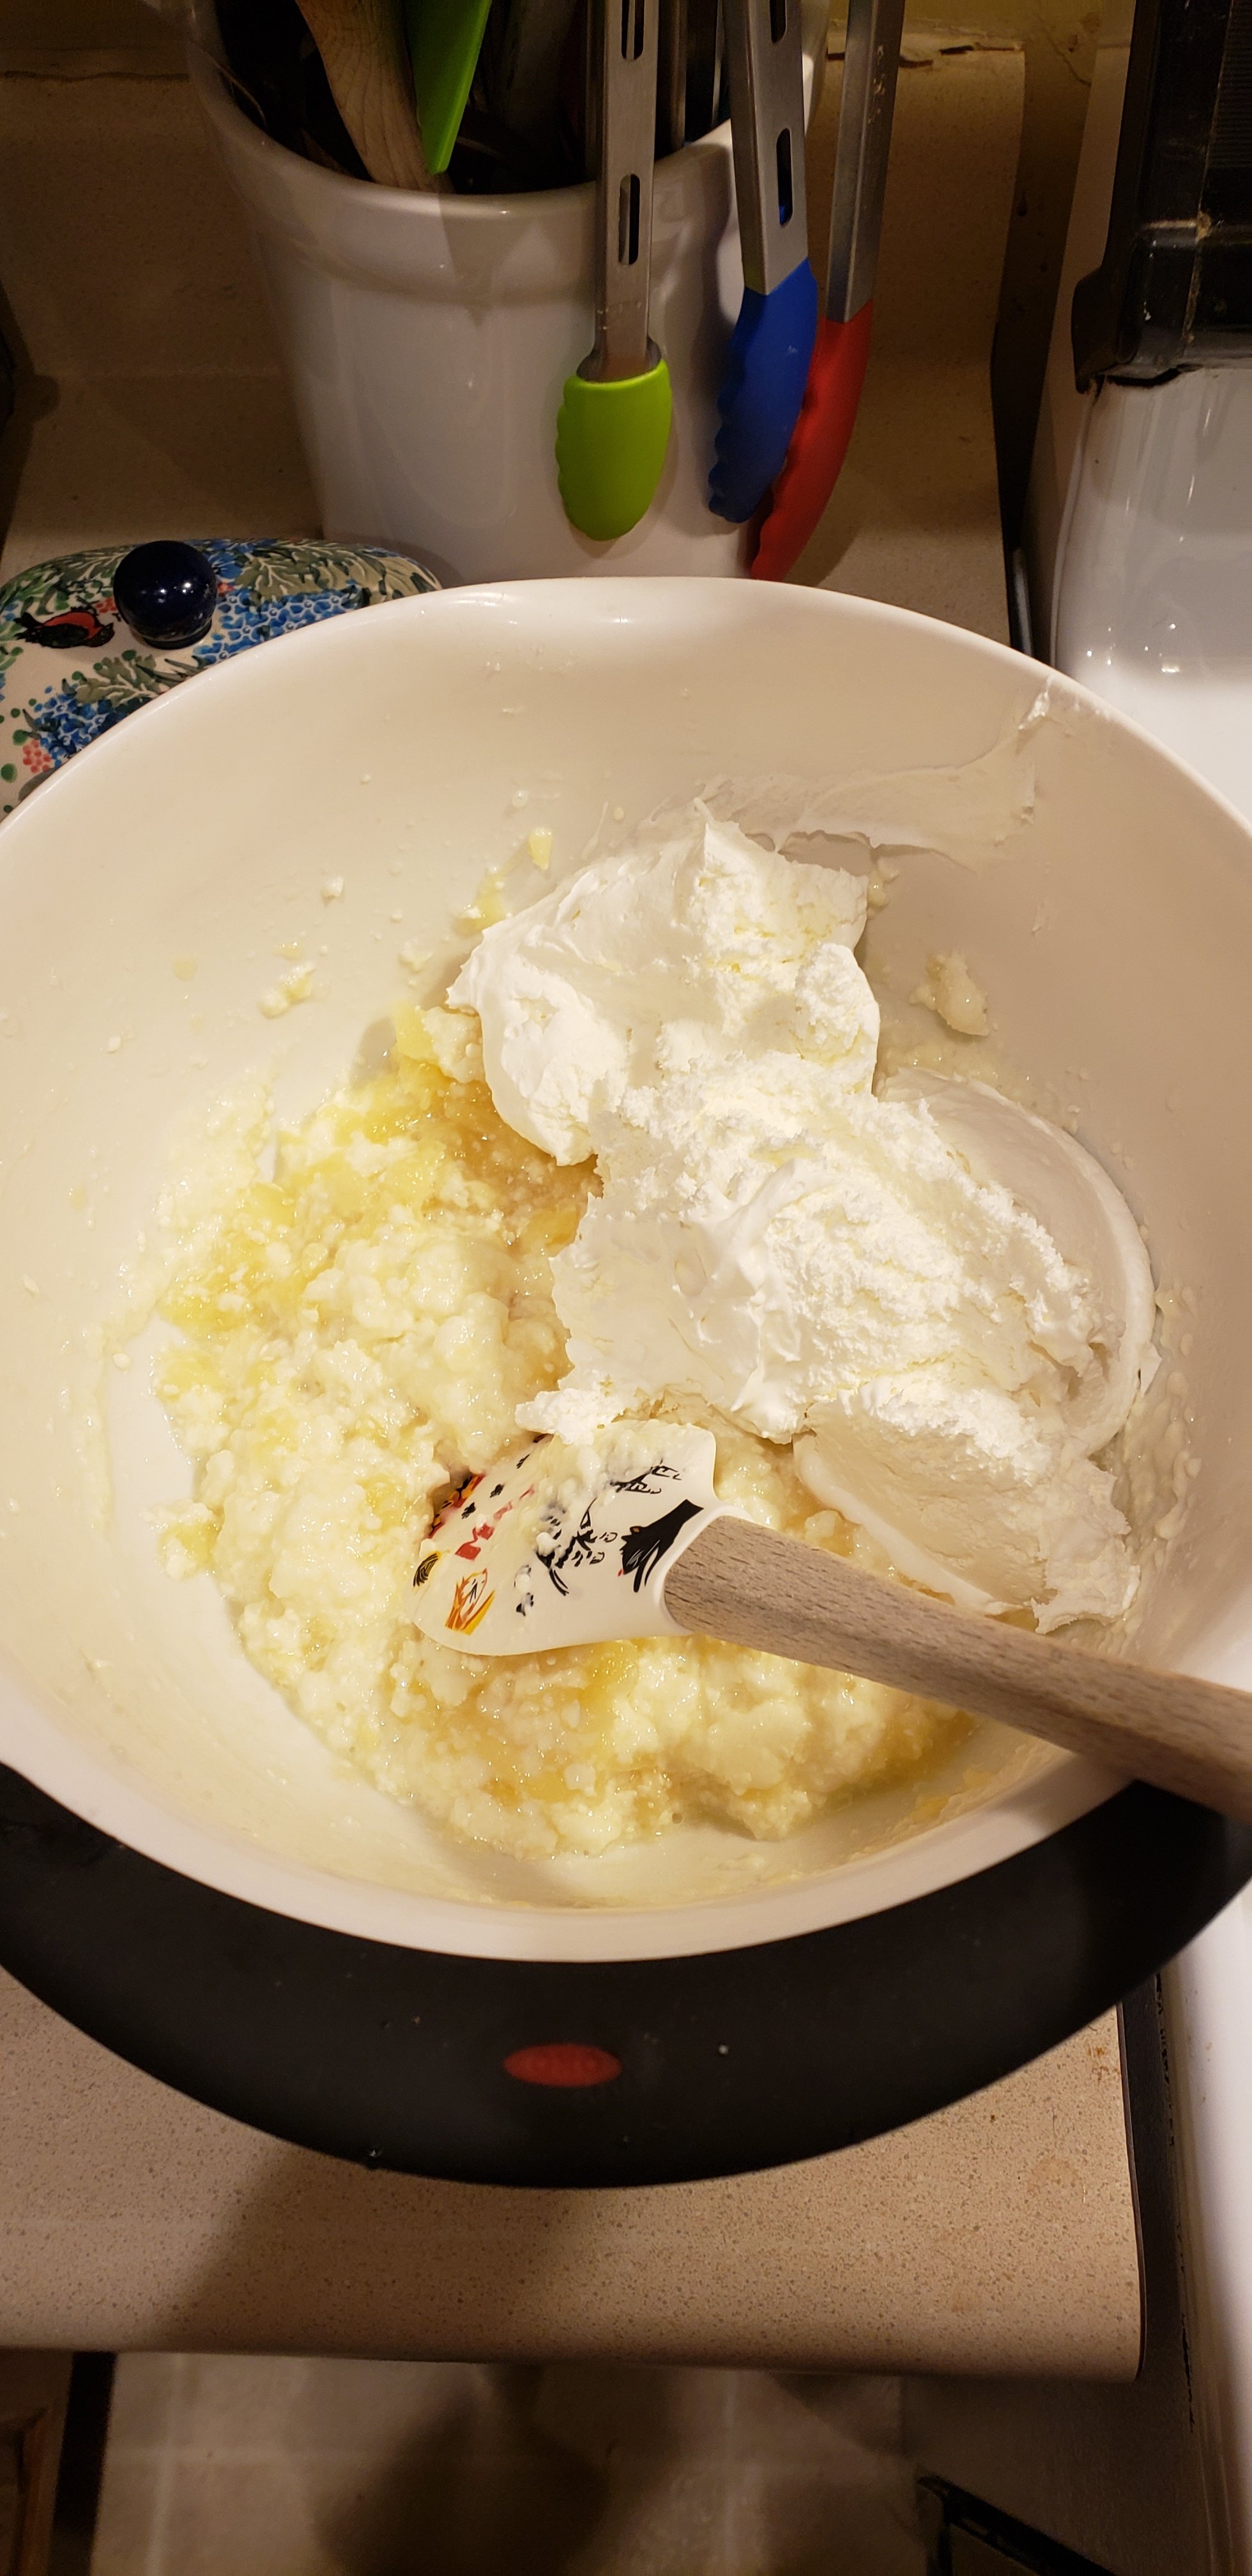
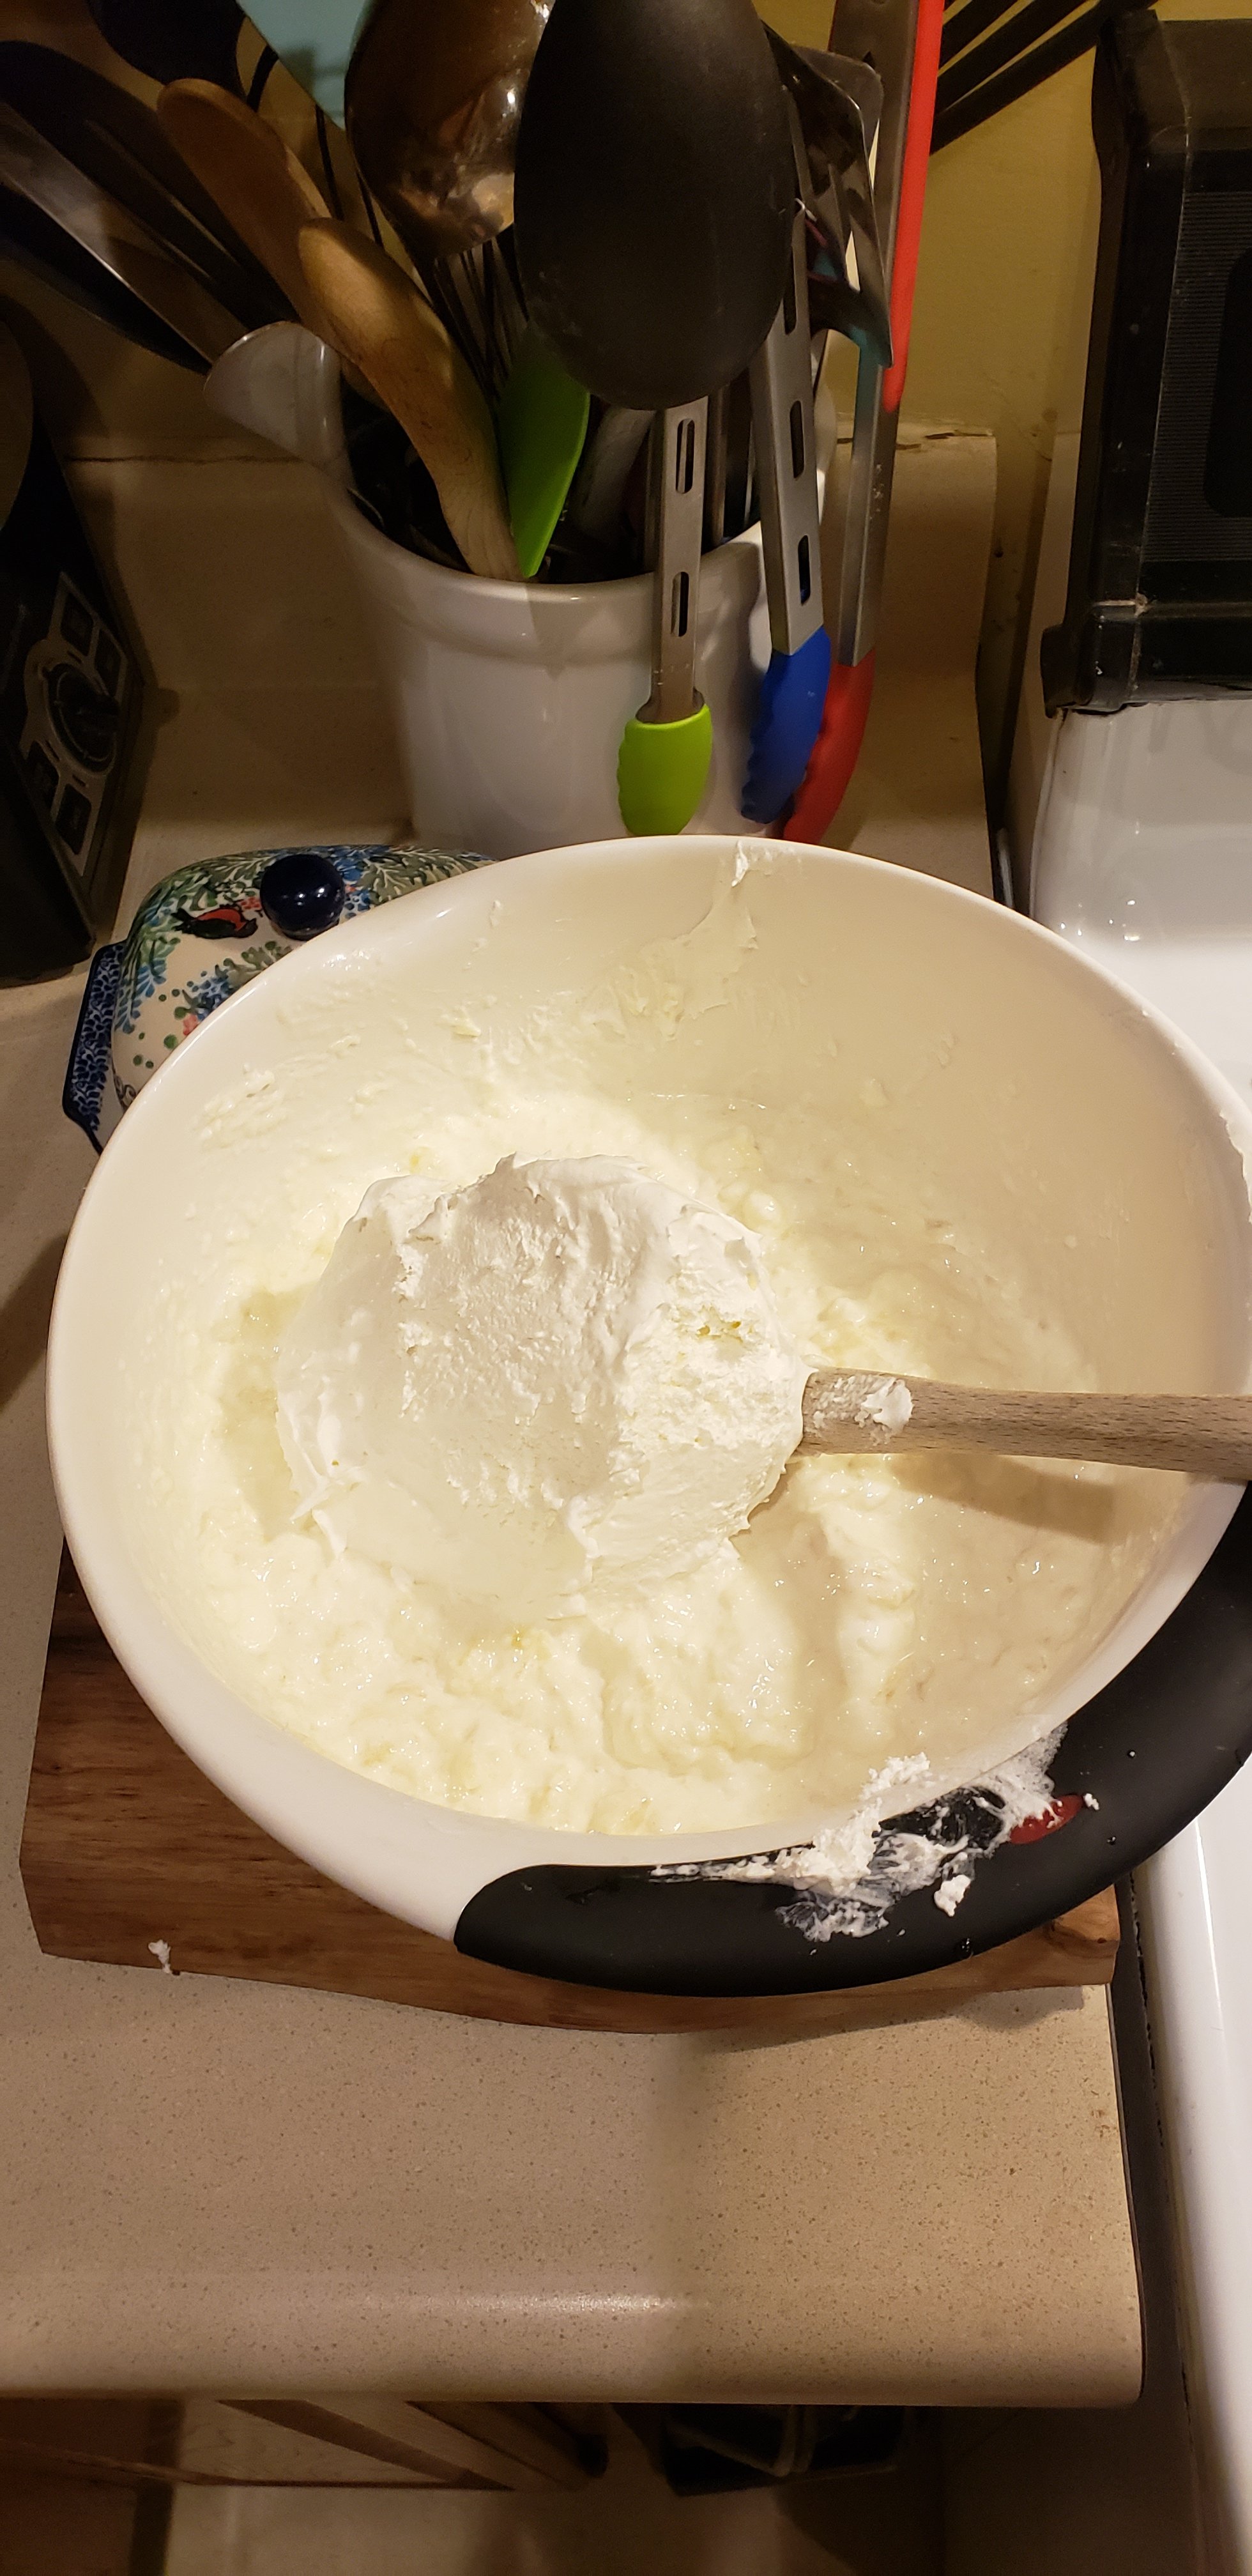
Fold in the pineapple and cool whip in batches to make it easier to handle. (JUST FOLD IT IN!)
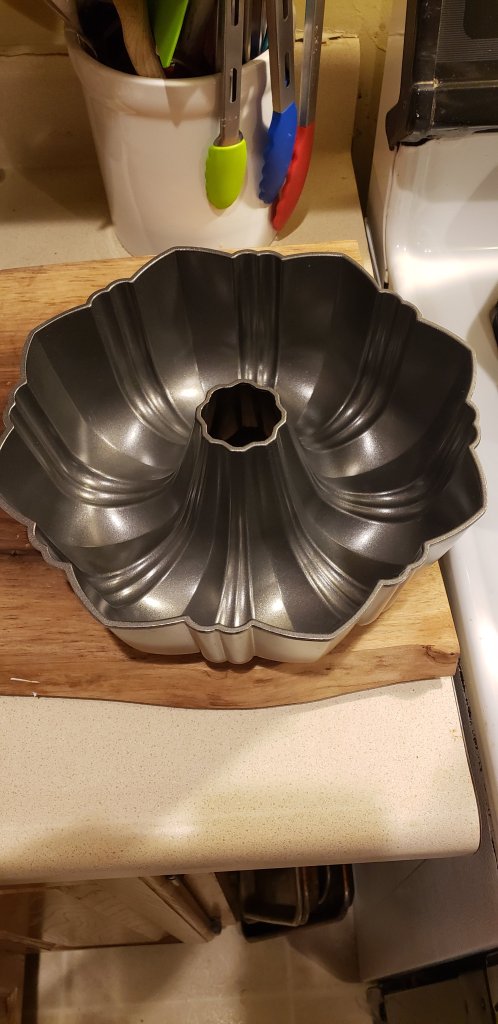
Once everything is evenly incorporated pick a vessel to use as your mold. I didn’t want to be boring so I picked a fancy bundt pan.
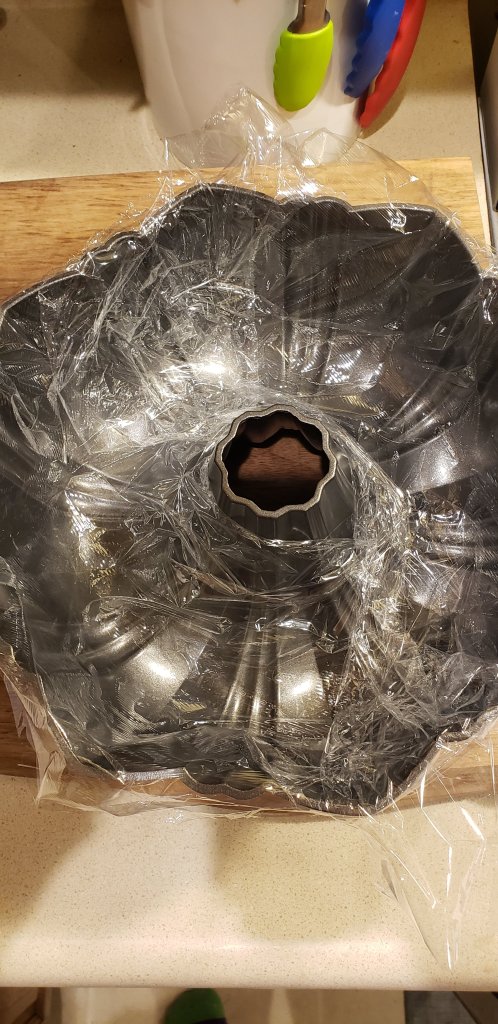
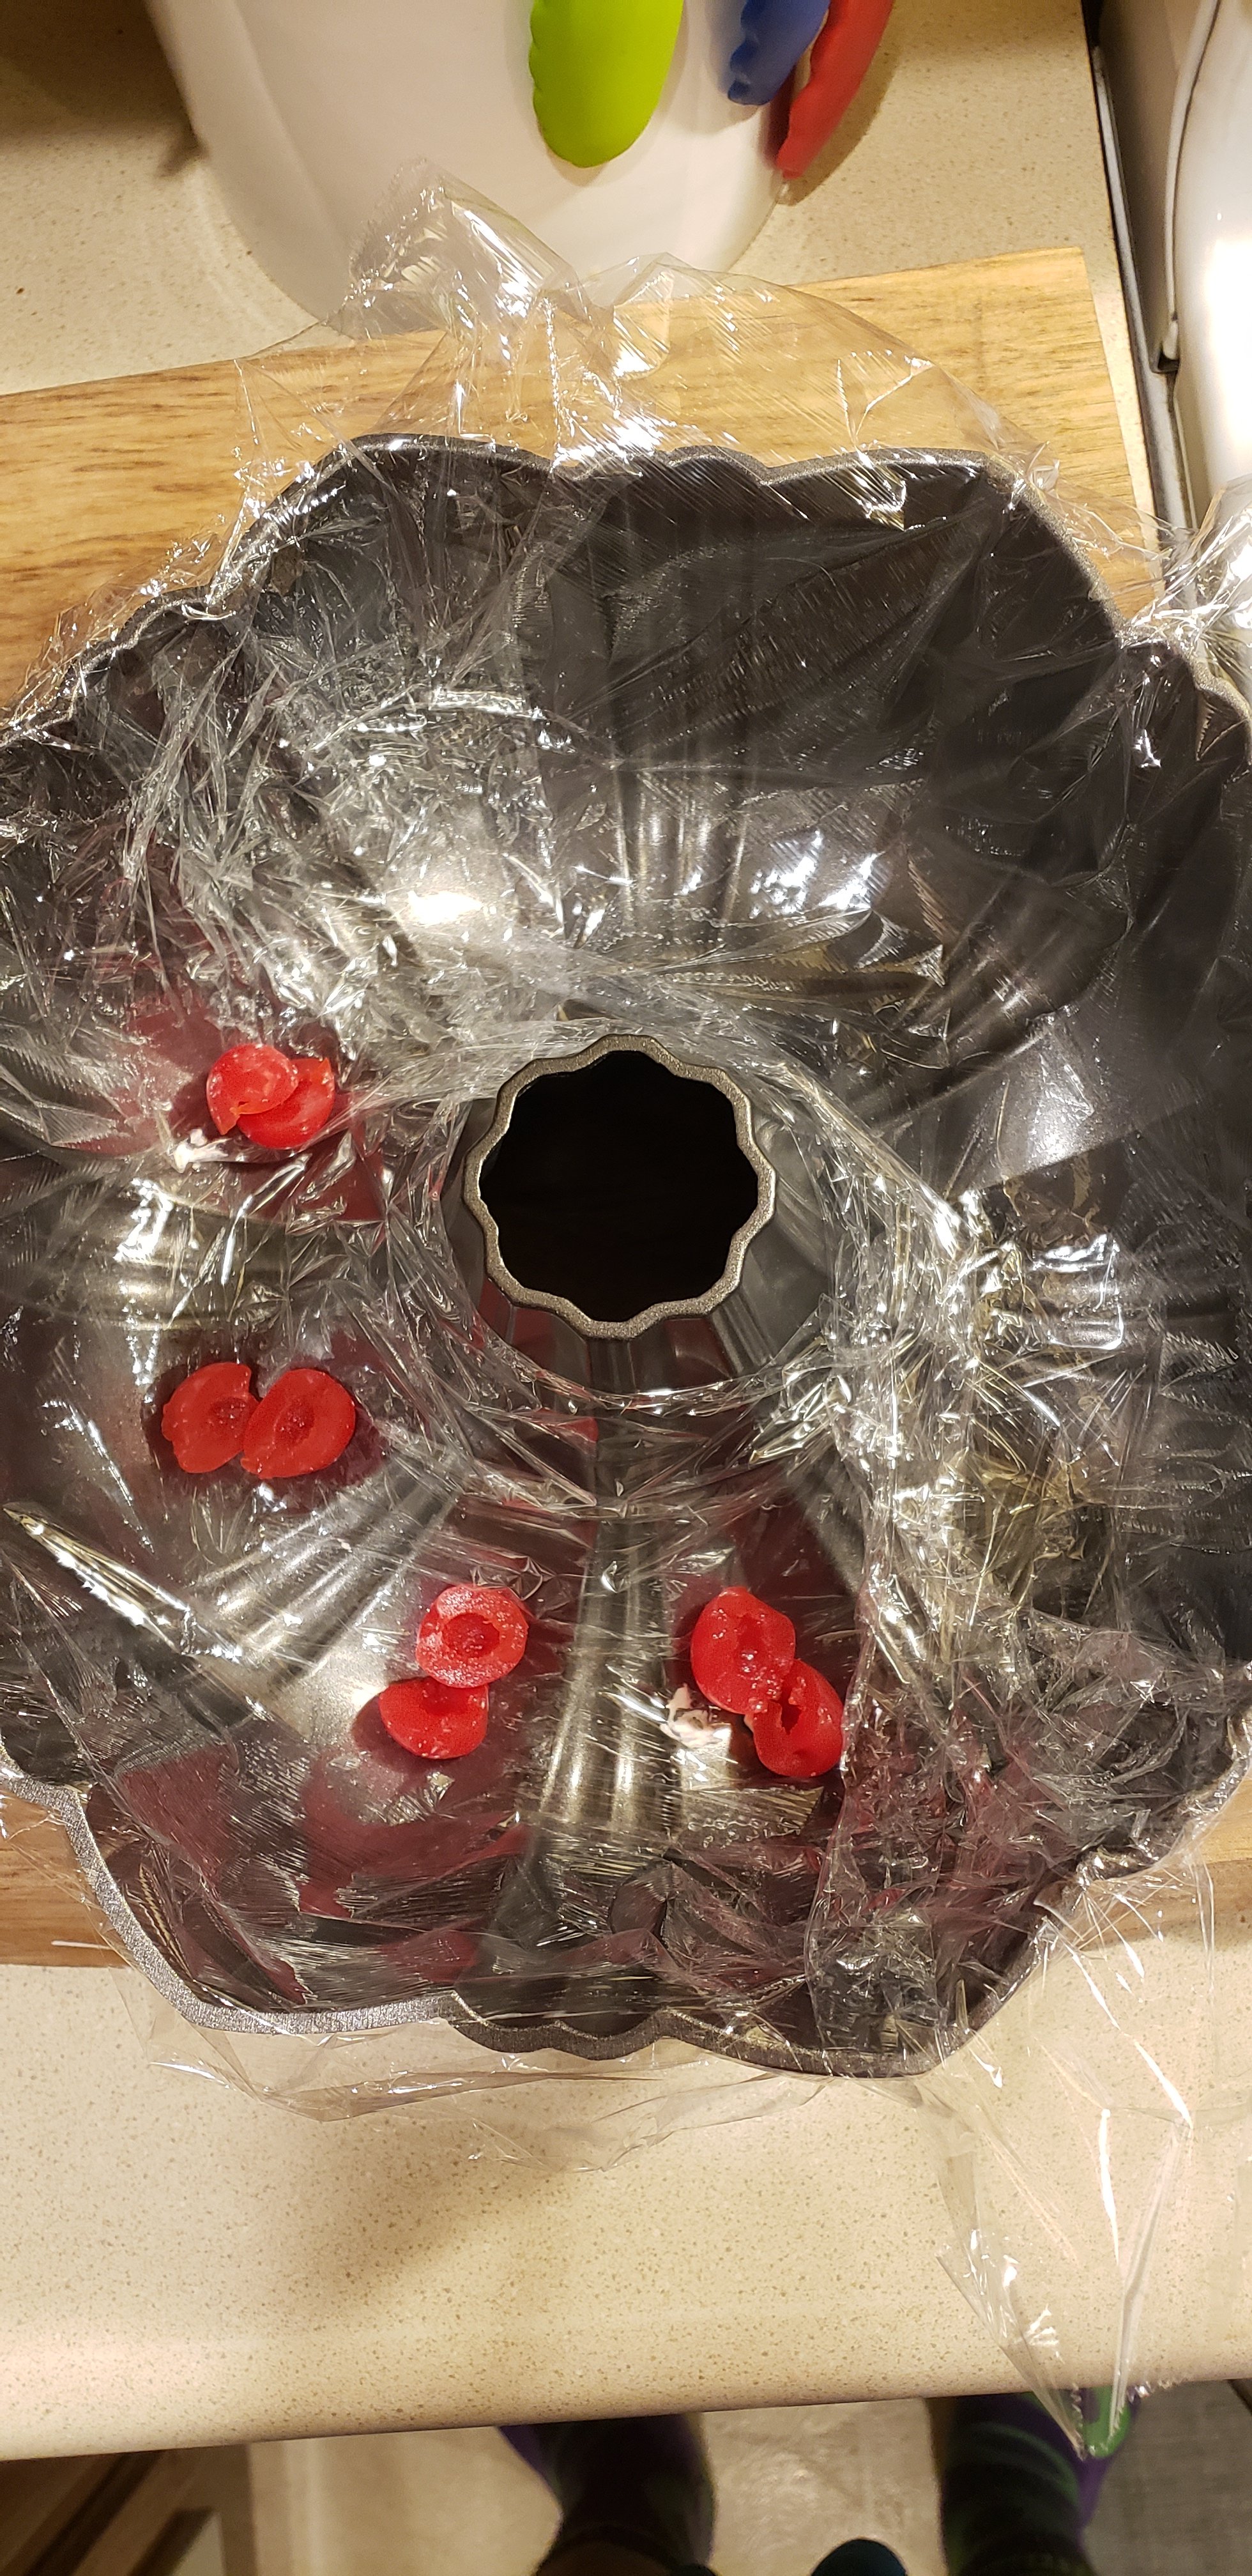
Before pouring the mixture into your vessel line it well with plastic wrap. This isn’t in Gram’s recipe but I thought it was a good idea and I’m glad I did.
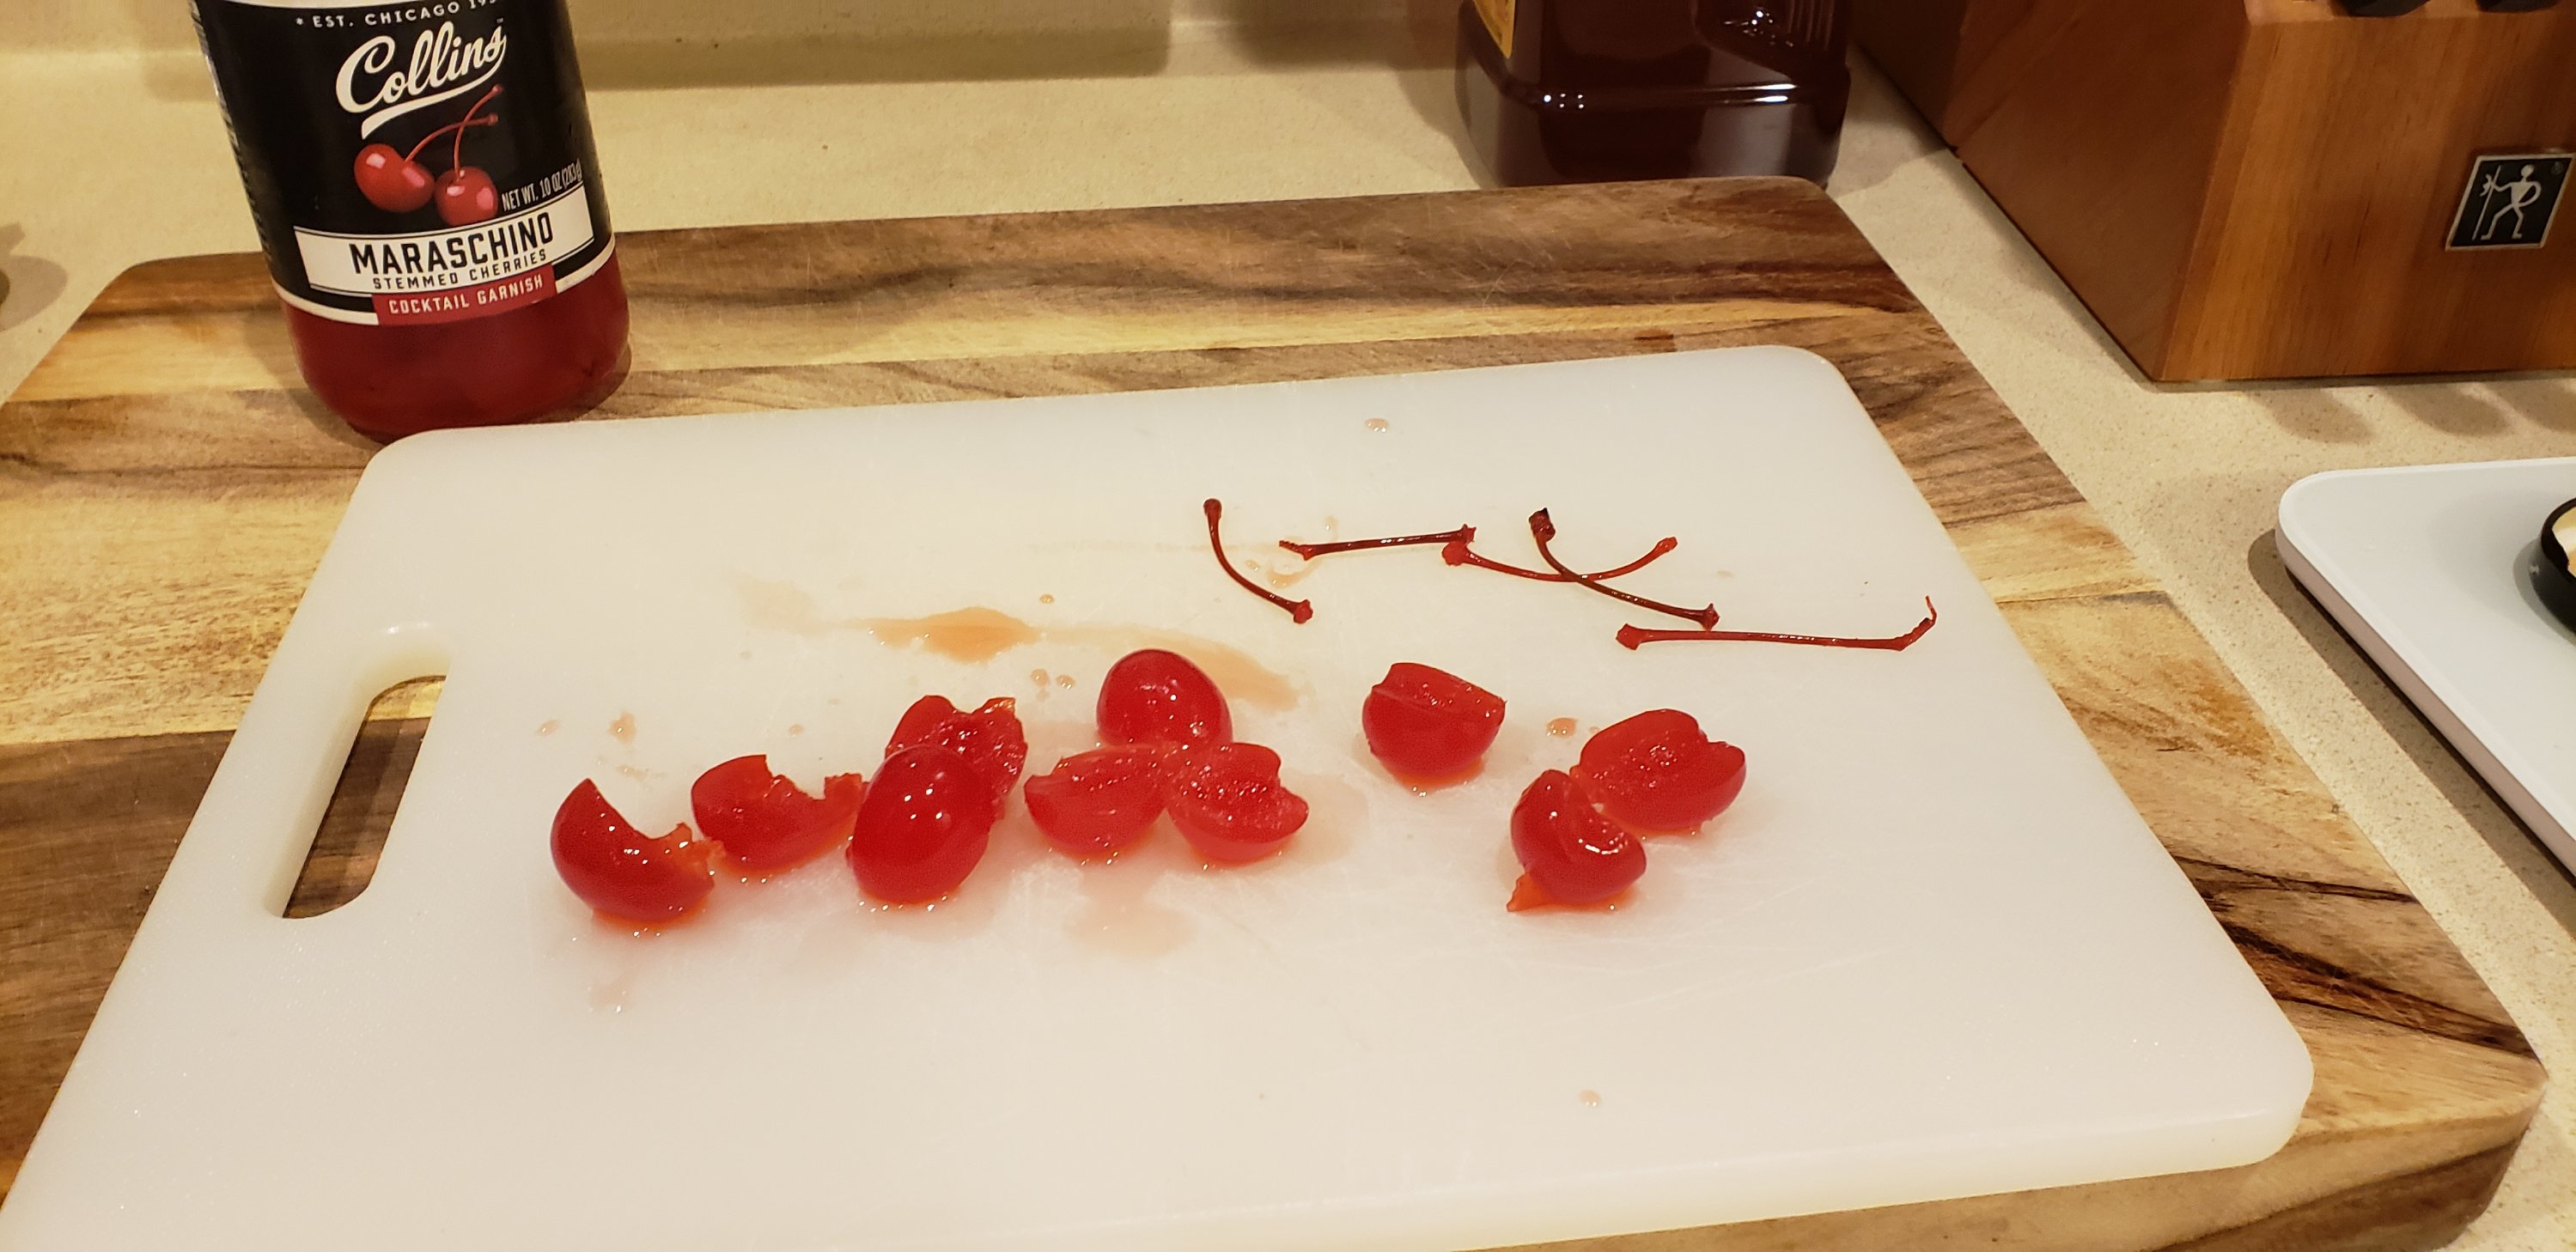
Remove the stems and cut up a few maraschino cherries and line them on the bottom of the mold. Jess isn’t a fan so I only put cherries on half.
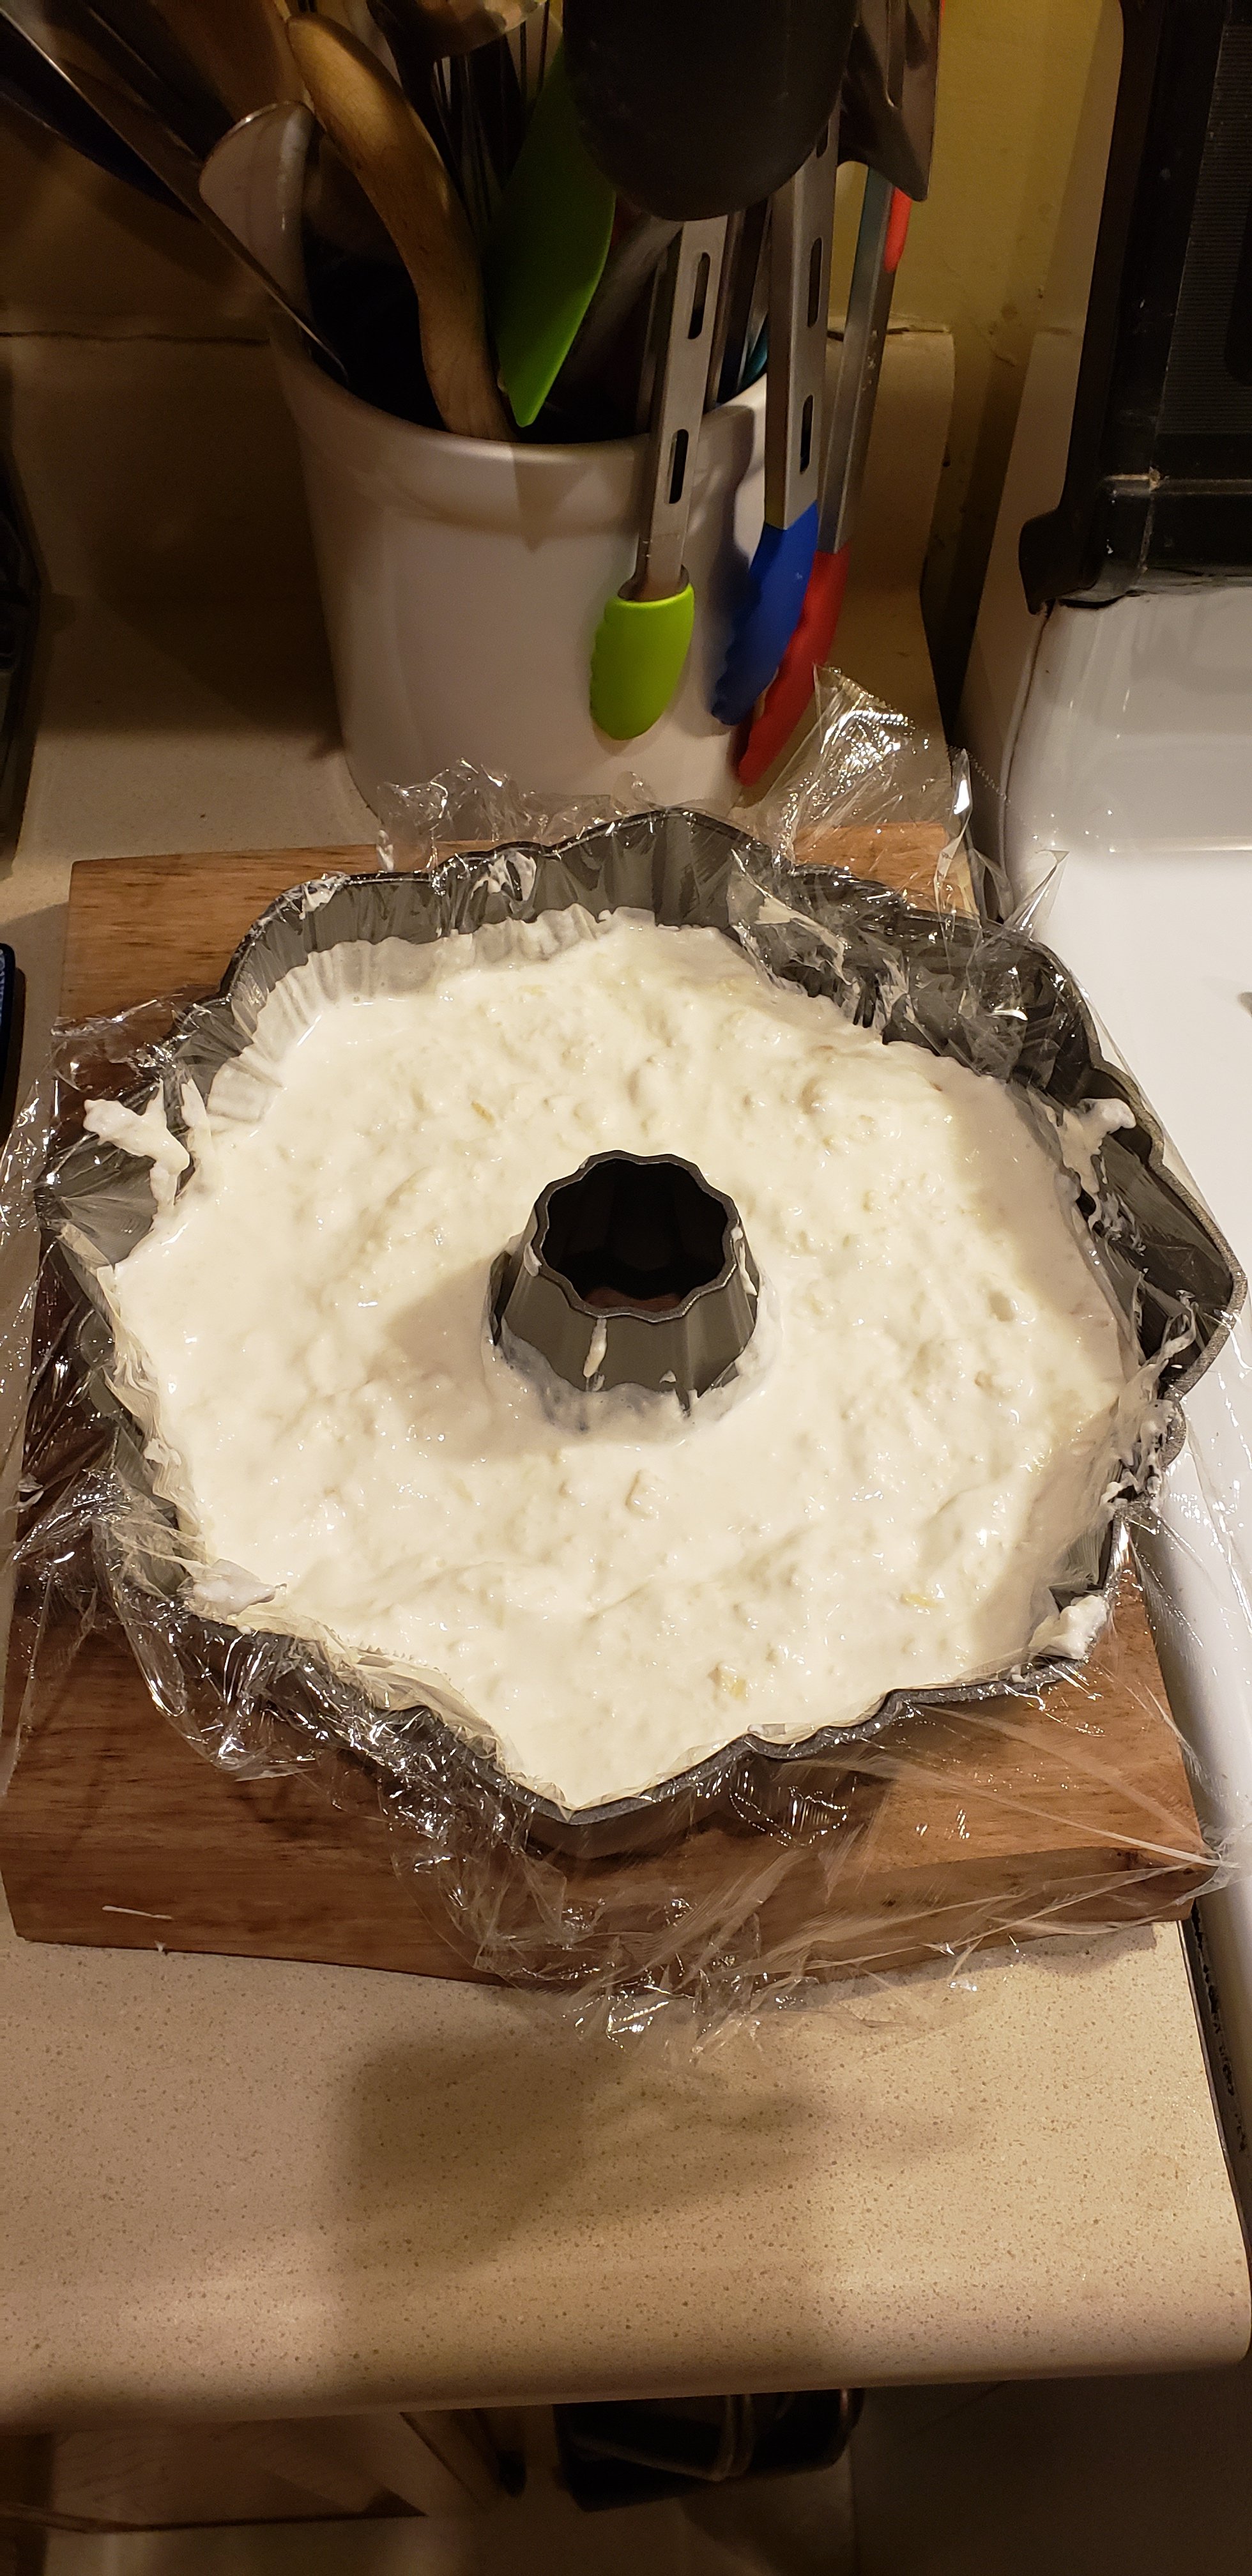
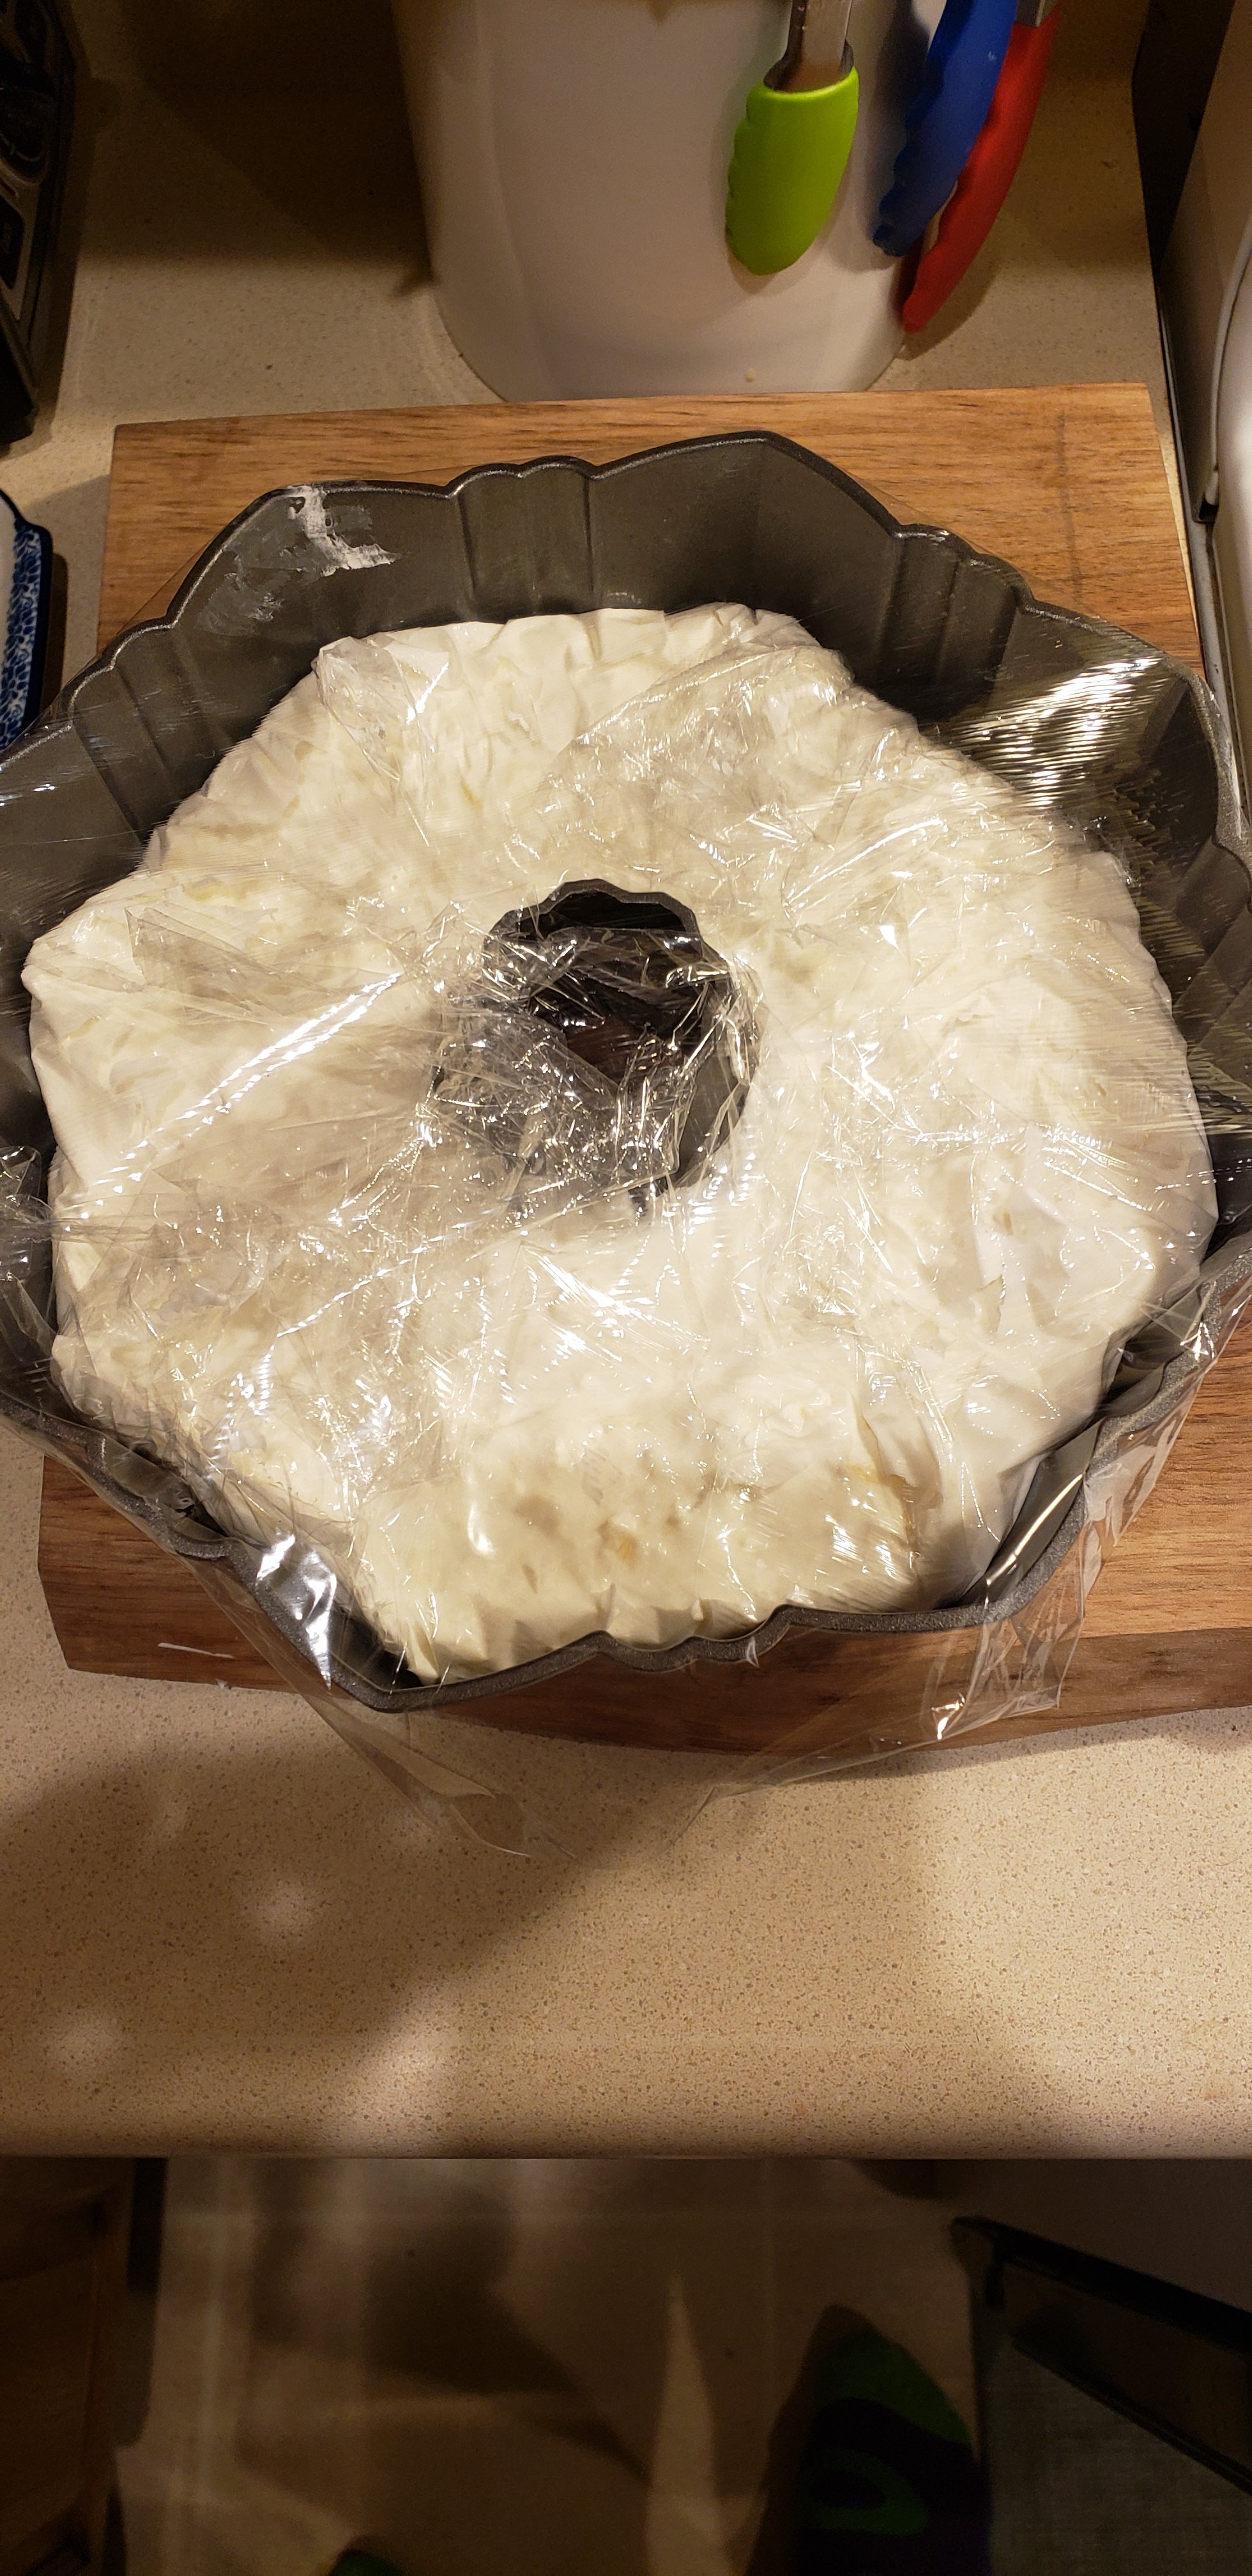
Pour the mixture into the mold and chill until firm.
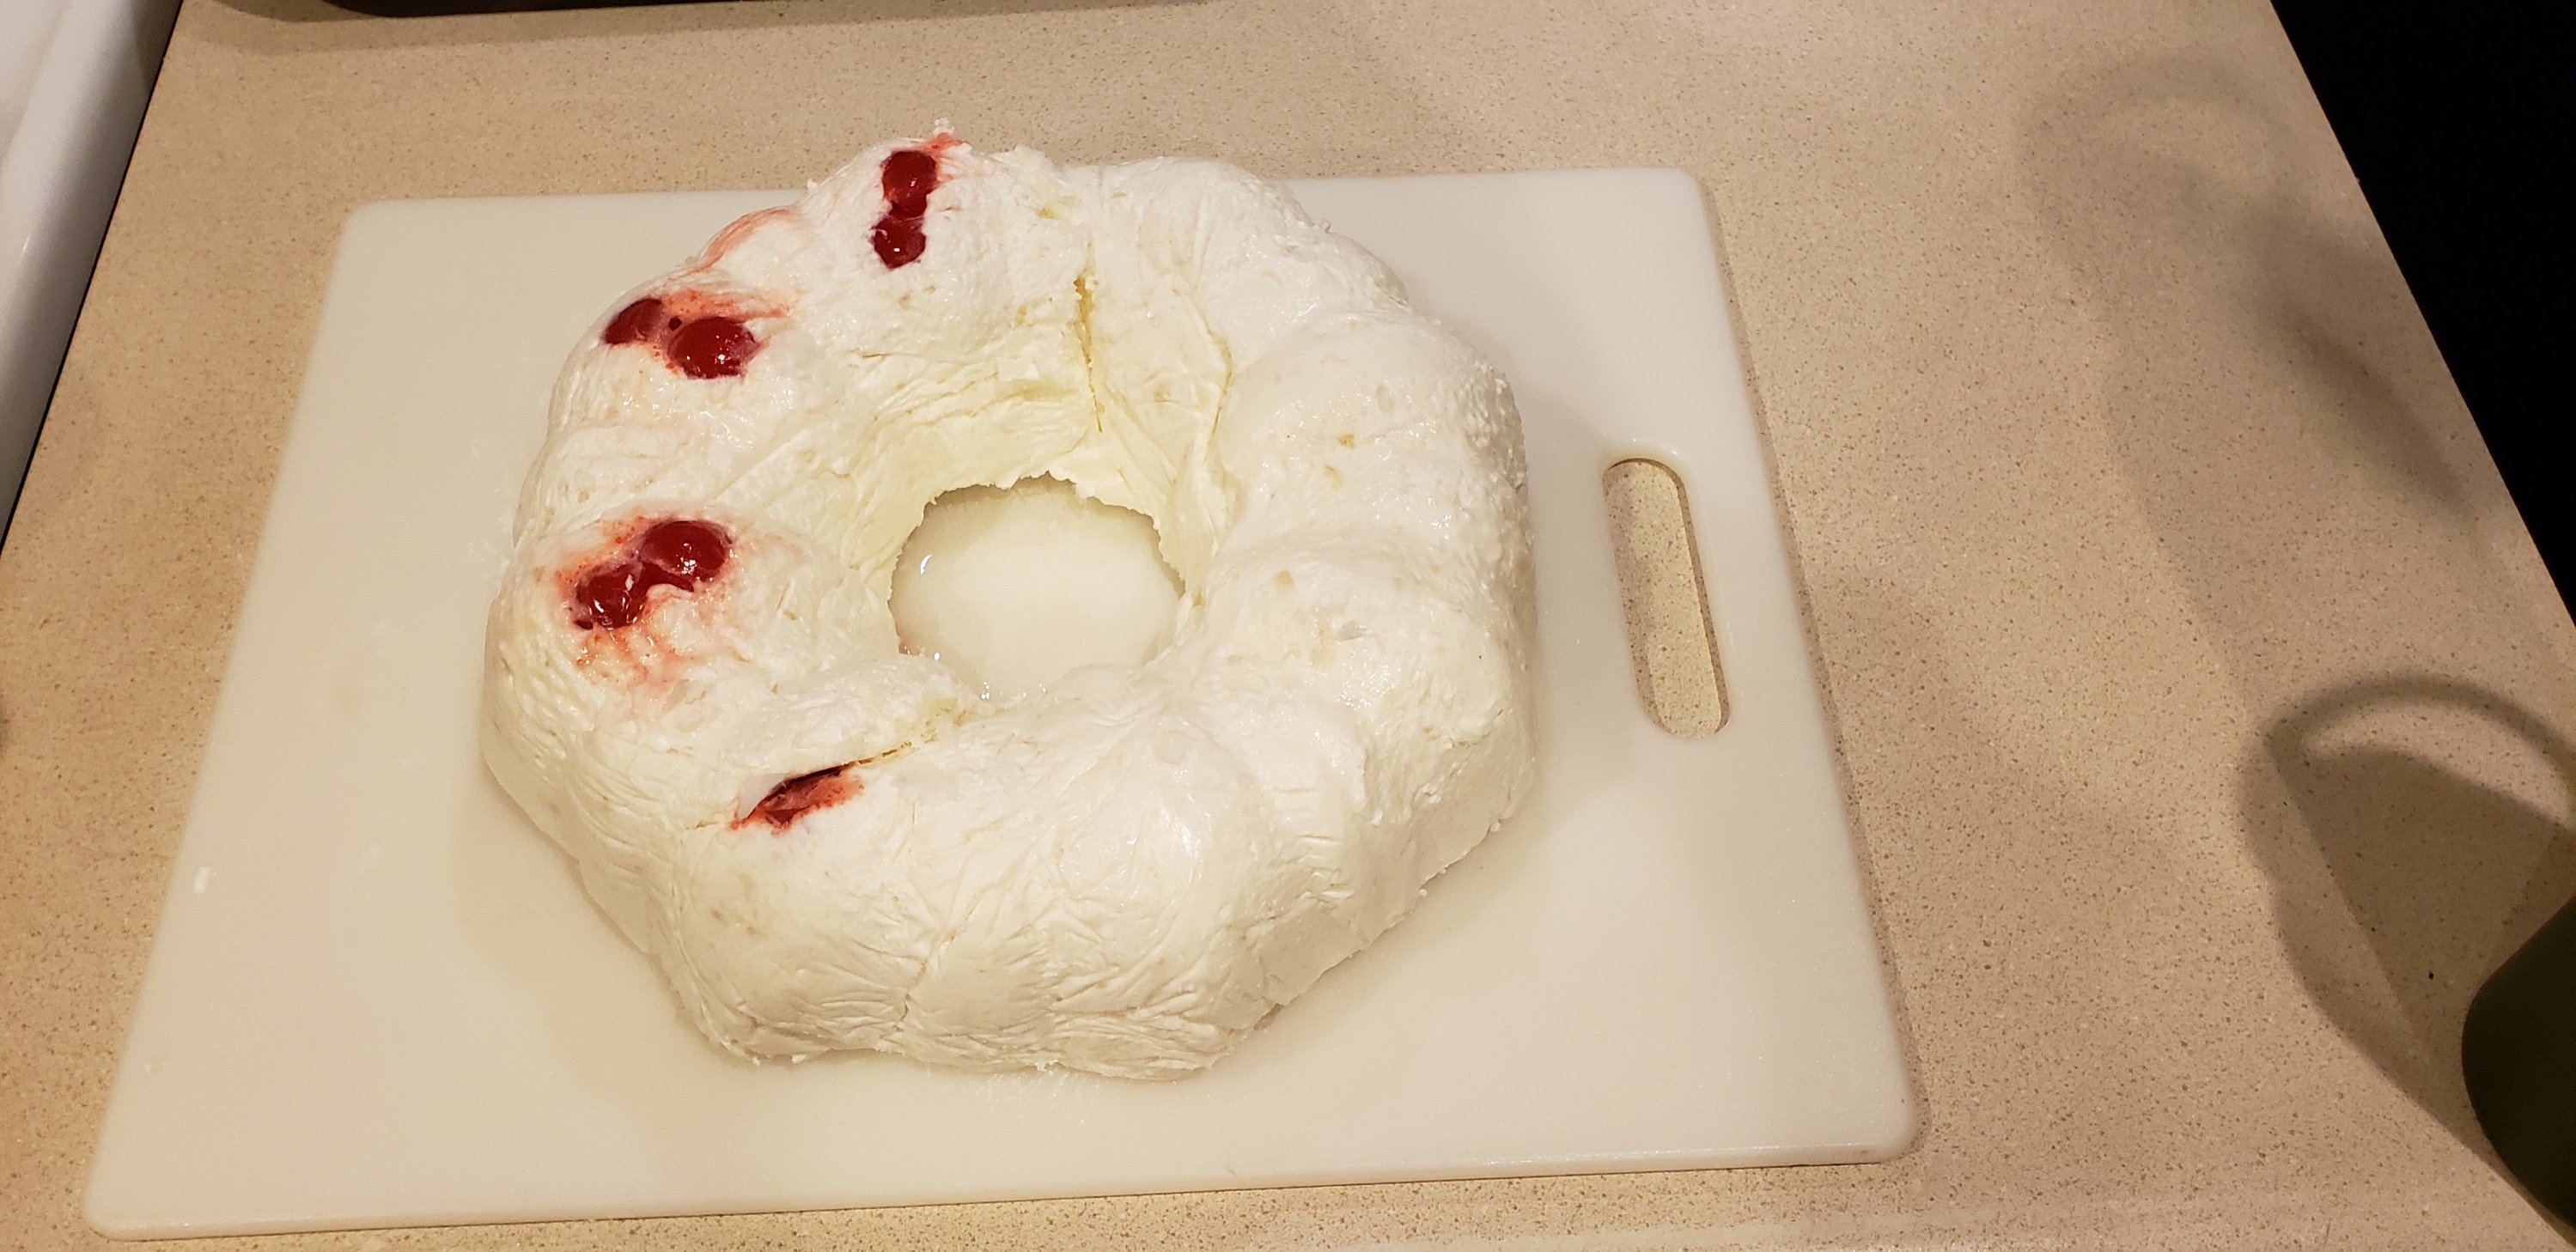
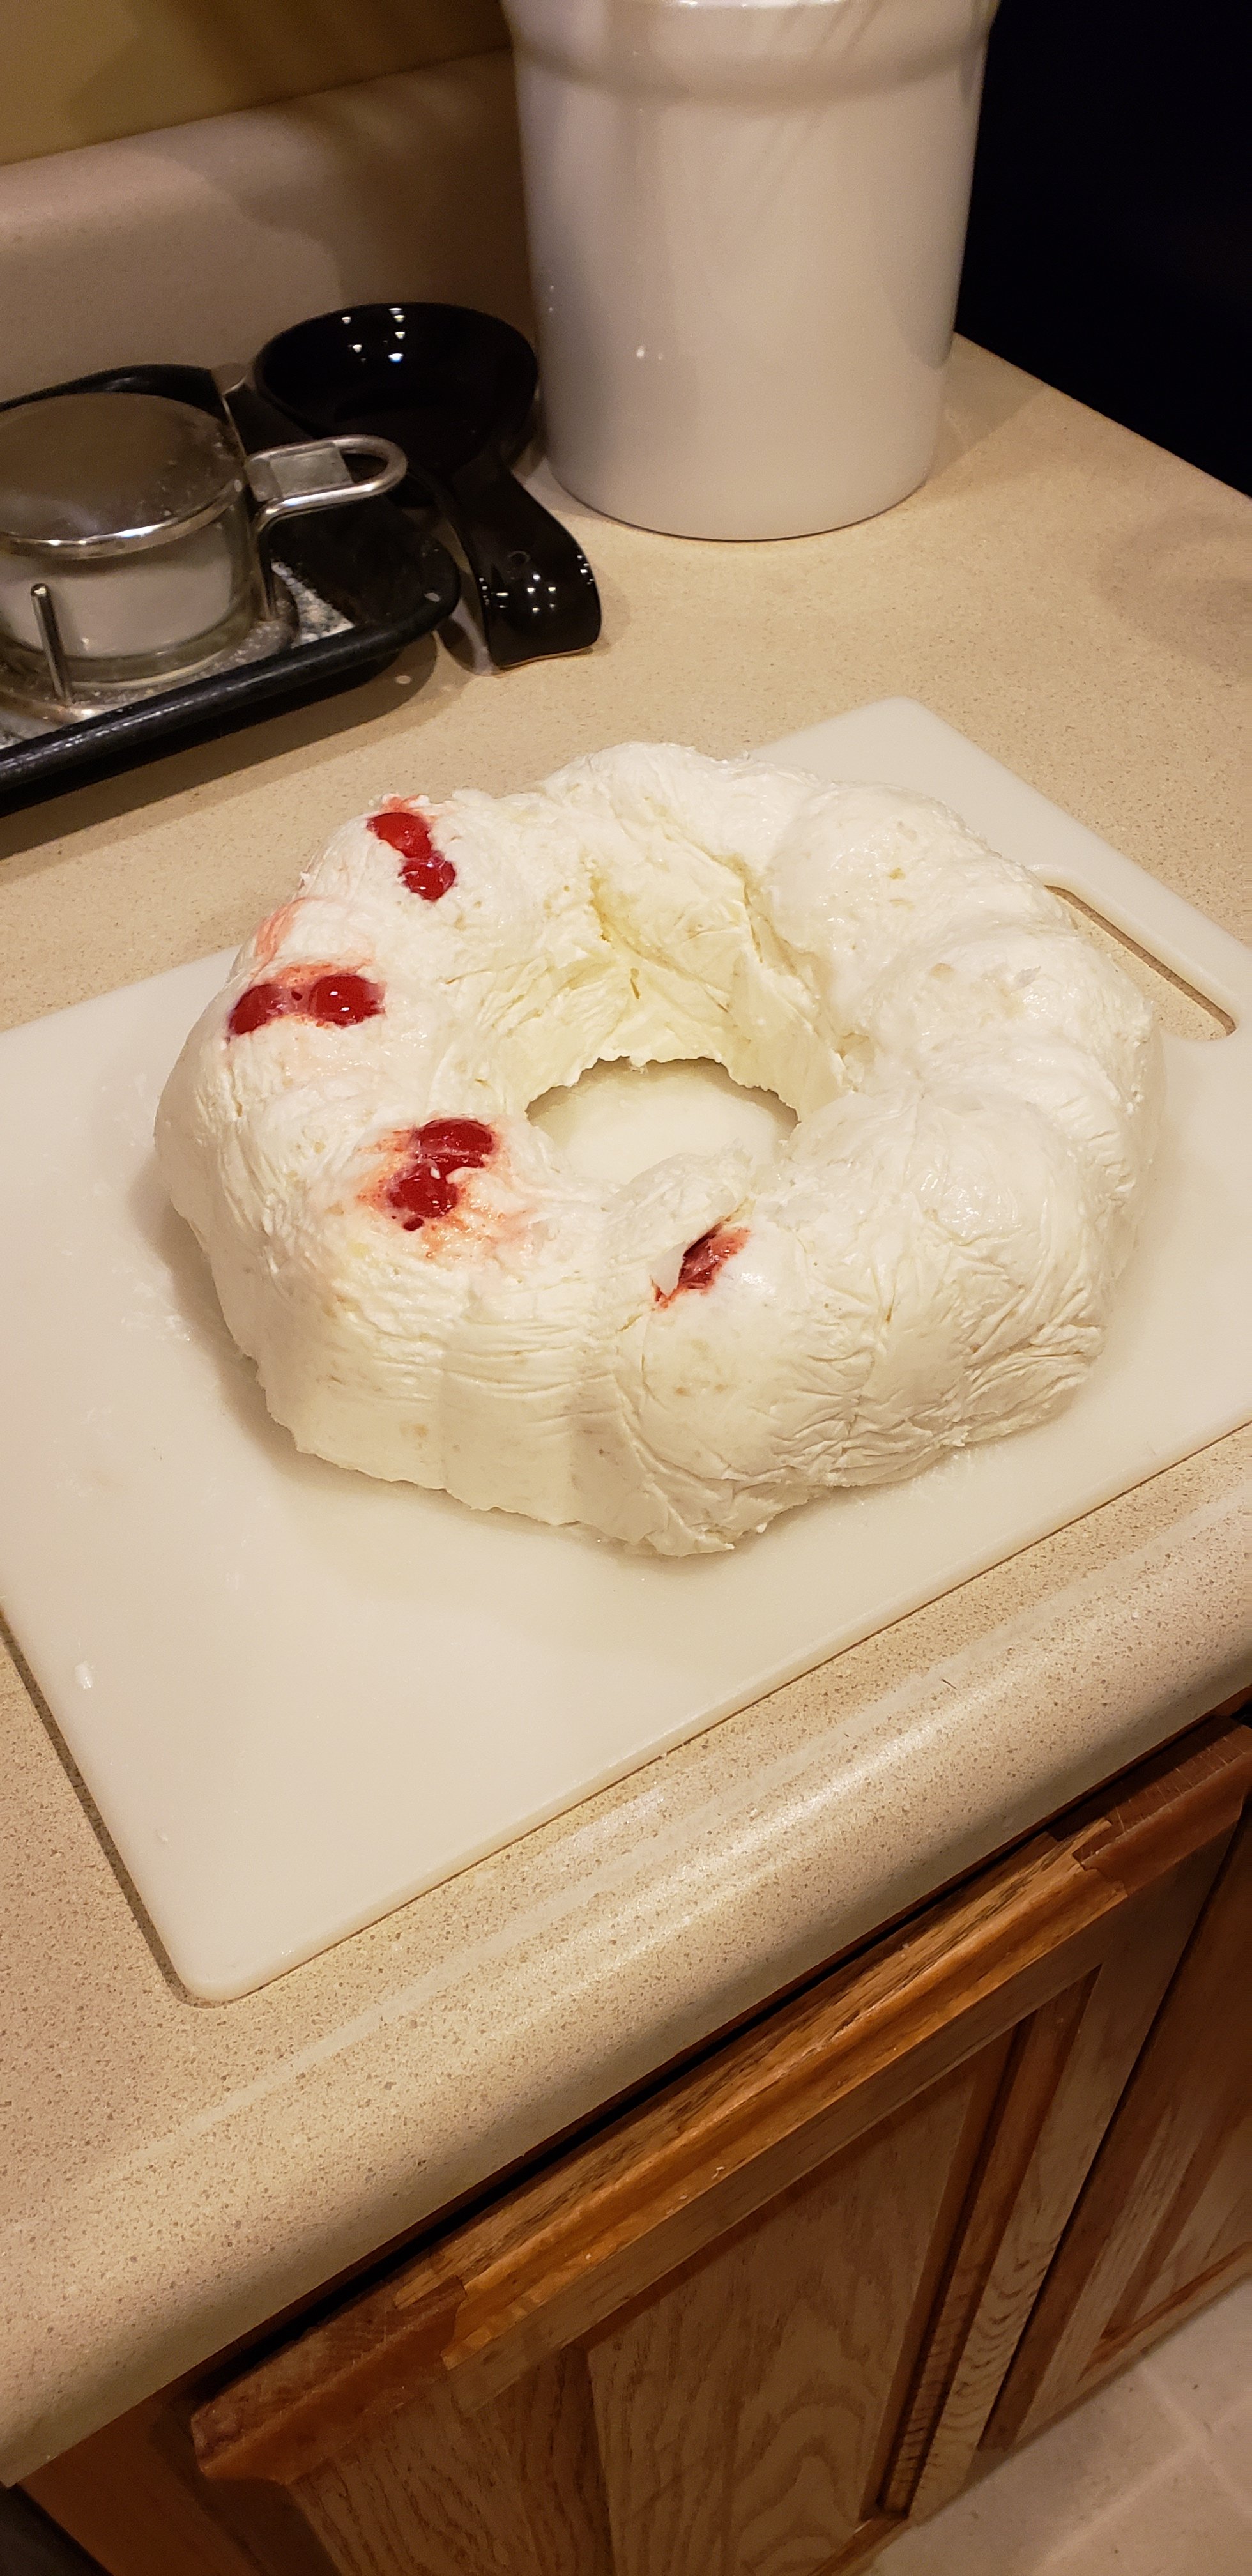
Let’s talk about chill time. I left this chill for 24 hours and it didn’t really firm up. We are thinking that I used either too much cool whip or too much pineapple. The extra ingredients would make it harder for the gelatine to firm up. After 3 days it still wasn’t firm so I made the decision to throw the mold into the freezer. Boy am I glad I did!
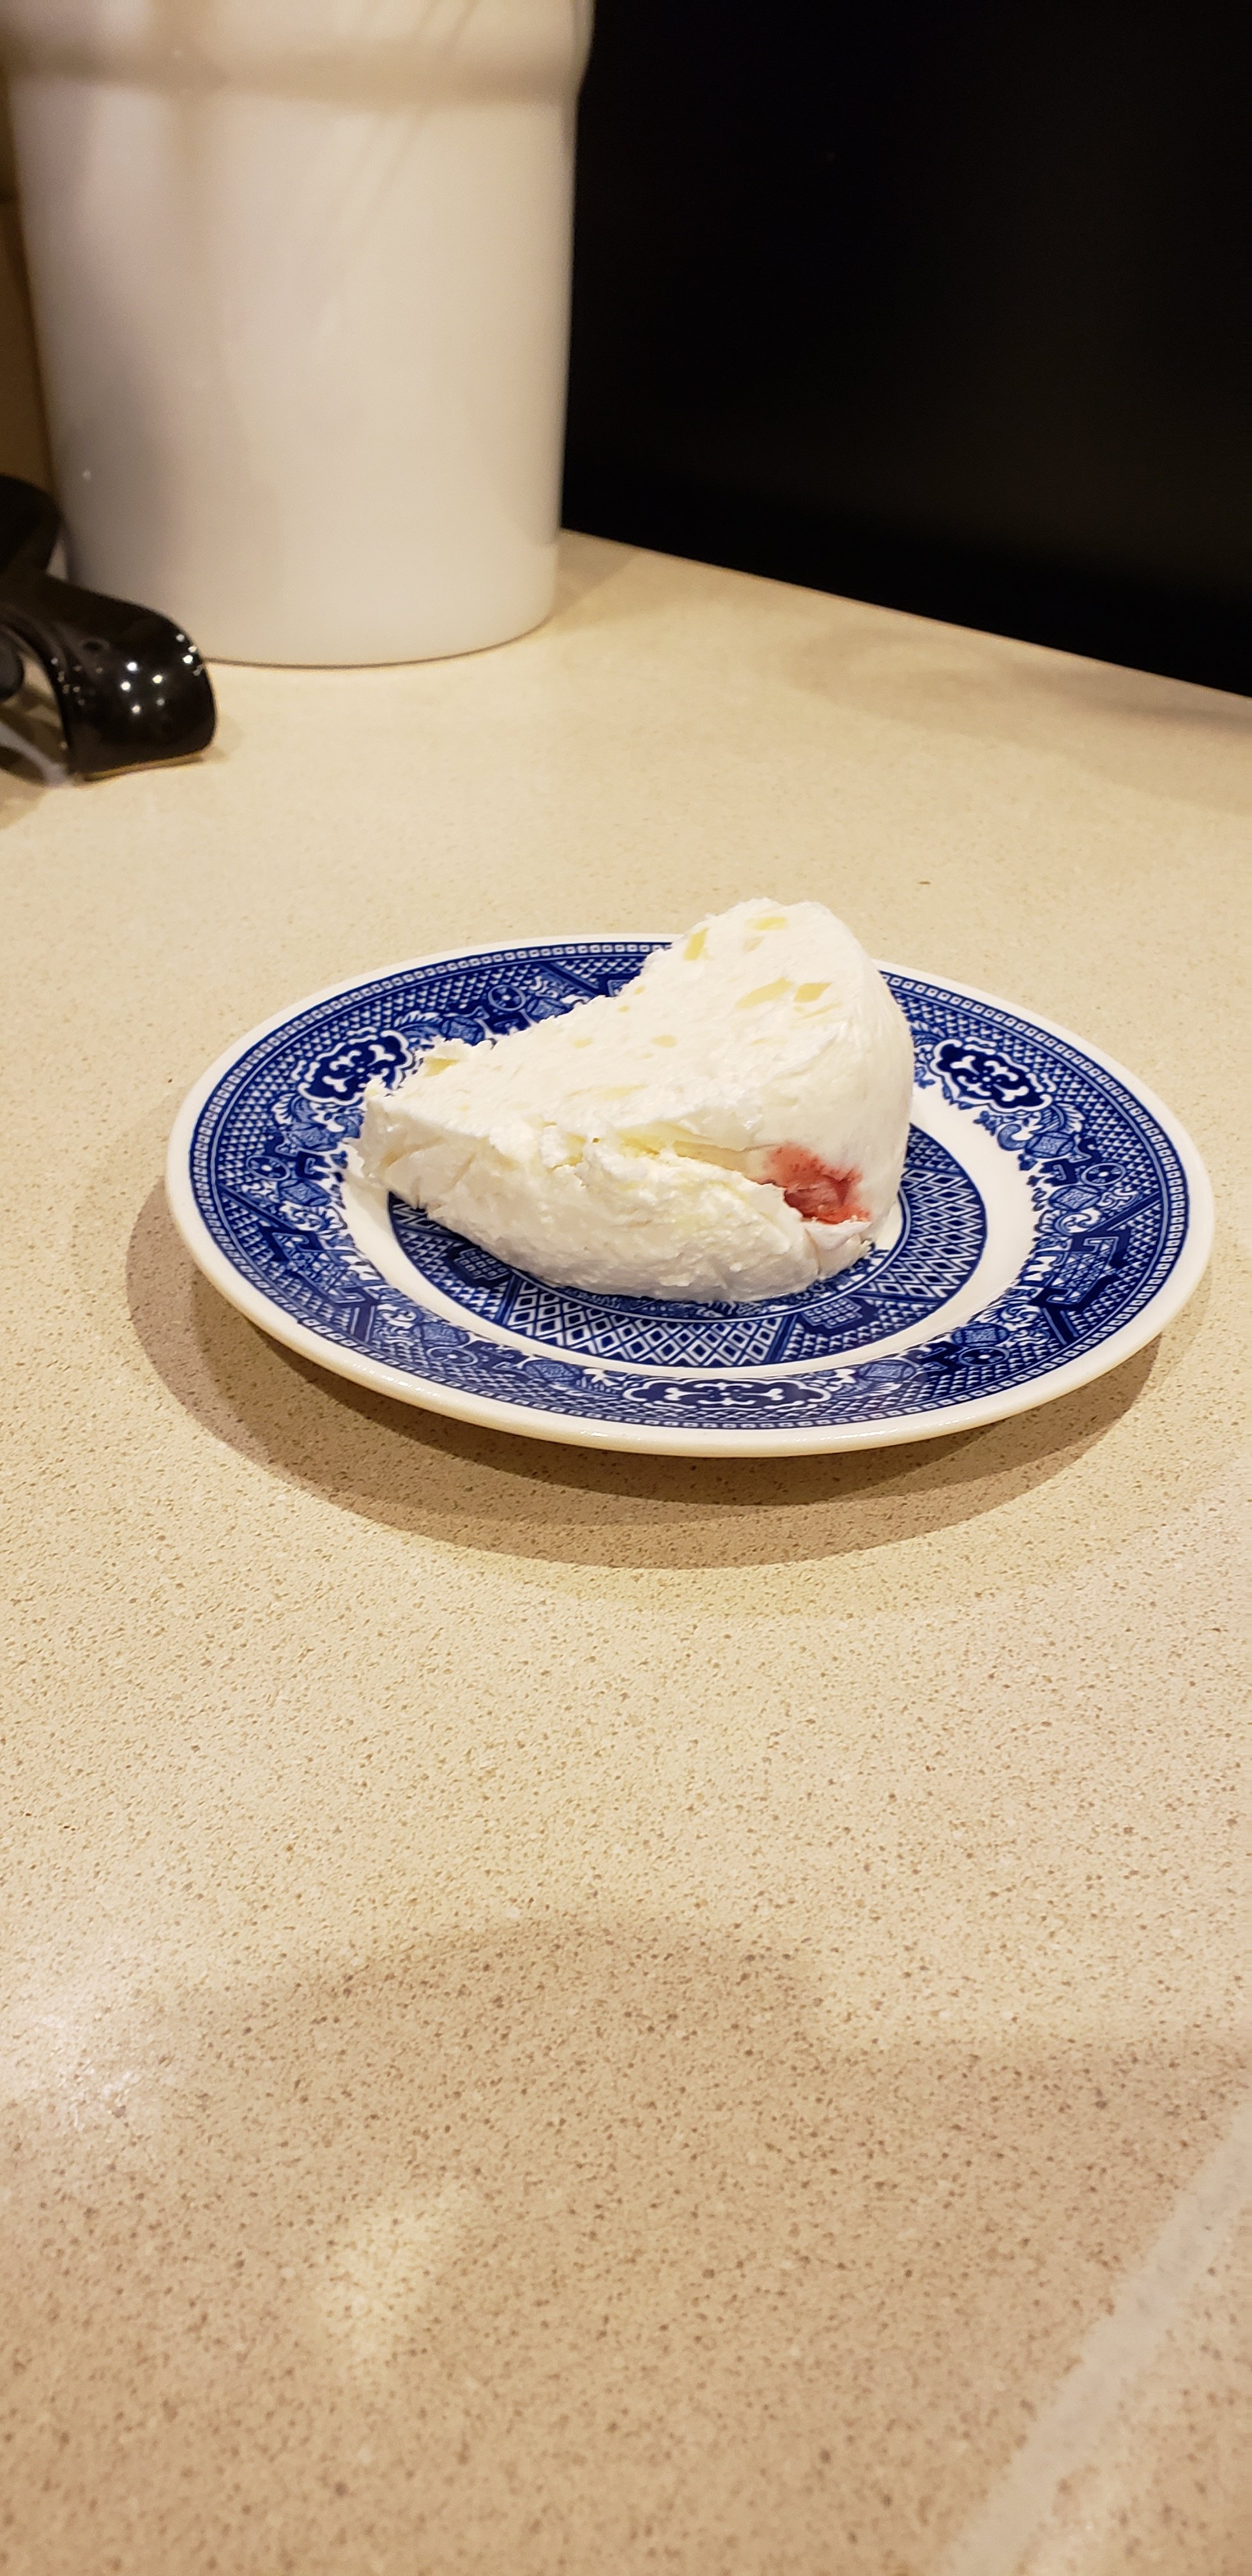
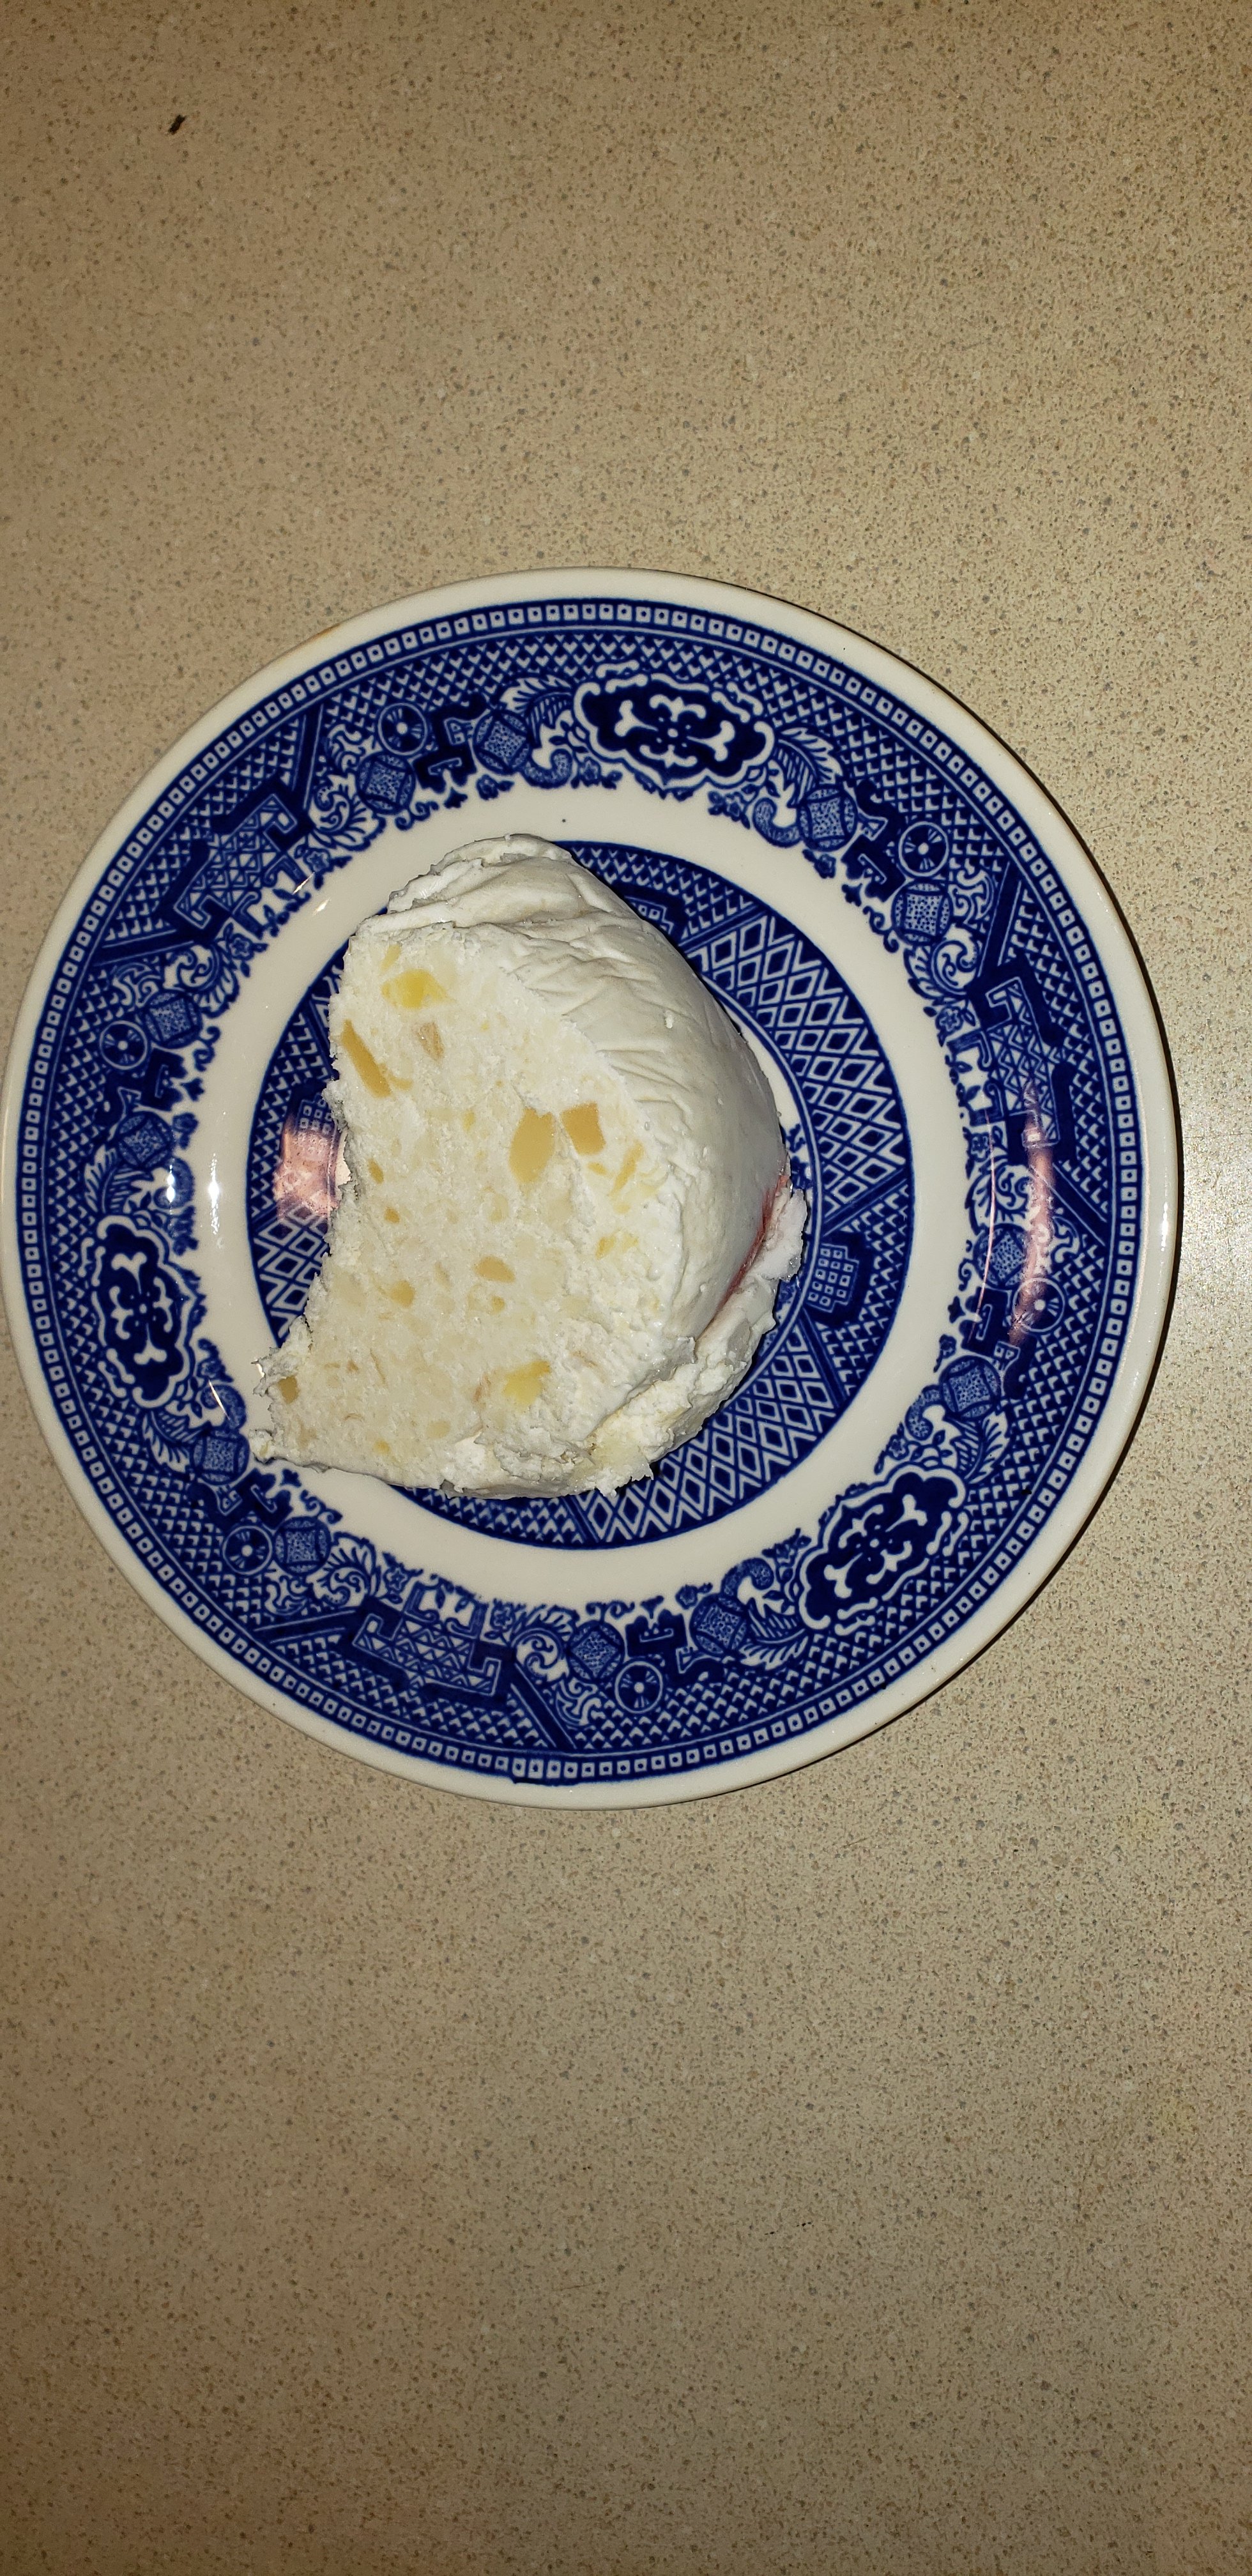
After about 2 days in the freezer the mold was perfect. Definitely more frozen than set but cool whip doesn’t freeze hard so it still cut into nice slices. I couldn’t be happier with how this turned out and the flavor reminded me of my Gram so much!
I can’t wait to try this recipe again with a few revisions. If you give it a shot and change anything let us know!
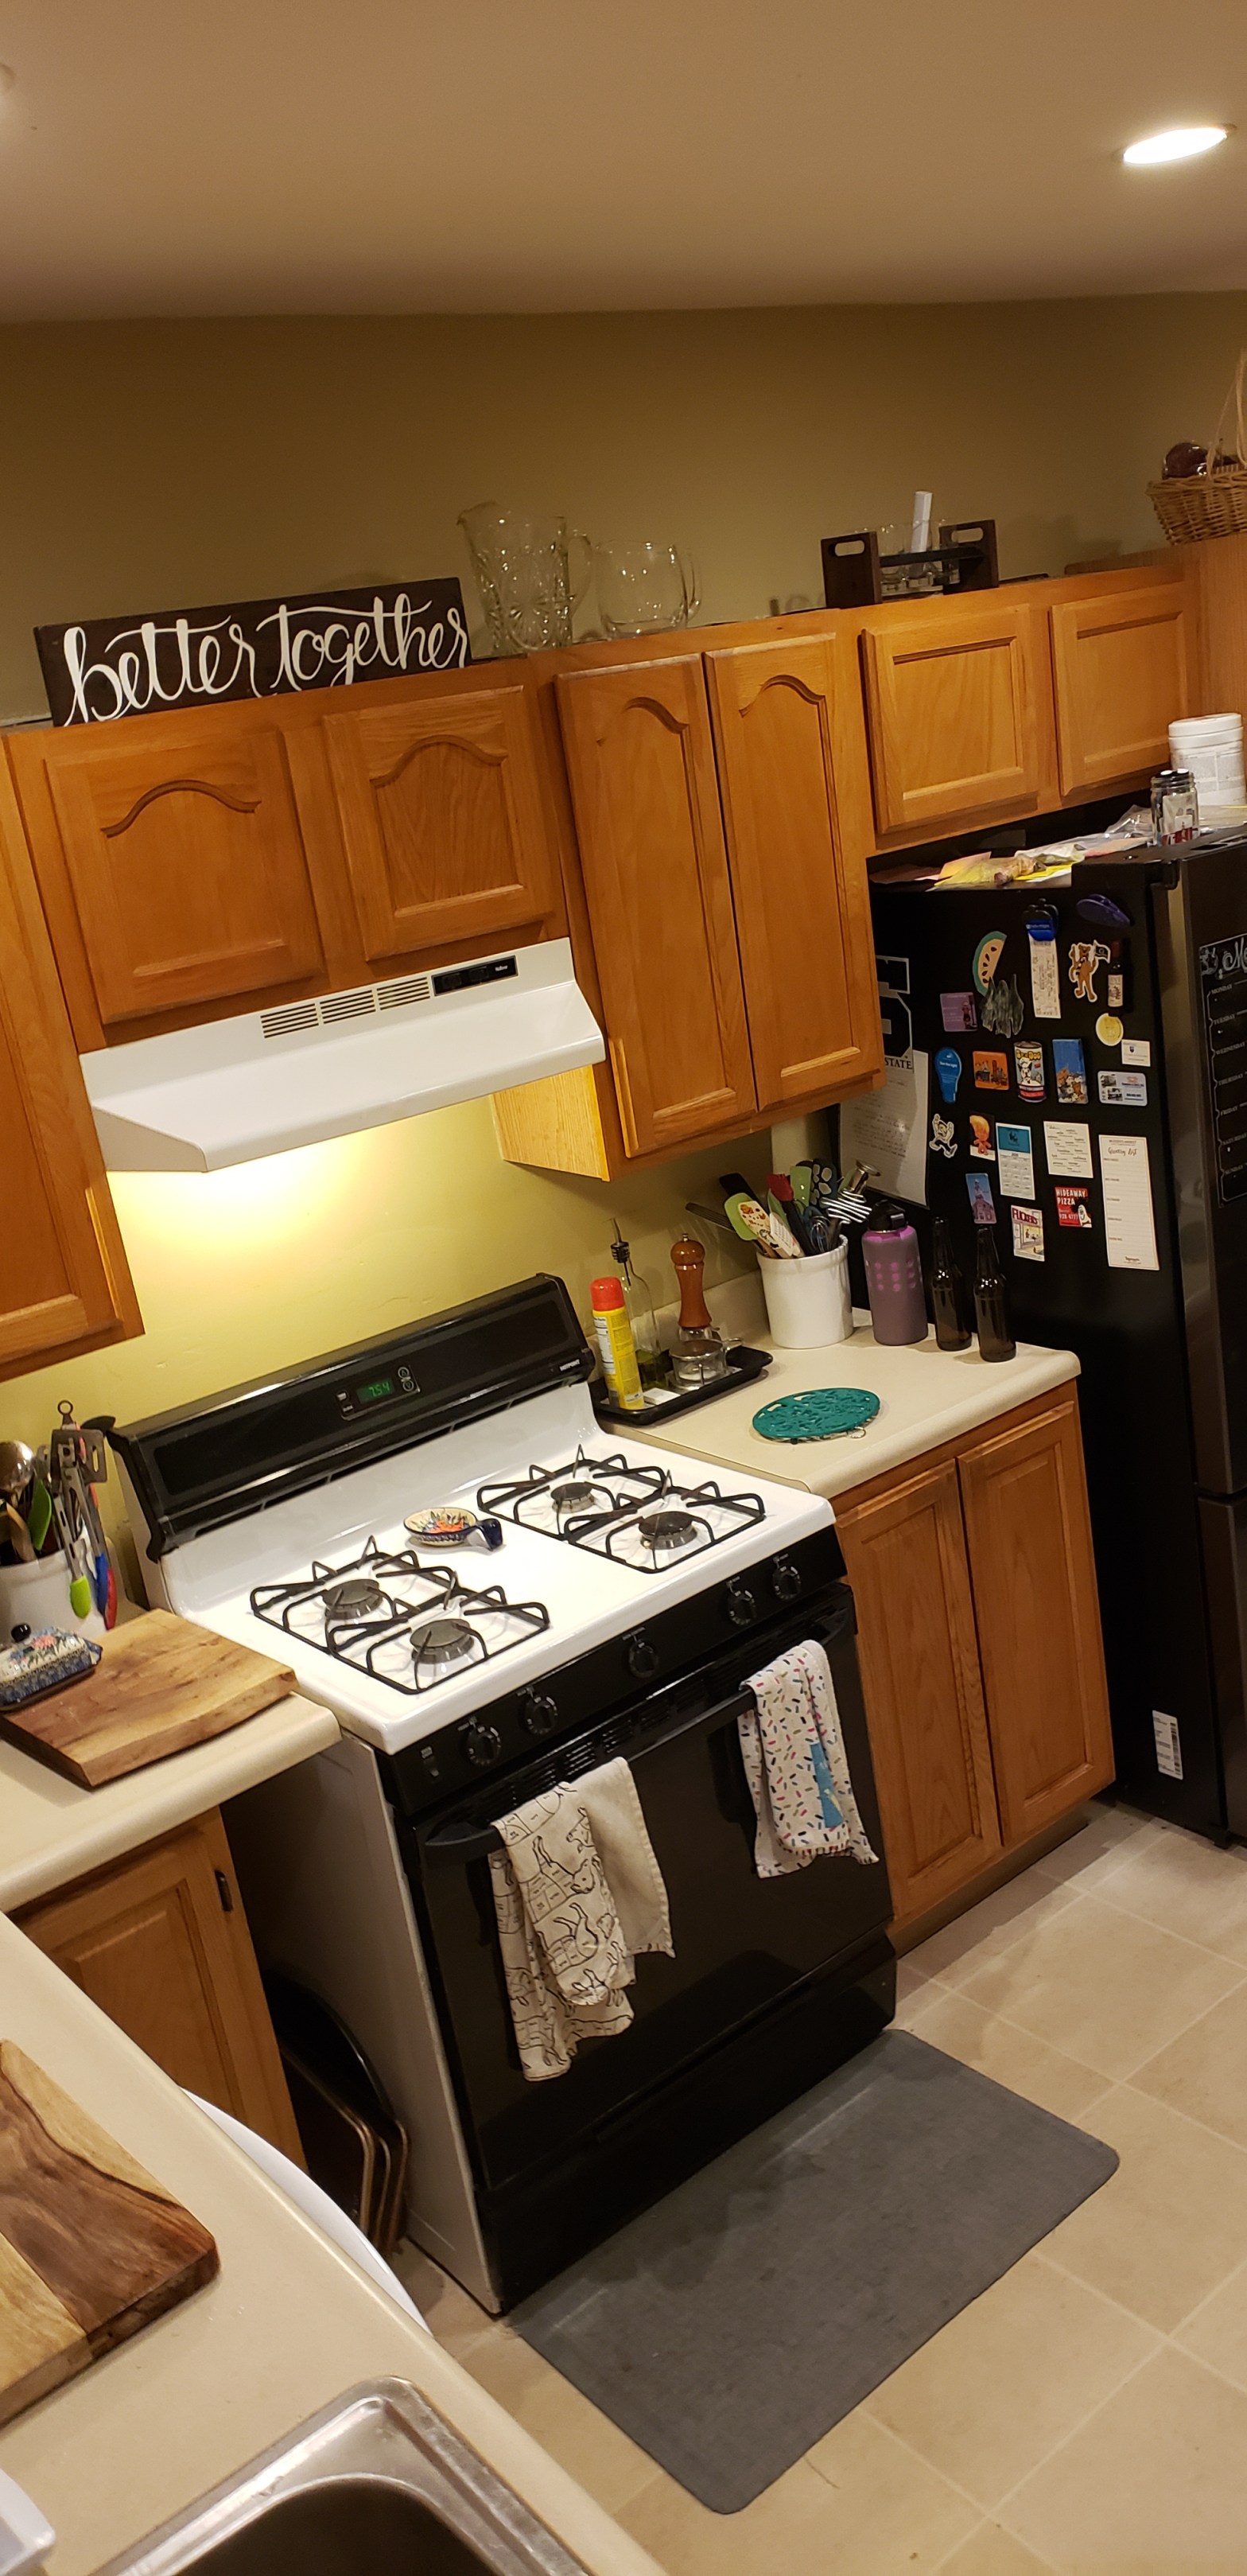
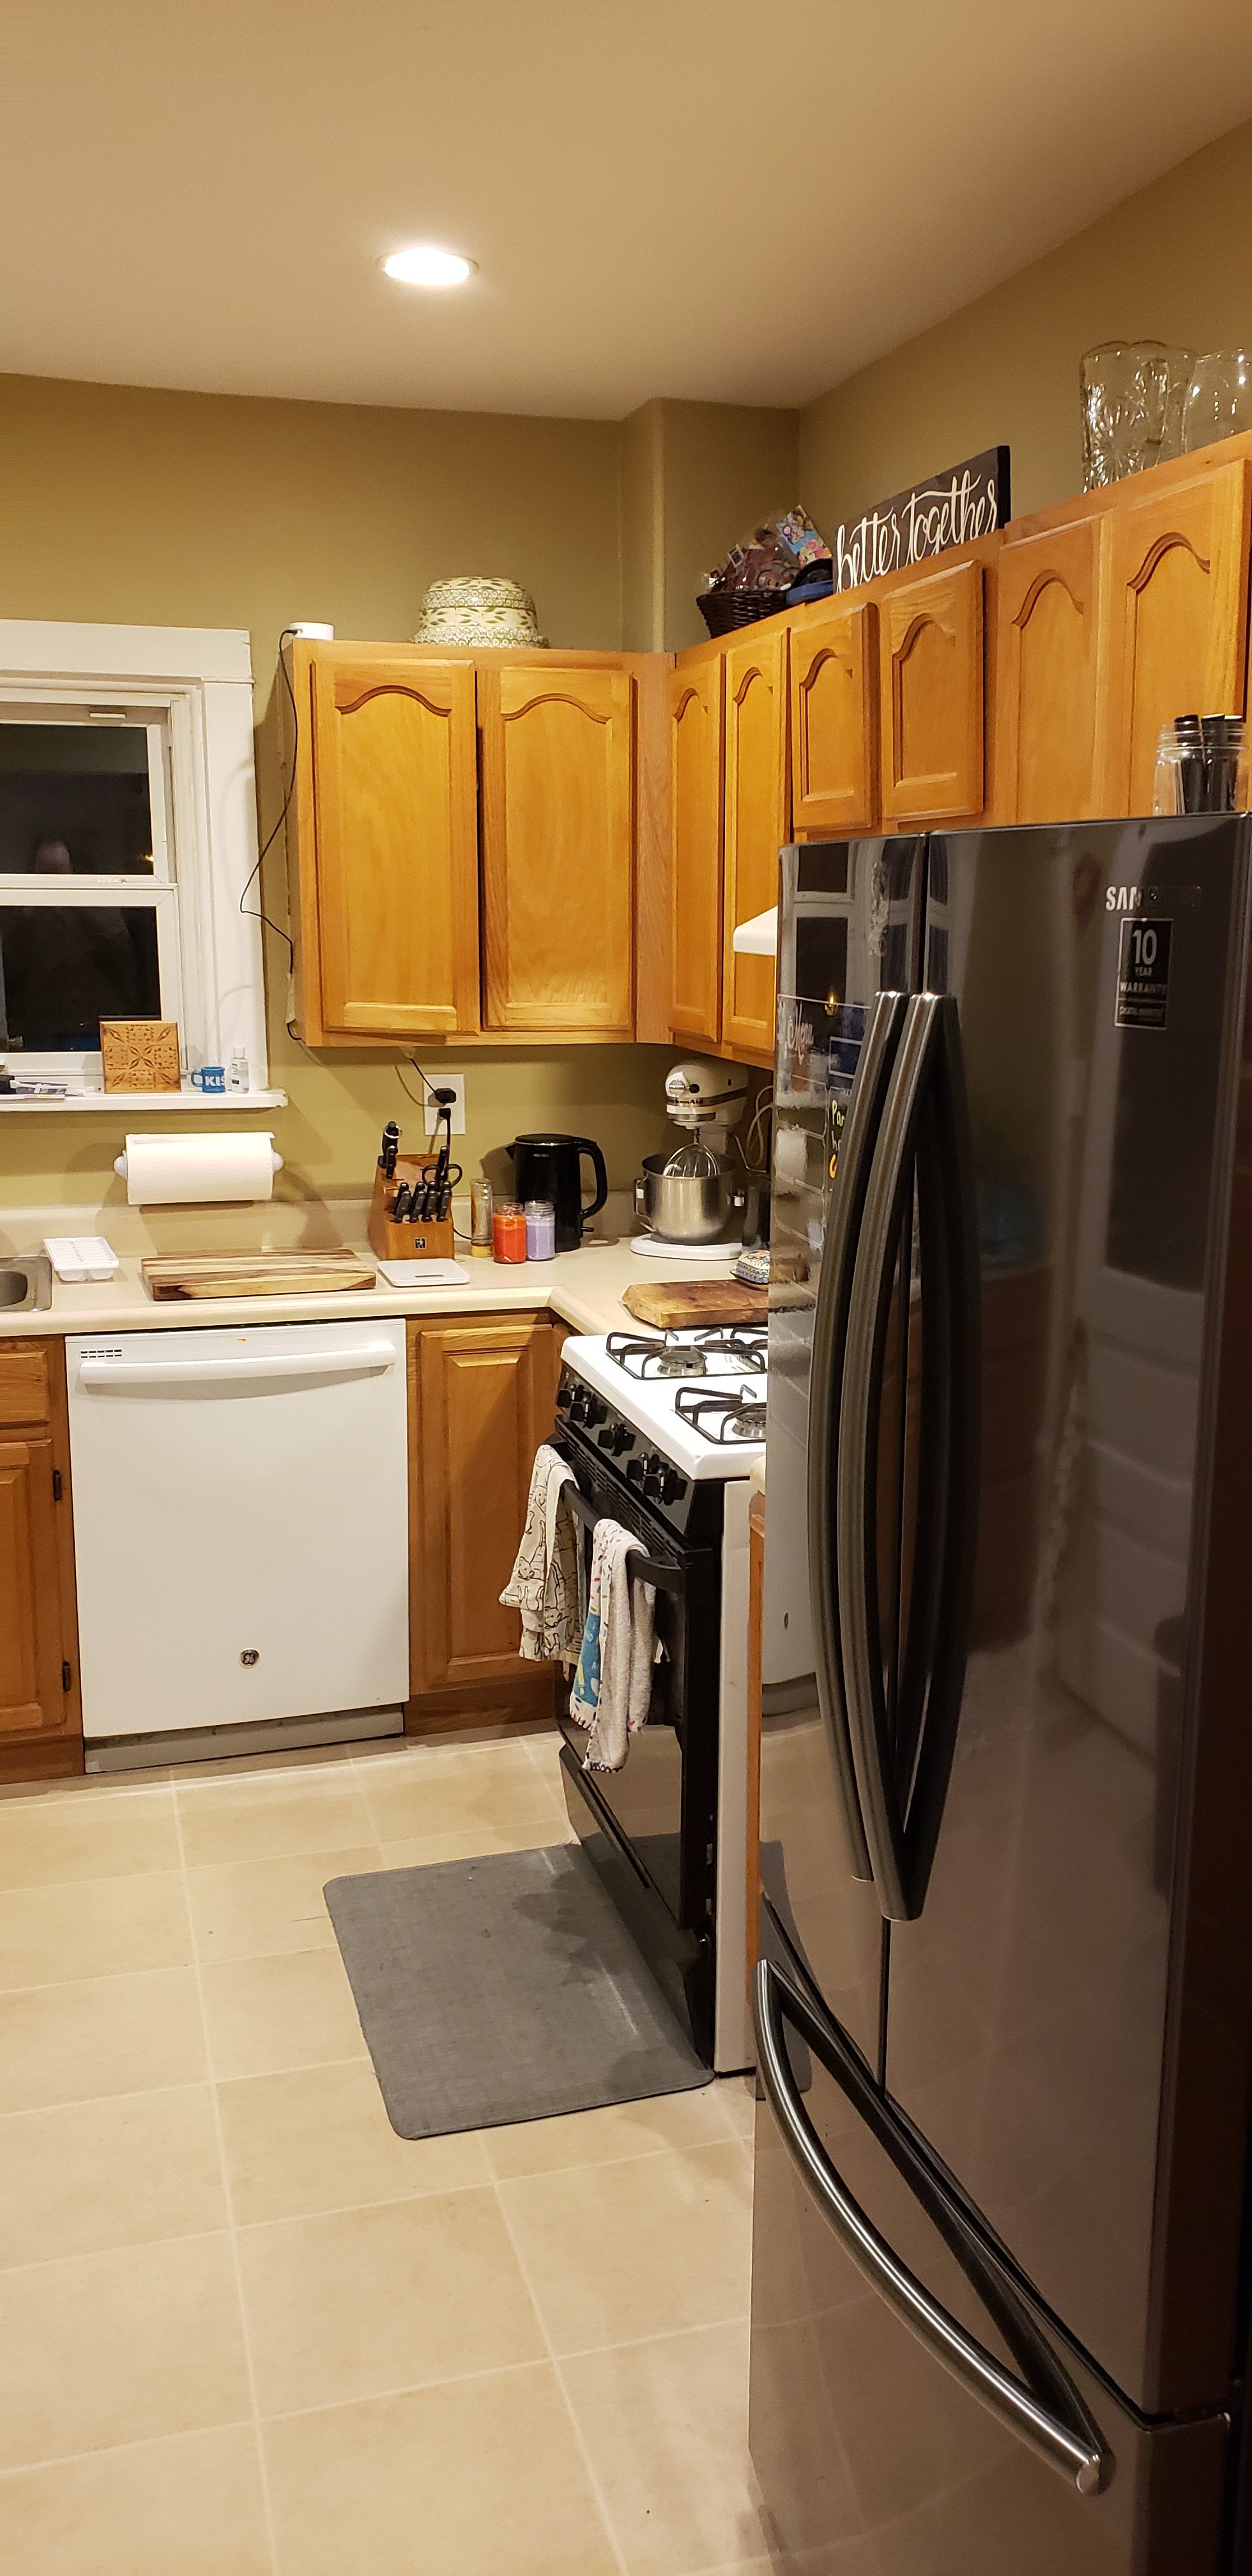
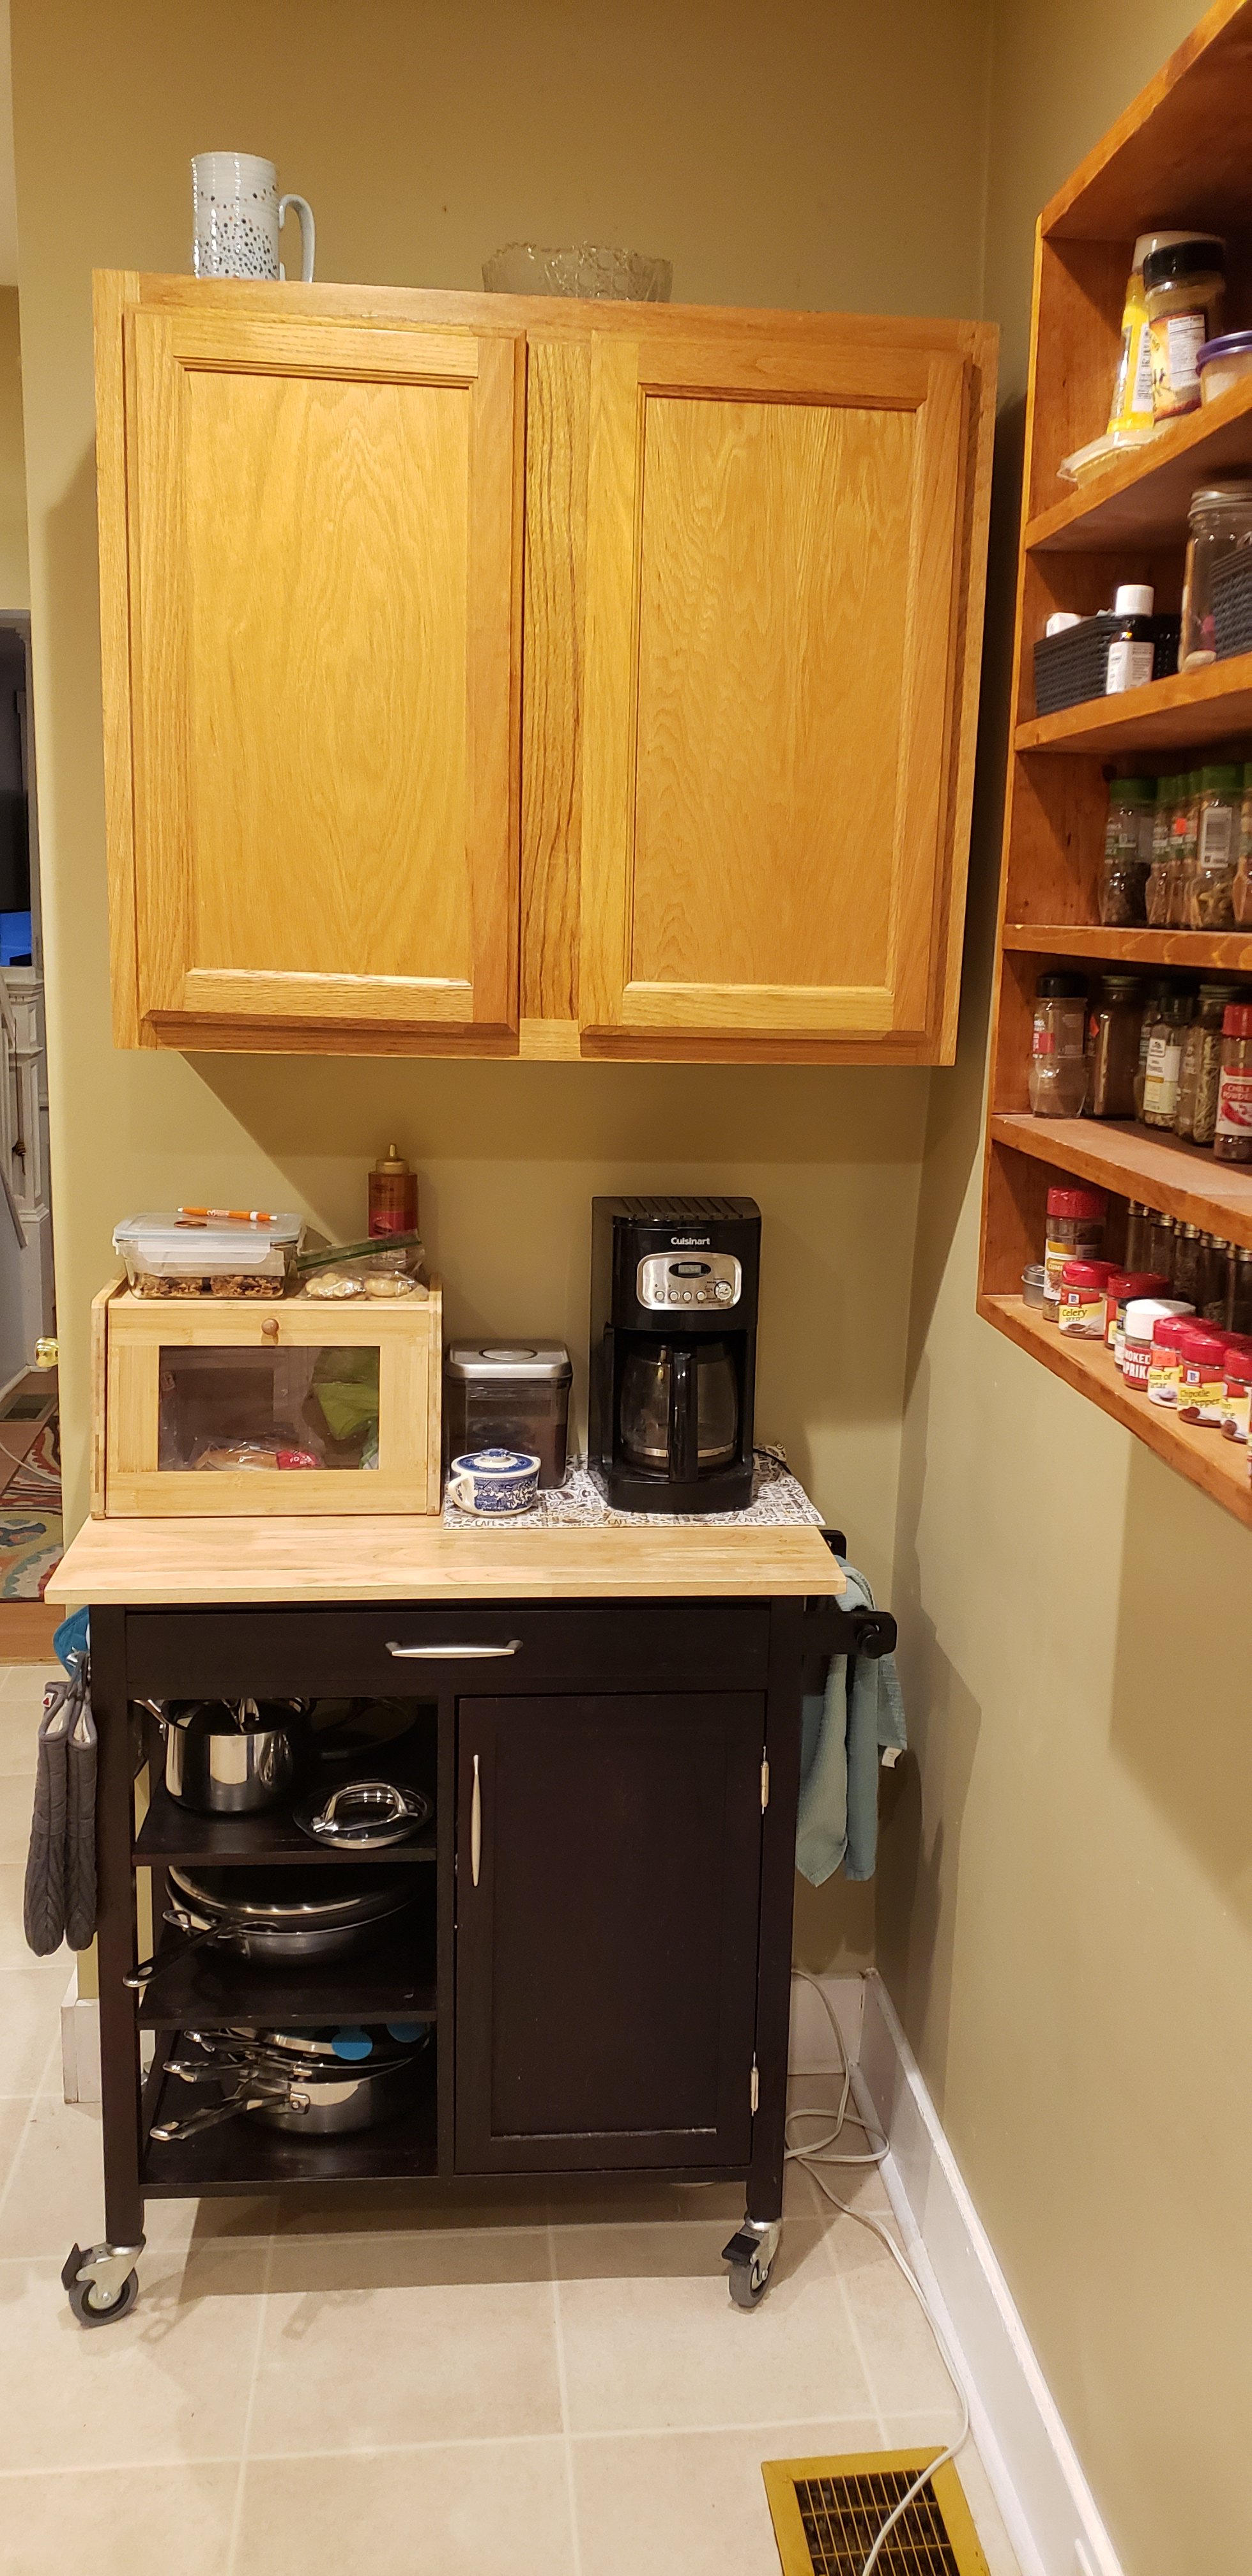
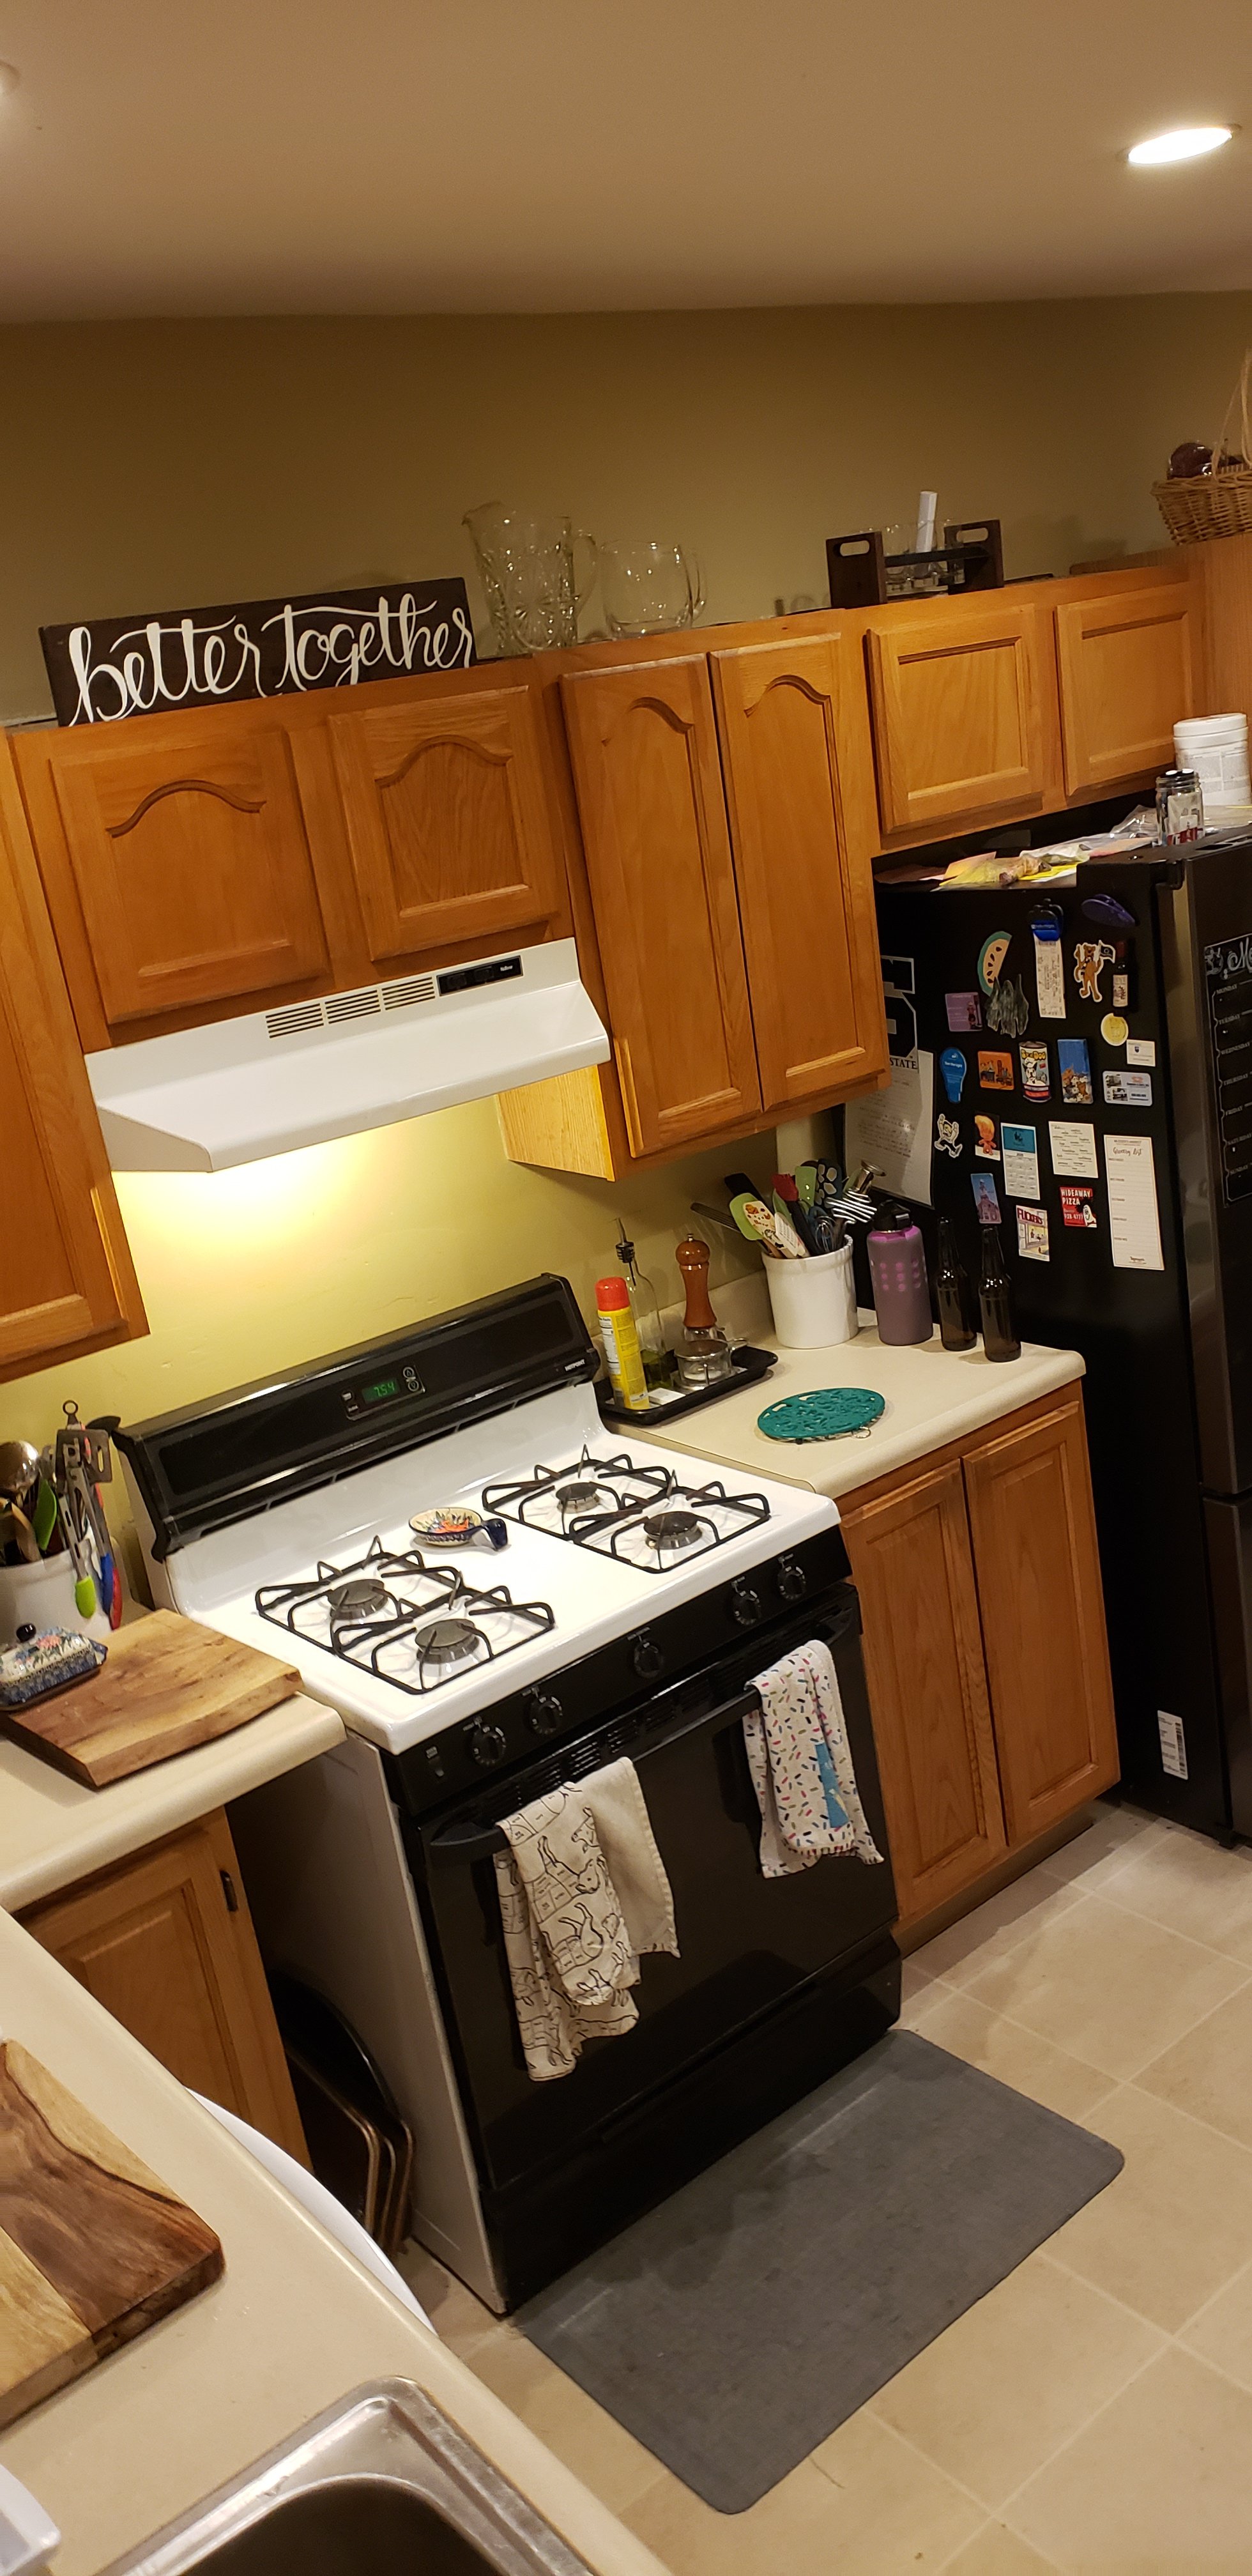
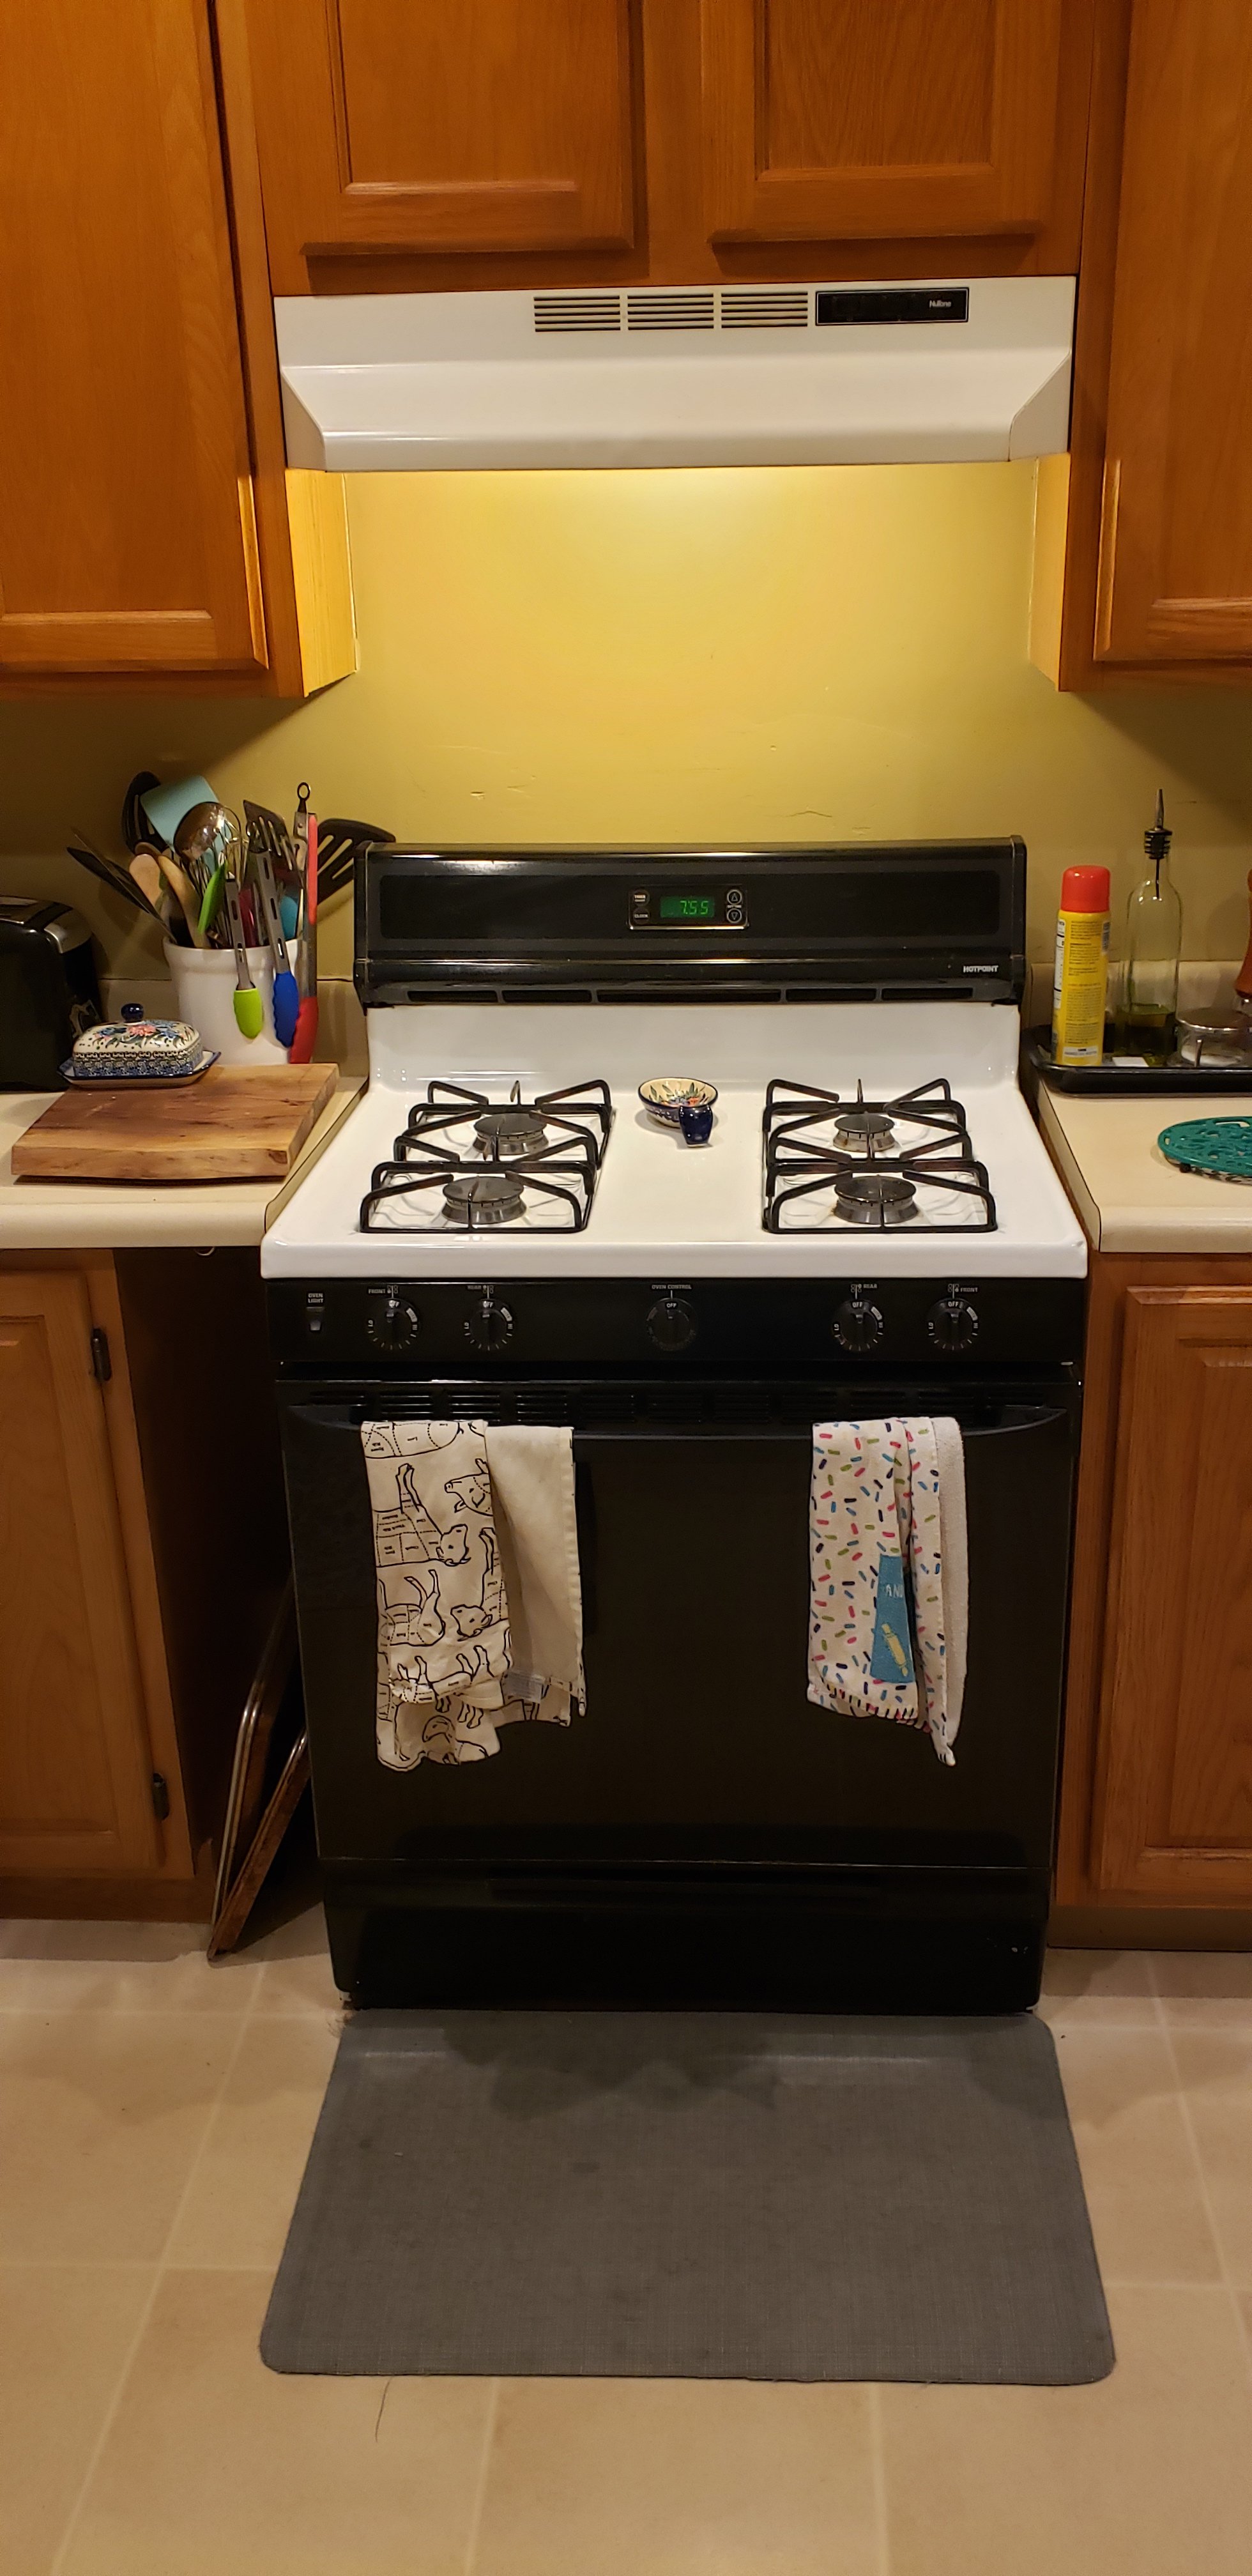
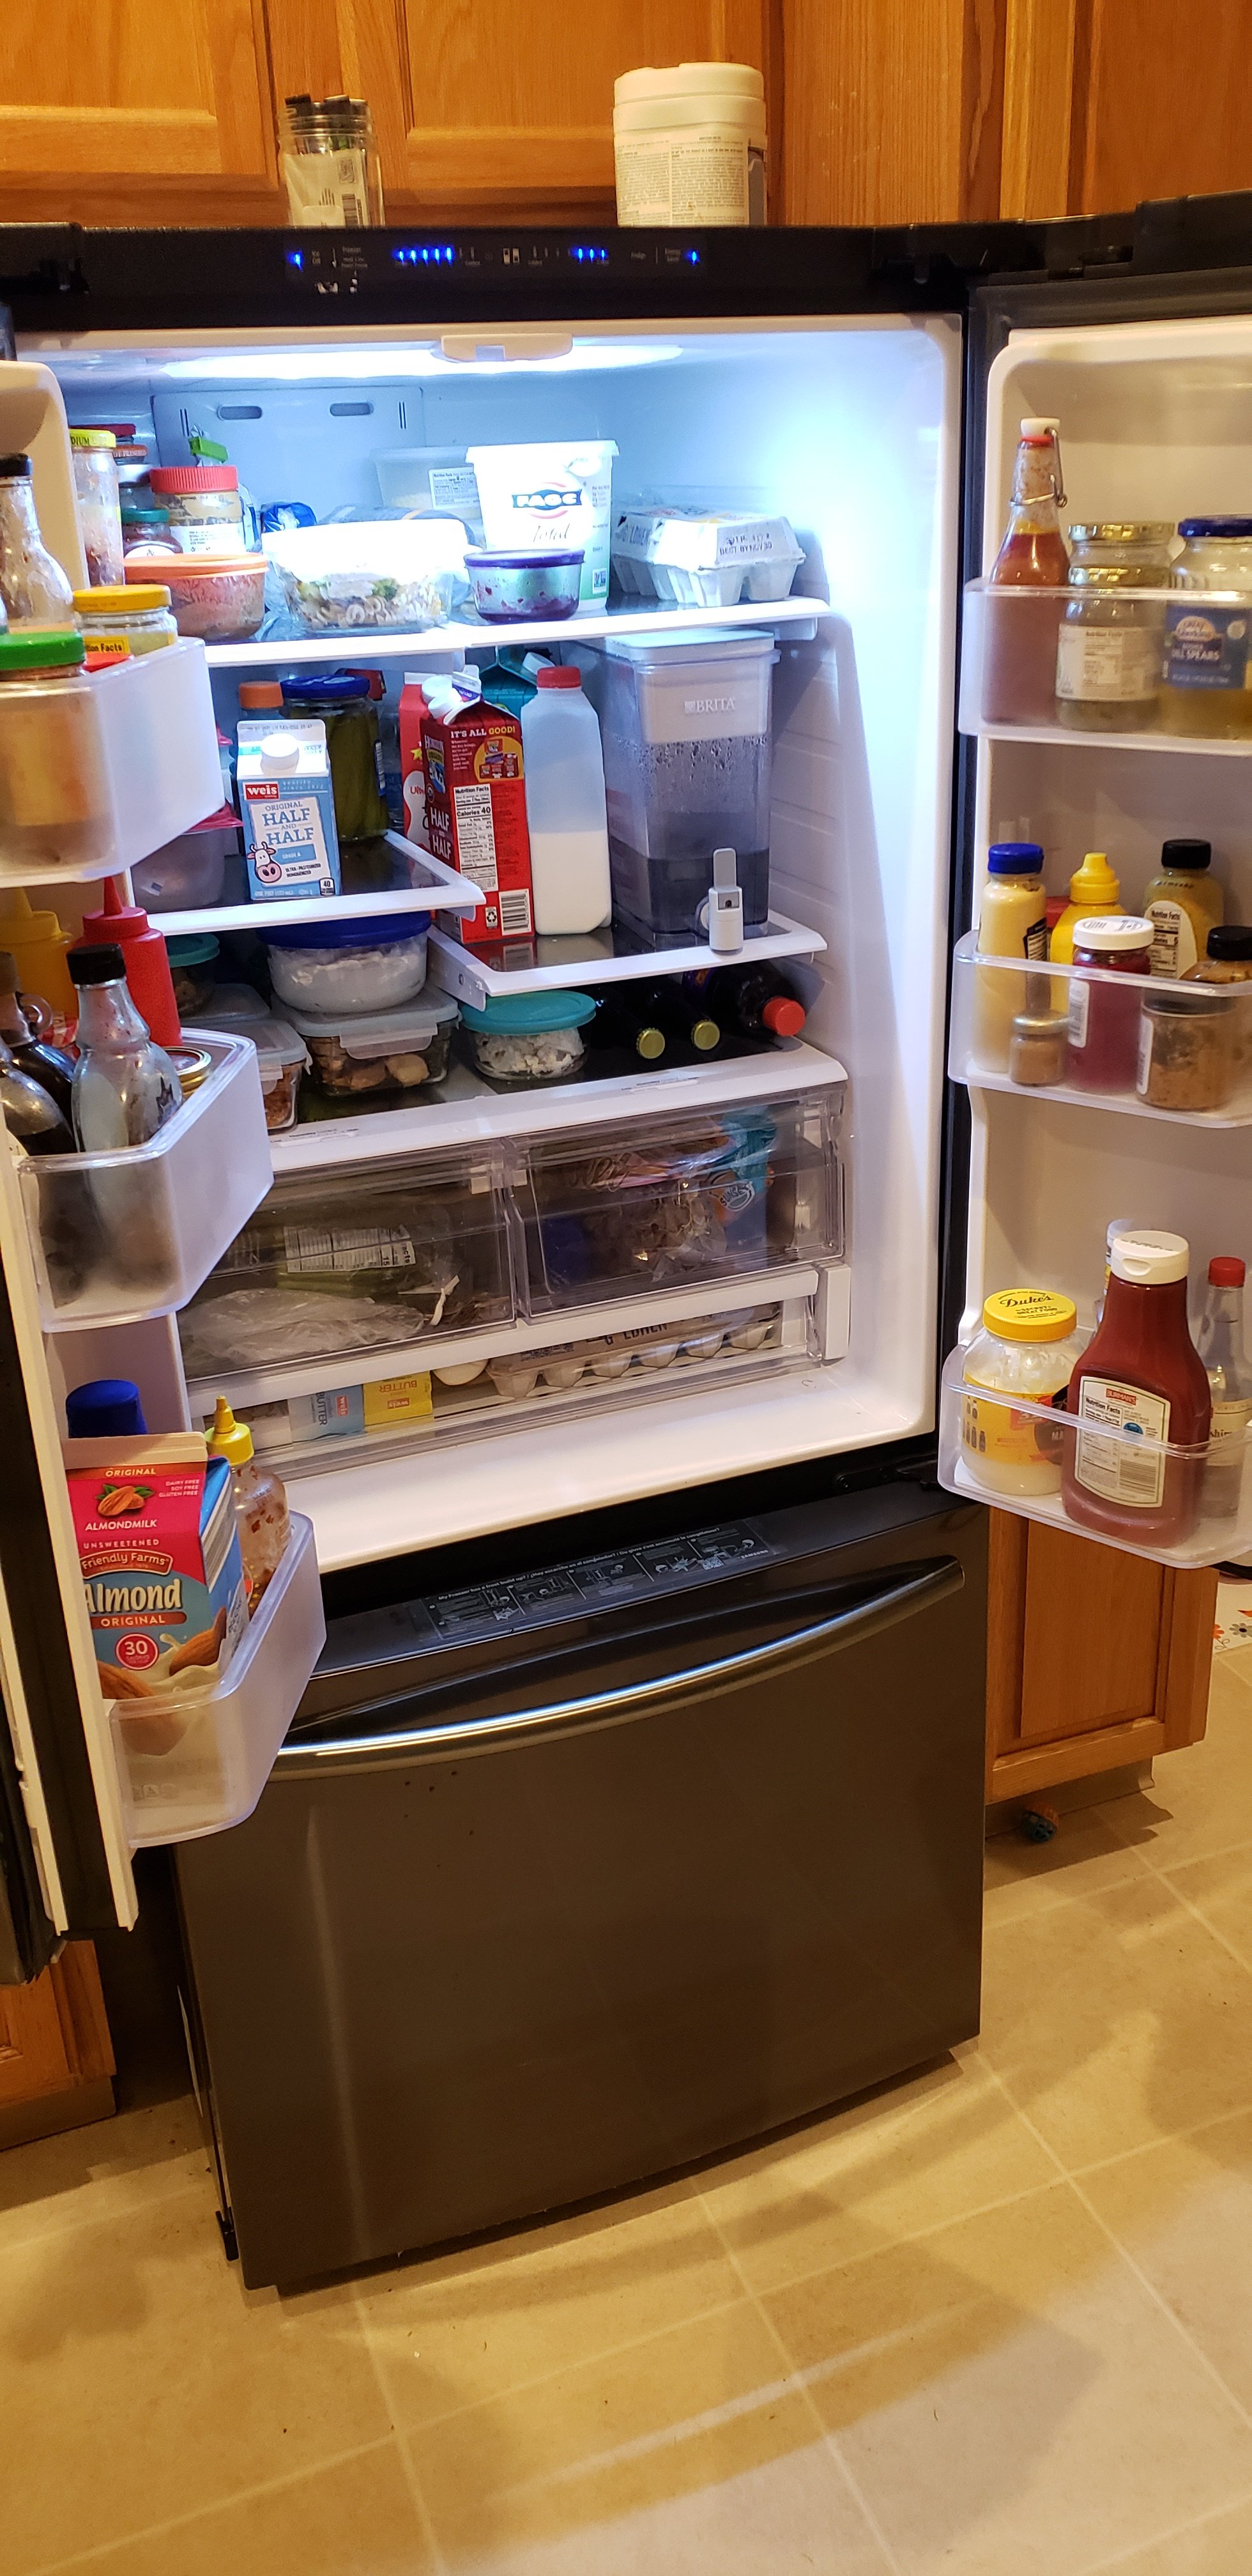
This isn’t going to be a recipe post but we’re too excited to not share our new kitchen. If you didn’t know we bought our first home! And within the walls is an amazing kitchen! So, that being said… here it is!
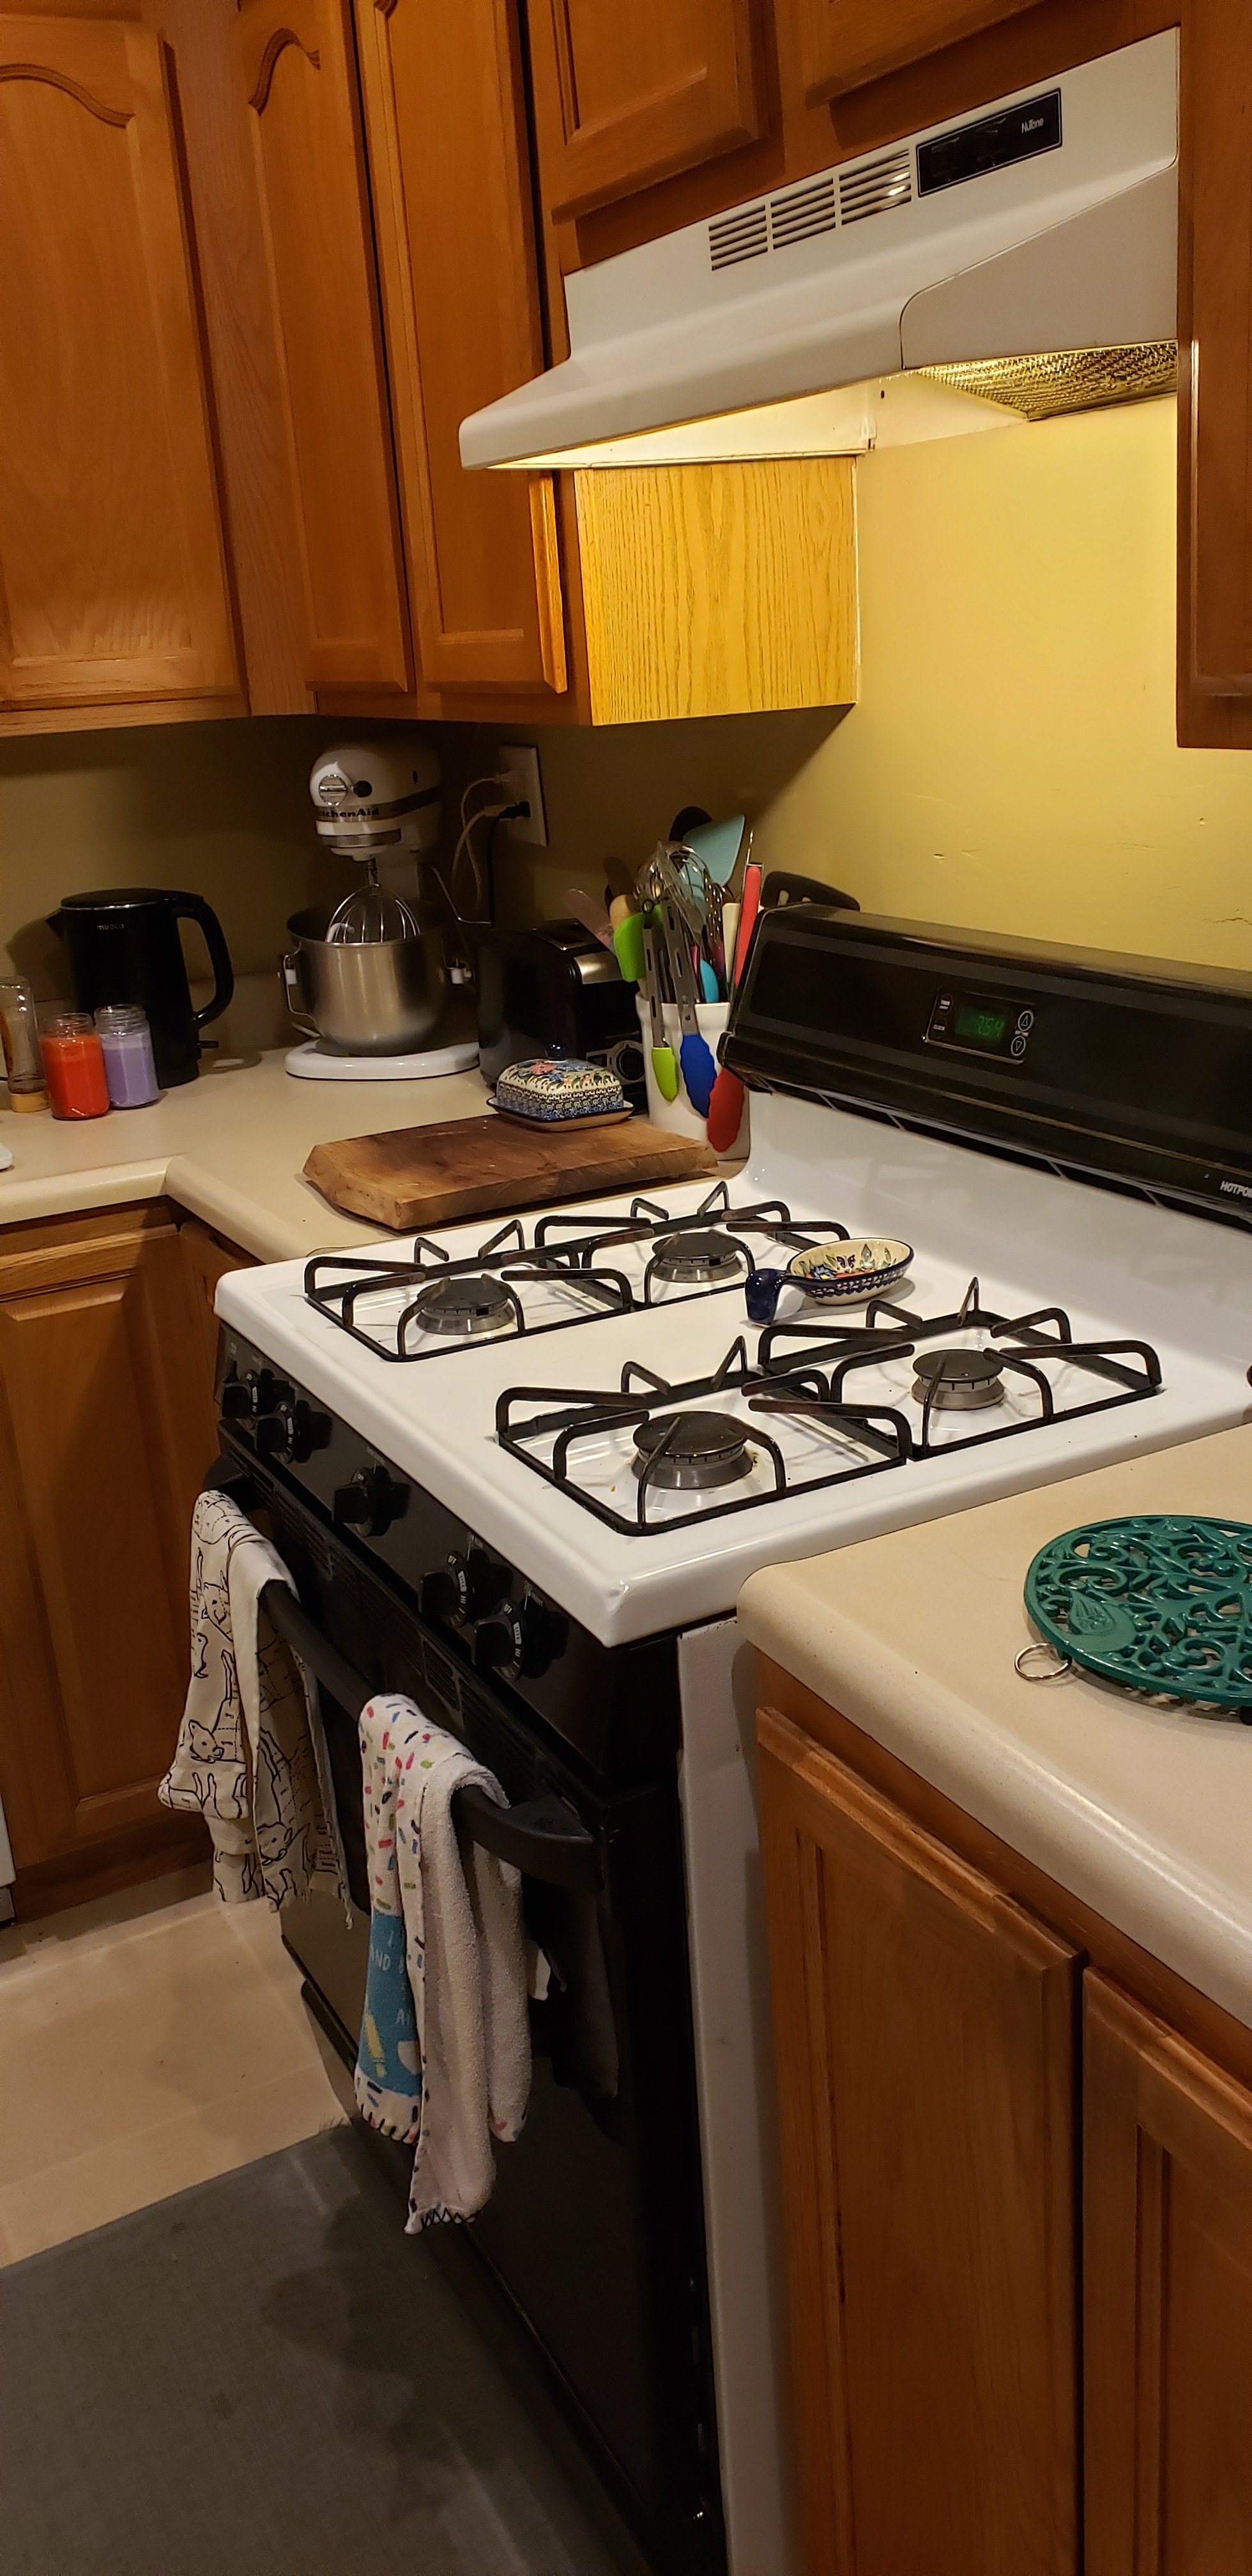
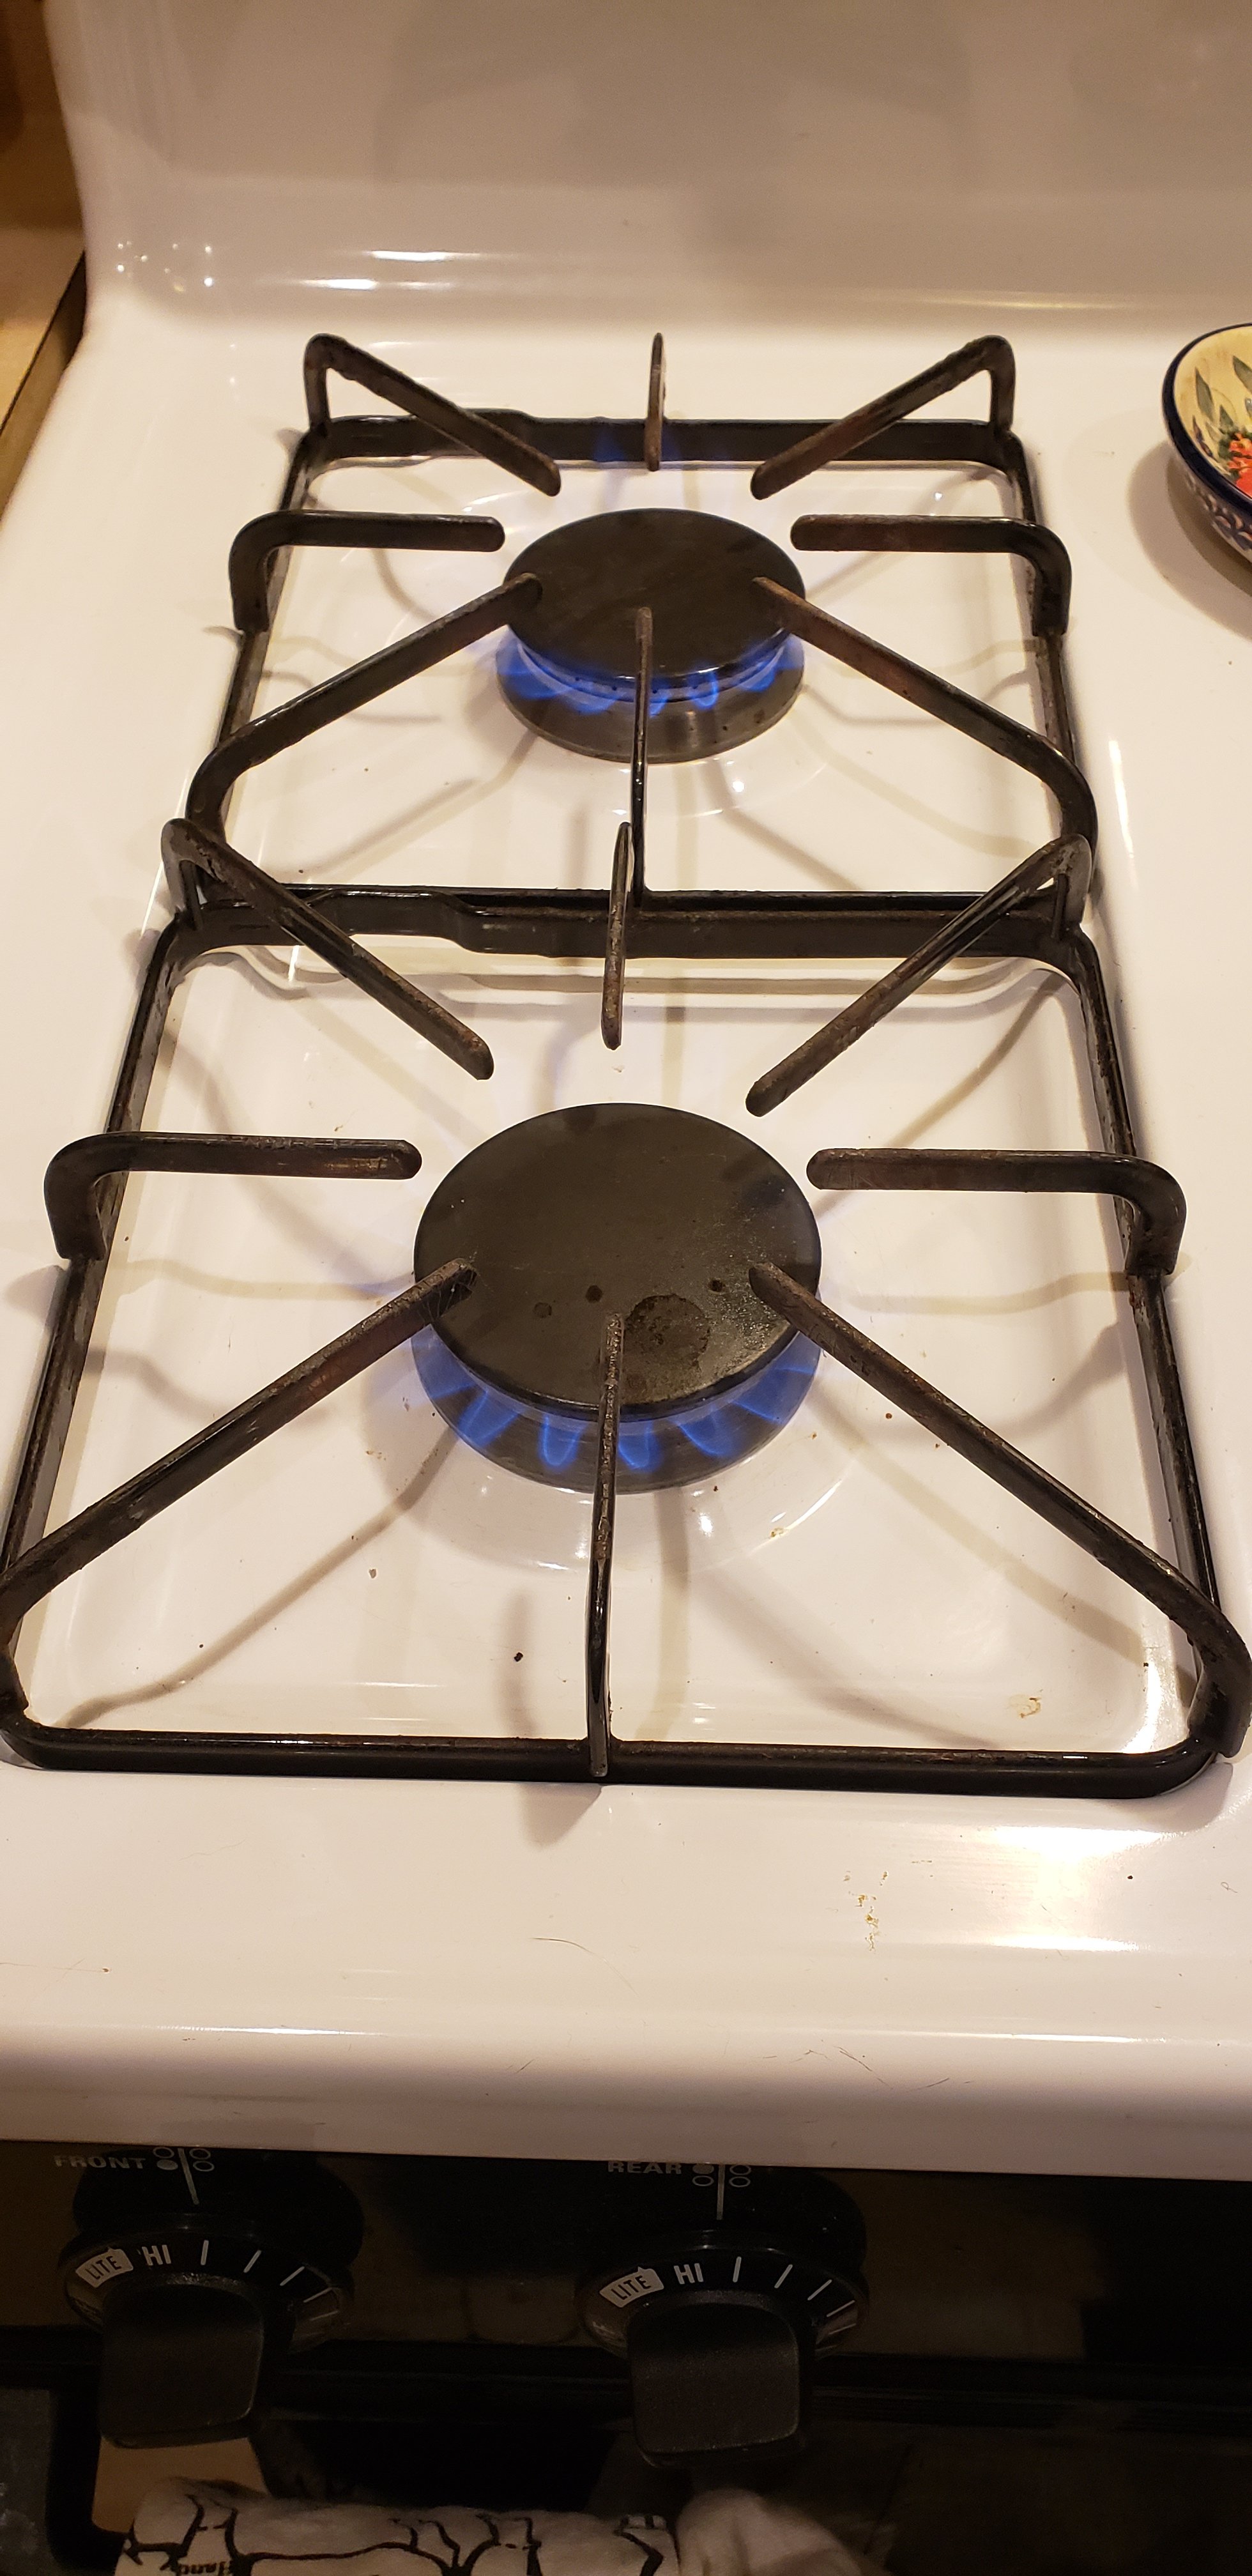
We are super excited to finally have a gas stove. The last few places we lived had flat top electric burners and no offense but we hated them! Now we are finally cooking with fire!
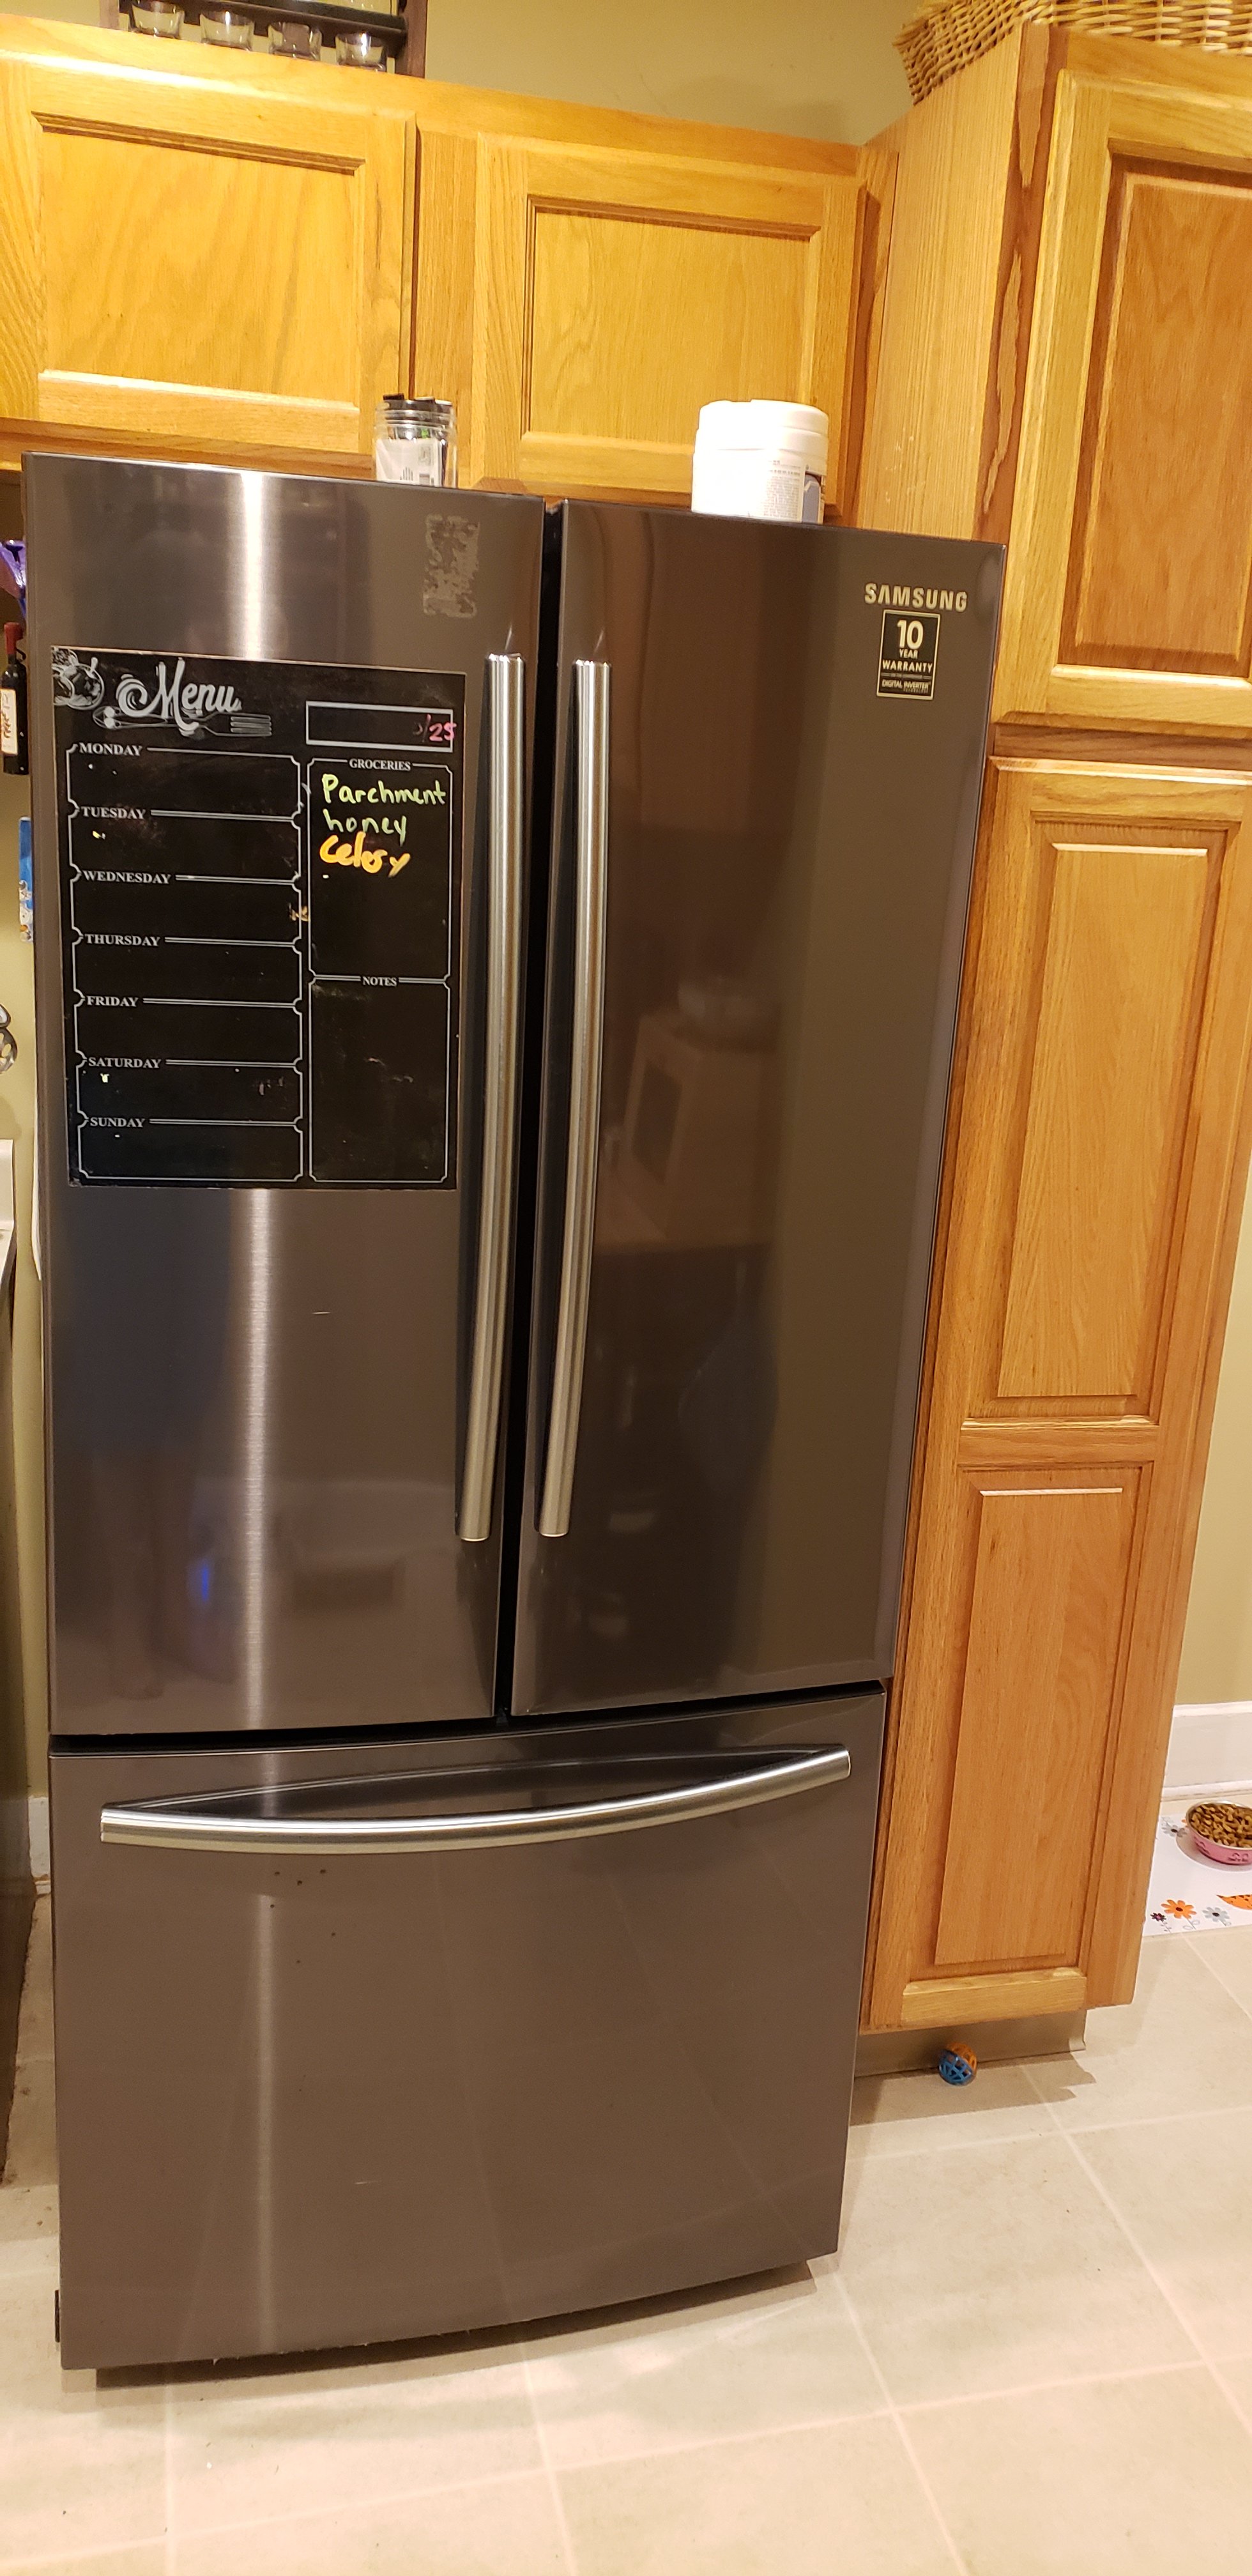
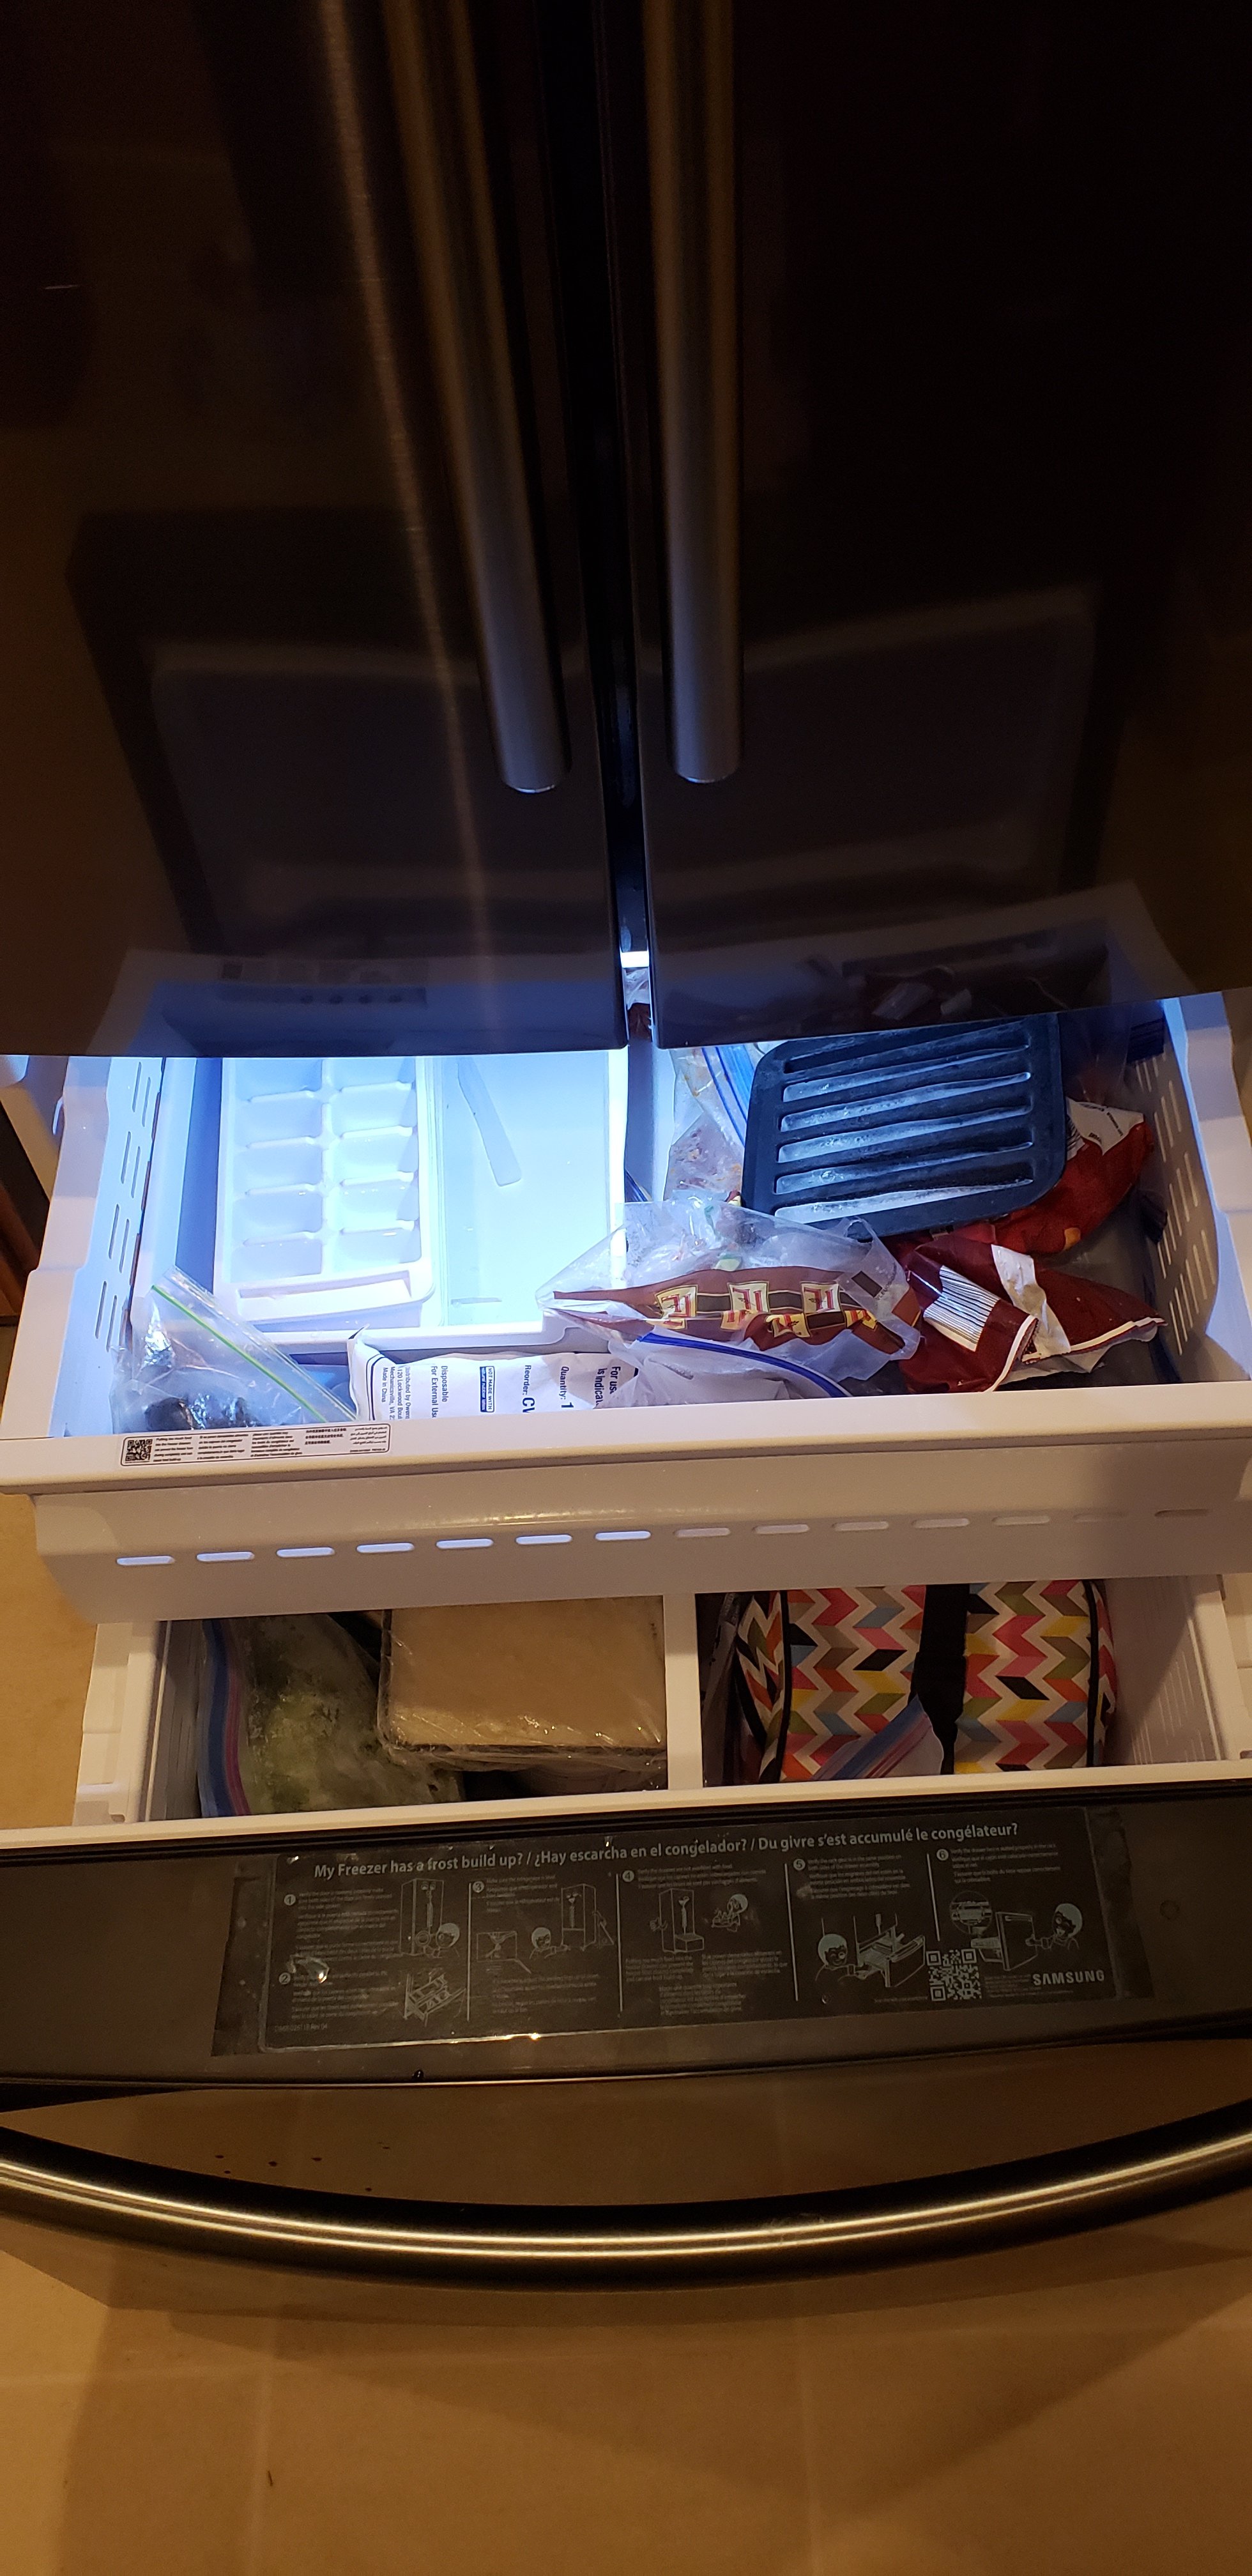
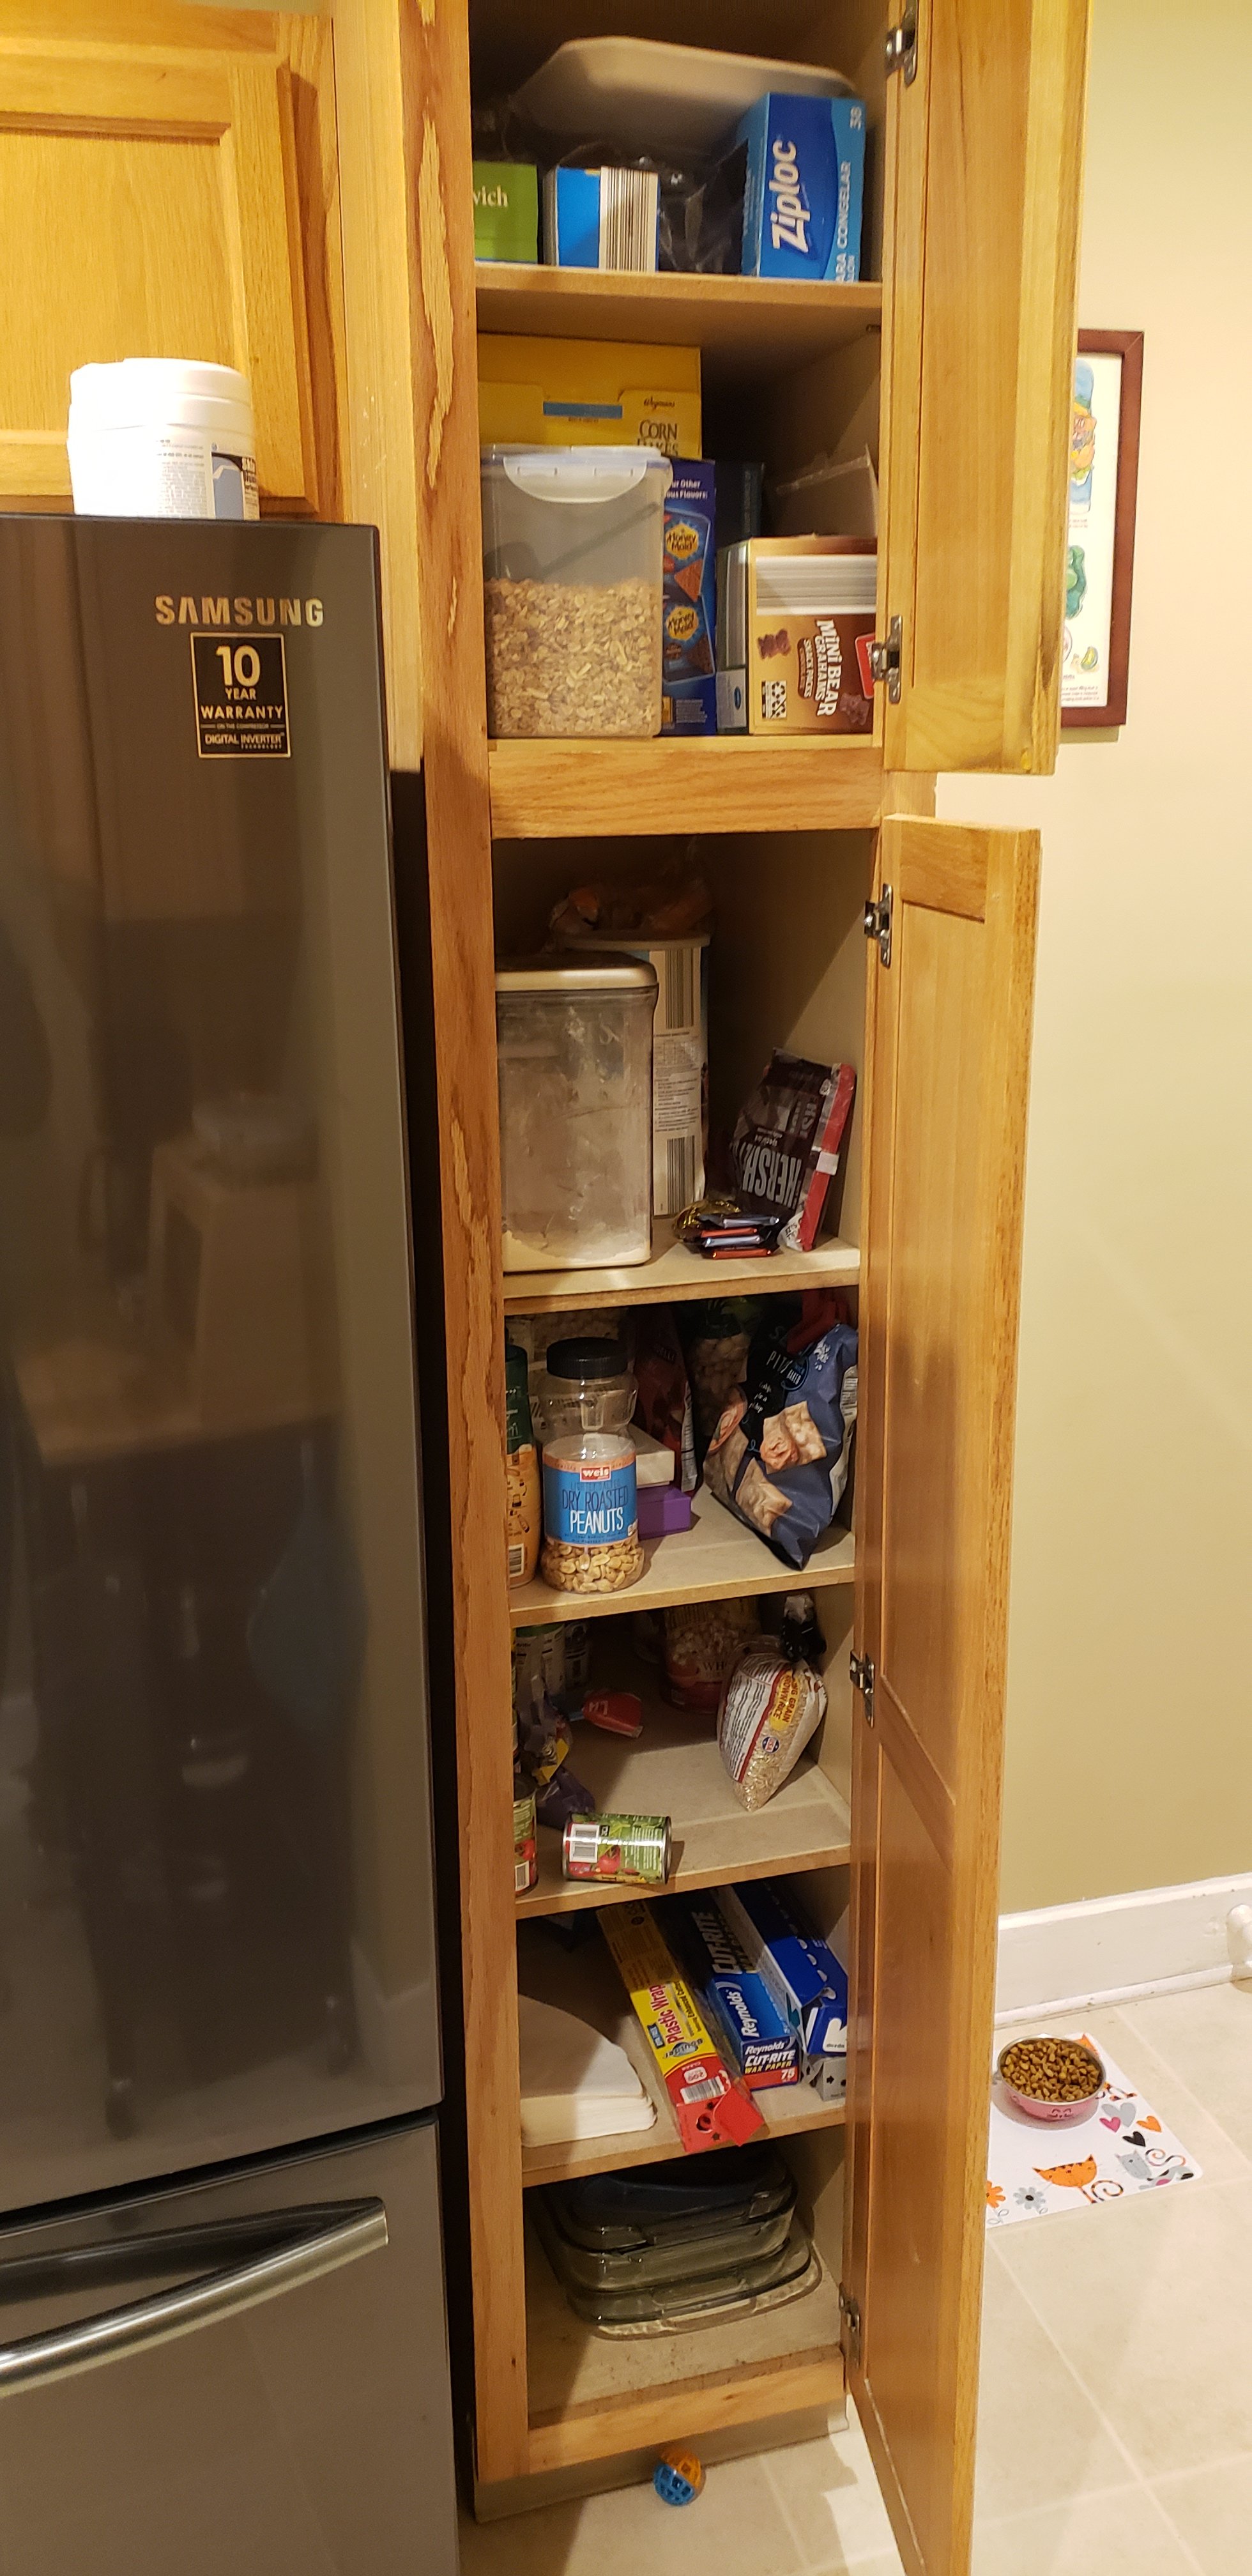
When we moved we needed to get a new refrigerator. Did you know that there is currently a refrigerator shortage?? Who had that on their 2020 bingo card? Luckily Jess found this awesome Samsung French door fridge that is amazing. P.s. Samsung, if you want to pay us for saying these good things that would be cool. Also, gotta love the cabinet space on the side.
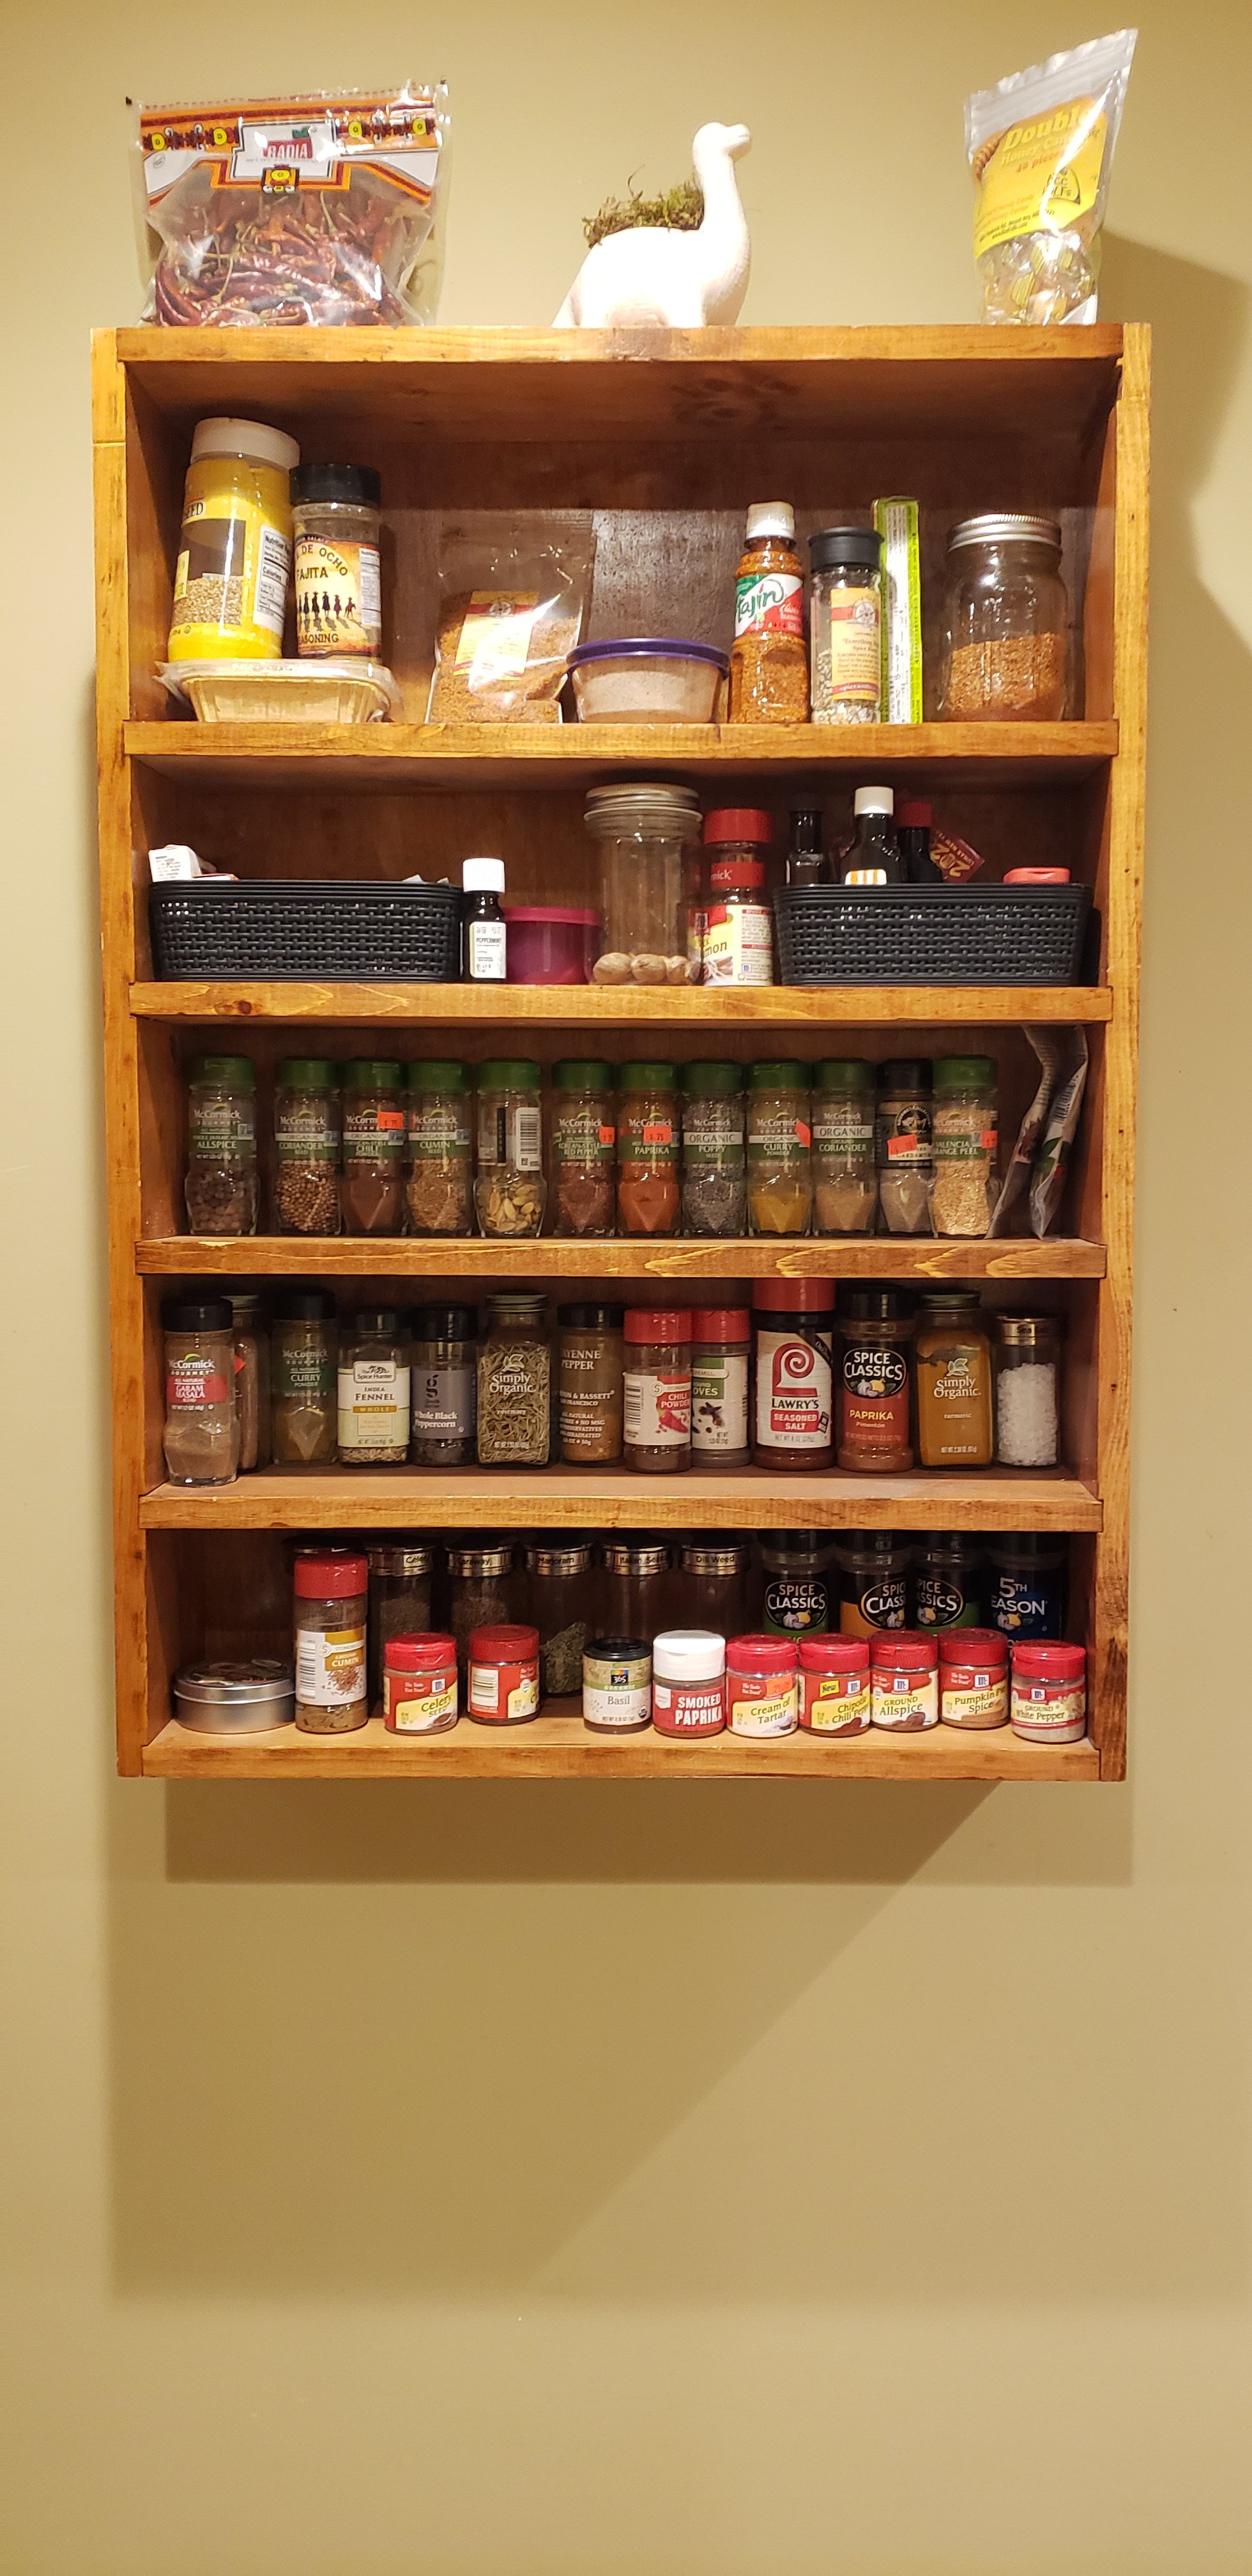
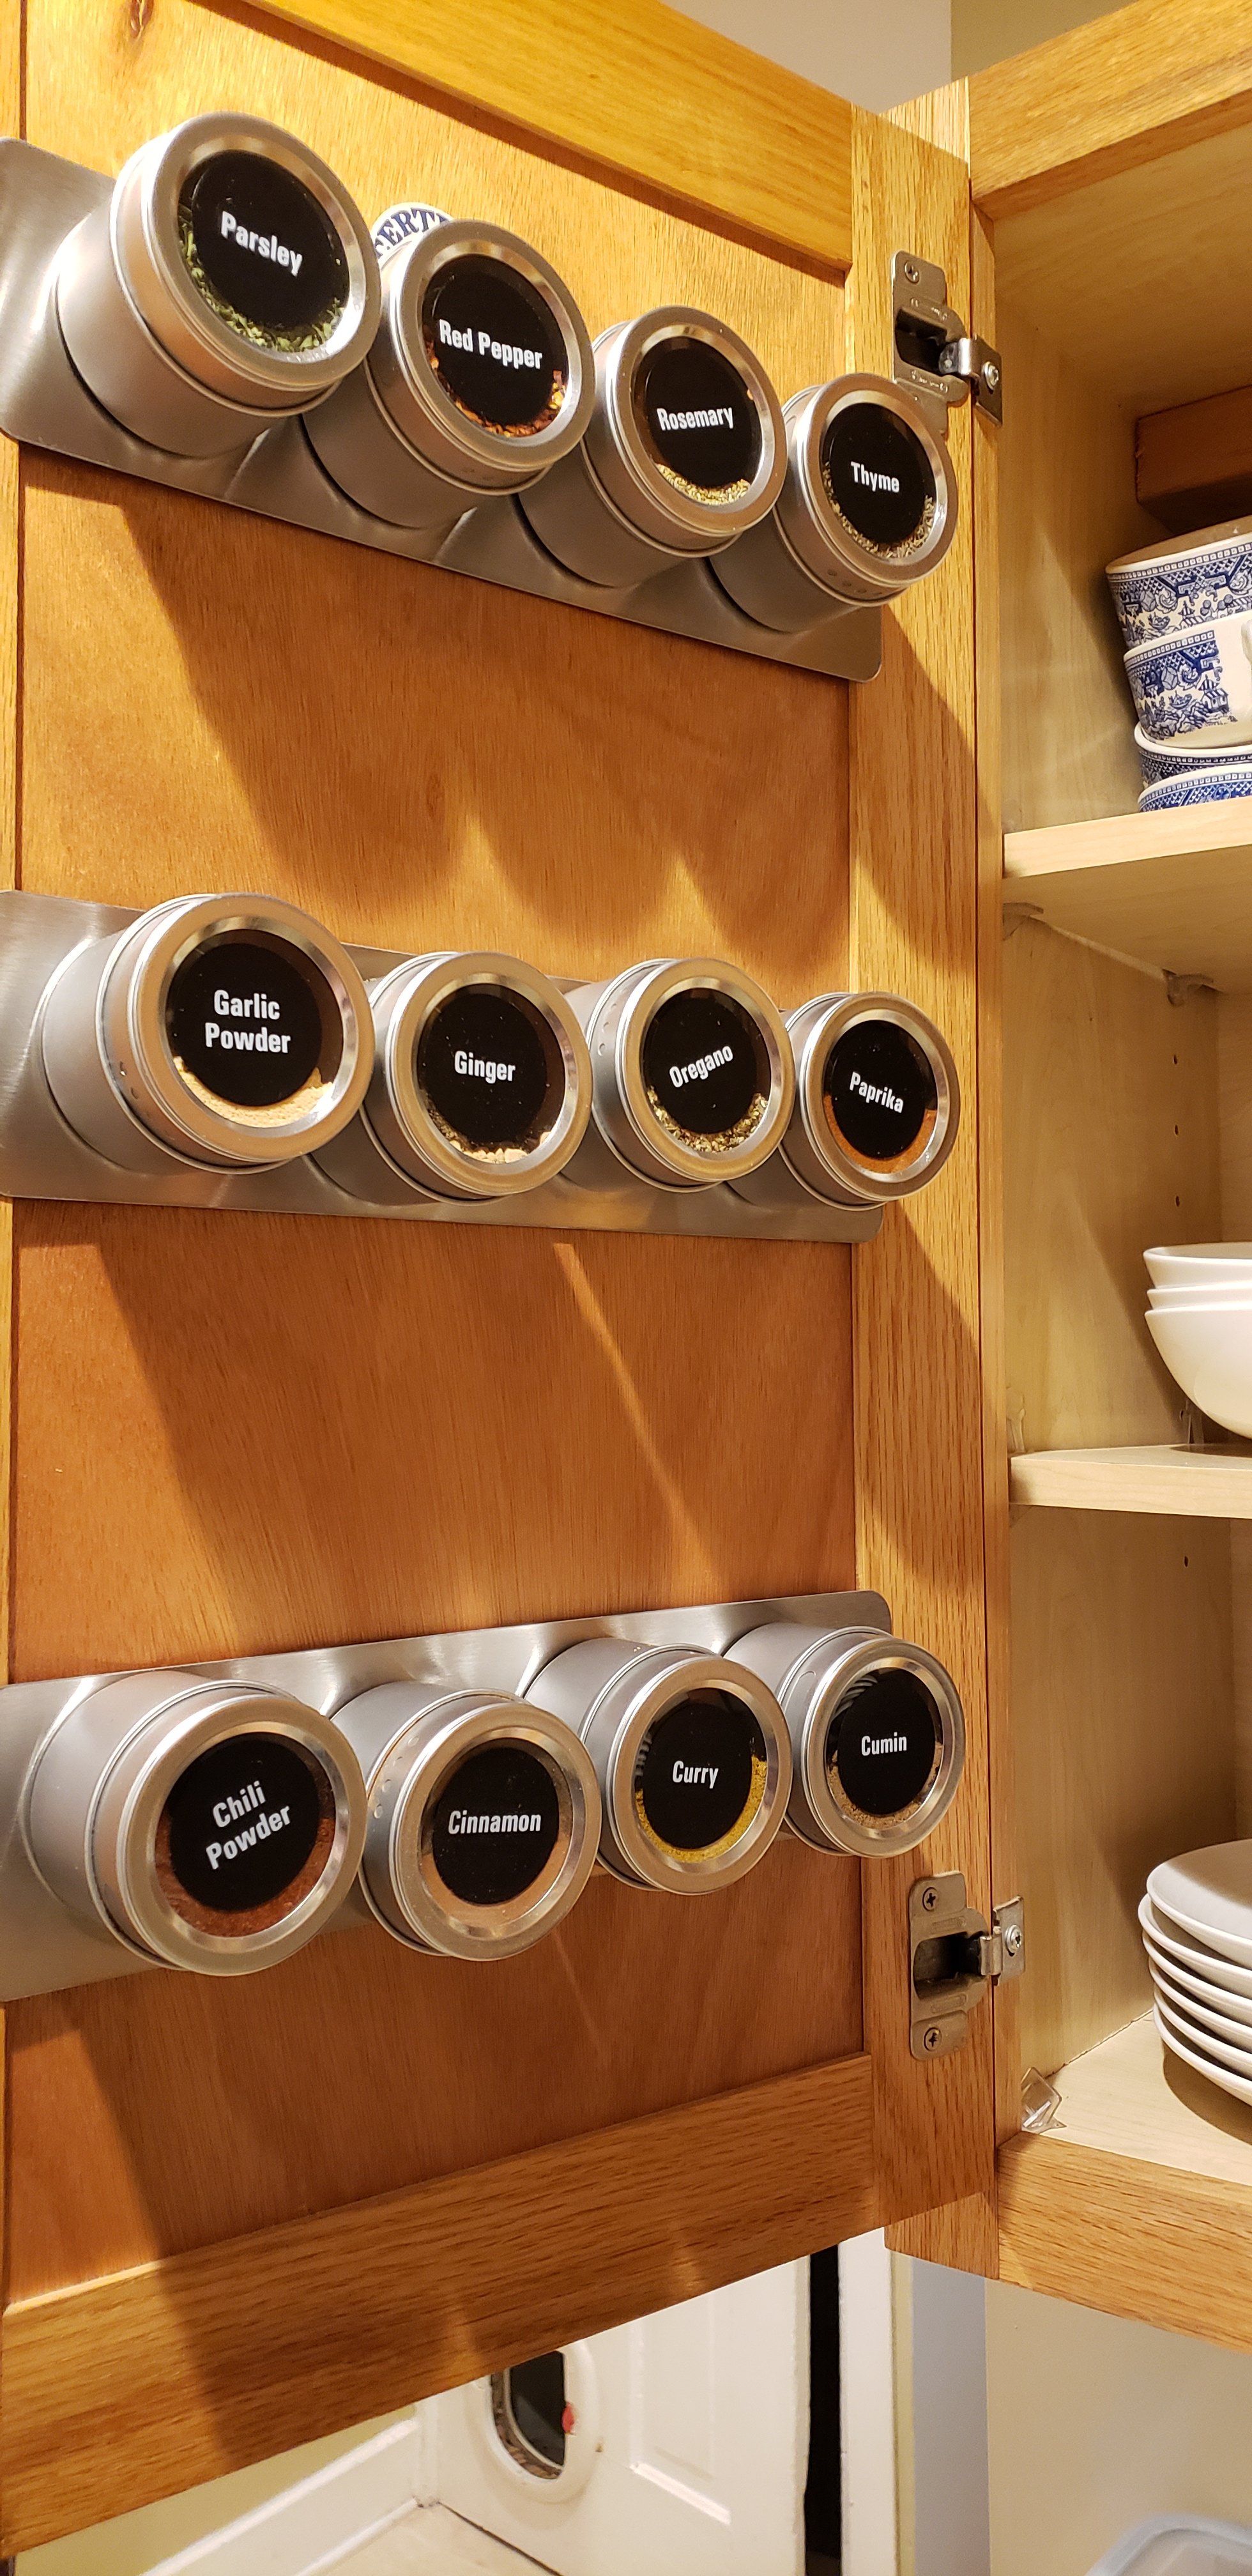
What is a kitchen without a spice rack, right? I’m especially proud of our spice rack because my stepdad Joe and I built it! Technically we built it as a CD/DVD rack but it looks cool as a spice rack too! We also got an amazing gift from Jess’ sister Julie to make our kitchen a little bit more… Good Eats!
This is where we are going to be cooking from now on and we are super excited to get started! What are your favorite parts of your kitchen? Let us know in the comments!
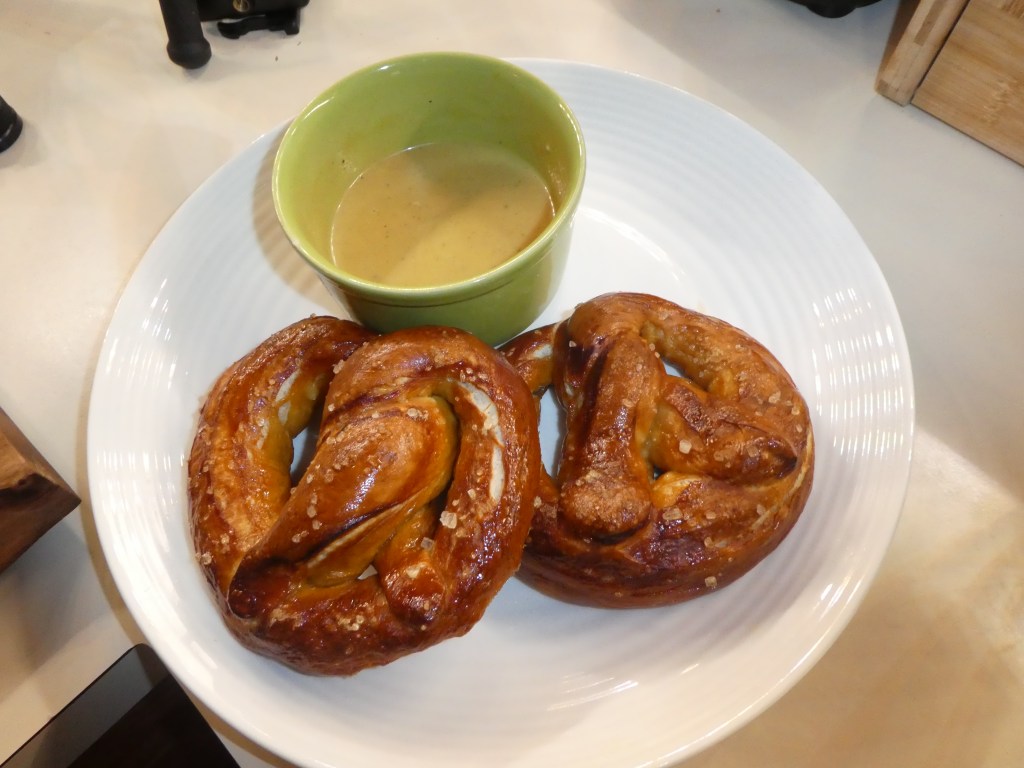
One of our favorite snacks, whether it be a sporting event or a trip to the mall, is a soft pretzel! Since we’re all staying safe and staying home we thought we’d try out a recipe from one of our favorite TV cooks, Alton Brown. This may seem like quite the process but it was really easy and made for some great time together at home!
Here’s what you’ll need:
1.5 cups warm water (110 degrees F)
1 tbsp sugar
2 tsp kosher salt
2.25 tsp active dry yeast (or one prepackaged envelope)
4 tbsp (2 oz) butter – melted
5 cups water – recipe called for 10 but we used 5
1/3 cup baking soda – recipe called for 2/3 but we didn’t have enough, so we halved it
1 egg yolk + 1 tbsp water, for egg wash
Cooking spray
Pretzel salt – we used course sea salt and it tasted the same
Stand mixer – optional
Straight sided saute pan
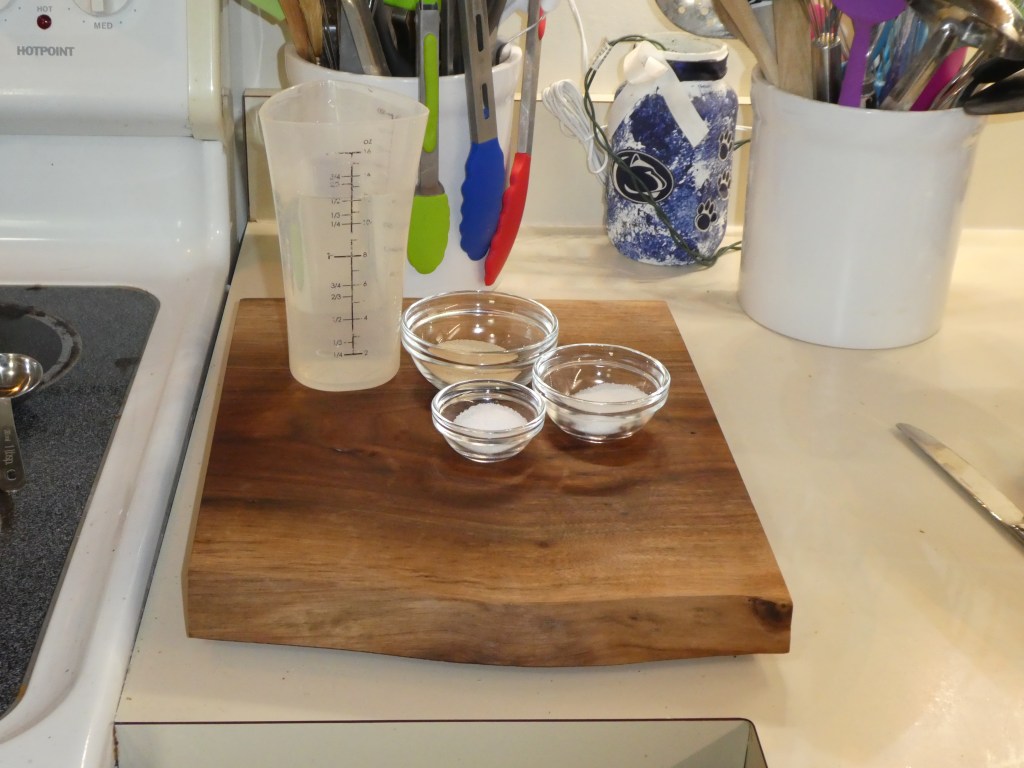
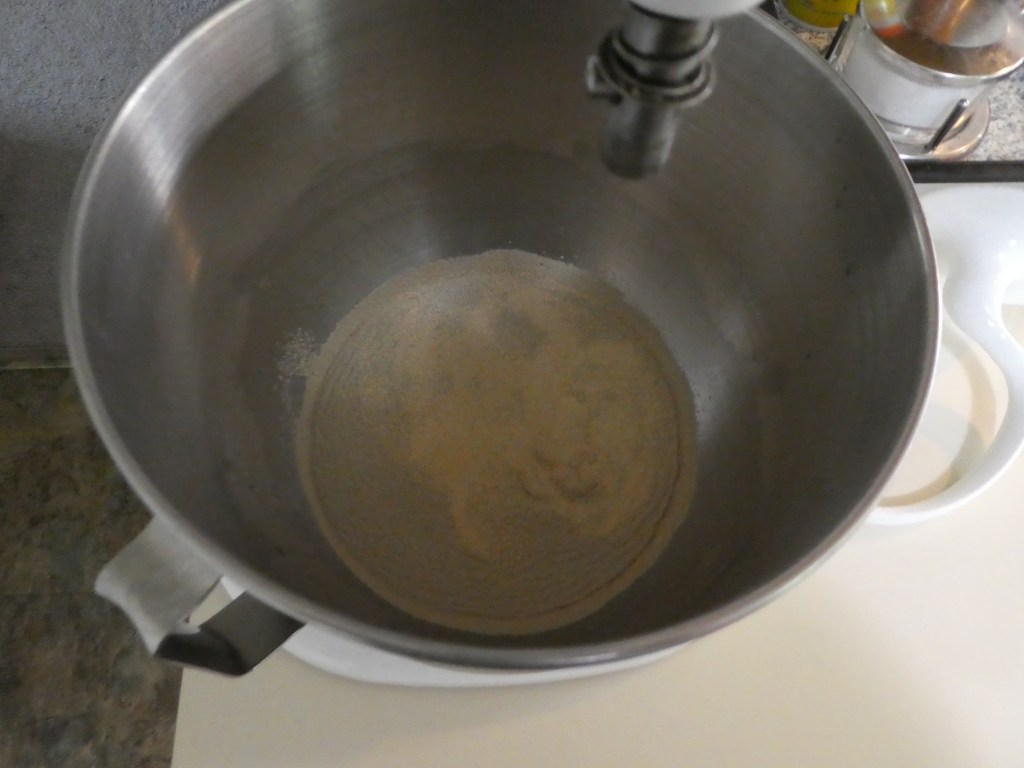
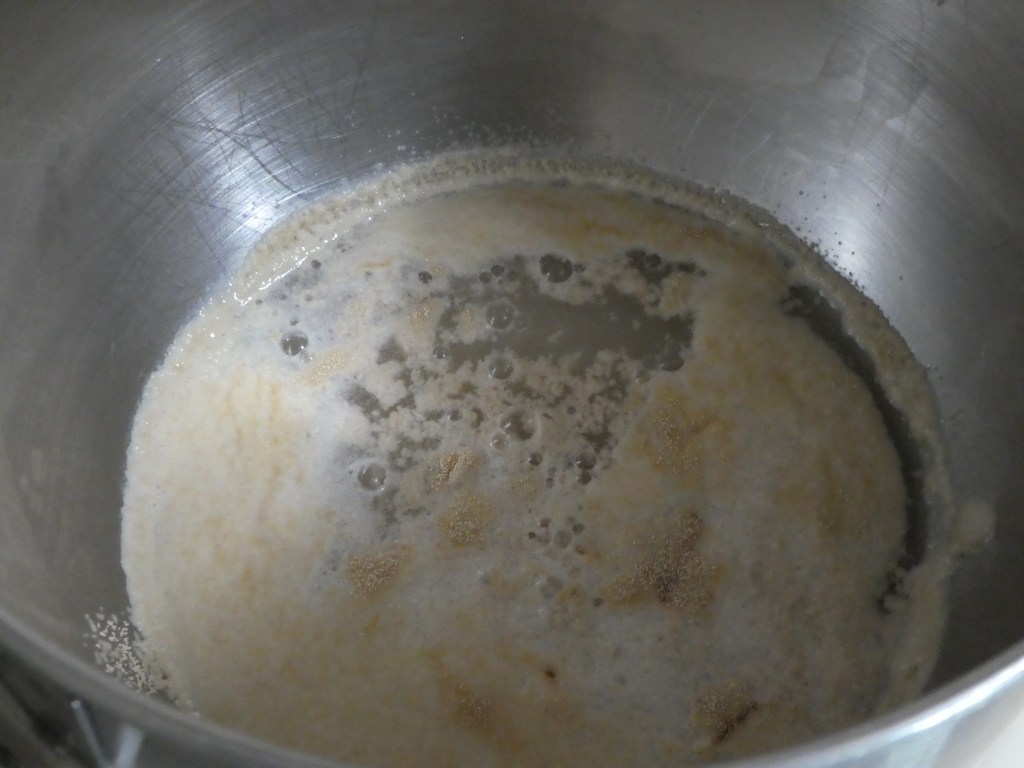
To begin, combine the warm water, sugar, and salt in a bowl. We have a stand mixer so we used the bowl of the mixer. Once the water, sugar, and salt are combined sprinkle the yeast on top and let sit for 5 minutes.
After 5 minutes you’ll notice that the yeast woke up and started “blooming.”
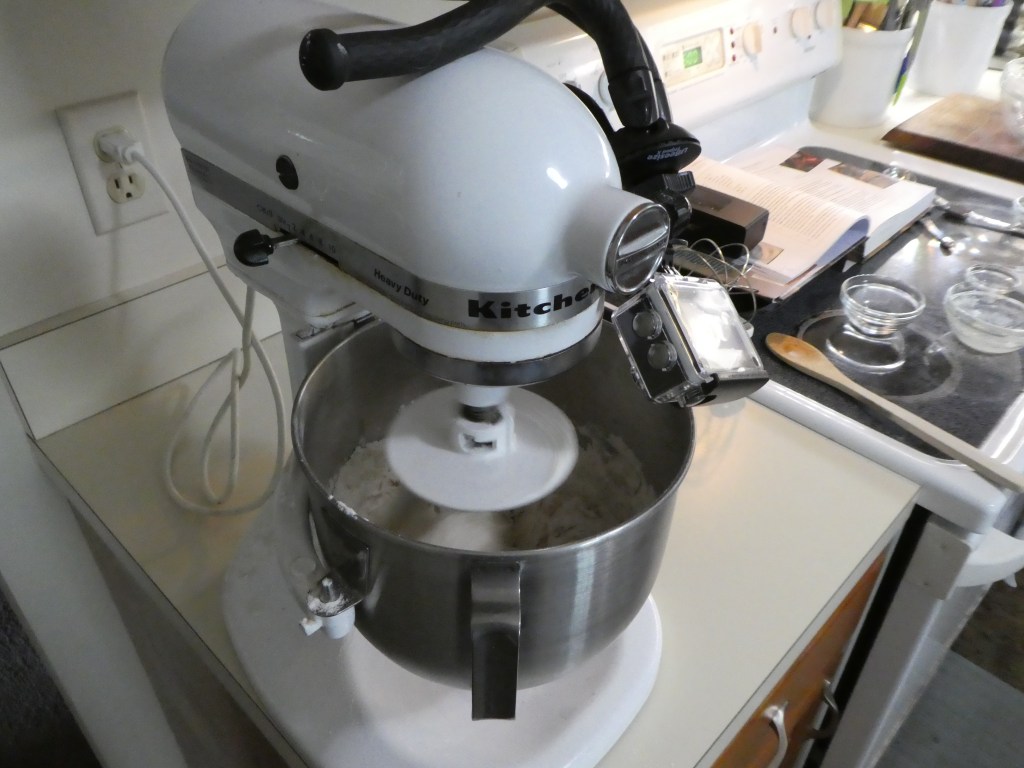
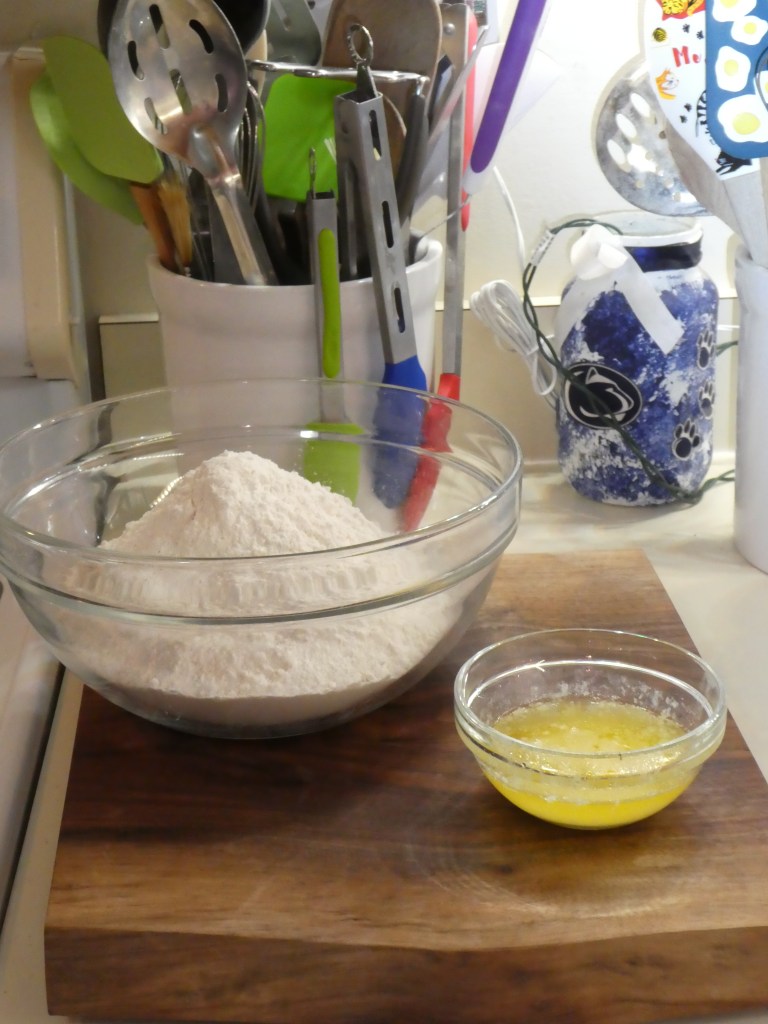
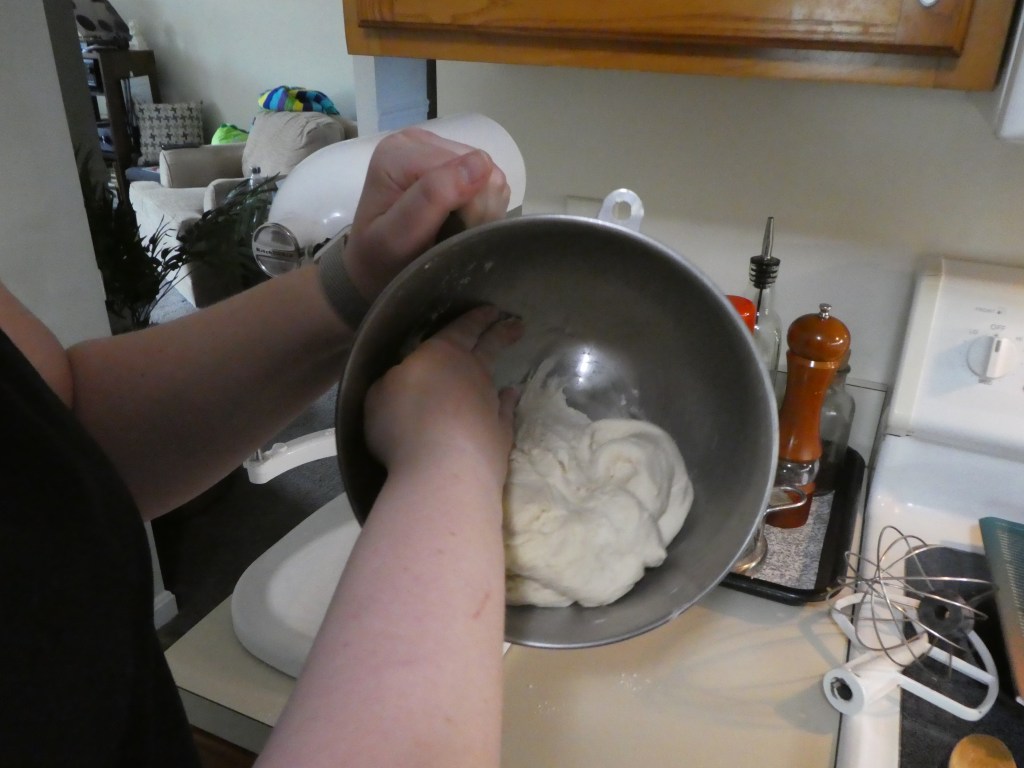
Now that the yeast is ready to go to work, add the flour and melted butter to the bowl. If using a stand mixer add the dough hook attachment and mix on low speed until all the ingredients are combined.
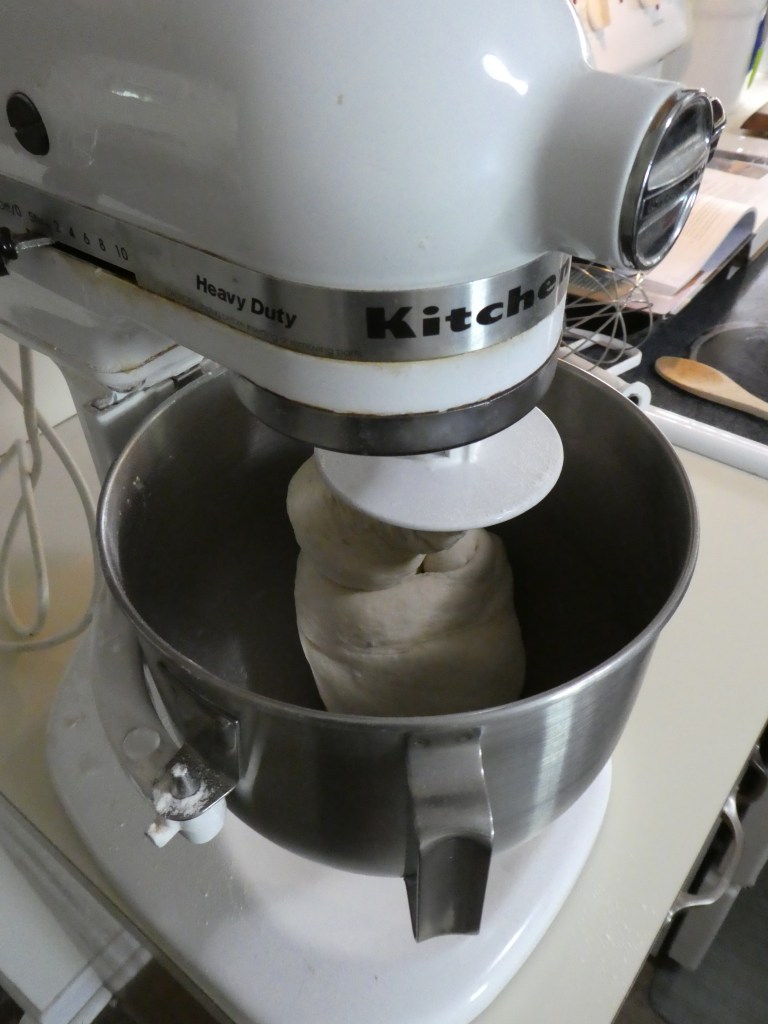
Once combined, crank the mixer up to medium-low and knead for 5 minutes or until the dough is smooth and pulls away from the bowl. I tried being fancy with my new camera but the footage came out pretty shaky. Next time! If you don’t have a stand mixer you can knead by hand. It might take a little longer than 5 minutes to get the dough nice and smooth but it will come out just the same.
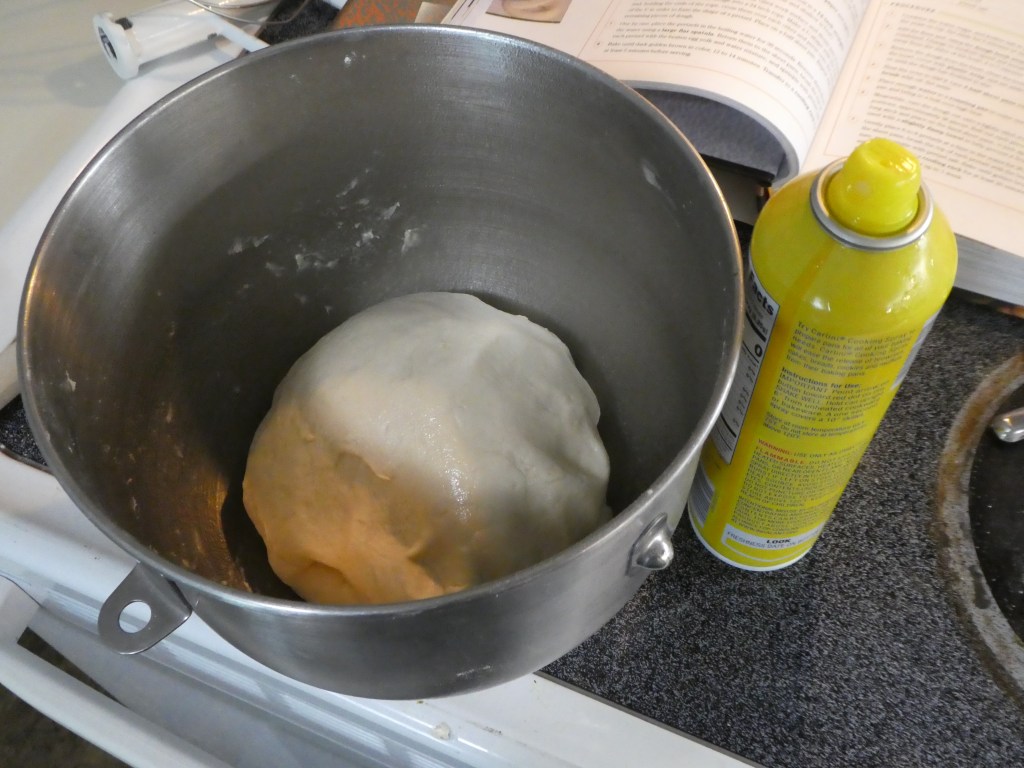
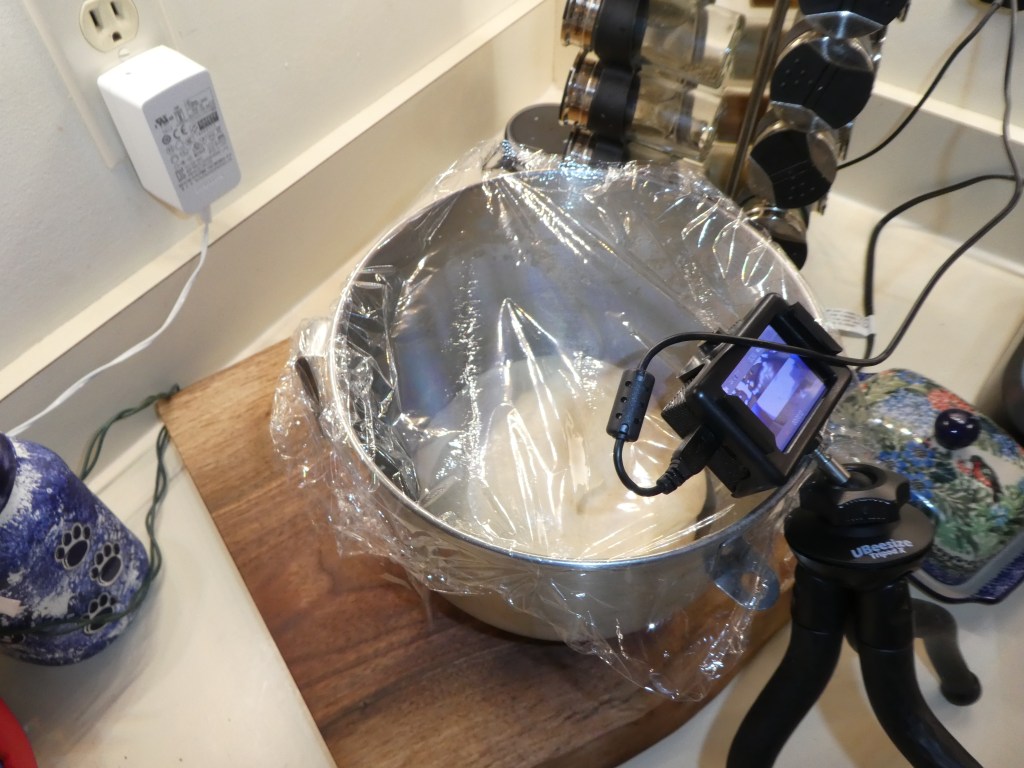
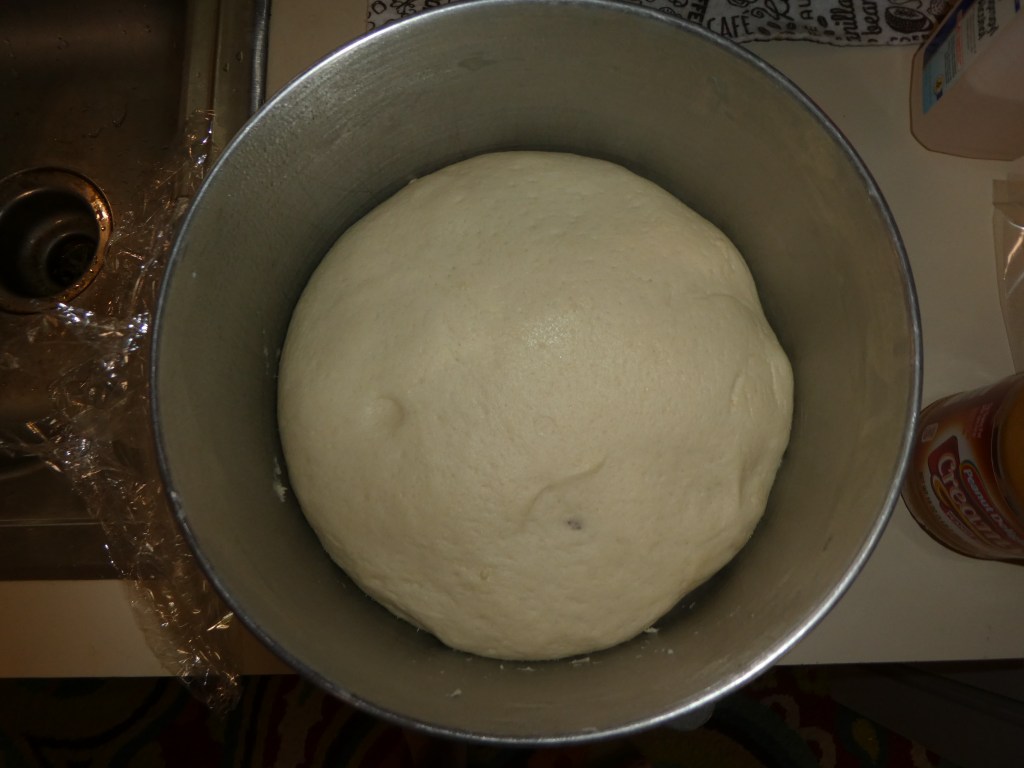
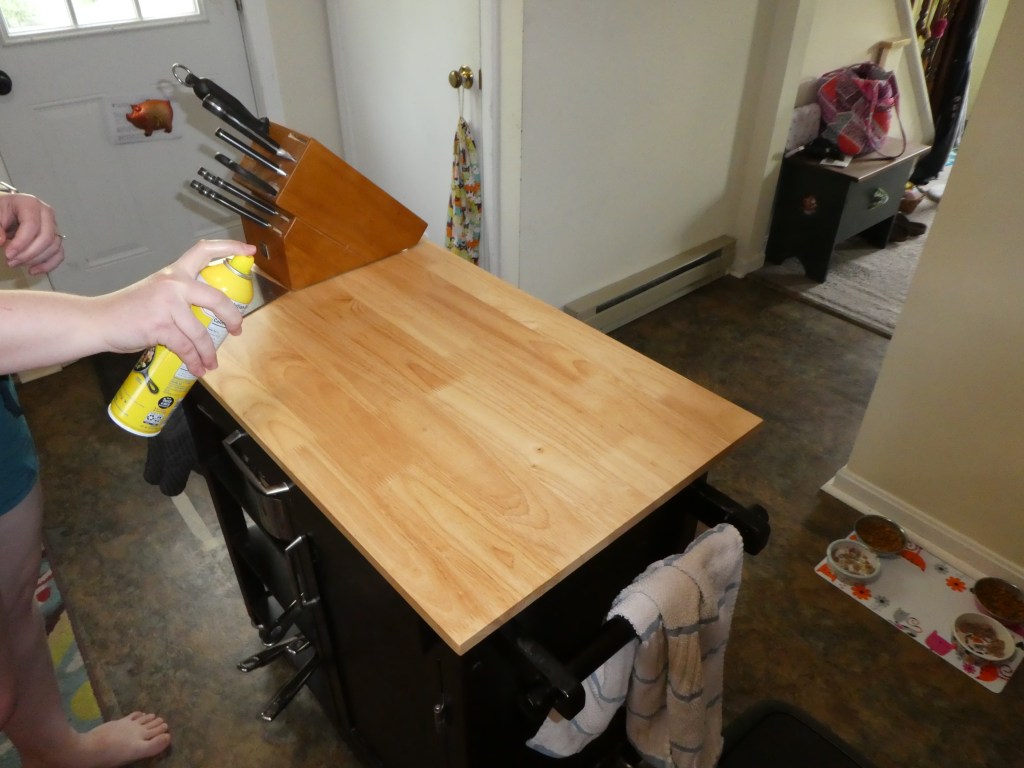
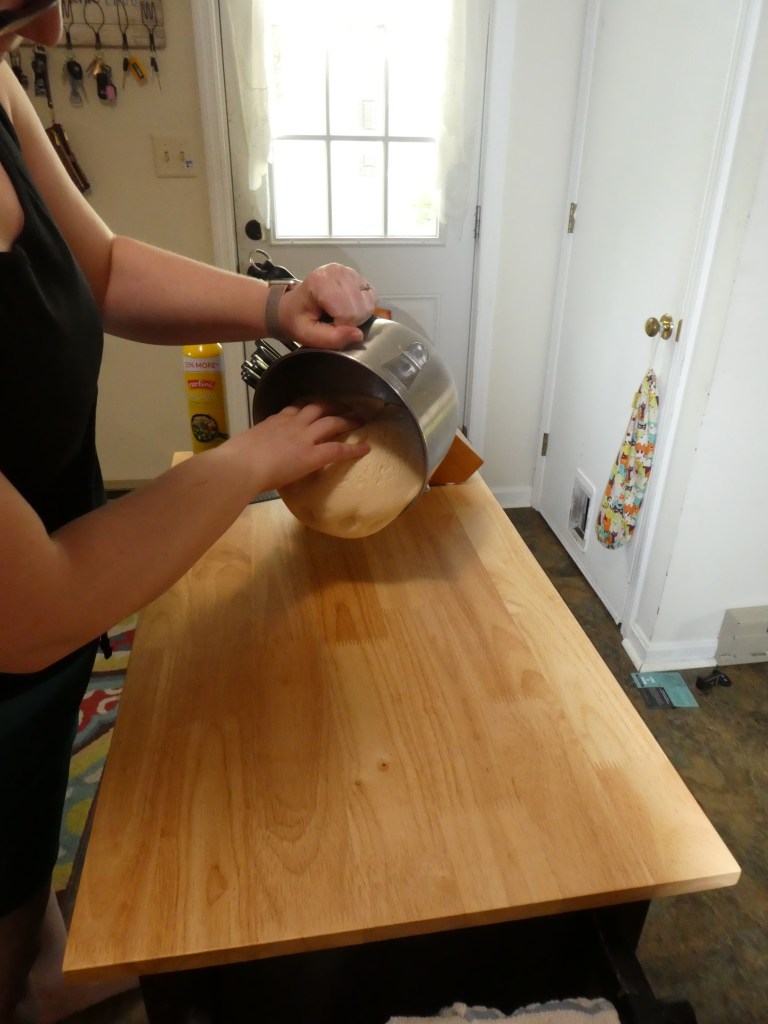
It is now time to let science take over for a little bit. Take your dough out of the bowl, coat the bowl with cooking spray, put the dough back in the bowl, and flip the dough over so that all sides are now coated with oil. Cover the bowl with plastic wrap and set in a warm part of your kitchen for about an hour or until the dough doubles. Ours only took about 45 minutes since it was pretty hot out when we made ours. Again, I tried to take a cool video but I’m still figuring out my camera. You can test the readiness by gently poking the dough. If your finger leaves an indent and doesn’t really fill back in, it’s ready! If the indent quickly fills back in and doesn’t leave a mark in the dough, it’s not quite ready.
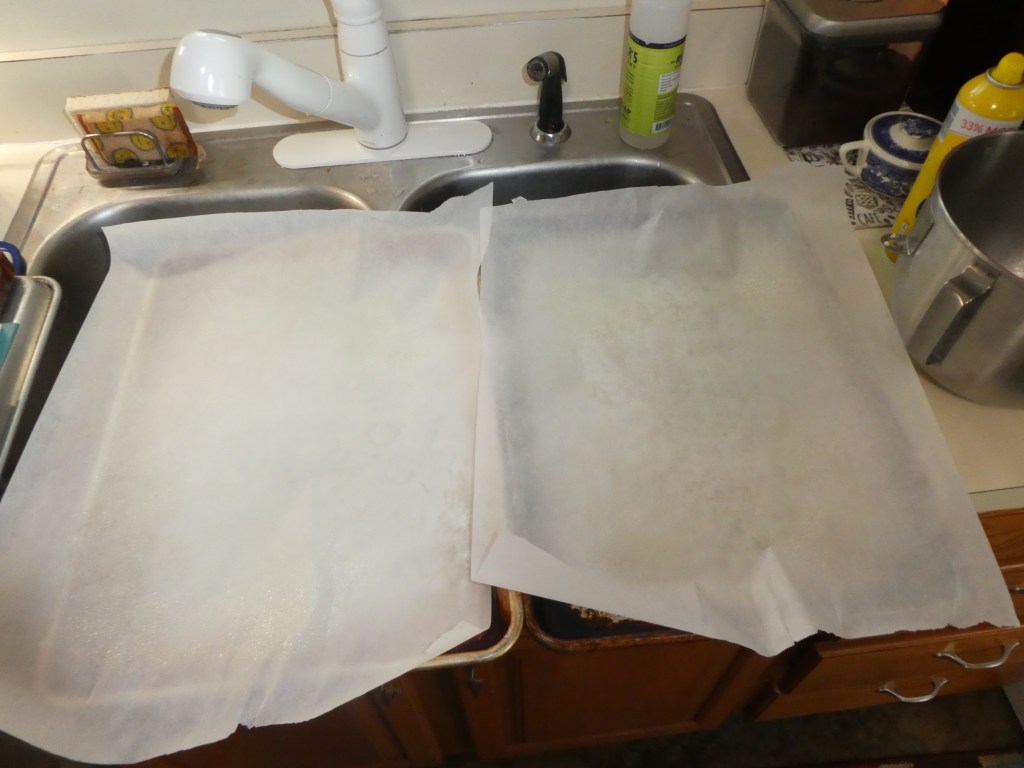
Before you start forming your pretzels, preheat your oven to 450F. You’re also going to put 5 cups of water and 1/3 cup baking soda into your straight sided saute pan and put that over high heat to boil. If you don’t have a straight sided saute pan anything wide and shallow will work. You’re also going to need to line two sheet pans with parchment paper, have your salt/toppings nearby, and mix up the egg wash so everything is ready to go.
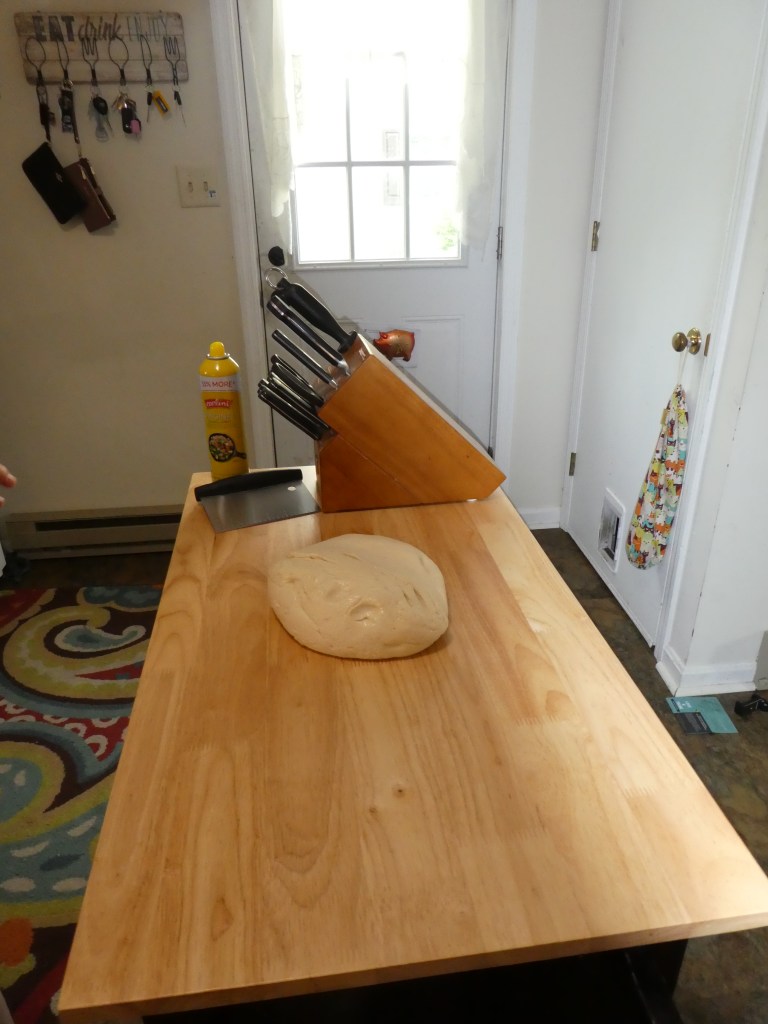
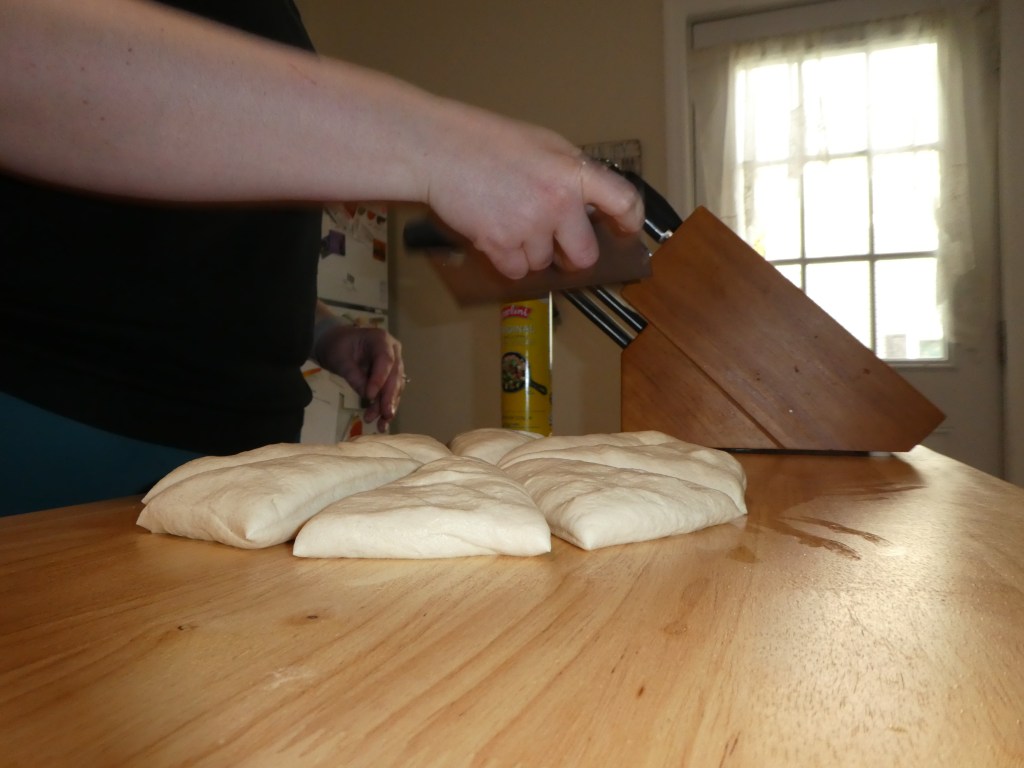
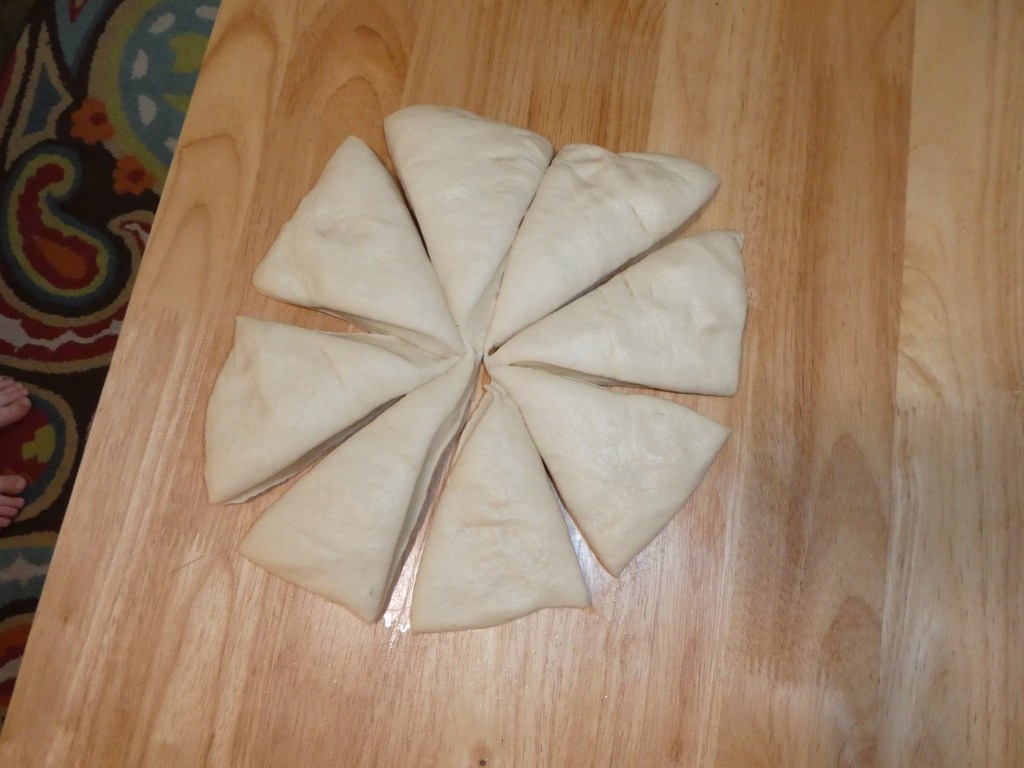
Turn your dough out onto a clean and lightly oiled work surface. Cut the dough into 8 equal pieces.
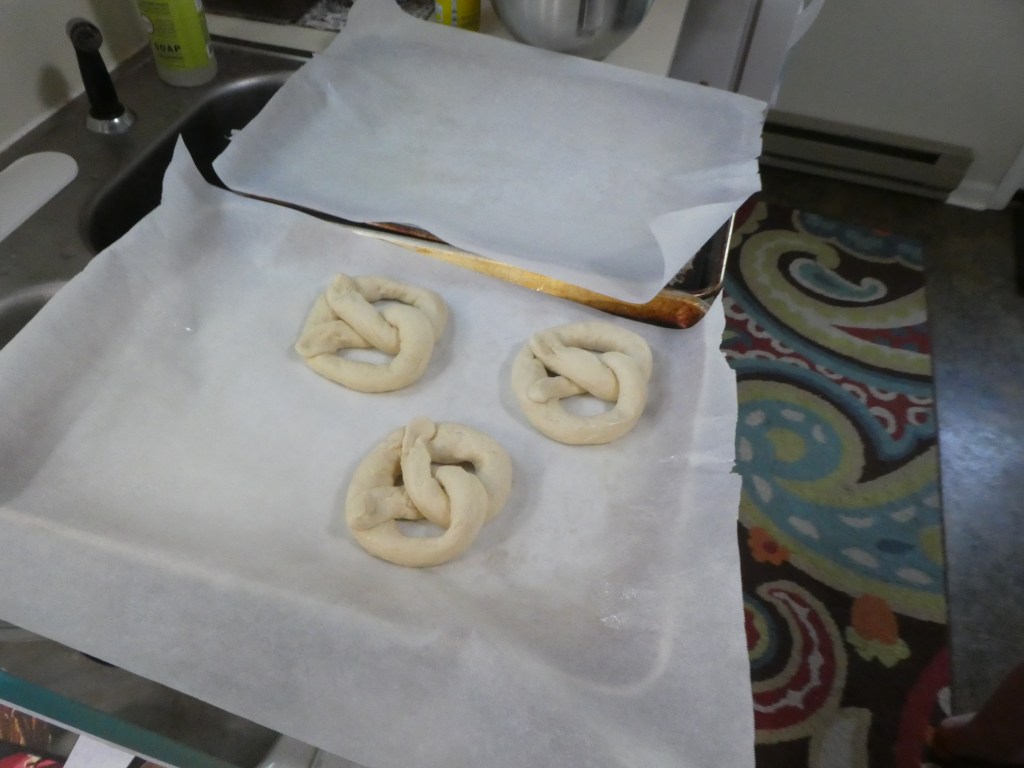
Now the fun begins. I so wish we were cool enough to do that fancy thing the folks at the mall can do where you flip the dough into the air and it lands making a perfect pretzel, but we can’t. So instead, roll each piece into a 24-inch snake and make a u-shape with the snake. Then cross each end over each other twice and press onto the bottom of the u. There you have it! We put some videos together to help you out!
Place the pretzel on a sheet pan and repeat with the remaining pieces of dough. Make sure they’re all at least an inch or two apart on the sheet pans.
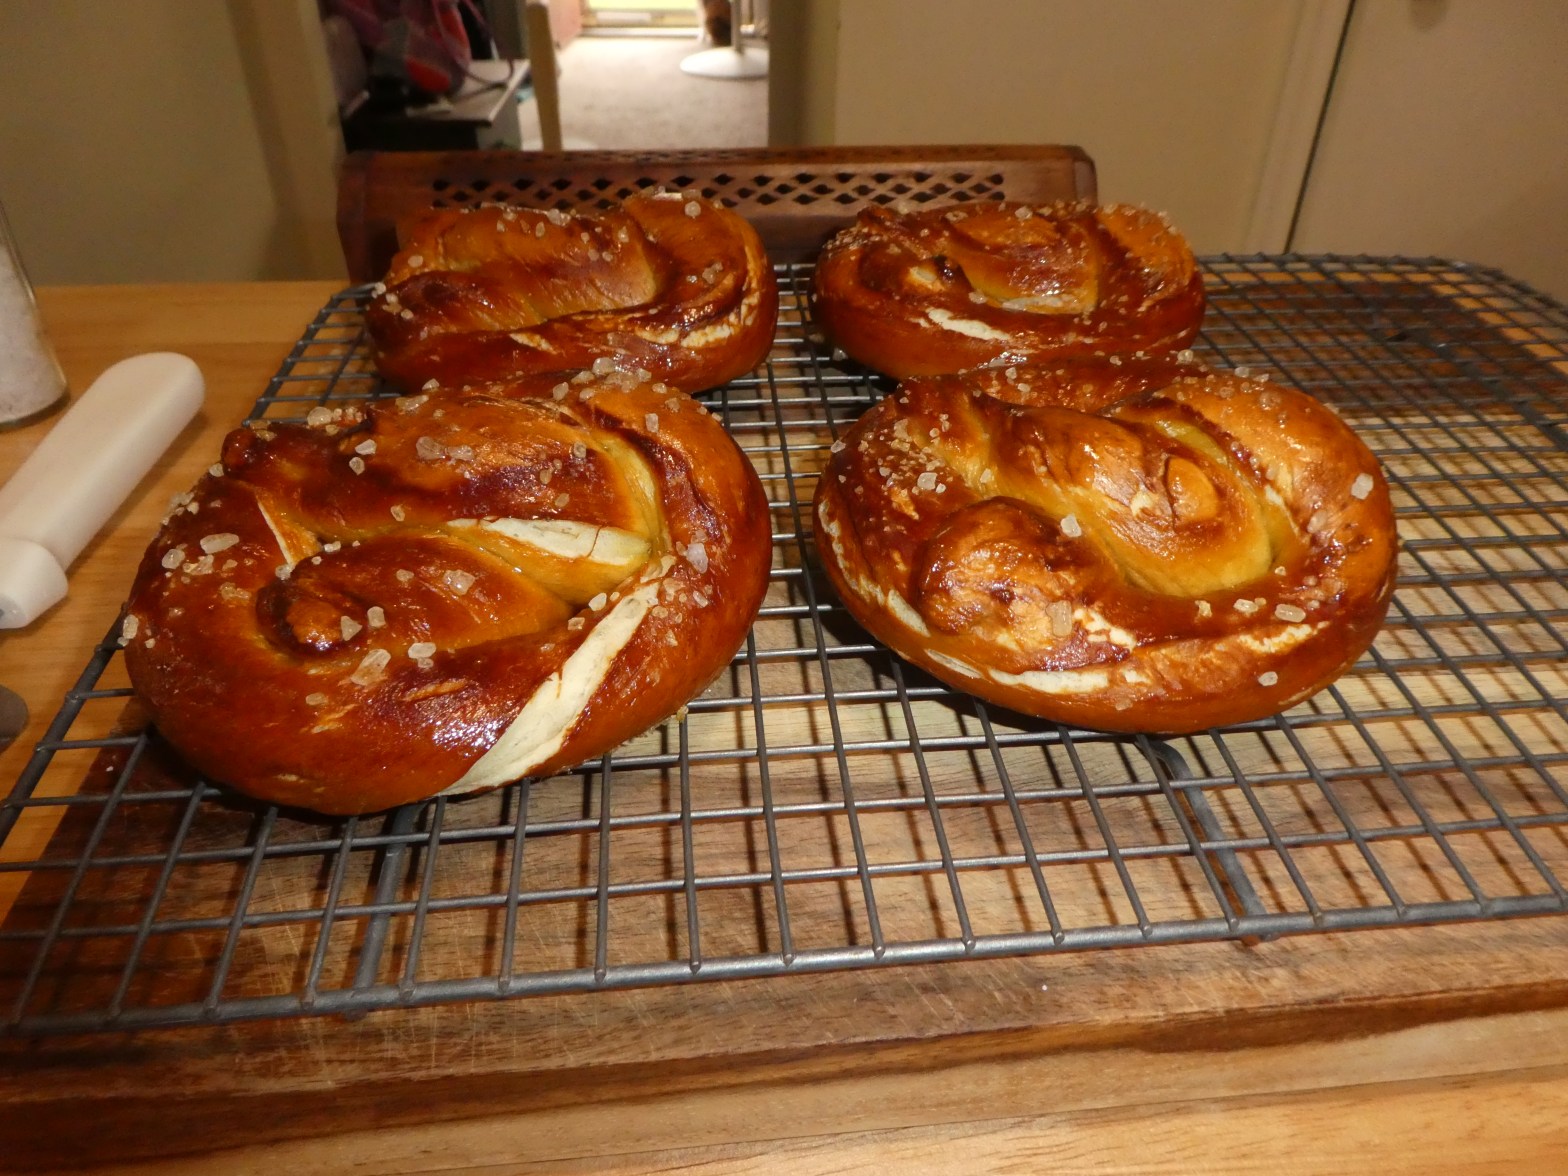
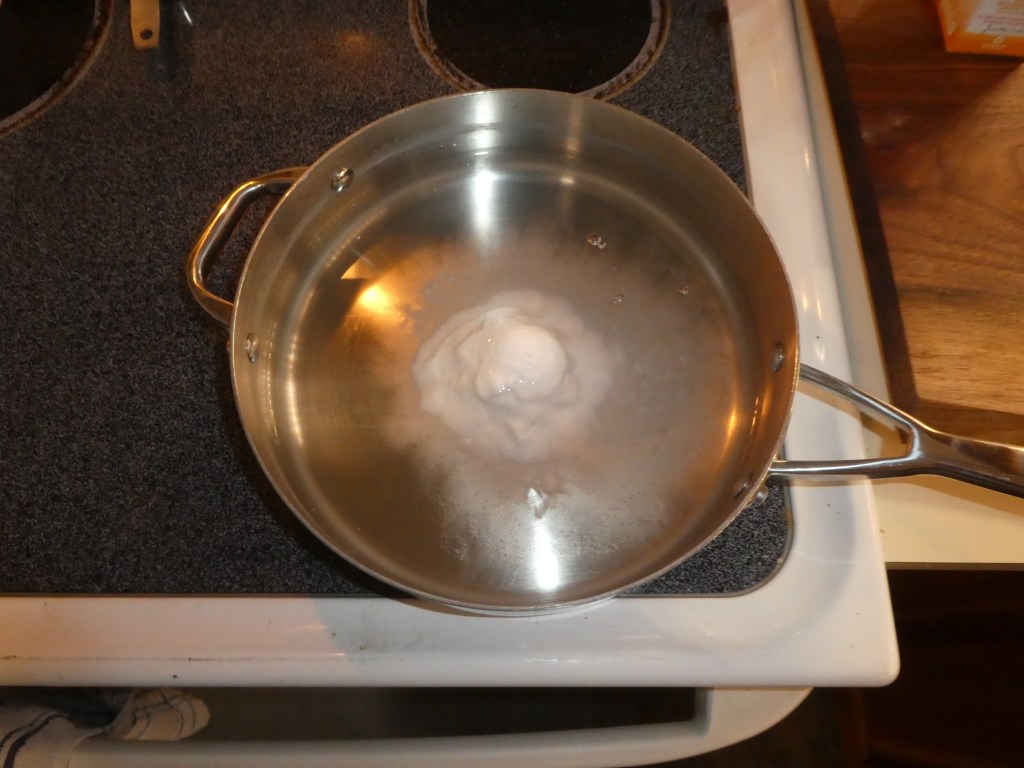
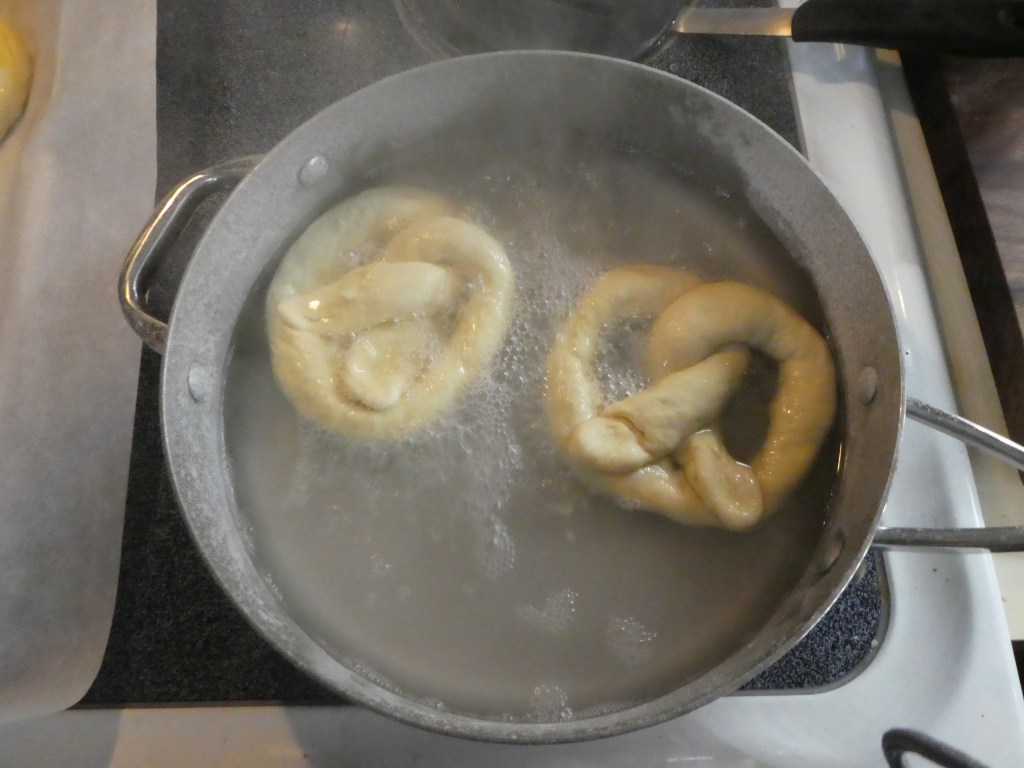
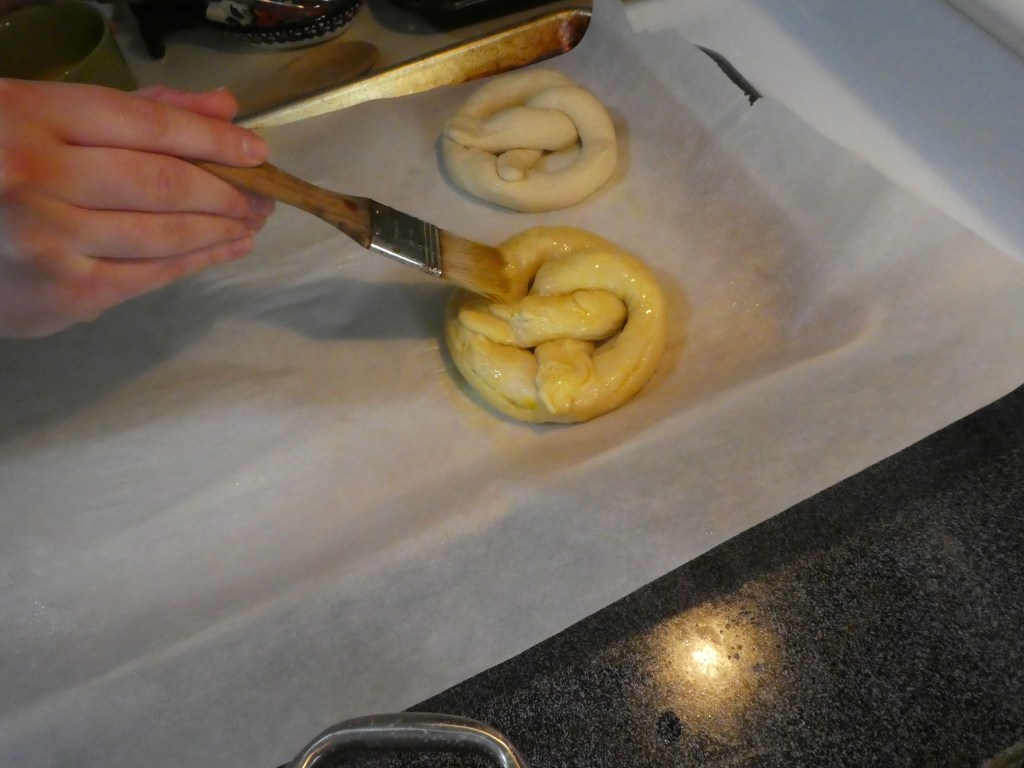
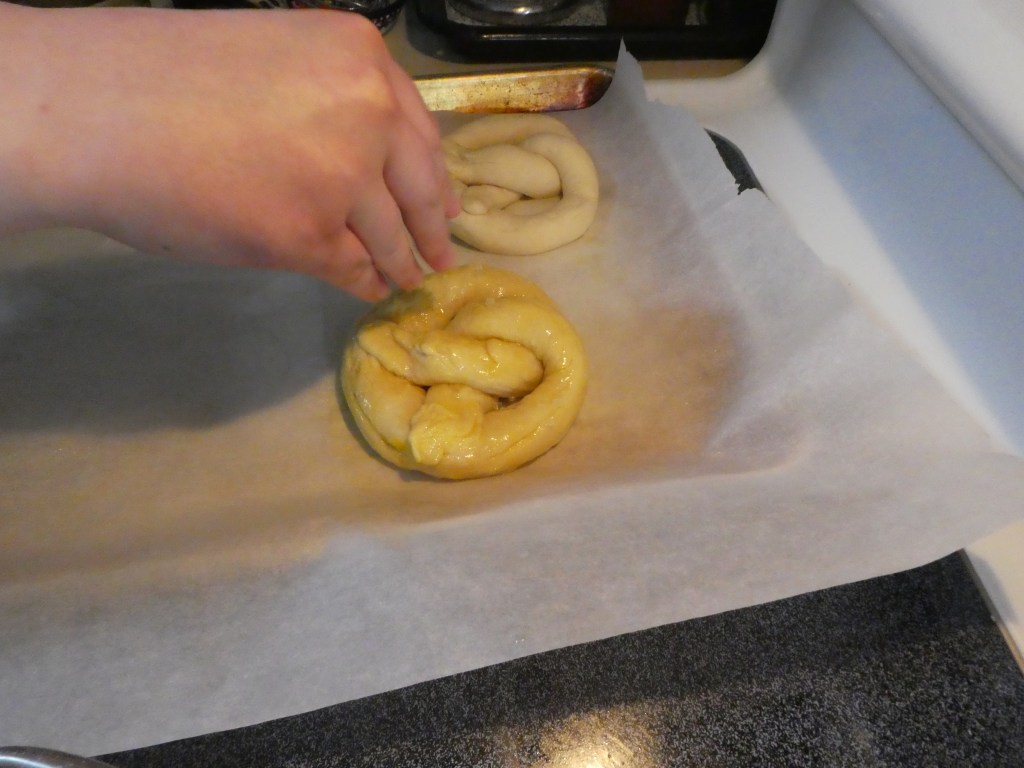
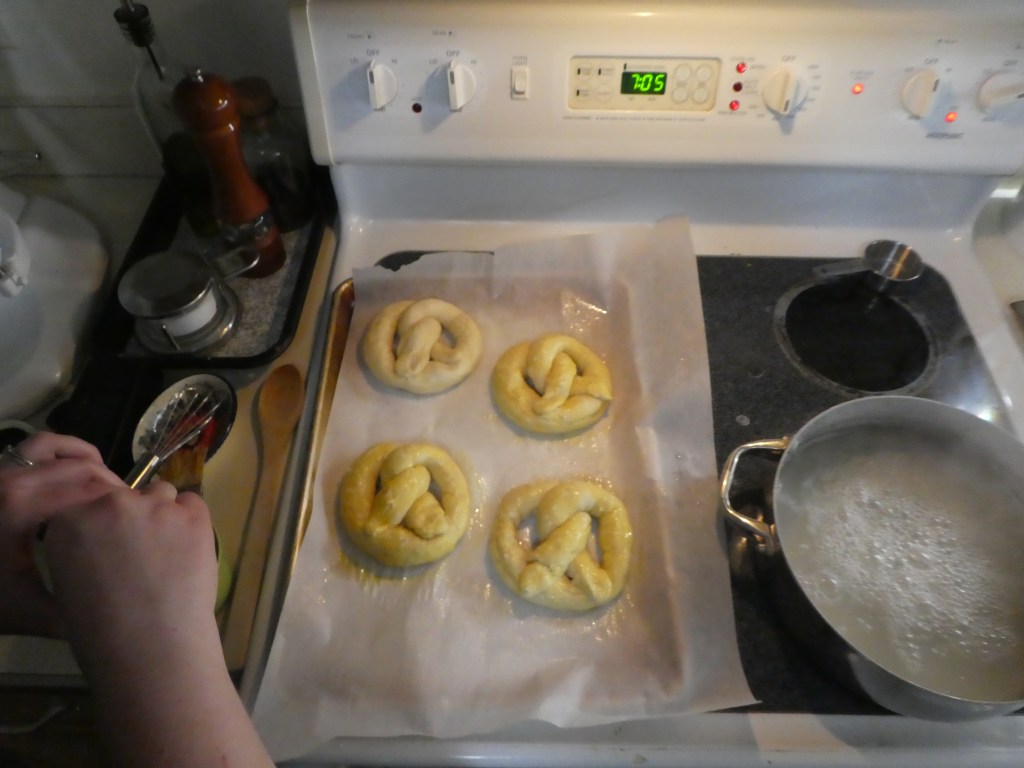
Once all of your pretzels are shaped, its time to boil them in the baking soda hot tub we created for them. This will give them that distinct pretzel taste and color. Place as many pretzels as can fit without touching into the boiling water for 30 seconds (you can usually boil 2 at a time). Using a large spatula, return them to the lined sheet pan. Brush each pretzel with the egg wash you made before and sprinkle with pretzel salt or what ever pretzel topping you prefer.
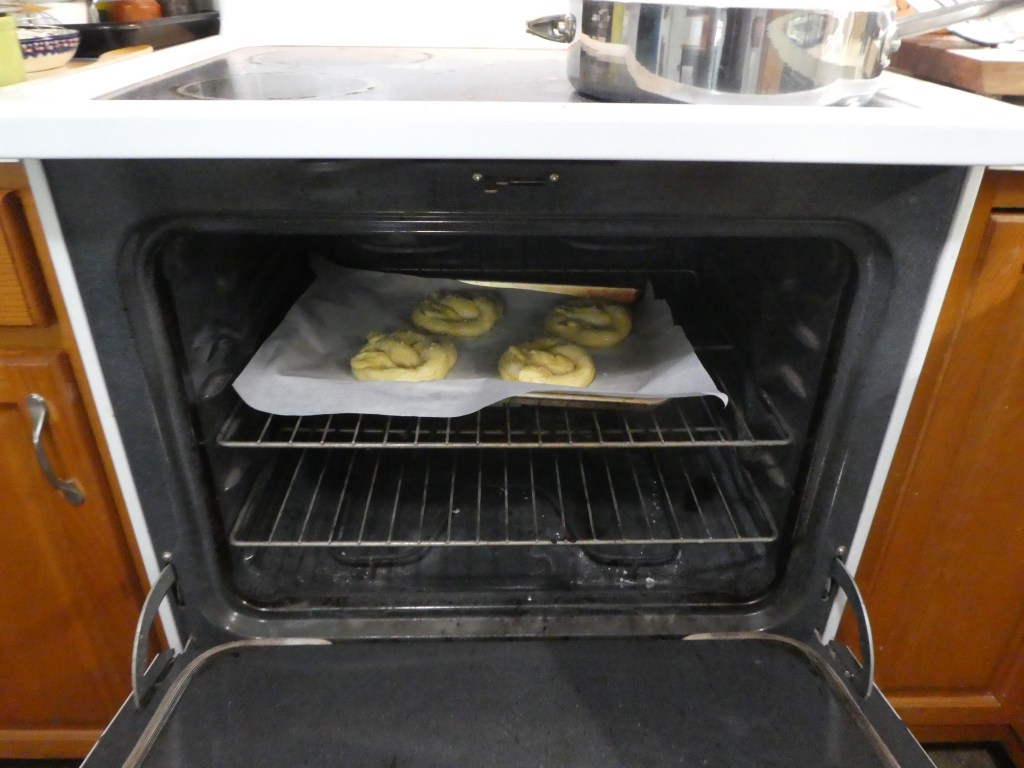
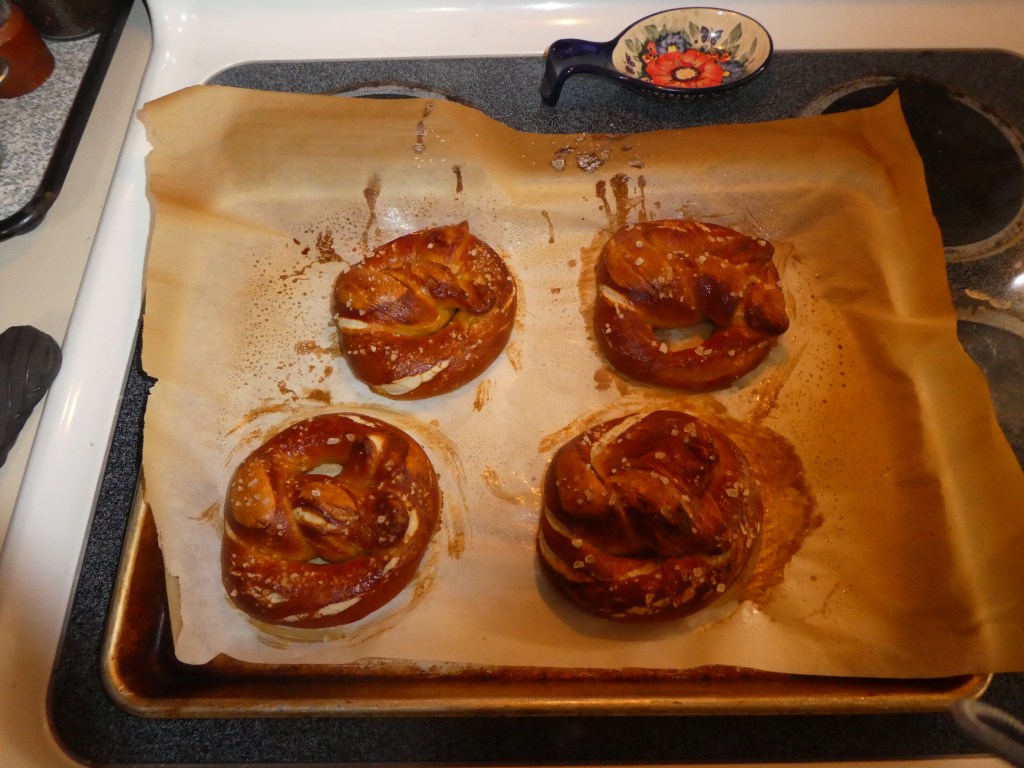
After you egg and salt all your pretzels, it’s time to bake! Put them in the middle rack in your preheated oven for 12 minutes. About 6 minutes in give the sheet pan a turn to ensure even baking.
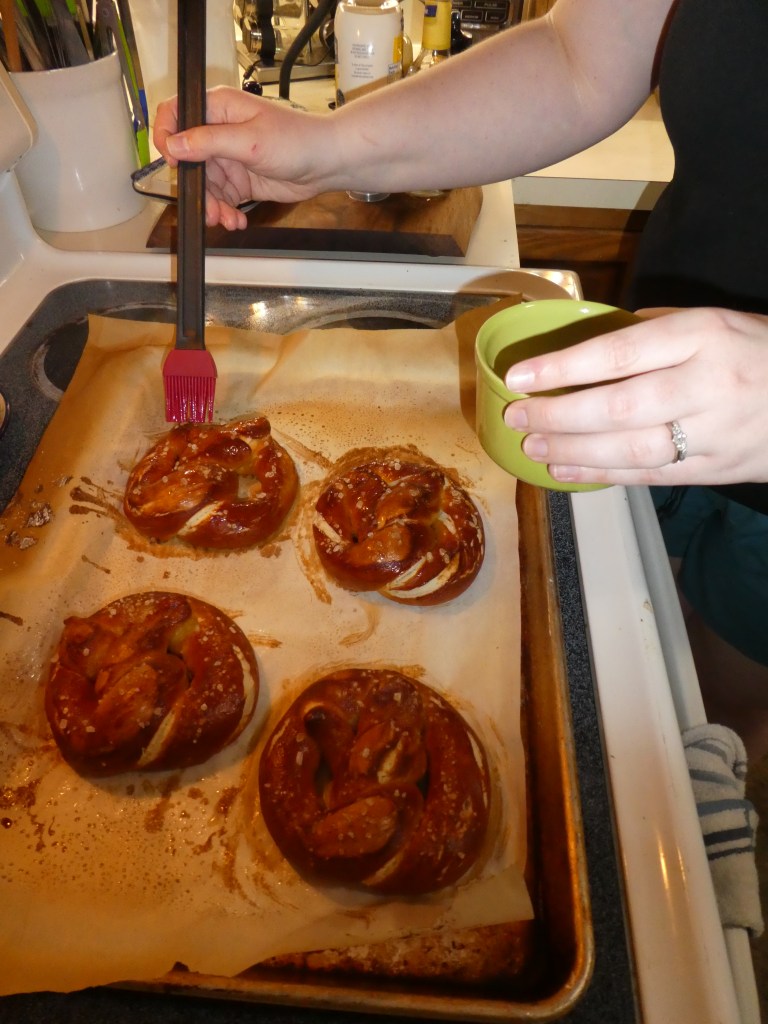
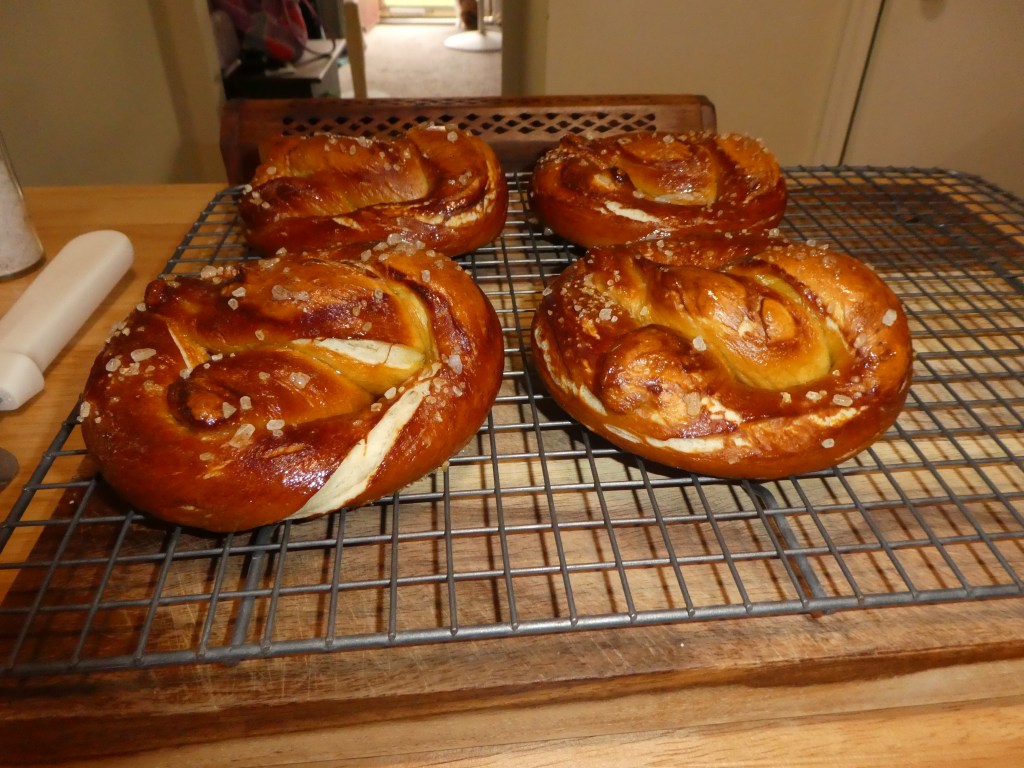
When the 12 minutes is up, take the pretzels out and brush with melted butter. This step is optional but let’s be honest. Is it even a soft pretzel if it isn’t brushed with melted butter?
Serve with your favorite dipping sauce and enjoy! We made a hot honey mustard dipping sauce by mixing 1 tbsp mayo, 2 tsp Dijon, 2tsp hot honey, 1 tsp salt, .25tsp white wine vinegar, and a pinch of pepper!
We hope you give this recipe a try and have as much fun as we had making our very own soft pretzels.
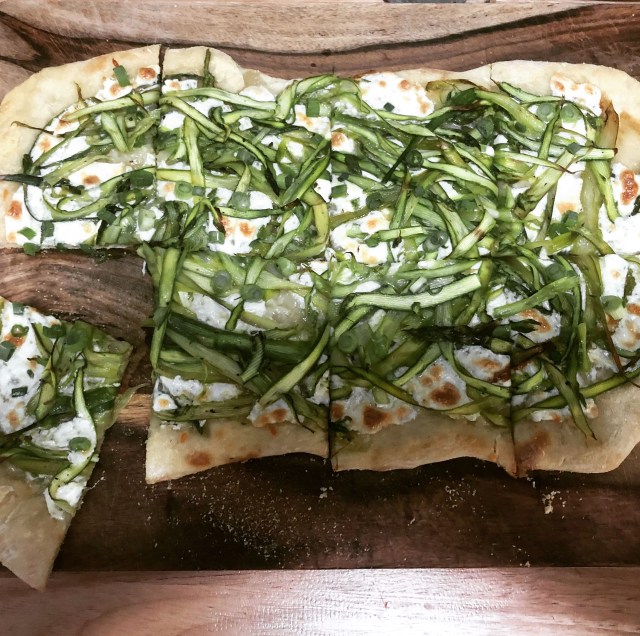
Shaved asparagus pizza courtesy of Smitten Kitchen. Not all pizzas need sauce, but I do believe all pizzas need cheese.
I’m going to come right out and say it- this pizza dough is made for one thing and one thing only: thin, crispy, chewy pizza (or flatbread). It holds its shape when cut, it crunches when you get down to the crust, and it ALMOST tastes like a wood-fired pizza. If you read Dan’s post about our weeknight veggie flatbread, he linked Smitten Kitchen‘s Lazy Pizza Dough as what we used. I’m going to walk you through this recipe the way I like to put it together, because Dan refuses to work with it. (You’ll see why later). This pizza dough is worth every step, and it results in my favorite kind of pizza. Maybe it will become your favorite, too!
Thin, Chewy Pizza Dough
Makes 2 9×13 rectangular pizzas (that Dan and I usually completely devour, without shame)
Overnight Dough Schedule: Put together dough between 8 and 9 p.m the evening before for dinner between 6 and 8 p.m., or shift accordingly for a later or earlier dinner (approx. 22-hour dough)
All-Day Dough Schedule: Put together dough between 6 and 8 a.m that day for dinner between 6 to 8 p.m., or shift accordingly for a later or earlier dinner (approx. 12-hour dough)
Part-Day Dough Schedule: Put dough together around noon that day for dinner between 6 to 8 p.m., or shift accordingly for a later or earlier dinner (approx. 6-hour dough)
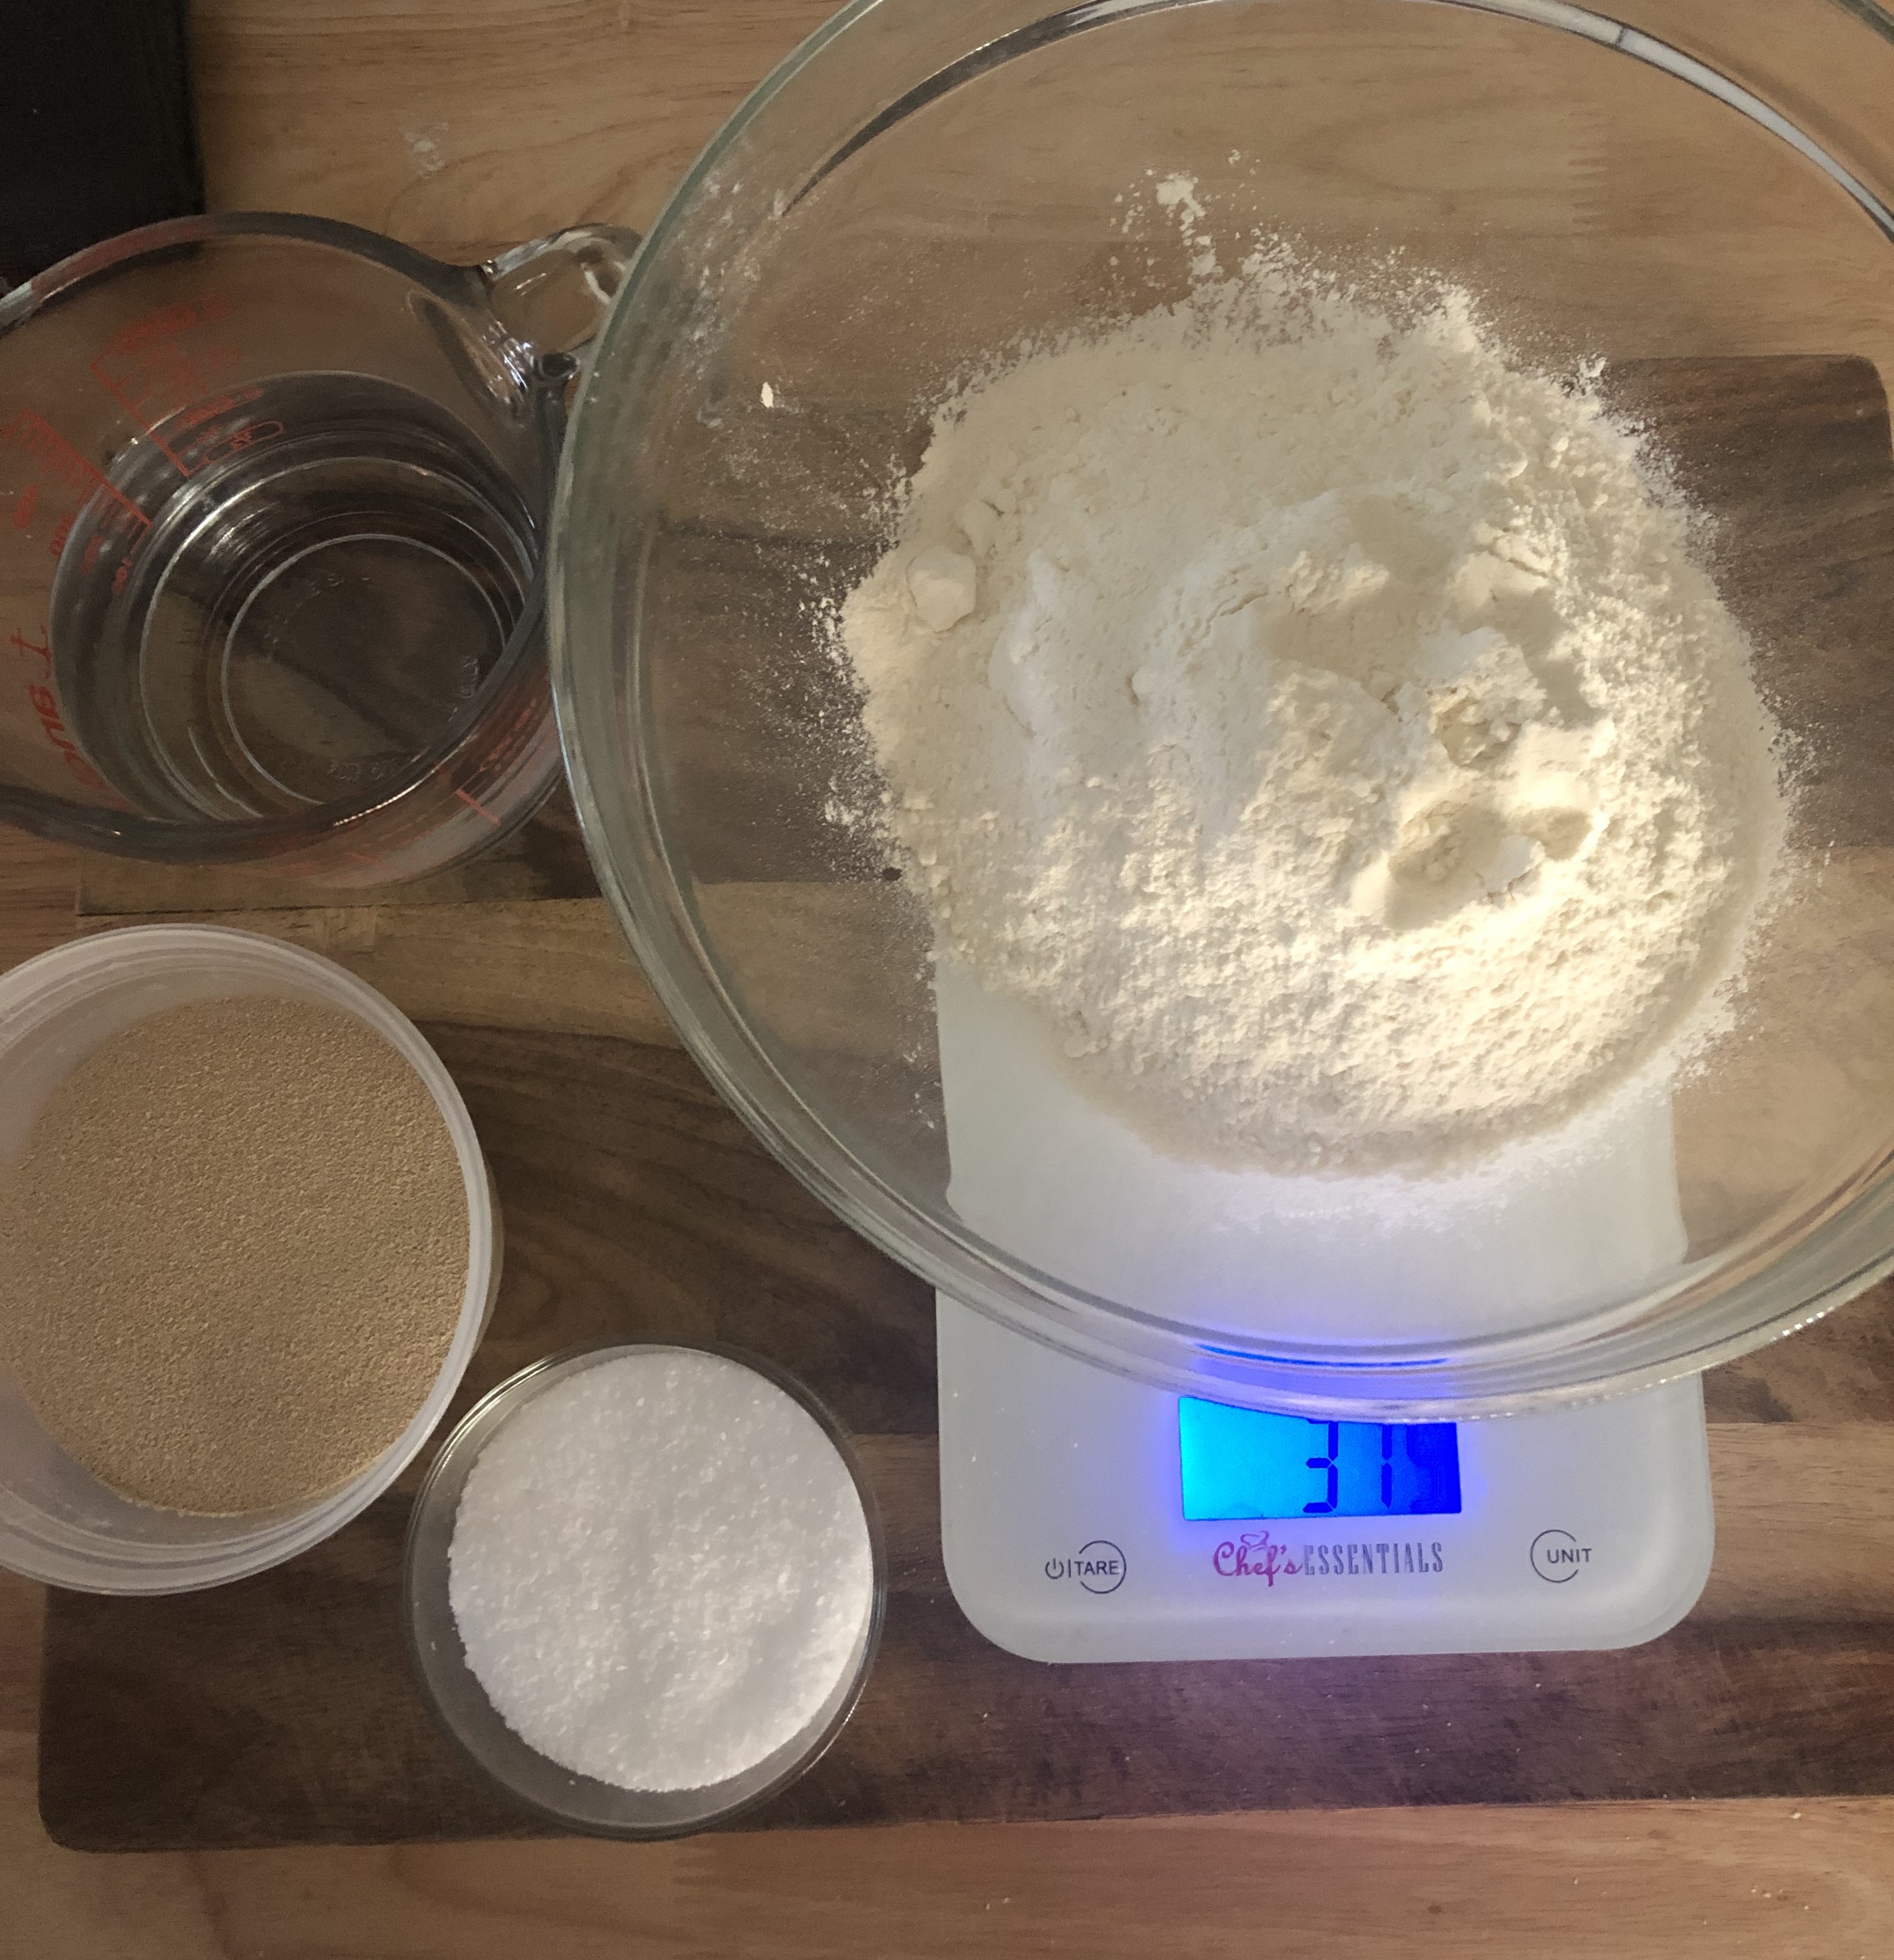
3 cups (375 grams) all-purpose or bread flour Slightly heaped 1/8 tsp (Overnight), 1/4 tsp (All-Day), or 1/2 tsp (Part-Day) active dry yeast 1 1/2 teaspoons kosher salt (we’ve been loving Diamond Crystal) 1 1/4 cups water, plus an additional tablespoon or two if needed
nonstick spray or oil, flour, and cornmeal, for assembling and baking
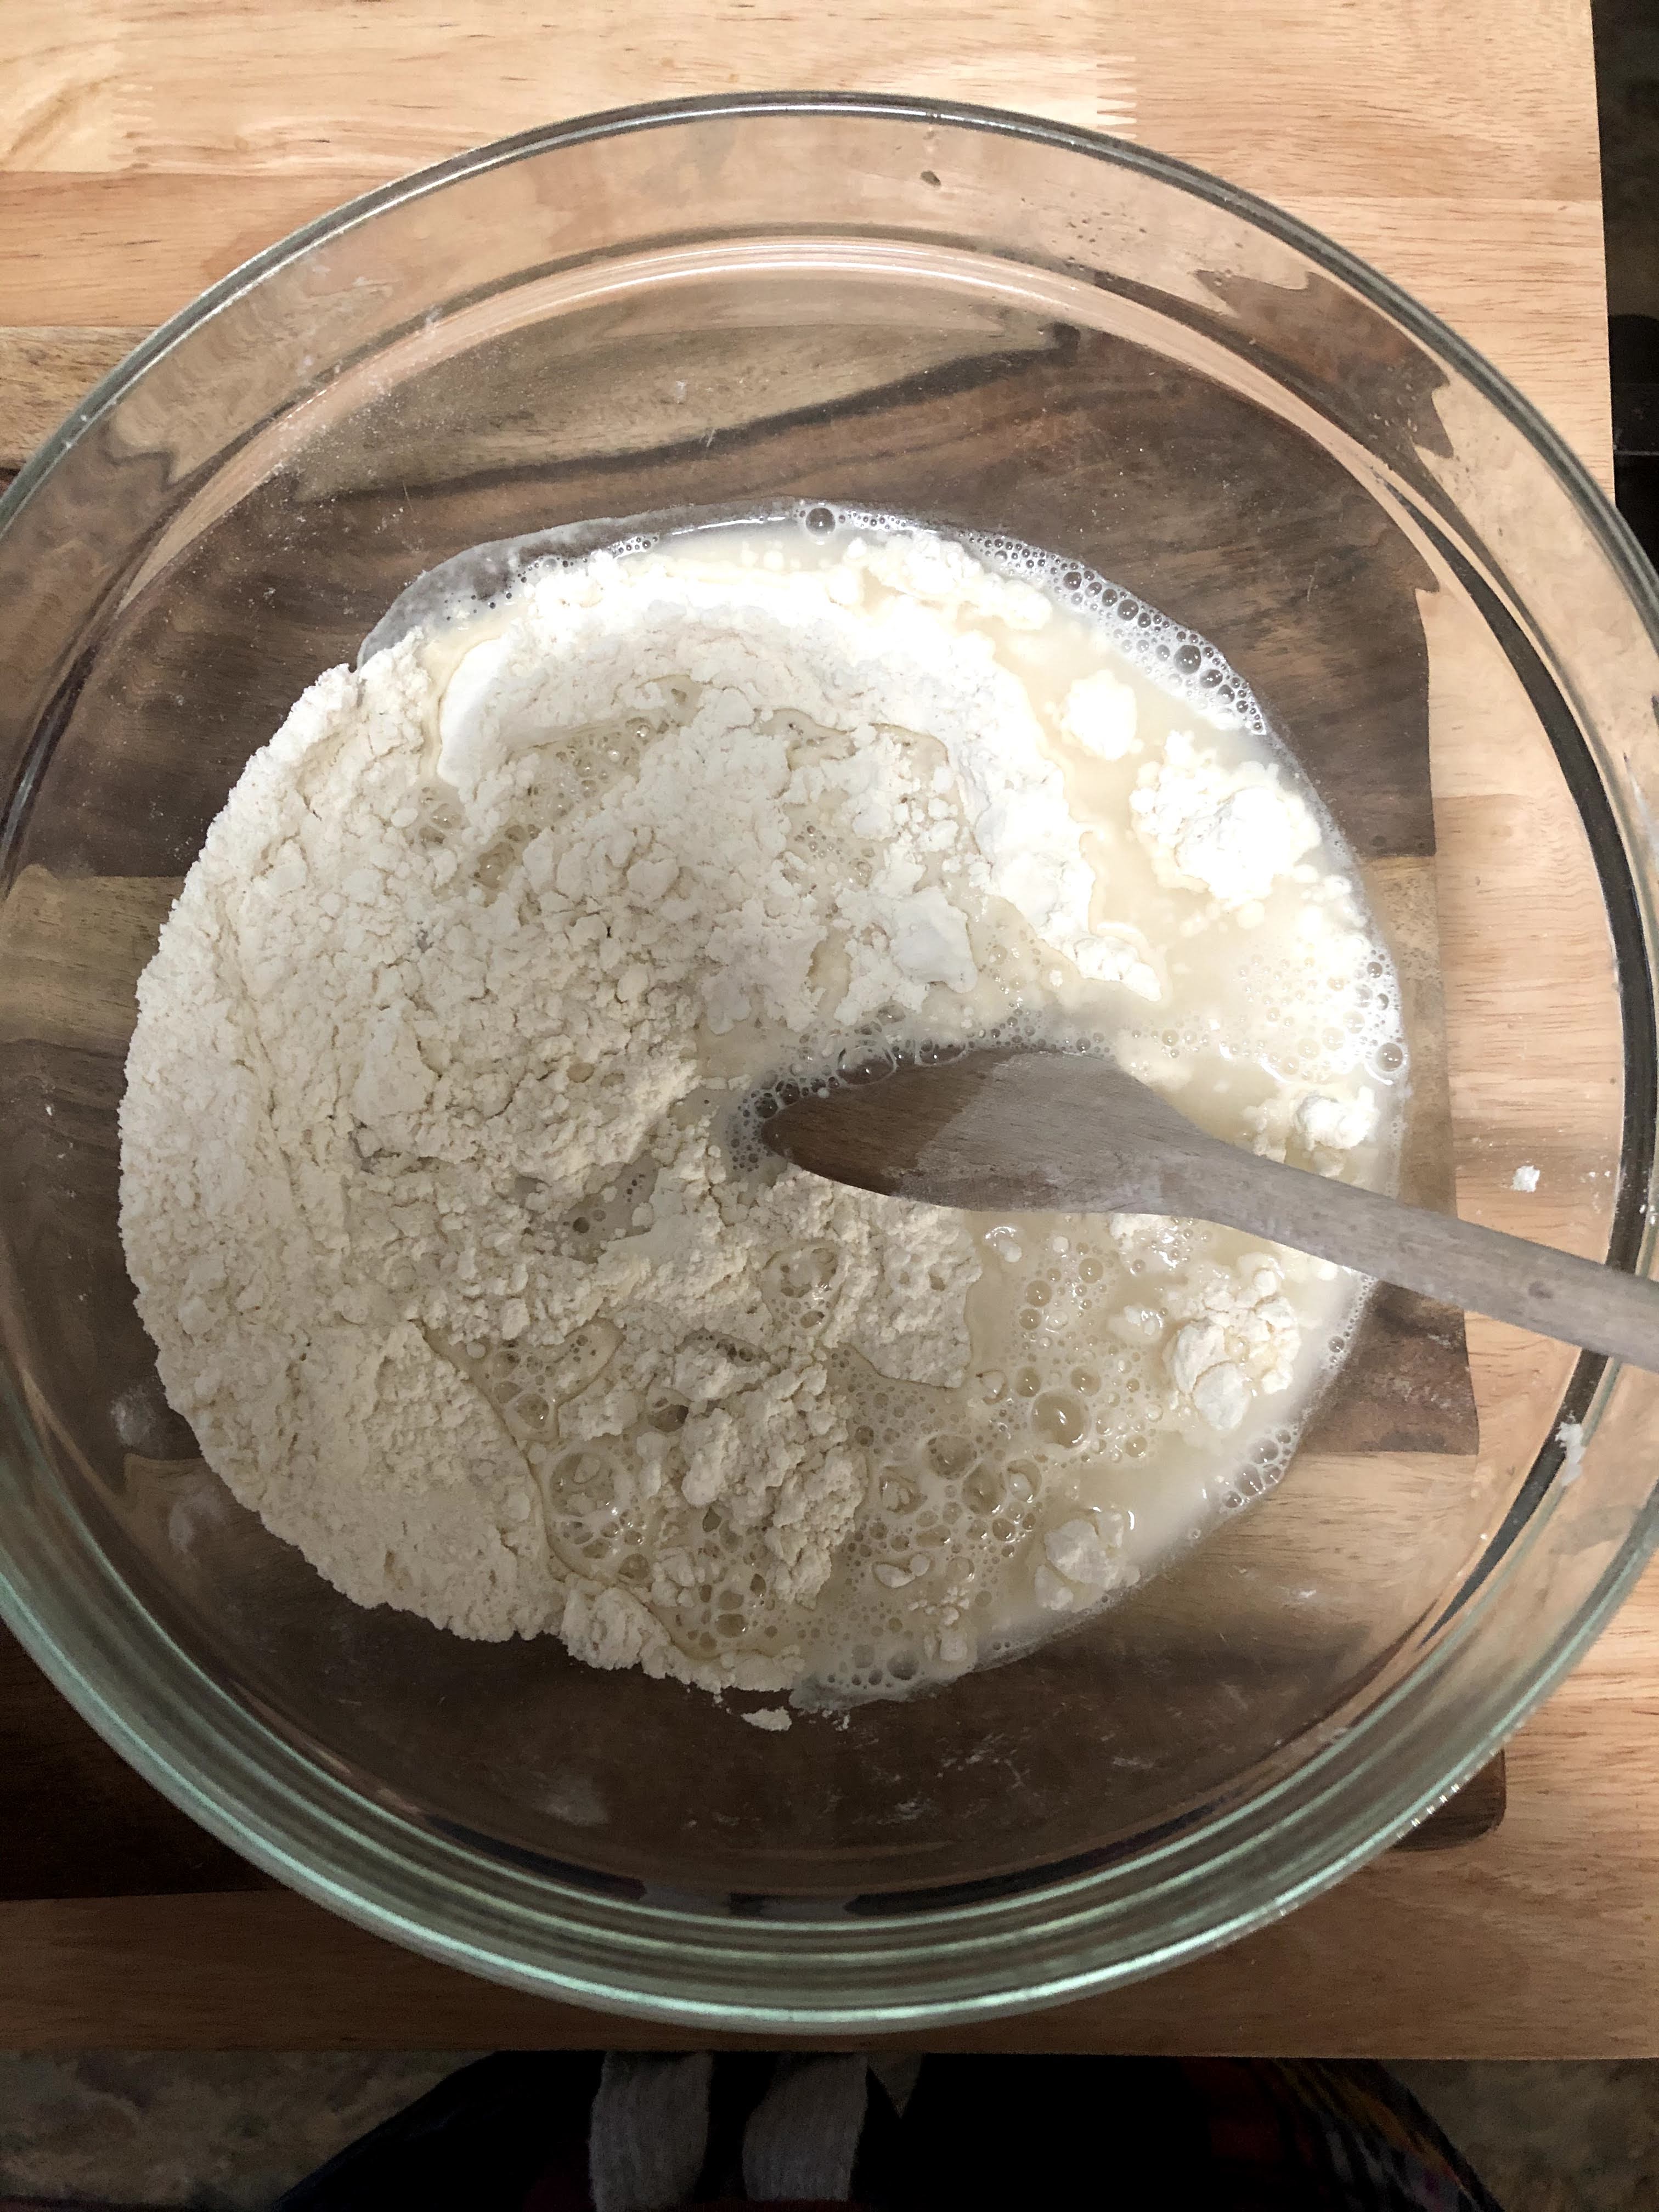
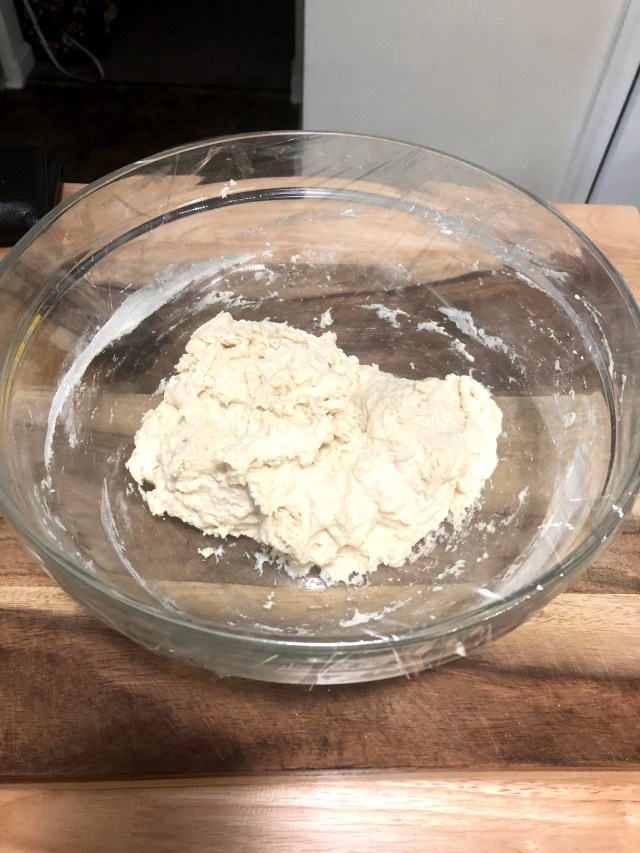
Mix the dough. In a large bowl whisk together the flour, yeast, and salt. Stir in the water with a strong wooden spoon until it’s mostly absorbed and there aren’t any super dry spots. If there are, you can add a tablespoon or two of additional water. It will look like a mess- craggy and wet and you’ll think this cannot possibly turn into a pizza, but it will! Have faith.
Proof the dough. Cover the craggy dough with plastic wrap and set aside at room temperature according to your chosen schedule. The long rest is necessary- it allows flavors to develop and achieves a chewier texture! And that’s it. No proofing of yeast, no warming of water, no kneading. Crazy, right?
Prepare the pans and shape the dough. When ready to put together the pizzas, set oven to 500 degrees F. It seems excessively hot, but it’s necessary for a crispy, chewy crust.
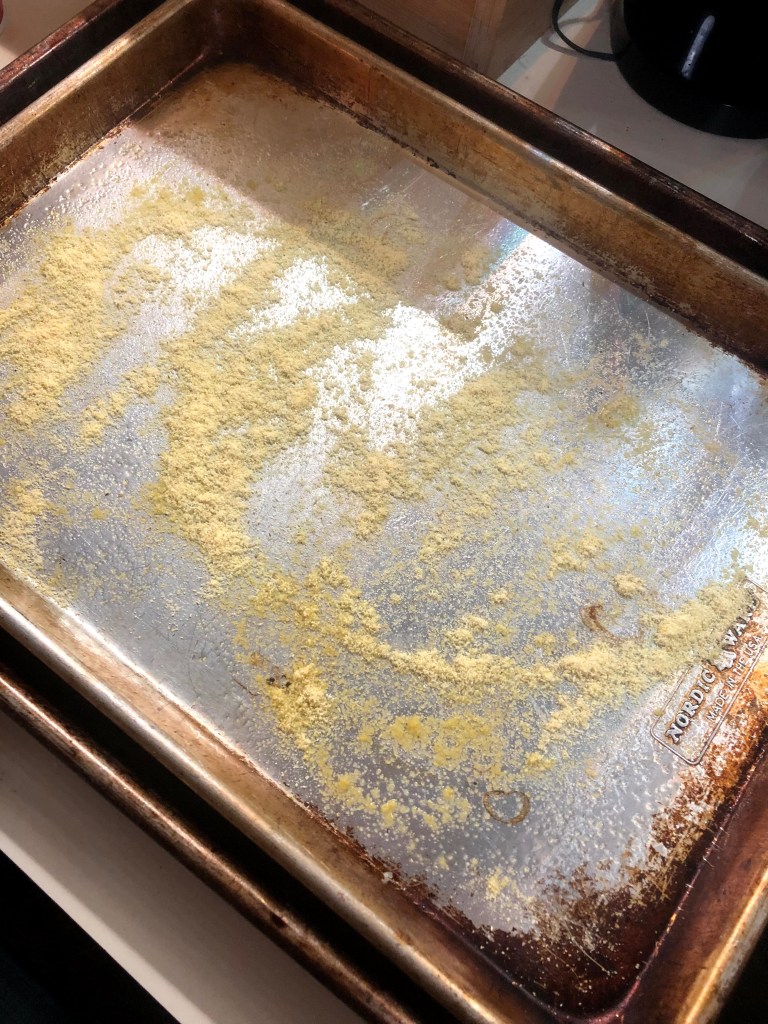
The pizzas will bake on metal sheet pans. As long as they are 9×13 or larger, you will be just fine. This dough is very forgiving and not particular with pan size. Spray 2 sheet pans with nonstick spray (or brush with a light coating of neutral oil), sprinkle with cornmeal, and set aside .
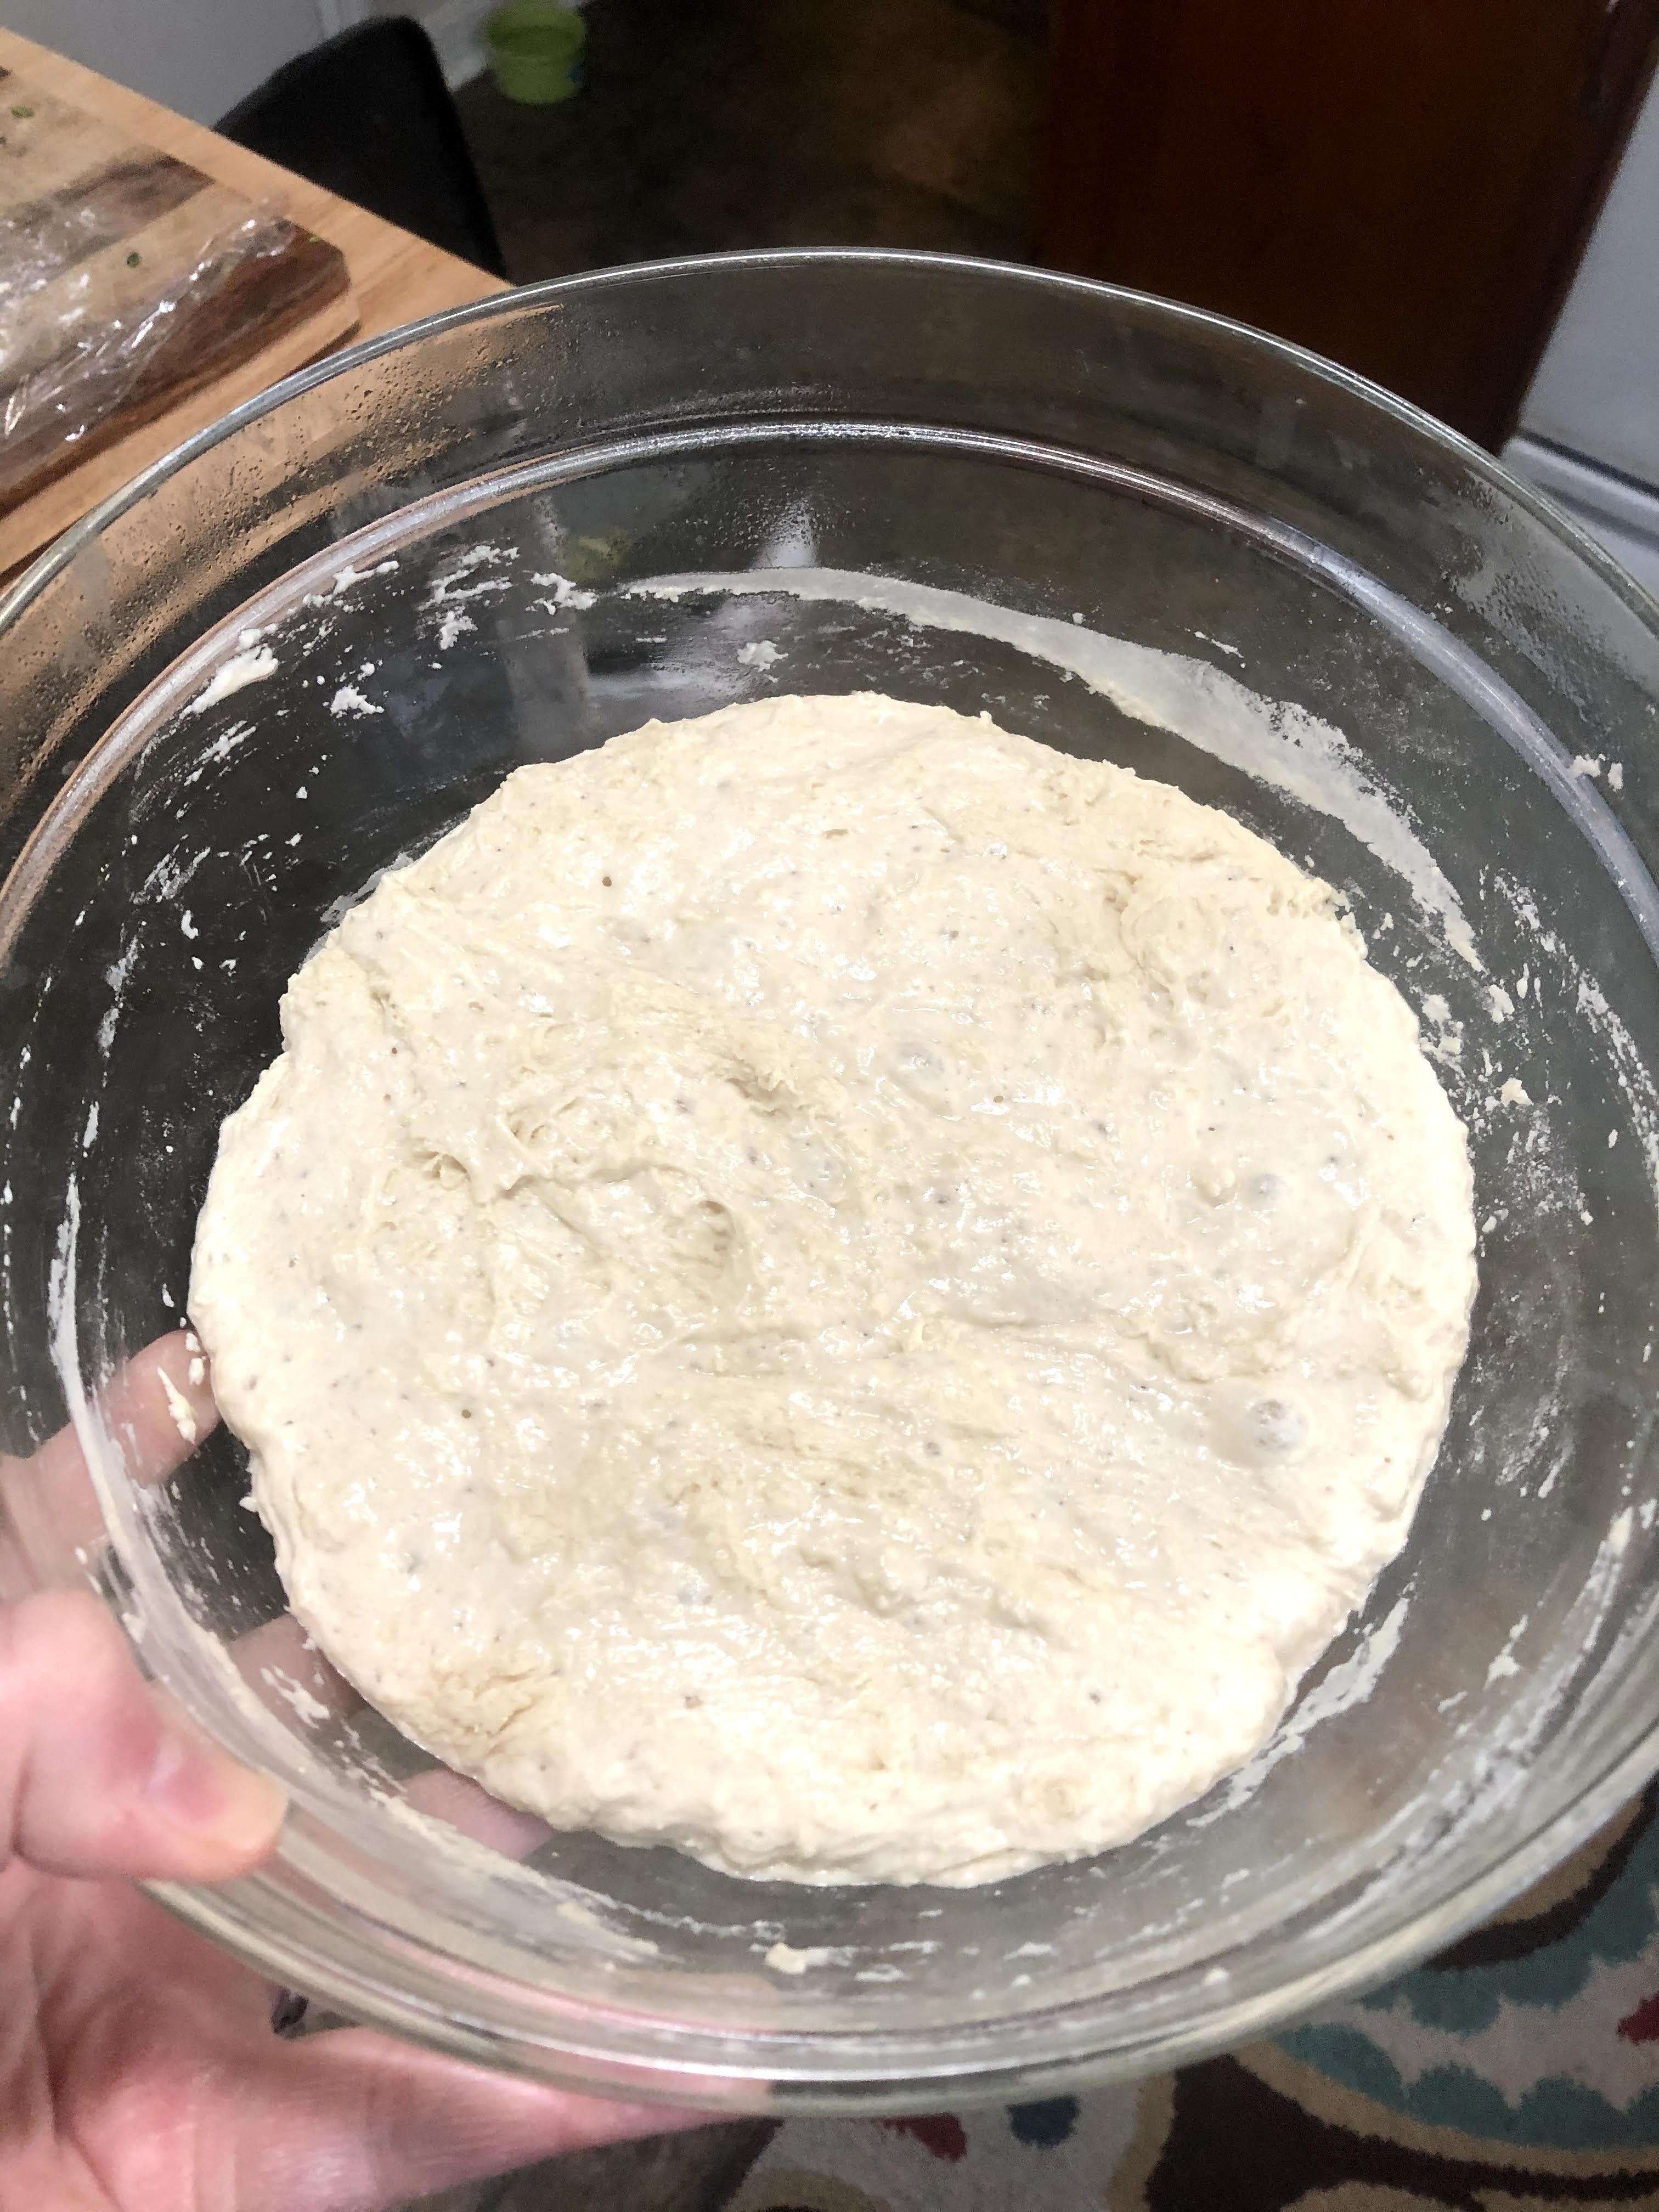
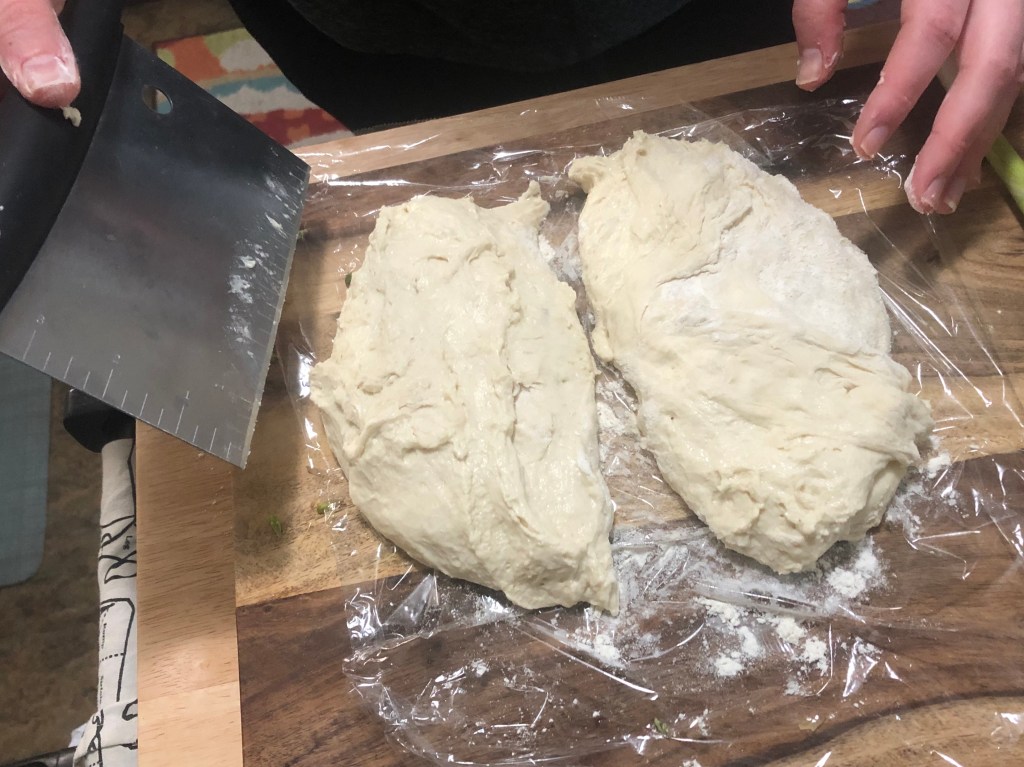
After proofing, the dough should be puffed, doubled (or more) in size, bubbly, and still quite wet. Sprinkle the dough with flour, flour your hands, and dump the dough onto a very well-floured surface. You will most likely need a rubber spatula or spoon to scrape all of it out. Slice in half for two pizzas.
I used plastic wrap here because I planned on freezing the other half.
Note: I’ve successfully halved this recipe to make only one pizza. The All-Day or Part-Day schedules work best, only because how in the world will you measure 1/16 of a teaspoon of yeast?!
I’ve also frozen half of the dough with great results. After proofing, wrap half of the dough in a sprayed or lightly oiled piece of plastic wrap, then put it in a small freezer bag. Defrost overnight in the fridge (or longer- I waited up to 2 days and it was still perfect) and use as directed.
You may be panicking at this point, because the dough is so unruly and sticky. Or you may be cursing with frustration, as Dan usually does. But it will all be worth it, I promise.
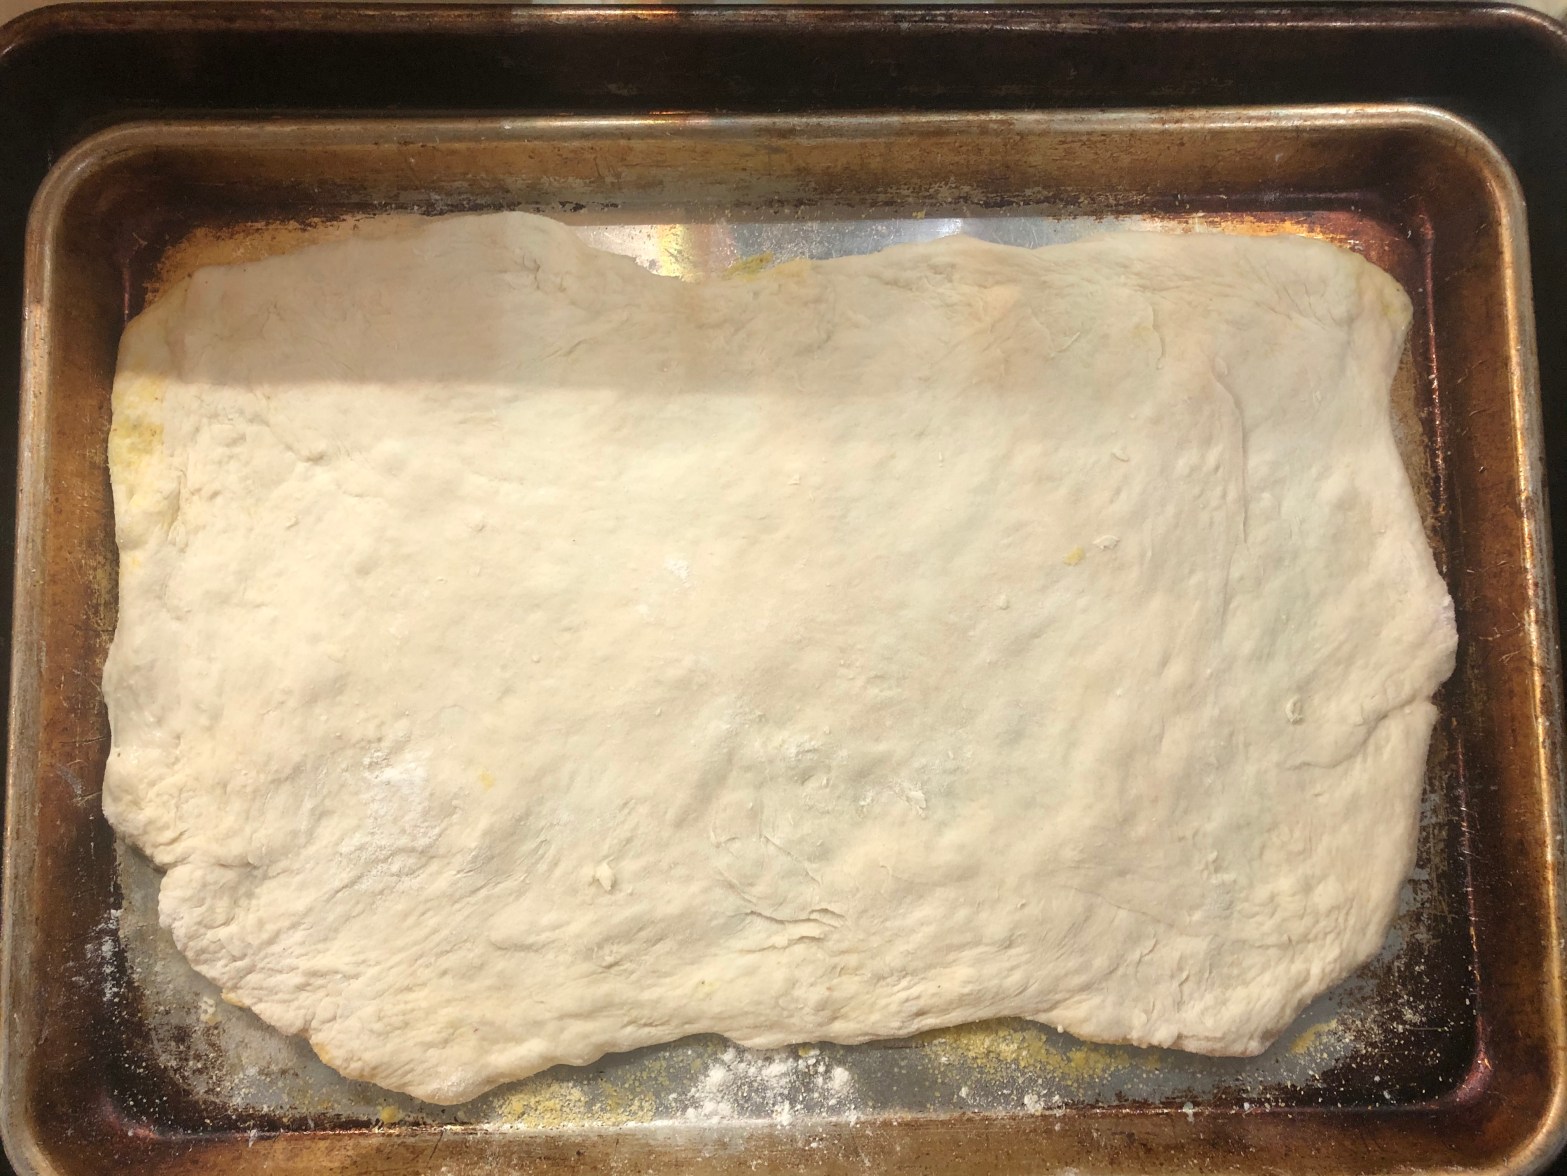
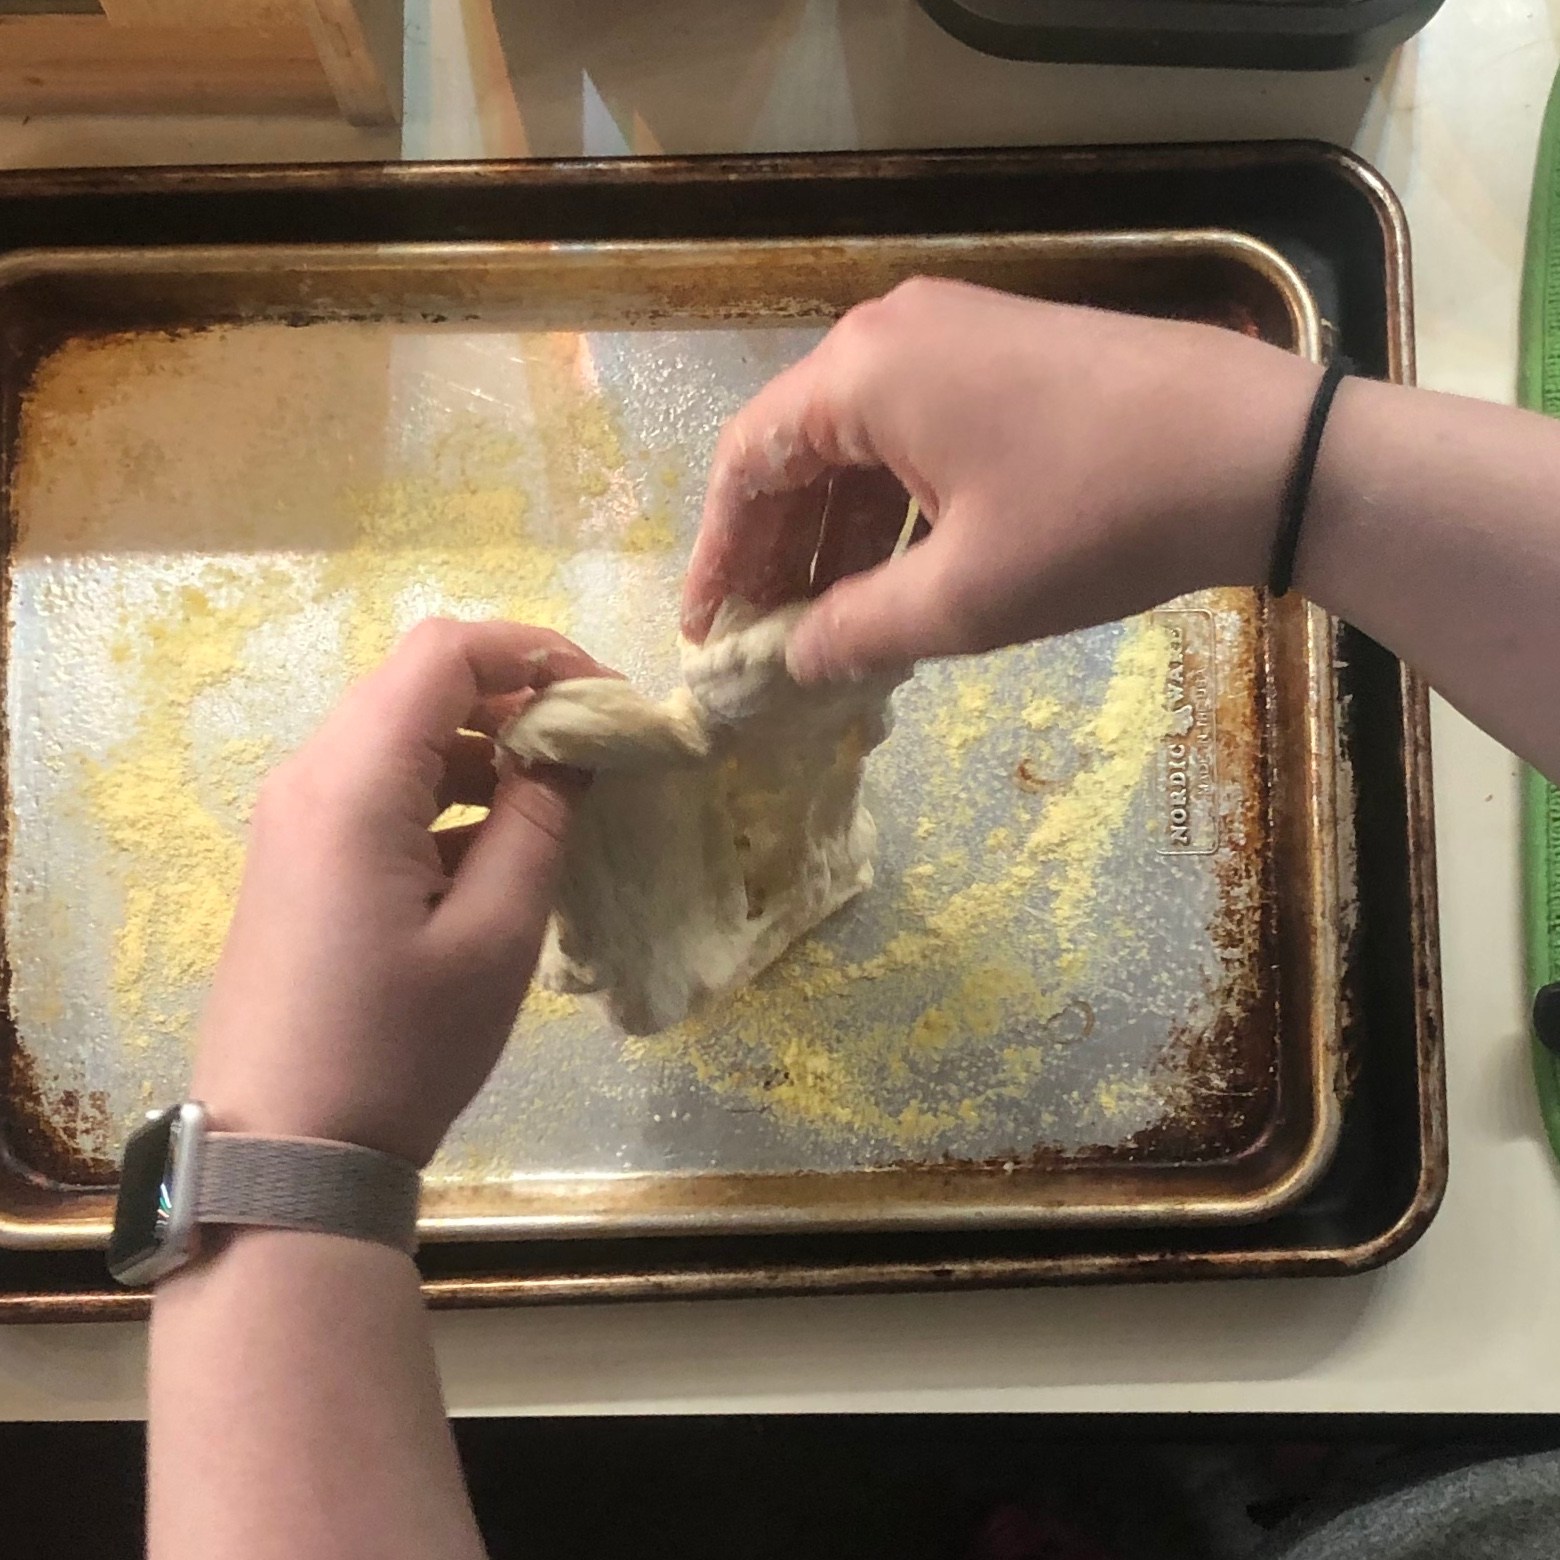
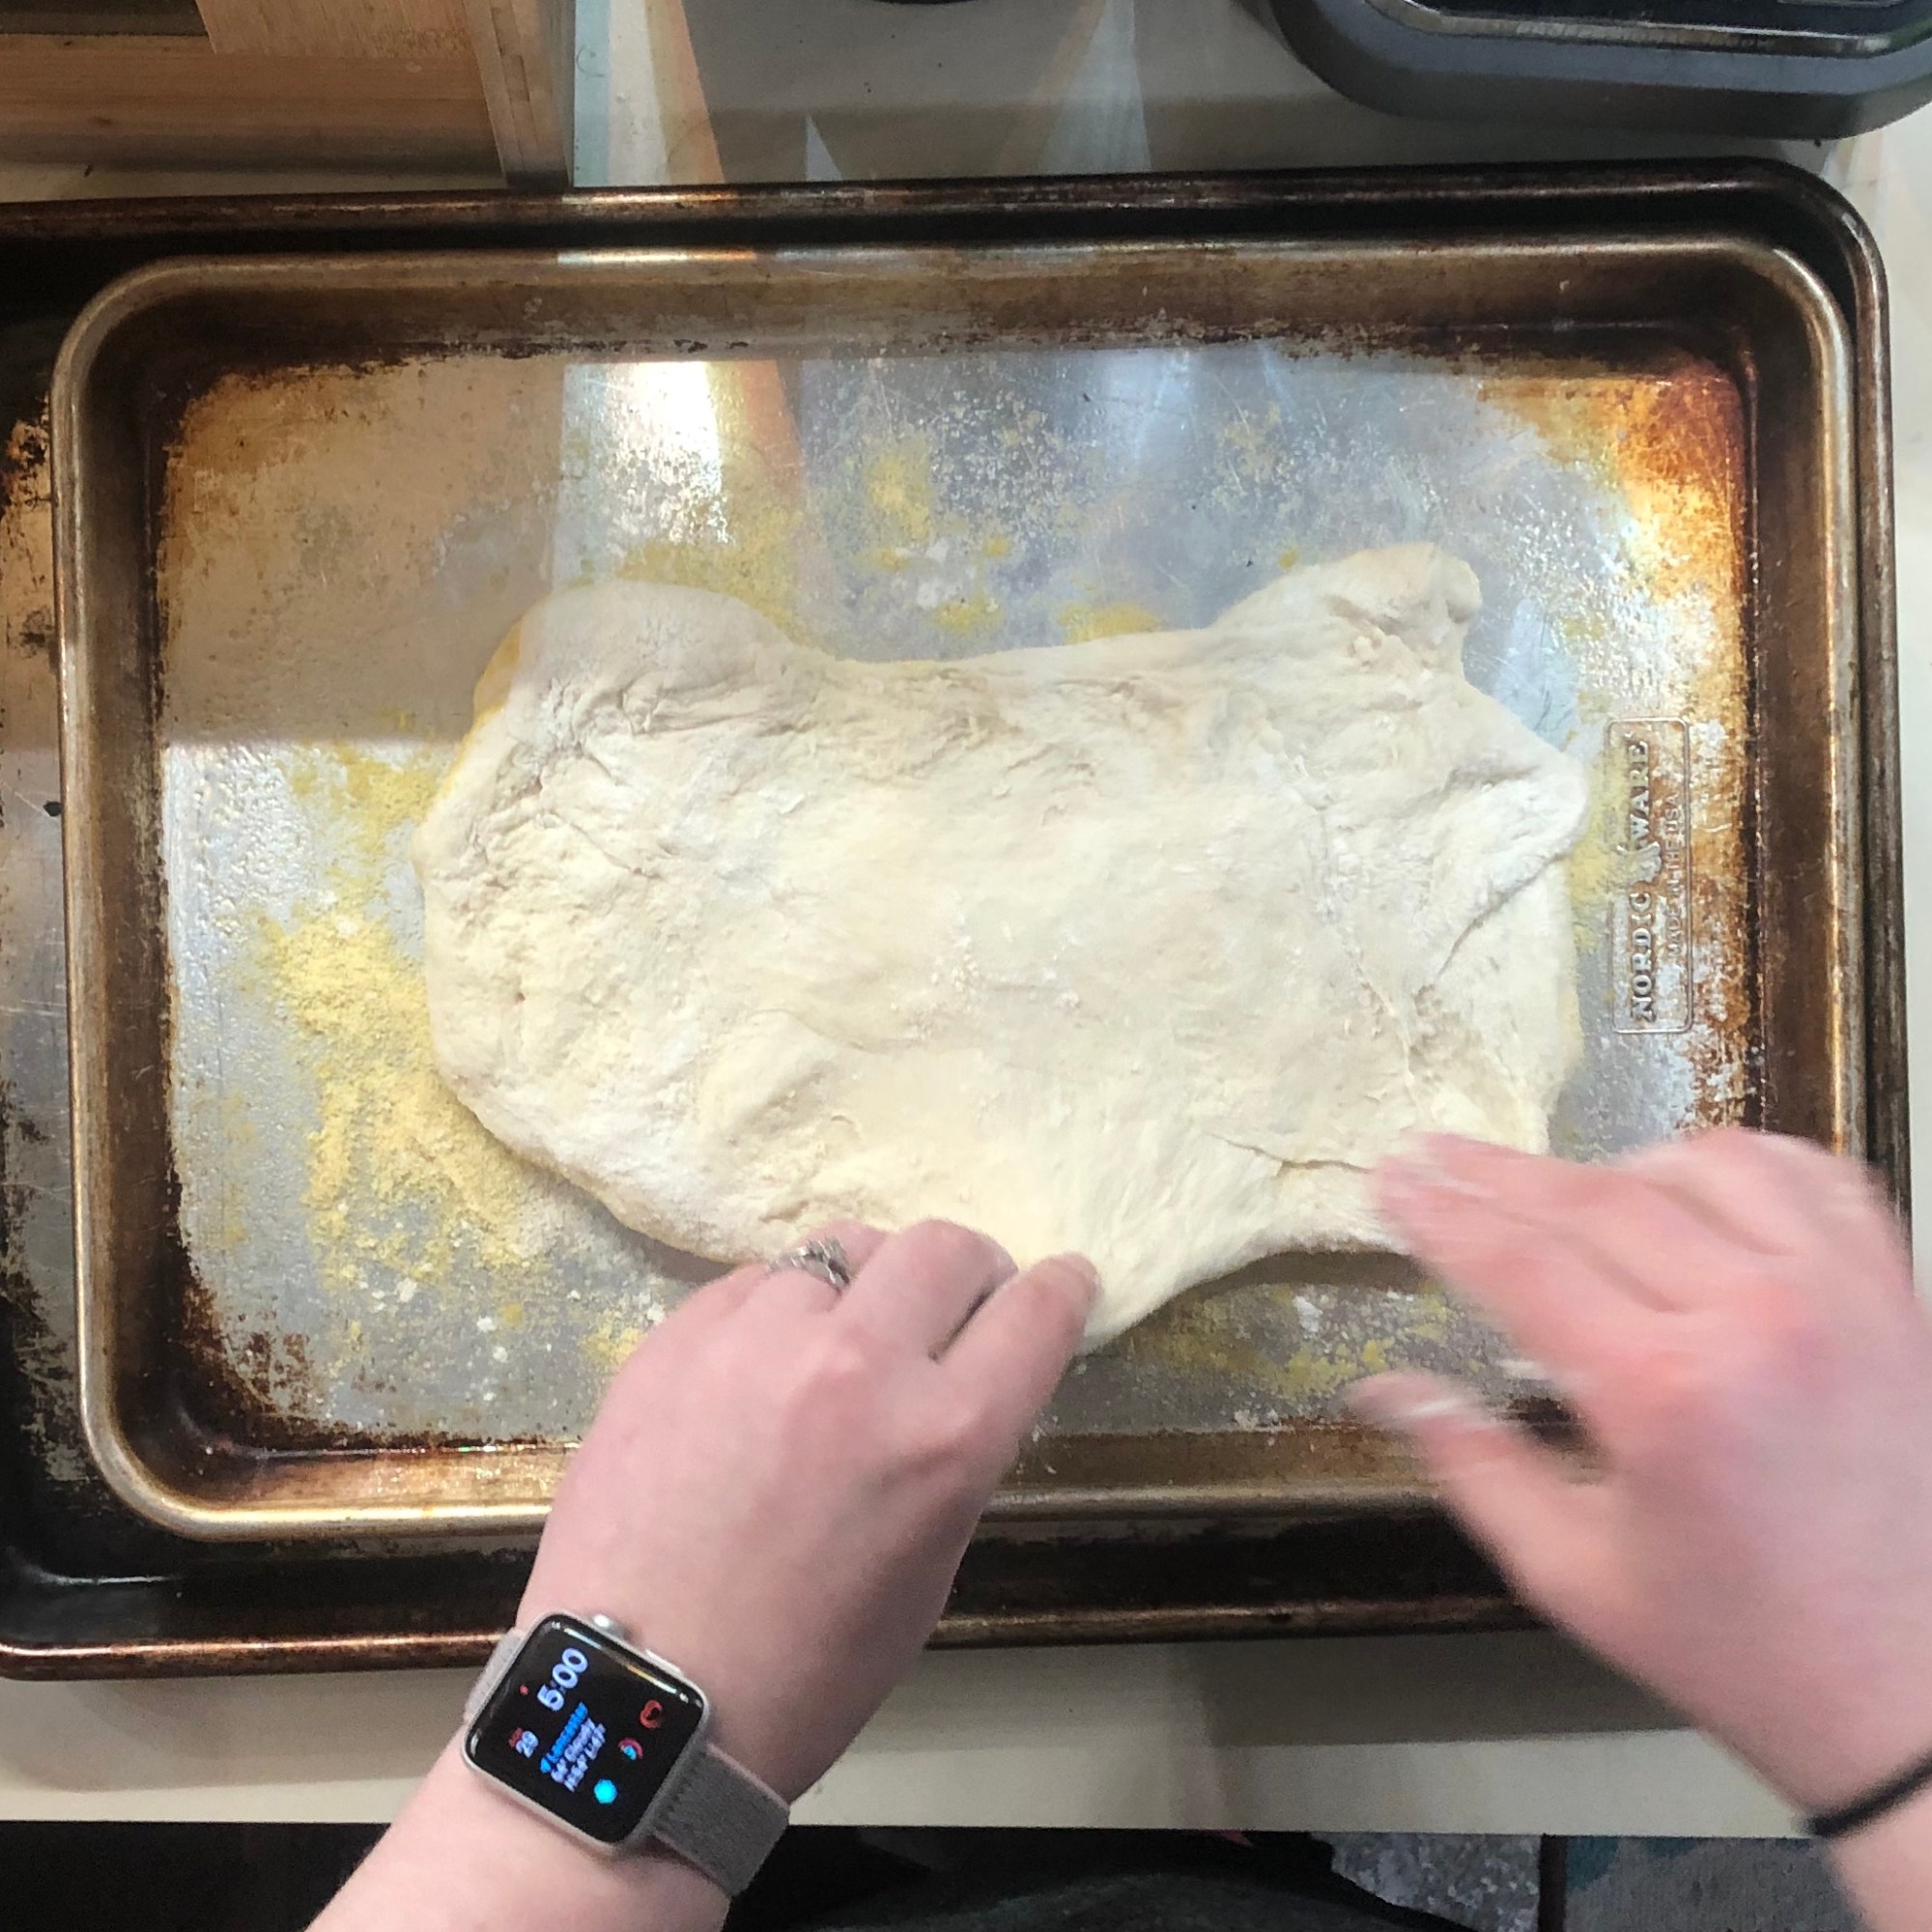
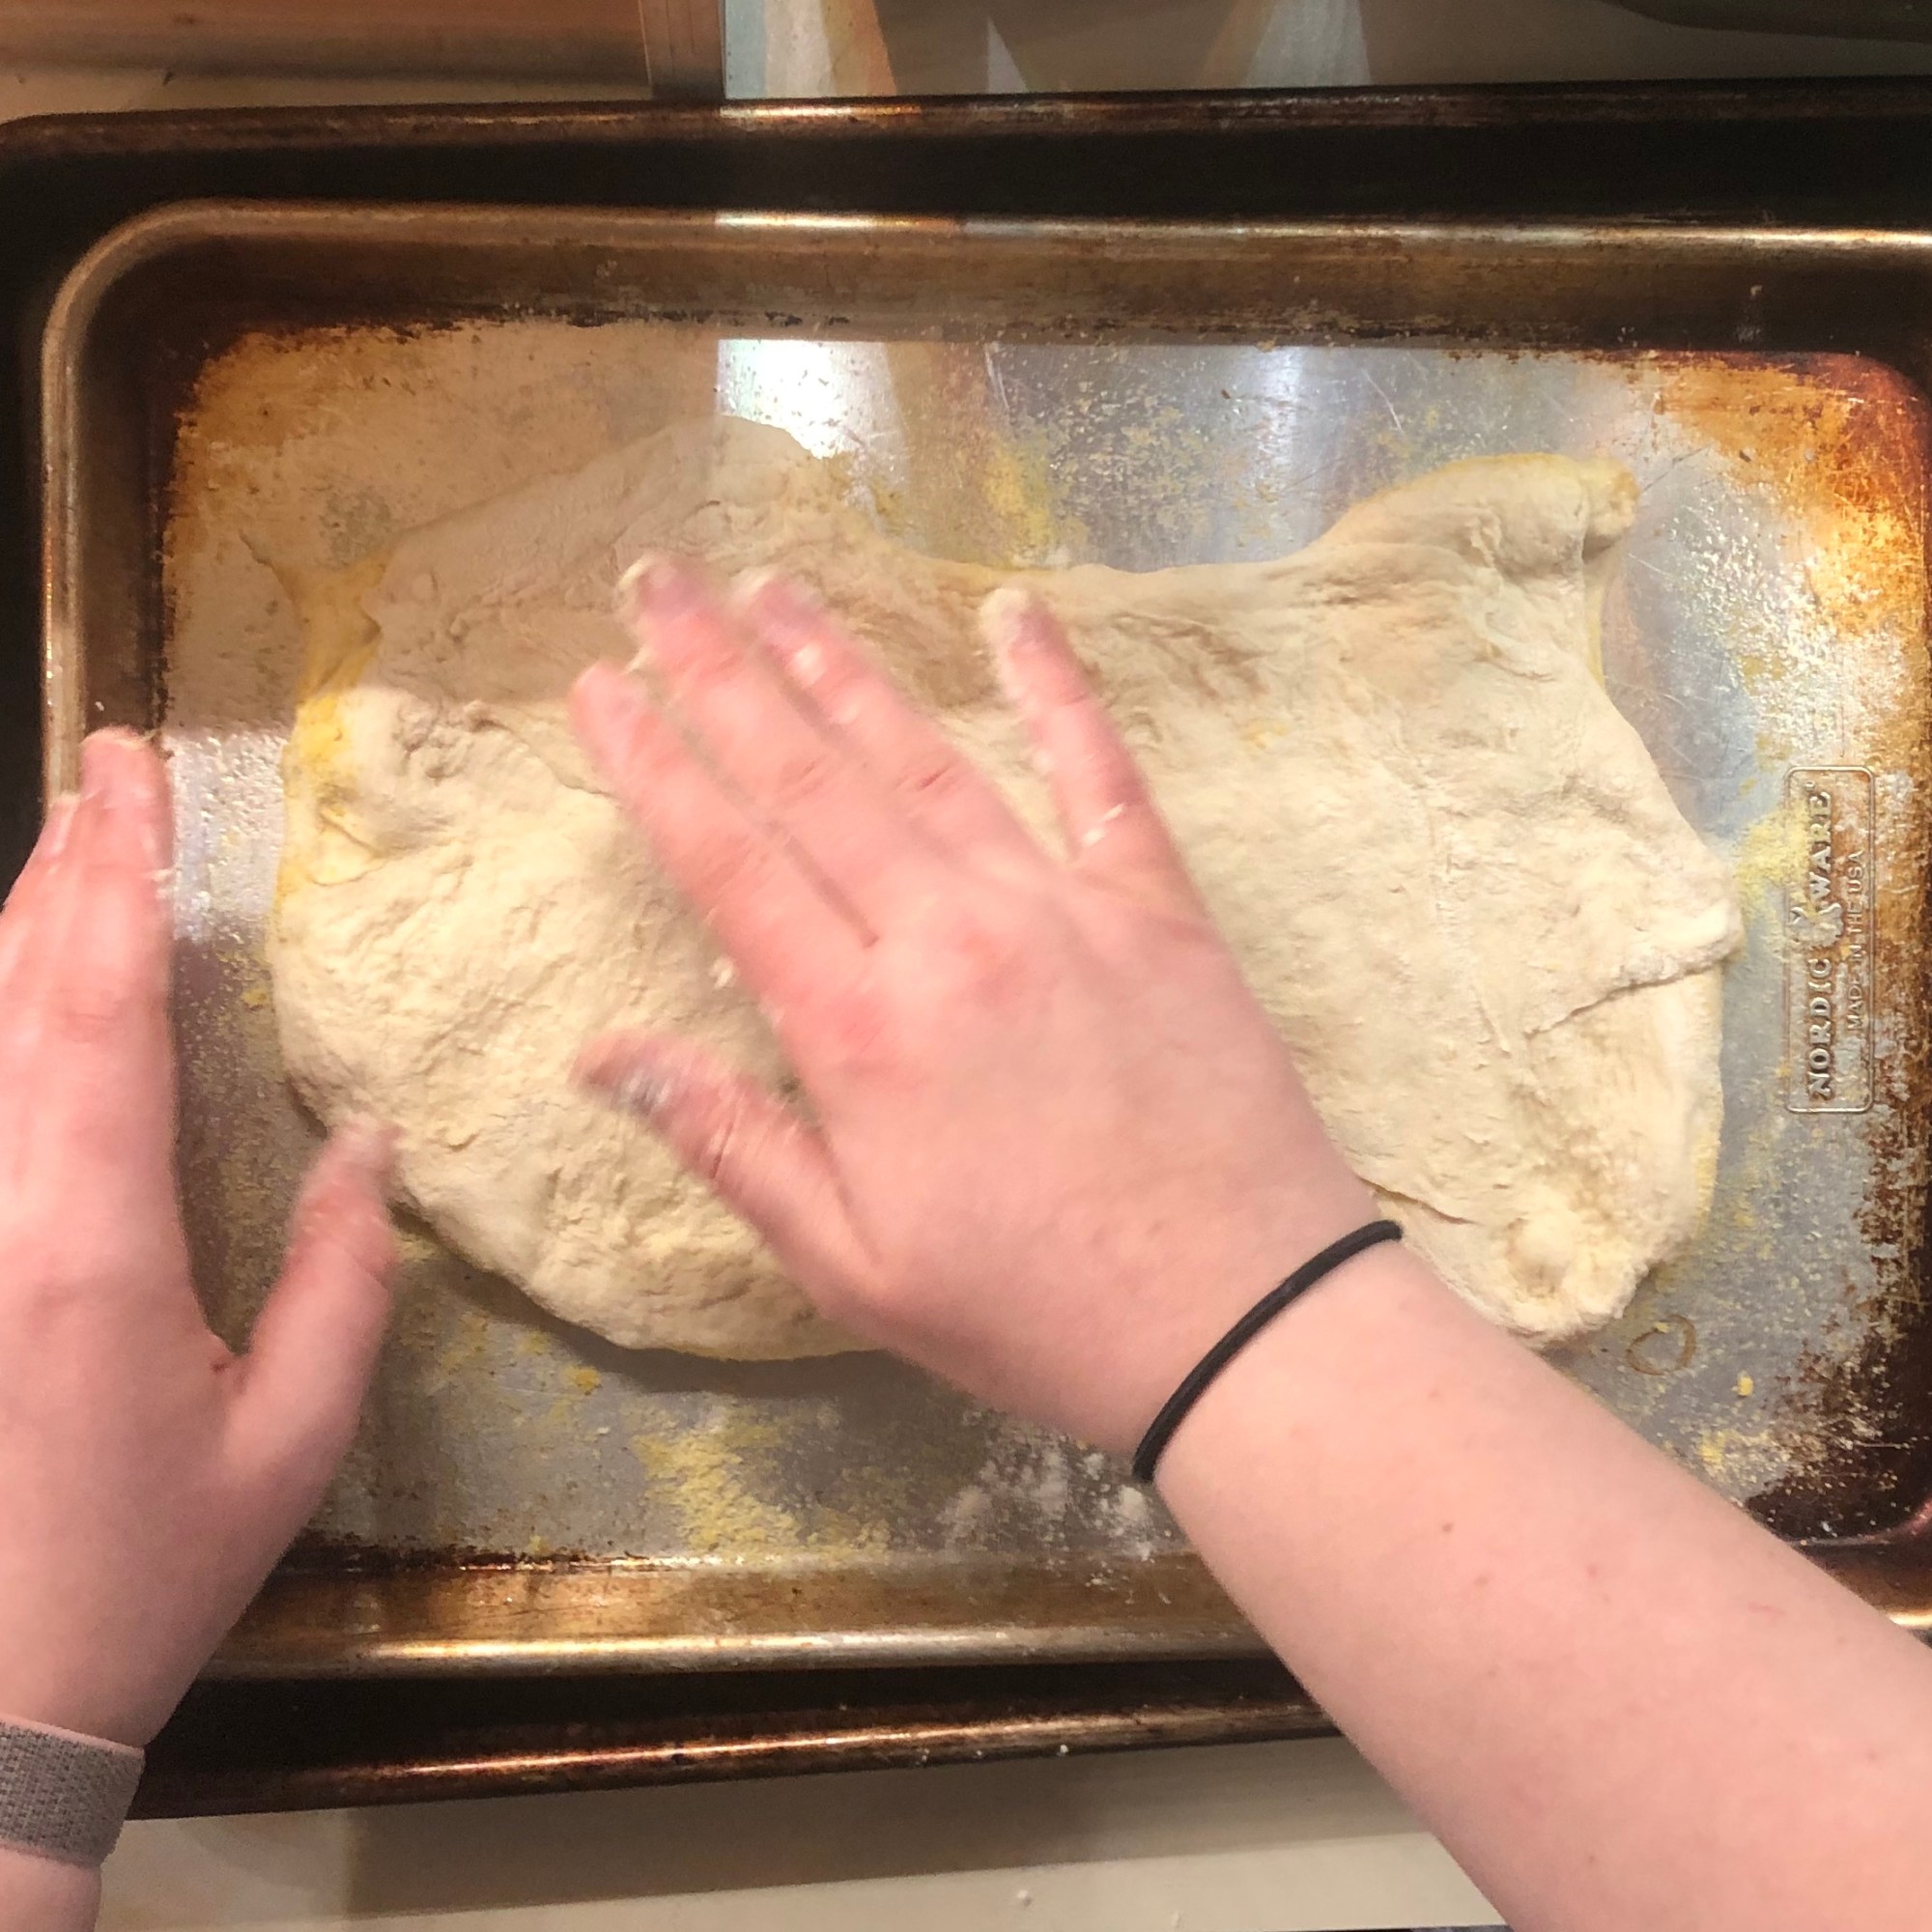
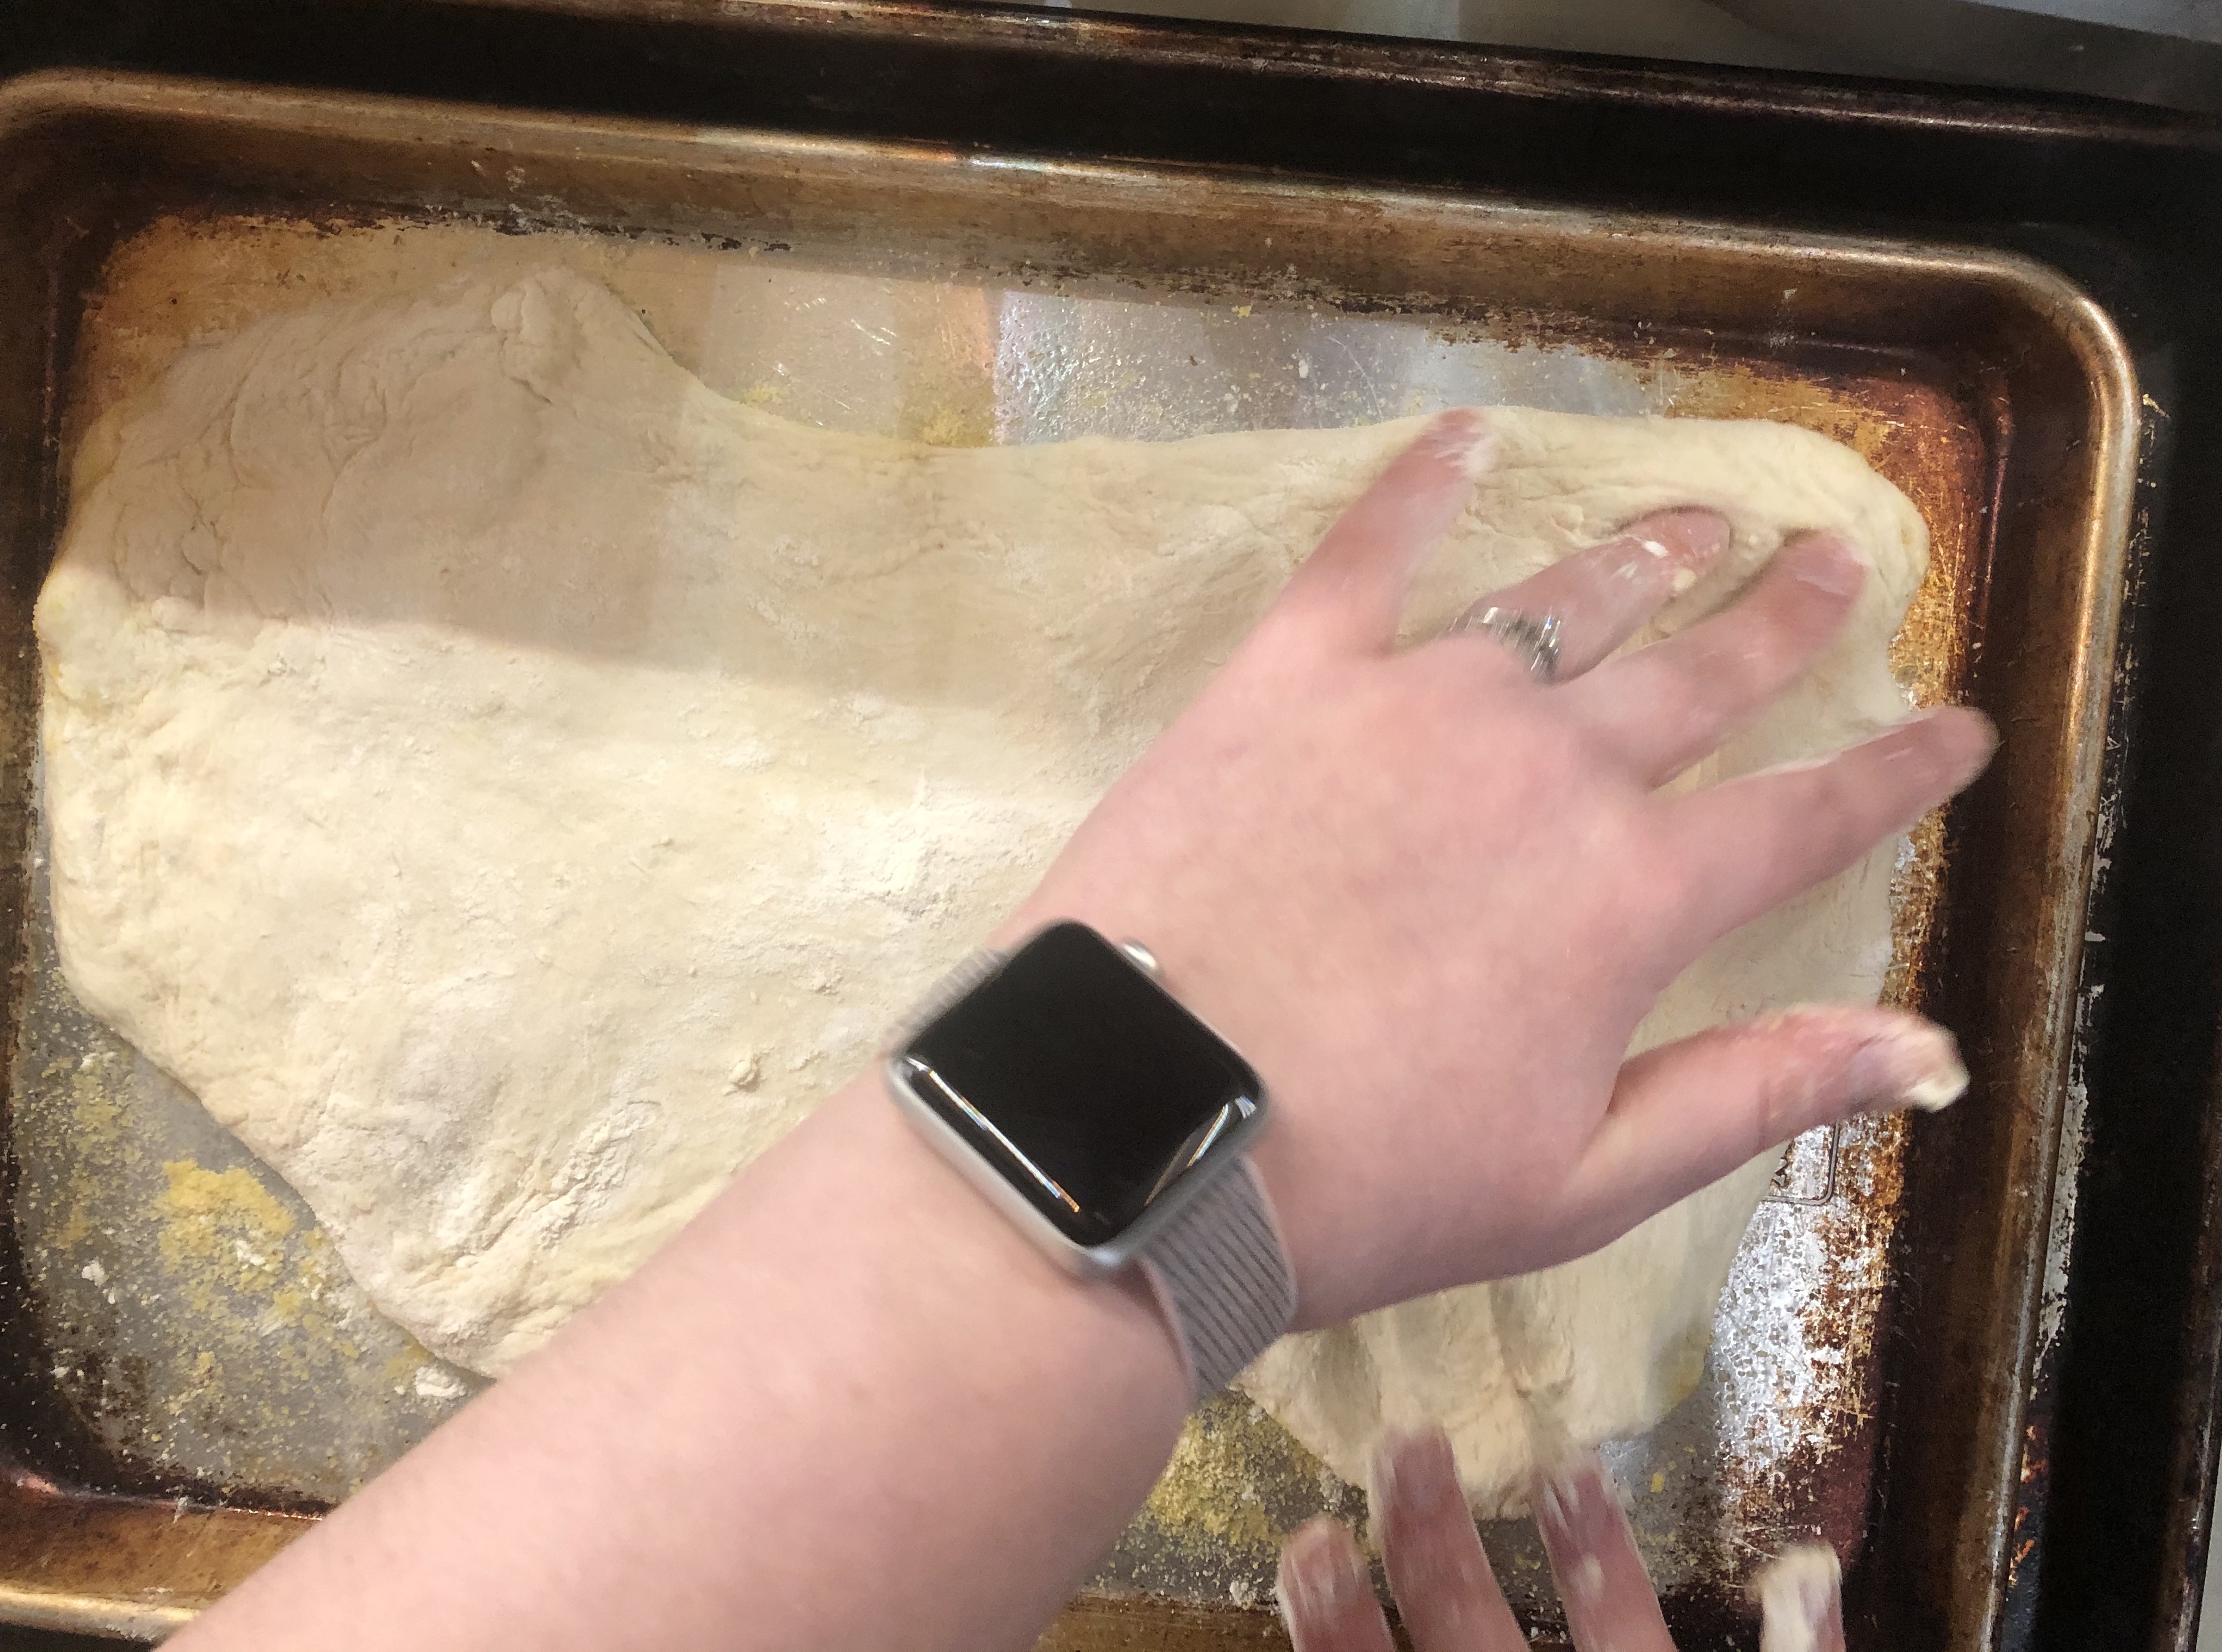
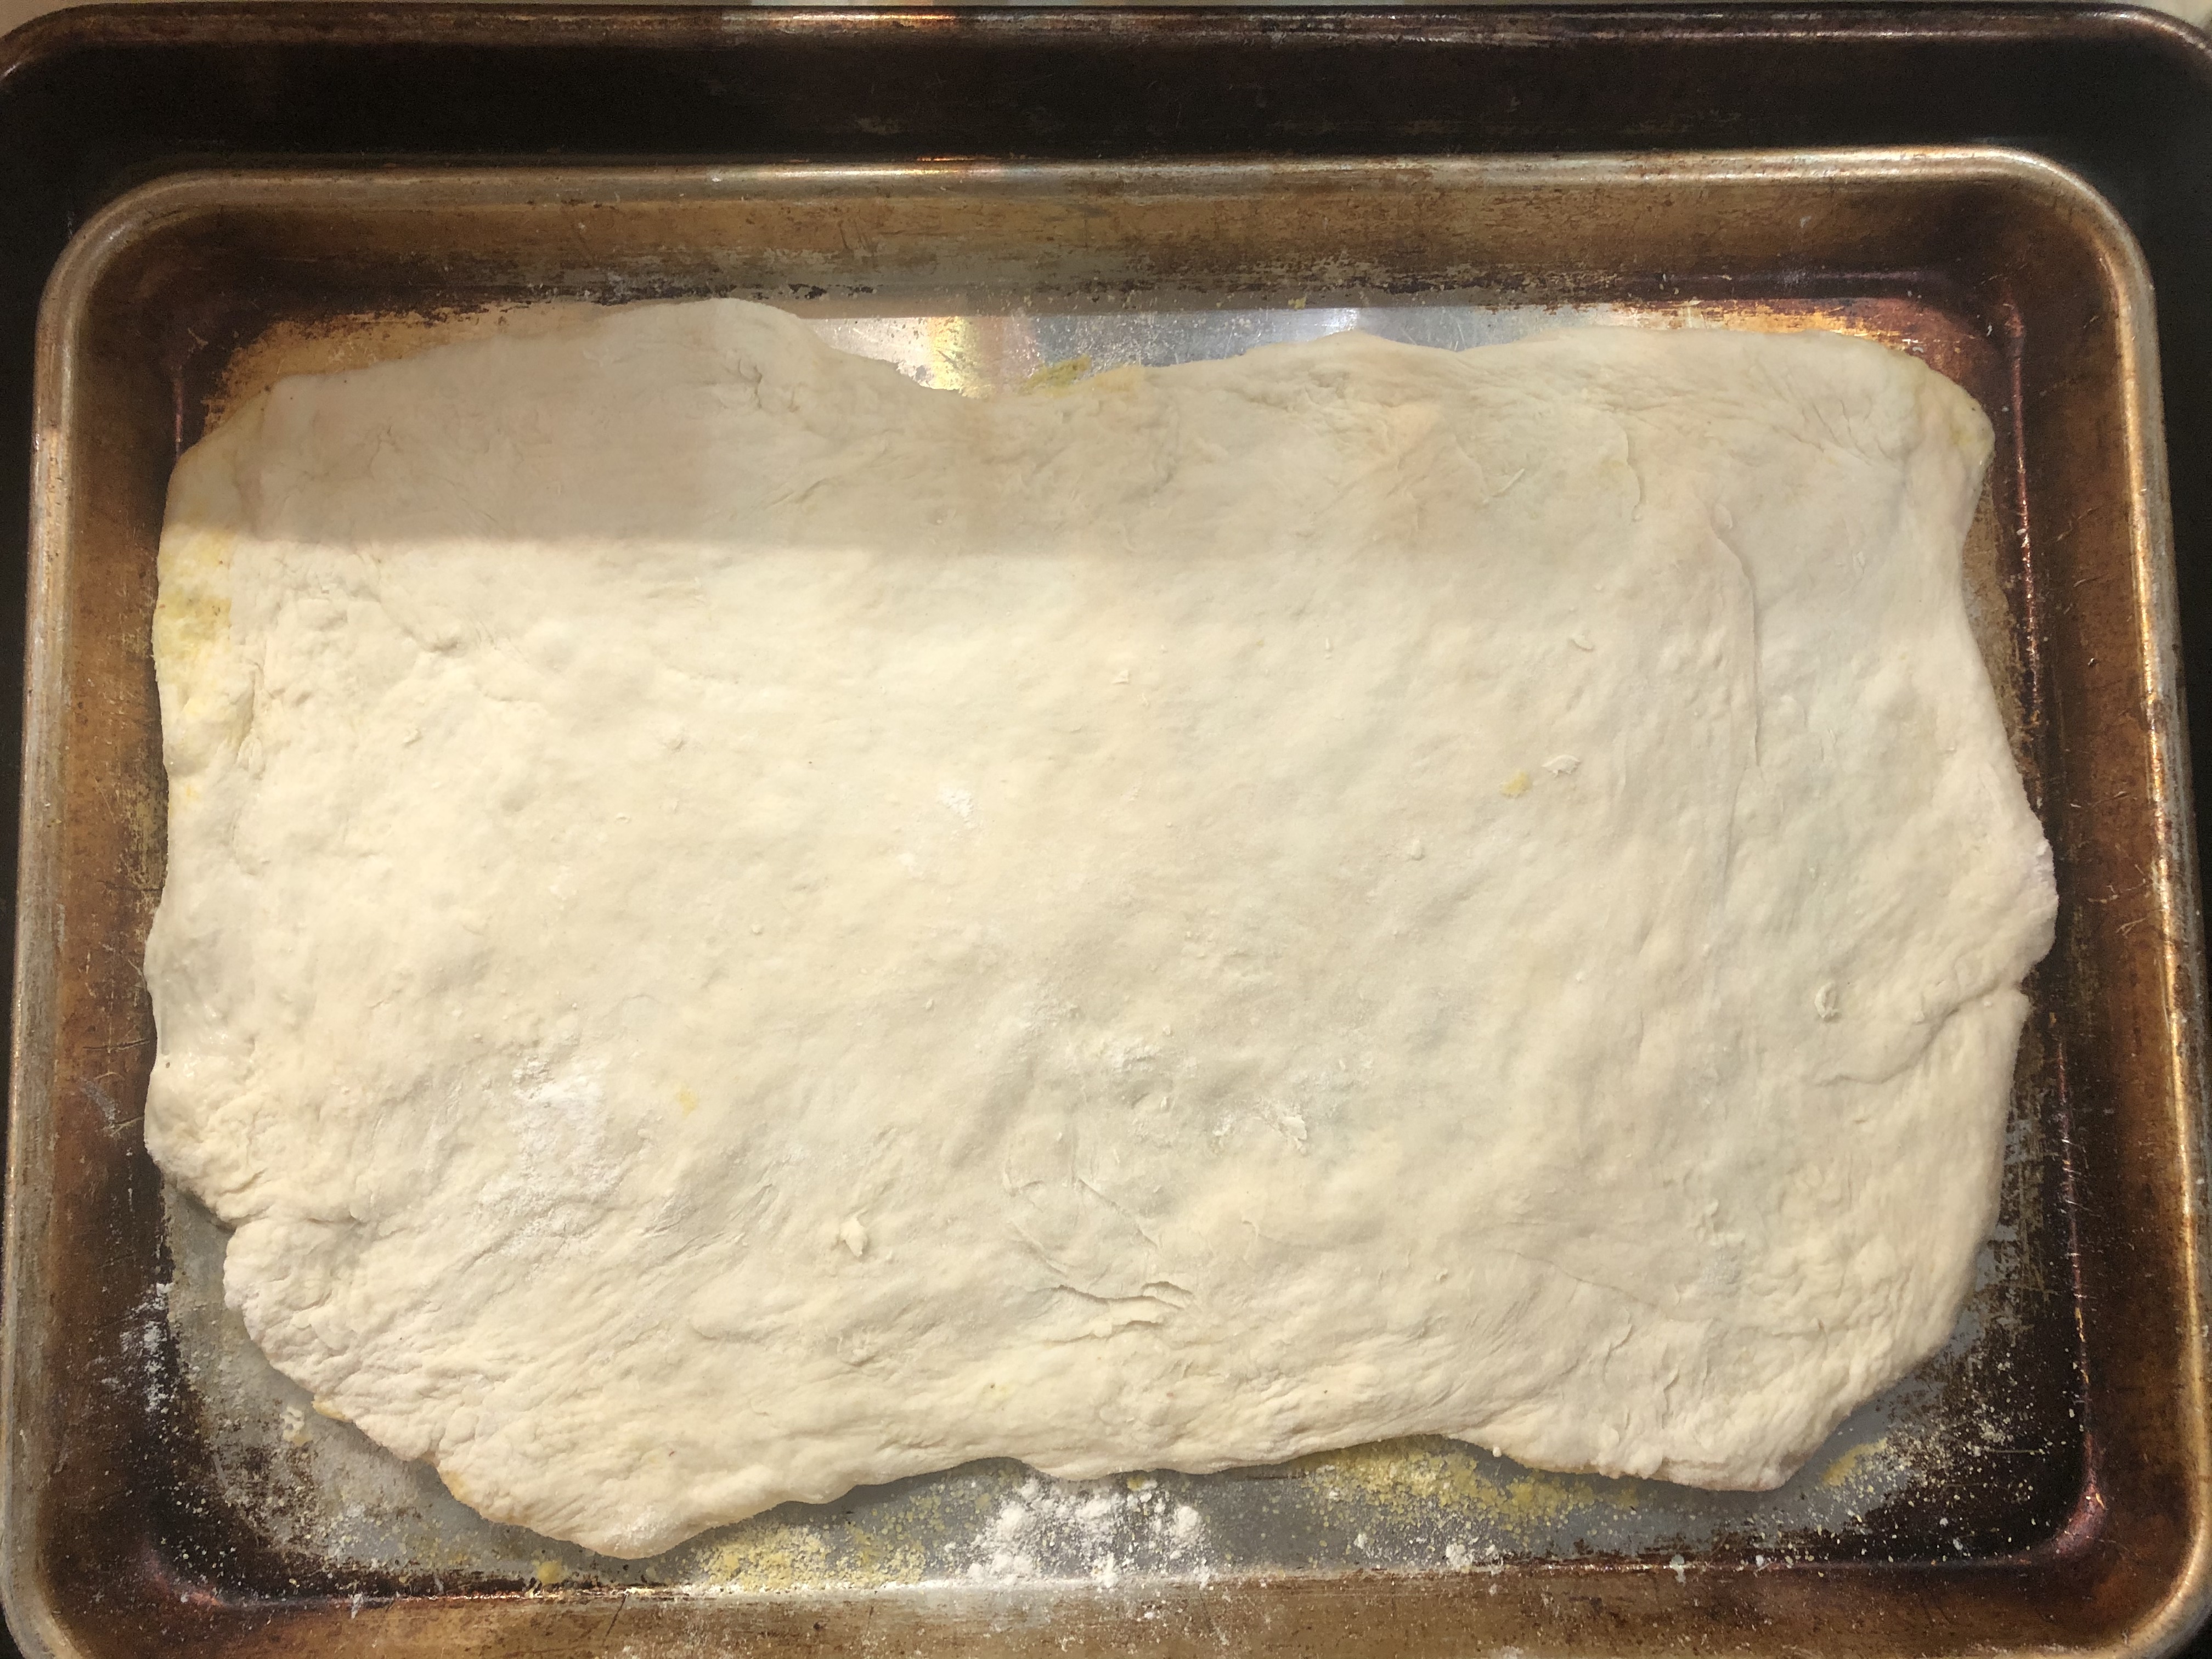
With well-floured hands, grab a piece of dough and put it onto one of the prepared pans. Things will get messy quickly, but just keep sprinkling with flour as you go. Stretch and work the dough into a roughly 9×13 rectangular-ish shape. It’s important here not to stretch the dough too thin, because you won’t get the chew that is so delicious here. If you rip a hole in the dough, no worries! Just pinch it back together. Use more sprinklings of flour as you stretch, push, and shape, and please don’t worry about getting a perfect rectangle. No matter how strange it looks, it will come out exactly as it should. Repeat with the remaining dough.
Assemble and bake the pizzas. Top the pizzas with whatever you like, but don’t overload it. A thin, crispy crust will not appreciate toppings that are too heavy. We really like a simple tomato sauce, muenster cheese, and torn mozzarella for a basic cheese pizza. (Why muenster, you say? Dan has always used muenster and I have gown to love it, too. It’s delicious on a pizza.)
Bake the pizzas in your now very hot oven for 10 to 15 minutes, checking the bottom crust by gently peeking under it with a spatula. You want to make sure there is some browning happening. Because I don’t trust my oven to bake evenly, I usually bake one pizza at a time. If you are confident in your oven’s abilities, go ahead and bake the pizzas together, on the upper and lower thirds of the oven. Switch them halfway through to ensure even baking.
The pizzas are ready when the bottom has browned in spots and the top is bubbly and blistered. Transfer pizzas to a large cutting board one at a time, unless you have two very large cutting boards. The pizzas slide right off of the sheet pans thanks to the oil and cornmeal, plus the cornmeal adds even more crunch and a slightly wood-fired taste- yum!
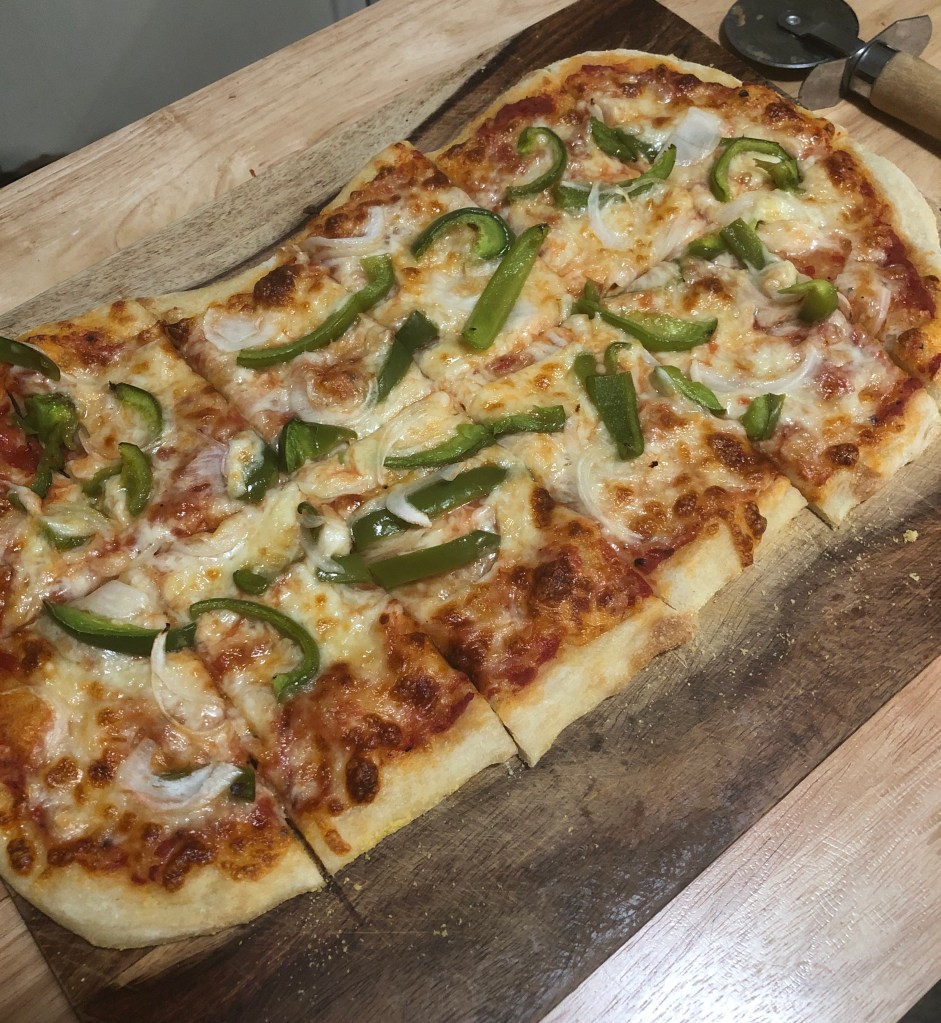
Classic cheese pizza with green peppers and onions.
Slice and enjoy with the loved ones surrounding you. And I am deeming it okay in these times to eat an entire pizza by yourself. You deserve it.
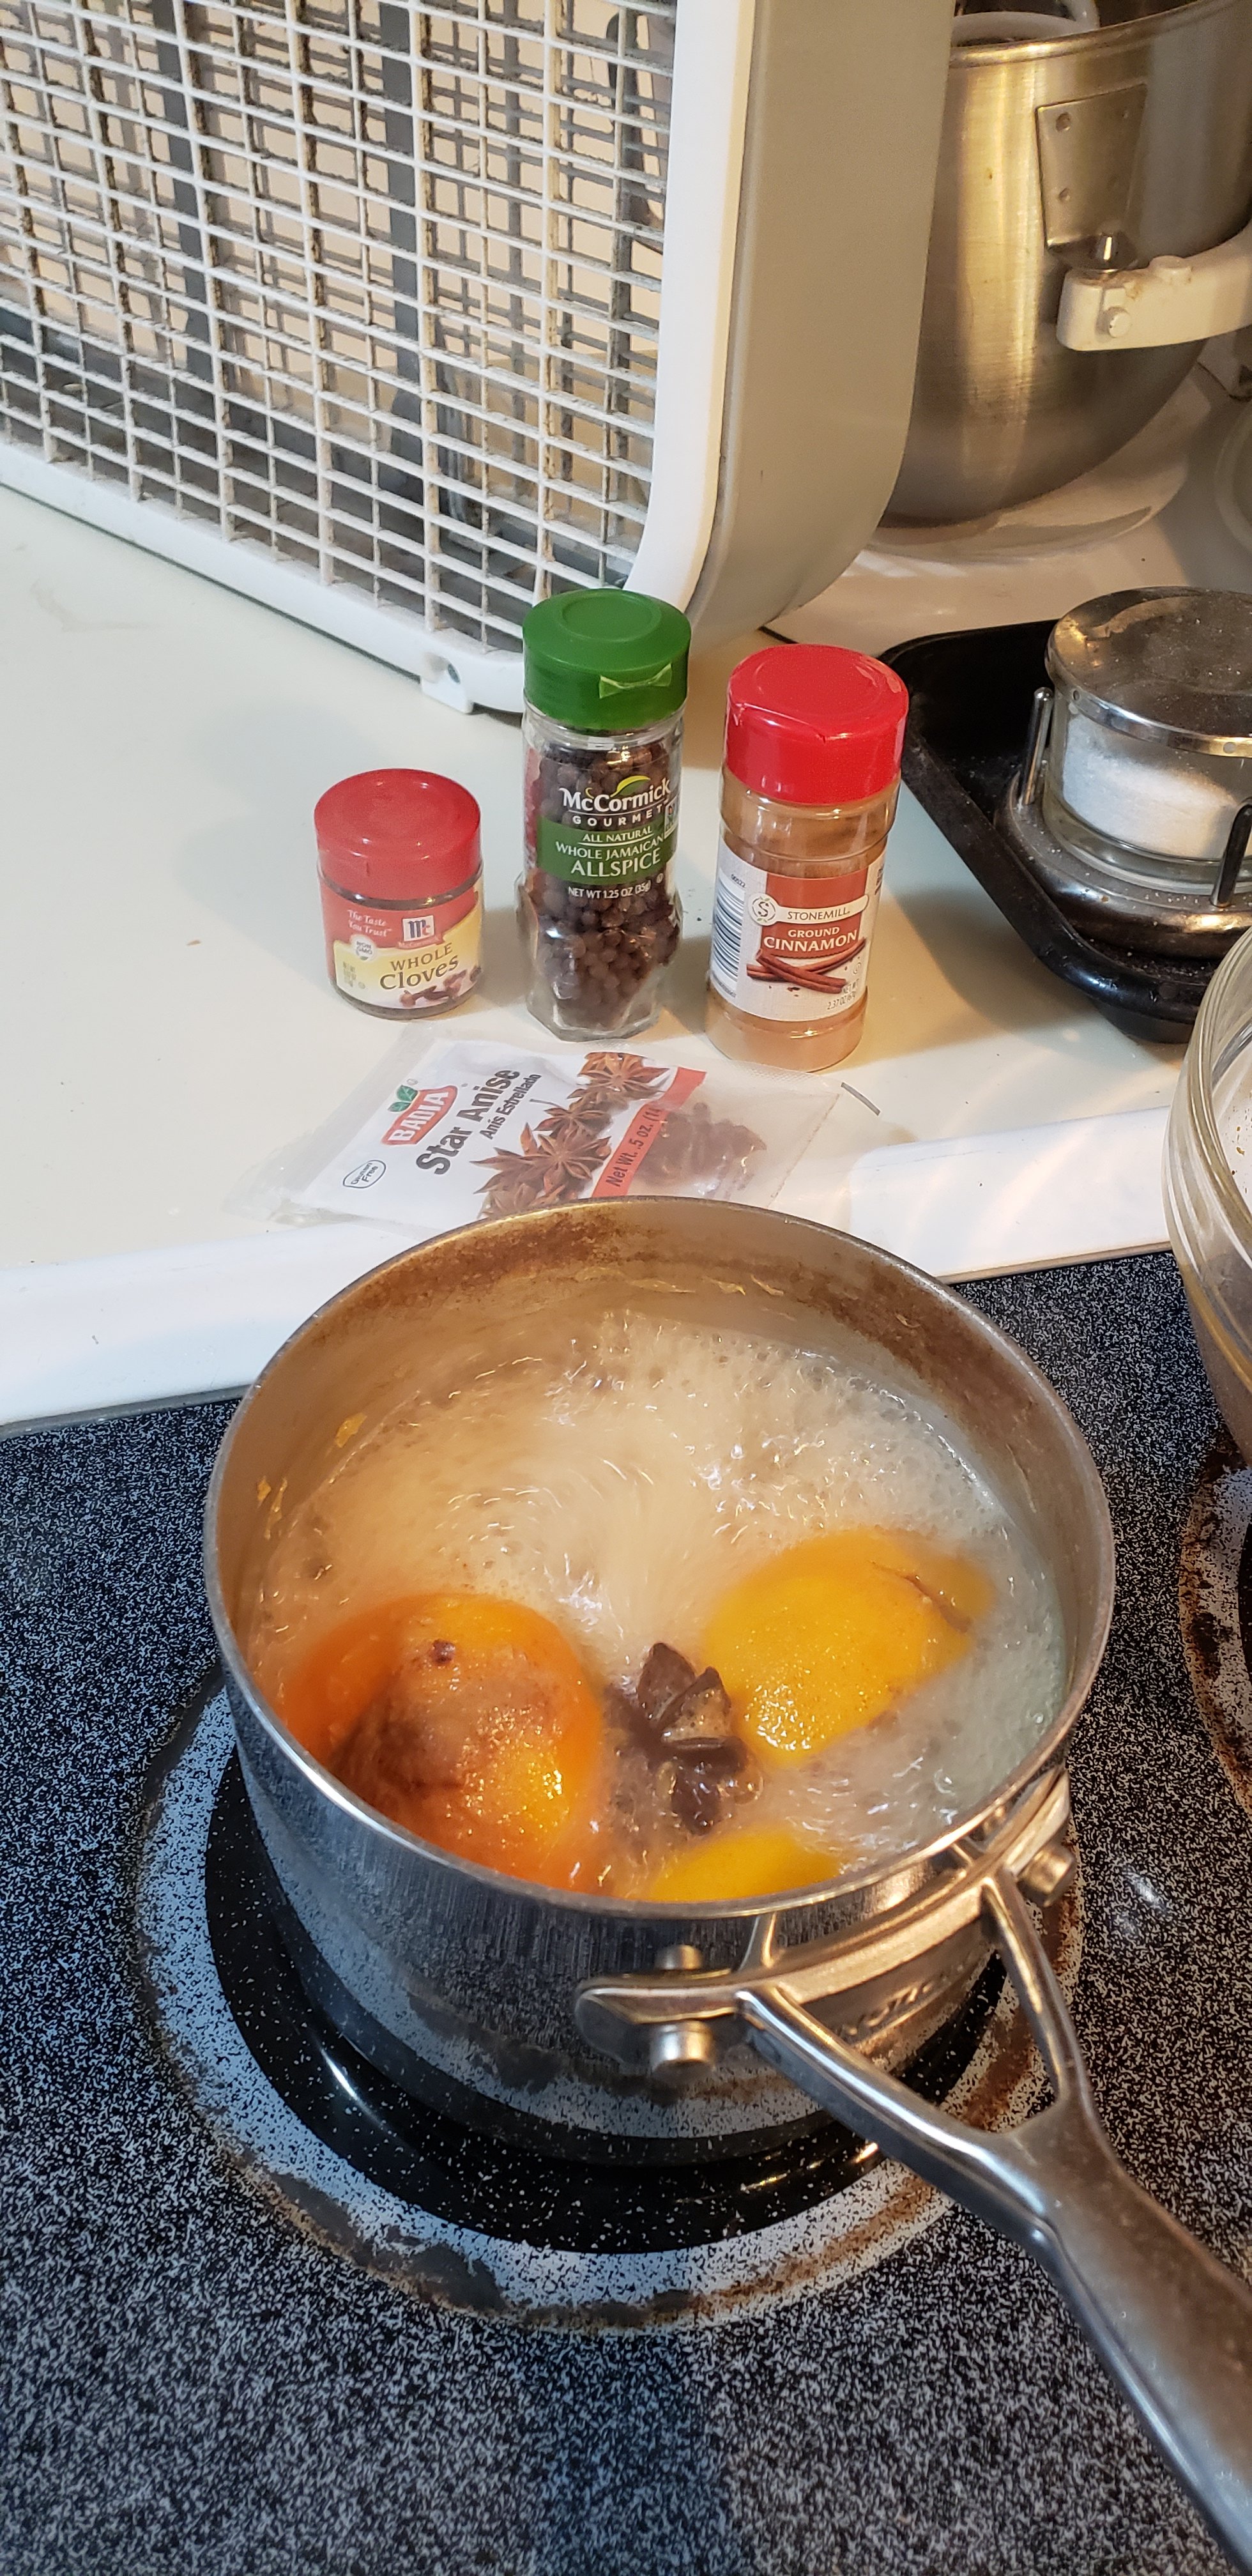
Did you ever cook something and it was so delicious but two hours later your house smells like a stale diner? Did you ever cook fish and 2 days later your house still smelled like you were stuck at sea? Here is something that I like to do when I’m cooking to help with those nasty smells. I did this while making Orange Chicken to help neutralize the oil smell from frying.
Here’s what you’ll need:
2 Oranges – I used the left over orange from cooking
1 tsp Cinnamon
1 tsp Allspice (whole or ground)
1 tsp Cloves (whole or ground)
2 Whole Star Anise
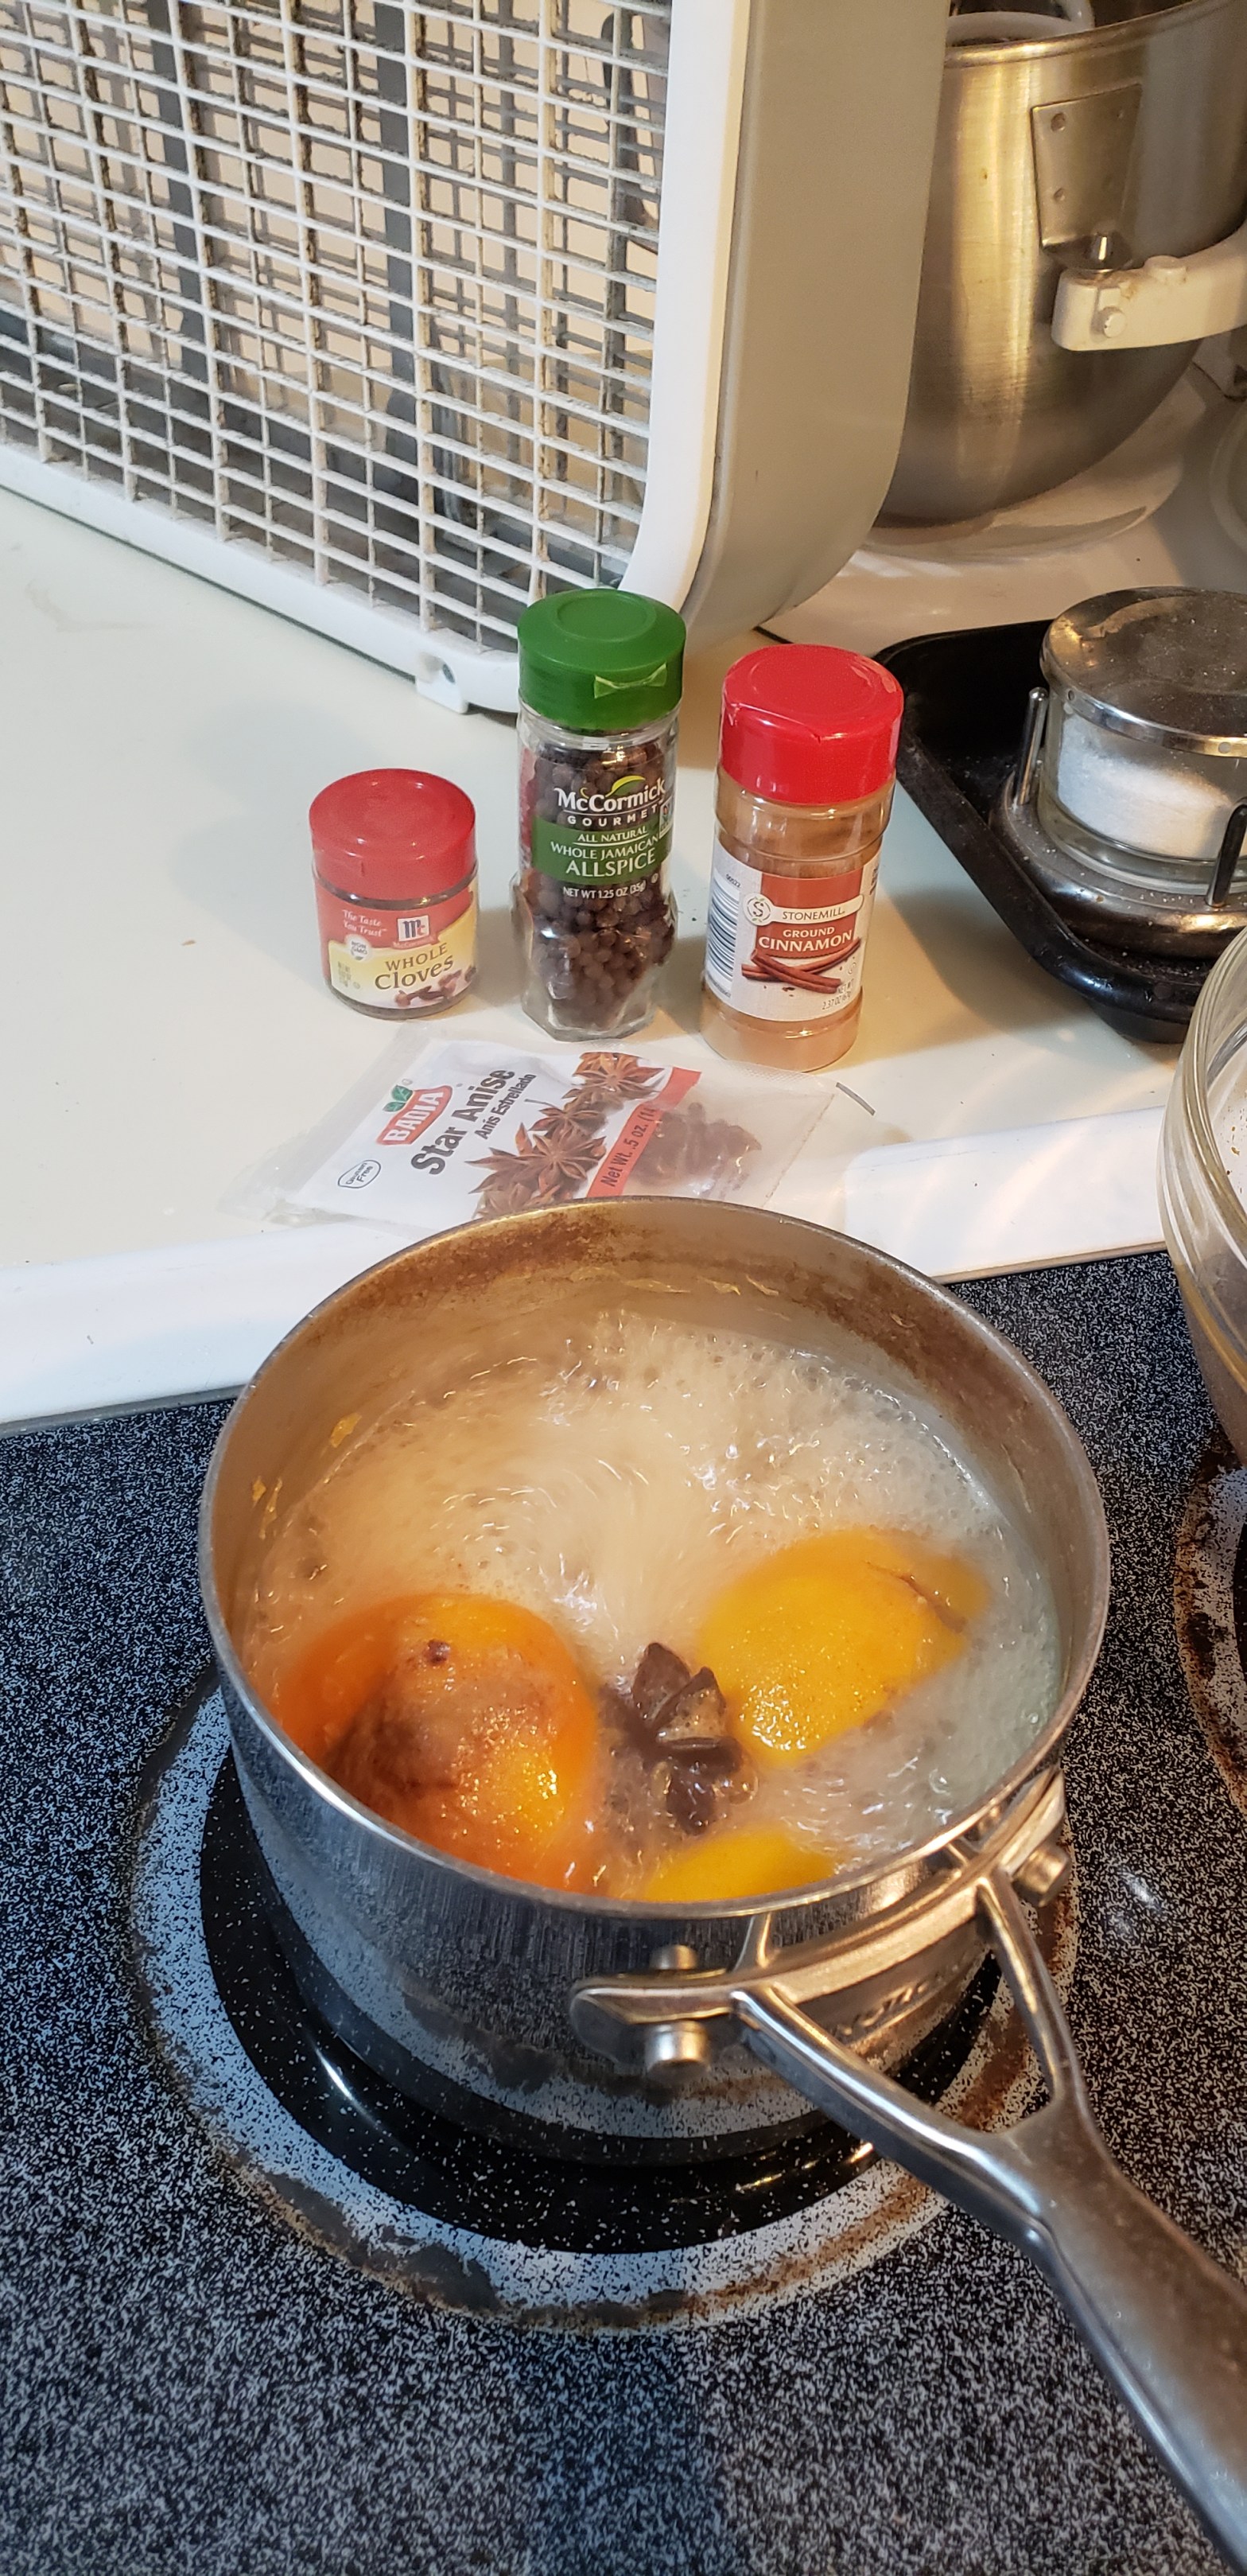
All you need to do is add your oranges and spices to a small pot, cover with water, and bring to a boil and reduce to simmer.
I keep topping this with water and let it simmer for a few hours after cooking. It fills the whole house with a delicious orange and spice smell! I hope this helps next time you cook something that might be a little smelly!
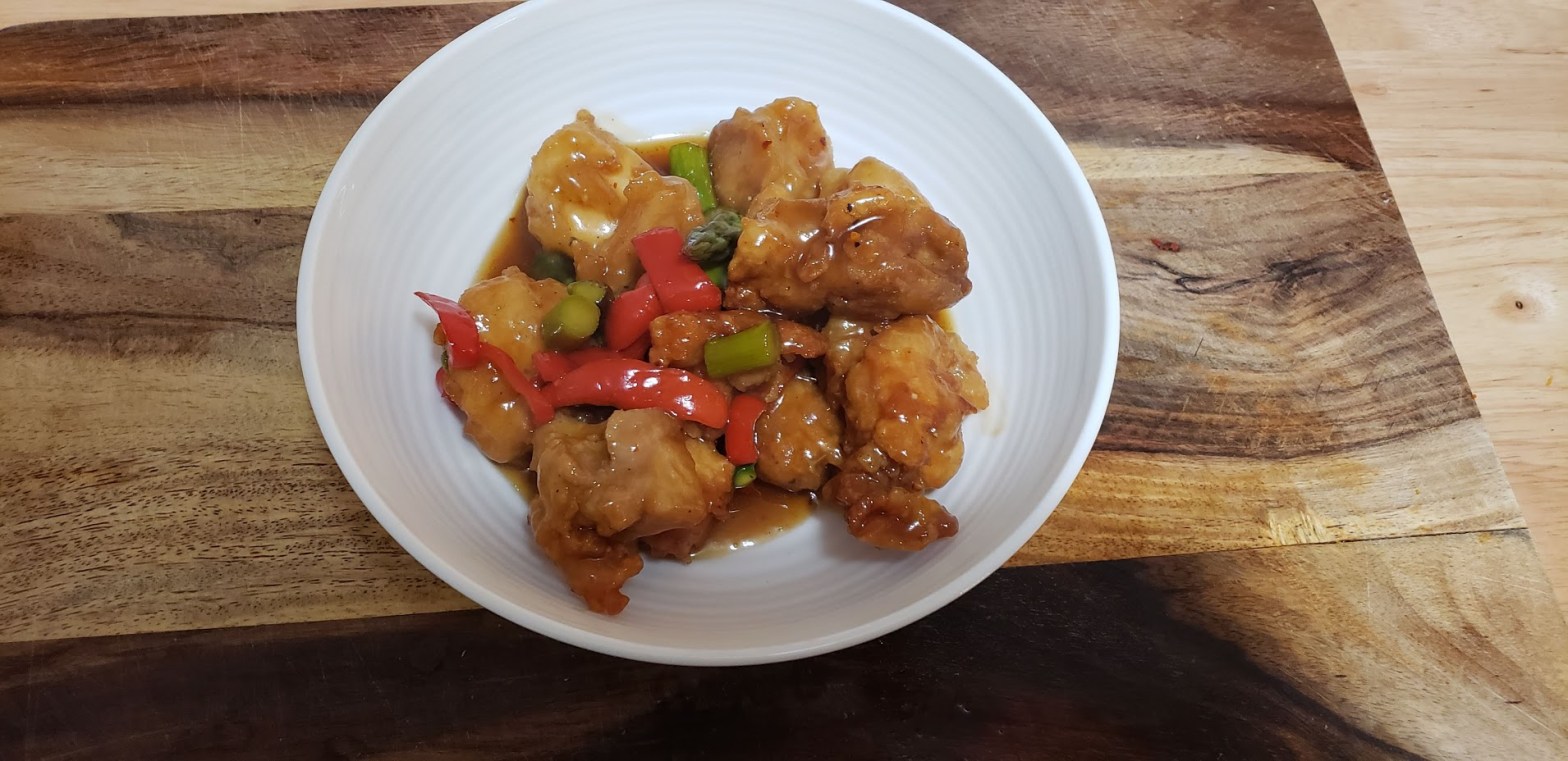
One of my favorite dishes at Chinese restaurants is Orange Chicken! I thought I’d try my hand at making my own recipe of this dish and it turned out amazing! Not to mention, its extremely easy.
Here’s what you’ll need:
For the Chicken
1 lb Chicken
.5 cup Soy Sauce
.5 cup Corn Starch
1 Egg – Beaten
1 tsp Orange Zest
Black Pepper
Korean Pepper Flakes (Crushed Red Pepper Flakes work too)
For the Sauce:
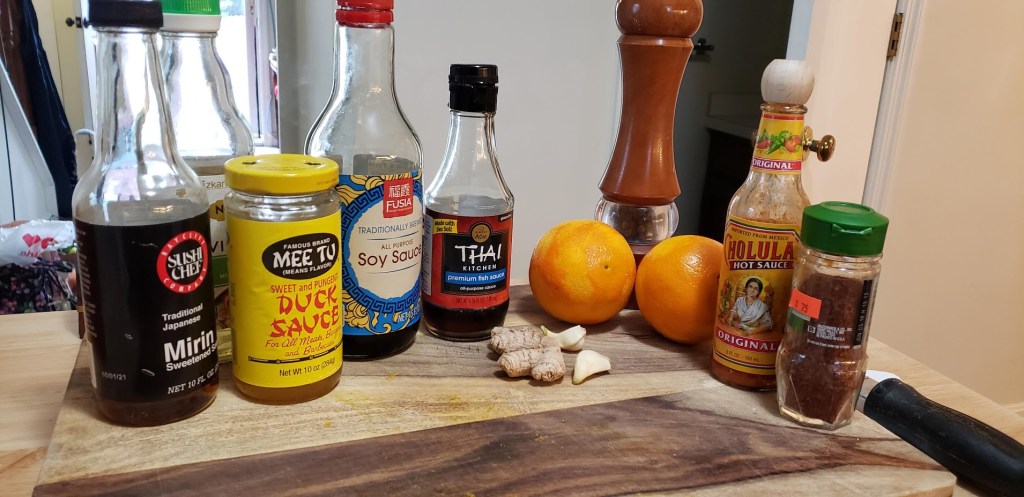
2 Oranges – zest and juice
.5 cups Soy Sauce
1 tbsp Fish Sauce
1 tbsp Duck Sauce
1 tsp Rice Vinegar
1 tsp Mirin
Splash of Hot Sauce
1 tsp minced Ginger
2 Cloves Minced Garlic
.25 Cups Dark Brown Sugar
1 tsp Korean Pepper Flakes
1 tsp Black Pepper
Slurry of corn starch and water
1 tbsp corn starch
1 tbsp cold tap water
Optional Veggies:
Red Peppers & Asparagus
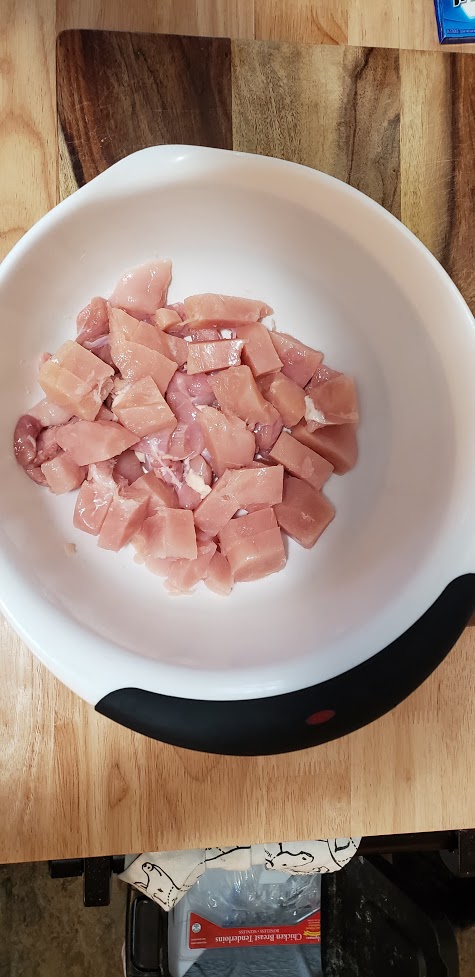
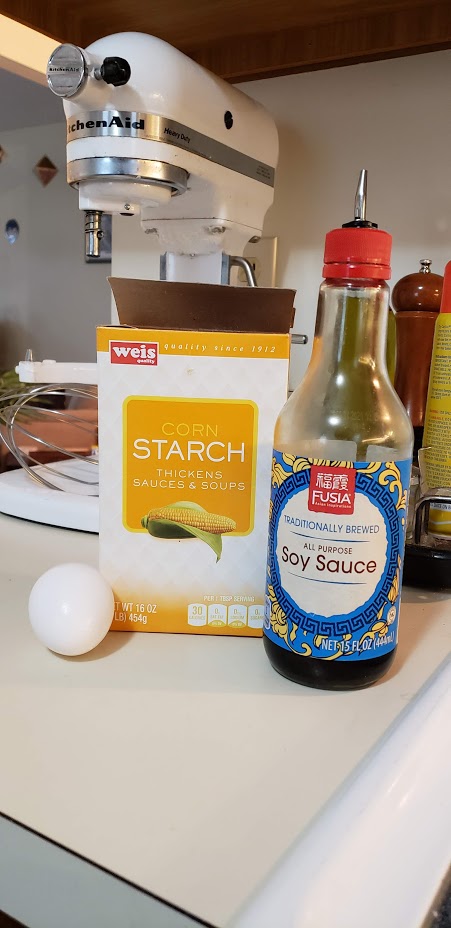
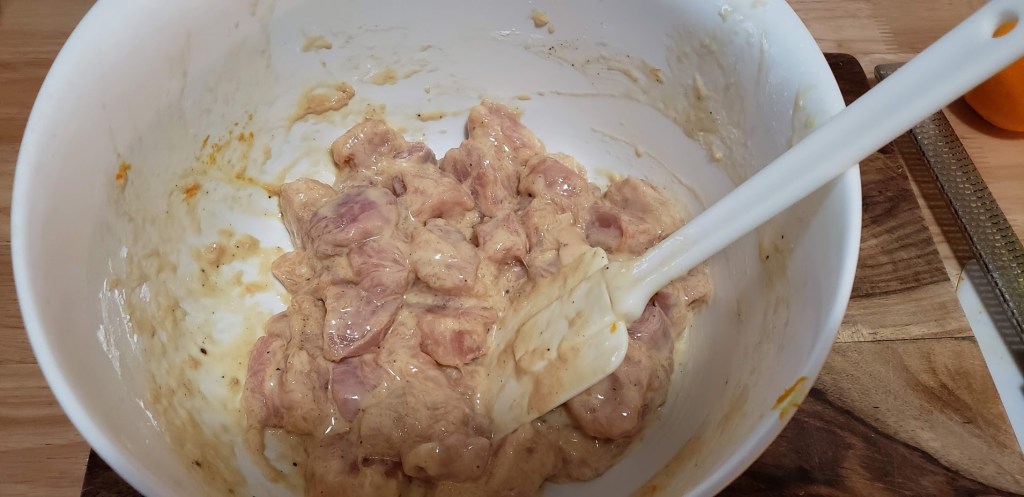
To start the chicken cut it into 1 inch pieces and add to a mixing bowl with the egg, corn starch, orange zest, black pepper, and pepper flakes. This will make an almost pasty batter.
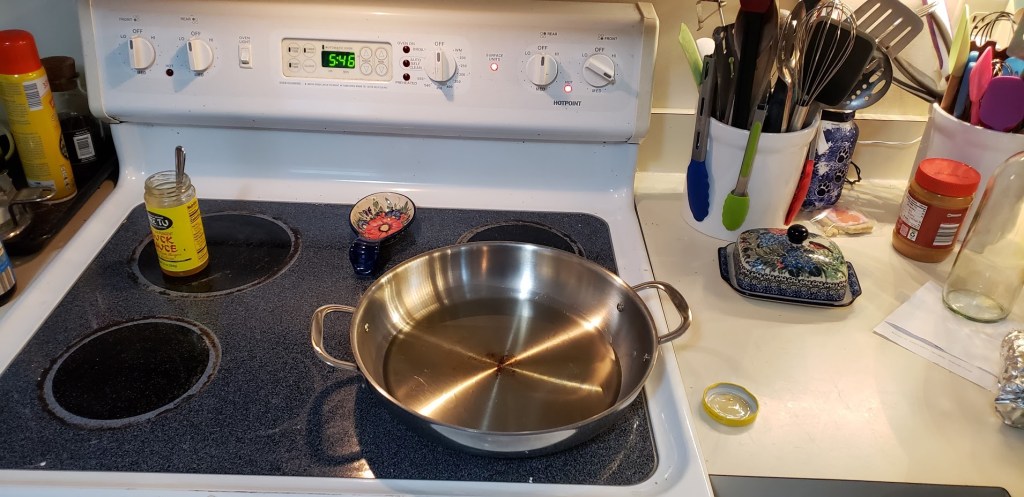
Let the chicken rest for about 5 minutes. While the chicken is resting heat vegetable oil in a large skillet over medium high heat. About 1/4″ of oil will work perfectly.
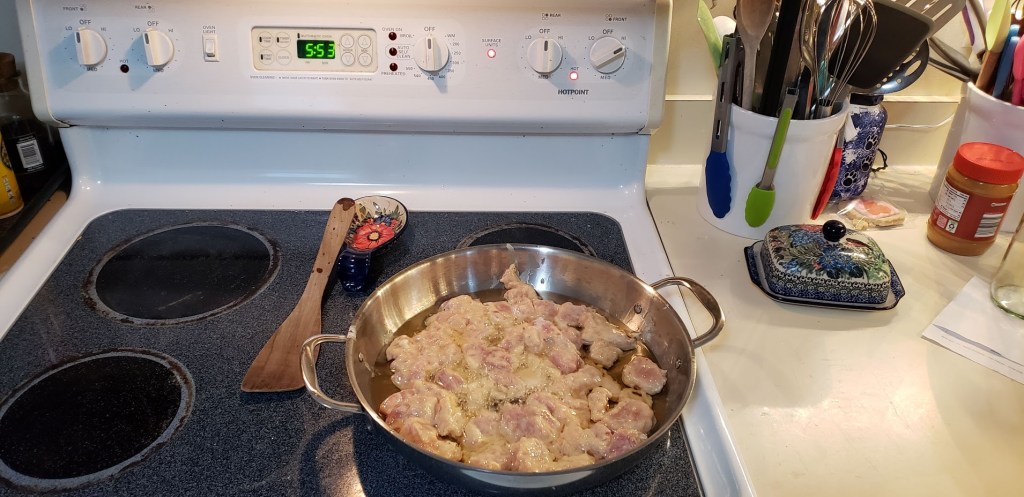
Once the oil is hot enough we are going to do the first of two fries on our chicken. For the first fry put all of the chicken in a single layer and cook until it just begins to brown. Once it browns on one side you can flip the chicken over in chunks to brown the other side.
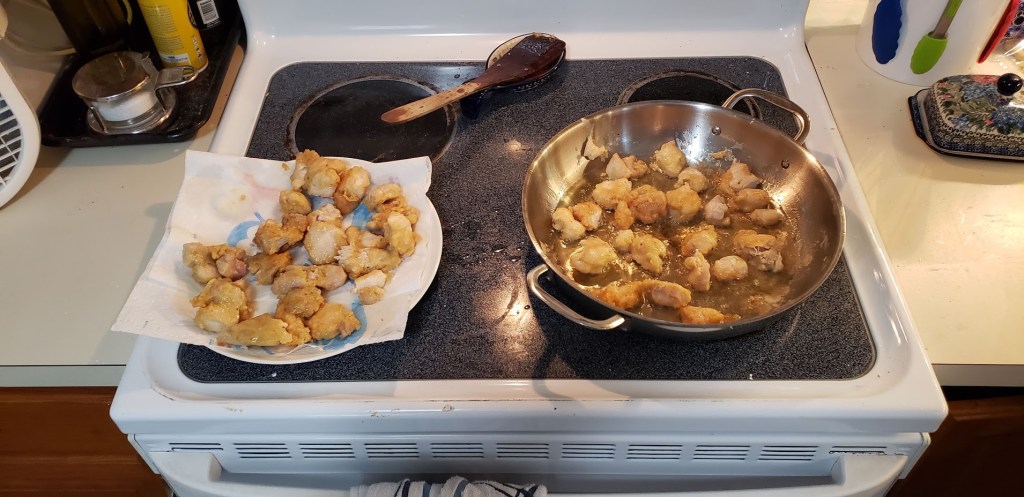
Once the chicken is slightly browned on each side take it out of the oil and set it on a plate with paper towel to soak up any extra oil. Add a little bit of fresh oil to the pan and re-fry the chicken in small batches until crispy and cooked to 165° F or higher. I did mine in 3 separate batches. Once each batch is done pat off the excess oil with a paper towel and let sit on a cooling rack.
Once all of the chicken is fired it is time to make the sauce. This is the easiest part! All you need to do is put all the sauce ingredients in a bowl and whisk until combined!
Brown sugar not pictured. Don’t forget the brown sugar!
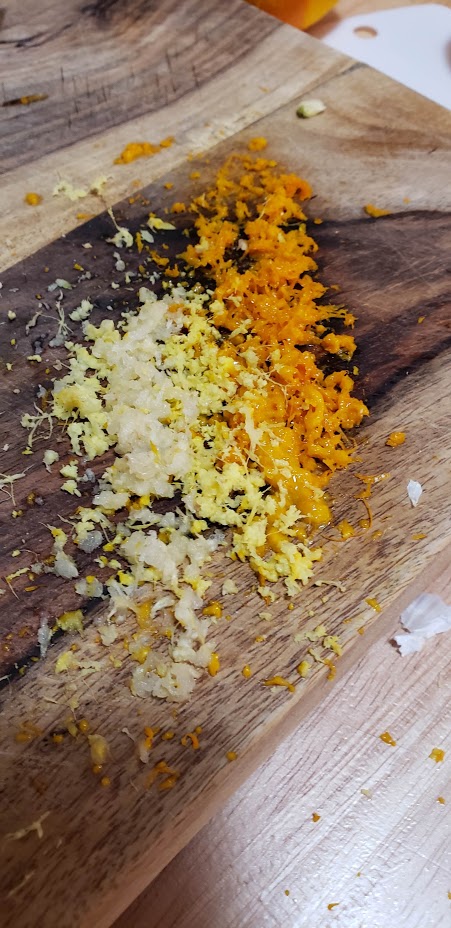
Orange zest, ginger, and garlic
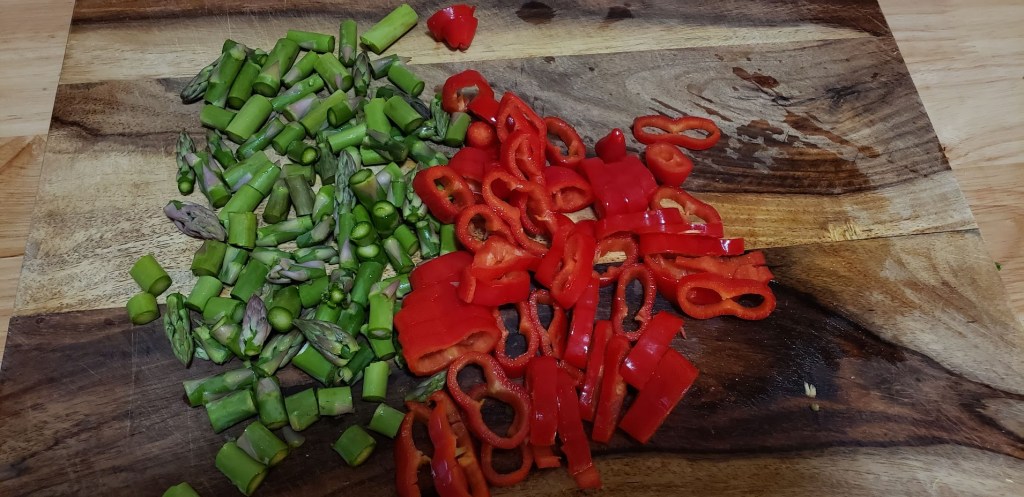
I decided to serve my orange chicken with some sweet red peppers and asparagus. To prepare the veggies cut them into bite sized pieces.
Don’t forget to snap the hard ends off the bottom of the asparagus
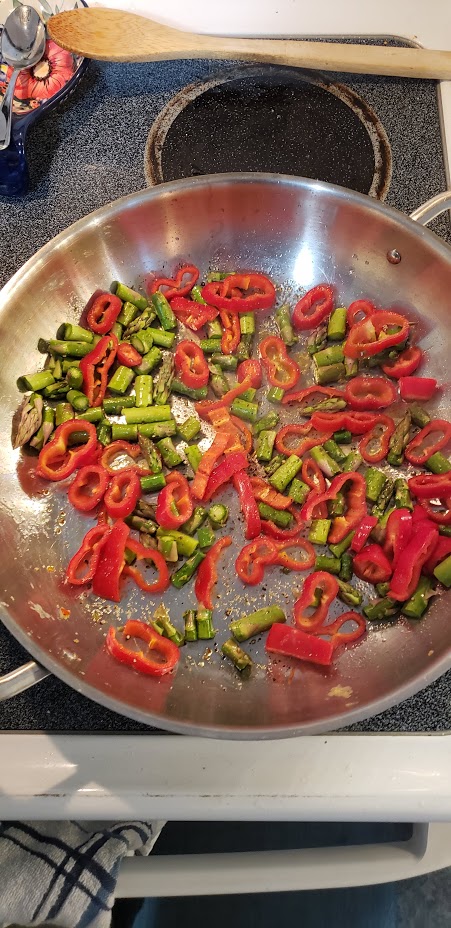
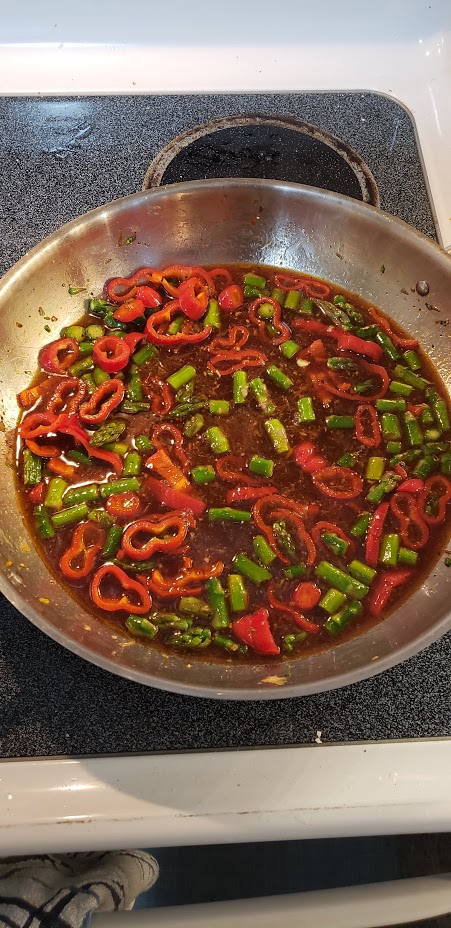
Once our veggies are chopped it is time to start putting everything together! First we are going to start in a clean pan with olive oil (just enough to coat the bottom) over medium high heat. Once the oil is hot enough cook the veggies with some salt and pepper.
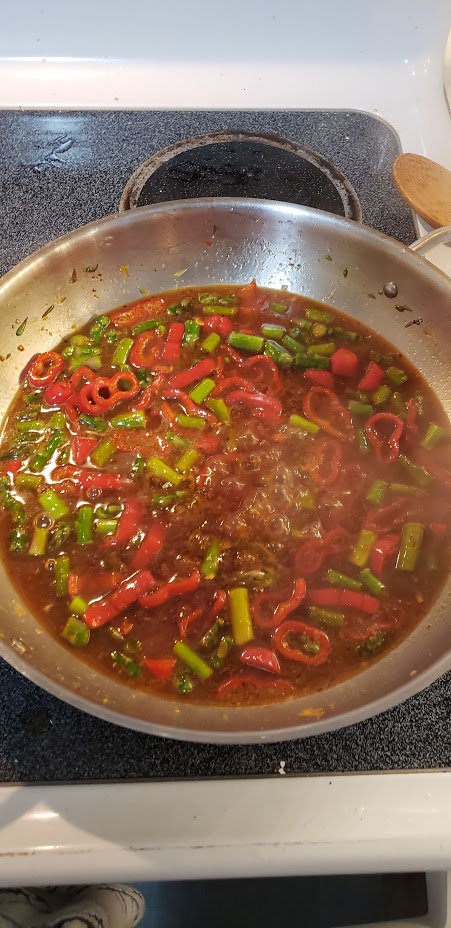
Once the veggies are tender add the sauce. Bring the sauce to a boil then reduce to a simmer.
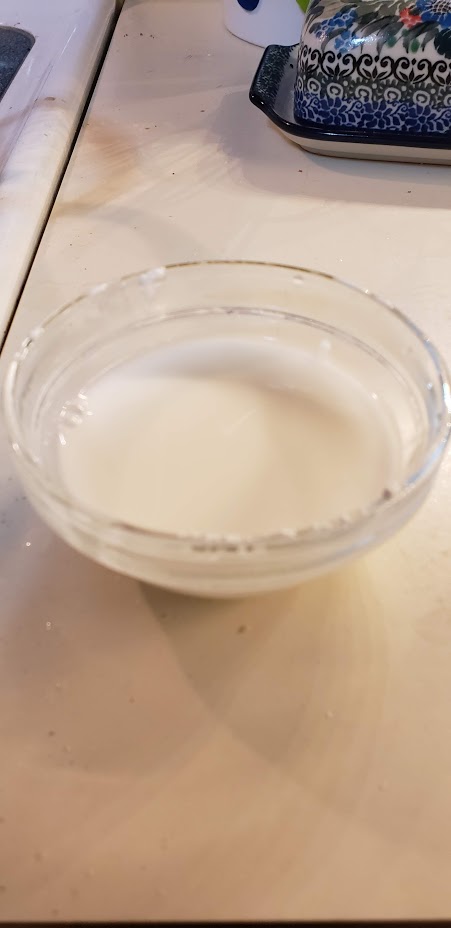
Now that the sauce is simmering we are going to create what is called a slurry. This will make our sauce get nice and thick! To create the slurry, mix one tablespoon of cornstarch with two tablespoons of cold (make sure its cold) water. It should look like this:
Whisk the slurry slowly into your simmering sauce and you will notice that it will instantly begin to thicken.
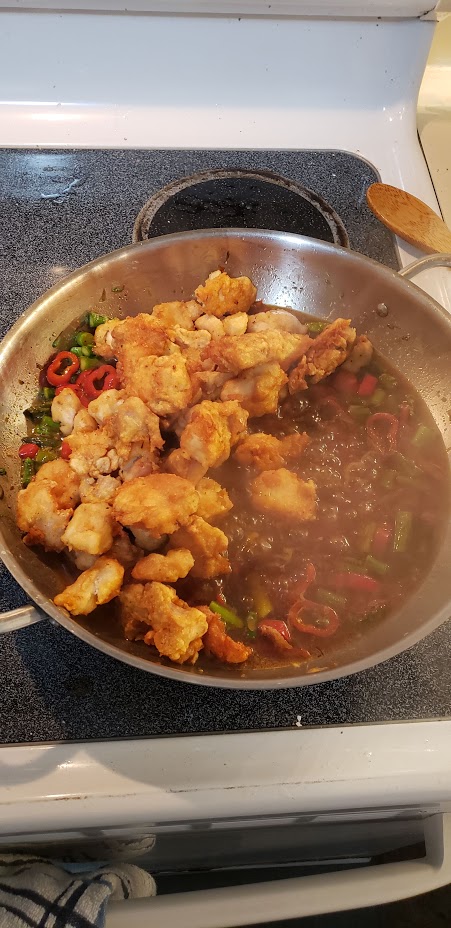
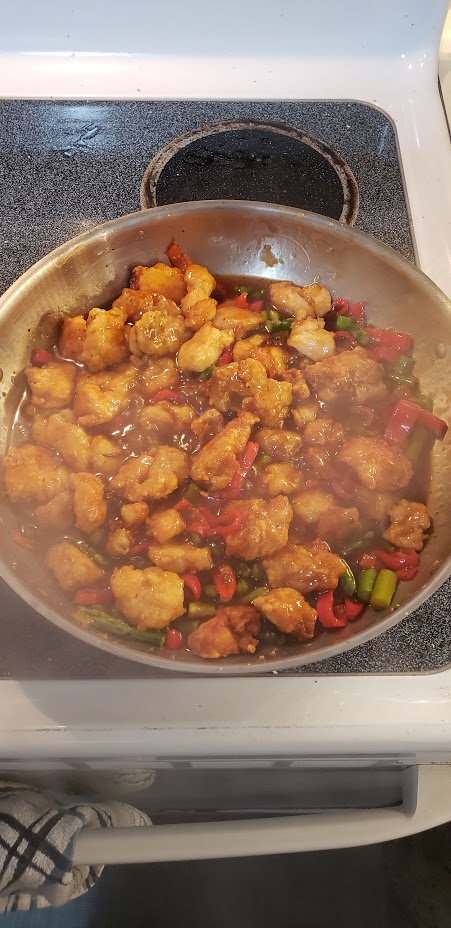
Our sauce has thickened so it is now time to add all the cooked chicken back into the pan.
Stir the chicken in the sauce until it is evenly coated. Let the chicken simmer in the sauce for a few minutes to heat the through.
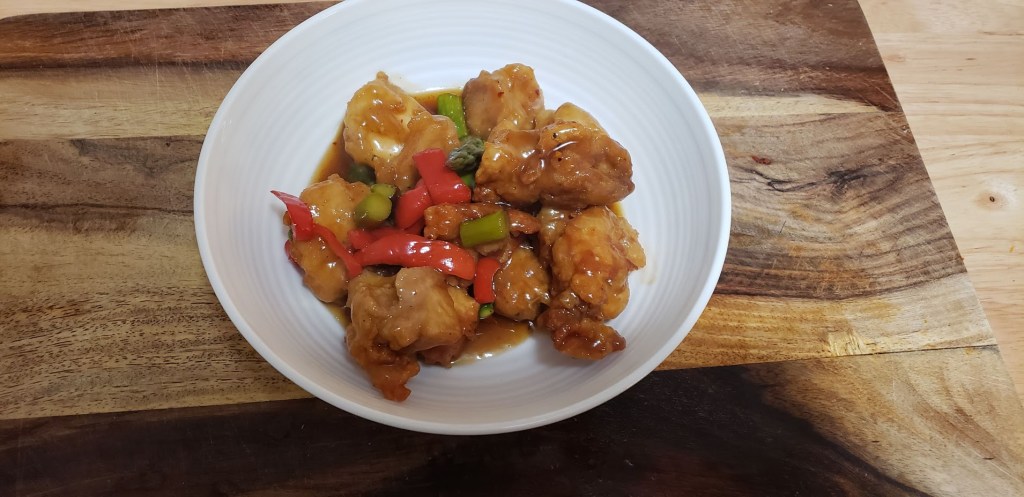
Just like that we made a delicious Chinese takeout dinner at home!
If you have any questions, comments, or concerns please let us know!
If you know me, you know that I am a planner. And when it comes to my mornings, I have a few steps that I take to ensure that I have a smooth, stress-free start to my day. In a perfect world, this would be everyday. In reality, it is MOST days, if I do these things:
Prep lunches for the week, or at least for 4 days. This is usually a salad with some kind of protein (whole grain pasta, hard-boiled egg, etc.) plus a piece of fruit and a salty snack. 🙂
Have a plan for breakfast. Yes, for the whole week. This post will help you with that! I rotate between baked oatmeal, English muffins with peanut butter, and yogurt with fruit.
Lay out clothes the night before, because you will joyously thank yourself in the morning.
Set up coffee the night before on a timer, if you are a coffee drinker (otherwise, you are not human and I don’t know how you function daily).
When I take these steps, no matter how much time it takes me on Sunday and the night before, it is WORTH. IT. You might actually have time to sit on your couch in the morning before work and watch the news, OR ignore that negativity and listen to a good record.
Baked oatmeal is truly a breakfast hero- incredibly easy to throw together on a Sunday, and equally as easy to heat up in the morning with some milk or maple syrup. Better still, this is pretty darn good for you- no post-donut morning haze! (No prejudice against donuts, though, because fried dough is delicious.) Keep this recipe in your arsenal for your weekday breakfasts- you will be so happy that you did.
Baked Oatmeal
Makes 6 generous breakfast servings.
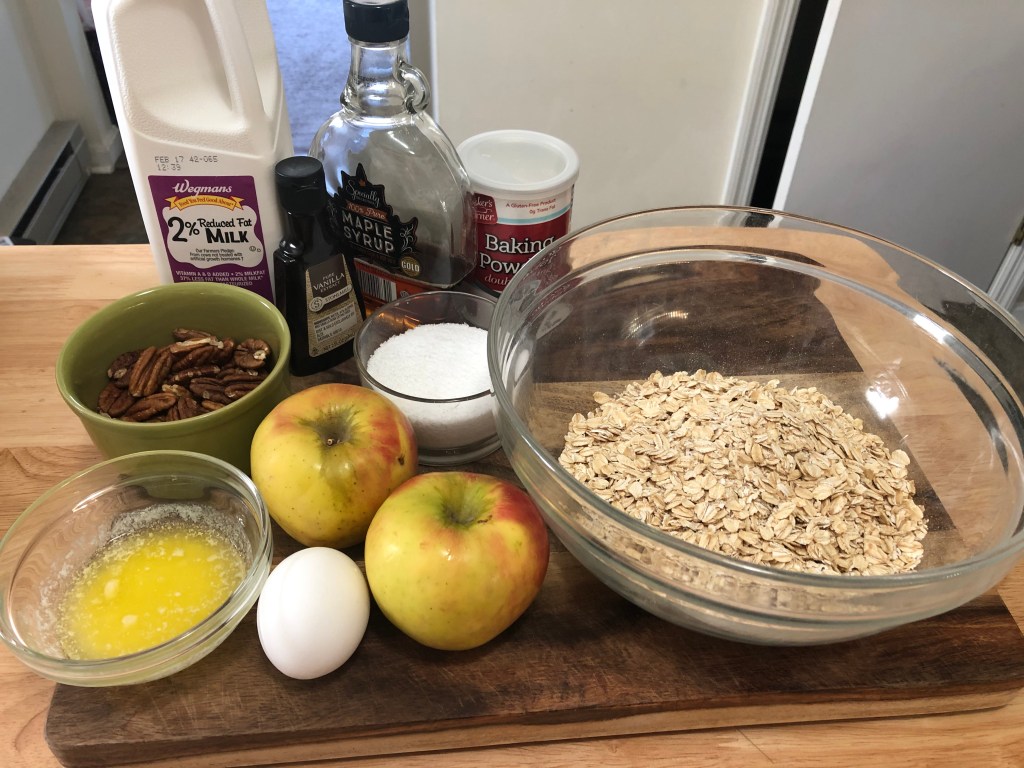
2 cups rolled oats (old-fashioned oats)
1 teaspoon baking powder
1/2 teaspoon kosher salt
2 cups milk of choice (any and all varieties work here)
1 large egg
1/3 cup maple syrup or honey
2 teaspoons vanilla extract
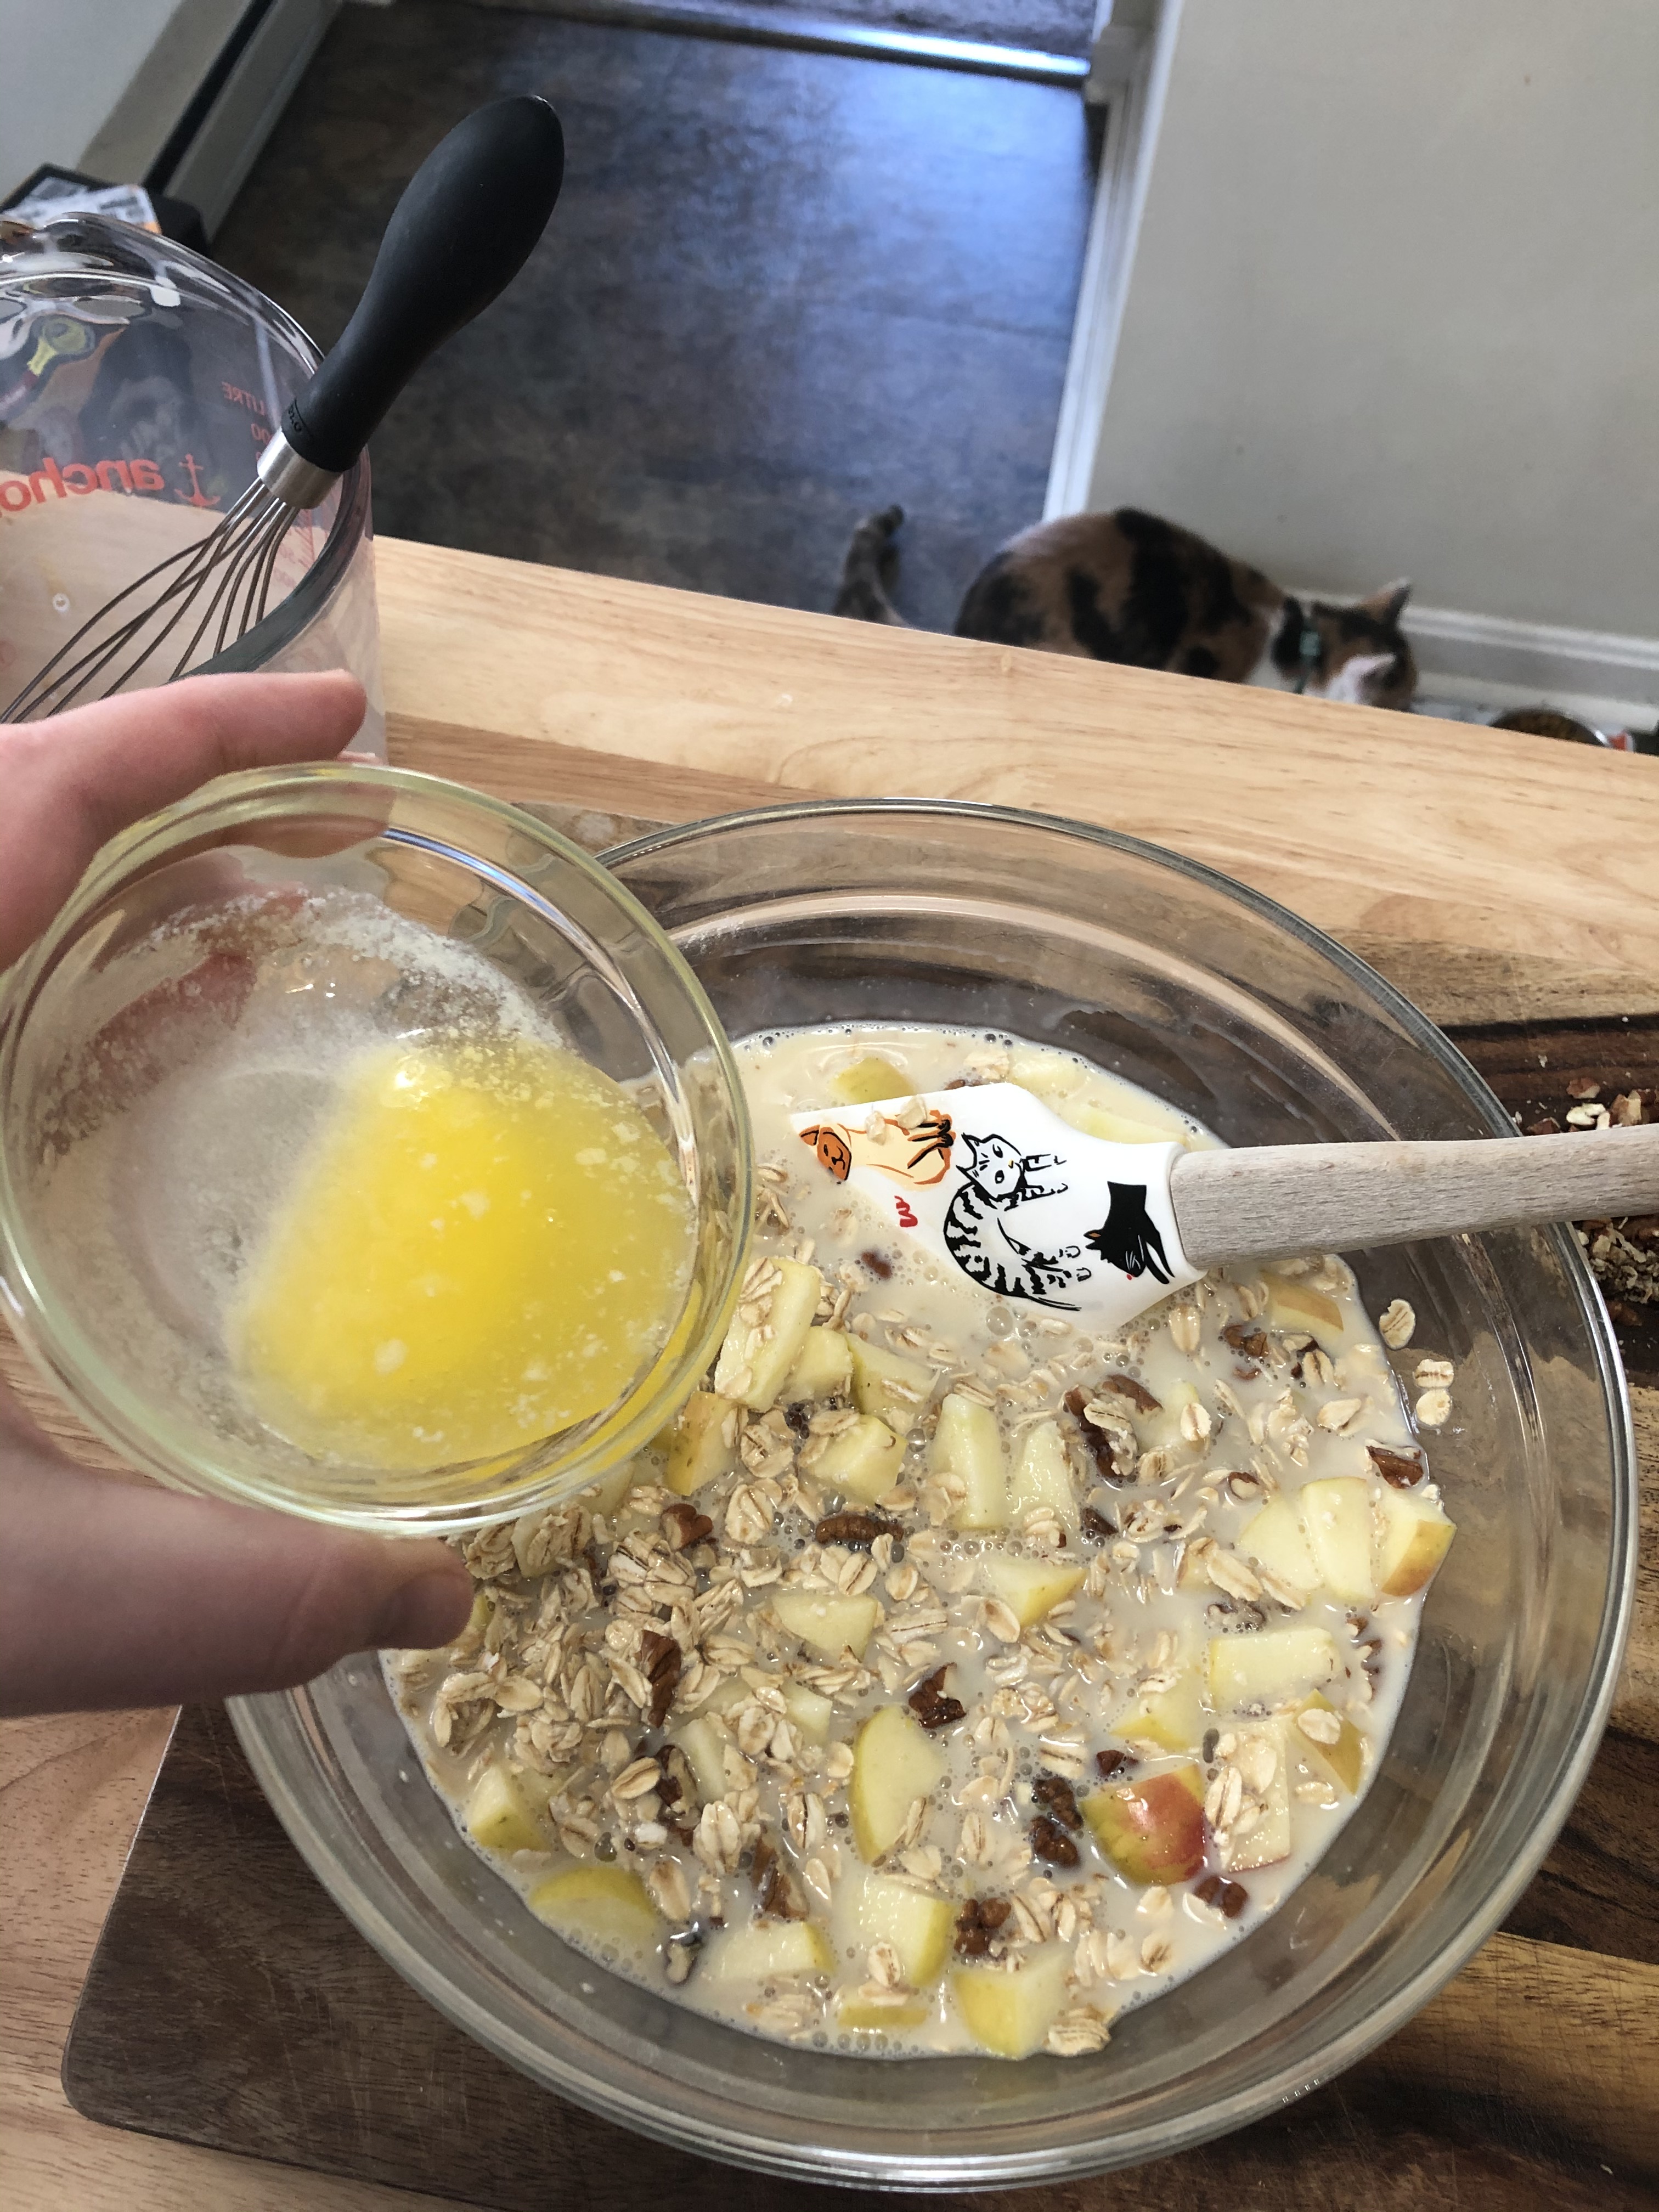
2 tablespoons butter, melted
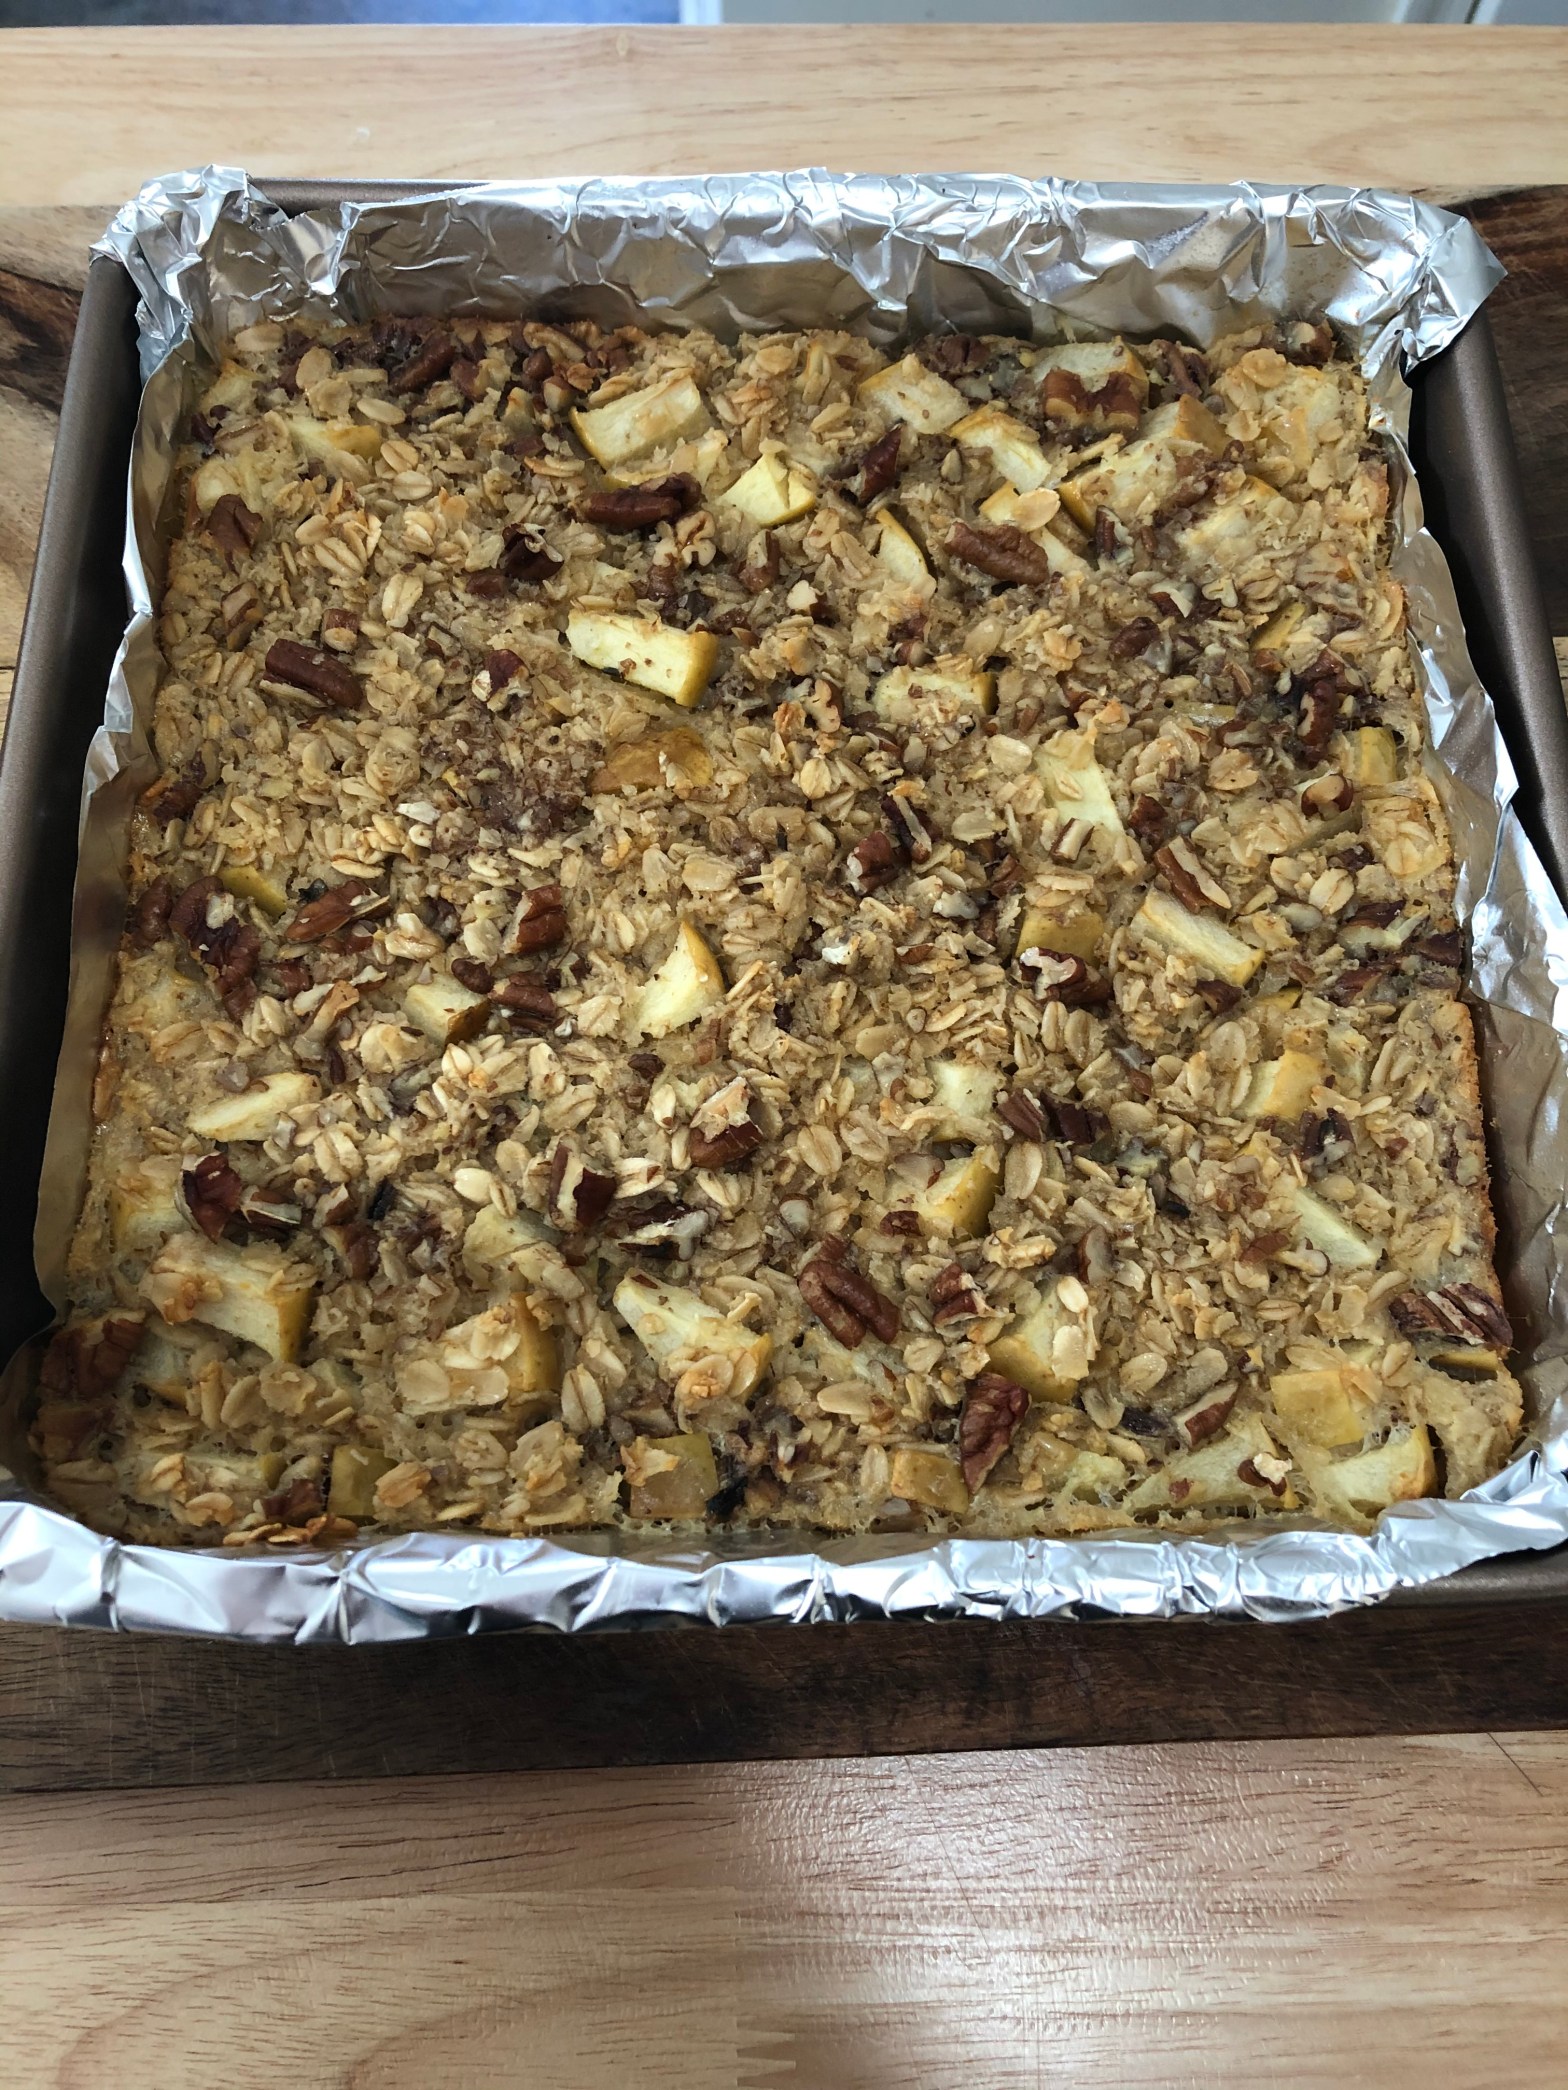
1 1/2 cups fruit, or 1 cup fruit plus 1/2 cup of another mix-in (any variation of diced fresh or frozen fruit works, no need to thaw. Chopped nuts, chocolate chips, and toasted coconut are just a few options for other mix-ins. Diced banana and chocolate chips are a personal favorite. Today I had honeycrisp apples and pecans.)
Preheat oven to 375 degrees F, and line a 9″x9″ baking pan with foil. Grease with butter or spray the foil with nonstick spray.
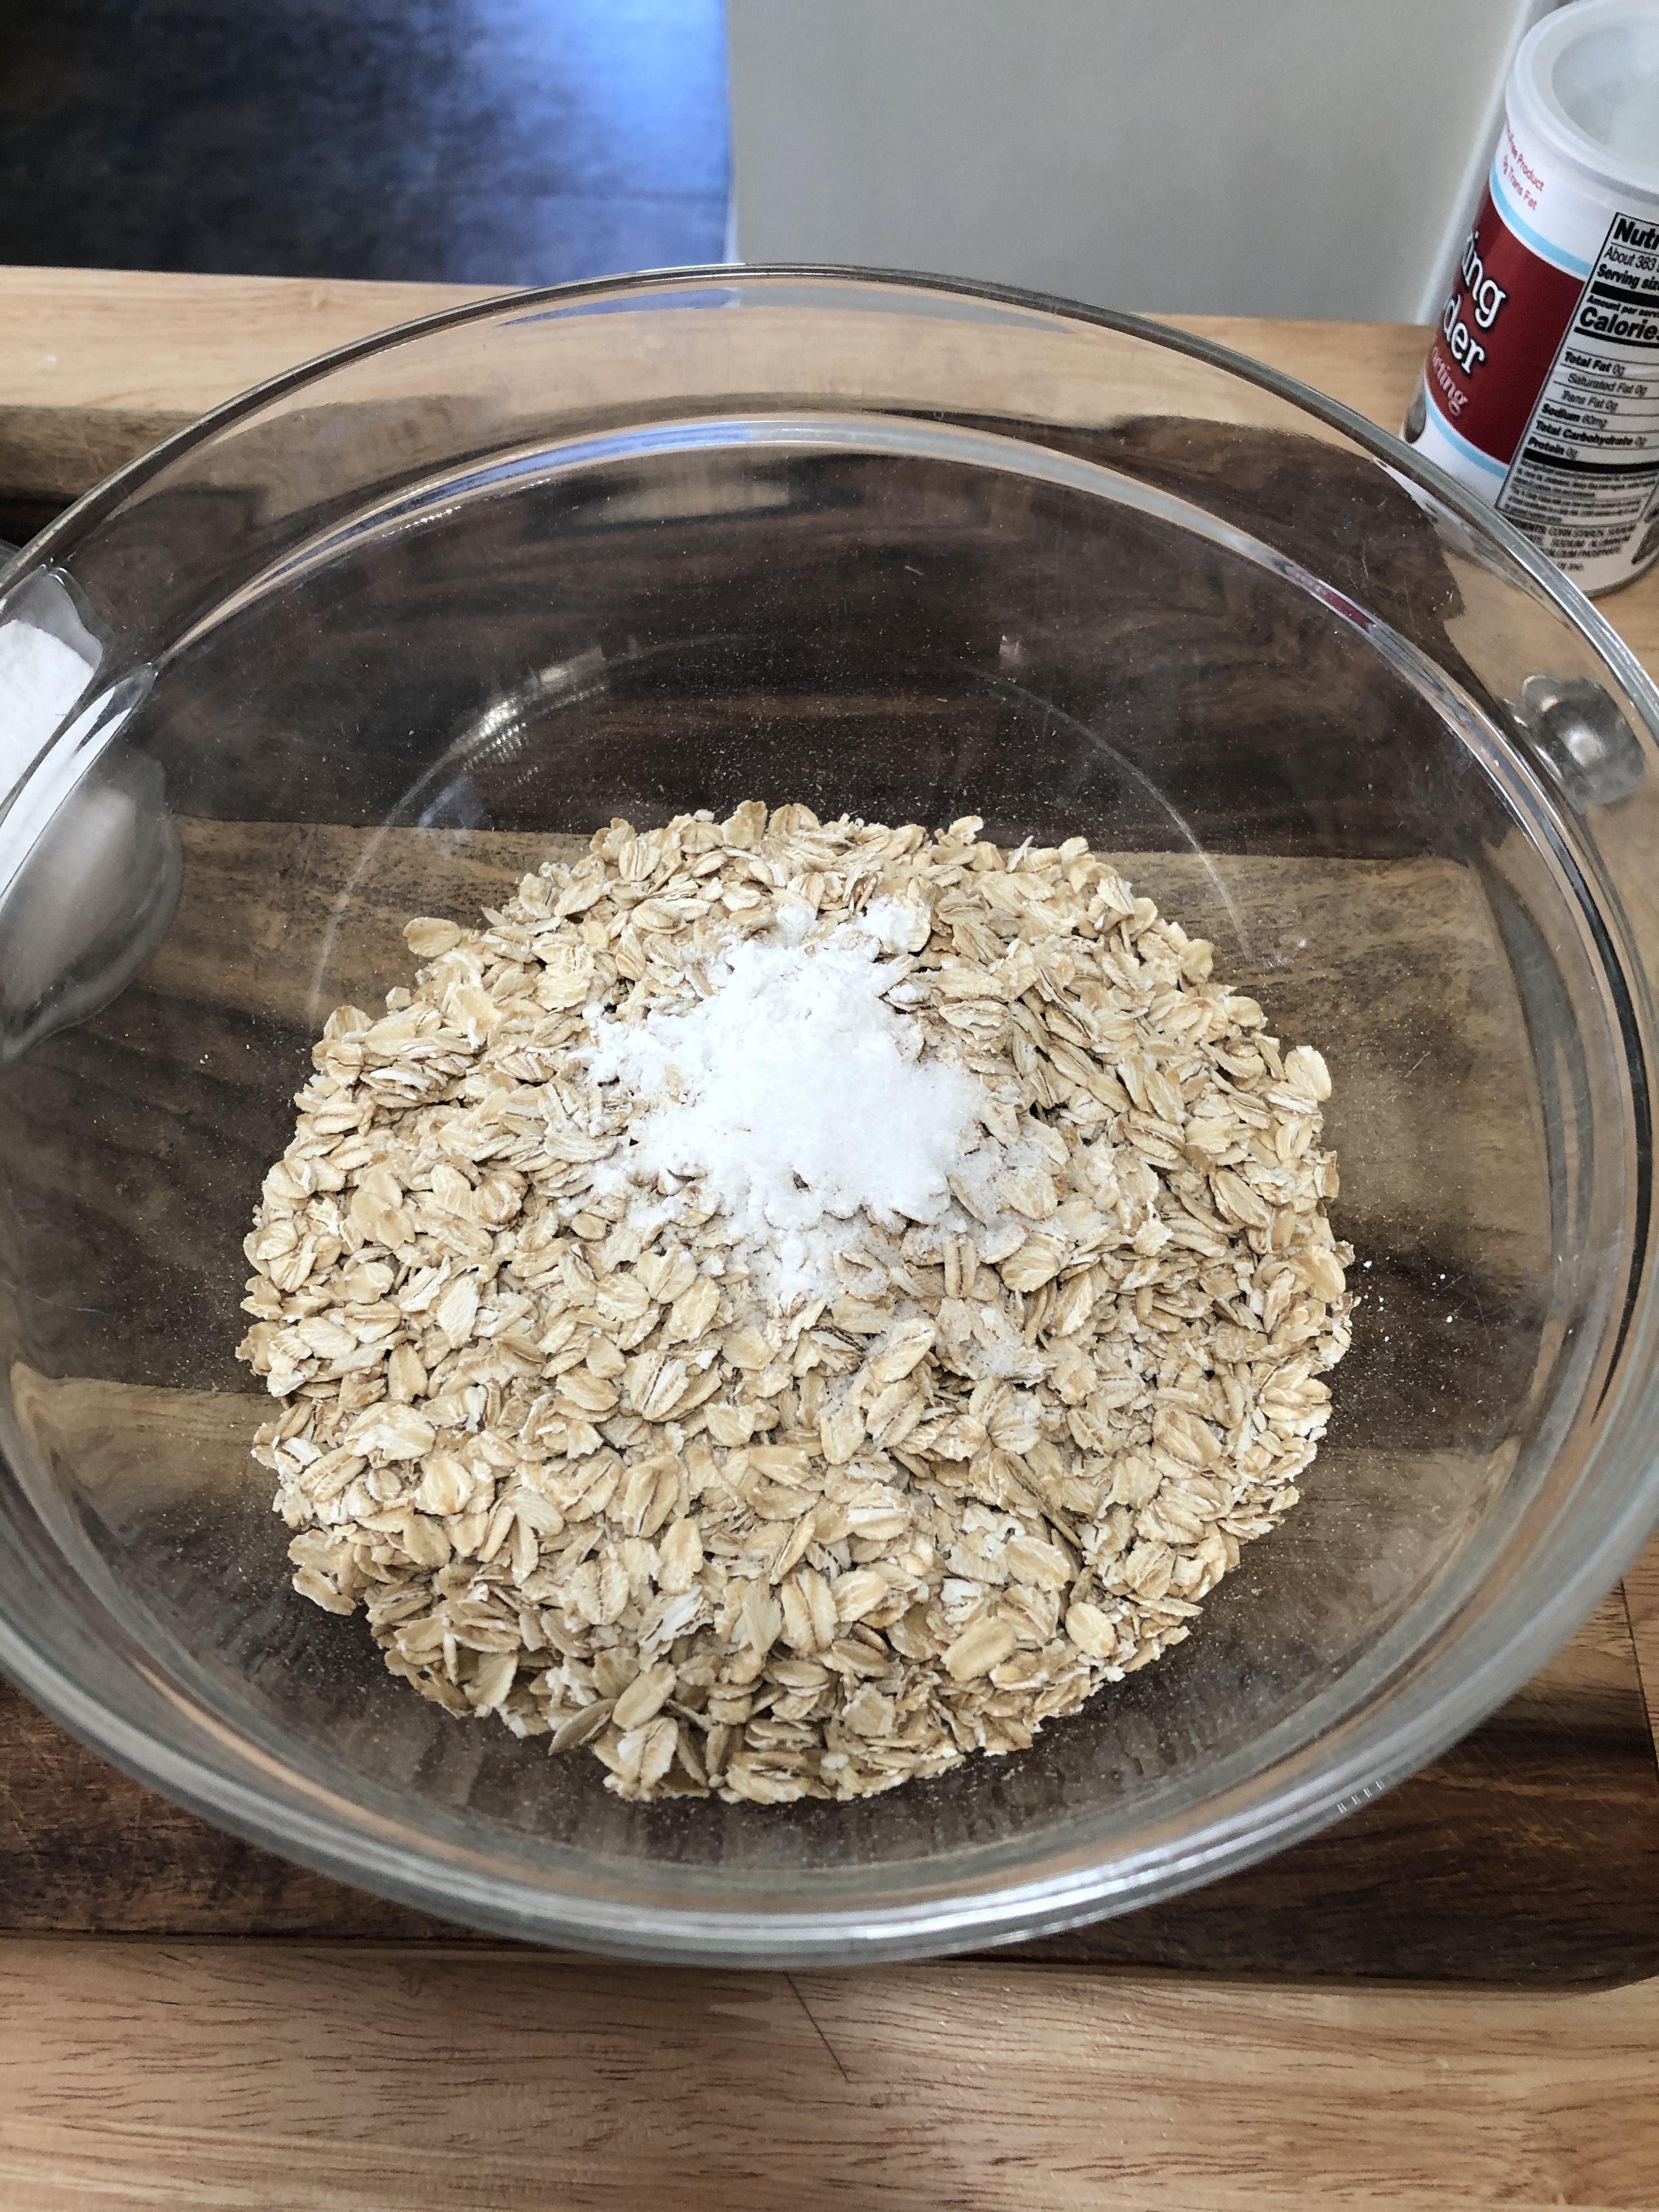
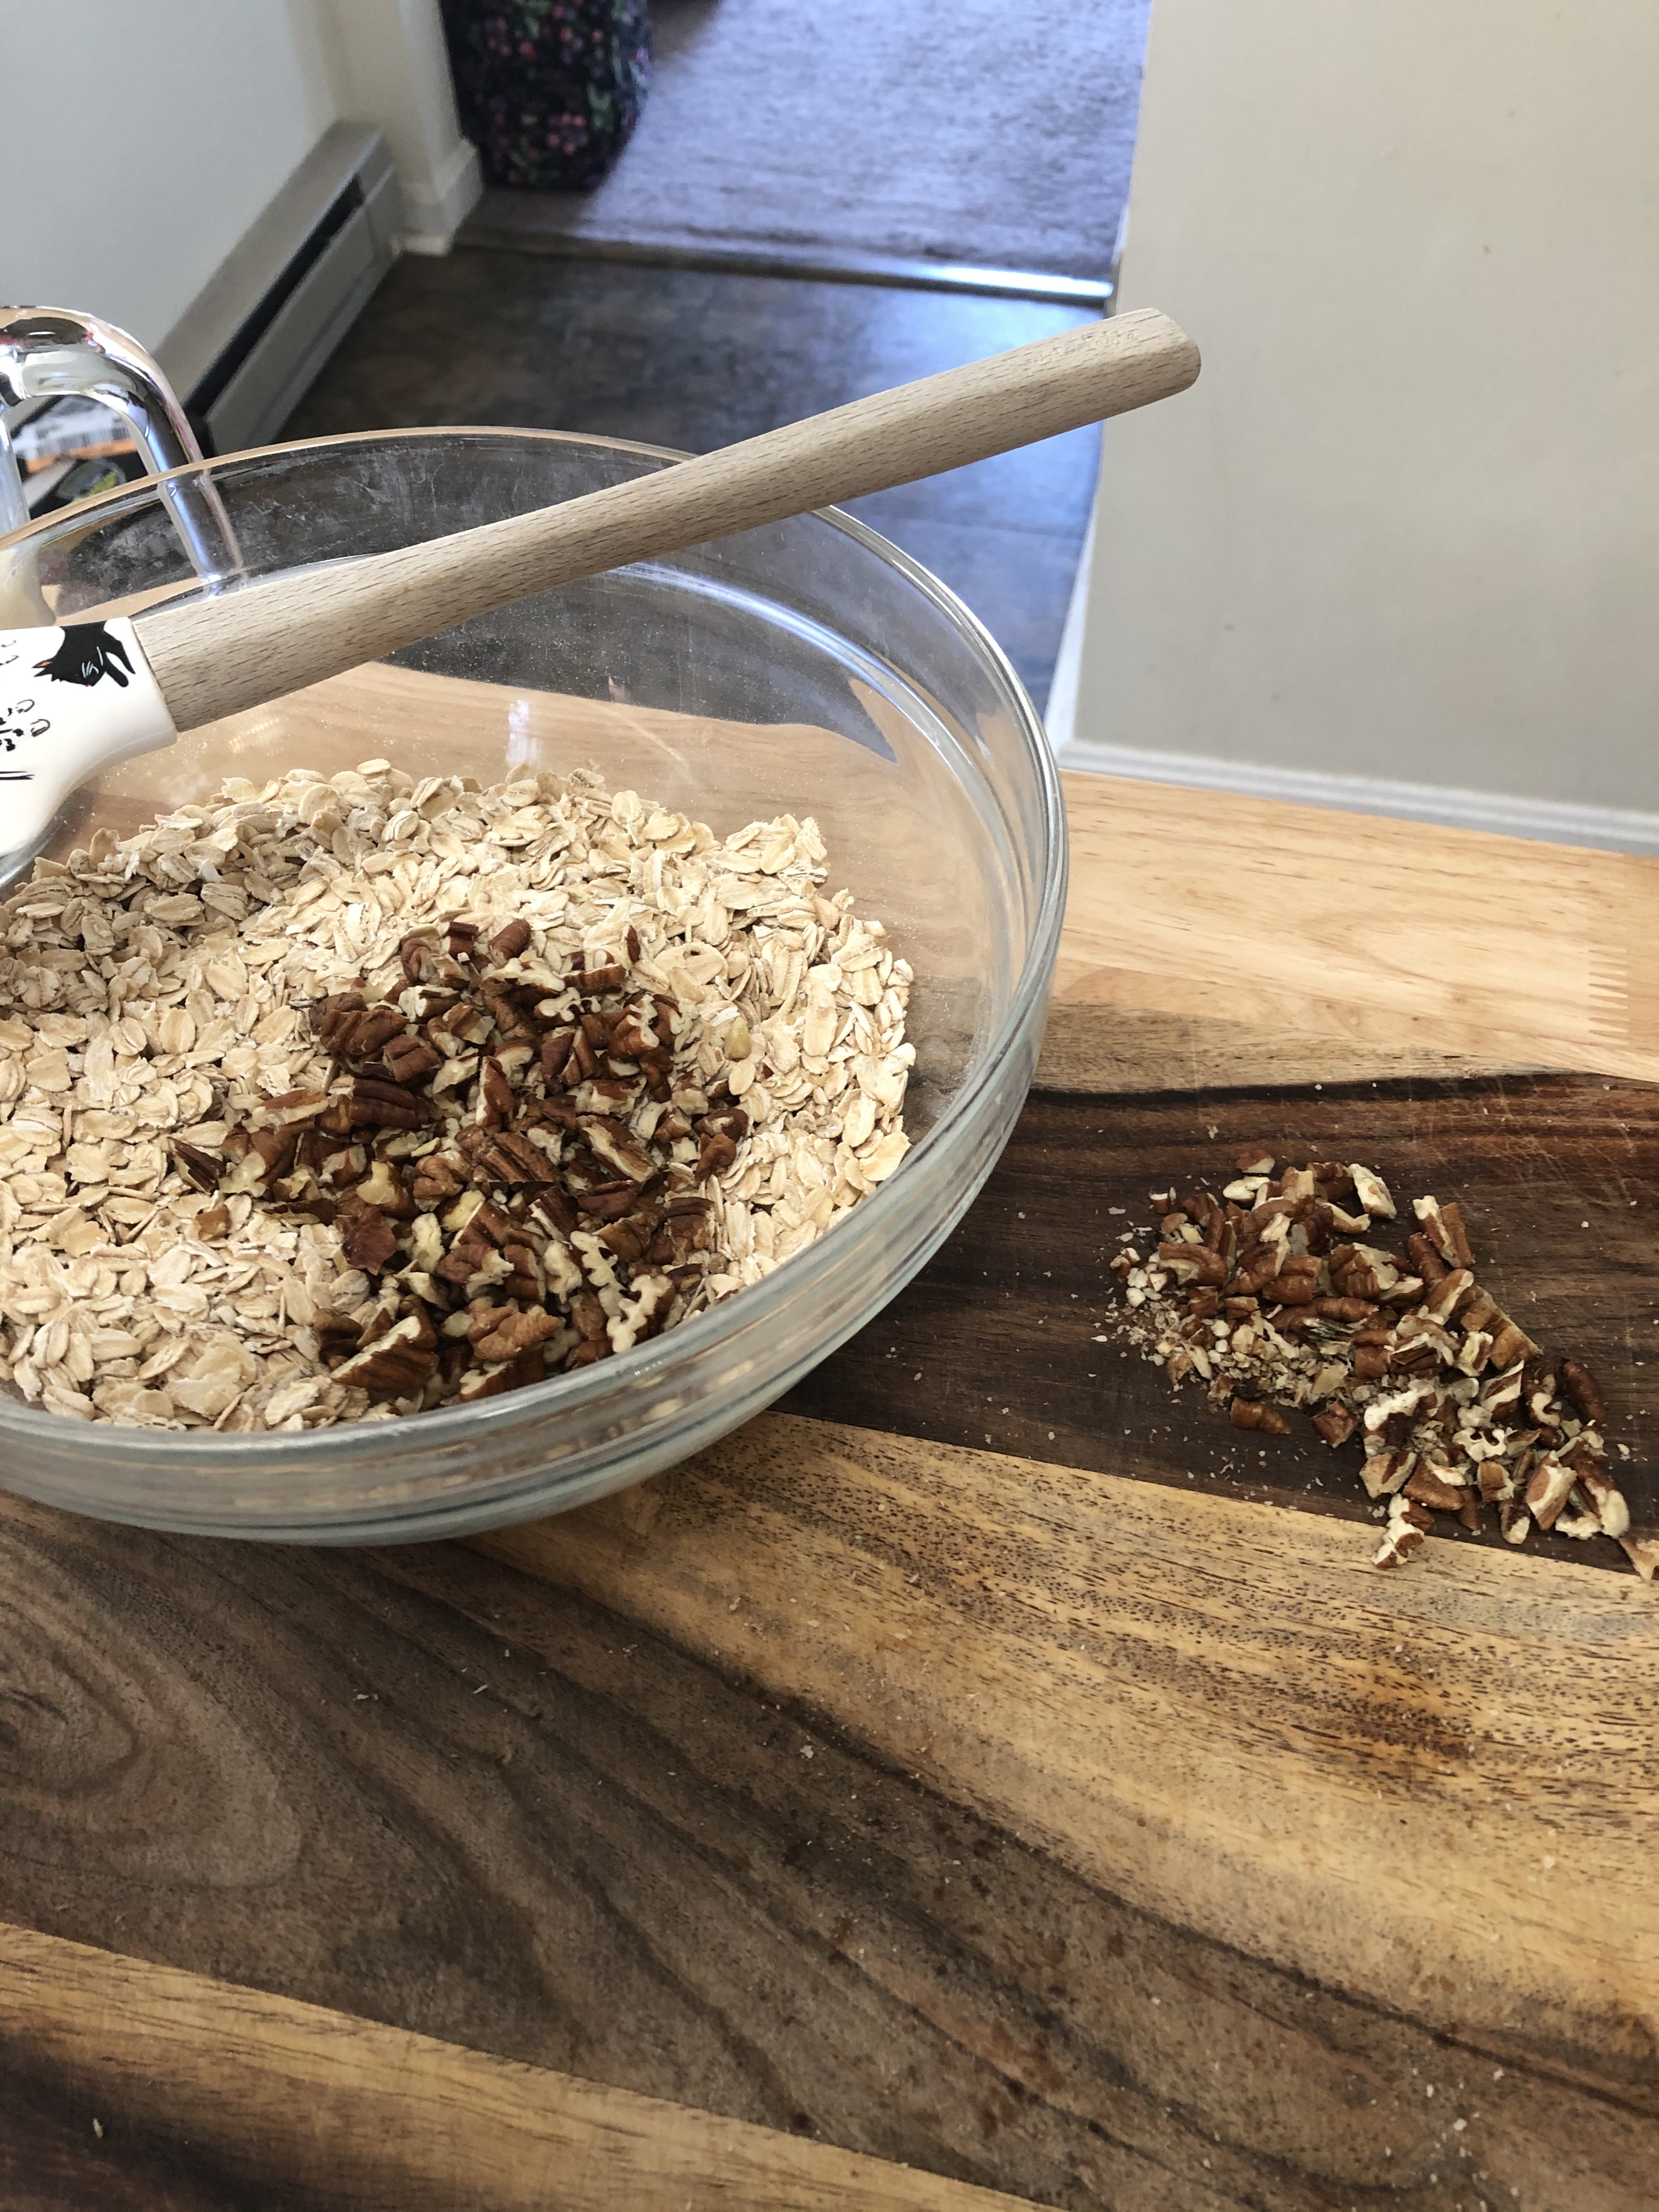
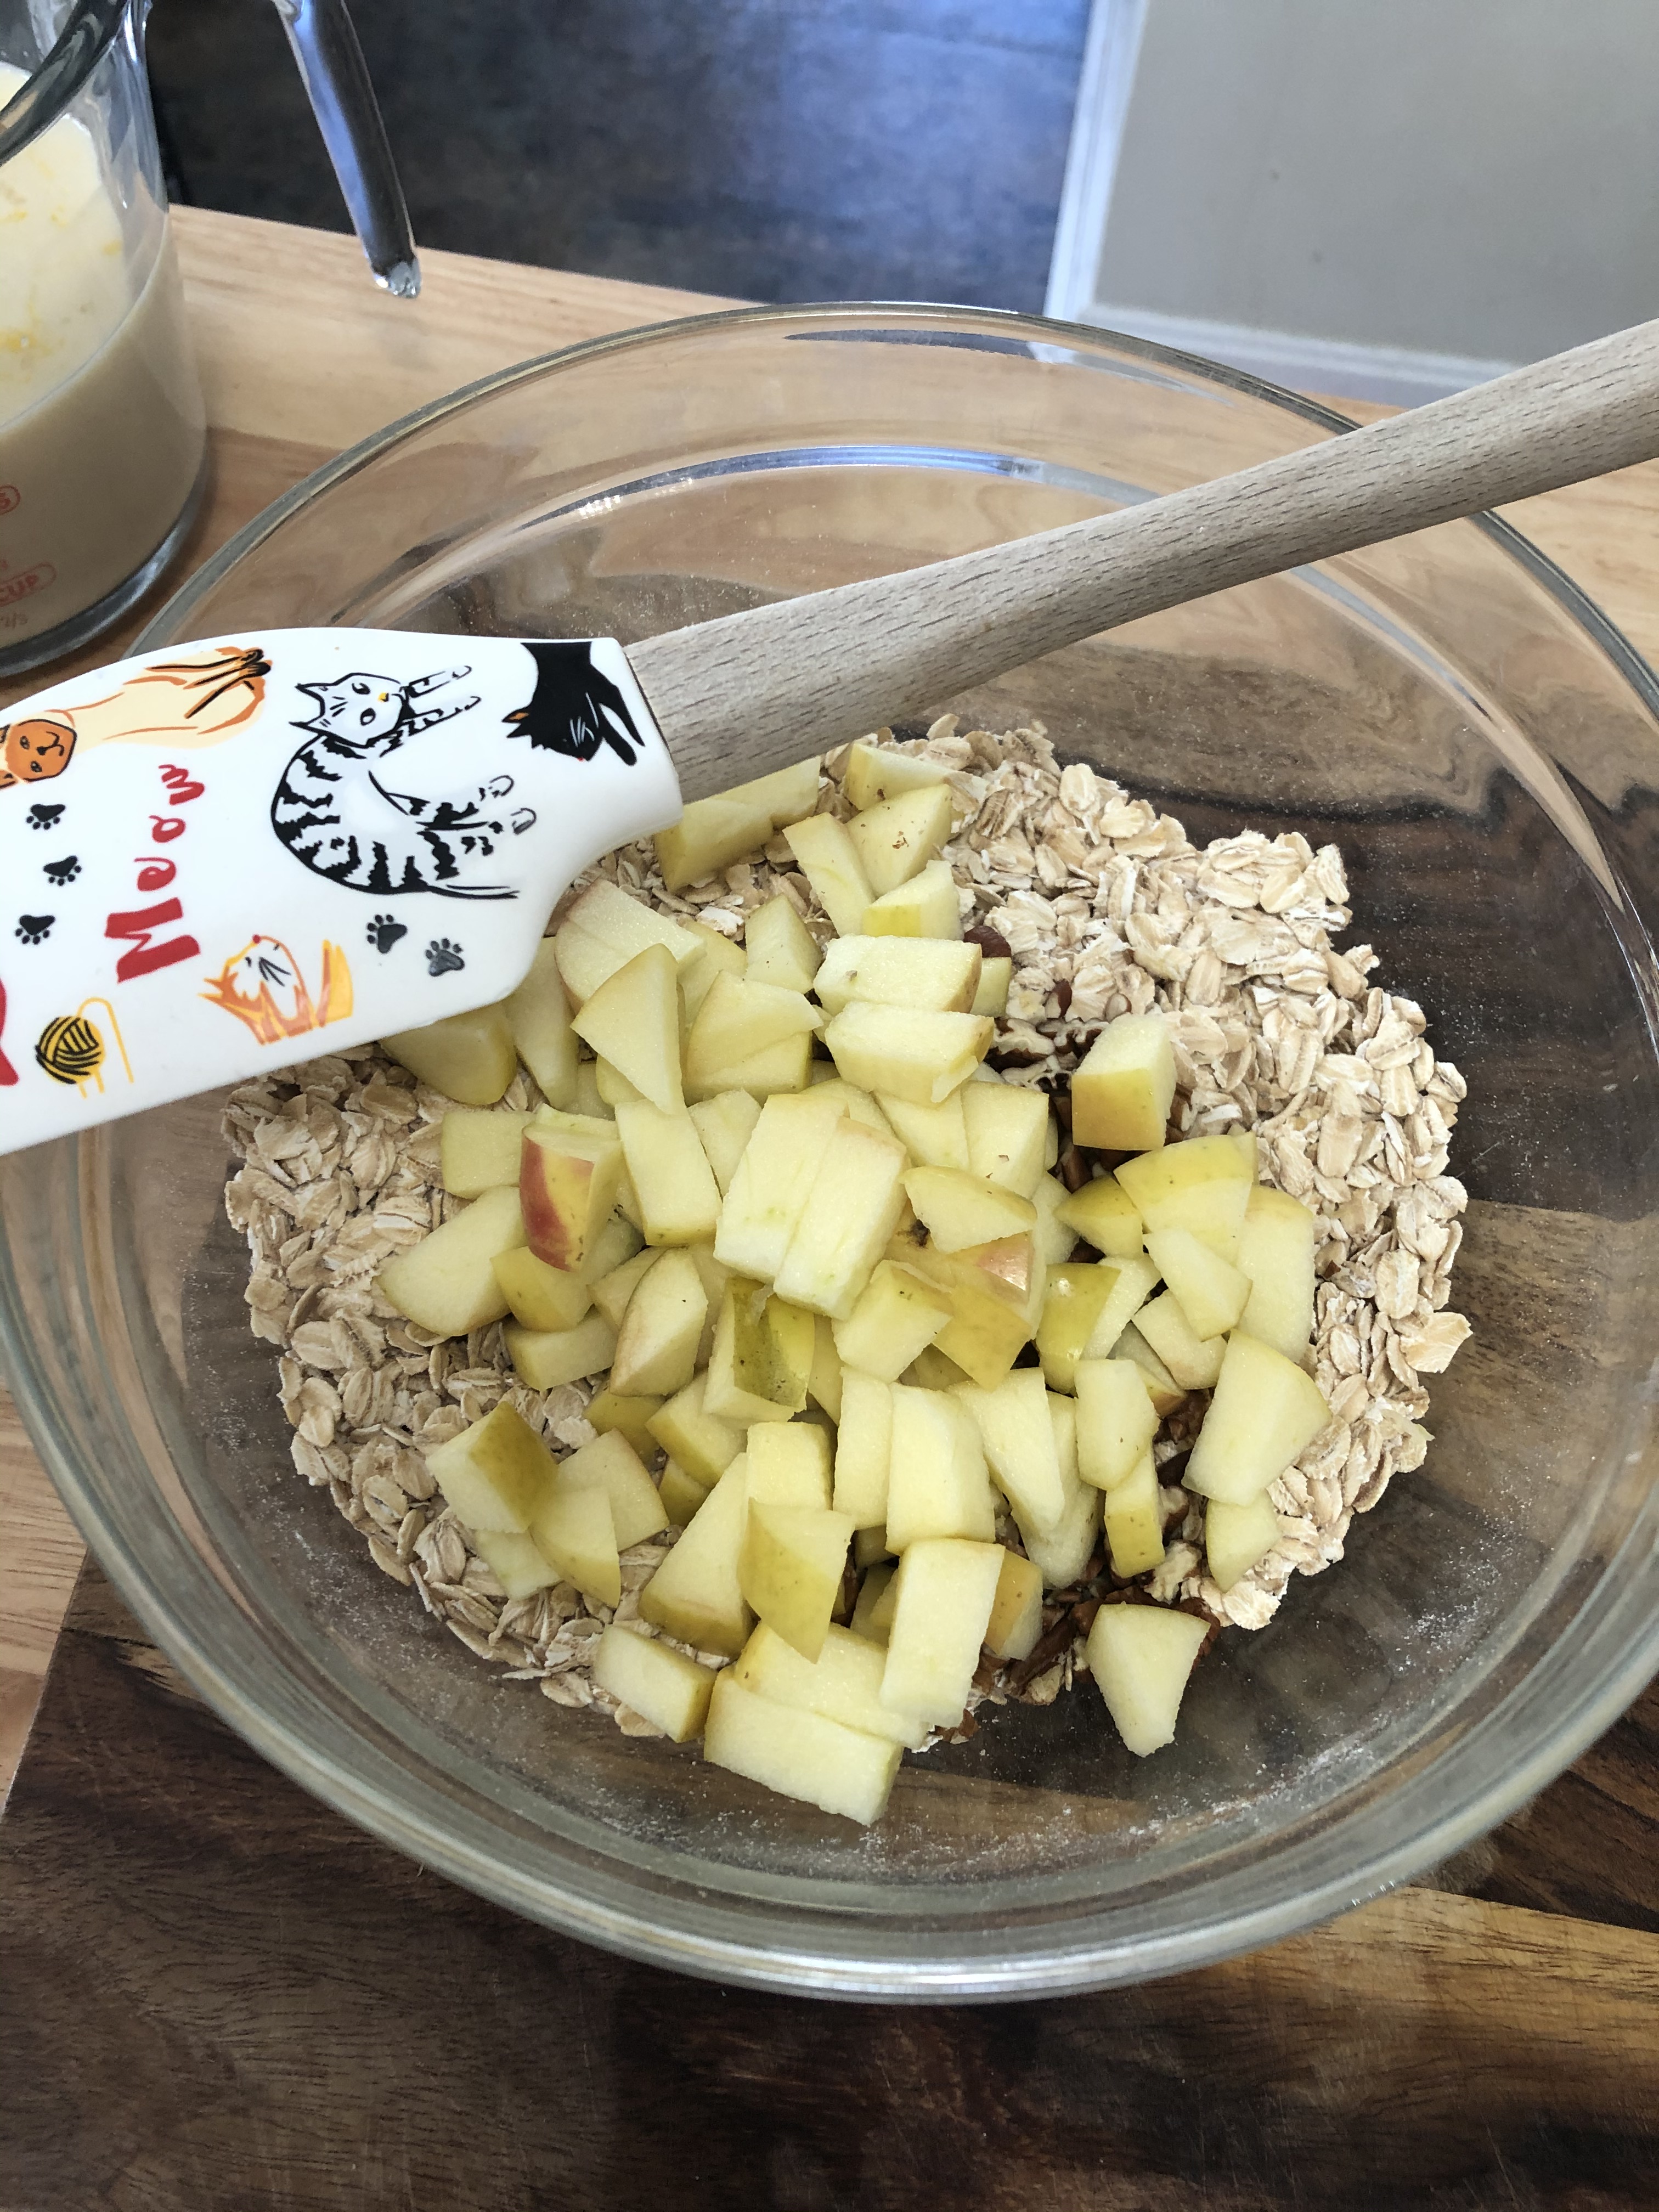
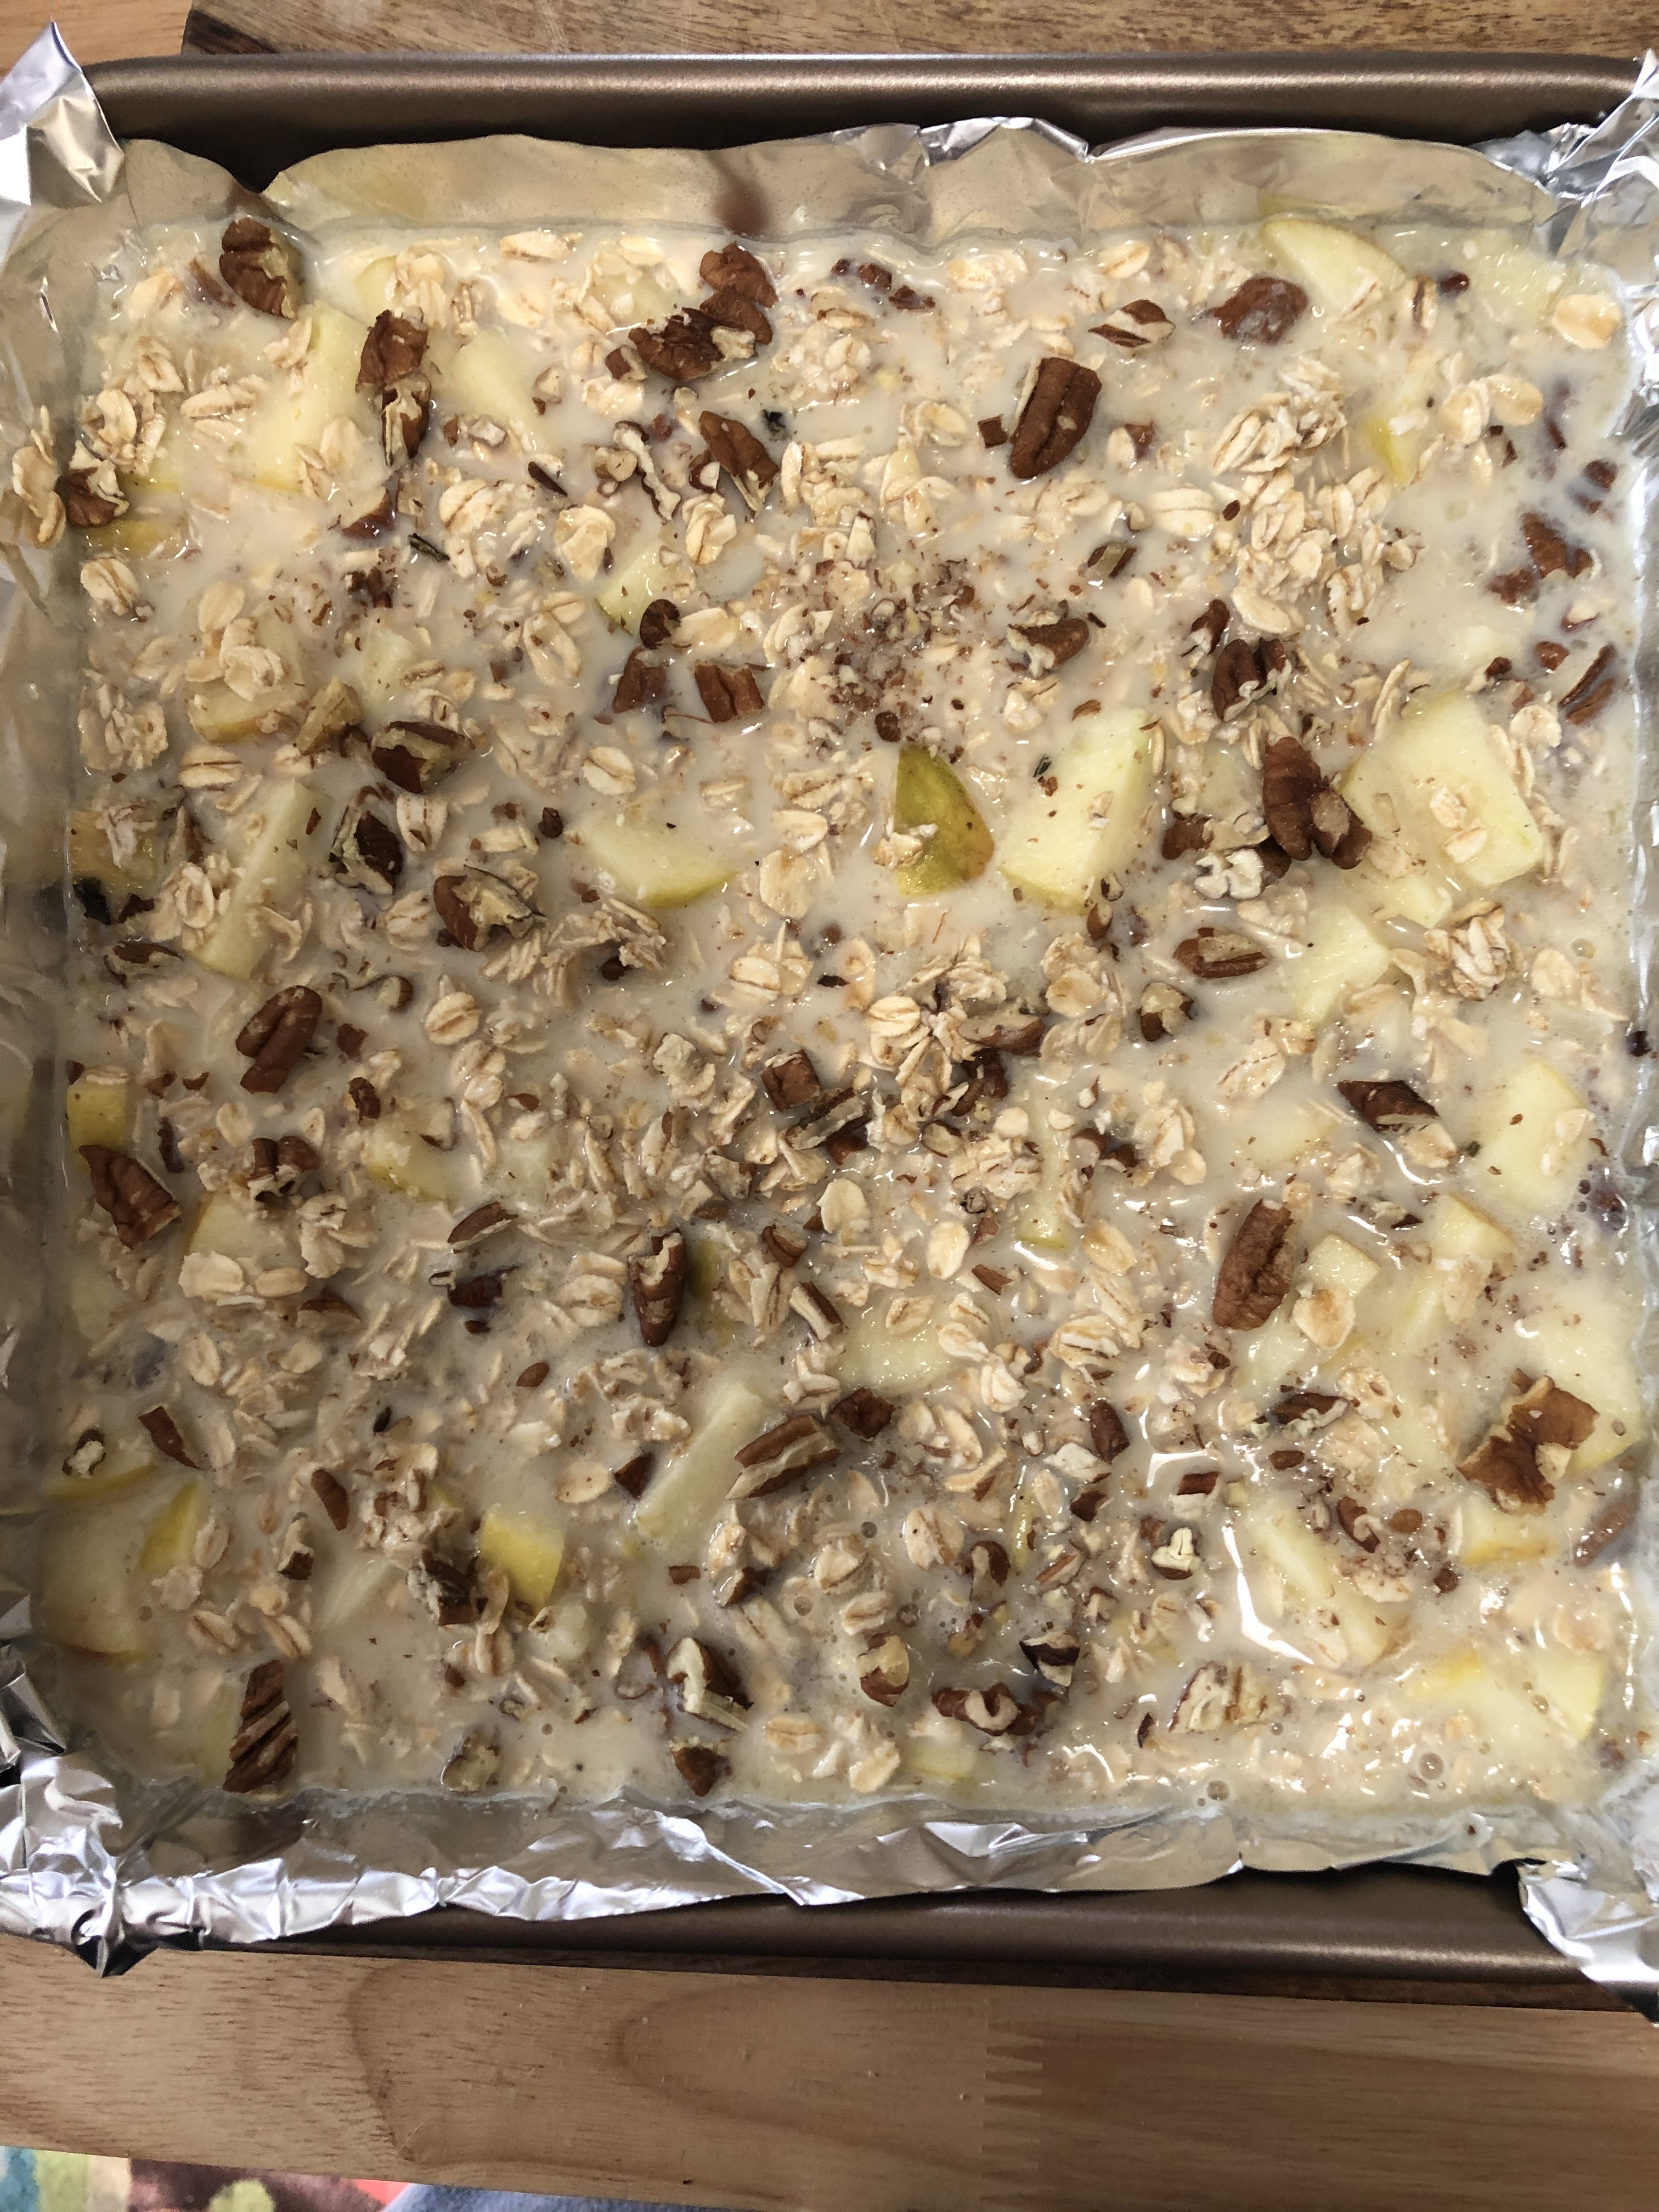
Combine the dry ingredients. In a medium bowl, whisk together the oats, baking powder, and salt. Fold in fruit and any other mix-ins you have. I used diced apple and pecans today. I also like to reserve some nuts to sprinkle on top before baking.
Note: Feel free to add any other spices you like. A teaspoon of cinnamon is lovely, as well as a few gratings of nutmeg!
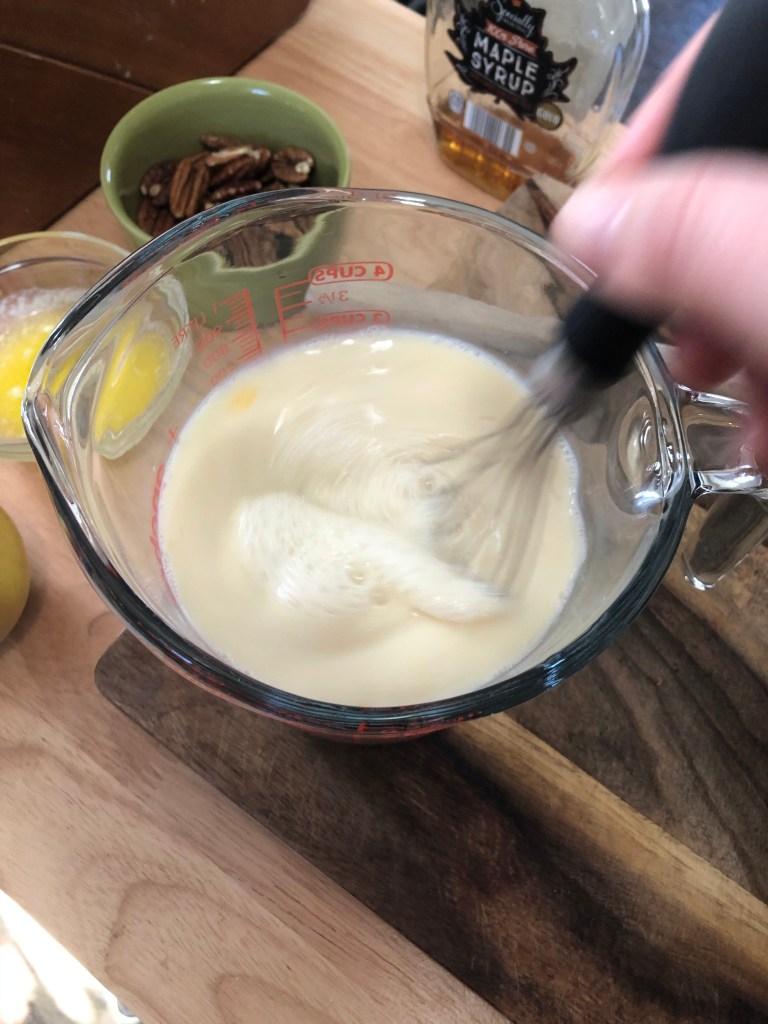
Combine the wet ingredients. In a large measuring cup or medium bowl, whisk together the milk, egg, maple syrup or honey, and vanilla until thoroughly combined.
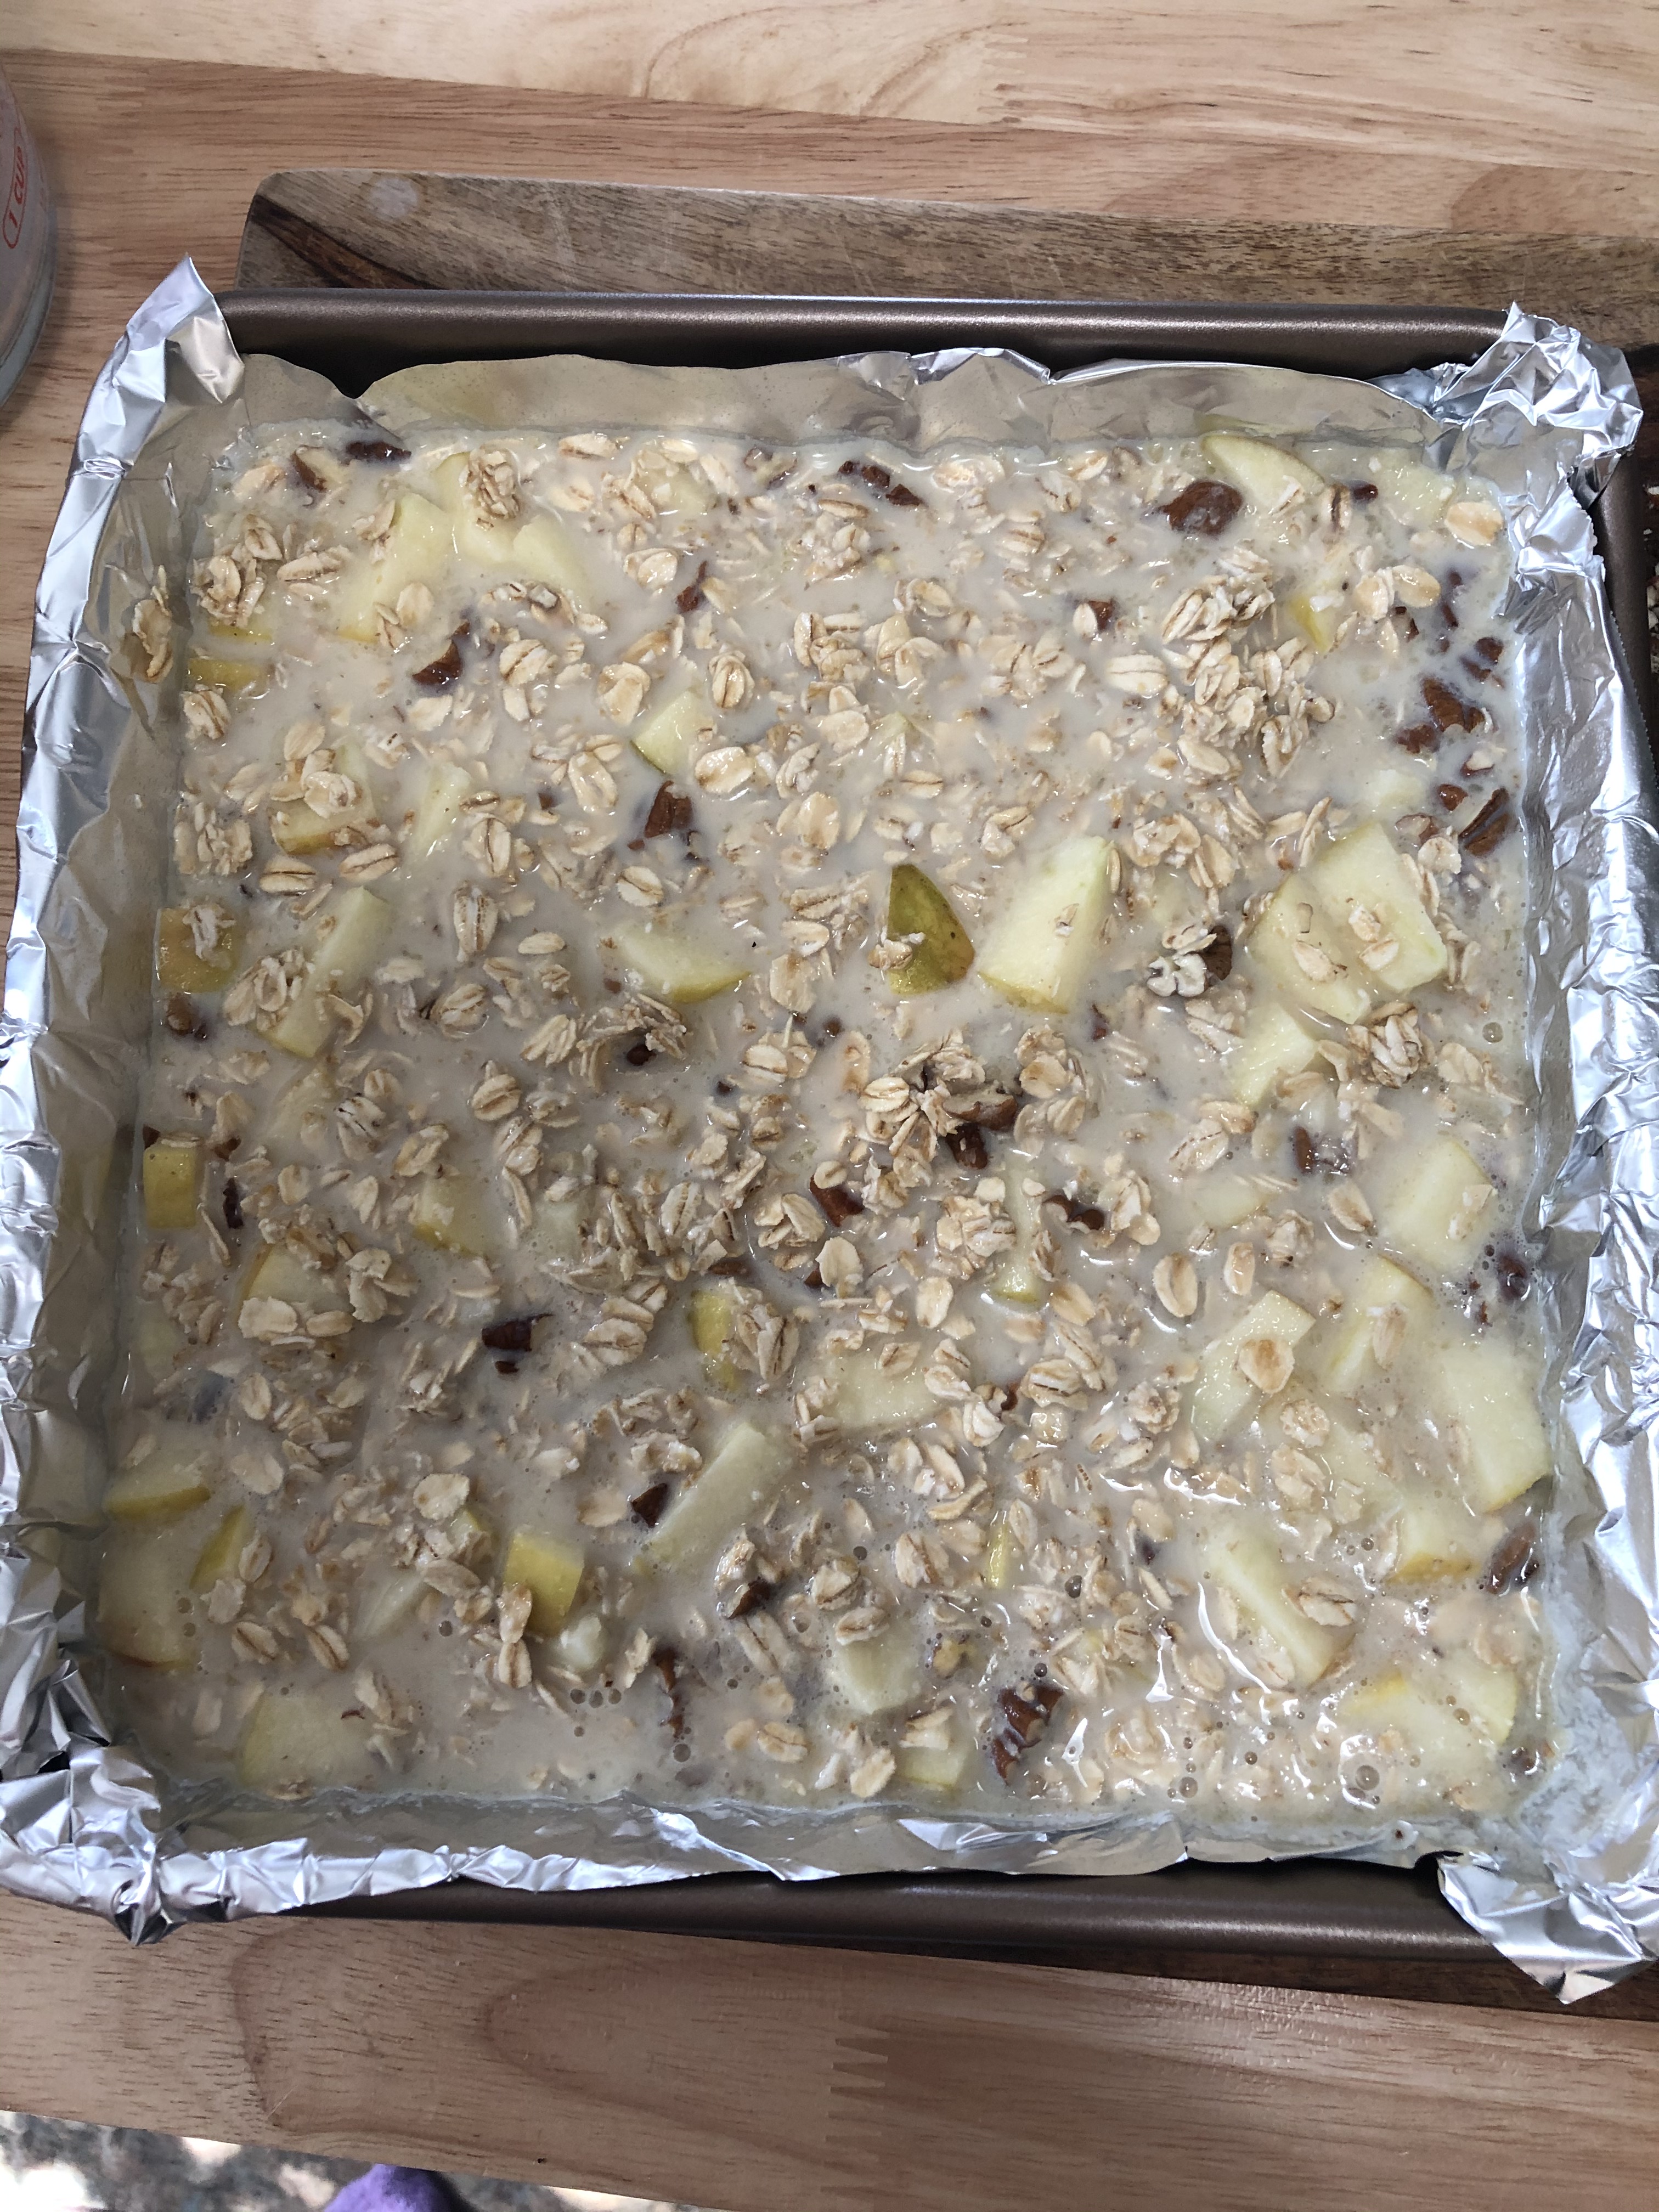
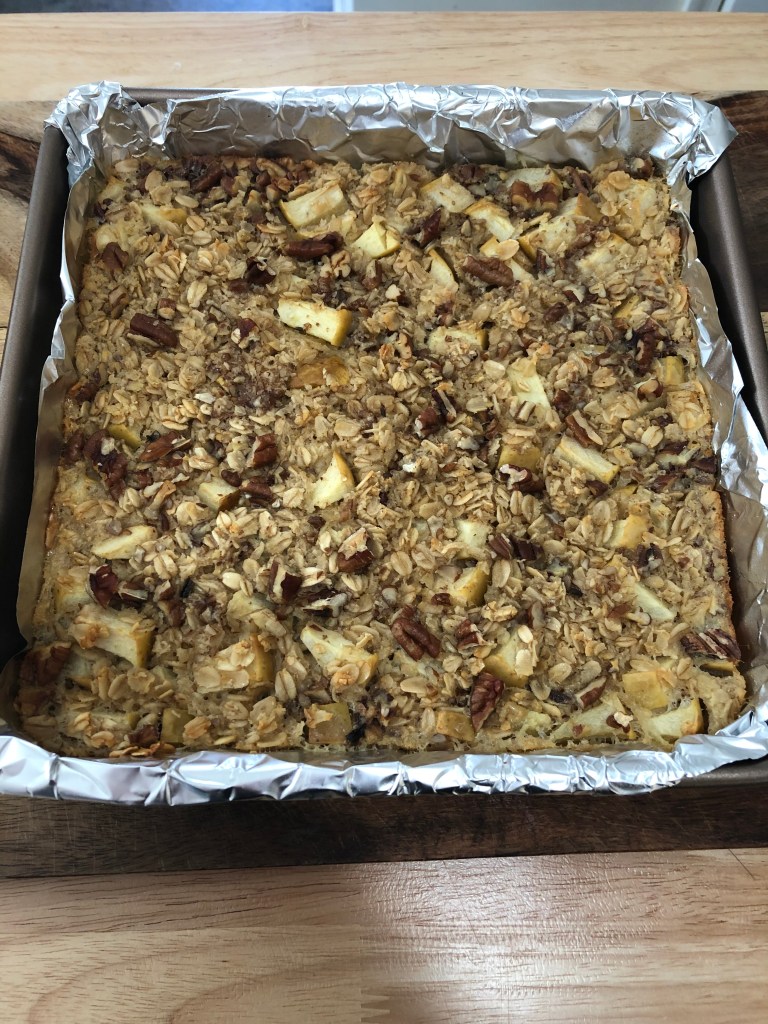
Finish the batter and bake. Pour the wet ingredients into the oat mixture and fold together until combined. Don’t forget about that butter you melted earlier! Fold it in last, because by now it has cooled a bit and won’t immediately solidify when added to the cold batter. Dump the oatmeal into the prepared pan and give it a little shake, nudging it around so that it looks evenly distributed throughout the pan. Bake the oatmeal for 35 minutes, or until golden around the edges and set in the middle.
How to serve during the week: I typically precut my oatmeal into portions for the week- I usually divide it into 6 portions. Then I can just lift out a square in the morning, microwave it for 30 seconds or so, and top it with a little milk and/or maple syrup.
Let me know if you try any new combinations with your baked oatmeal.
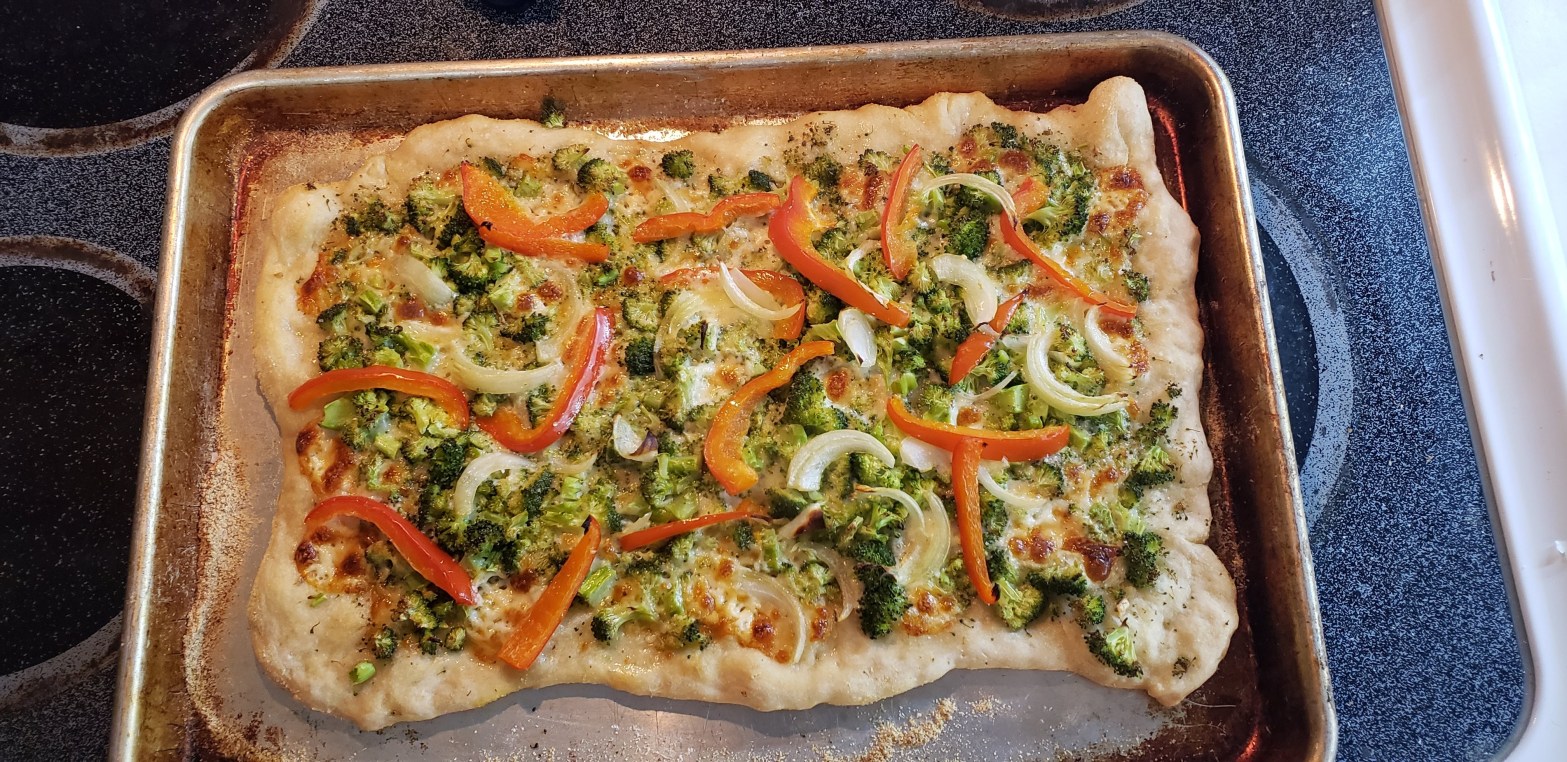
If you’re like us you often aren’t sure what you are going to make for dinner and end up just winging it. We had some left over pizza dough and have a fridge full of veggies so we made a delicious veggie flatbread!
Here’s what you’ll need:
Your favorite pizza dough
2 cups chopped broccoli
1/2 red bell pepper
1/2 medium onion
3 slices of provolone cheese
Fresh low moisture mozzarella
2 garlic cloves
3 tbsp butter
1 tbsp dry oregano
Cornmeal
Non-stick spray
Small sauce pan
Medium baking tray
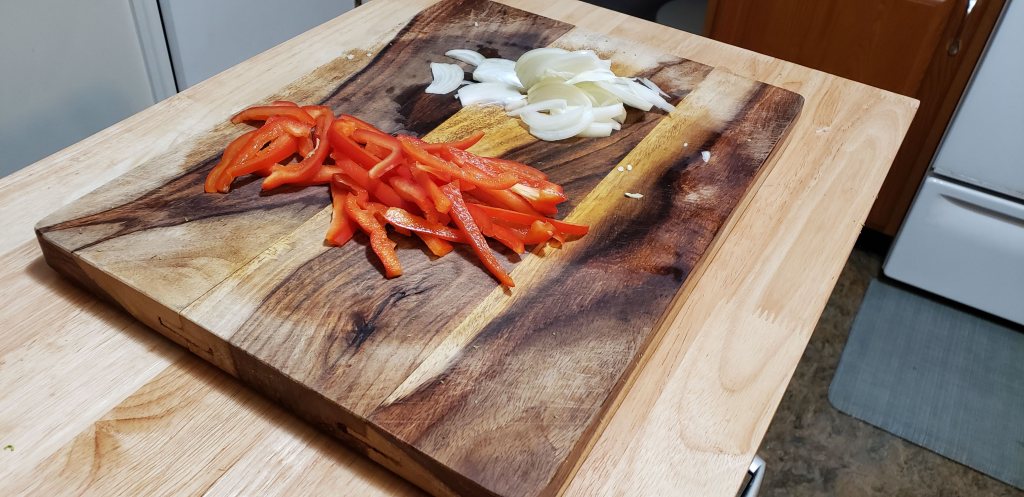
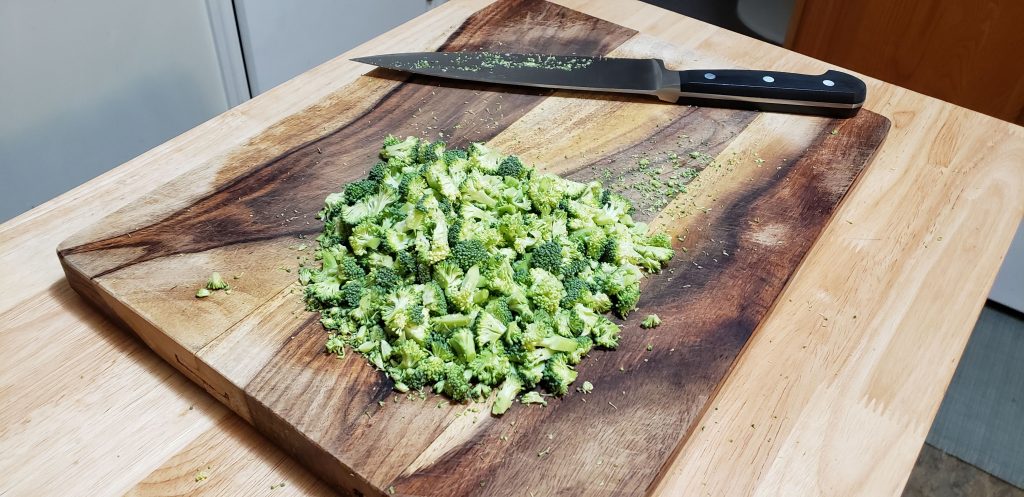
The first thing you need to do is preheat your oven to 475° F. Now chop up your broccoli nice and small. If you cut it too big it won’t cook as quickly and might be too hard on your flatbread. Then slice your bell pepper and onion nice and thin.
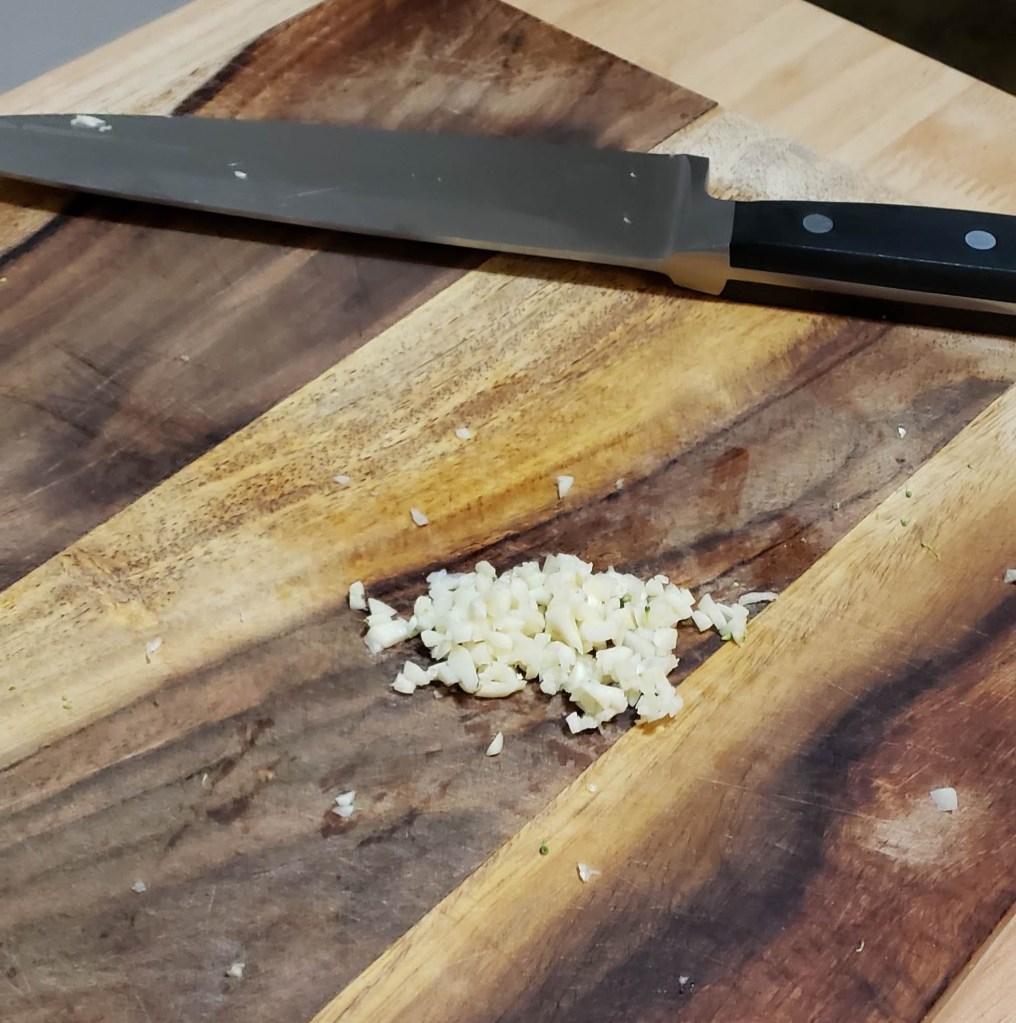
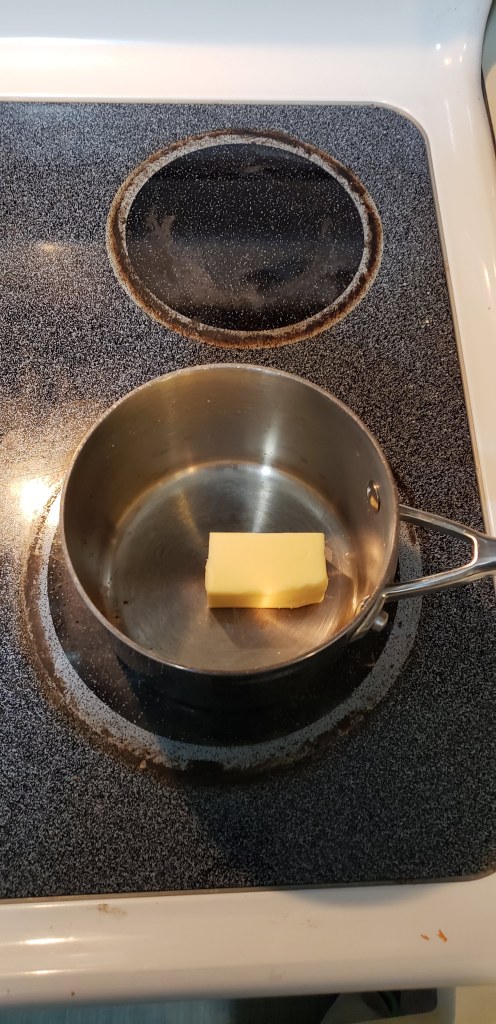
Next we need to make the “sauce” for our flatbread. Chop up 2 cloves of garlic nice and fine. You can use more if you want a stronger garlic taste. Then put 3 tbsp of butter in a small sauce pan and put it over medium high heat on the stove.
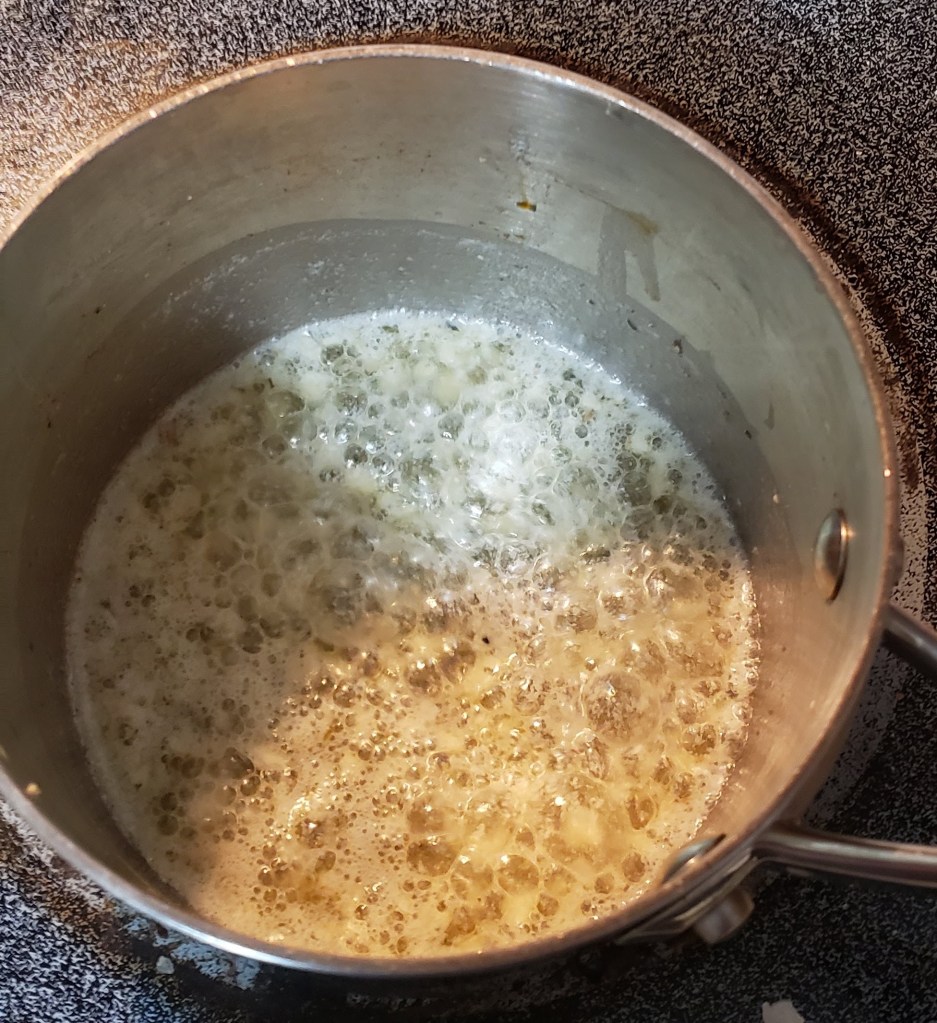
Once your butter has melted add the garlic and oregano and let sizzle away for about 2 or 3 minutes. You just want the garlic to cook so you don’t have a pungent raw garlic taste.
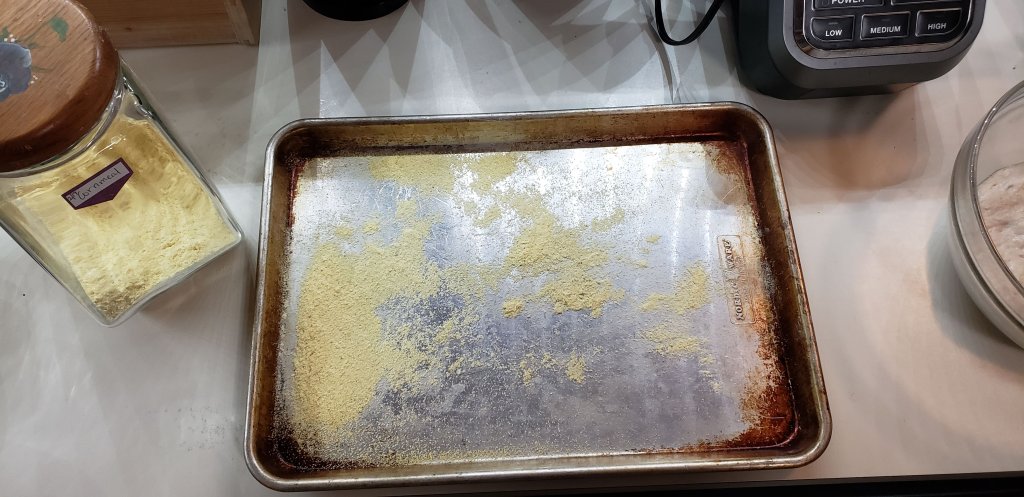
Now, grab a medium baking tray, spray with non-stick cooking spray, and sprinkle with cornmeal (about 1/4 a cup).
Don’t be like me and forget to spray the pan first. It gets messy.
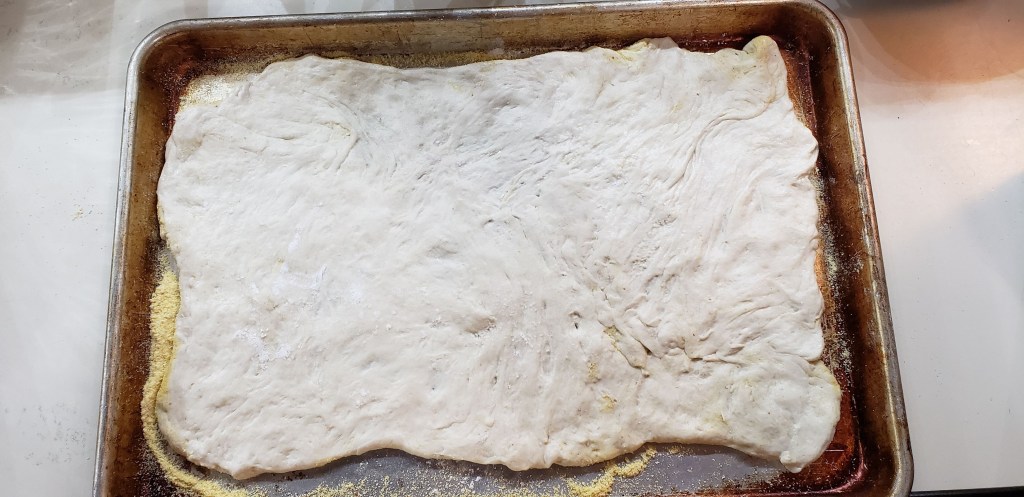
Once your pan is ready spread out your favorite thin crust pizza dough. We use this recipe from the wonderful Smitten Kitchen.
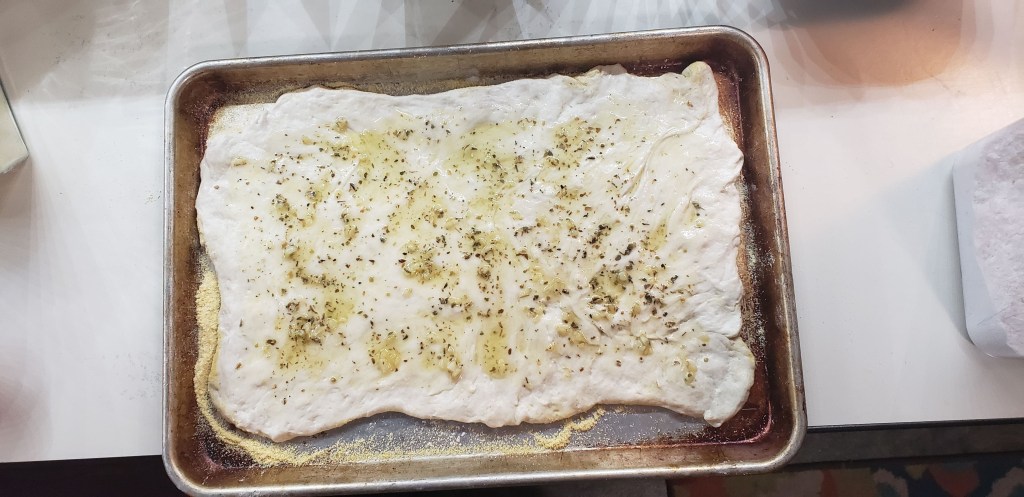
This dough could be tough so you can see where we patched it up but don’t worry, it’ll bake just fine. Once you have it ready to roll spread your delicious garlic oregano butter “sauce.”
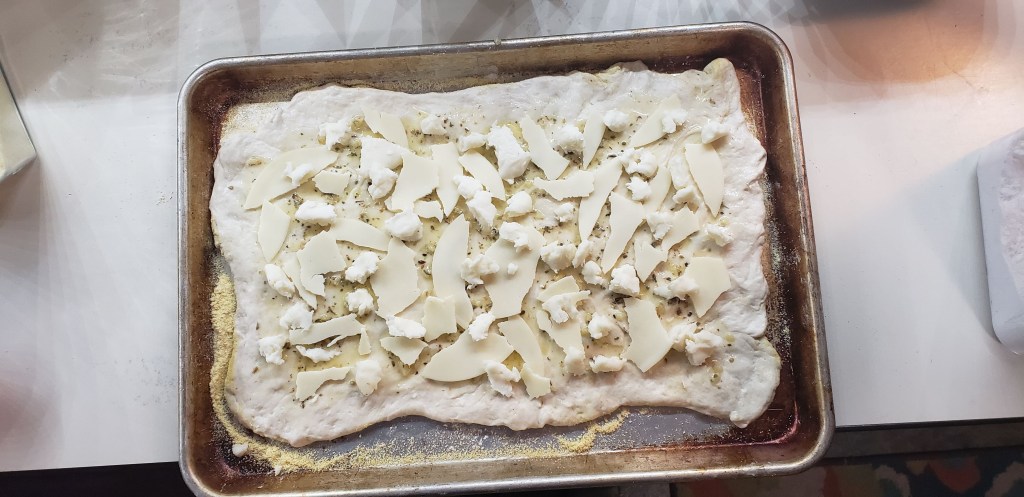
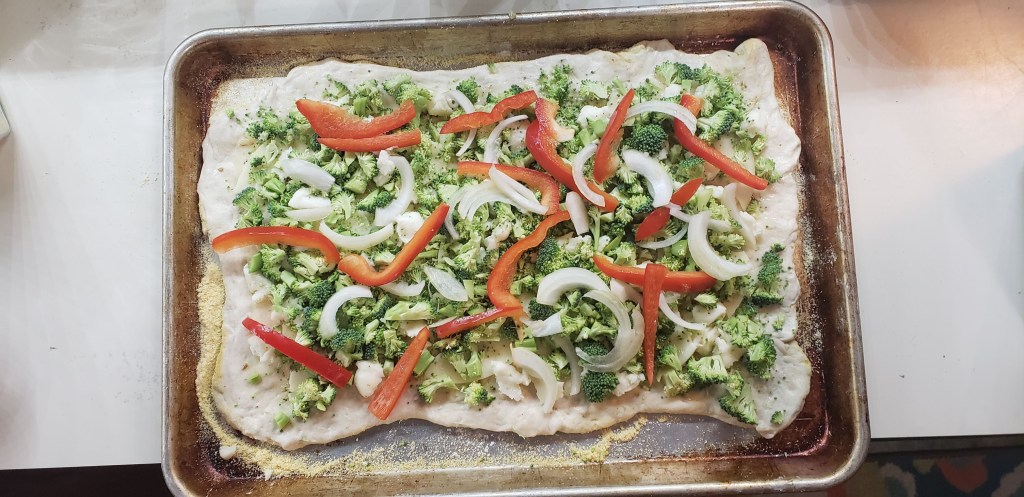
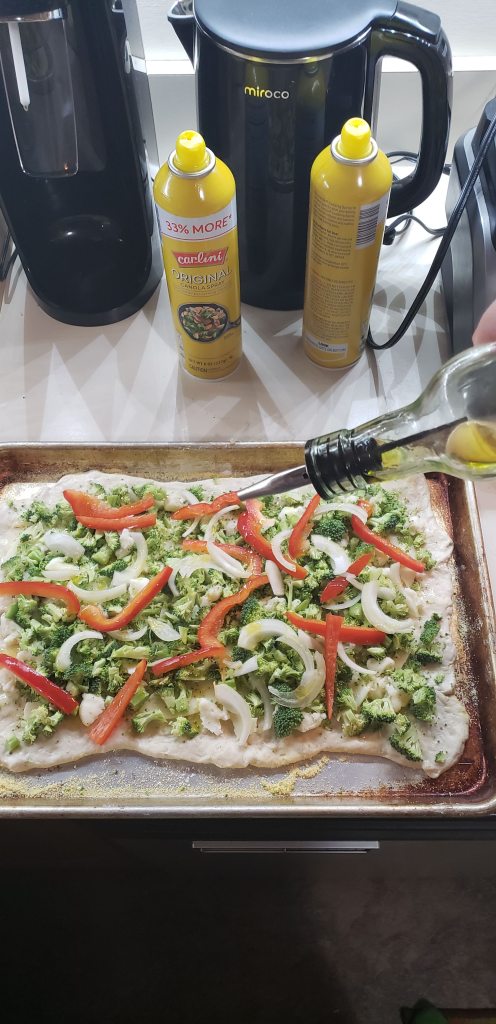
Then distribute your cheese and veggies and drizzle with olive oil.
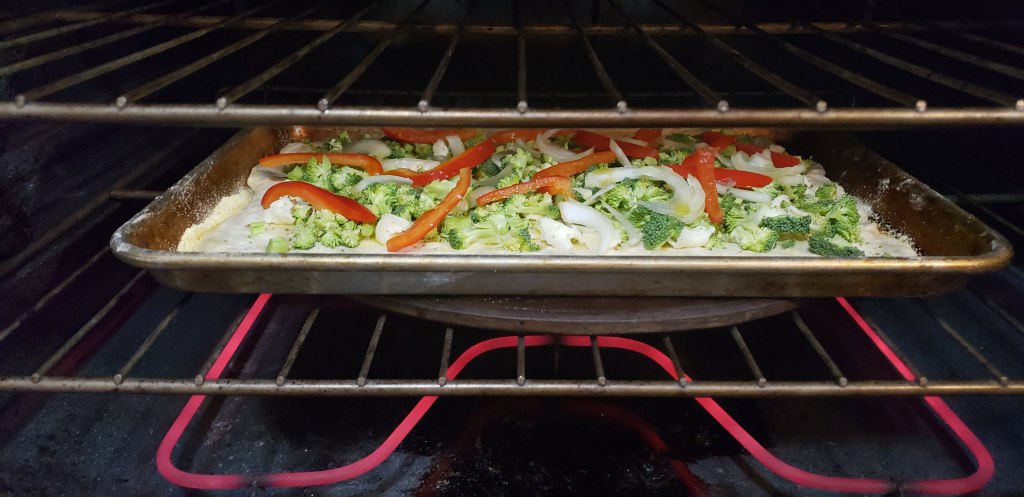
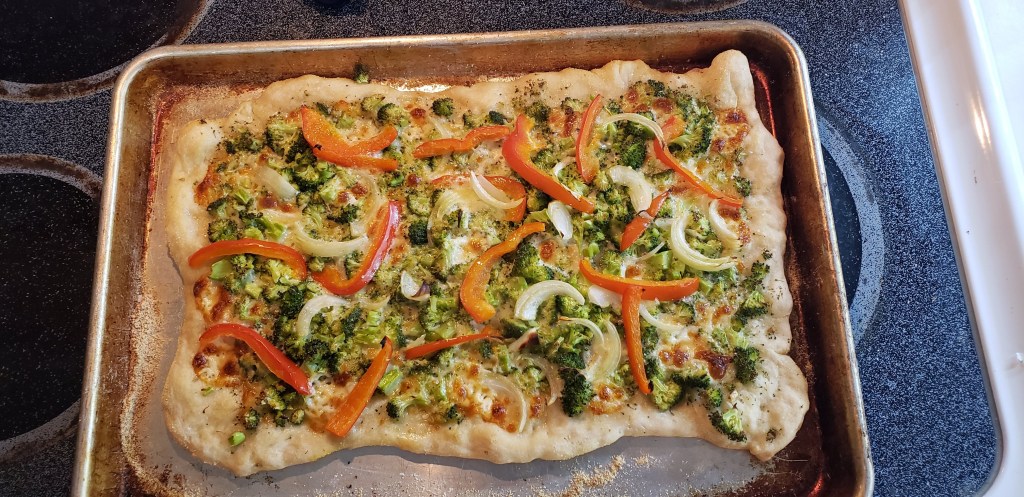
Put your flat bread on the bottom rack of your oven and bake for 15 minutes or until the cheese starts to brown. You can also lift it gently with a spatula- the bottom should no longer be pale.
Whenever we make any kind of pizza or flatbread, we also put our pizza stone in the oven to preheat, then bake the pan right on top.
When you take your flatbread out of the oven sprinkle it lightly with salt, slice, and enjoy!
Let me know what random toppings you like to throw on your flatbreads or pizzas!
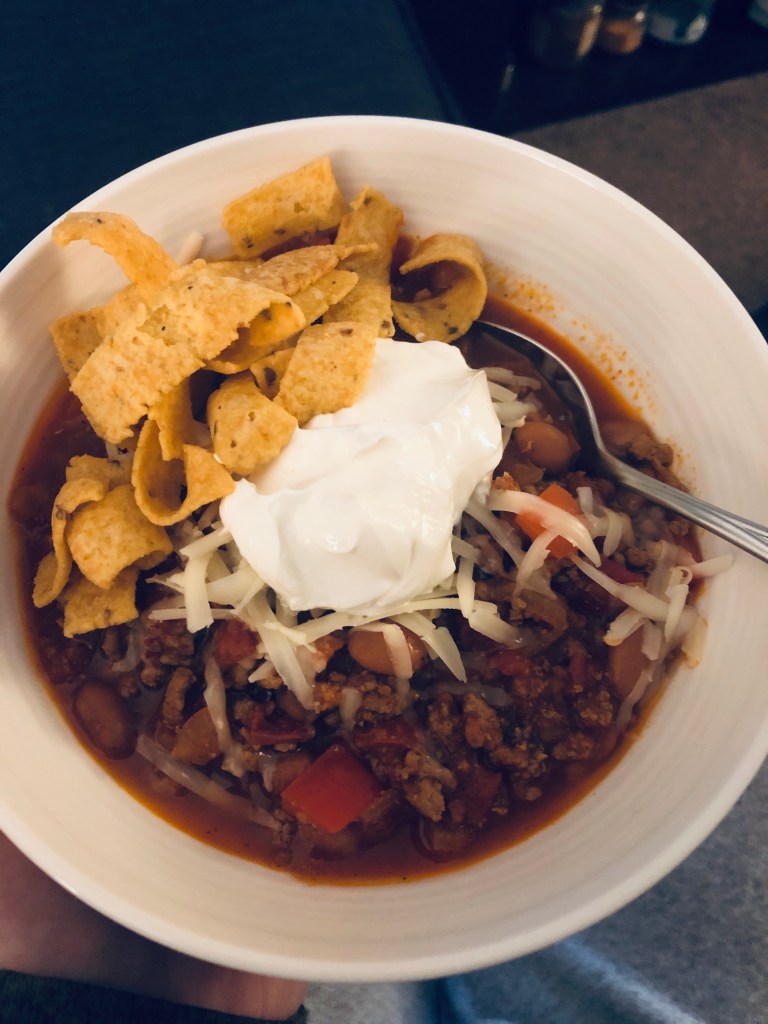
It’s chili season! Well….at least it was, and then it climbed to 60 degrees here in Lancaster. However, I will eat chili any time, anywhere, so here is a flexible, forgiving, easy weeknight recipe that will please every chili fan!
Turkey Chili
Serves 4
olive oil, for sautéing
1 lb. ground turkey (white and dark meat, not the super lean kind)
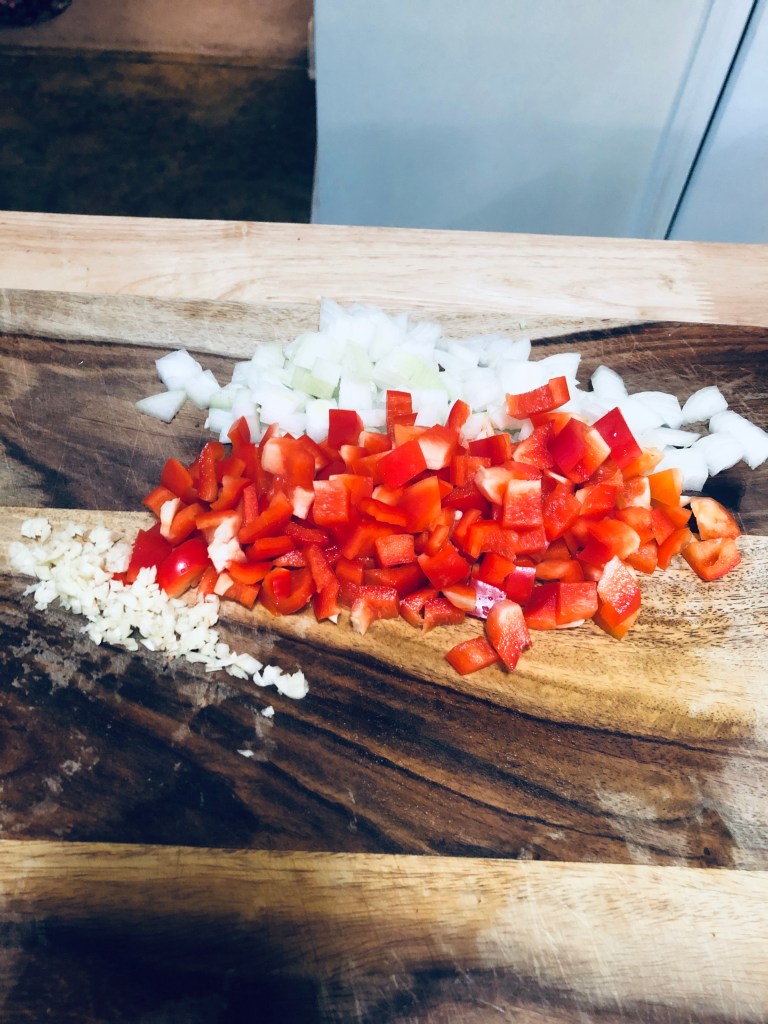
1 medium yellow onion, diced
2 cloves garlic, minced
1 medium bell pepper, diced
2 tbsp chili powder
1 tsp cumin
1/2 tsp smoked paprika
1/2 tbsp brown sugar
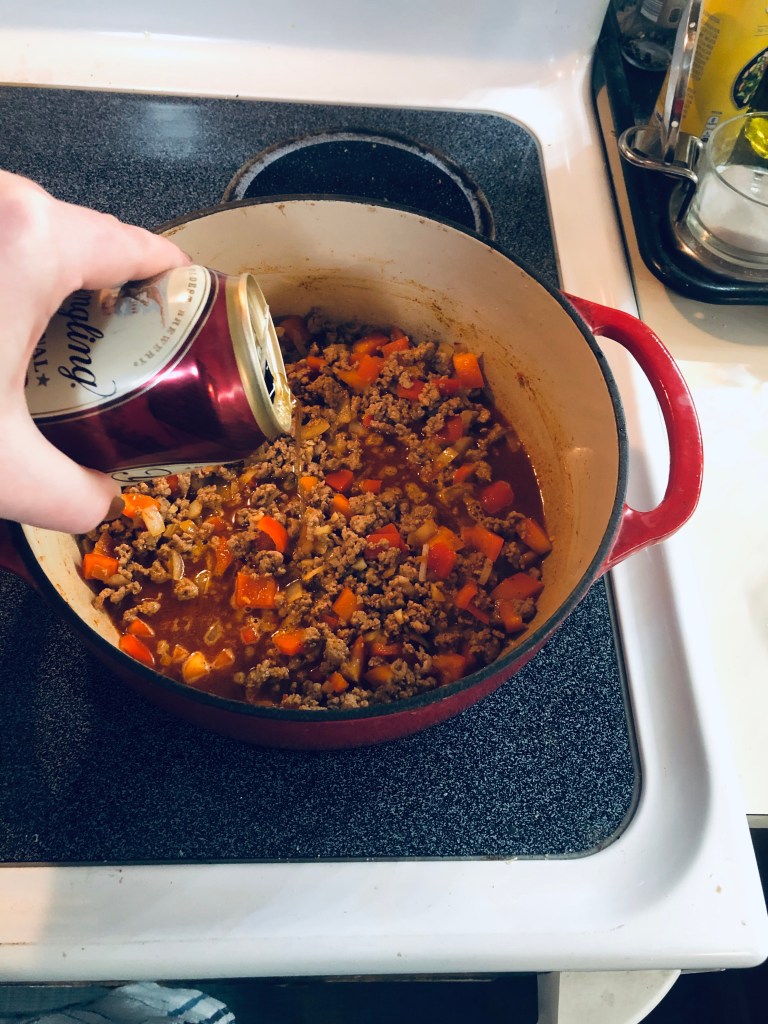
Half of a can/bottle of lager beer (do NOT use a fancy IPA here, as much as you may want to)
Salt and pepper
1 15-oz can beans of choice, drained and rinsed (pinto, kidney, black, etc)
1 15-oz can crushed tomatoes
1 10-oz can Rotel, mild variation if you do not like spice OR substitute another 15-oz can of crushed tomatoes (the extra amount of tomatoes will not make a huge difference to the final product)
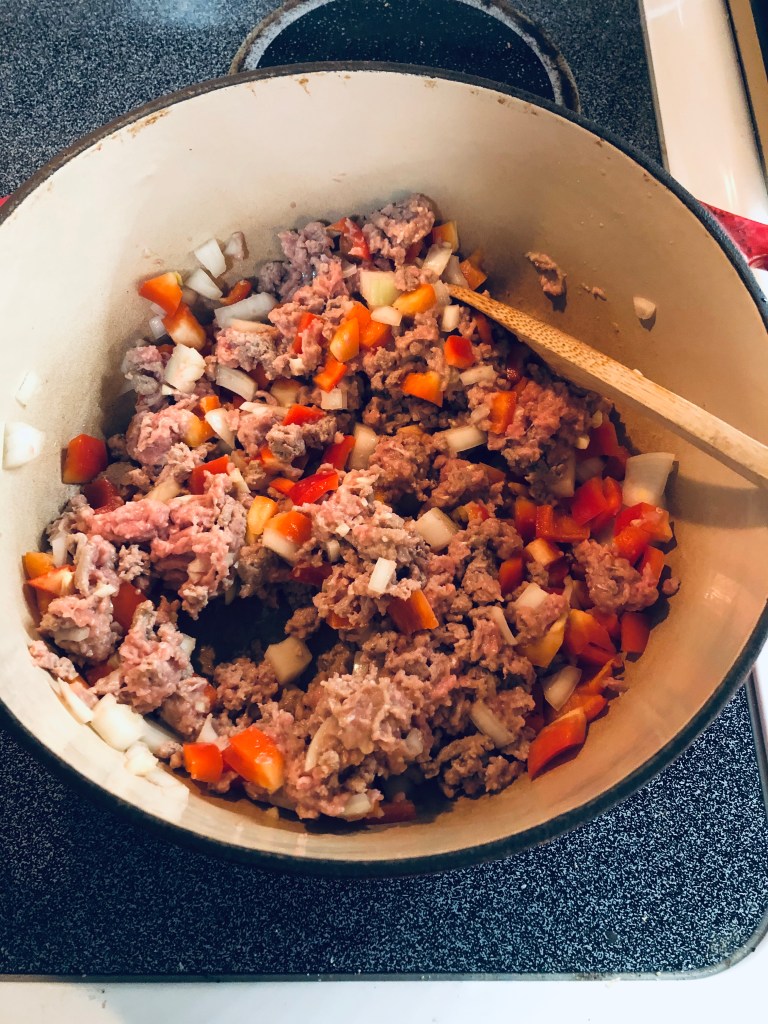
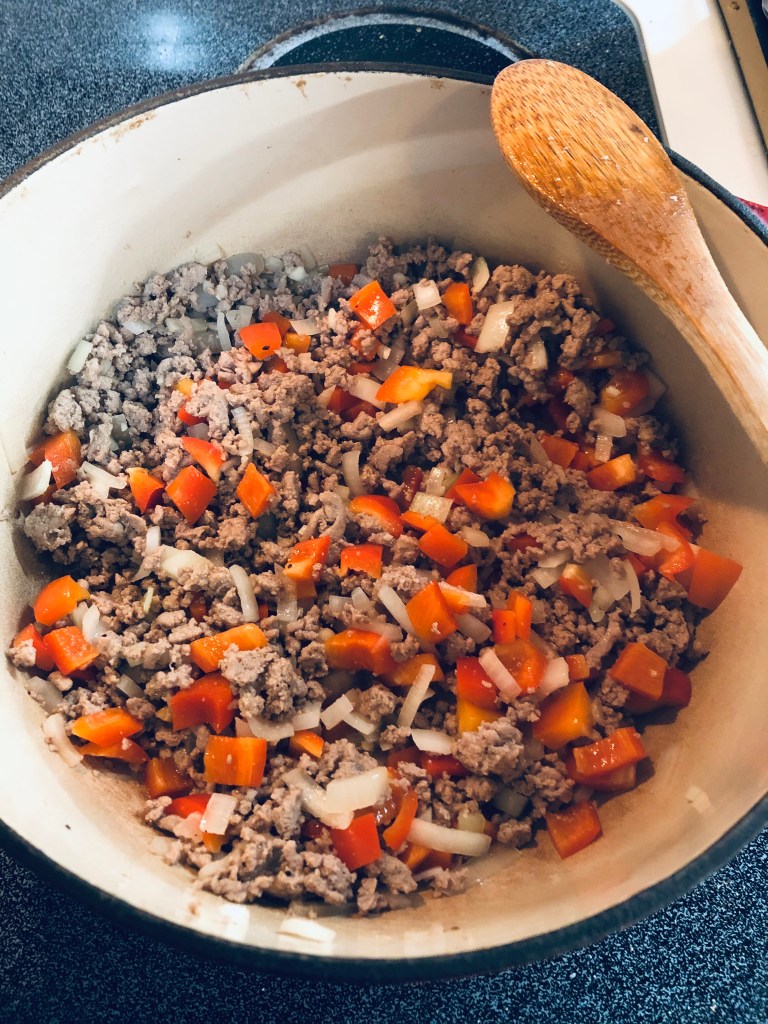
Brown the meat and veggies. Heat a few tablespoons of olive oil in a large pot or dutch oven over medium heat. Add the ground turkey, breaking it up with a spoon, then add the onion, garlic, and bell pepper. Season generously with salt and pepper. Cook until the turkey is no longer pink and the vegetables have softened a bit.
Add the seasonings and beer. Add the chili powder, cumin, smoked paprika, brown sugar, and beer and stir to combine. Let cook and bubble for 5-10 minutes to let the beer reduce a bit.
A note about seasoning: Seasoning is everything when it comes to chili. A bland chili is very sad indeed. Please don’t be shy with the salt here! We are adding a lot of un-salty things like beer and canned tomatoes, and the chili needs a lot of salt to bring out all of the other yummy flavors.
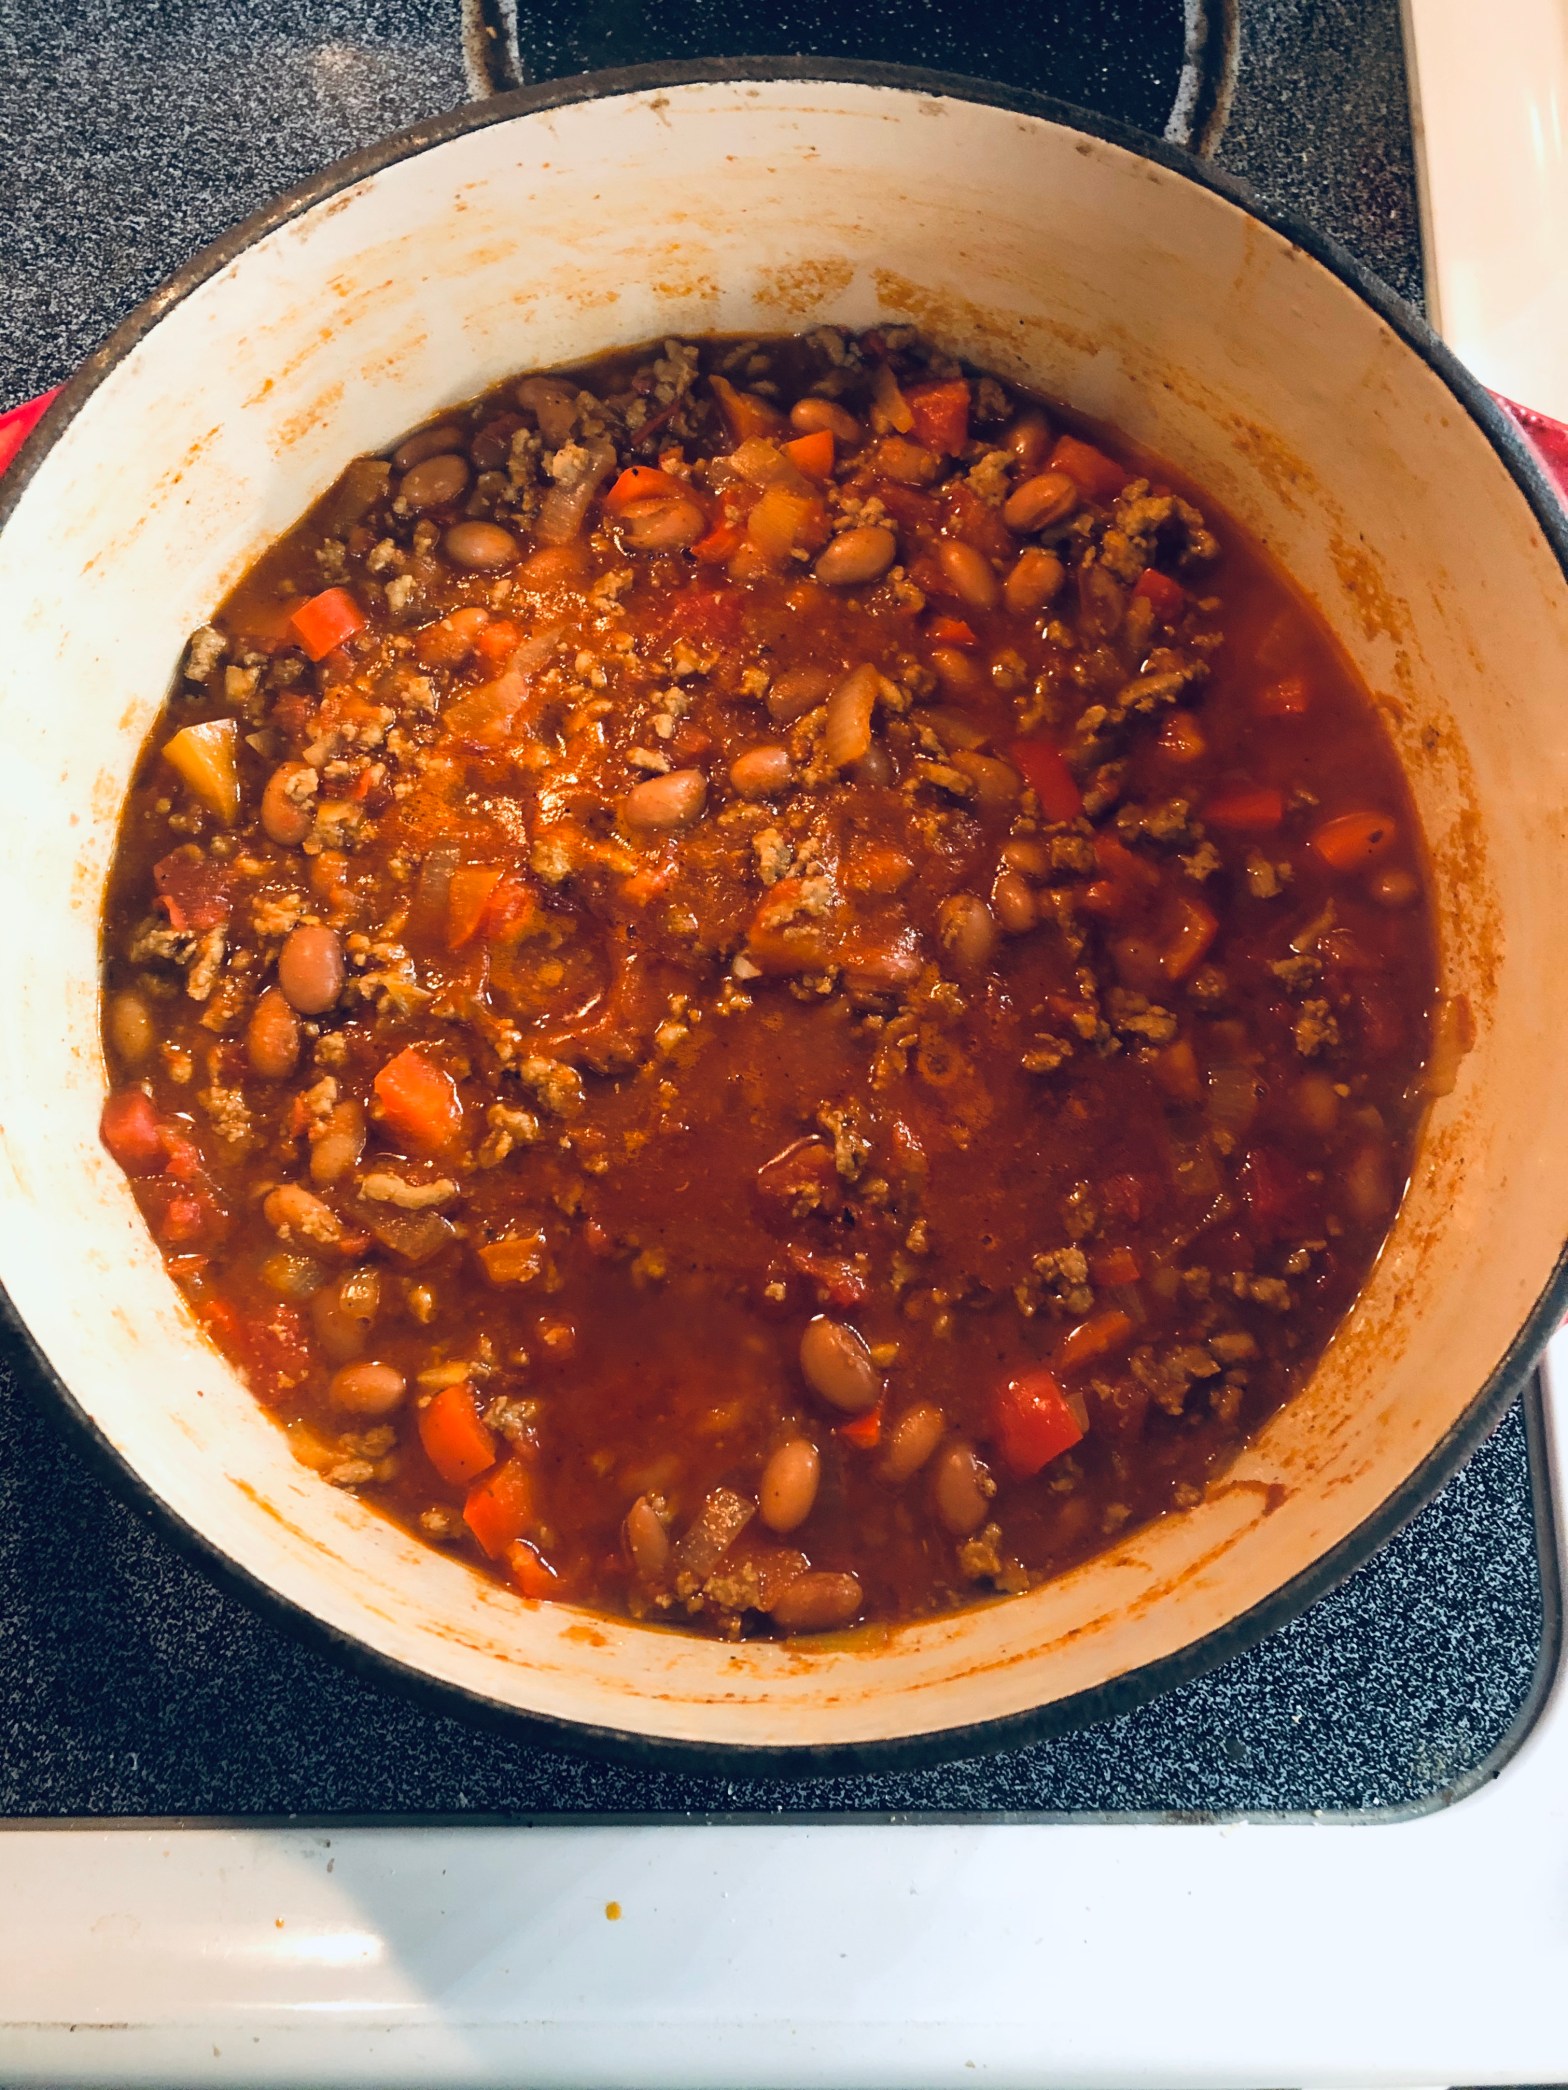
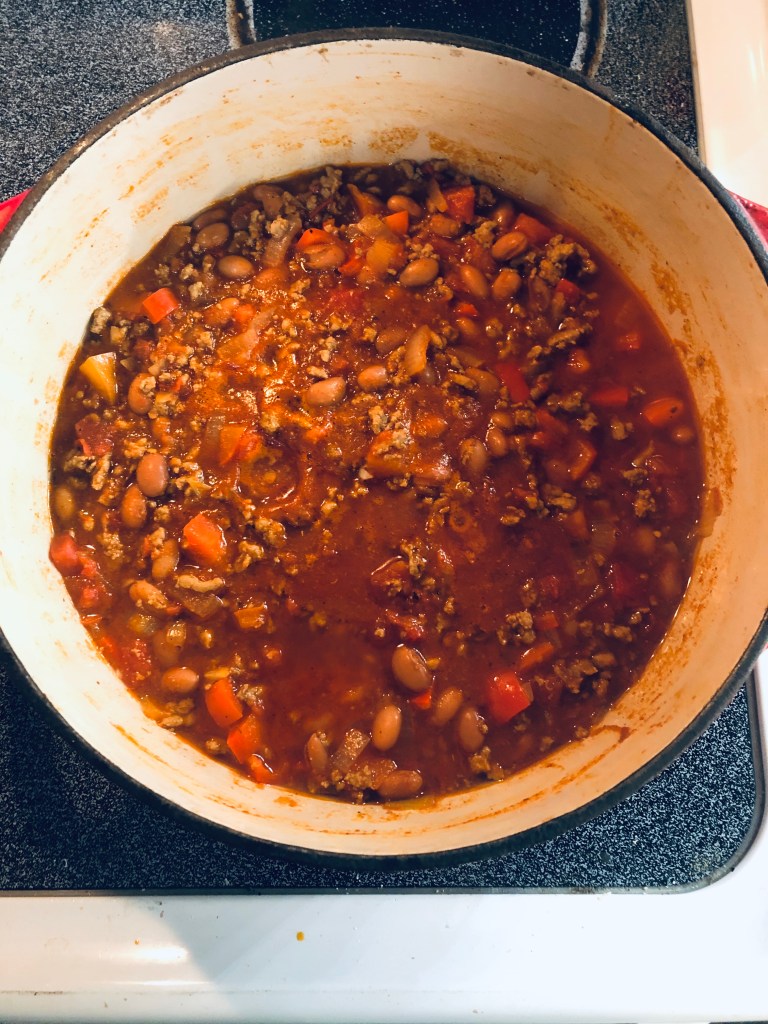
Finish the chili. Add the beans and canned tomatoes and stir to combine. Simmer the chili for 10-15 minutes, then give it one final taste to check for seasoning. Serve with grated cheddar cheese, sour cream, and tortilla chips or Fritos!
Note: If you are like Dan and don’t appreciate beans in your chili, you can substitute 1 cup frozen corn, which is equally delicious!
As I mentioned at the start of this post, this recipe is incredibly flexible and forgiving. I like a thick, chunky chili, but if that’s not your jam, add more crushed tomatoes or beer. Try other veggies like diced carrot, jalapeño, or another chile pepper. Experiment with other seasonings- chipotle powder or oregano are lovely additions.
Also, we mostly cook with ground turkey instead of beef these days in an attempt to make up for all the baked goods we eat, but this also makes a fantastic beef chili, too. Just drain some of the fat if it’s excessive after browning the beef.