Turkey Stock

Thanksgiving is right around the corner! If you want to add that extra bit of oomph to your meal you can make your own turkey stock. Use homemade stock in your stuffing and/or your gravy and you won’t be disappointed!

Here’s what you’ll need:

  • 2 Turkey backs – you can find these in the poultry section of your grocery store
  • 2 Whole turkey wings
  • 1 sprig of sage
  • 1 sprig of rosemary
  • 2 sprigs of thyme
  • 2 bay leaves
  • 1 Tbsp black peppercorns
  • 2 carrots
  • 2 celery stocks
  • 2 medium onions
  • Twine
  • Stock Pot

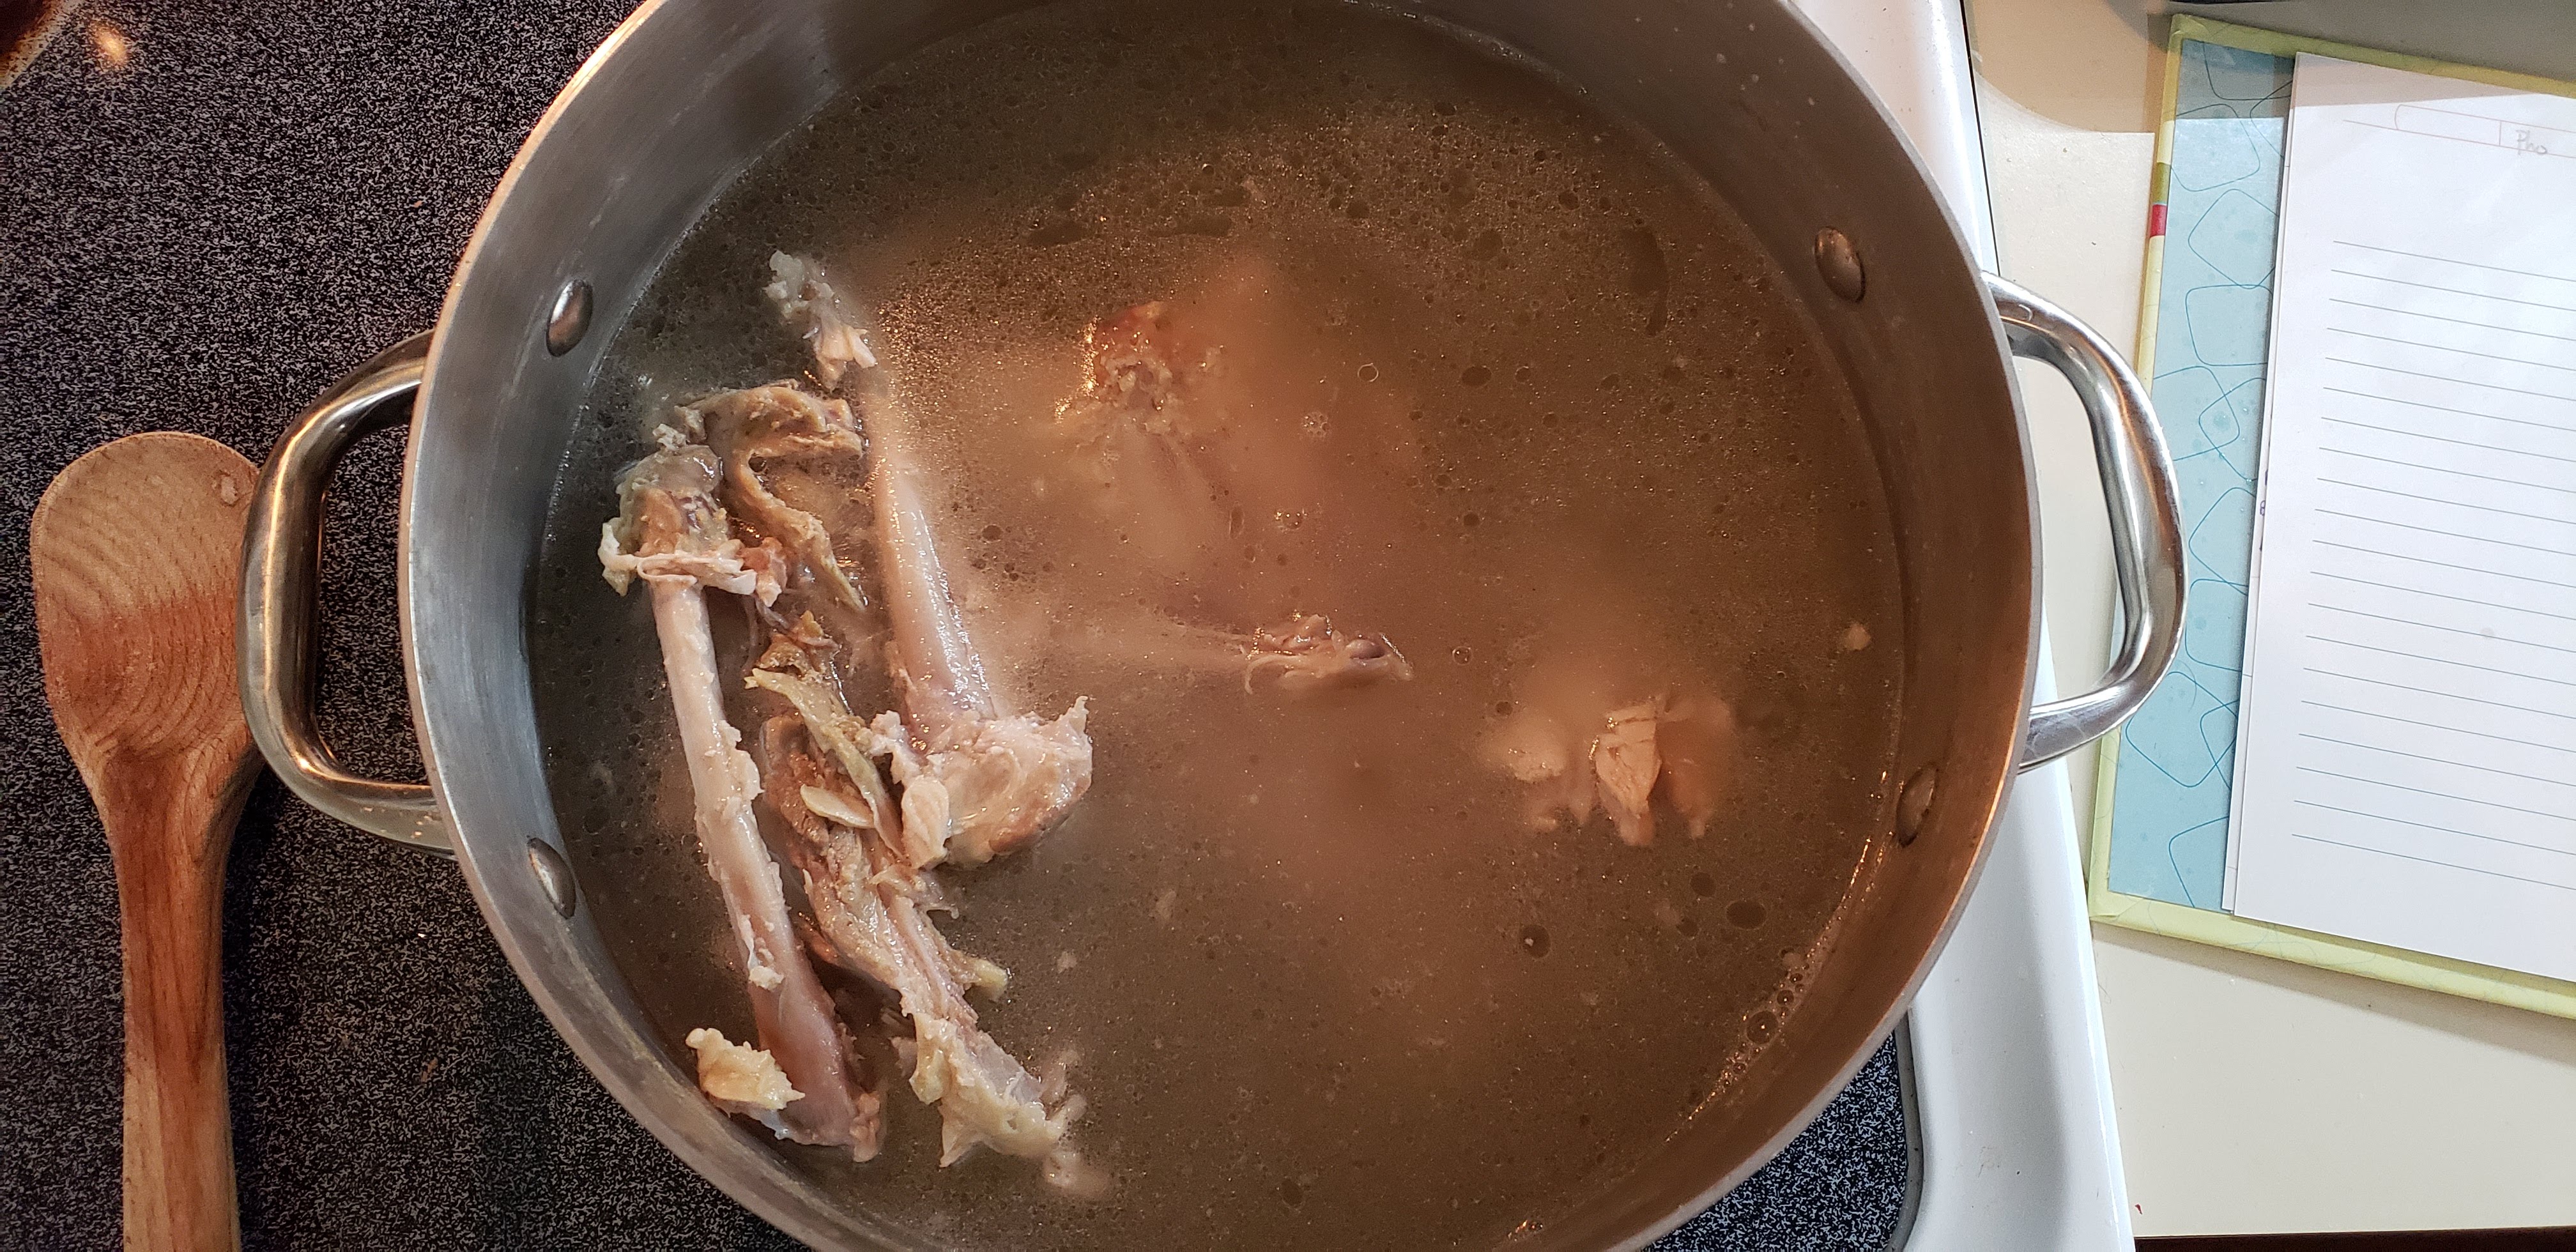
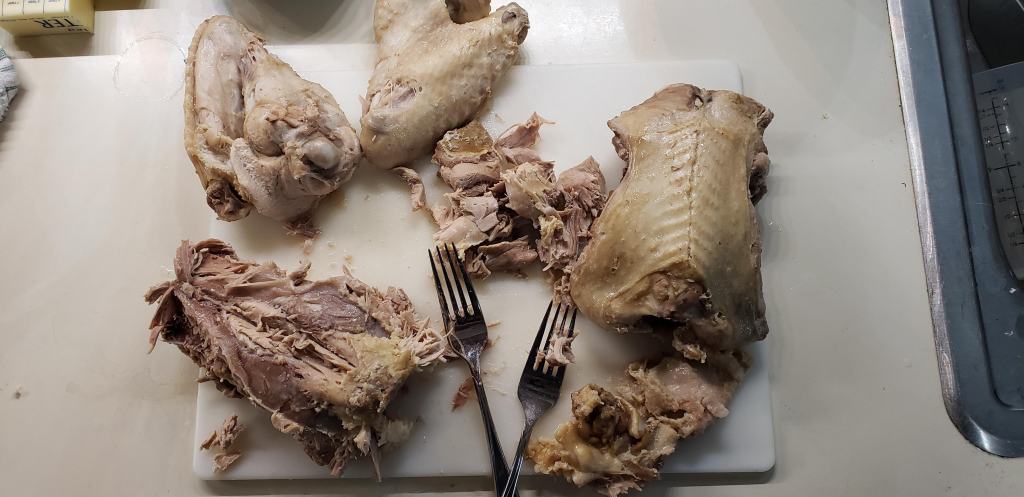
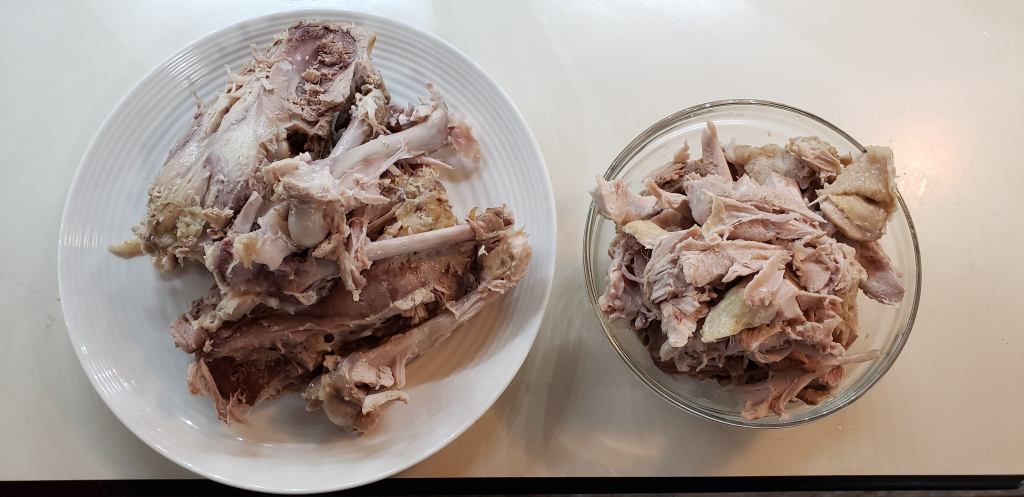
First, put the turkey backs and wings into a stock pot and cover with cold water. Boil for about 45 minutes or until the meat on the bones is cooked. Remove the backs and wings from the pot once cooked, pat them dry, let them cool, and then shred the meat off the bones using two forks. Save the meat you remove from the bones. This could be used to make a delicious turkey salad or you could even add it to your stuffing!
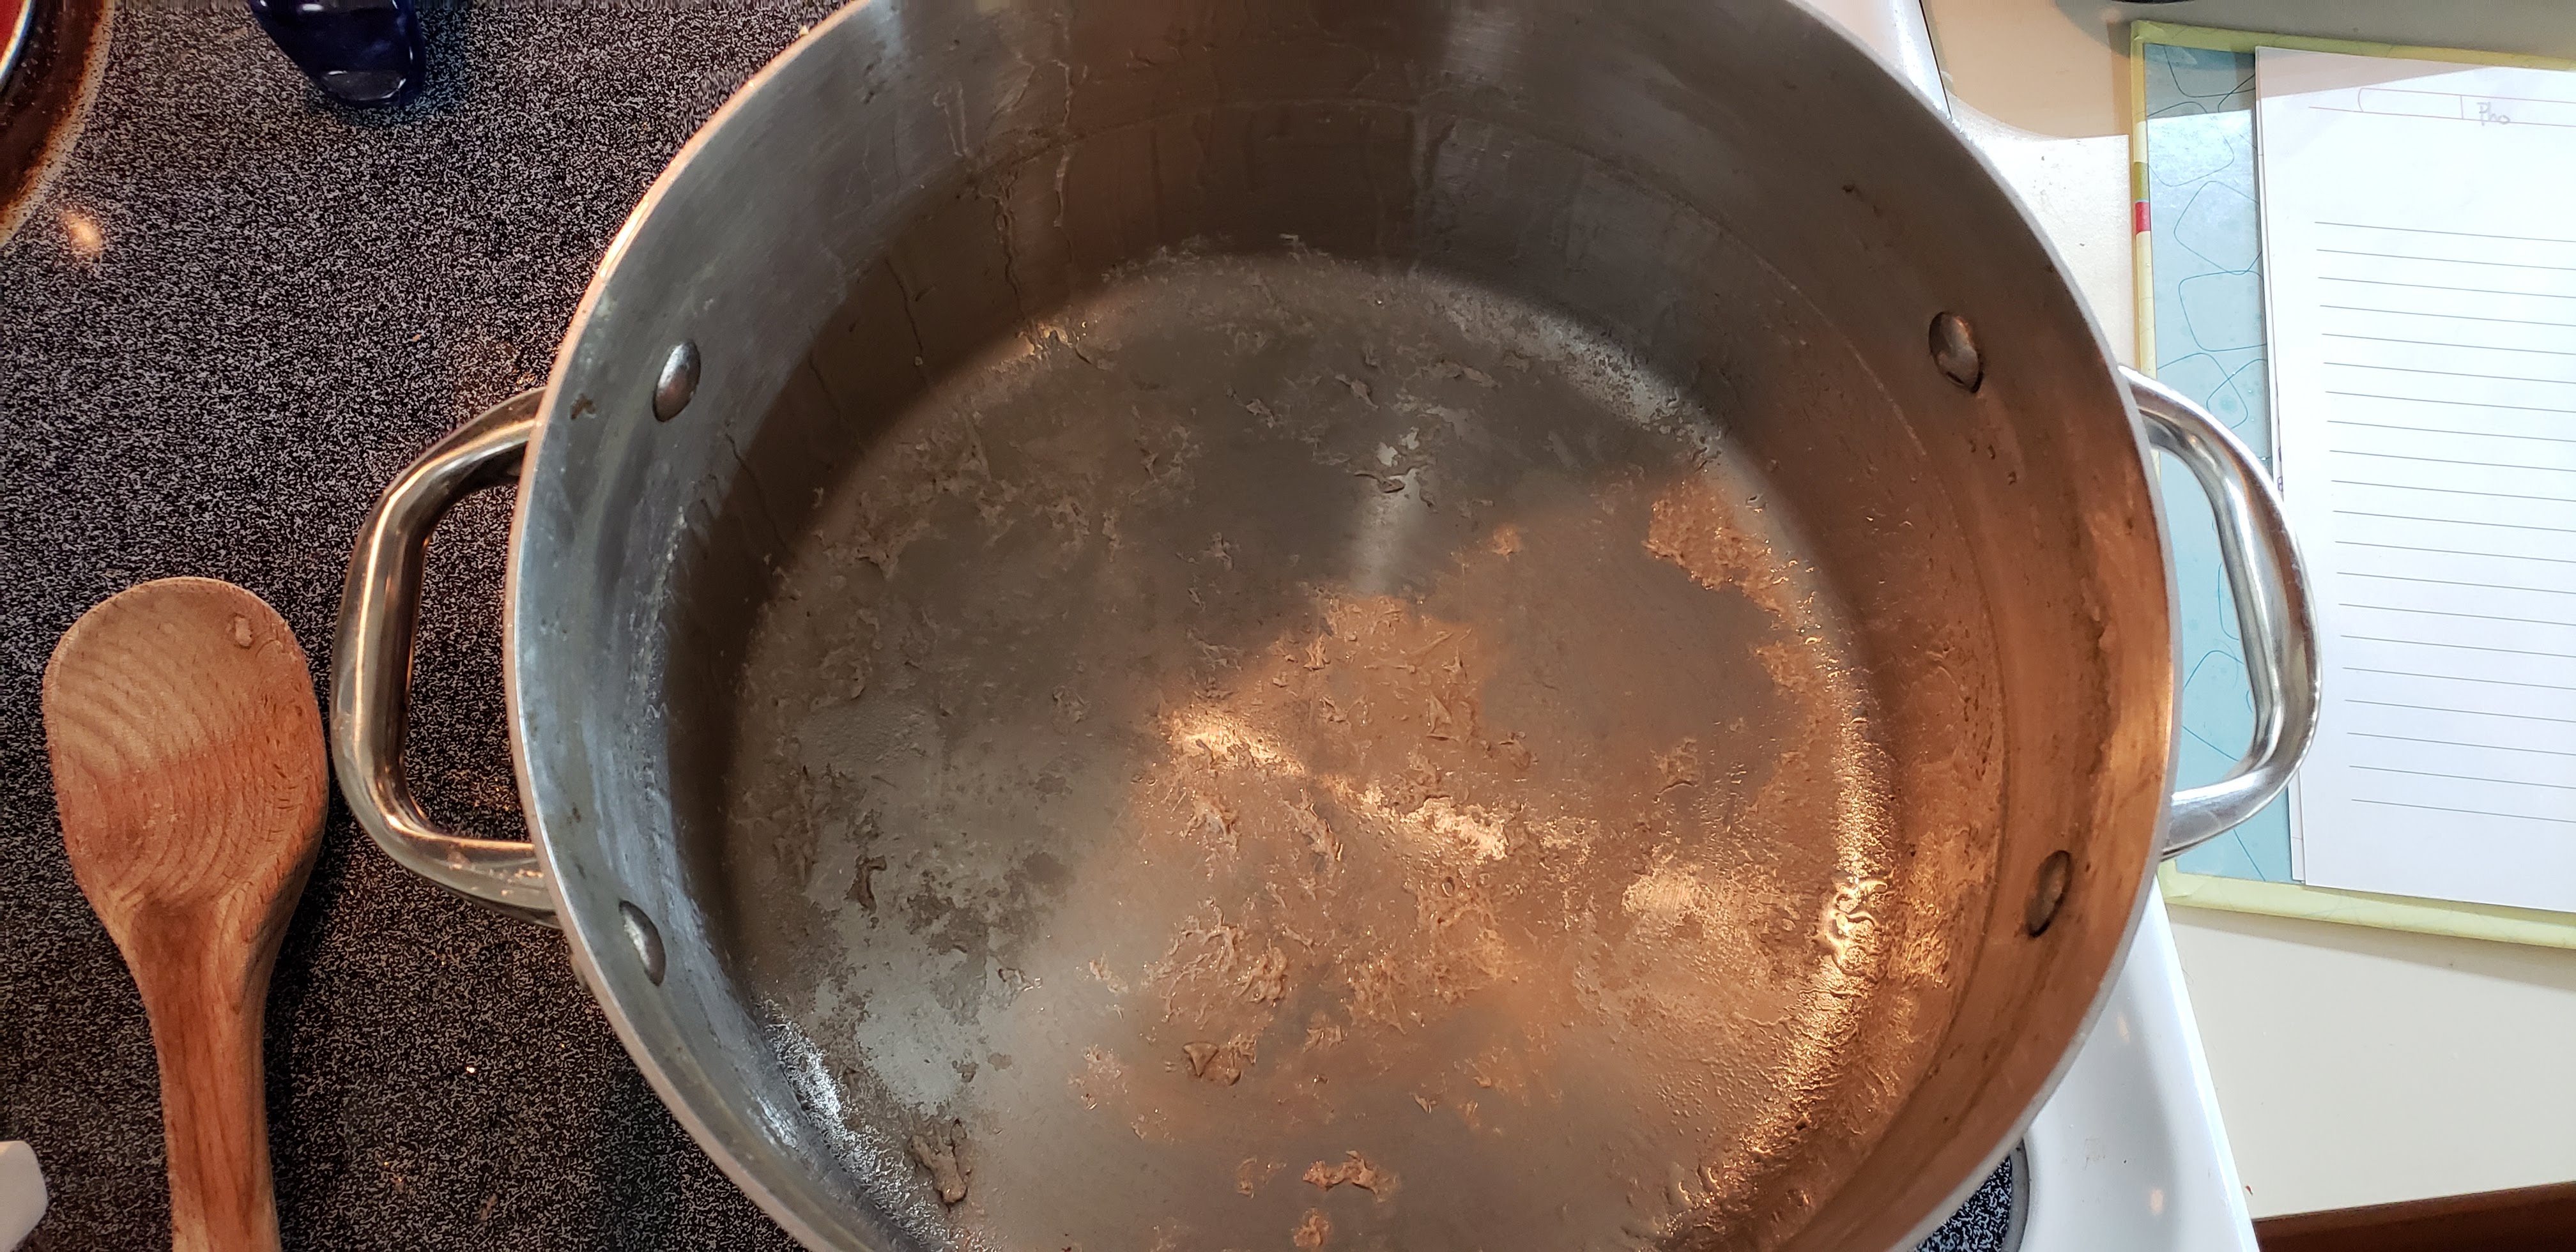
Strain the remaining broth through a fine mesh sieve into a large bowl to remove any collected fat and grime.

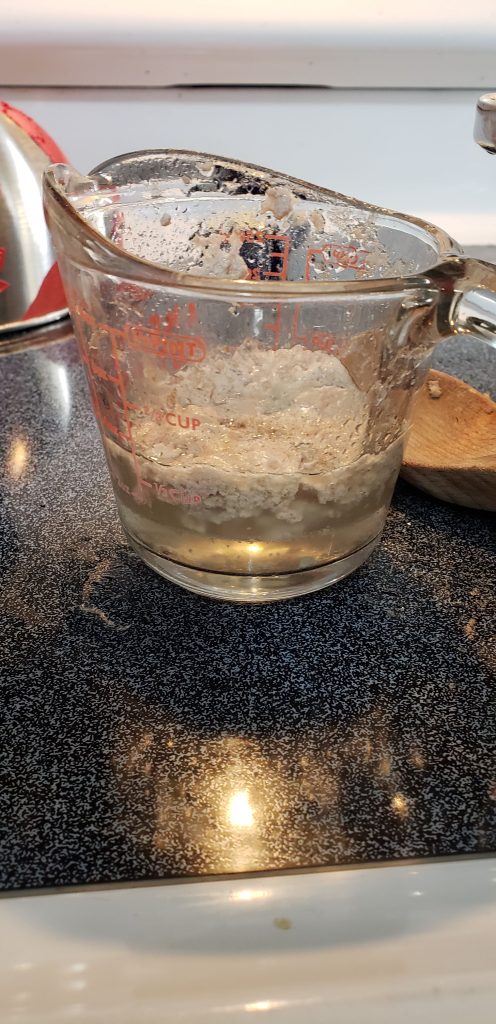
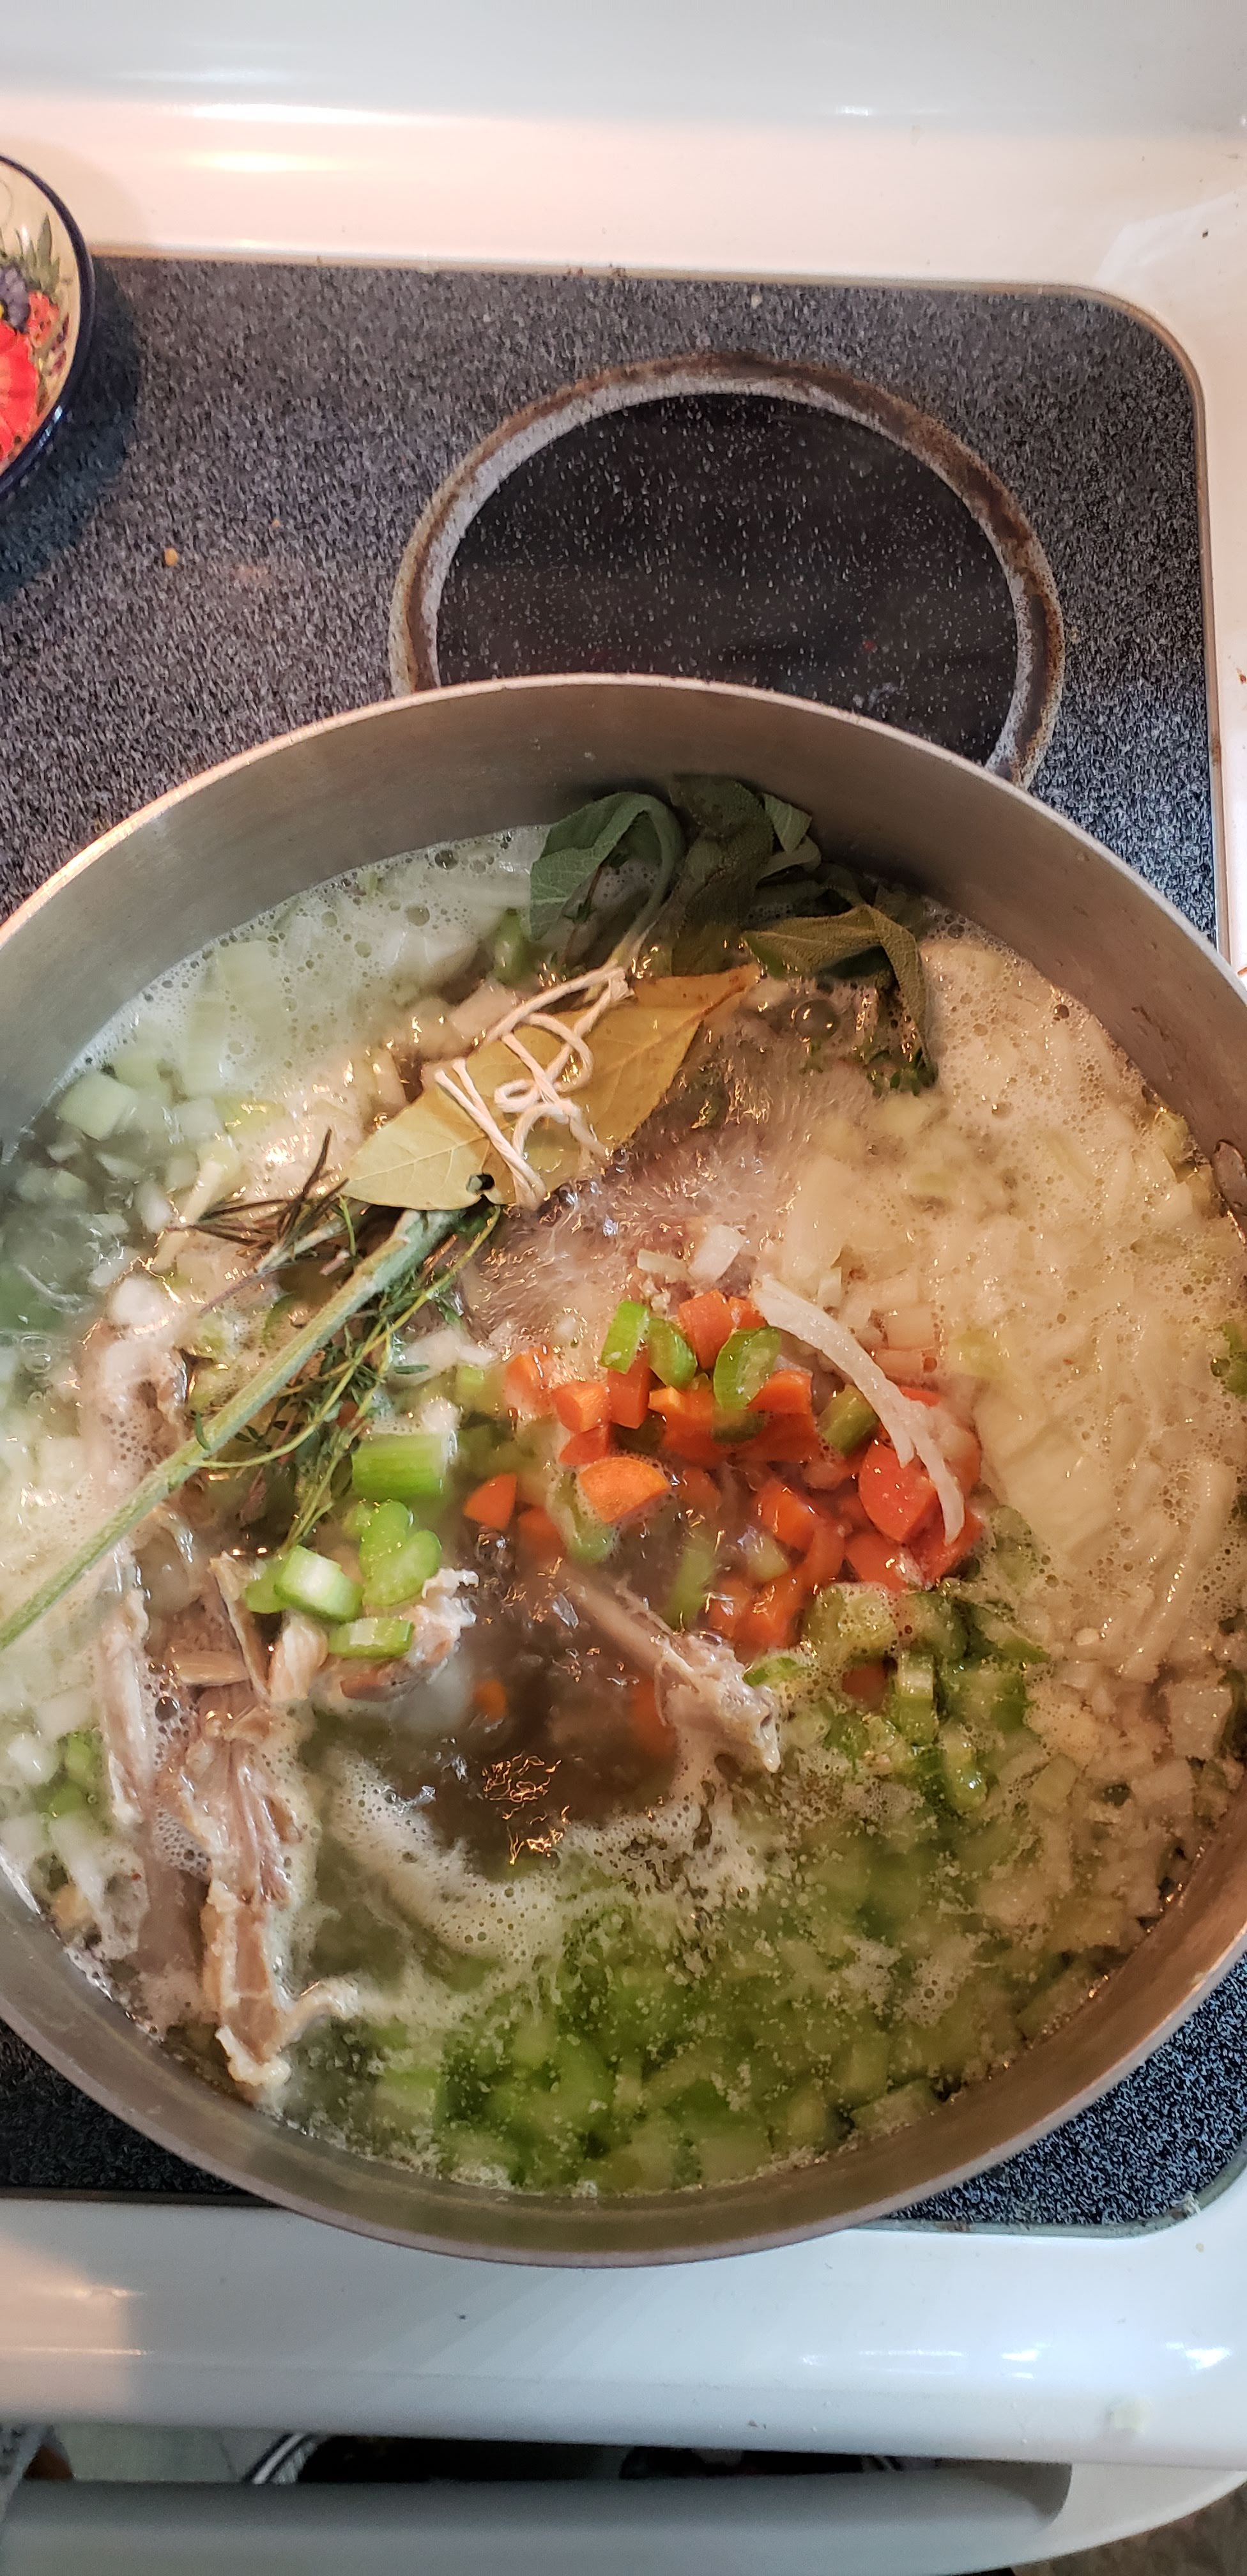
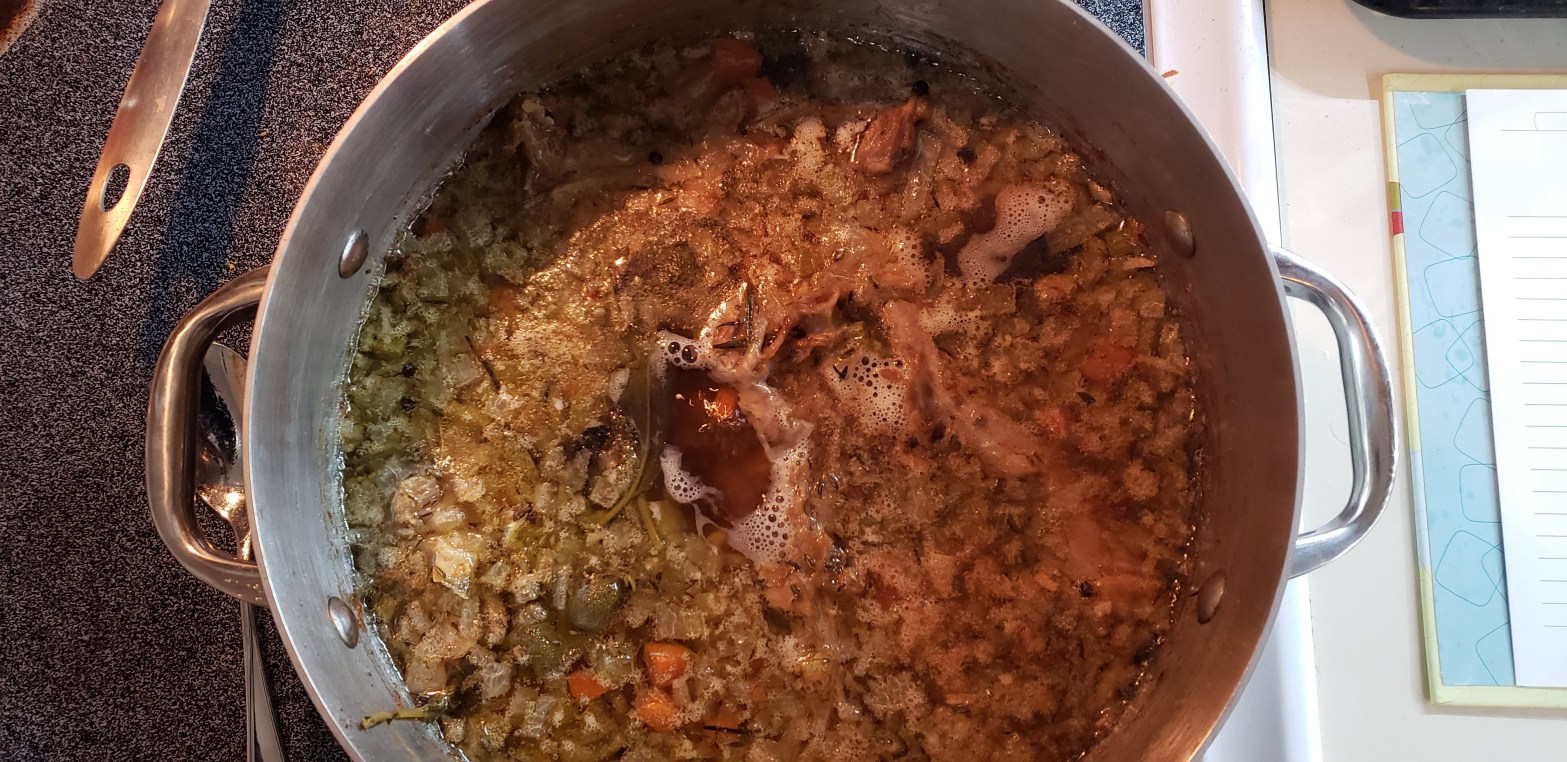
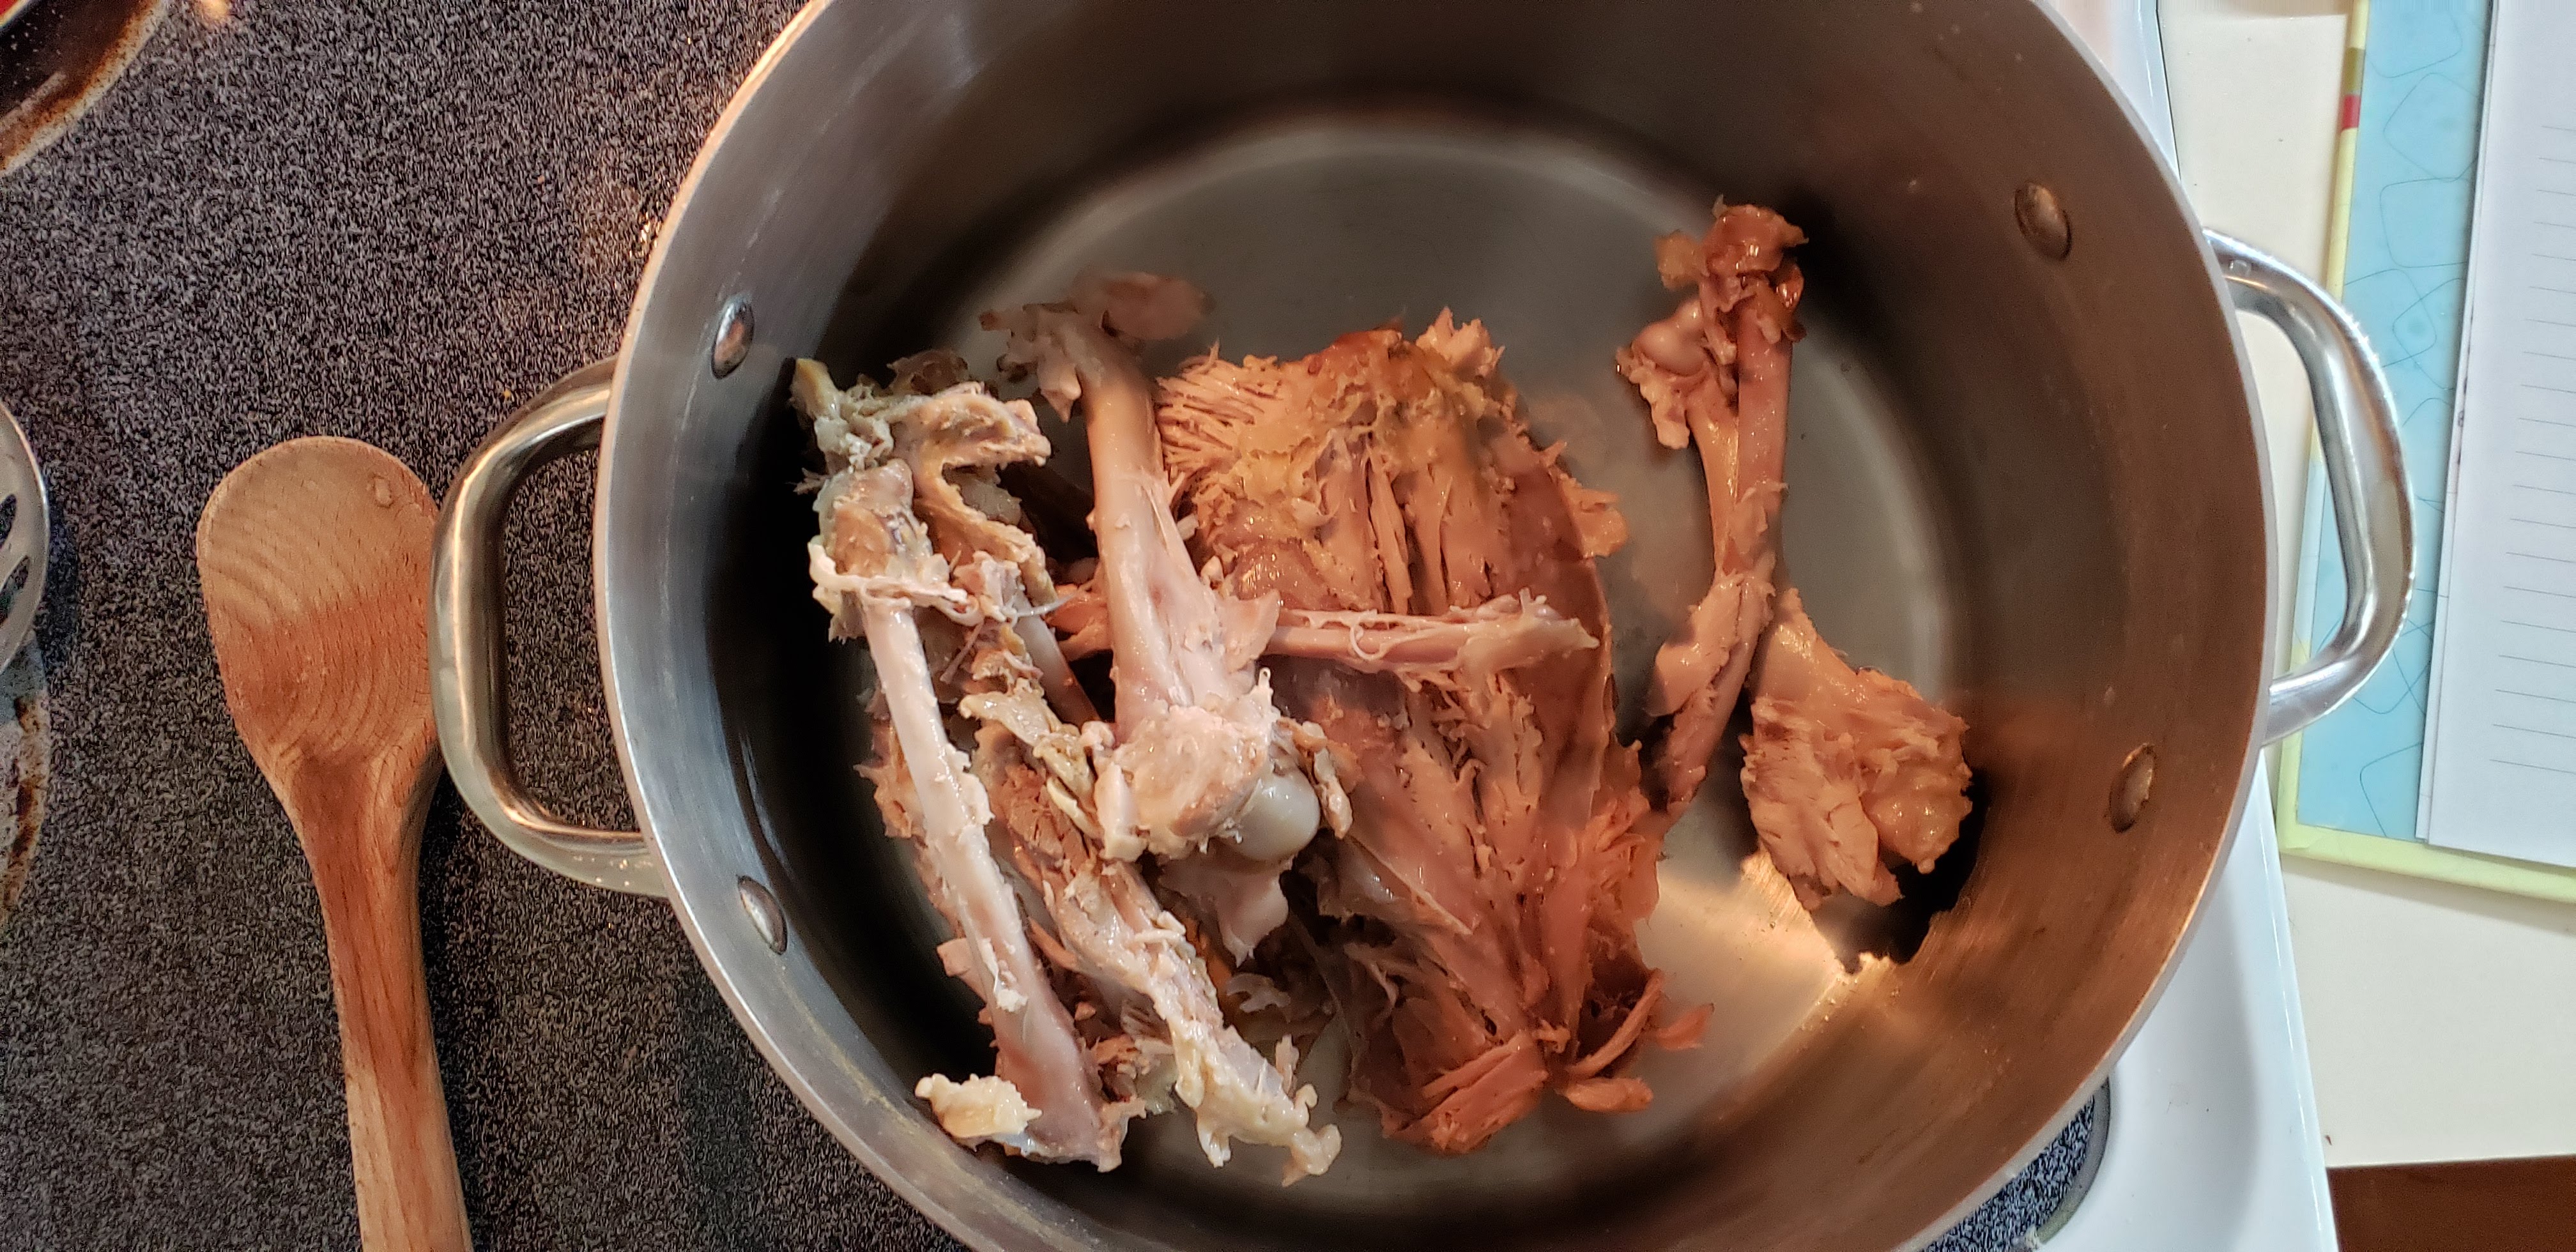
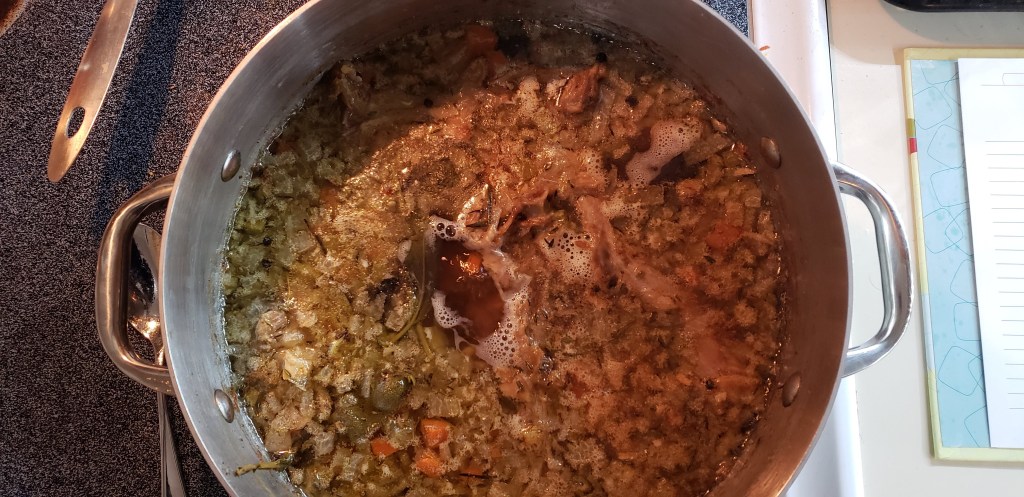
Wash any leftover grime from the stock pot, then add the cleaned bones back in and cover with the strained broth. While its boiling, scum from any left over meat or fat on the bones will raise to the top of the pot. Skim it off with a spoon and discard.
This is the skimmed scum from the top of the pot. Discard this so you don’t have fat chunks in your stock.

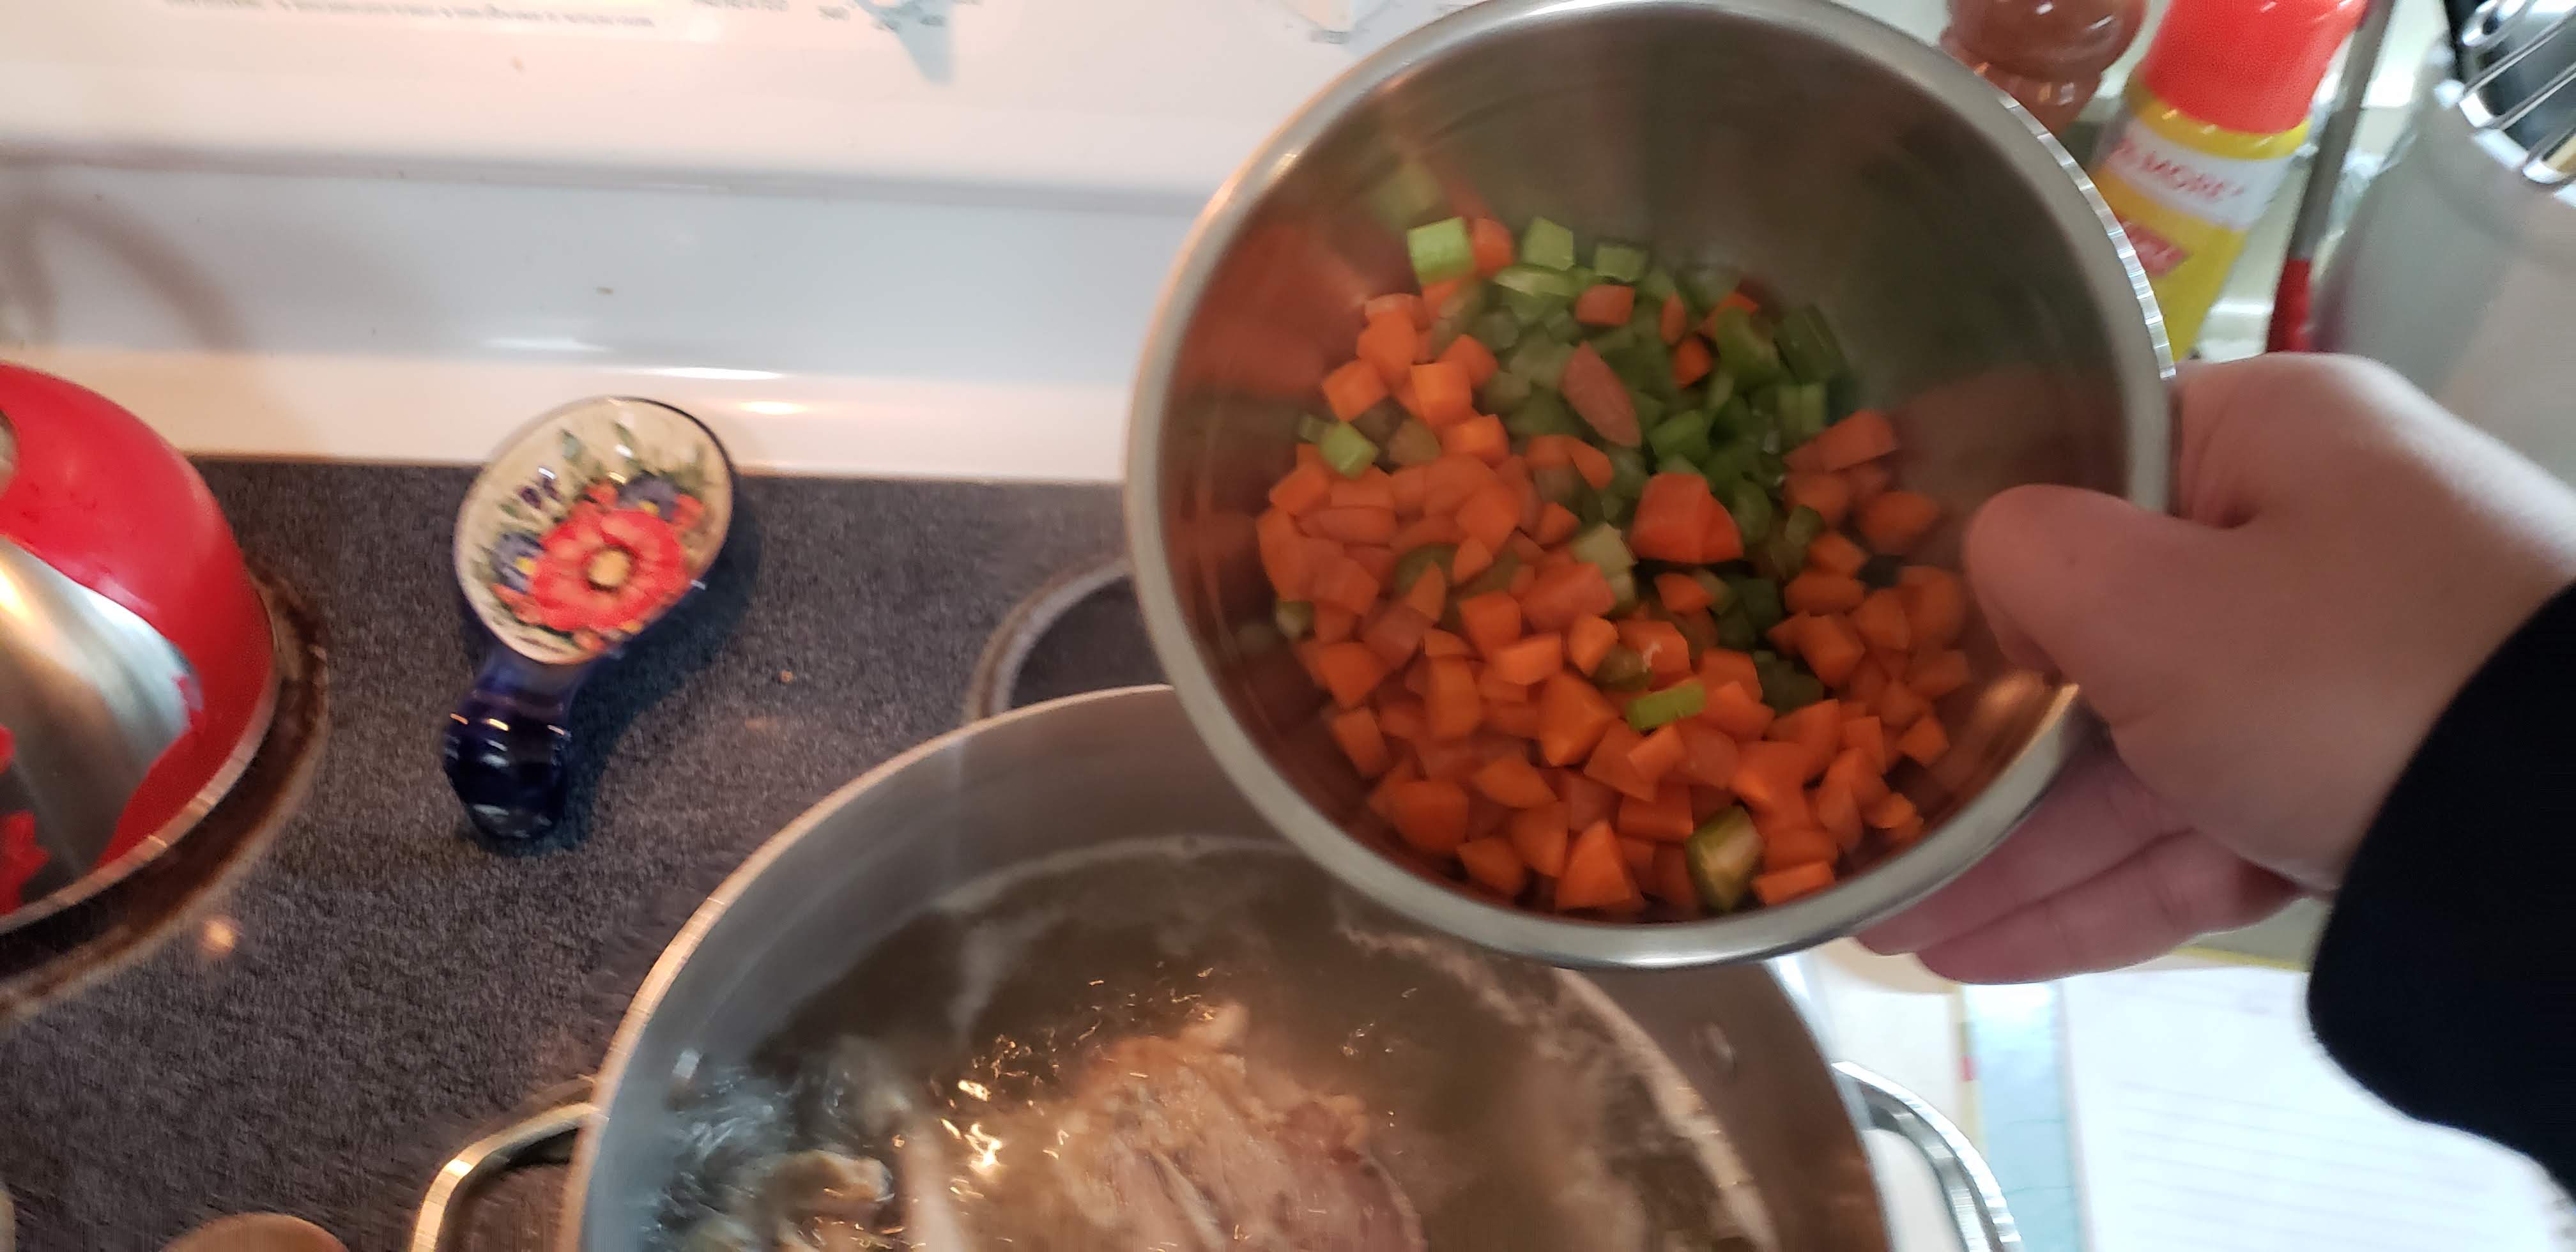
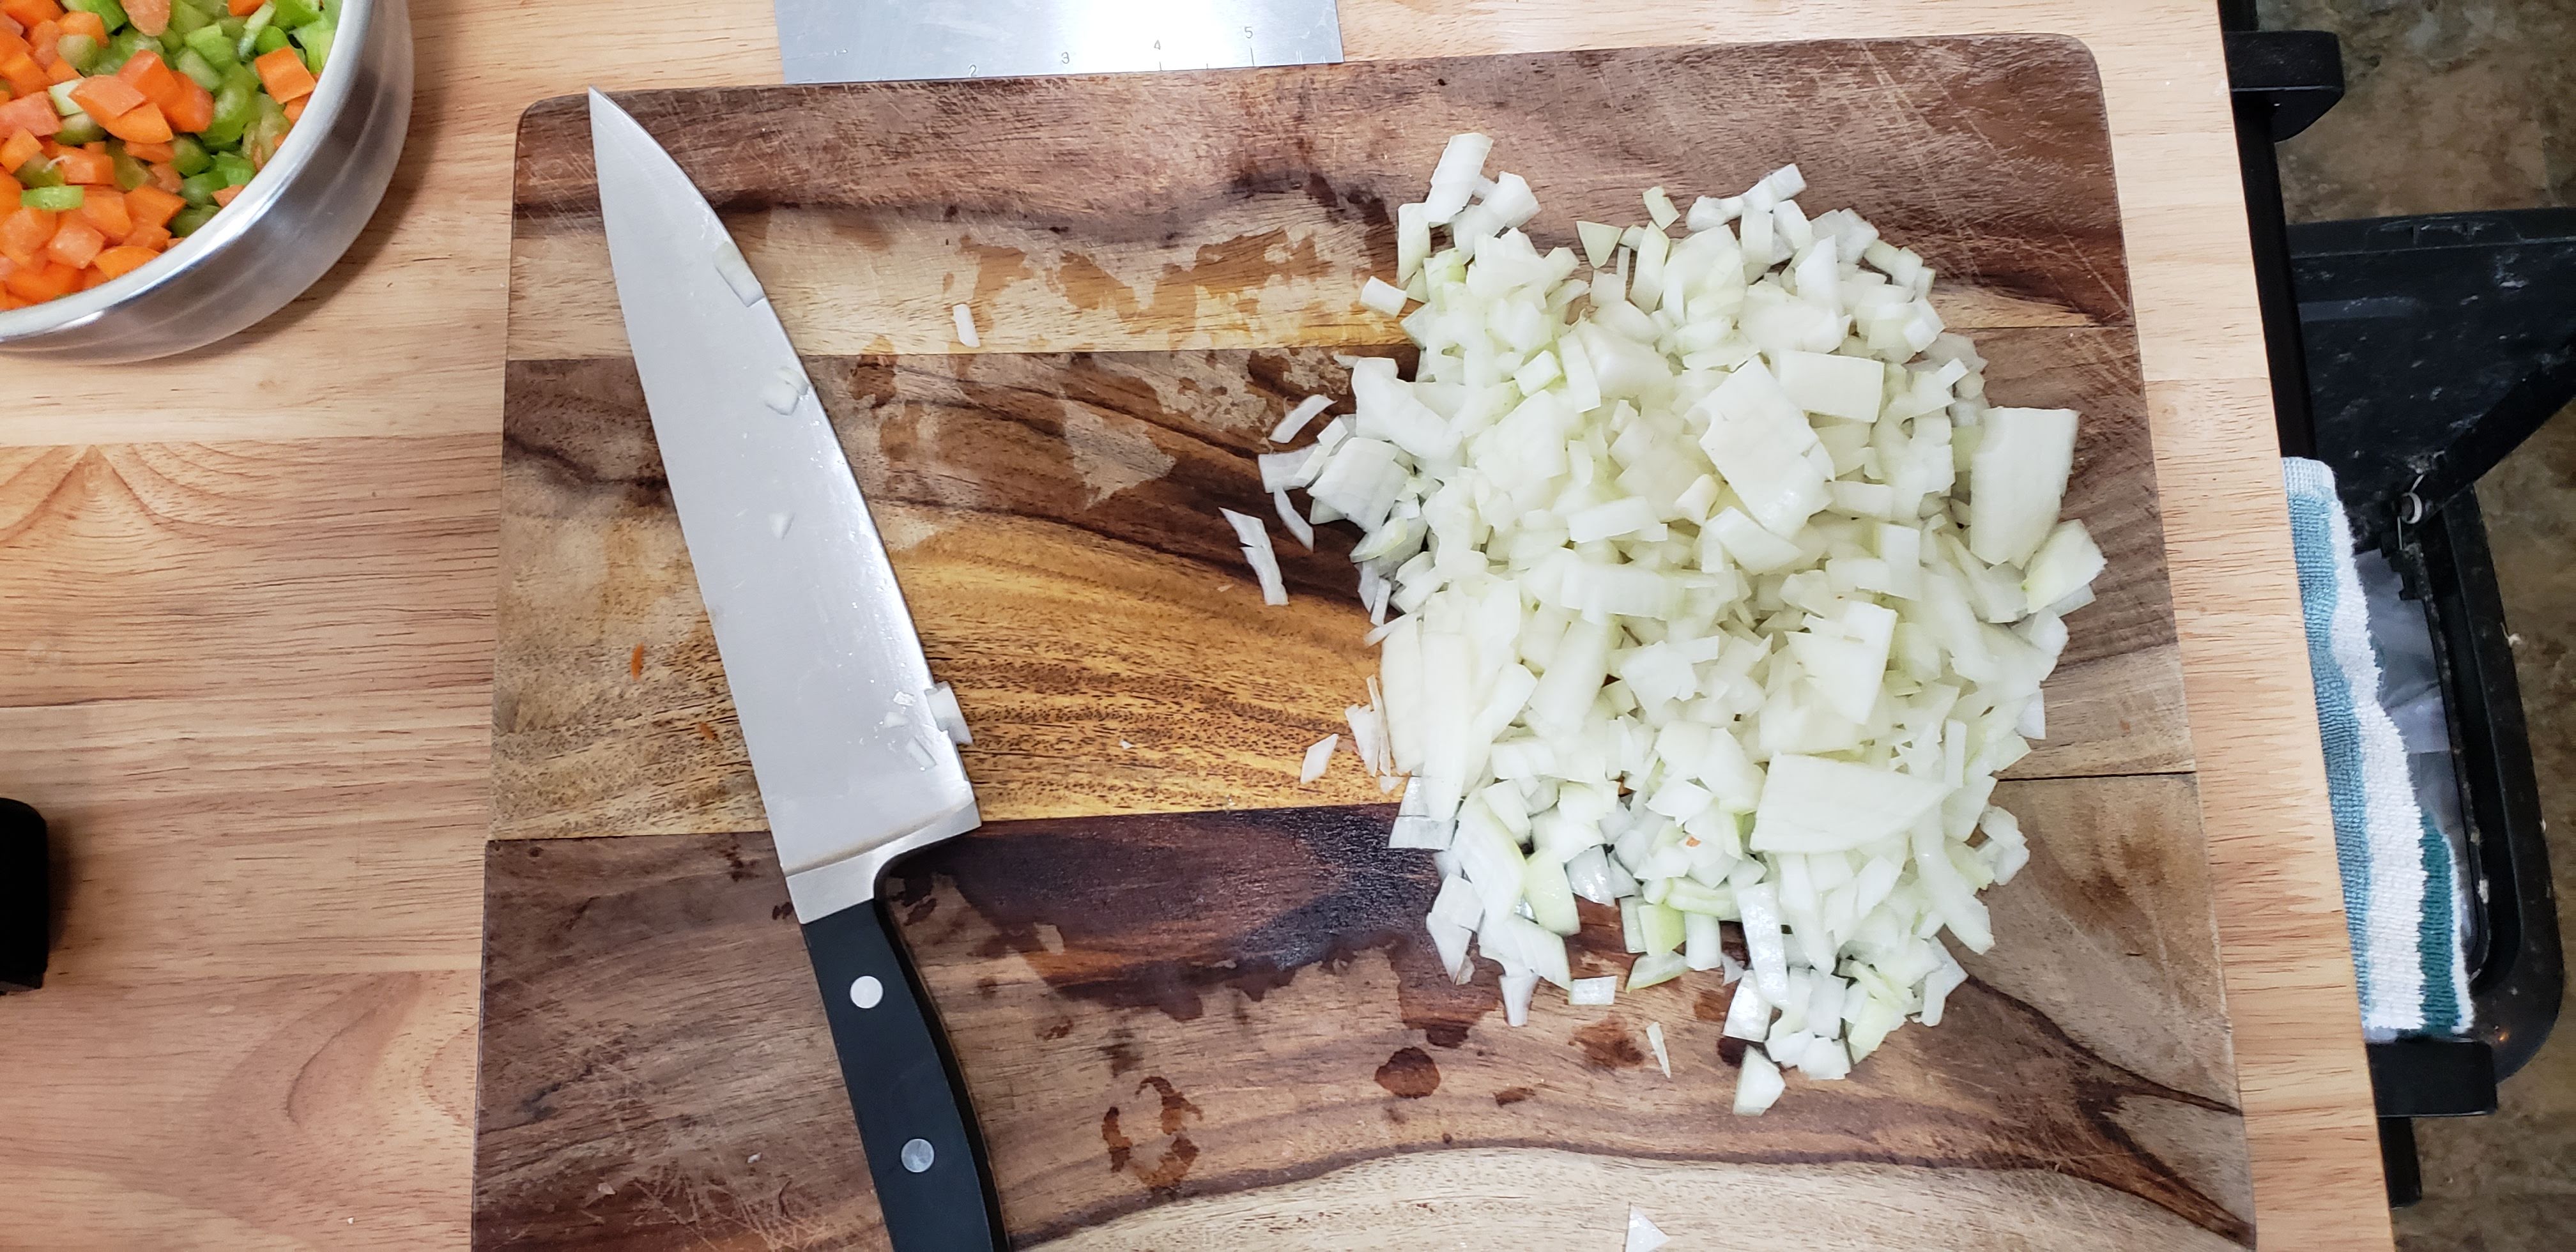
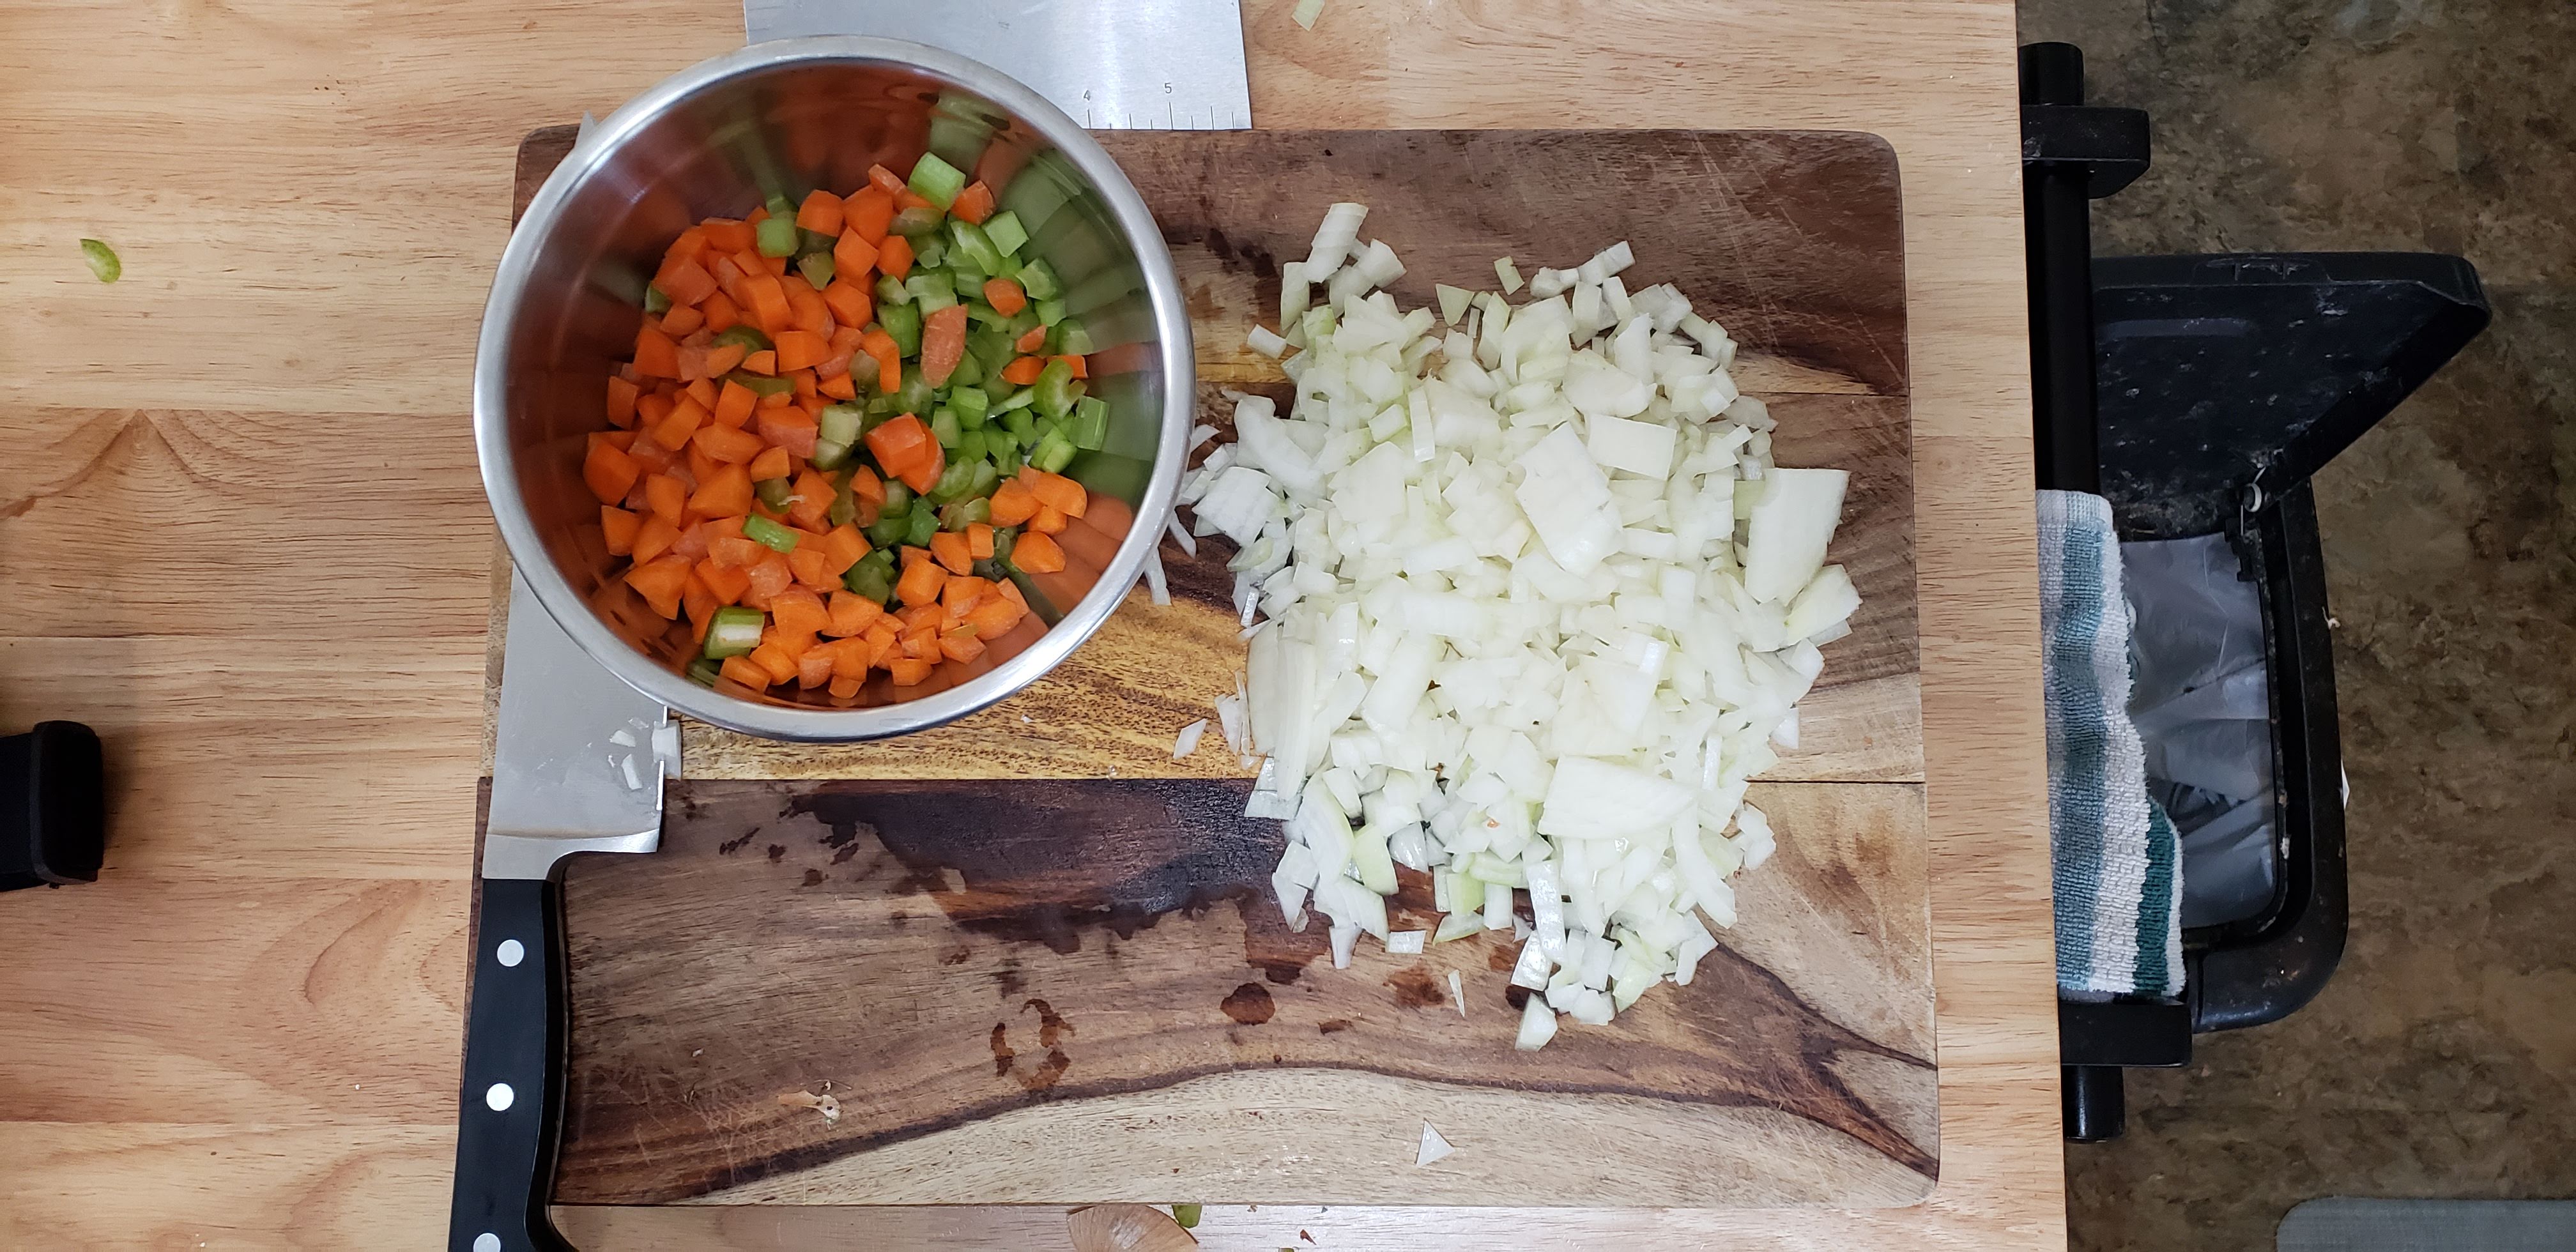
Now prepare your vegetables (also known as a mirepoix). I wanted to try out my new camera that Mom got me so here is a quick video on how to prepare a mirepoix! Thanks Mom!! If I wasn’t recording a mirepoix video, I would have just cut my vegetables into large chunks. You don’t really need a fine dice for stock.

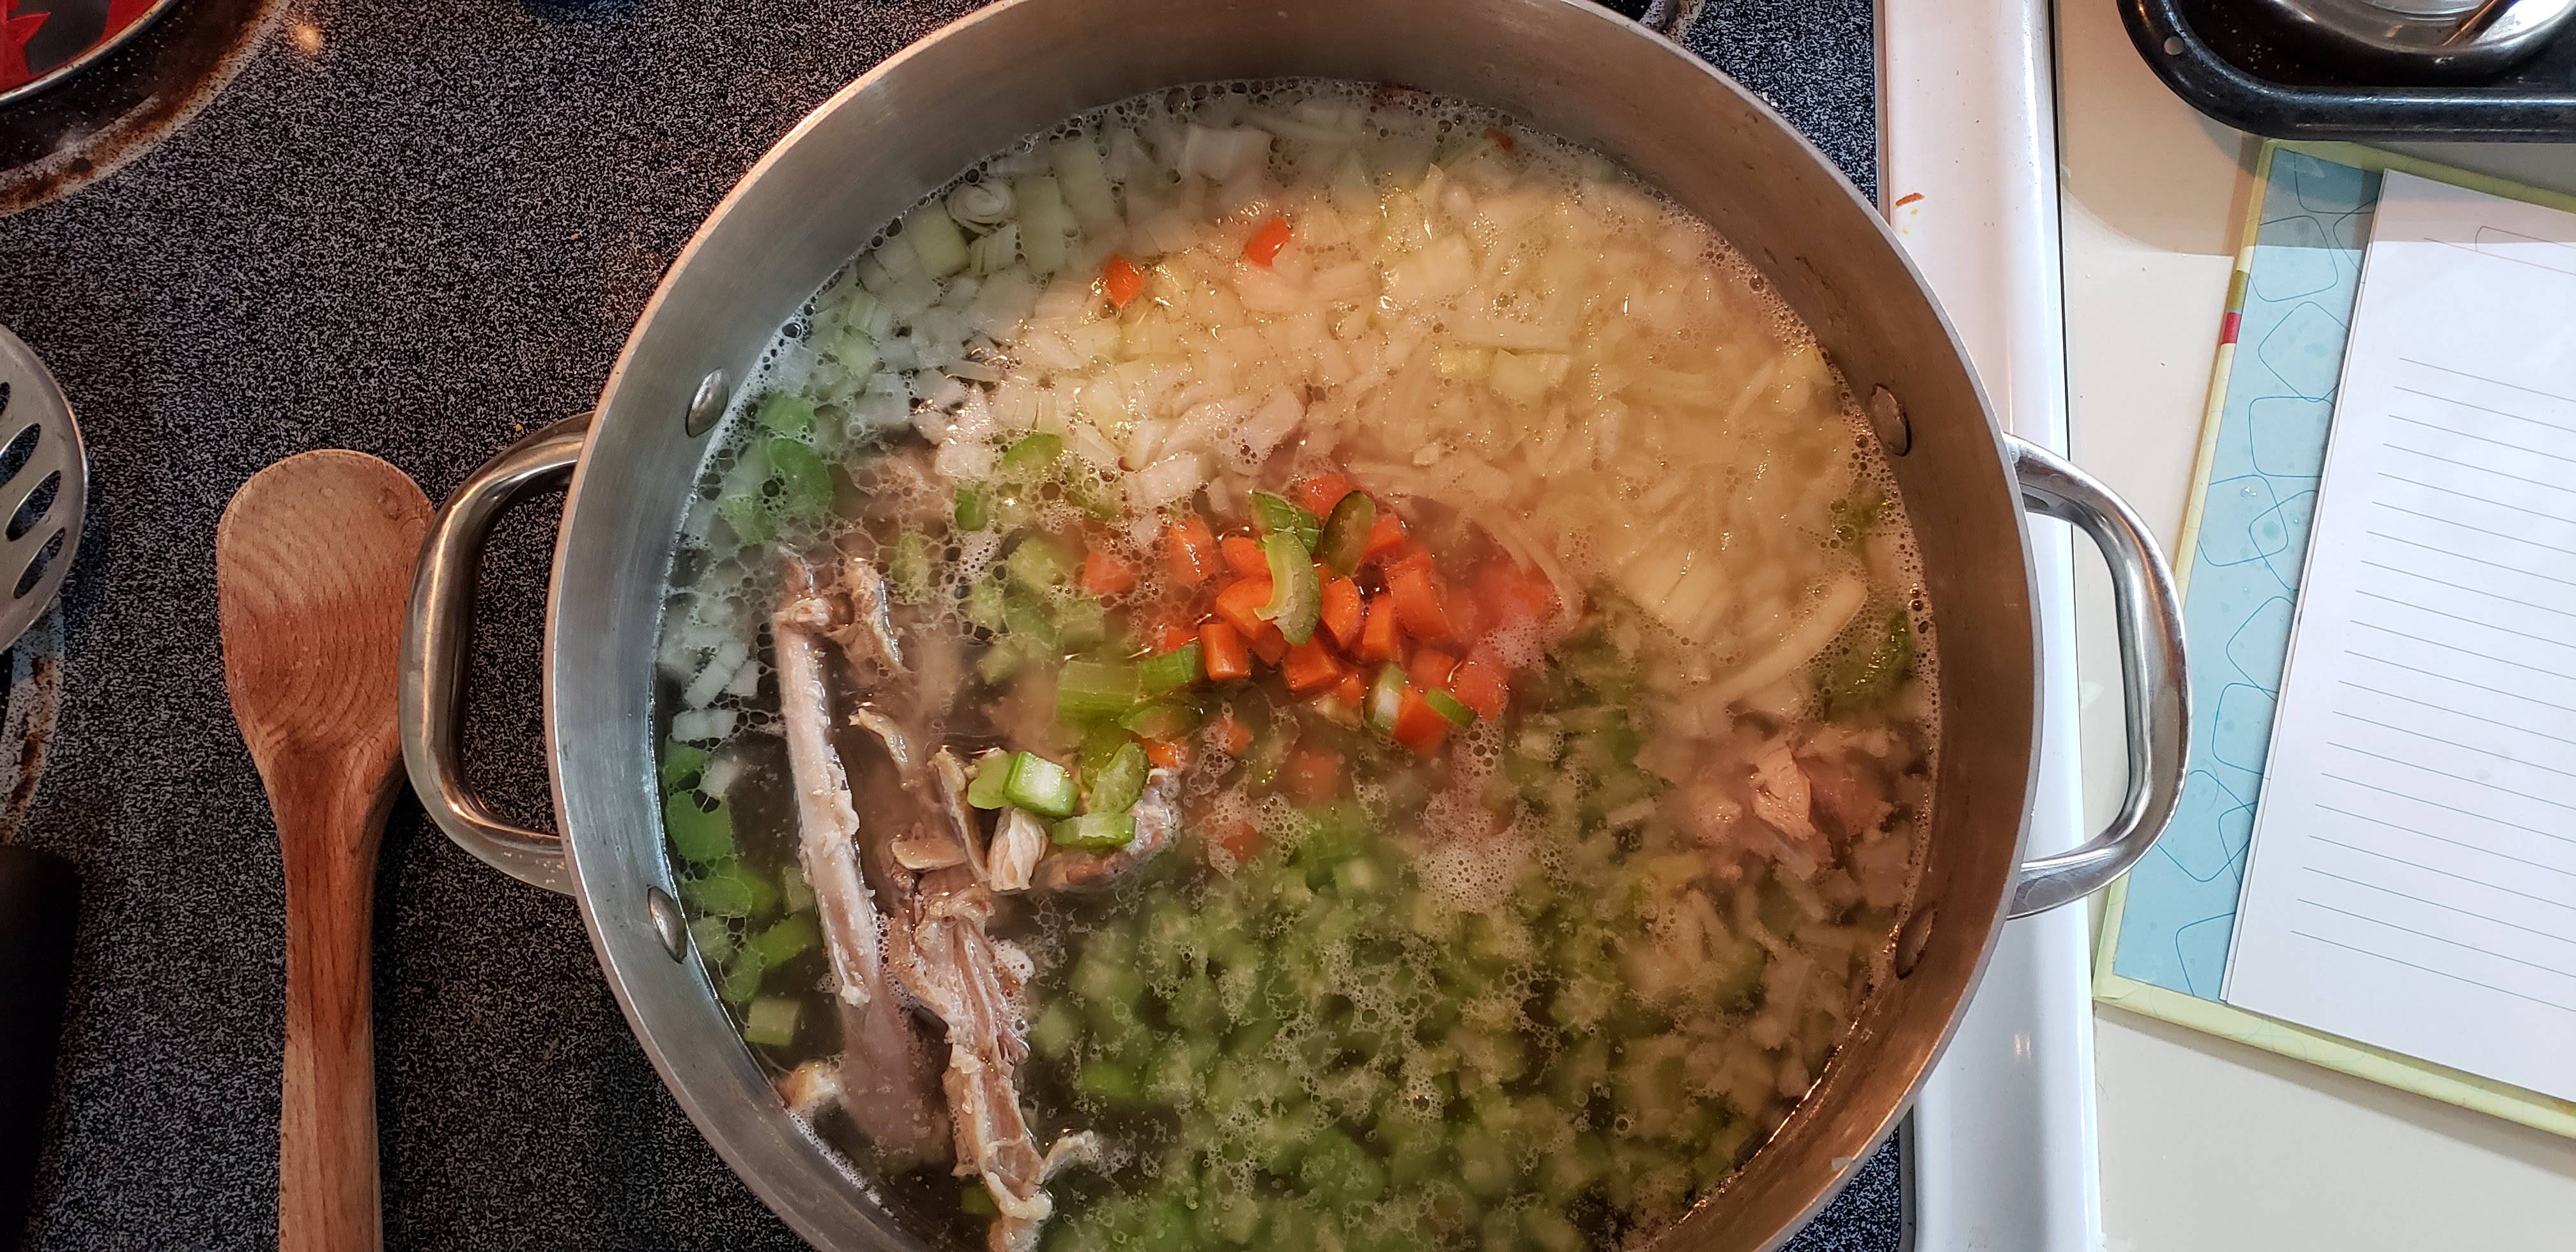
Add the vegetables to the stock and reduce the heat to medium low so the stock comes to a simmer.
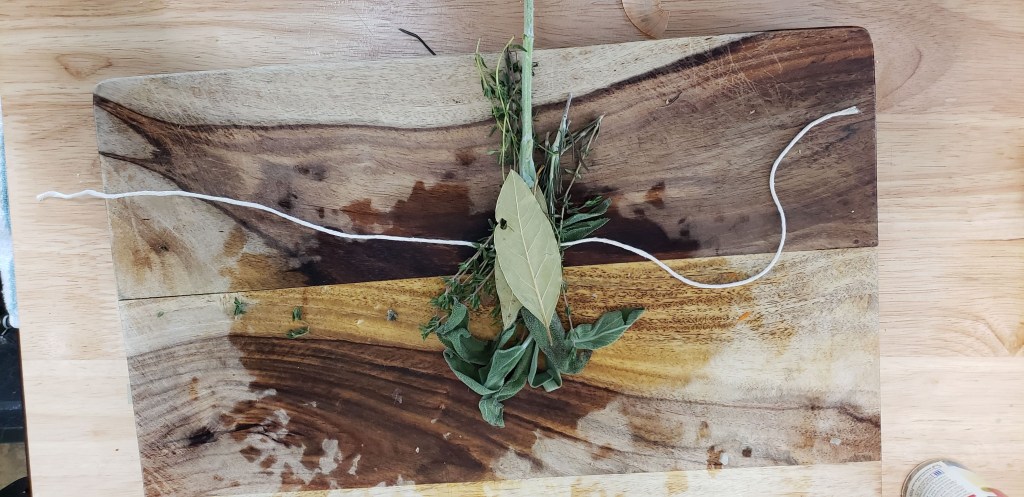
Take the herbs and bay leaves and tie them together with some twine to make what is called a bouquet garni.
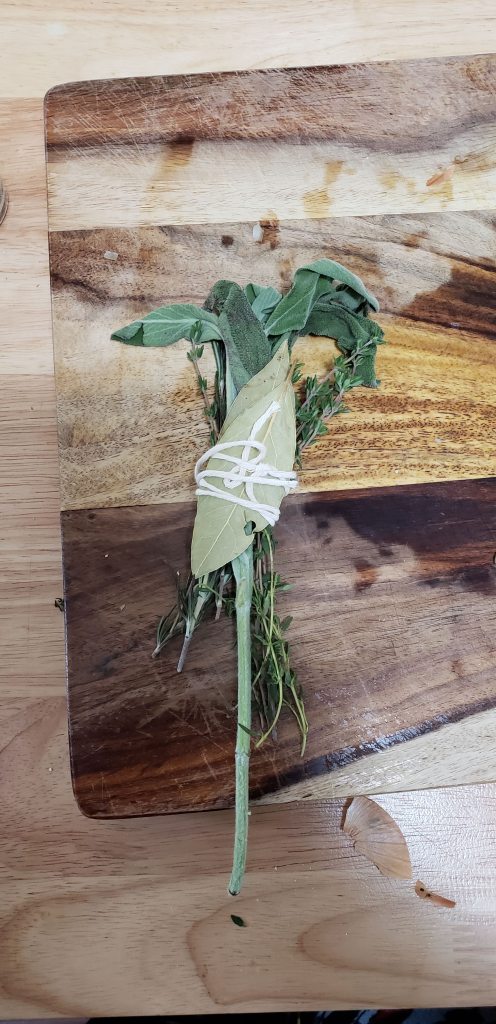
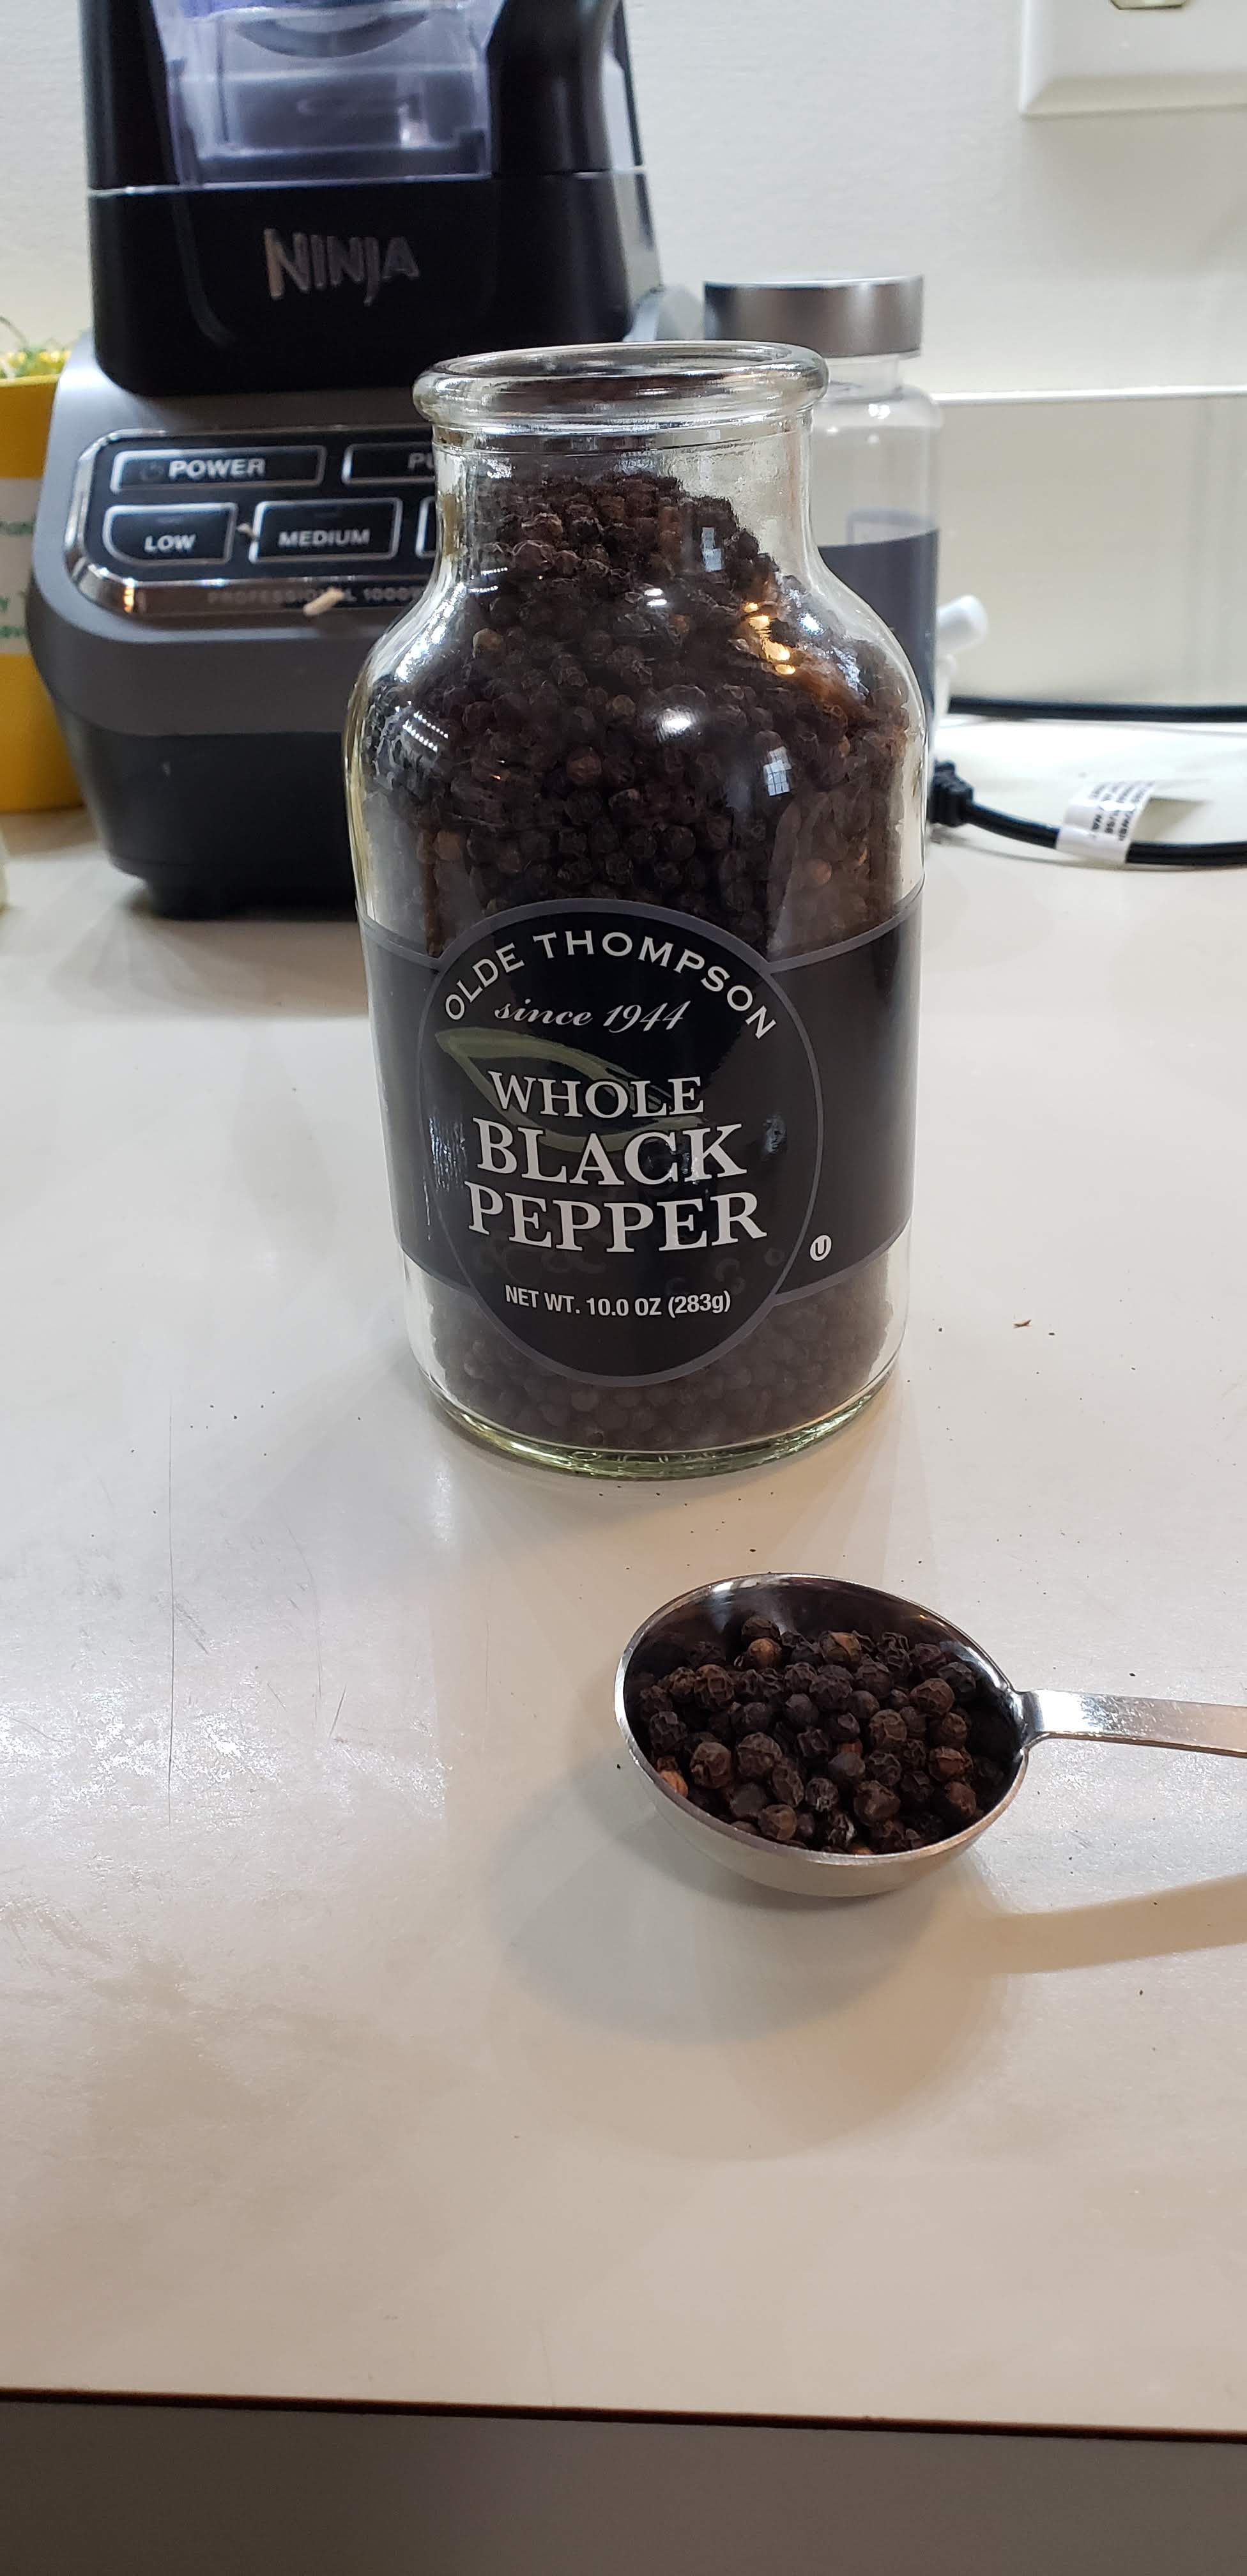
Add your herbs and peppercorns to the stock and let simmer for up to 5 hours.
After the stock simmers for about 5 hours, strain it through a fine mesh sieve into a large bowl to remove all the bones, vegetables, herbs, and spices.
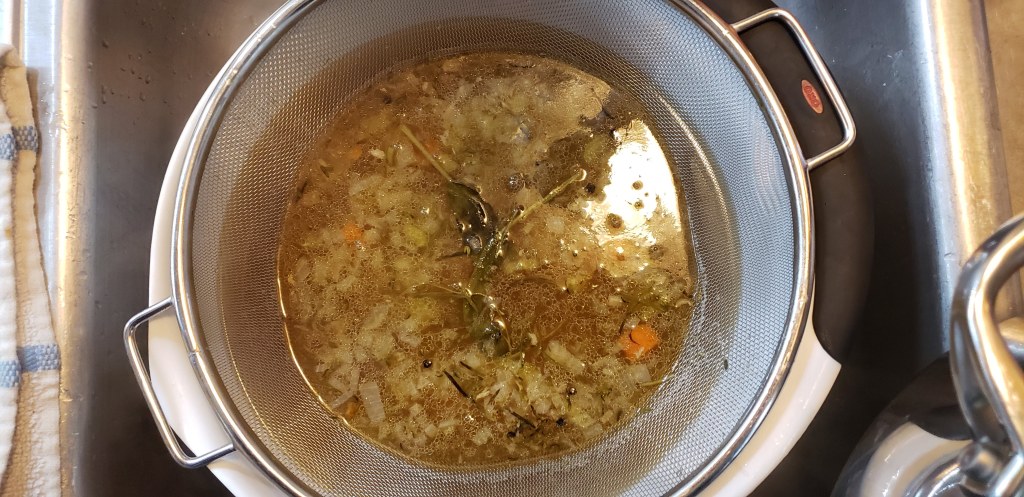
Notice I did not salt my stock. I am going to brine our turkey this year so the drippings that come off the turkey are already going to be salty. I don’t want to add salty stock to my gravy and have an overly salty gravy. If you are using your stock for anything else you can always heat up a small amount on the stove and add as much salt as you want.

Once your stock is strained, cool it down as fast as possible. I sometimes put some ice packs in it to speed up the cooling process.
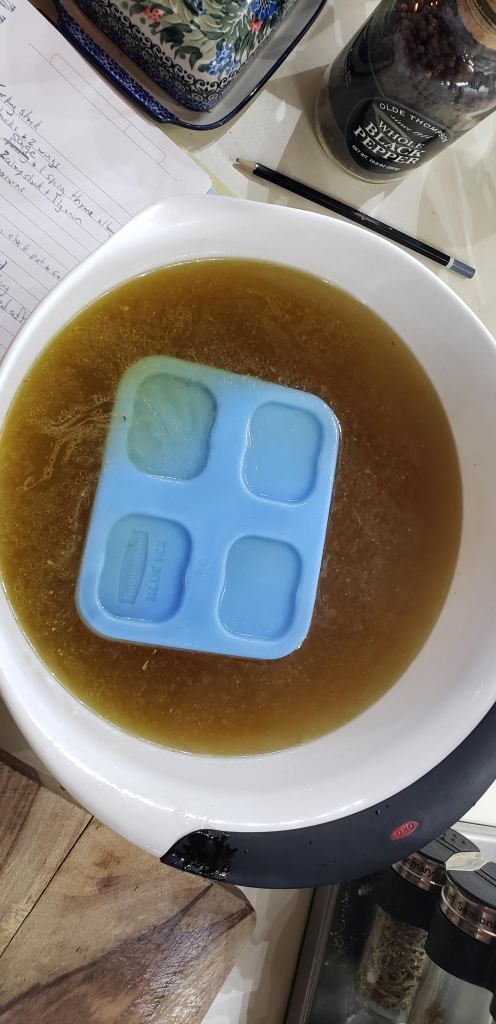
Once it is cooled you can store it in the refrigerator for 3-4 days or freeze for up to 5 months.

Let us know what you use your stock for!

Happy Thanksgiving!!!
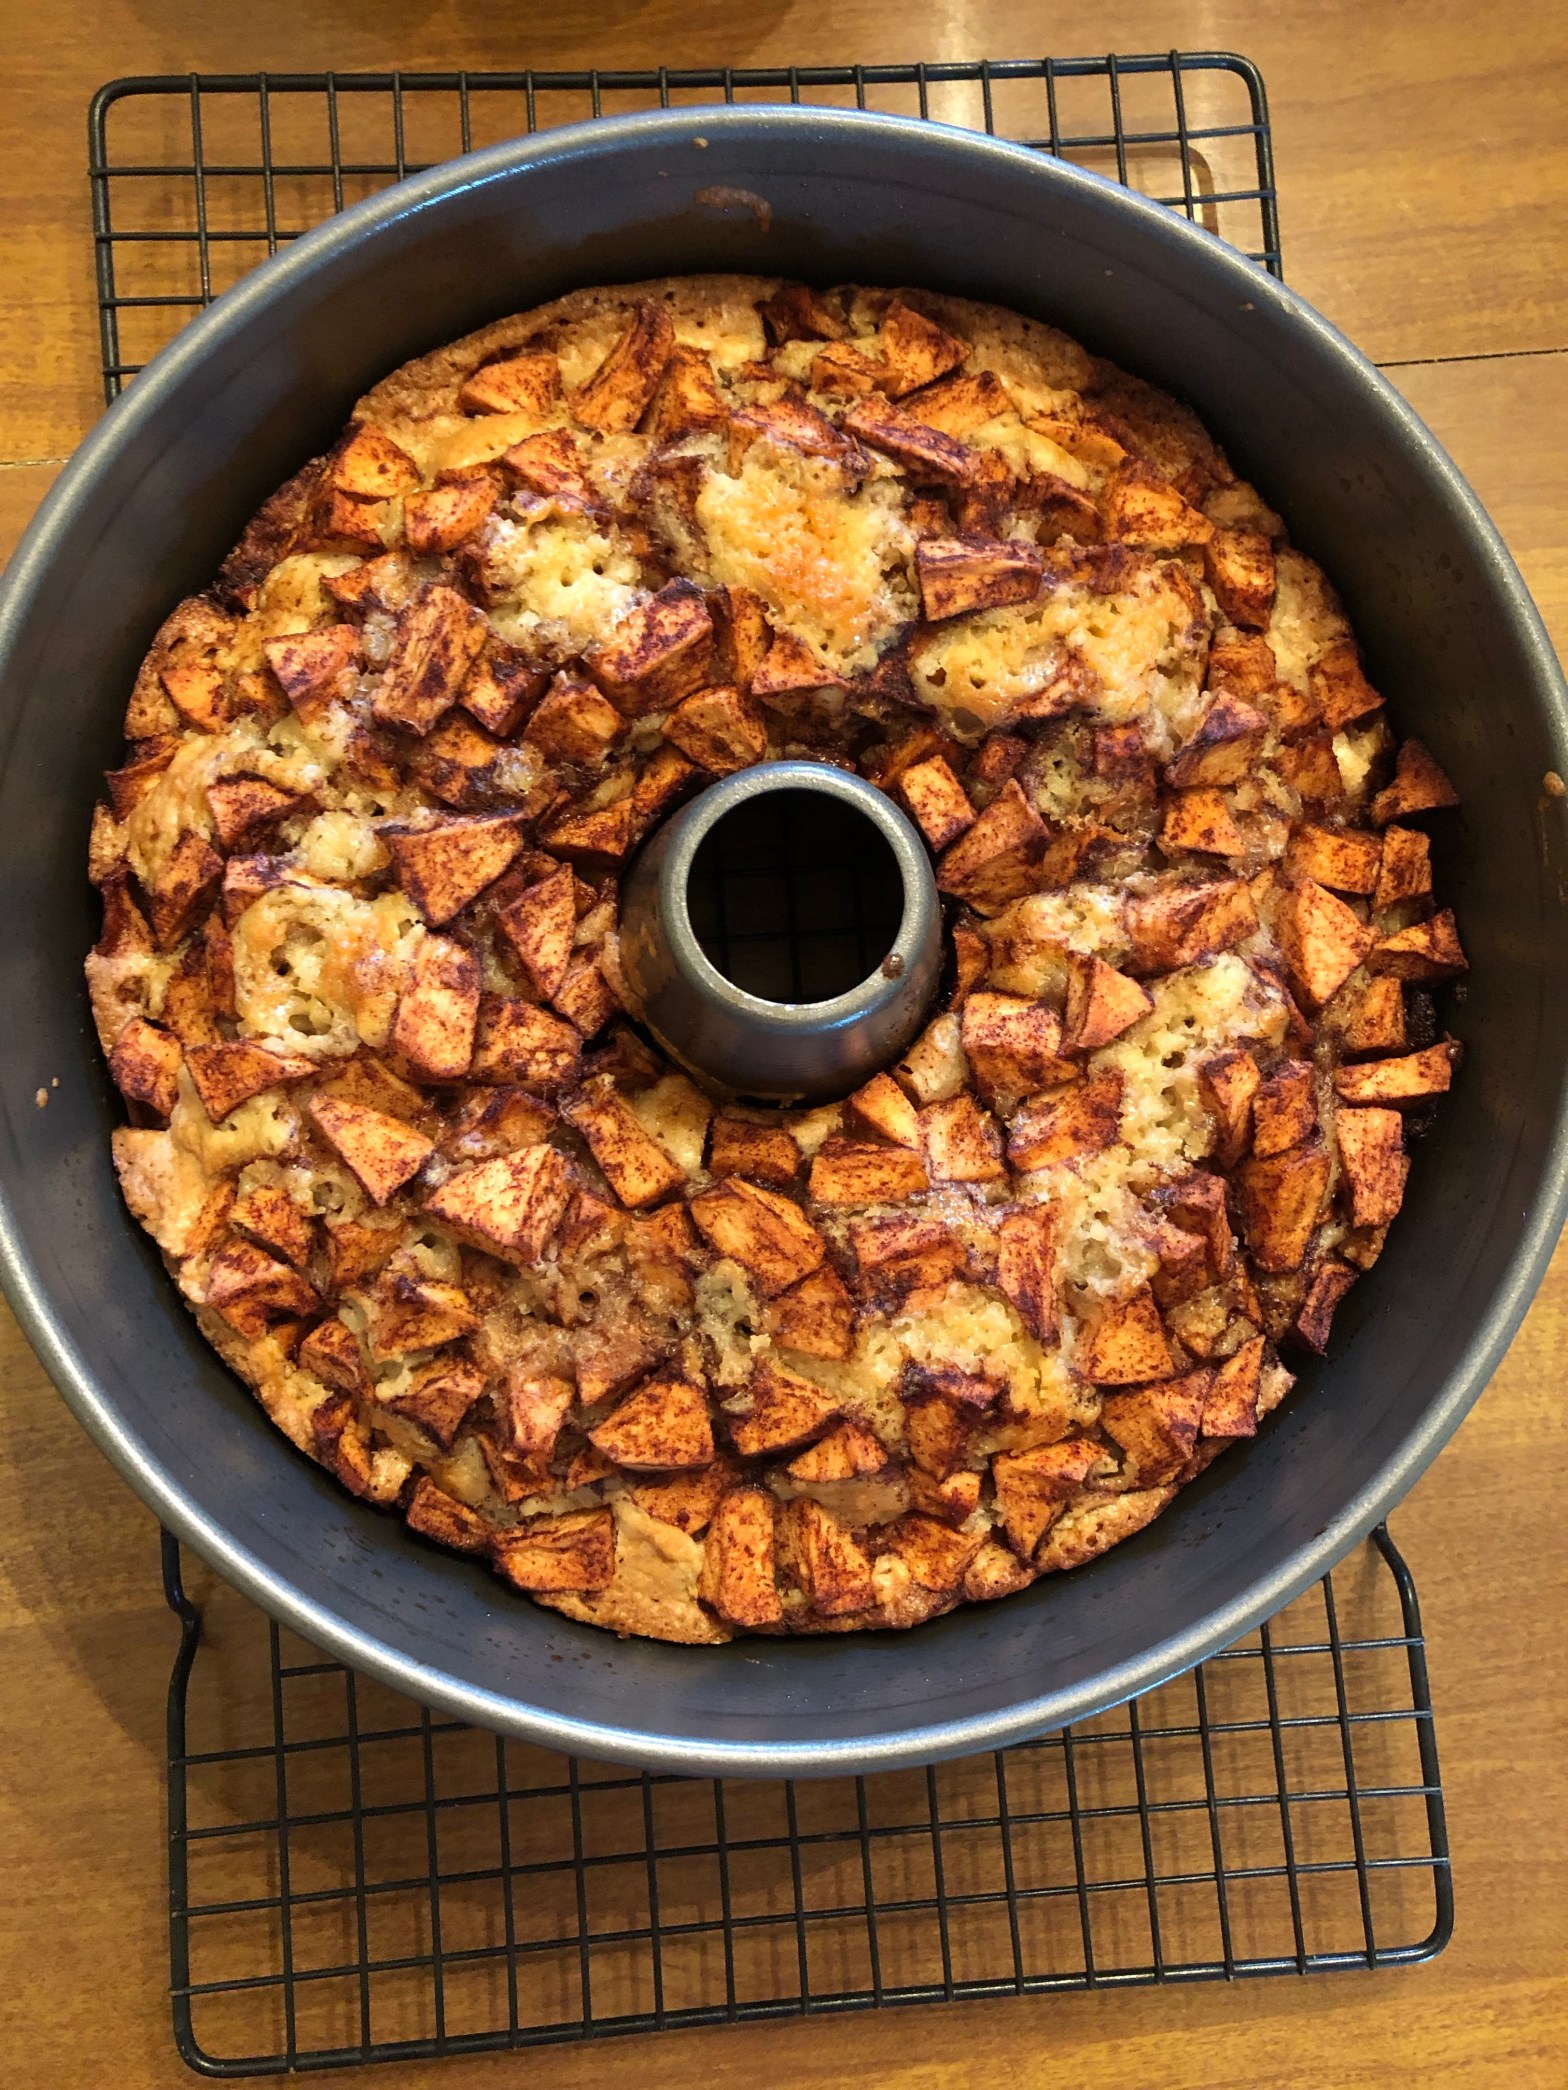
The Absolute Best (and Easiest) Apple Cake

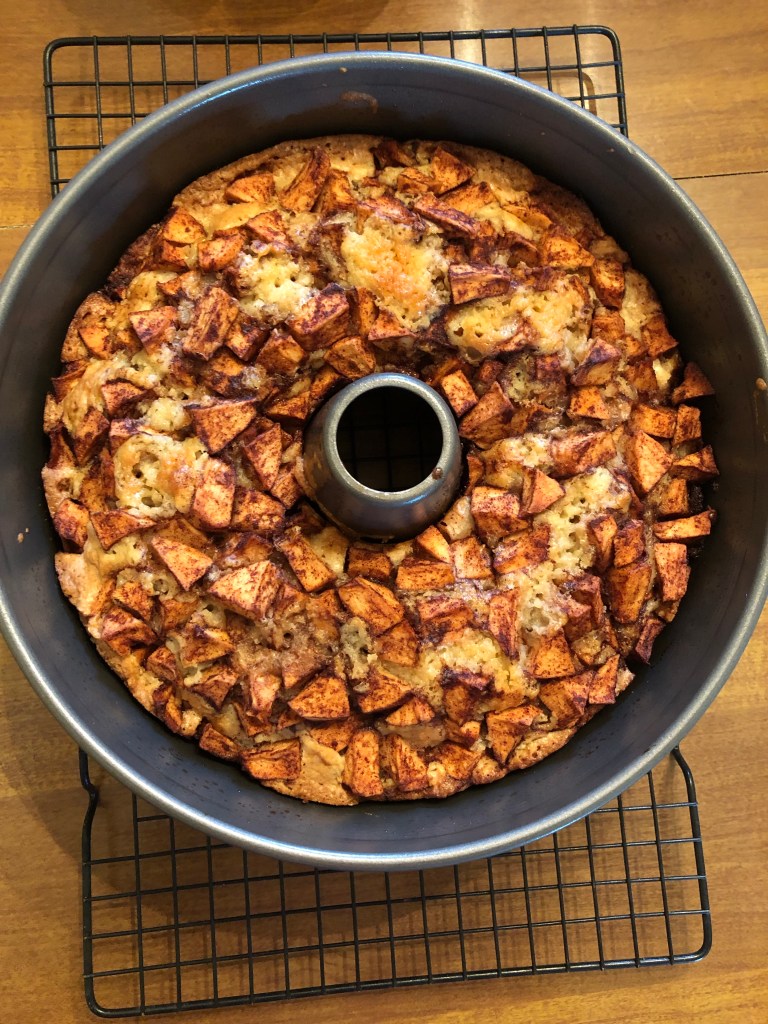
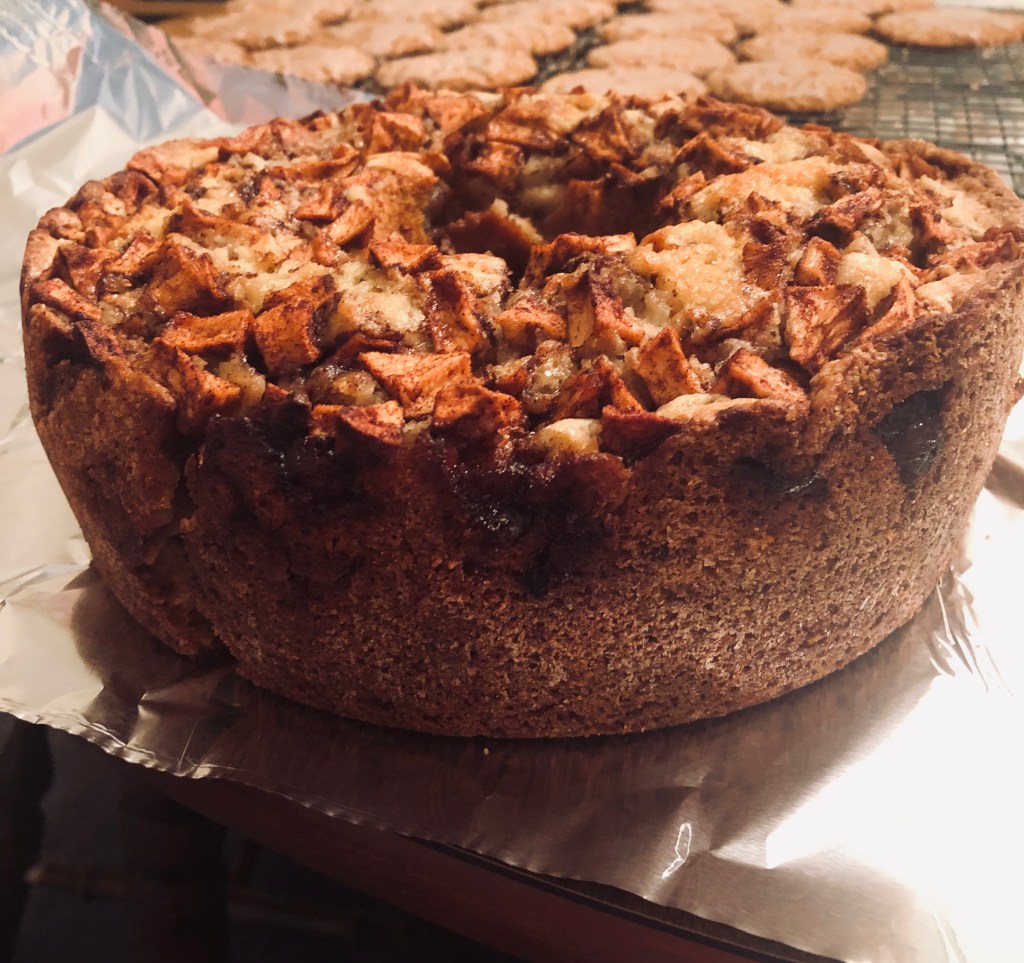
This cake has made many friends and loved ones happy. You can do the same for the people in your life, and for you too, of course. Treat yo’self to this moist, cinnamon sugar-packed, apple-studded cake that lasts for days on your countertop (but probably will be eaten long before that).

Apple Cake

For the apples:

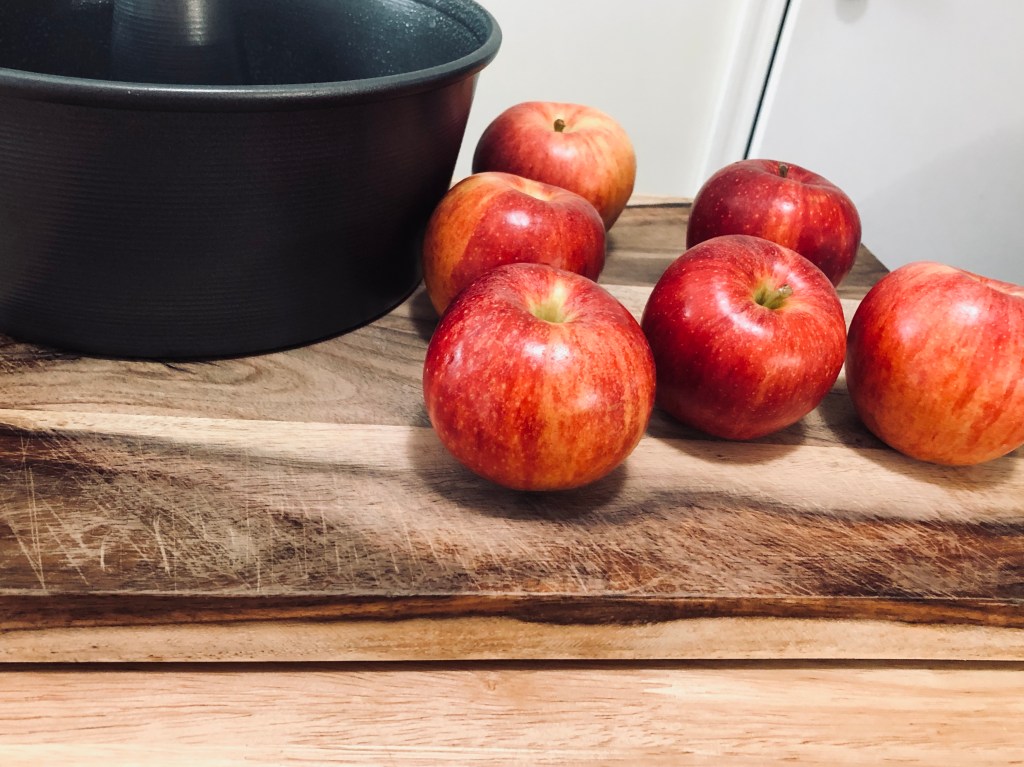
6 medium apples (about 3 1/2-3 3/4 lbs), a mix of whatever you like (I like pink lady, macintosh, and/or honey crisp)

5 tablespoons granulated sugar

1 tablespoon ground cinnamon

For the cake:

2 3/4 cups (360 grams) all-purpose flour

1 tablespoon baking powder

1 teaspoon kosher salt

1 cup (235 ml) vegetable oil (melted butter also works, though not really needed here)

2 cups (400 grams) granulated sugar

1/4 cup (60 ml) freshly squeezed orange juice

1 tablespoon vanilla extract

4 large eggs

Preheat oven to 350 degrees.

Prepare your pan: You will need a 10 inch tube pan for this cake. Heavily grease the pan with cooking spray, making sure to coat all sides and the center tube, too.

Note: If you don’t have a tube pan, you can divide this recipe between two 9″ by 5″ loaf pans. Baking time may vary.

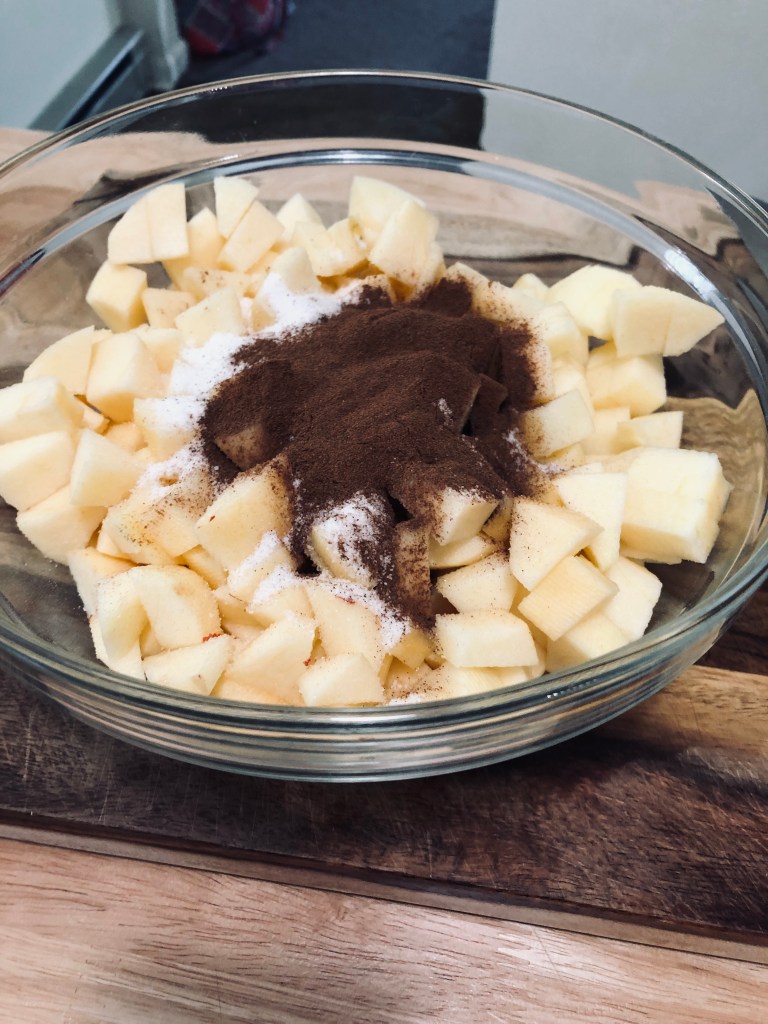
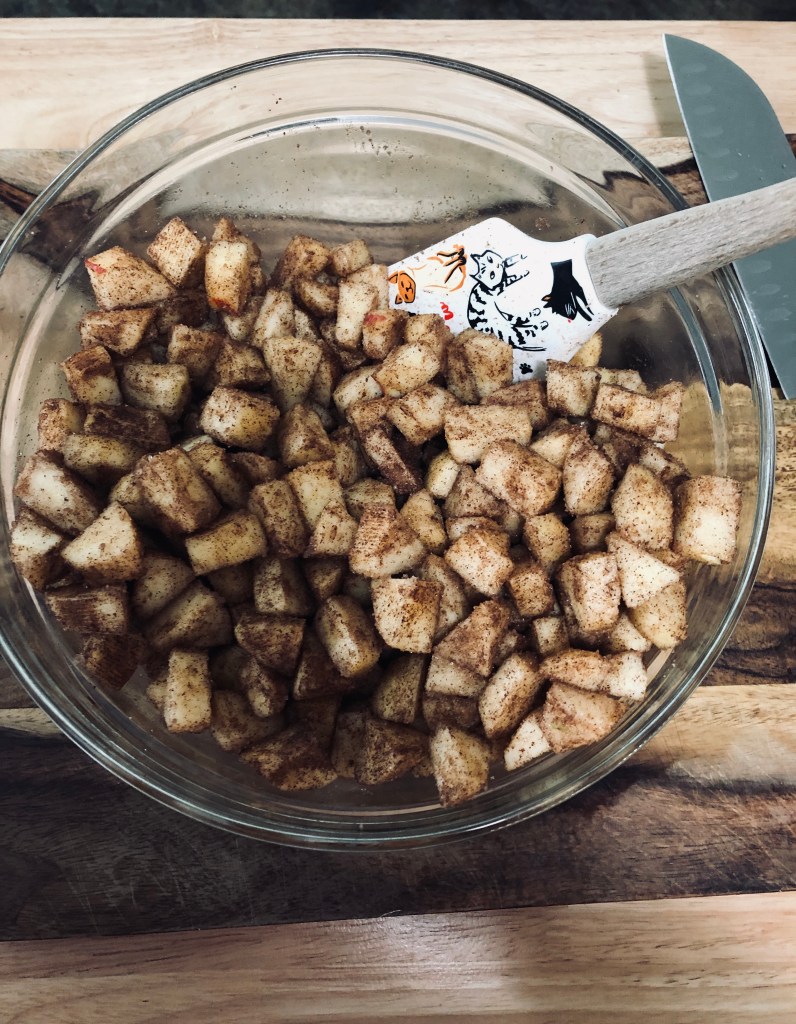
Prepare the apples: Peal and chop apples into 1/2-inch chunks and put into a medium-sized mixing bowl. Fold in the cinnamon and sugar and set aside.

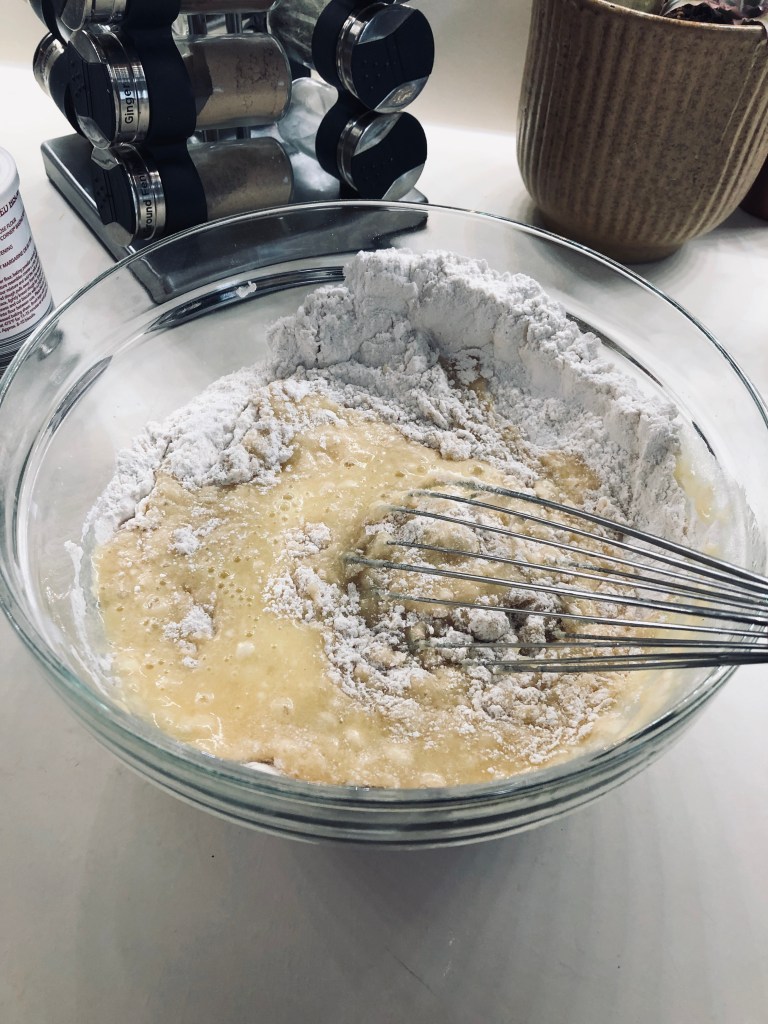
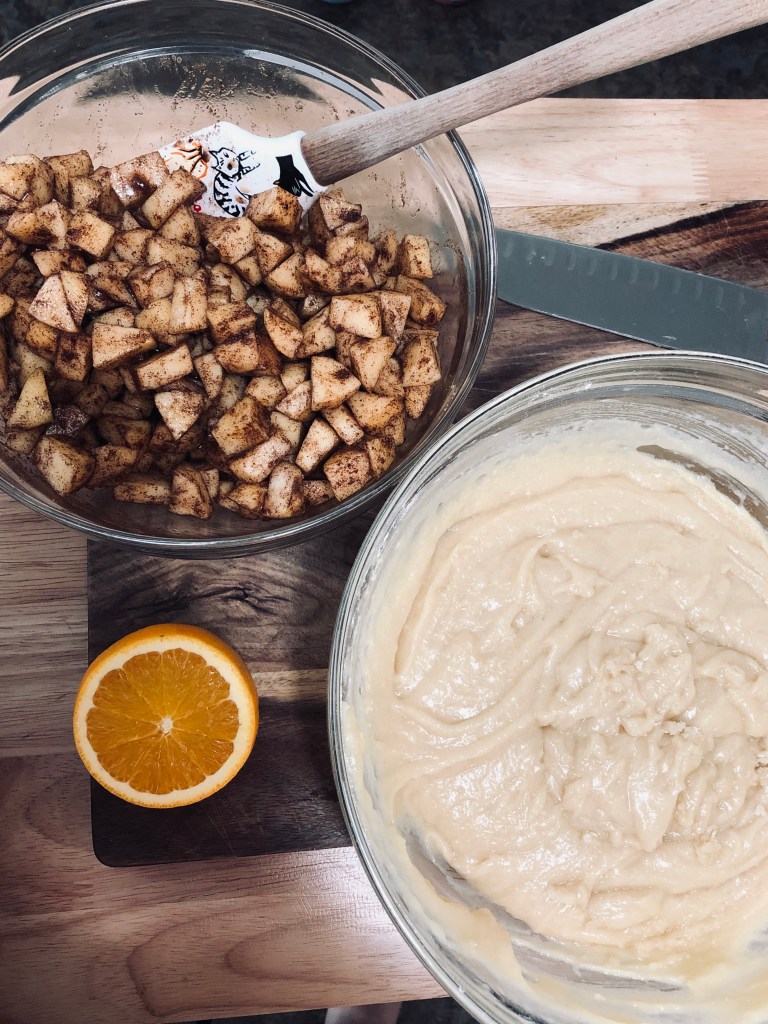
Make the cake batter: In a large bowl, whisk together the flour, baking powder, and salt. In another large bowl, whisk together the oil, sugar, orange juice, vanilla, and eggs. Pour the wet ingredients into the dry and whisk until combined and no more lumps of flour remain. It’ll be pretty stiff. Switch to a rubber spatula halfway through if you need to, to finish folding.

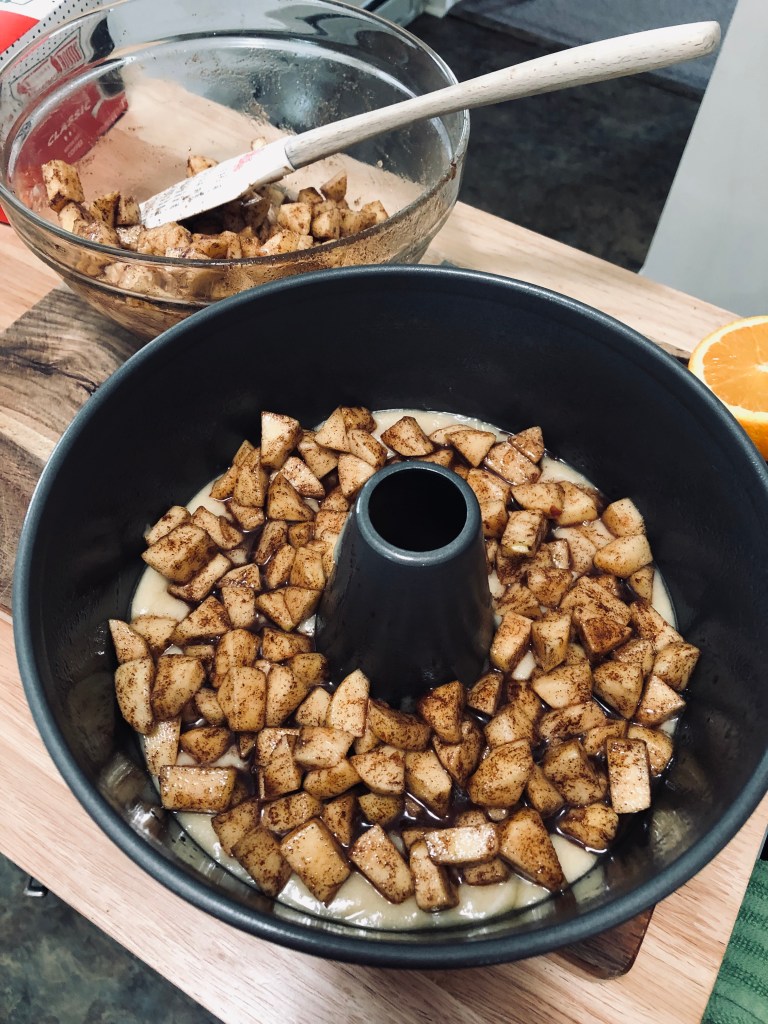
Assemble the cake: Pour half of the cake batter into the bottom of the tube pan. Pour half of the apples (now all delicious and juicy) on top of the batter, pouring some of the juice over the batter, too. It’s a little tricky to do with the tube pan, but spin the pan around a bit while you pour and push the apples gently around to cover the surface of the batter. Cover the apples with the rest of the batter, pushing and nudging the batter so it mostly covers the first layer of apples. Pour the remaining half of the apples over the top and the rest of the juices. Nudge the apples around so that they are evenly distributed on top of the cake.

Bake the cake: This is a long bake- 1 1/2 hours. Turn the cake halfway through to promote even browning. If it begins to brown too quickly on top, loosely drape with foil for the remainder of the time. A toothpick or skewer inserted into the center should come out batter free after 1 1/2 hours. However, the juicy apples like to delay baking, so you may need some more time. Keep checking the cake for doneness every 5 minutes thereafter, until the toothpick/skewer comes out clean. Cool the cake completely on a wire rack before removing from the pan.

Release the cake: Once the cake is completely cool, run a butter knife around the edge of the pan and around the center tube to loosen. Flip the pan gently on top of the wire rack so that the cake drops out onto the rack. You may need to jiggle and shake the pan a bit to get the cake free. Pick up the cooled cake gently and set it right side up. Serve all week long for daily apple heaven.

The cake will keep wonderfully wrapped in foil at room temperature for a week.

A perfect autumn treat. Enjoy!

-Jess

Quick Weekday Roast

Want a delicious roast pork loin but don’t have a ton of time or ingredients? Do I have a great quick recipe for you!

Here’s what you’ll need:

  • 2.5 lb boneless pork loin
  • 2 tbsp whole fennel seeds
  • 1 tbsp dried rosemary
  • 1 tbsp kosher salt
  • 1/2 tbsp garlic powder
  • 1/2 tbsp crushed red pepper flakes
  • 1/2 tbsp fresh cracked pepper
  • 1 cup of white wine or broth
  • 1/2 tbsp brown sugar

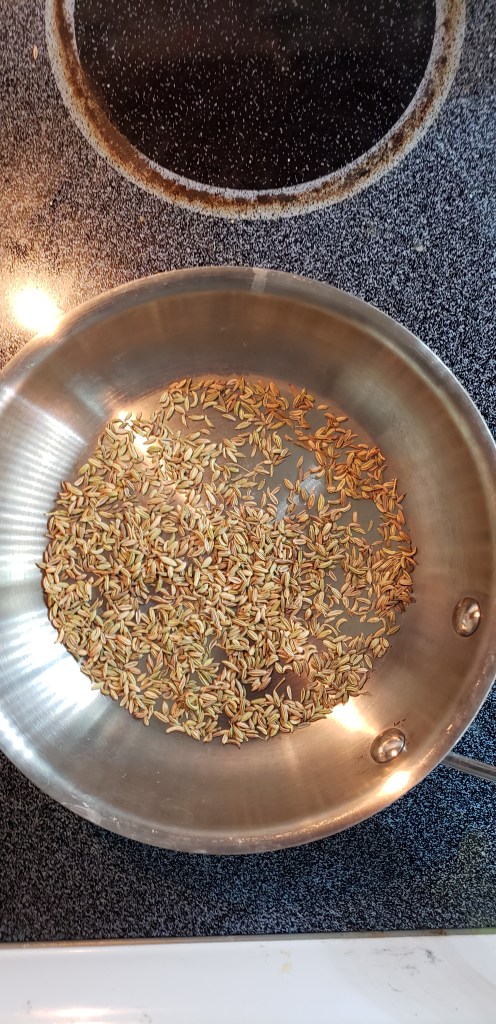
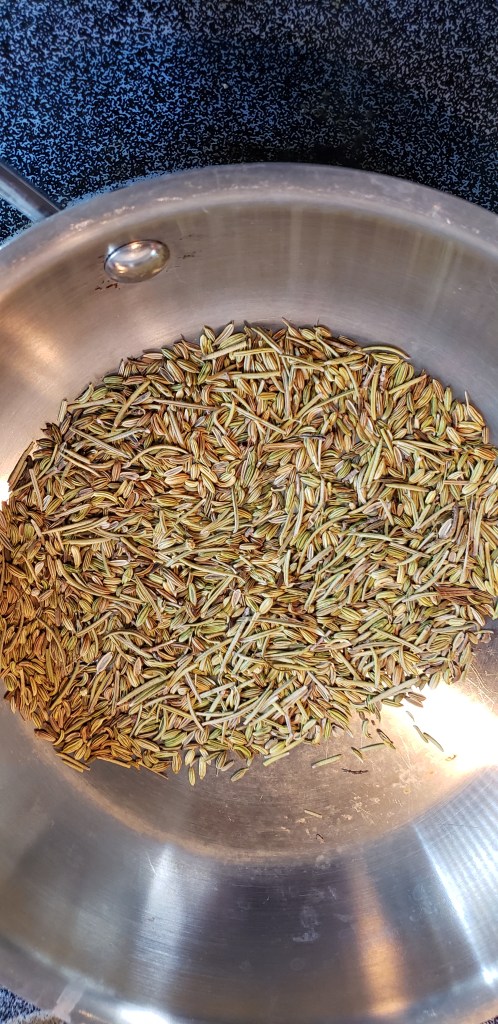
First thing you are going to do is preheat your oven to 350F. Then in a medium frying pan toast the fennel and rosemary over medium heat. Stir constantly for about 5 minutes until the fennel seeds and rosemary have a brown color and they are very aromatic.

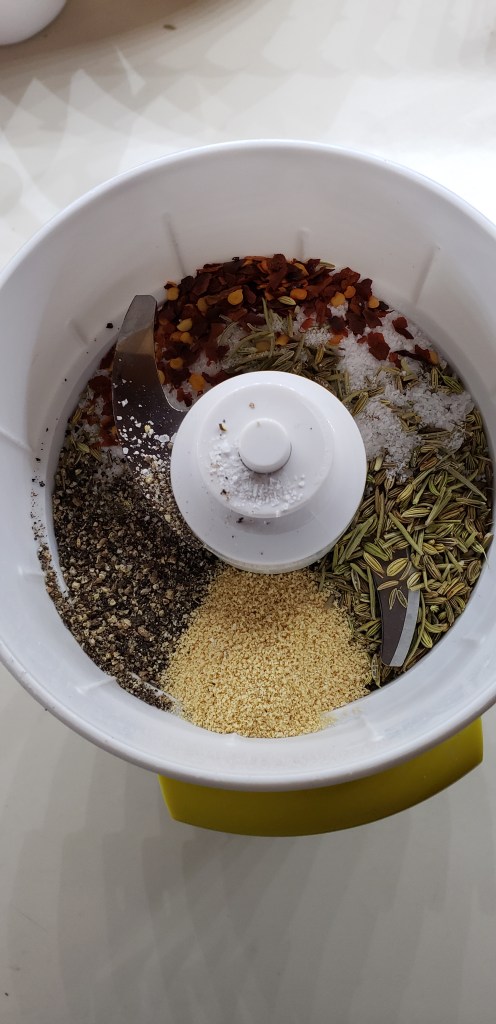
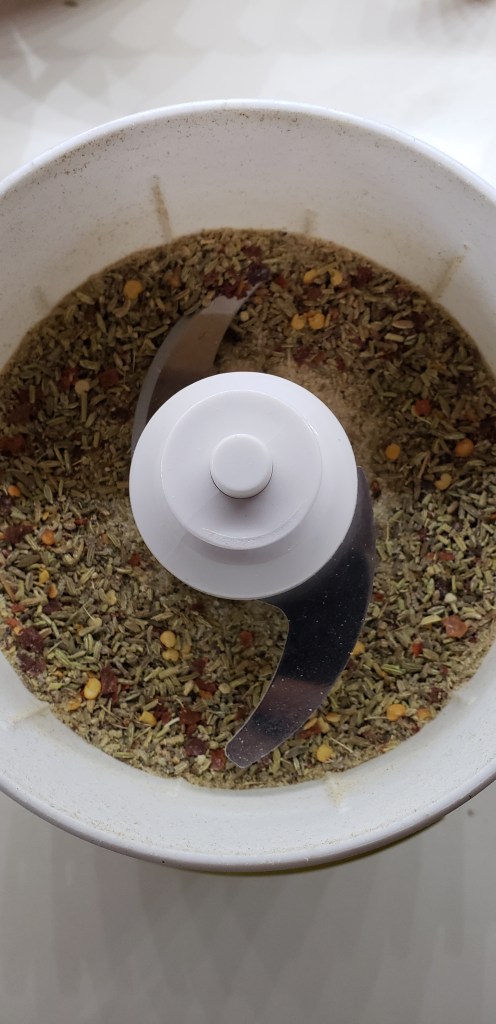
After you toast the fennel and rosemary combine all your spices in a spice grinder and pulse 7 or 8 times until it is coarsely ground but not quite a fine powder. (A small chopper or food processor also work.)

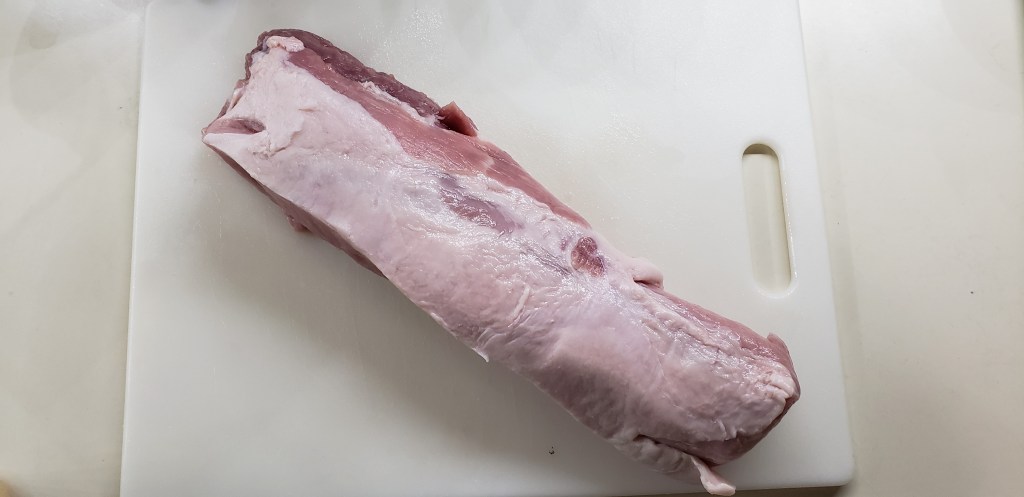
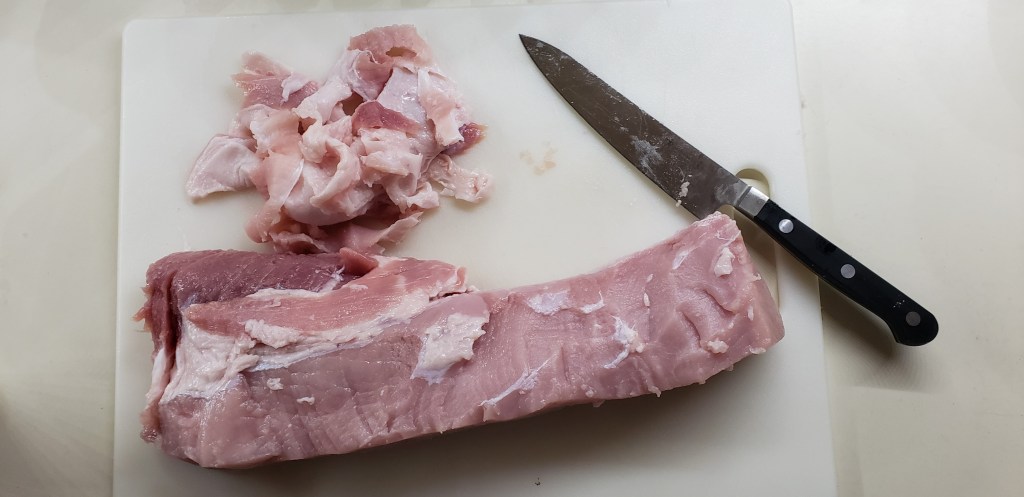
Now its time to trim the excess fat off of the pork loin. Using a sharp knife, slice off the excess fat without removing too much meat.

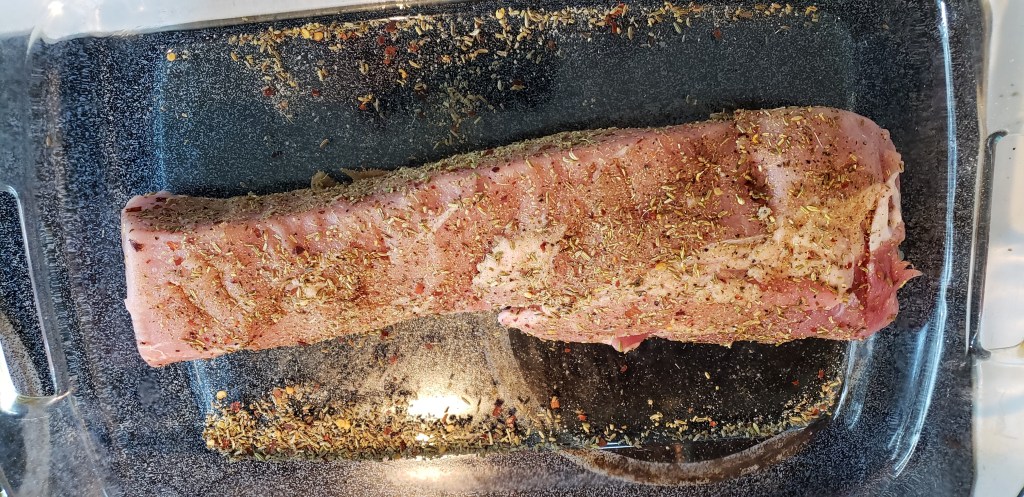
Next, add the pork loin to a greased baking dish. Liberally coat the pork loin with the spice mixture you just ground up.

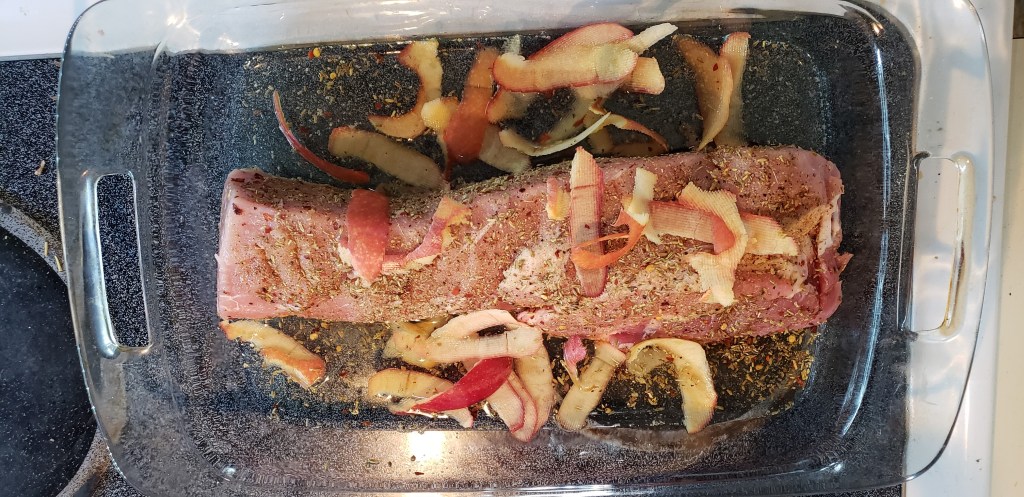
Jess was making apple sauce while I was preparing this so I threw a few apple peels into the baking dish for extra flavor! Add about a cup of white wine or a light broth to the baking dish.

Bake the pork loin at 350F for about 20 minutes per pound or until you reach an internal temperature of about 150F. I baked mine for 45 minutes and it was perfect!

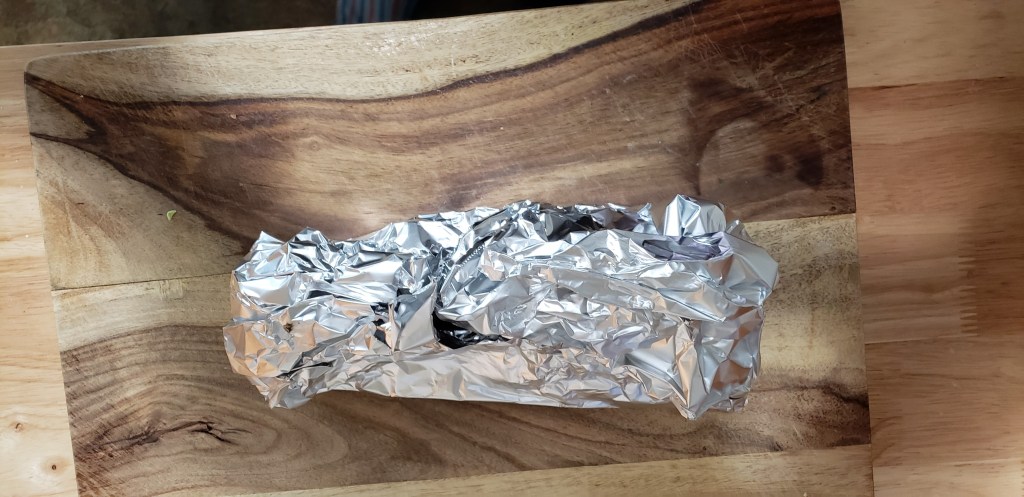
Once the pork reaches the desired temperature, take it out of the baking dish and wrap in aluminum foil. Let rest for at least 10 minutes.

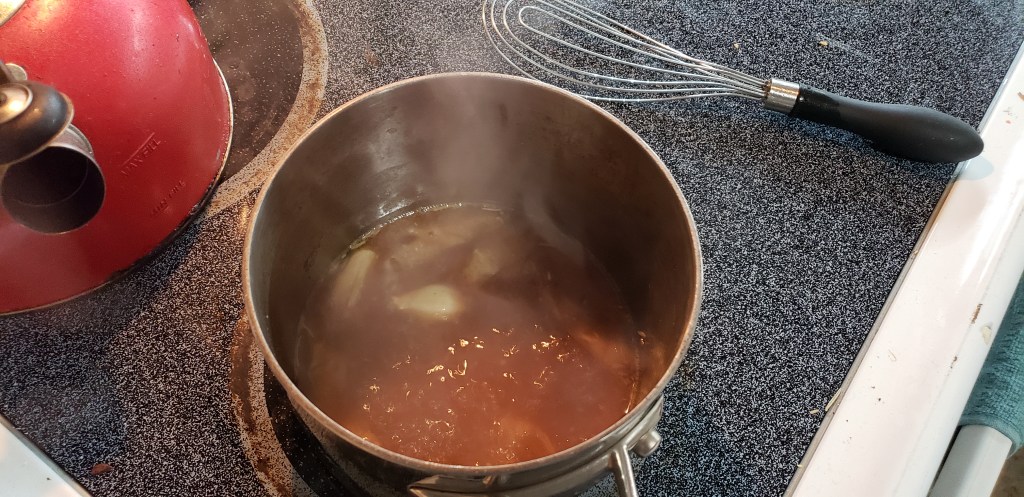
While the pork is resting add all the drippings from the baking dish to a small sauce pan. Add the brown sugar and let boil for about 3 or 4 minutes.

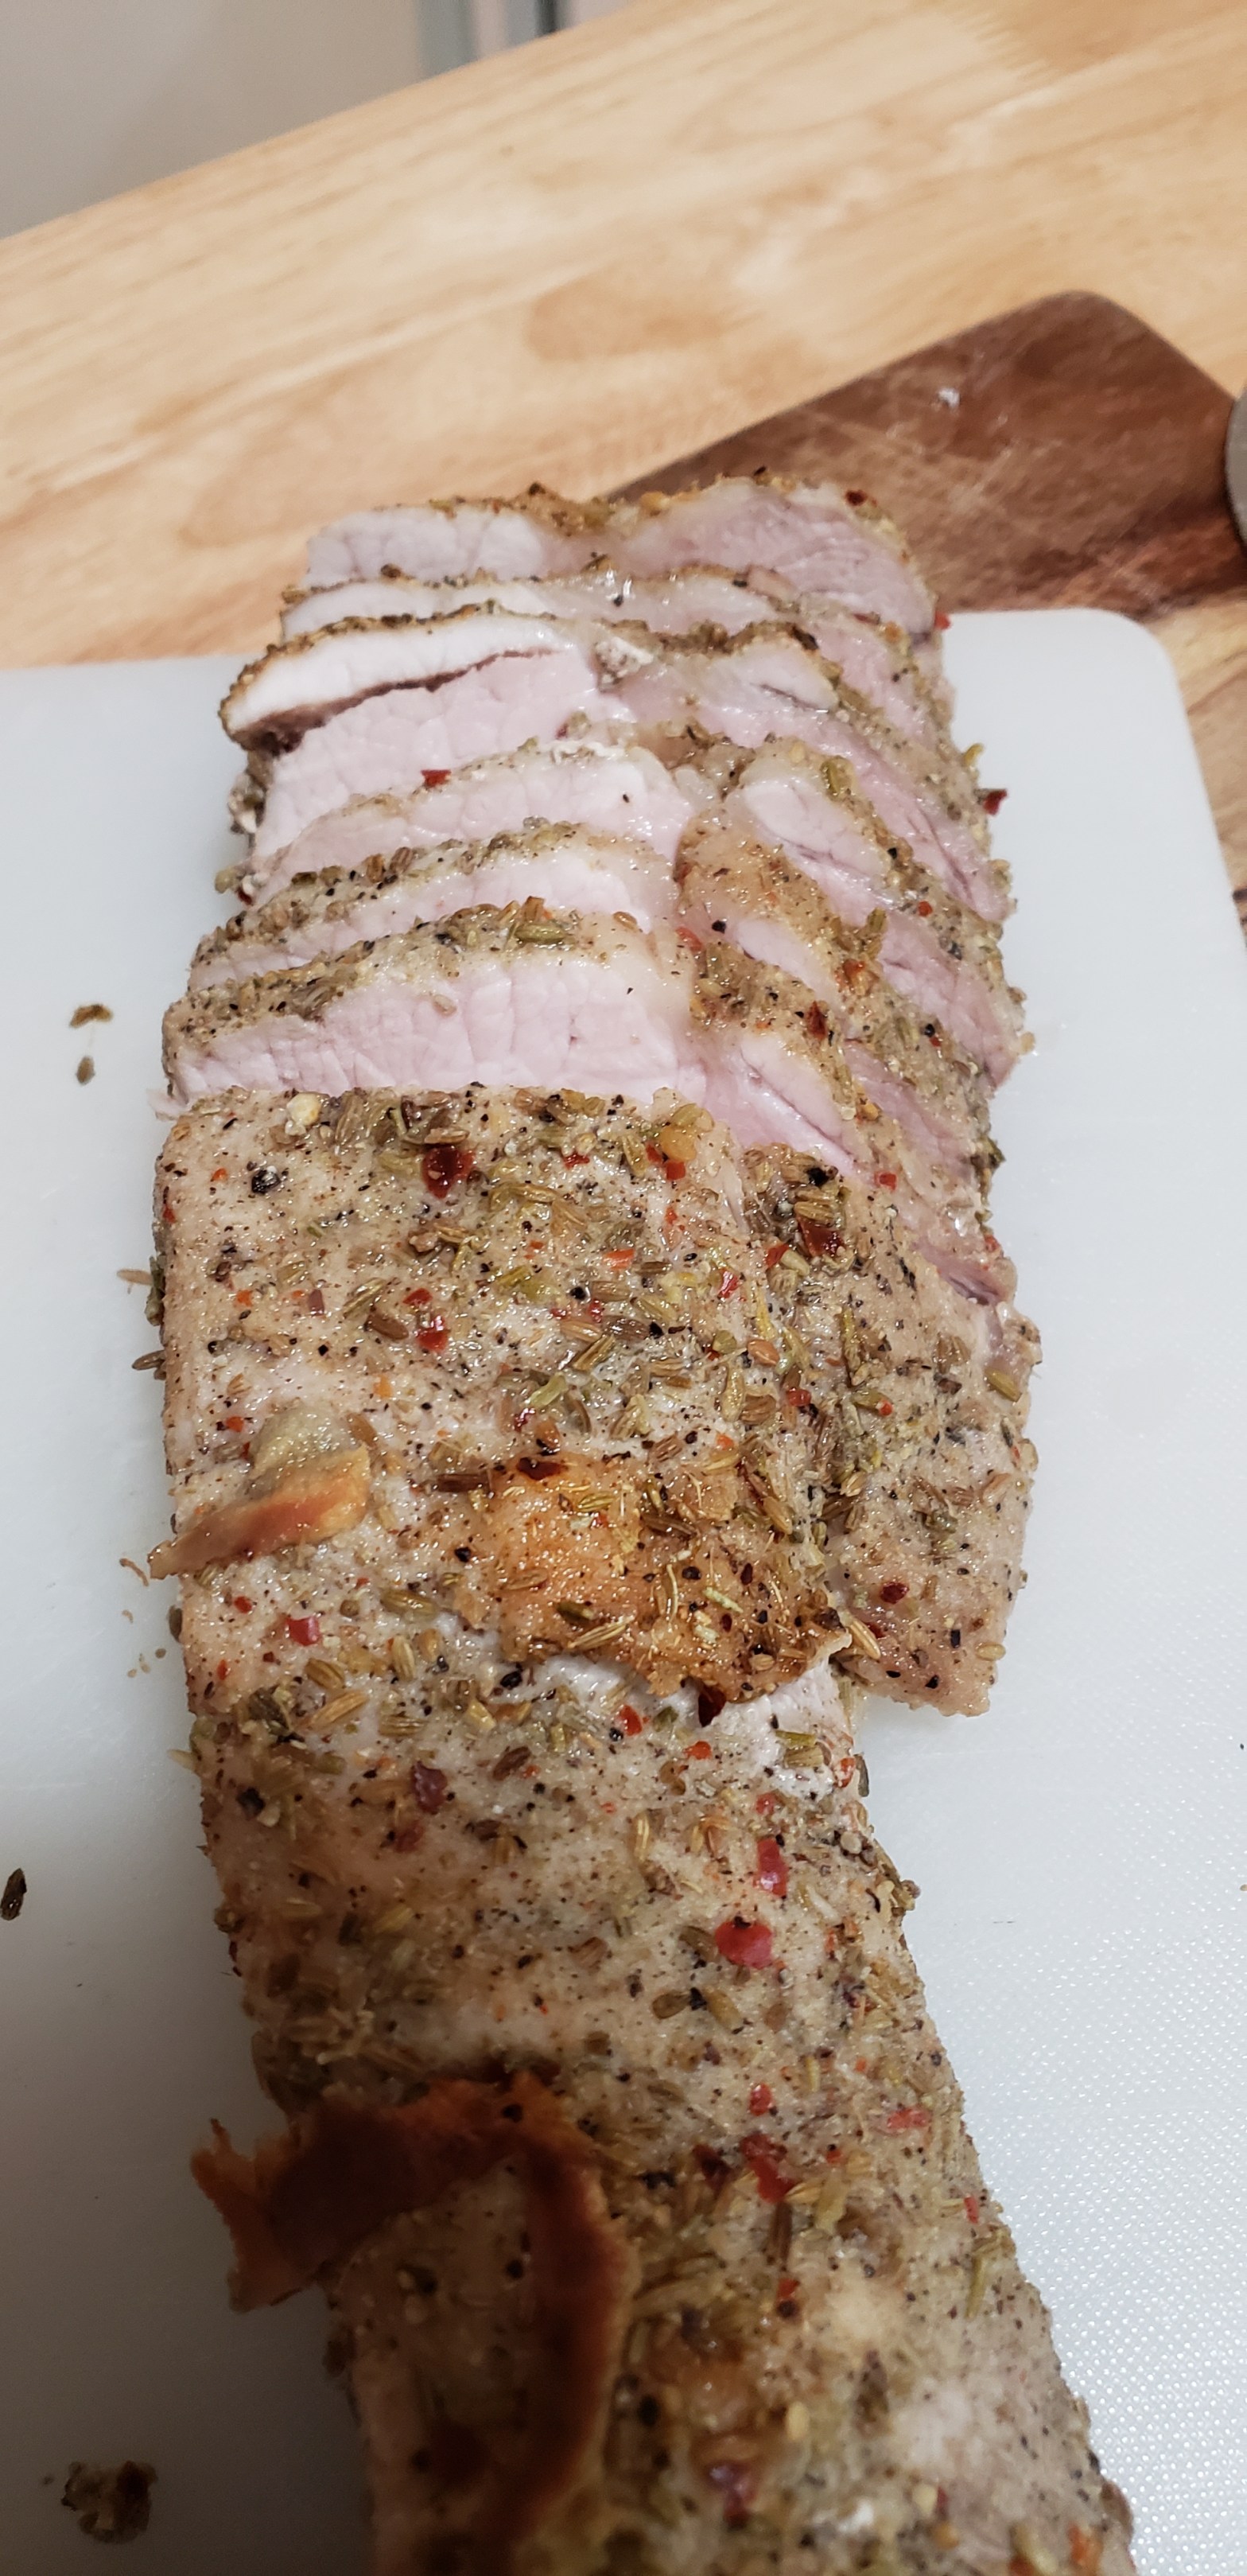
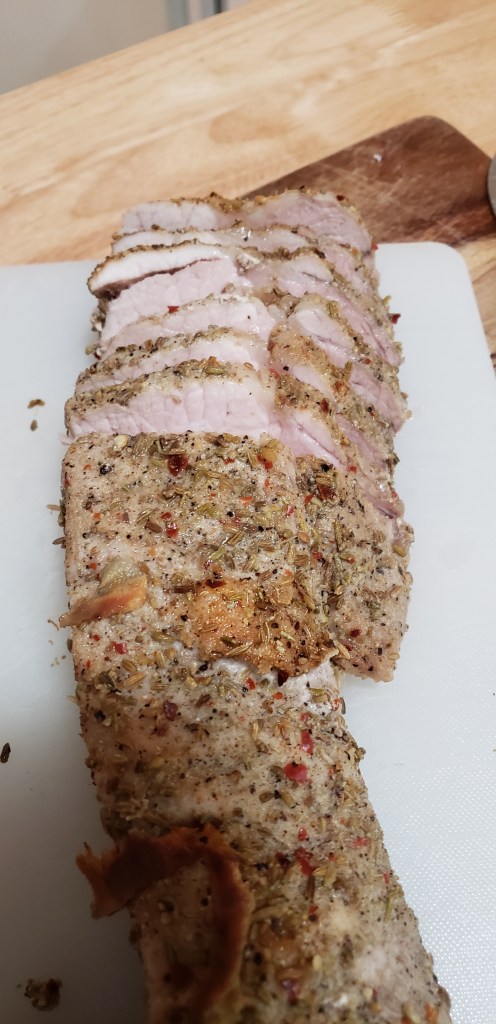
Slice the rested pork and serve with the sauce.

I hope you enjoy!

-Dan

Pasta Sauce

There is nothing better than a nice big pot of pasta sauce simmering on the stove all day! Not only does it supply wonderful smells but it also keeps the kitchen nice and warm. Not to mention, it’s super easy to make!

Here’s what you’ll need:

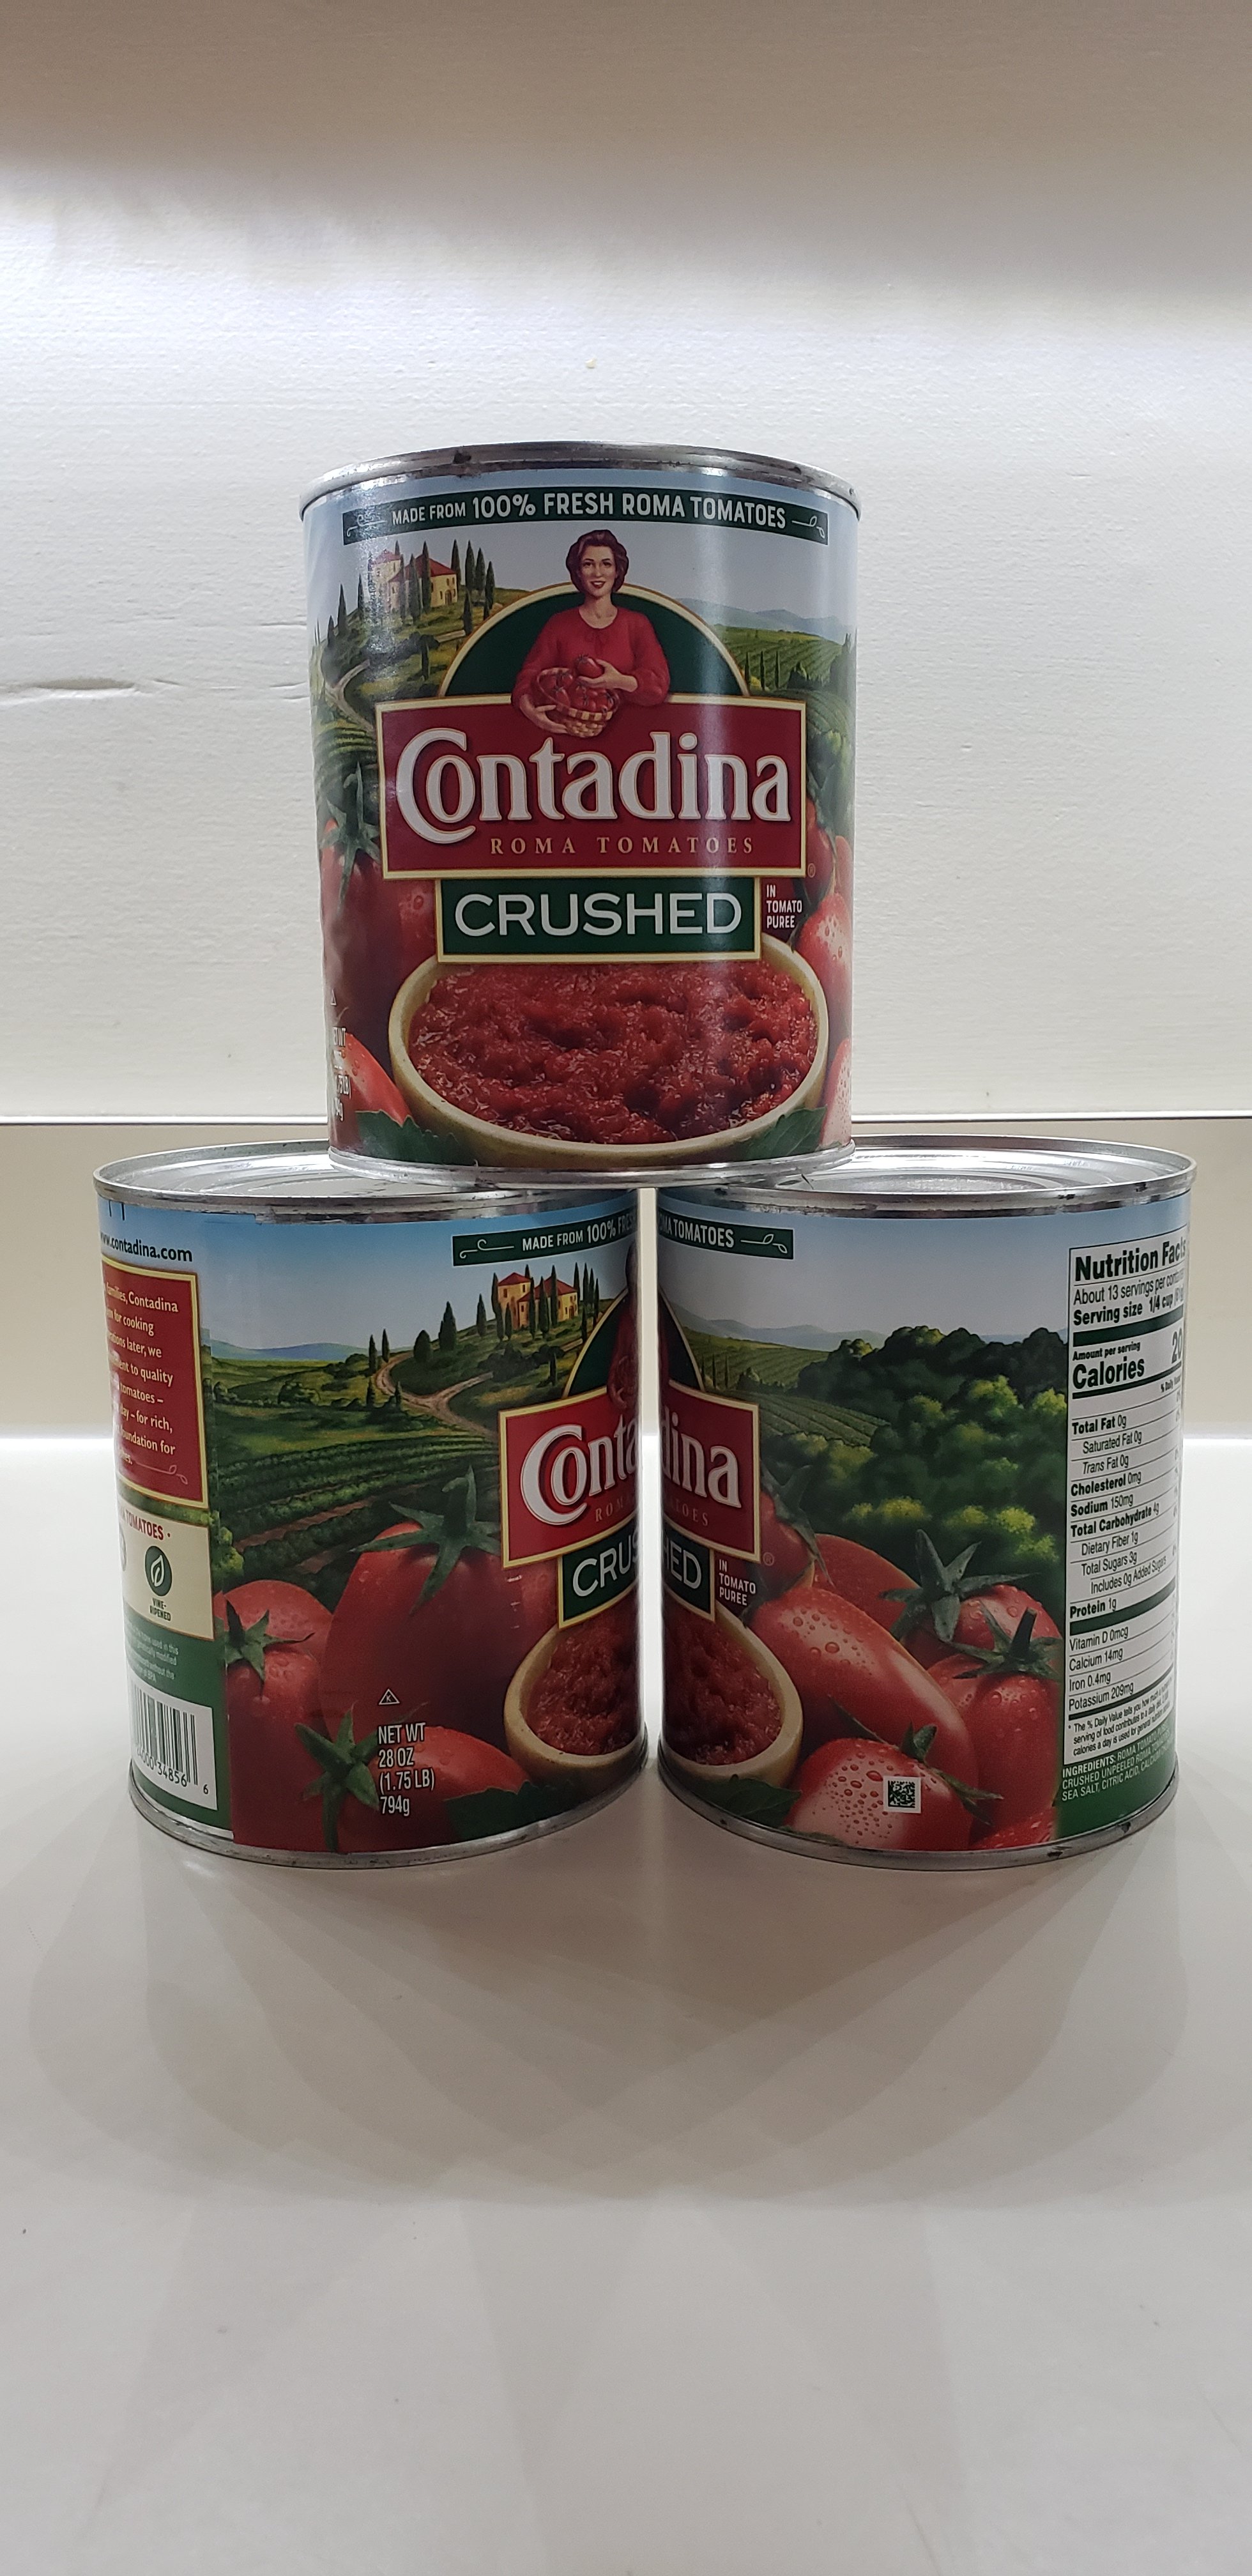
  • 28 oz can crushed tomatoes
  • 6 oz can of tomato paste
  • 1 shallot – diced
  • 2 cloves of garlic – minced
  • 2 bay leaves
  • 1 tbsp dry oregano
  • 1 tbsp dry basil
  • 1 tsp dry parsley
  • 1 tsp crushed red pepper flakes
  • 2 tsp salt (add more as needed to taste)
  • 2 tsp cracked black pepper
  • 2 tsp sugar
  • 2 tbsp Olive Oil
  • A bottle of your favorite dry red wine (Please for the love of everything holy DO NOT USE NON-ALCOHOLIC COOKING WINE. That stuff is NASTY. I’ll show you what you can use instead.)

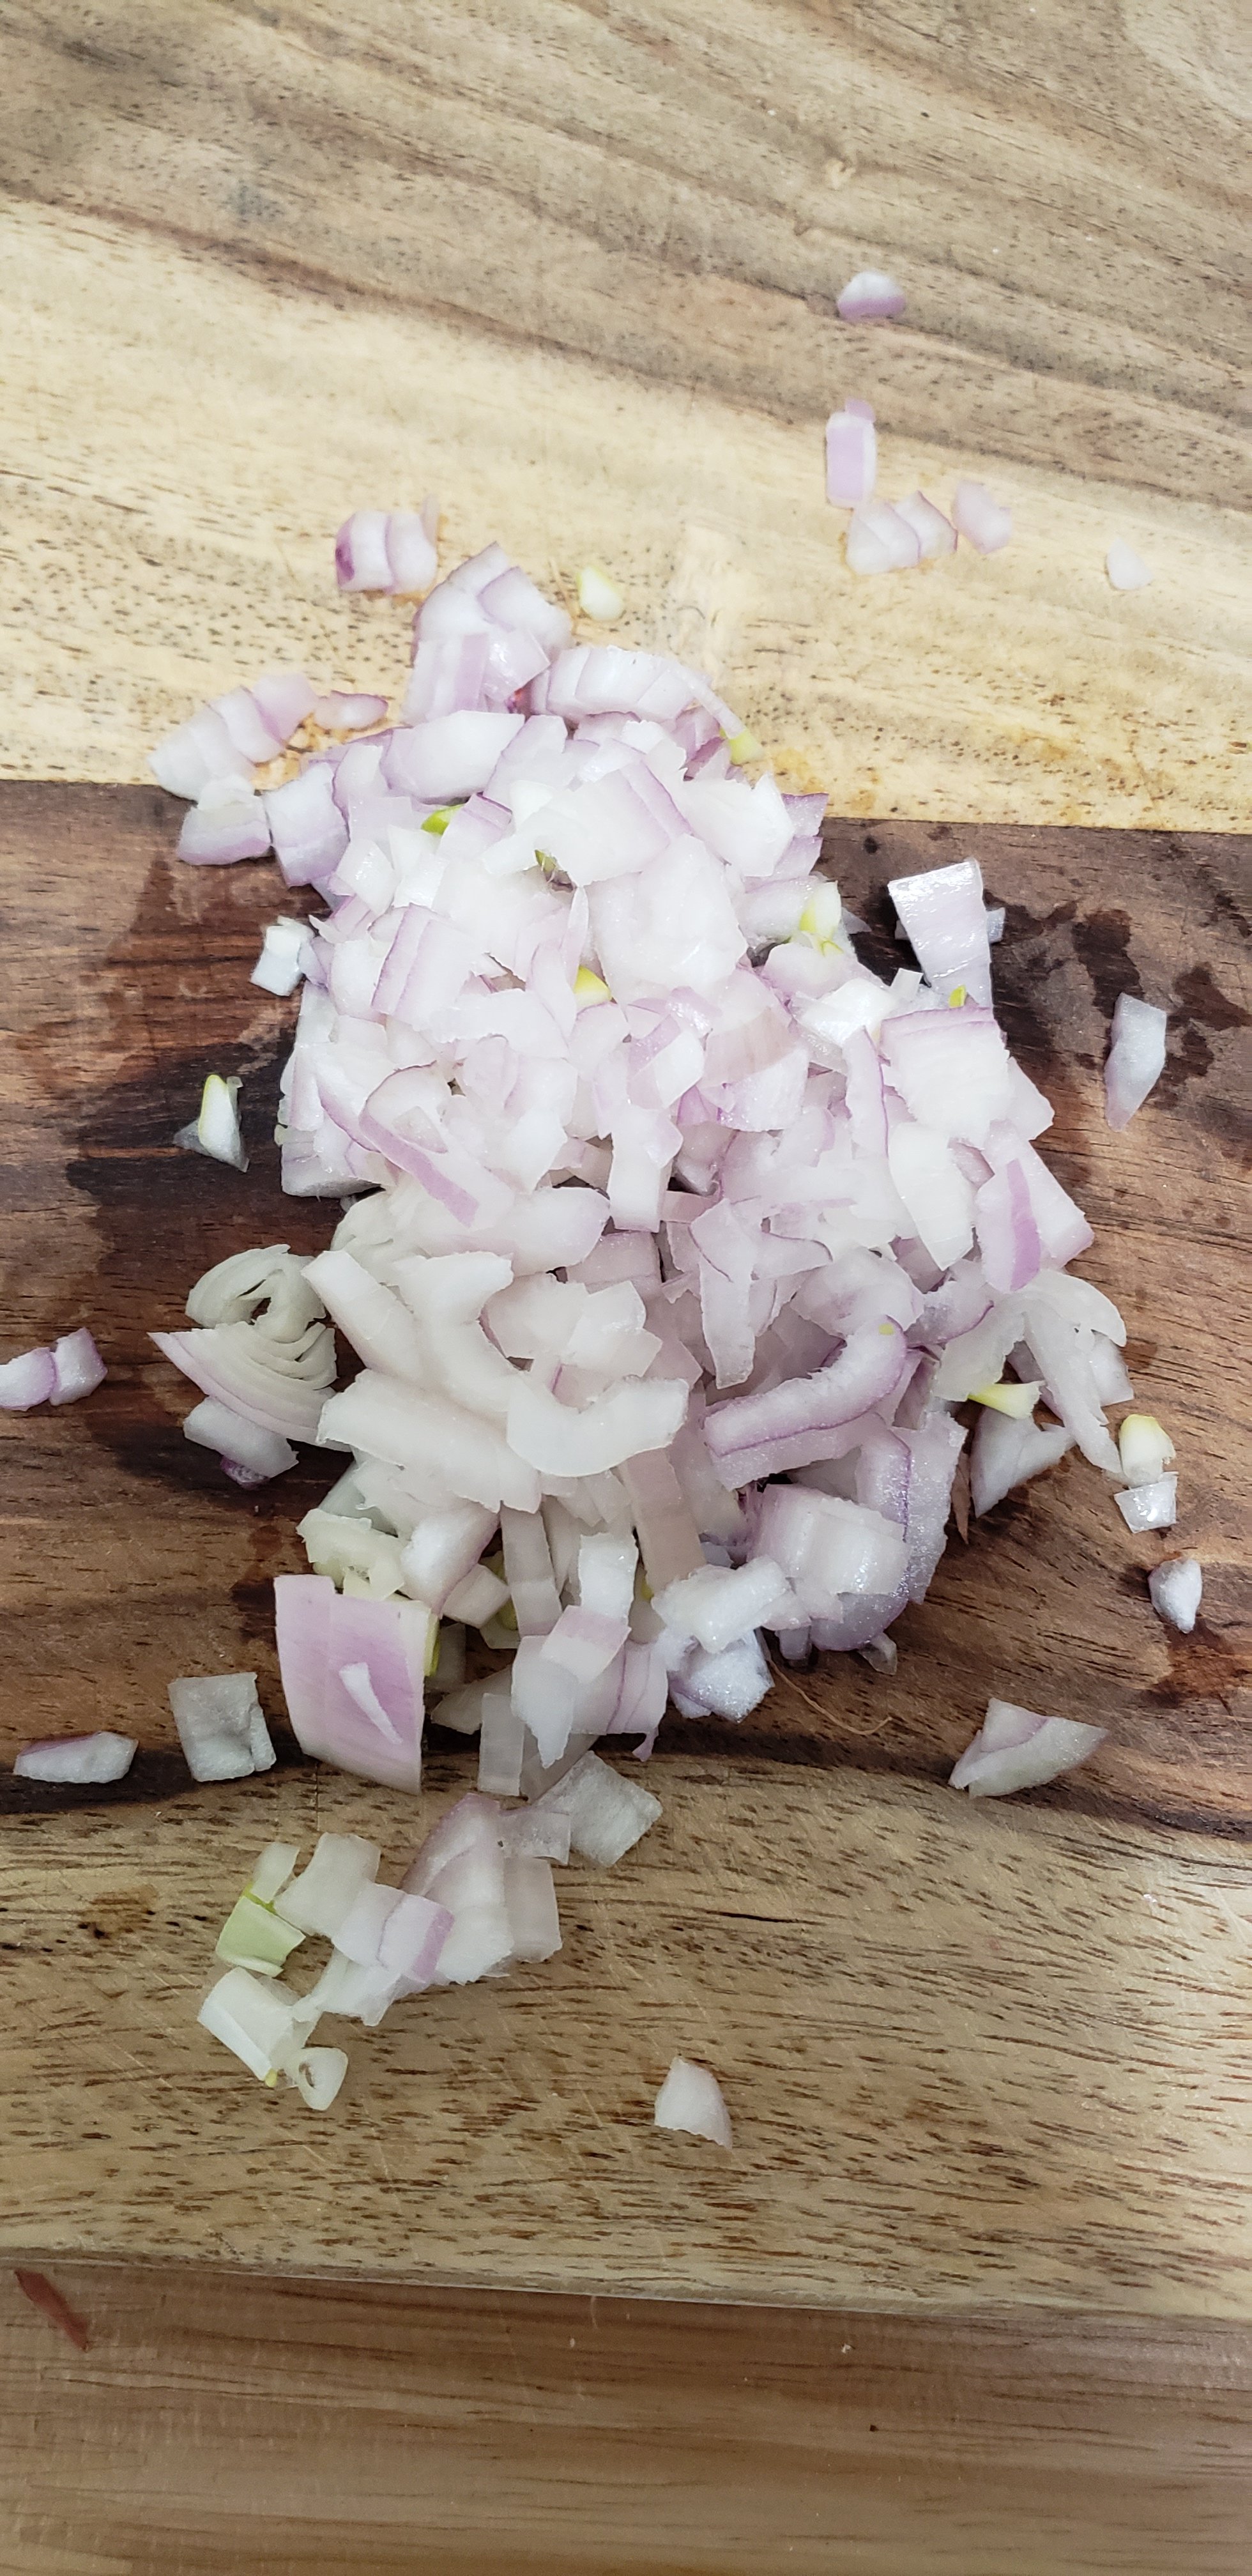
Alright, gather up everything from above and chop your garlic and shallots.

If you don’t like chunky sauce you can chop your shallots finer.

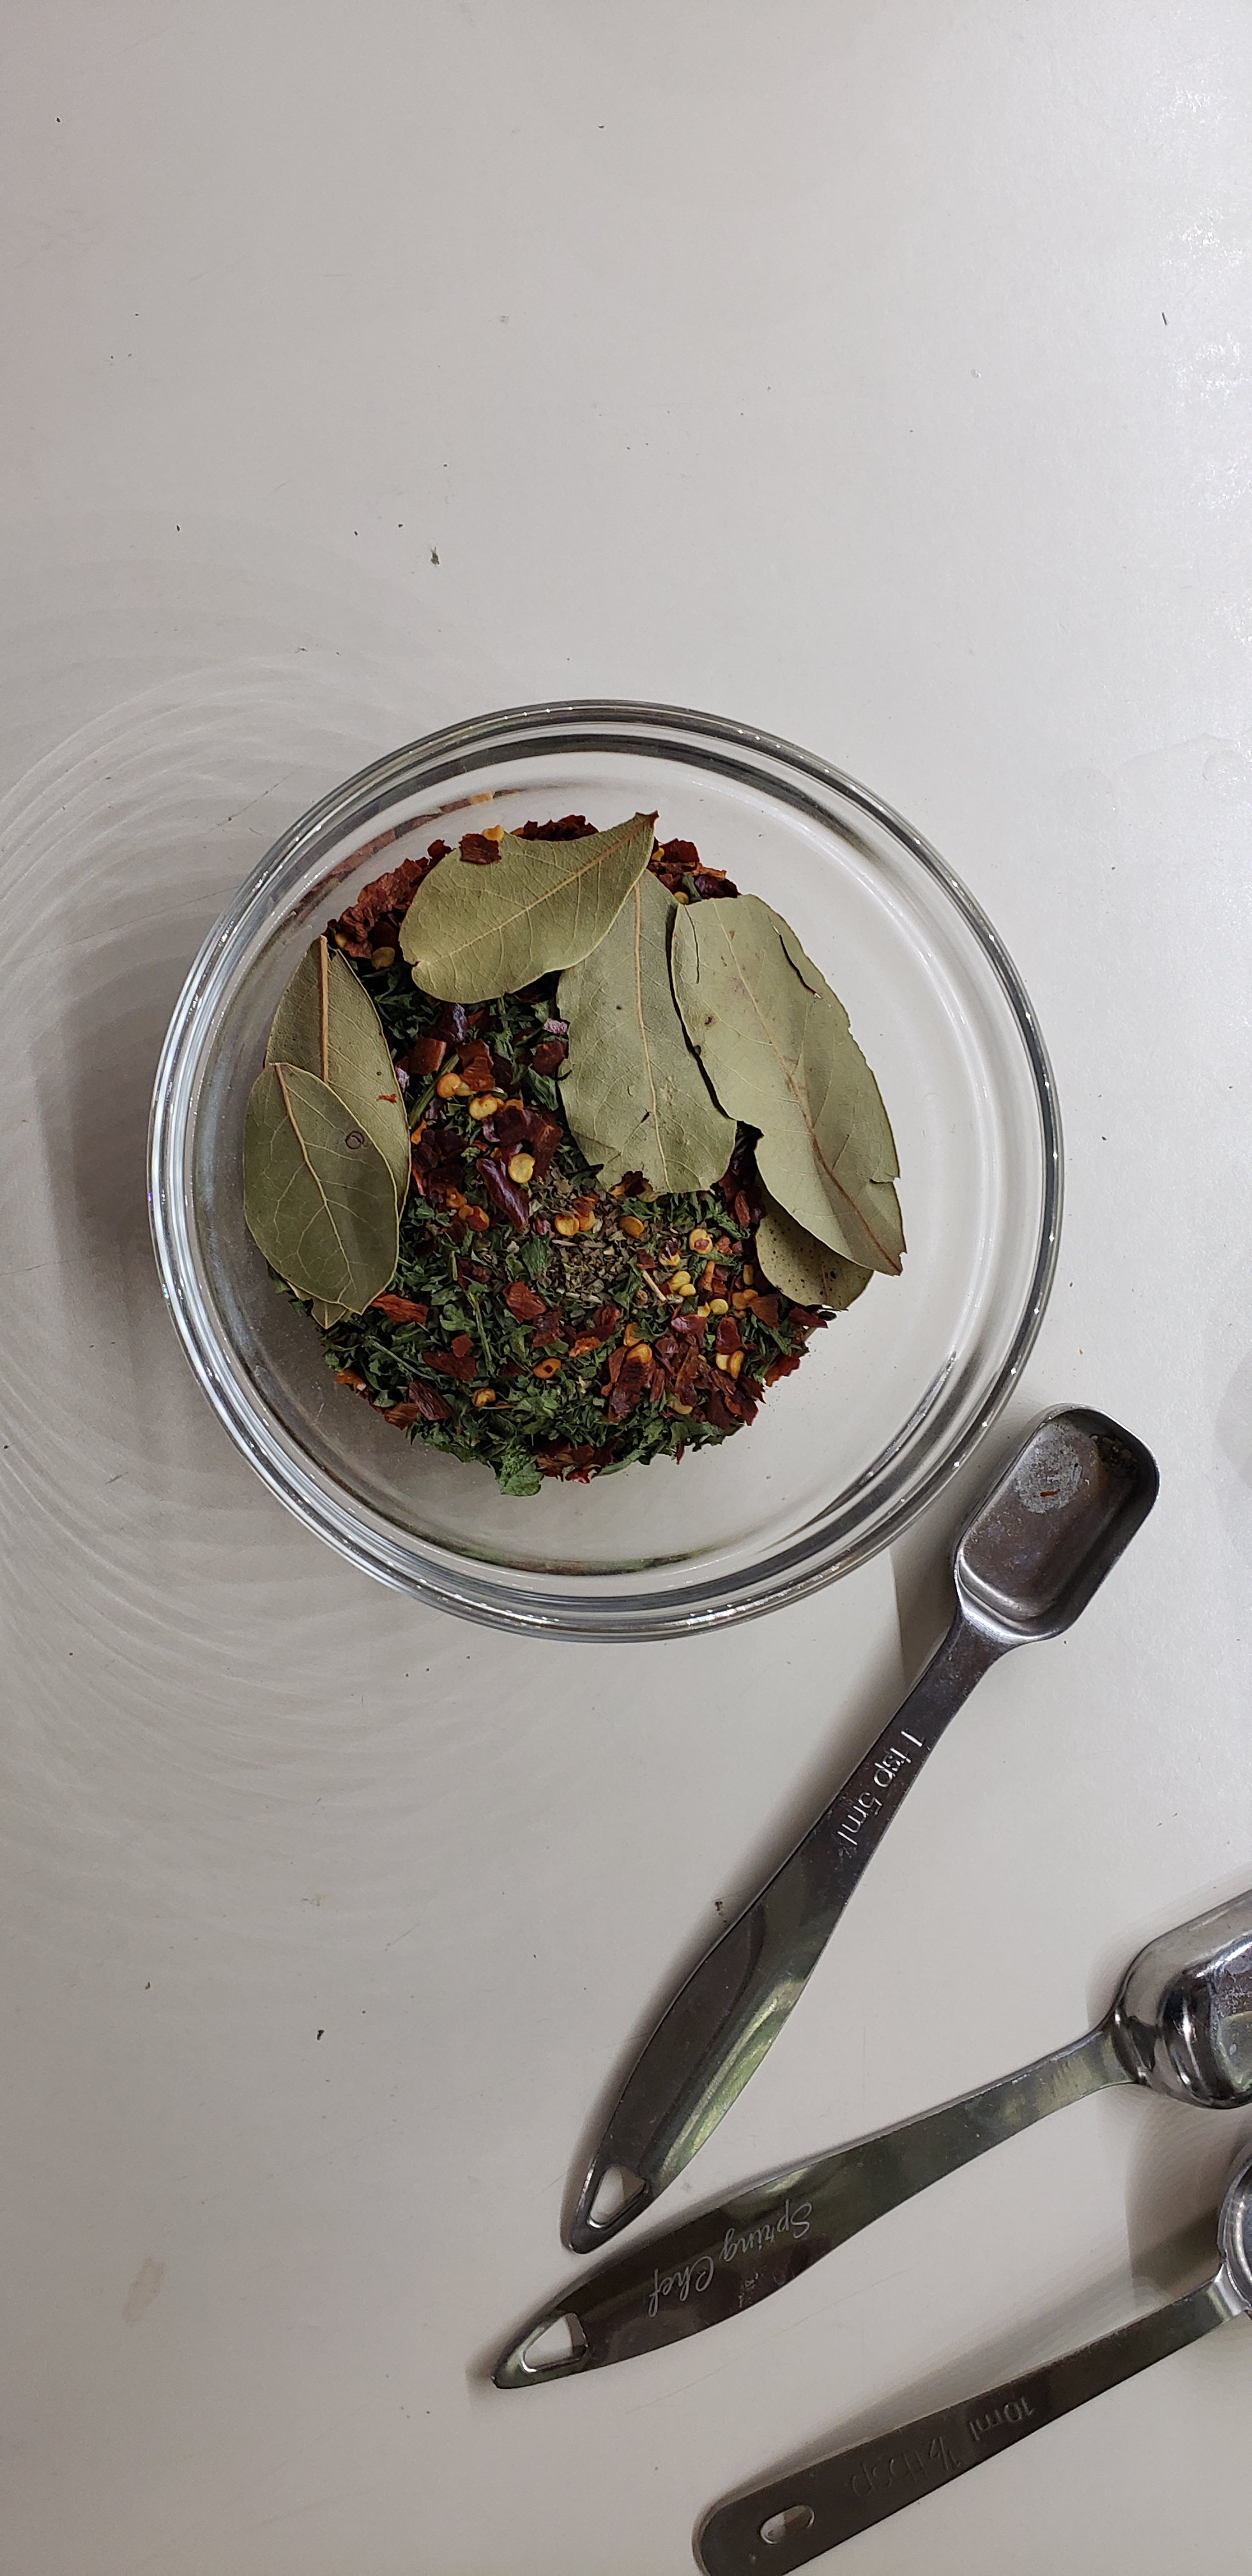
Next, put a large pot over medium heat and add the olive oil. When the oil is hot enough (Put your hand about an inch over it. If it feels hot it’s ready. You’ll also notice that it’s more viscous in the pot when you swirl it around.) Add the shallots and cook for about 4 minutes. Then add the garlic and cook for 5 more minutes. If you add the garlic and shallots at the same time your garlic will burn and get bitter. While the shallots and onions are cooking get the dried herbs together. (I made a triple batch. That’s why it looks like I don’t know how to count to 2 or measure 1 tsp.)

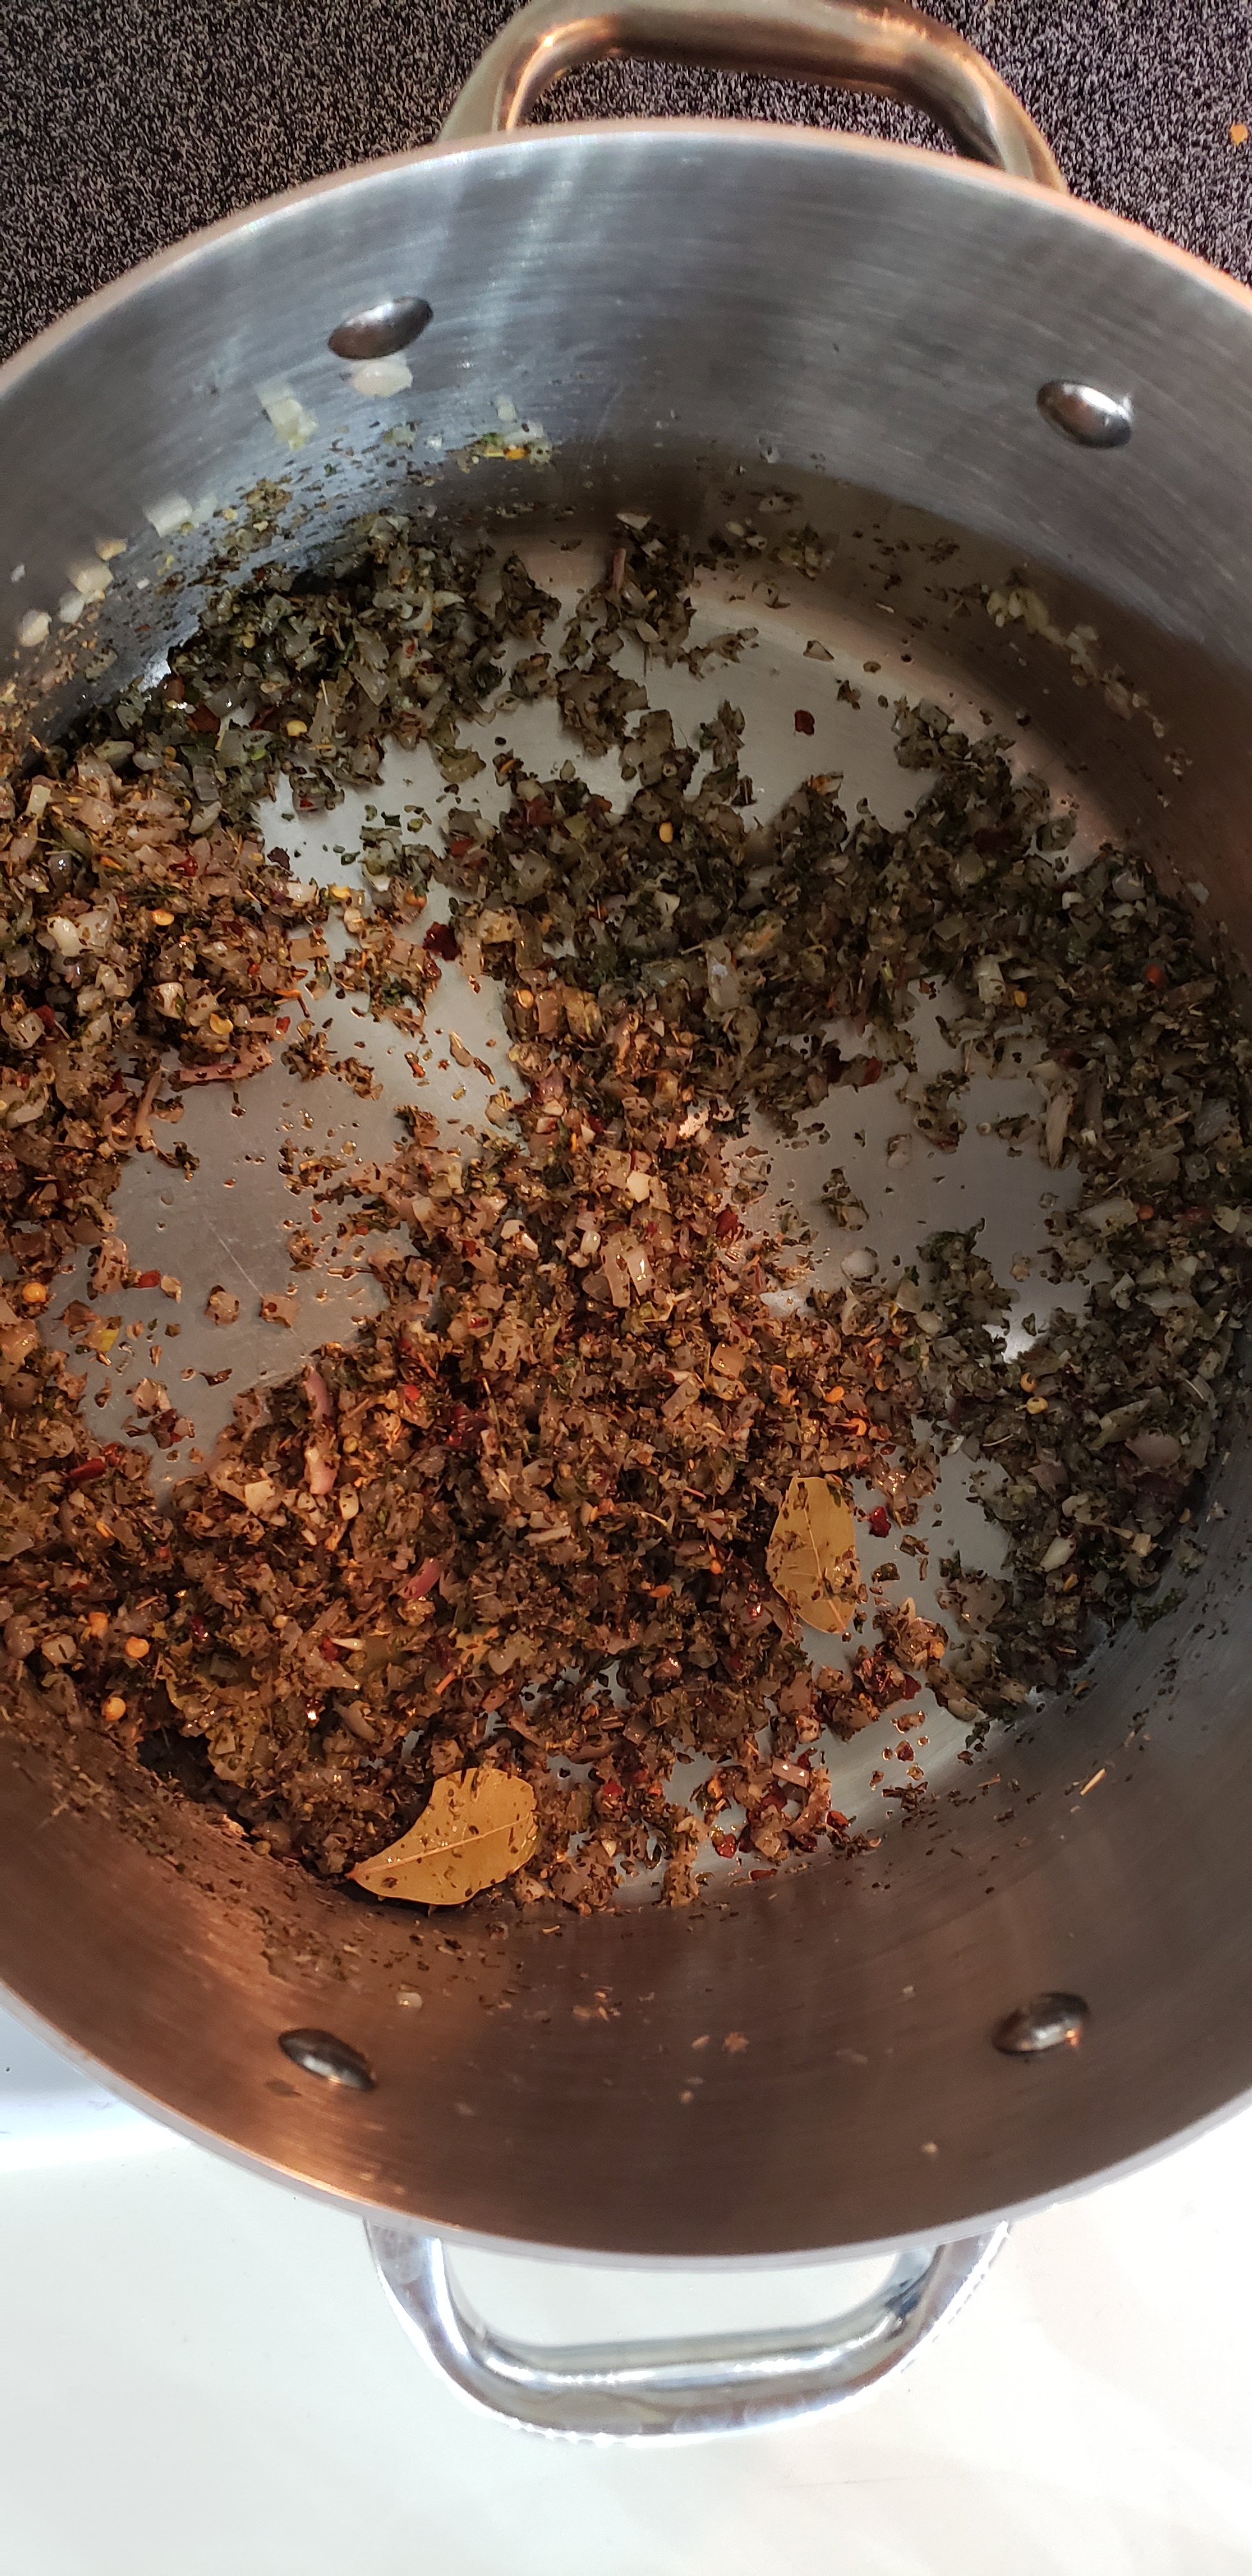
When the shallots and garlic look translucent they are ready for the herbs and spices to join the party. Pour all that deliciousness in and stir well to combine. It might make a little bit of a paste. That is good. Let the herbs cook for a minute or two. Make sure you keep stiring them so they don’t burn.

Now it’s time for the fun part. Add one cup of red wine to the pot and scrape any caked-on bits of deliciousness off the bottom of the pot. Whatever wine is left is for the cook and for the cook only!! I always get two bottles because someone is always trying to take some. The only person allowed to take from the cook’s stash is your mother-in-law. NO. ONE. ELSE.

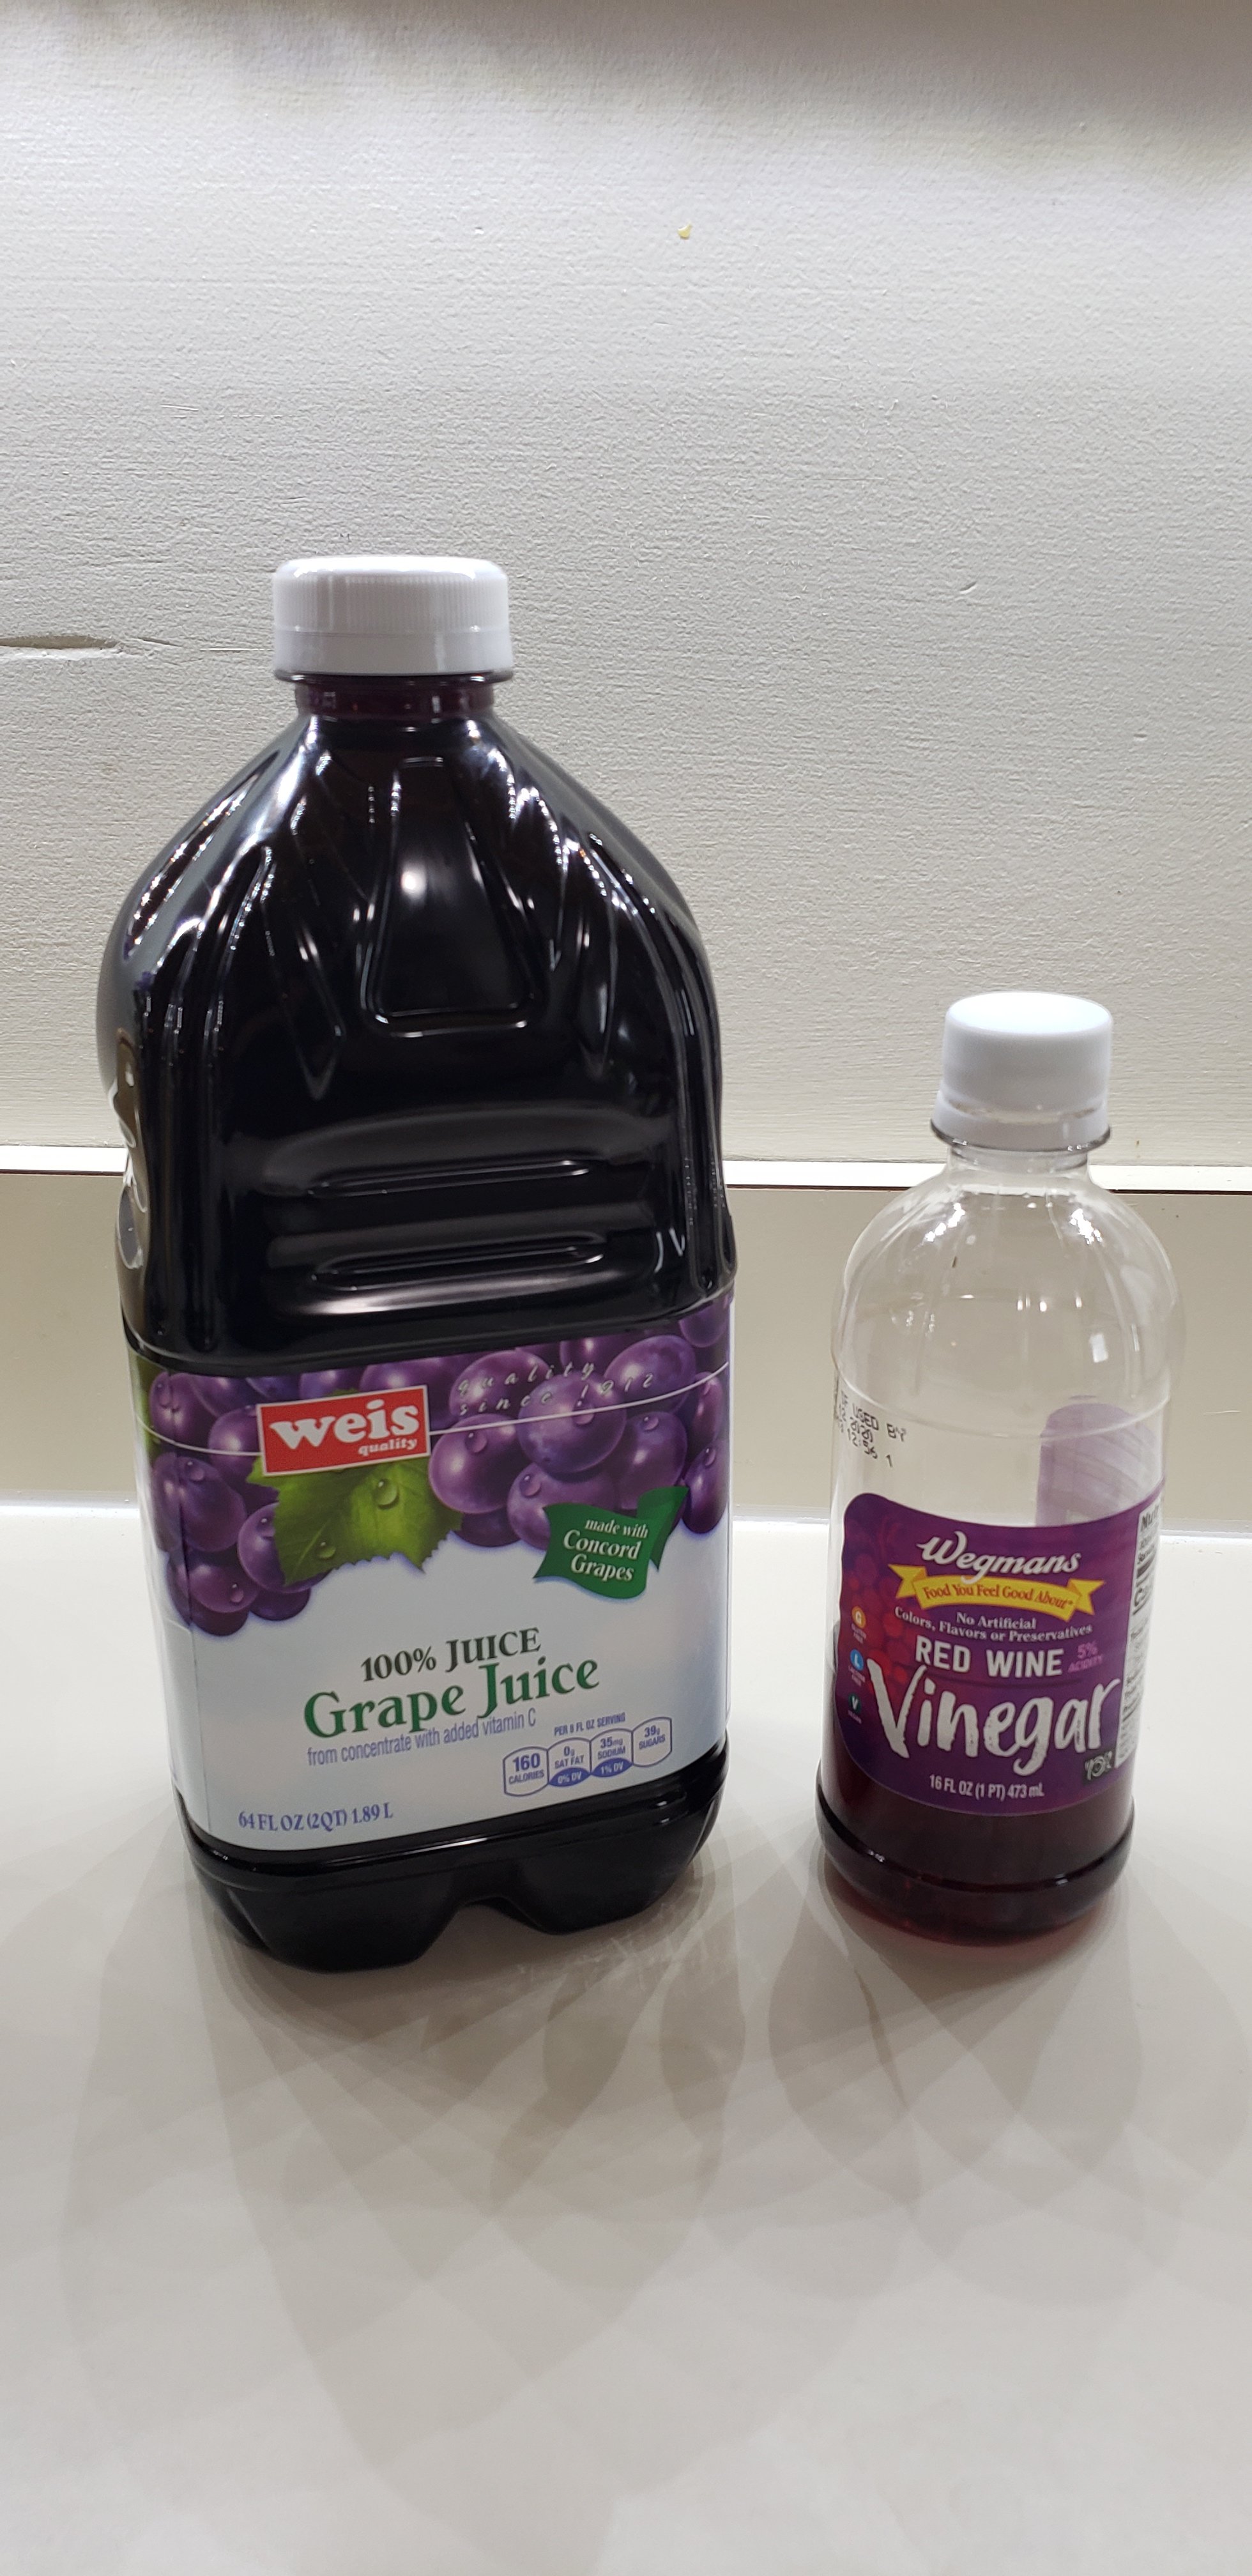
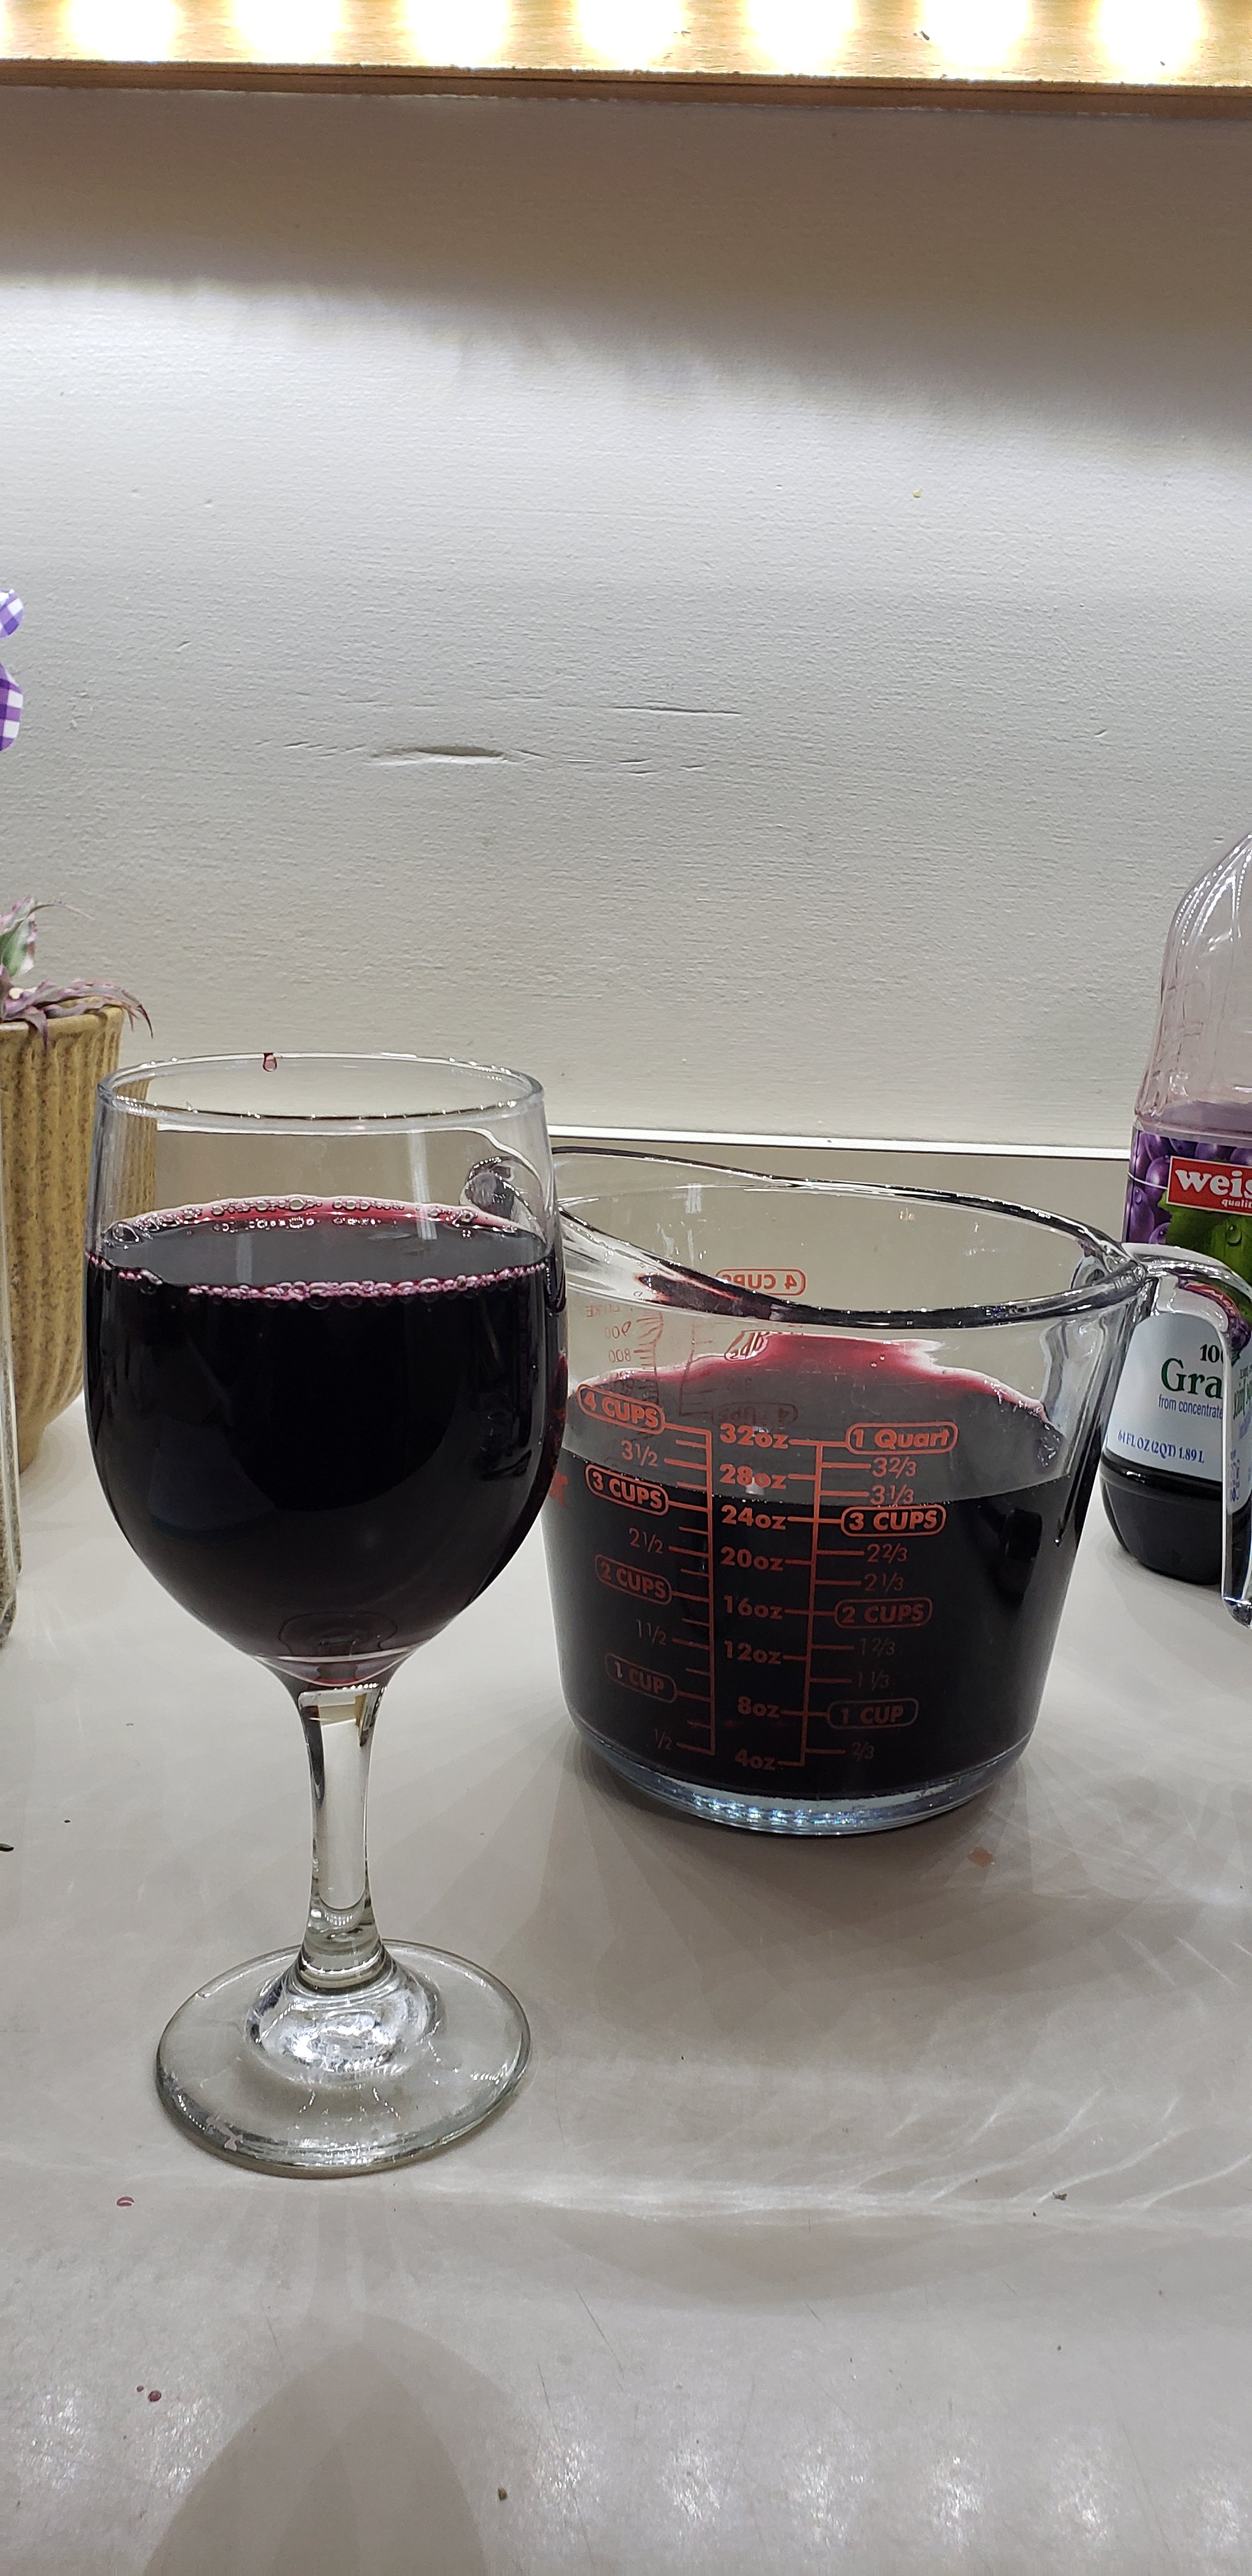
But what if you don’t want to use alcohol or can’t have wine because you are allergic to phosphates? Don’t worry. I’ve got your back. Use 1 cup of good grape juice plus 2 tbsp of red wine vinegar instead.

Can’t break from tradition. I still had a glass sans vinegar. Again, I used 3 cups because I made a triple batch.

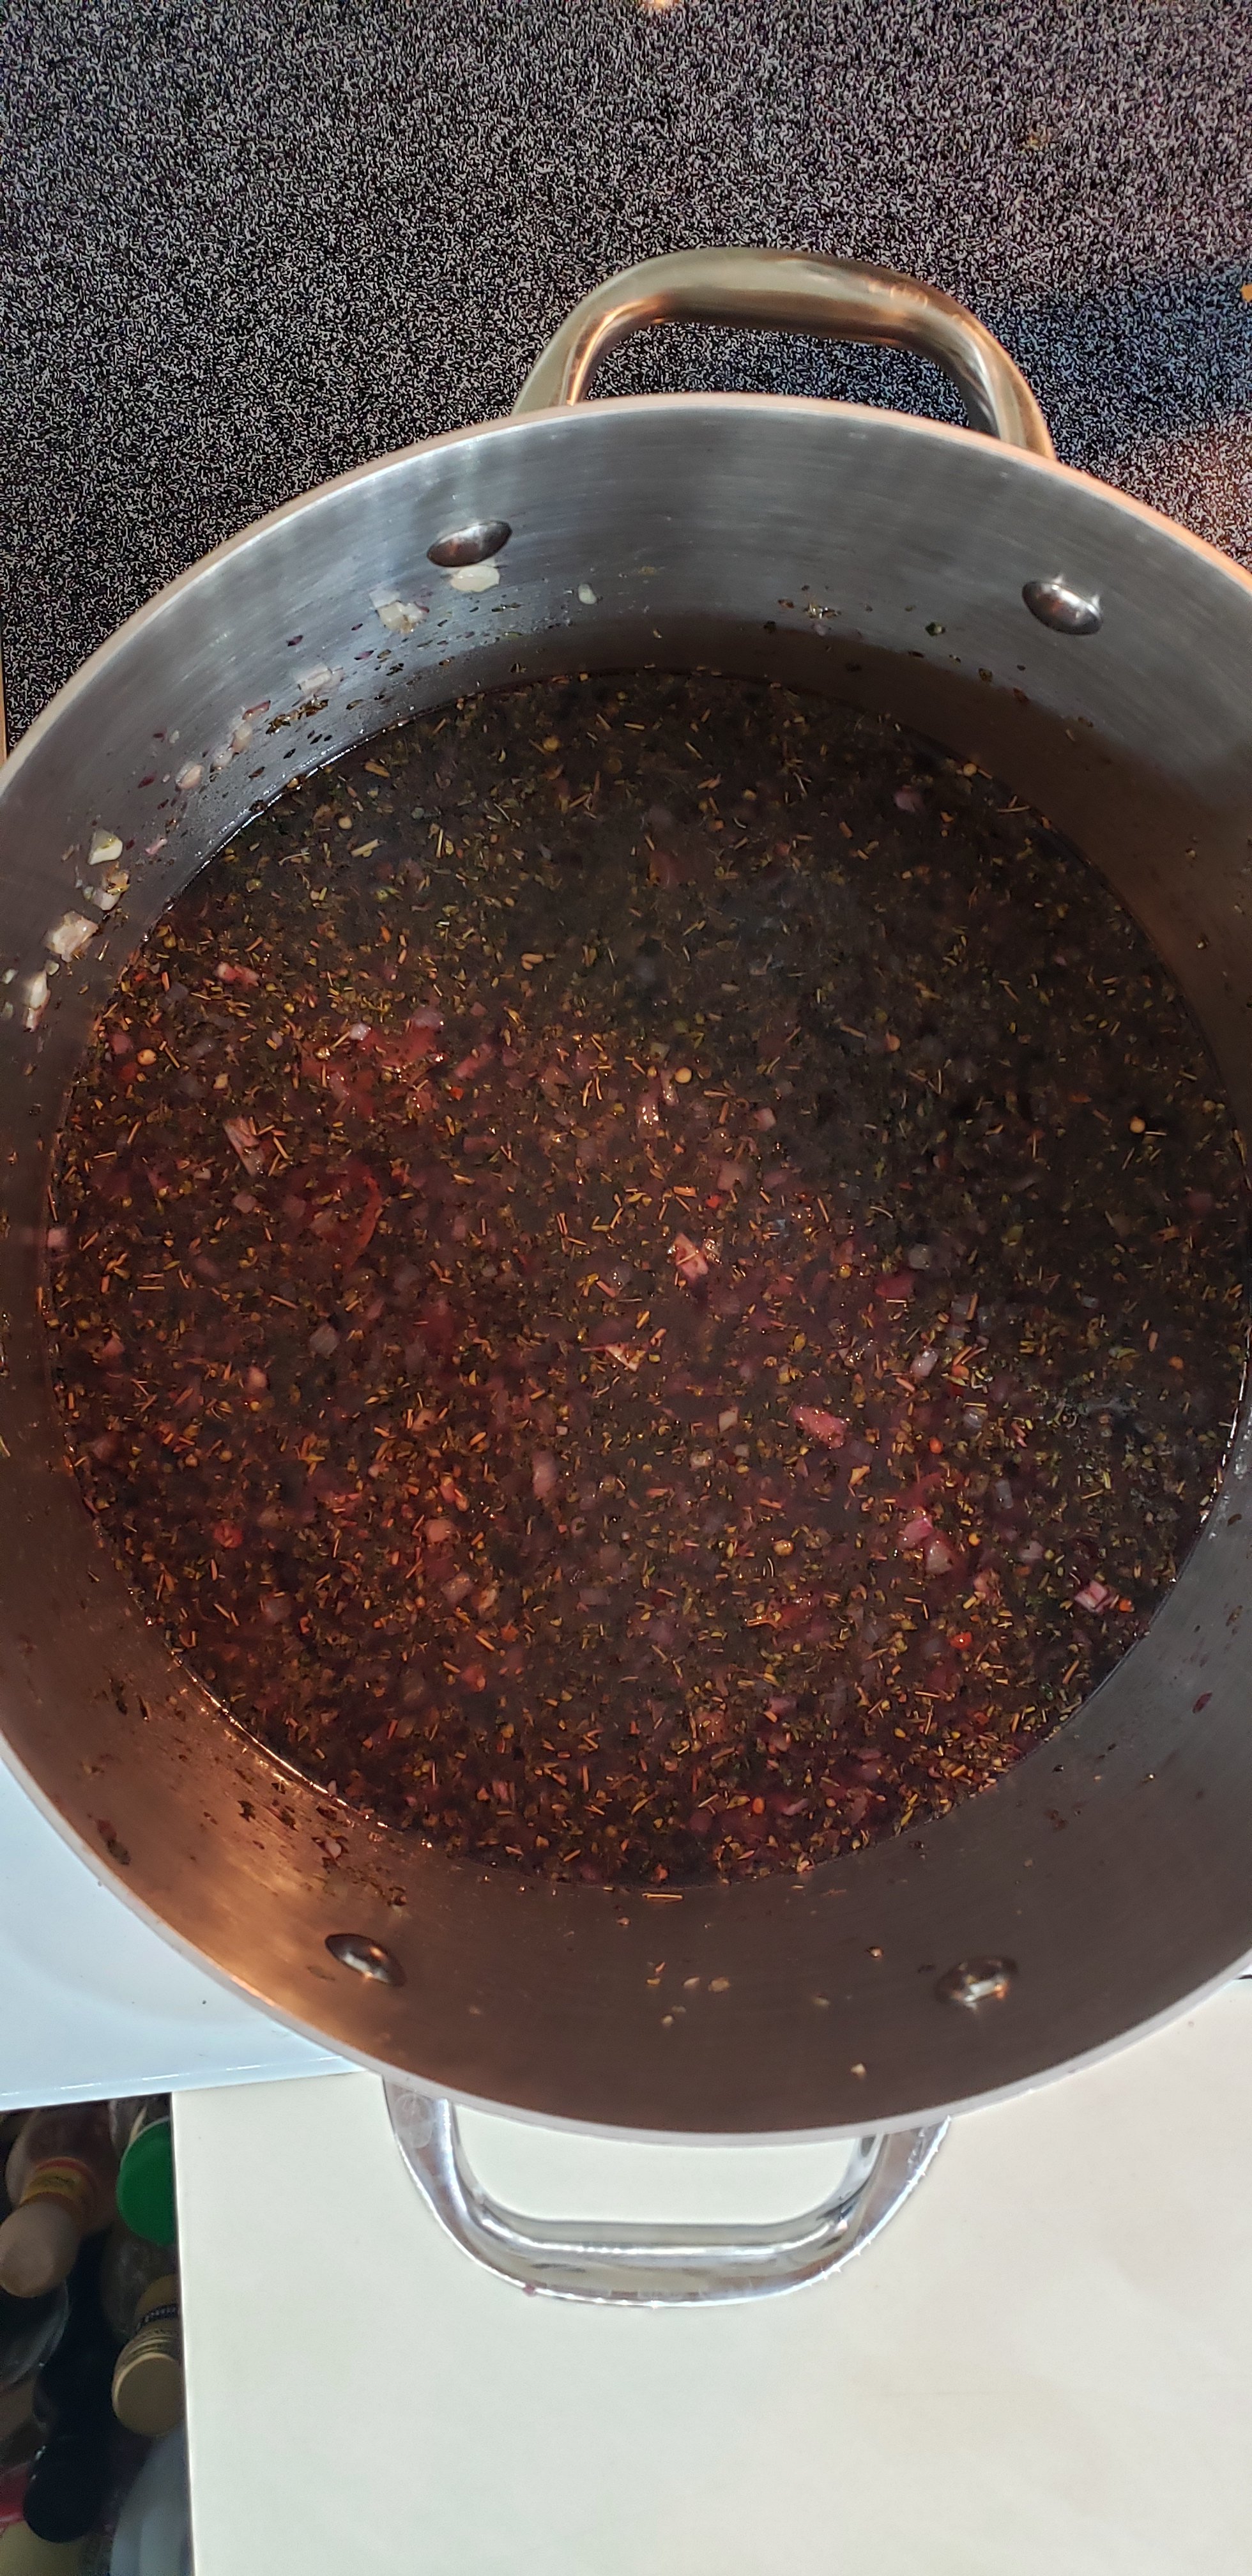
Now that you have added your wine or grape juice substitute it’s time to bring it to a boil and reduce it to a simmer. Let the wine mixture simmer for 10-15 minutes or until it has reduced by half. The more the wine or juice reduces the more concentrated the flavor is going to be. Sometimes I go even further than half which produces an even richer flavor.

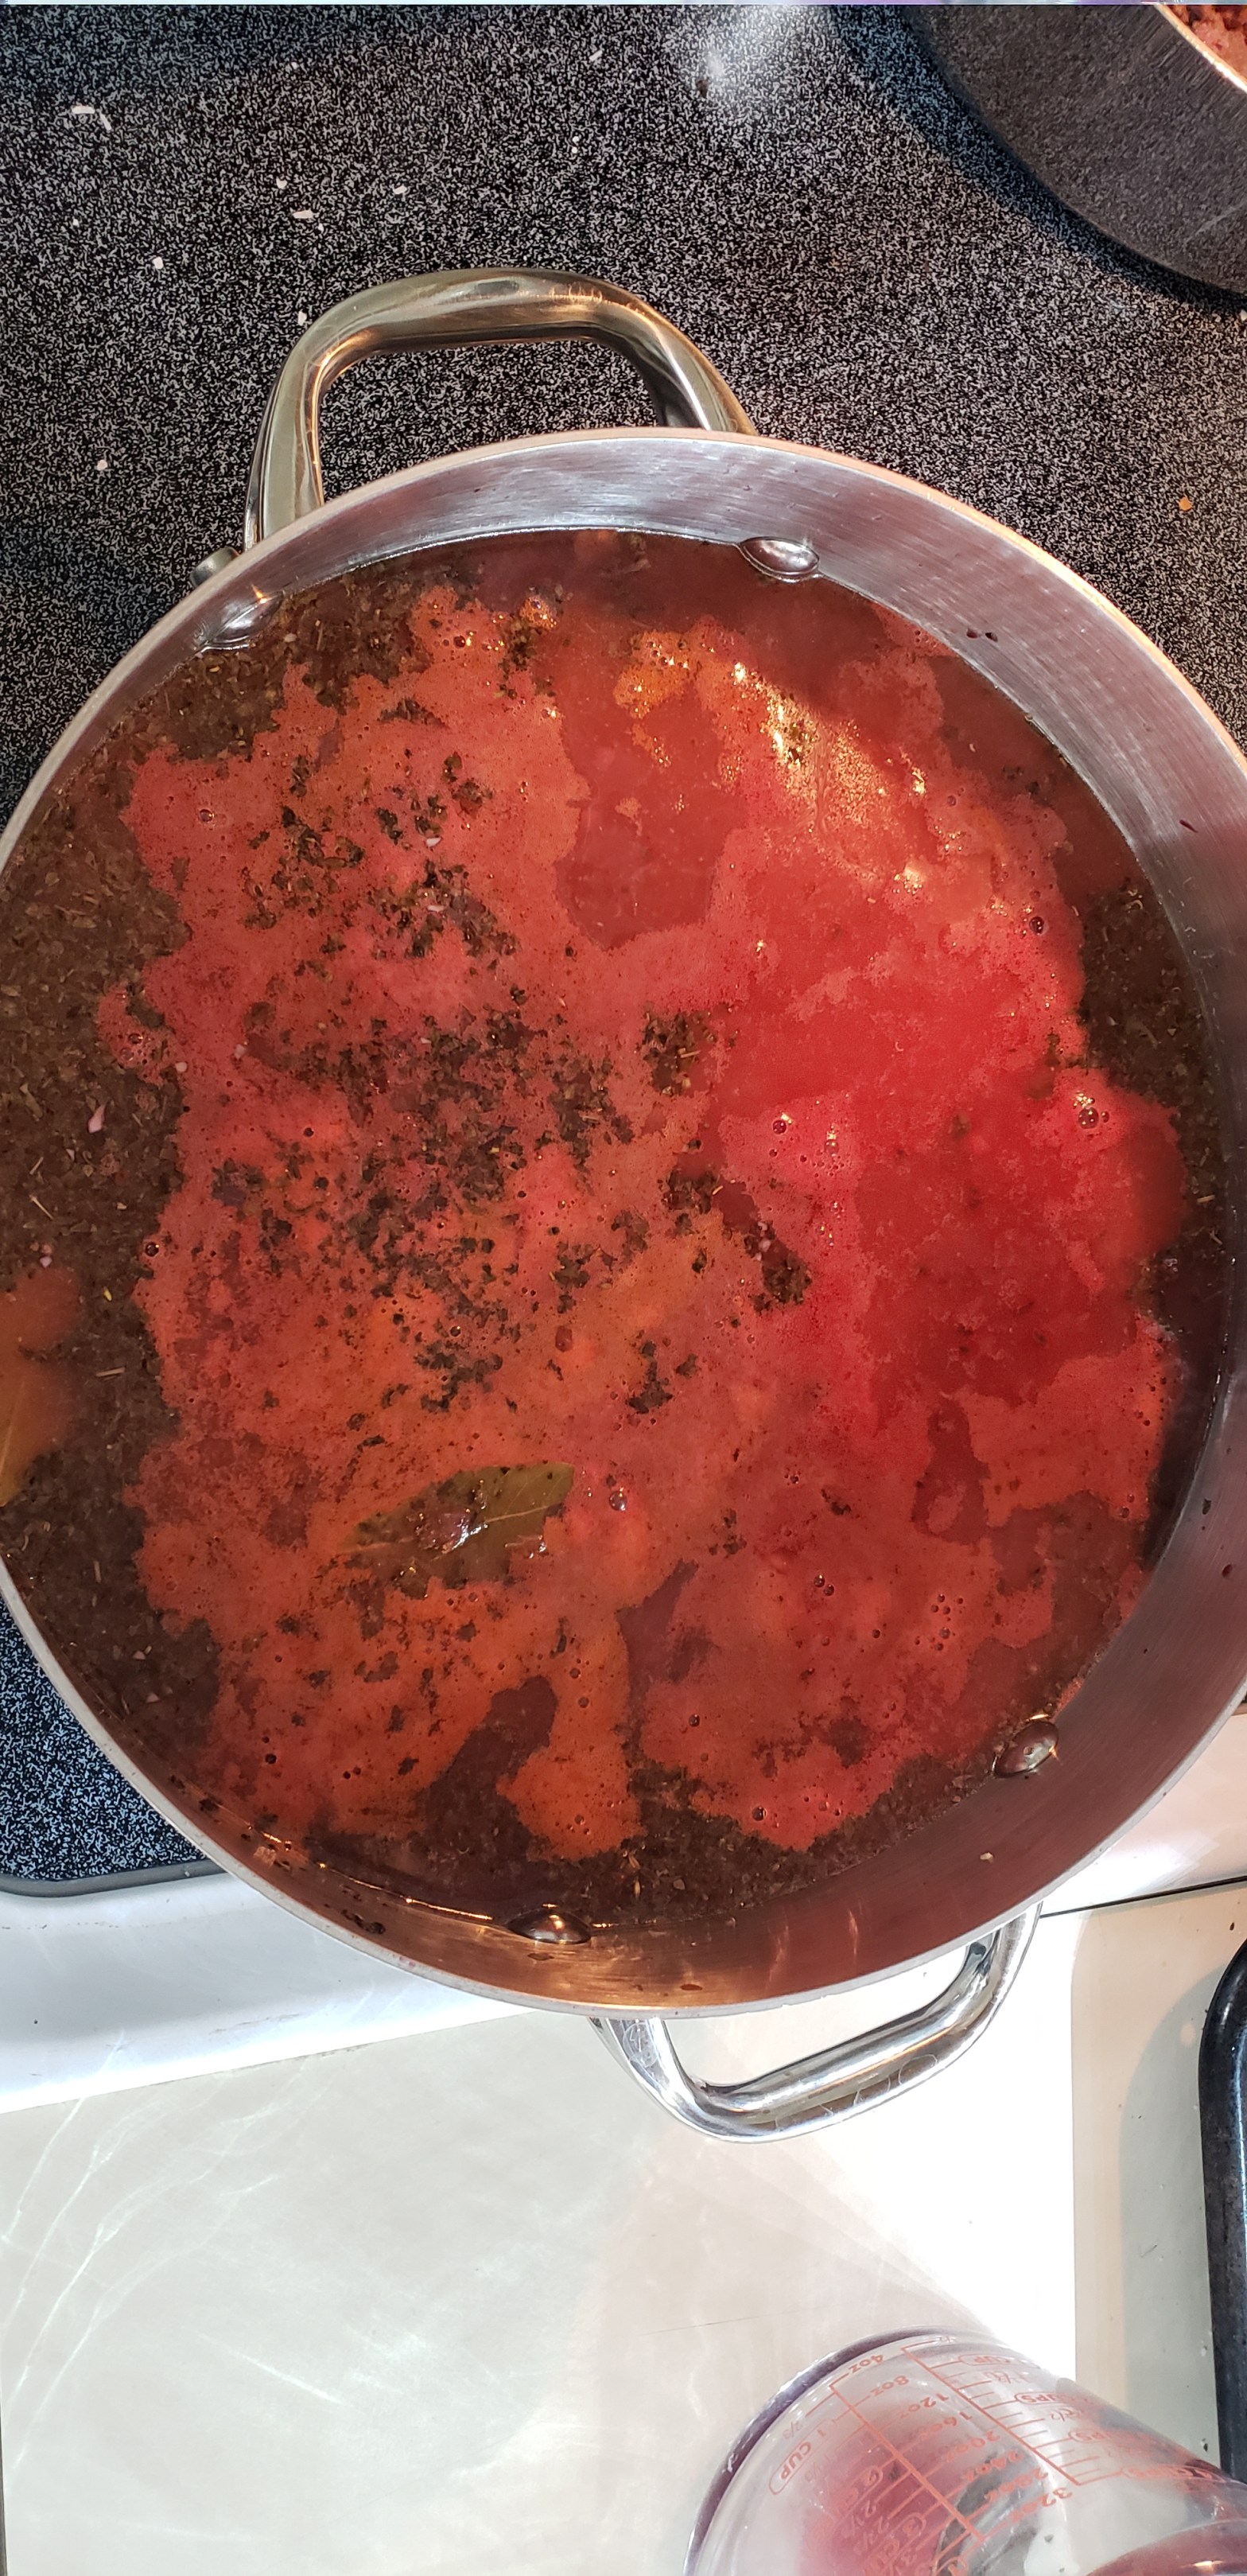
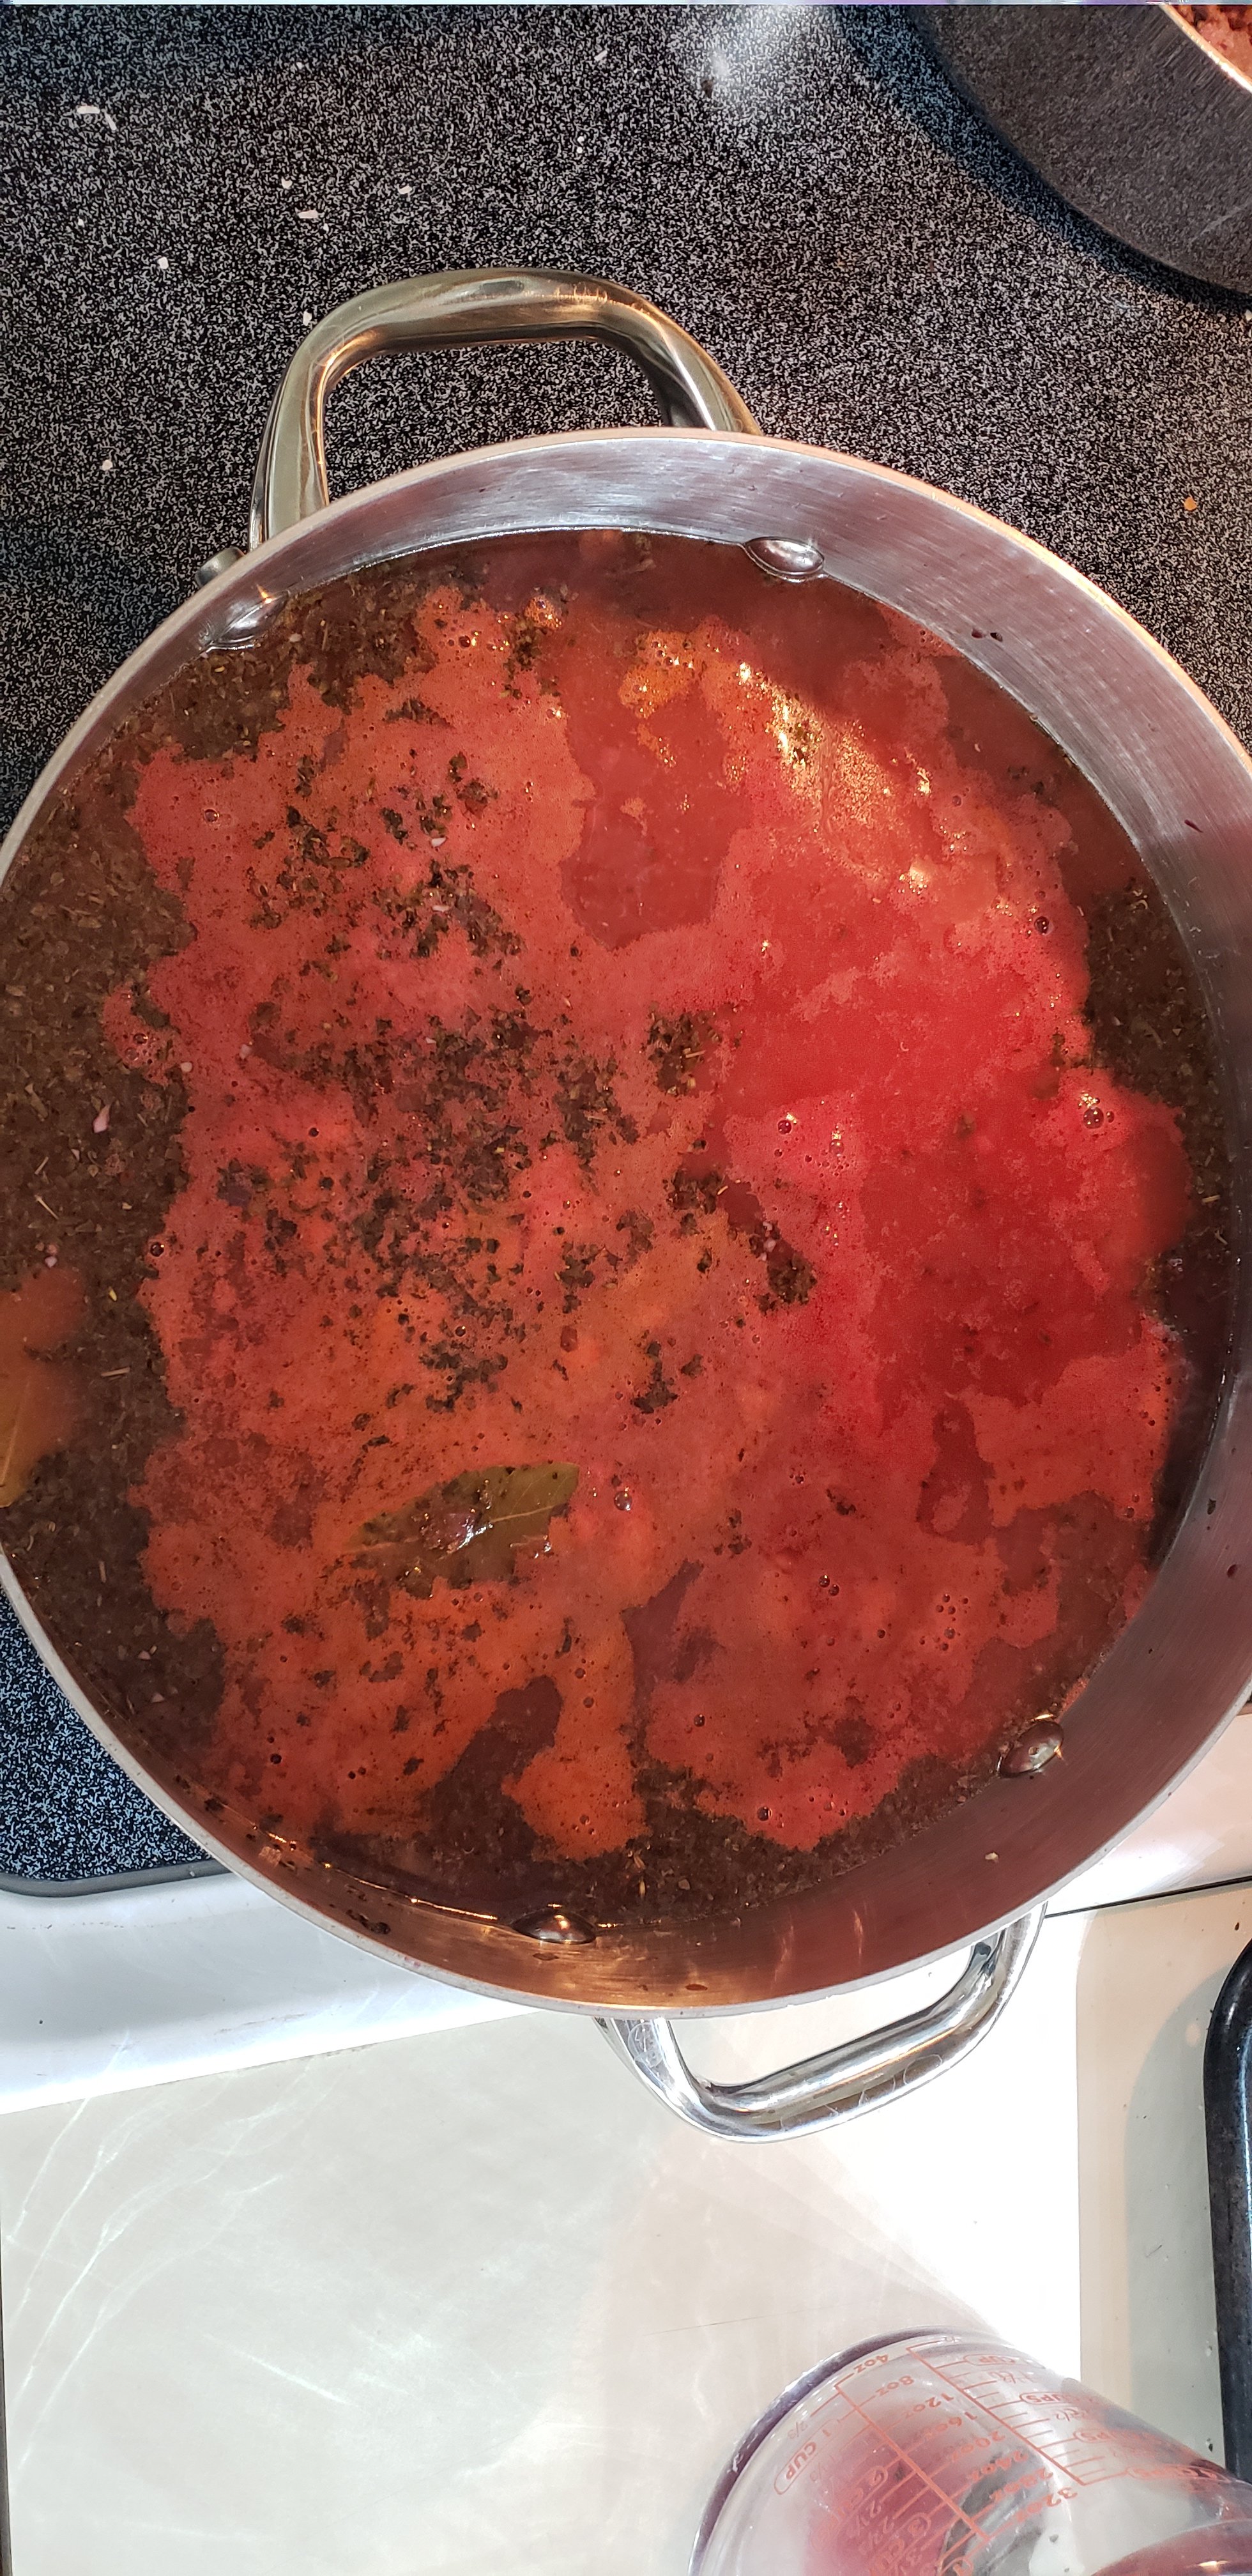
Once your wine mixture has reduced it is time for the star of the show, crushed tomatoes! Add all of the tomatoes plus one can of water to the pot.

Again 3 cans for a triple batch.

Once you’ve added the tomatoes and water you can add the tomato paste, salt, pepper, and sugar. You can add more salt, pepper, and sugar to taste but wait for the sauce to simmer for a while before you do.

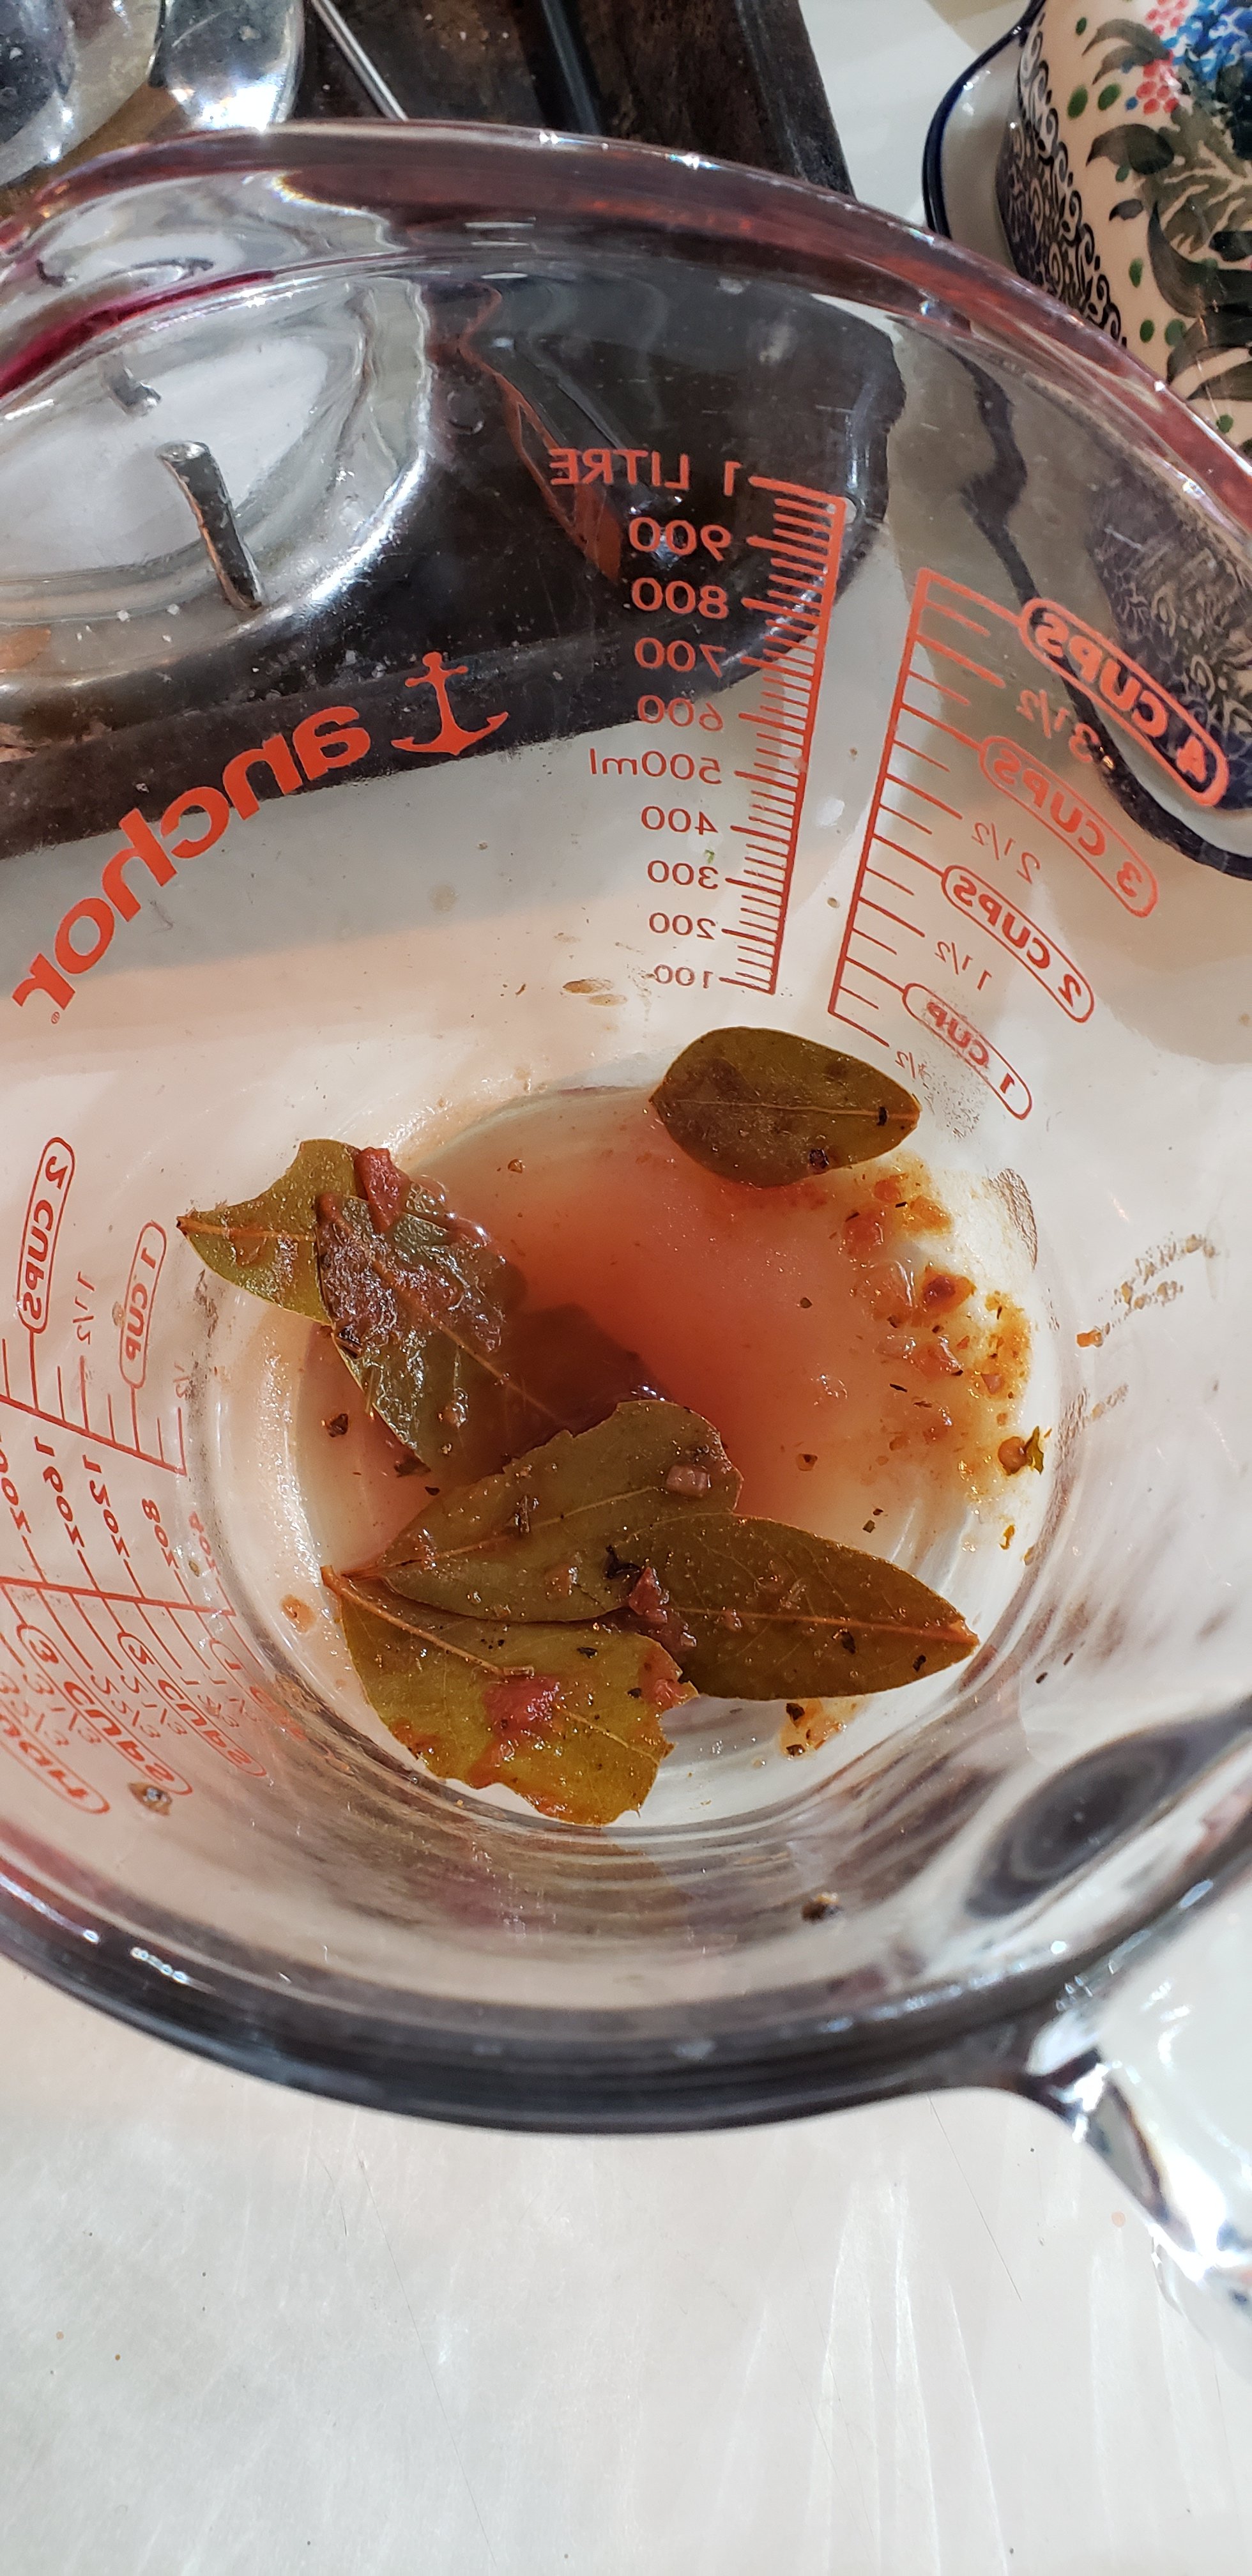
Simmer the sauce for at least an hour. After an hour taste and reseason if needed. Now the rest is up to your own preference. If you prefer a watery sauce you can be done now! If you prefer a thicker sauce then simmer it even longer and let it reduce and become all bold and flavorful. How ever you like it will be delicious! Once you have the salt and pepper levels right and have the consistency you want it is time for the second best part. Fishing out the bay leaves!

This took me much longer than I will ever say it did.

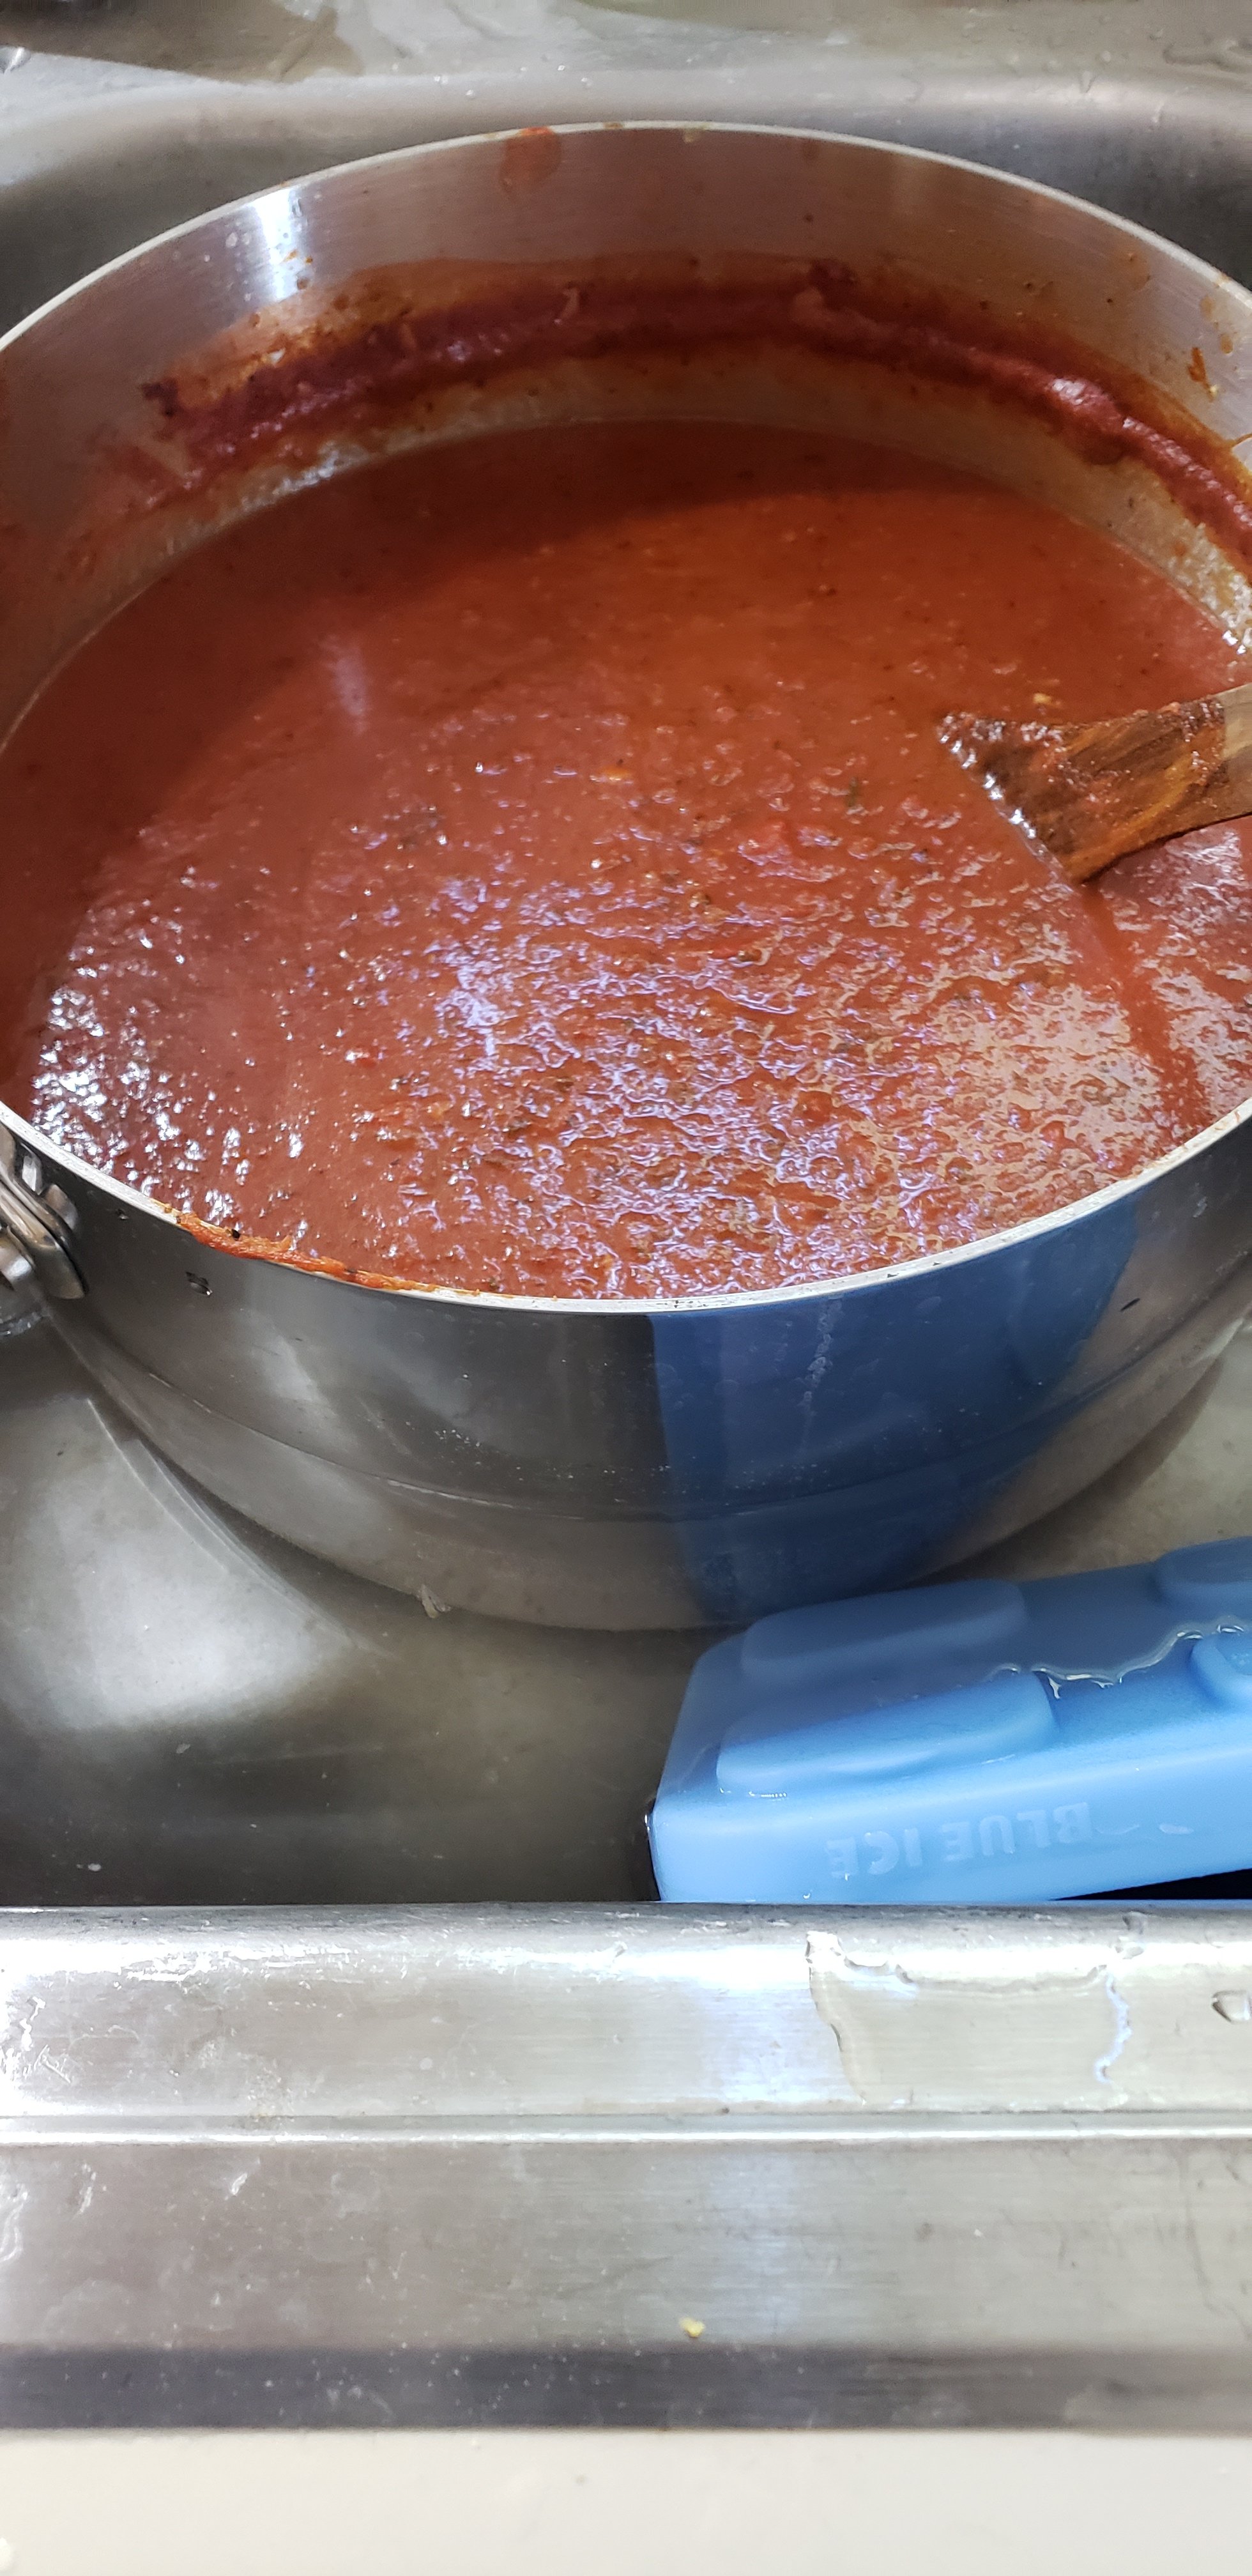
Once the bay leaves have expertly been removed it is time to eat! Serve this sauce over your favorite pasta dish or freeze for up to 6 months. If you are going to freeze it please cool it down as quickly as possible first. I fill the sink with ice and cold water and put the pot right in!

Let me know how your sauce comes out and share your favorite pasta dishes below.

Enjoy!

The Best Peanut Butter Brownies

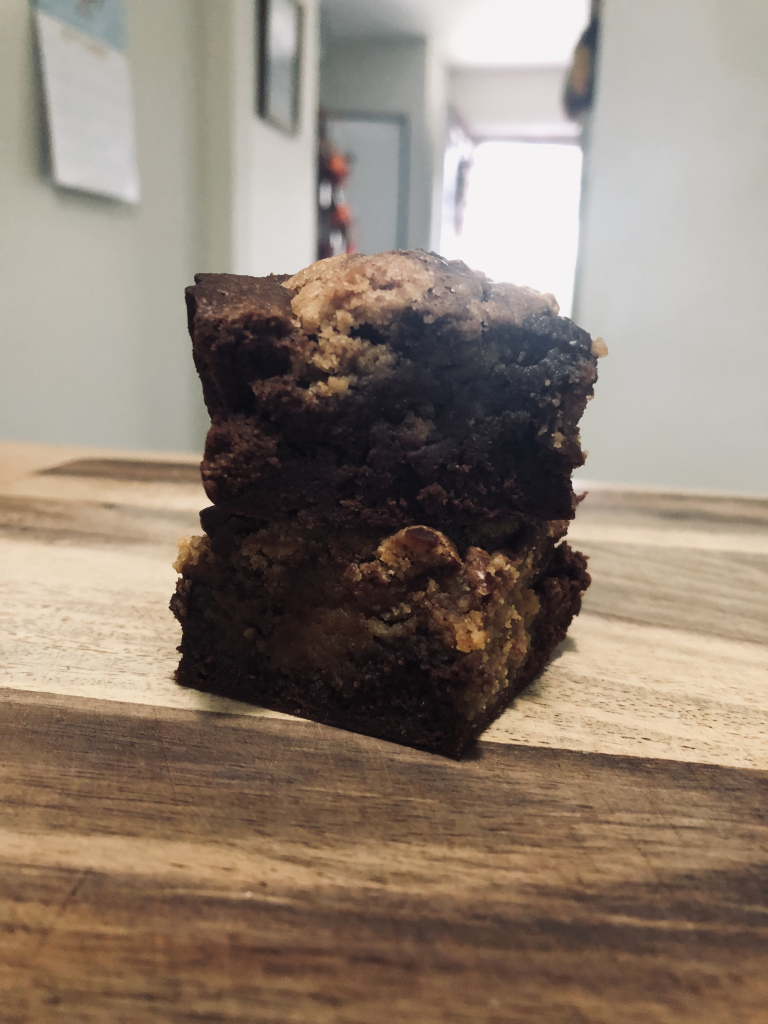
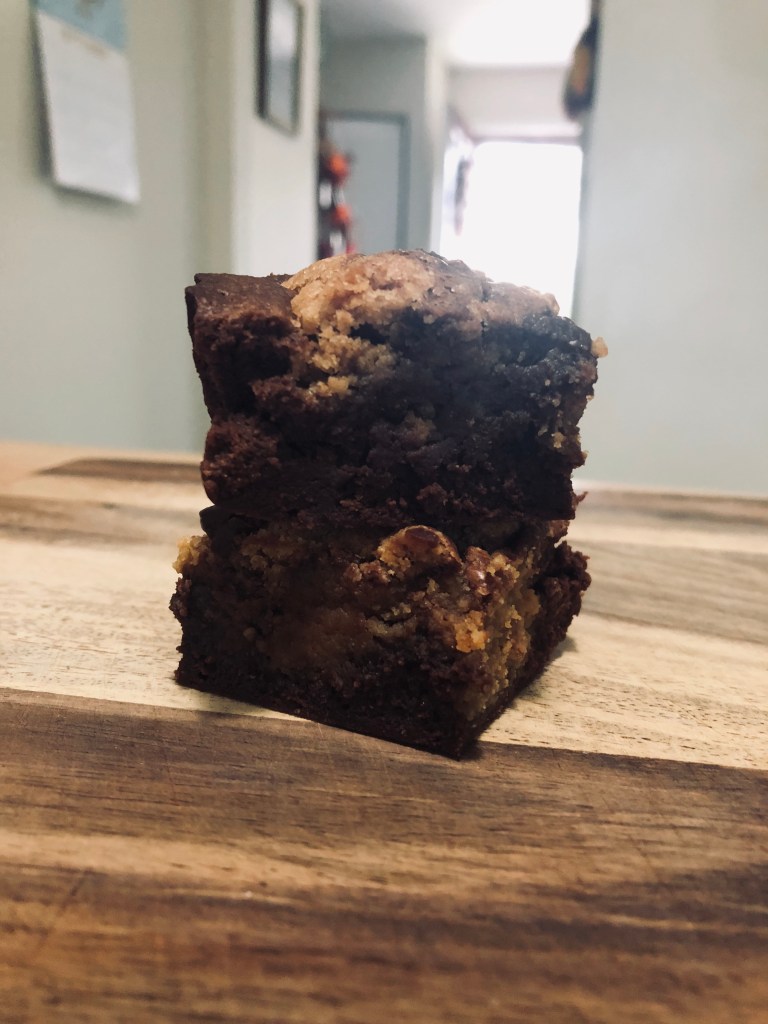
The combo of peanut butter and chocolate will never get old in this house. For this classic combo in brownie form, look no further than Smitten Kitchen’s recipe for peanut butter swirl brownies. Salty, deeply chocolatey, and fudgey, these are my favorite brownies to make. Don’t fight the unsweetened chocolate- I promise it results in the most perfect brownie.

Peanut Butter Swirl Brownies

For the peanut butter swirl:

  • 3/4 cup (190 grams) smooth peanut butter (not natural)
  • 2/3 (135 grams) cup granulated sugar
  • 1 large egg
  • 1/4 teaspoon vanilla extract
  • A few pinches of flaky or coarse sea salt

For the brownies:

  • 3 ounces (85 grams) unsweetened chocolate, roughly chopped or broken into pieces
  • 1/2 cup (115 grams or 4 ounces) salted butter, cut into tablespoons
  • 1 1/4 cups (250 grams) granulated sugar
  • 2 large eggs
  • 1 teaspoon (5 ml) vanilla extract
  • 1/2 teaspoon flaky or heaped 1/4 teaspoon of coarse sea salt
  • 2/3 cup (85 grams) all-purpose flour

To finish:

  • 1/4 cup (40 grams) semisweet chocolate chips

Preheat oven to 350 degrees. Line an 8″ x 8″ pan (glass or metal both work) with a rectangle of parchment paper, making sure you have an overhang on either side so you can lift your brownies out later. Spray the parchment and sides of the pan with cooking spray, or coat with butter.

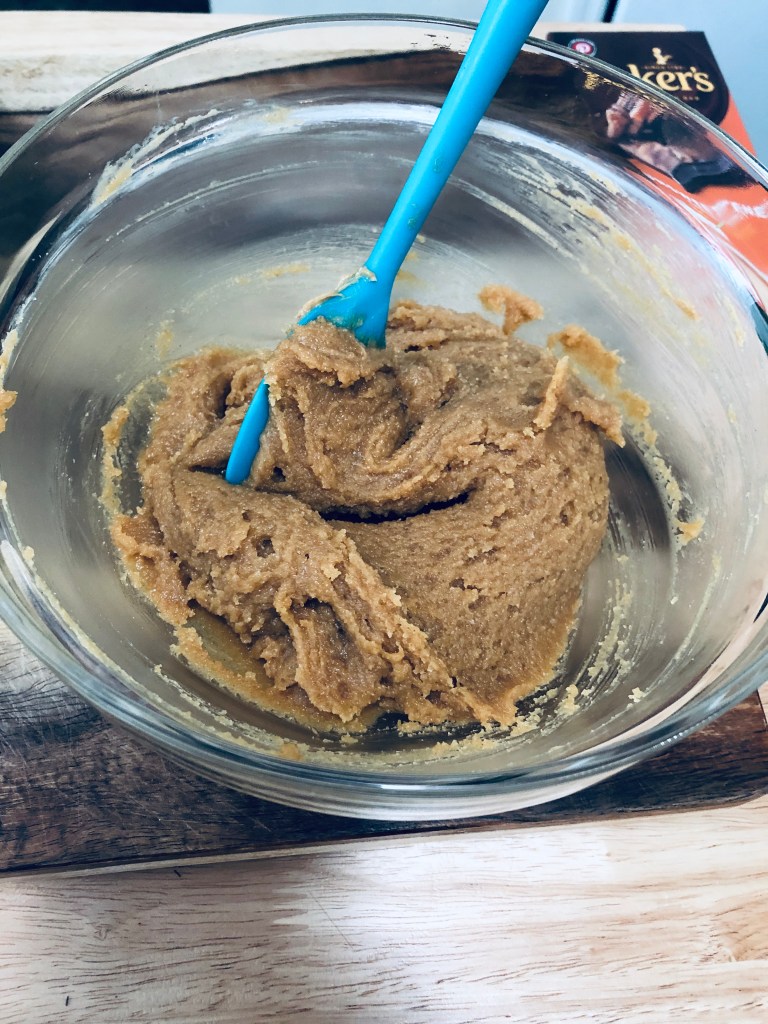
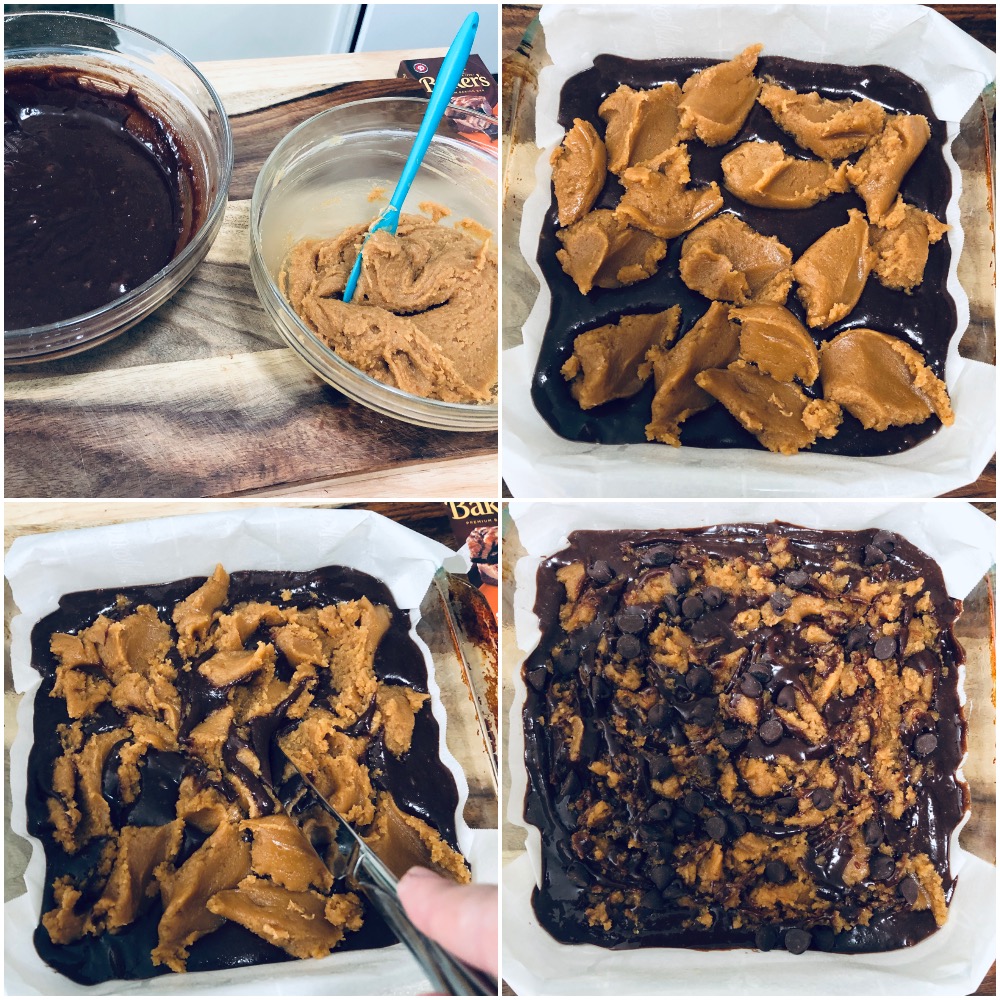
Make the peanut butter swirl. In a small bowl, whisk or stir together all swirl ingredients until smooth and combined. Set aside.

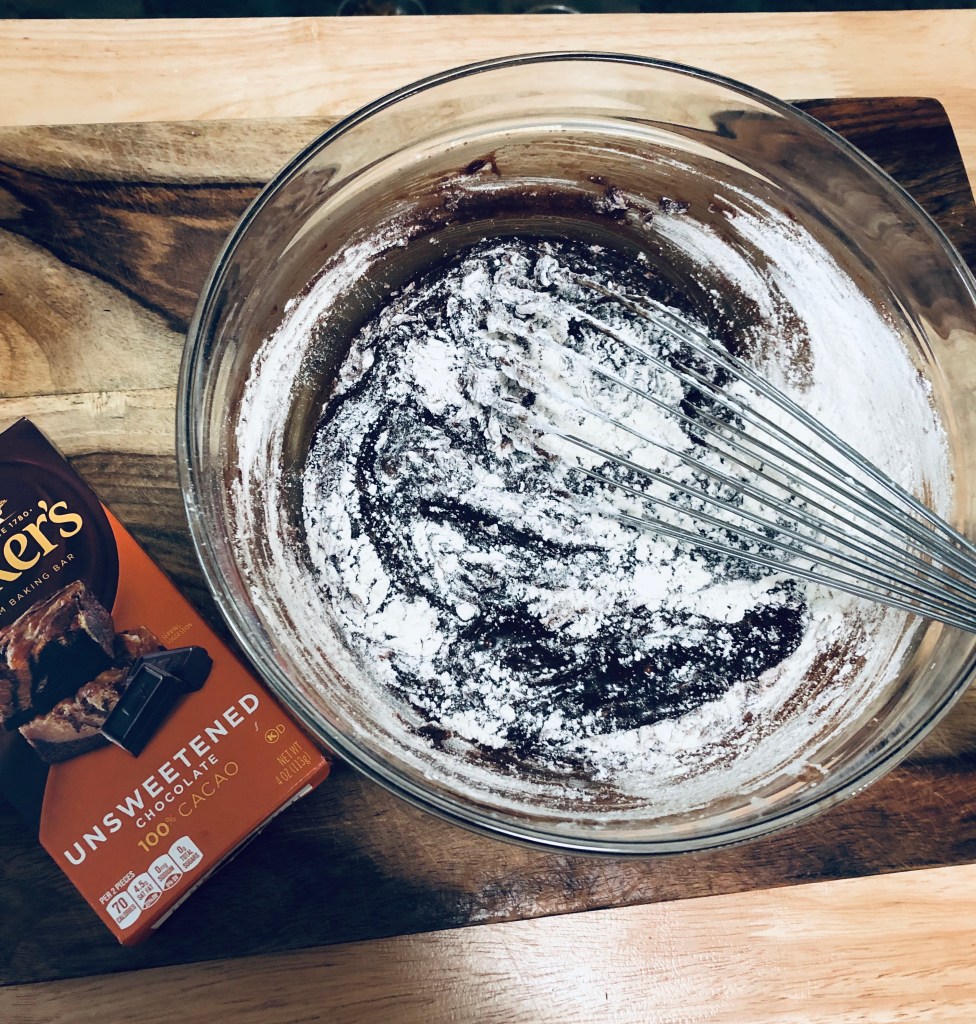
Make the brownie batter. Put the butter pieces and chopped chocolate into a medium microwave-safe bowl (glass works great here). Microwave in 30-second increments, stirring in between with a rubber spatula, until the chocolate is just about melted. Mine usually takes two bursts in the microwave. Use a whisk to vigorously stir and melt the mixture the rest of the way.

Note: You can also do this with the double-boiler method: place the glass bowl over a pot with one inch of barely simmering water and stir frequently until everything is melted. Be sure the bottom of the bowl does not touch the water.

Whisk the sugar into the chocolate/butter mixture. At this point, the mixture should be cool to the touch. If it still feels very hot, pop it in the fridge for a few minutes and check back, so as not to scramble your eggs.

Whisk in the eggs, vanilla, and flaky/kosher salt throughly. Sprinkle the flour over the batter and whisk until just combined and no lumps of flour remain. Scrape into the prepared pan. Don’t forget to lick the spatula and bowl.

Swirl and finish the brownies. Using a tablespoon, drop heaping mounds of the peanut butter mixture on top of the brownie batter. Gently swirl the peanut butter around with a butter knife until you get a desired look. Don’t go overboard- you don’t want the peanut butter to become completely incorporated into the brownie batter. Mine never looks as pretty as Deb’s on her site, but they’ll still look great out of the oven. Sprinkle the chocolate chips over the top.

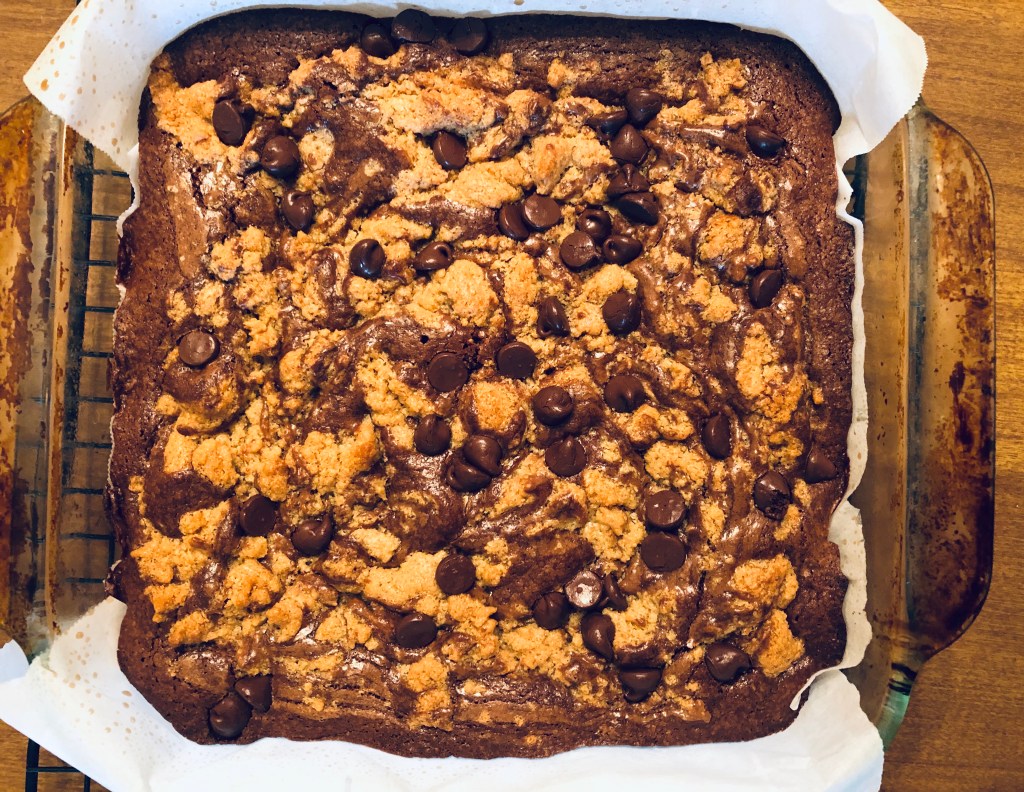
Bake the brownies. Place the pan in the preheated oven and bake for 30-40 minutes, rotating the pan halfway through. Begin testing the brownies after 30 minutes with a wooden skewer or toothpick. The tester should come out with a few moist brownie crumbs attached.

Why the large time variation? Because these brownies tend to take much longer for me (near 40 minutes) when I bake them in my usual glass 8″ x 8″ pan. However, they tend to bake faster in metal pans, so check them early just to be safe. No one likes an overbooked brownie.

Place the pan on a wire rack to cool and set for a bit before lifting them out with your parchment handles to cool the rest of the way. These are easiest to cut when completely cool, but nothing says you can’t cut a tiny square from the end when they are still warm to taste test…I’ve definitely never done this…

The brownies keep well at room temperature for 5 days and even longer in the fridge.

Let me know how you like them. Enjoy!

-Jess

It’s omelette time!

There’s nothing more filling and satisfying that a delicious omelette in the morning. But, there is nothing more frustrating than when it turns into a heaping mess of half burnt and half raw eggs with some toppings mixed in. Let me share with you my technique! (This process will go quick so you might want to read through the recipe a few times first.)

Here’s what you’ll need:

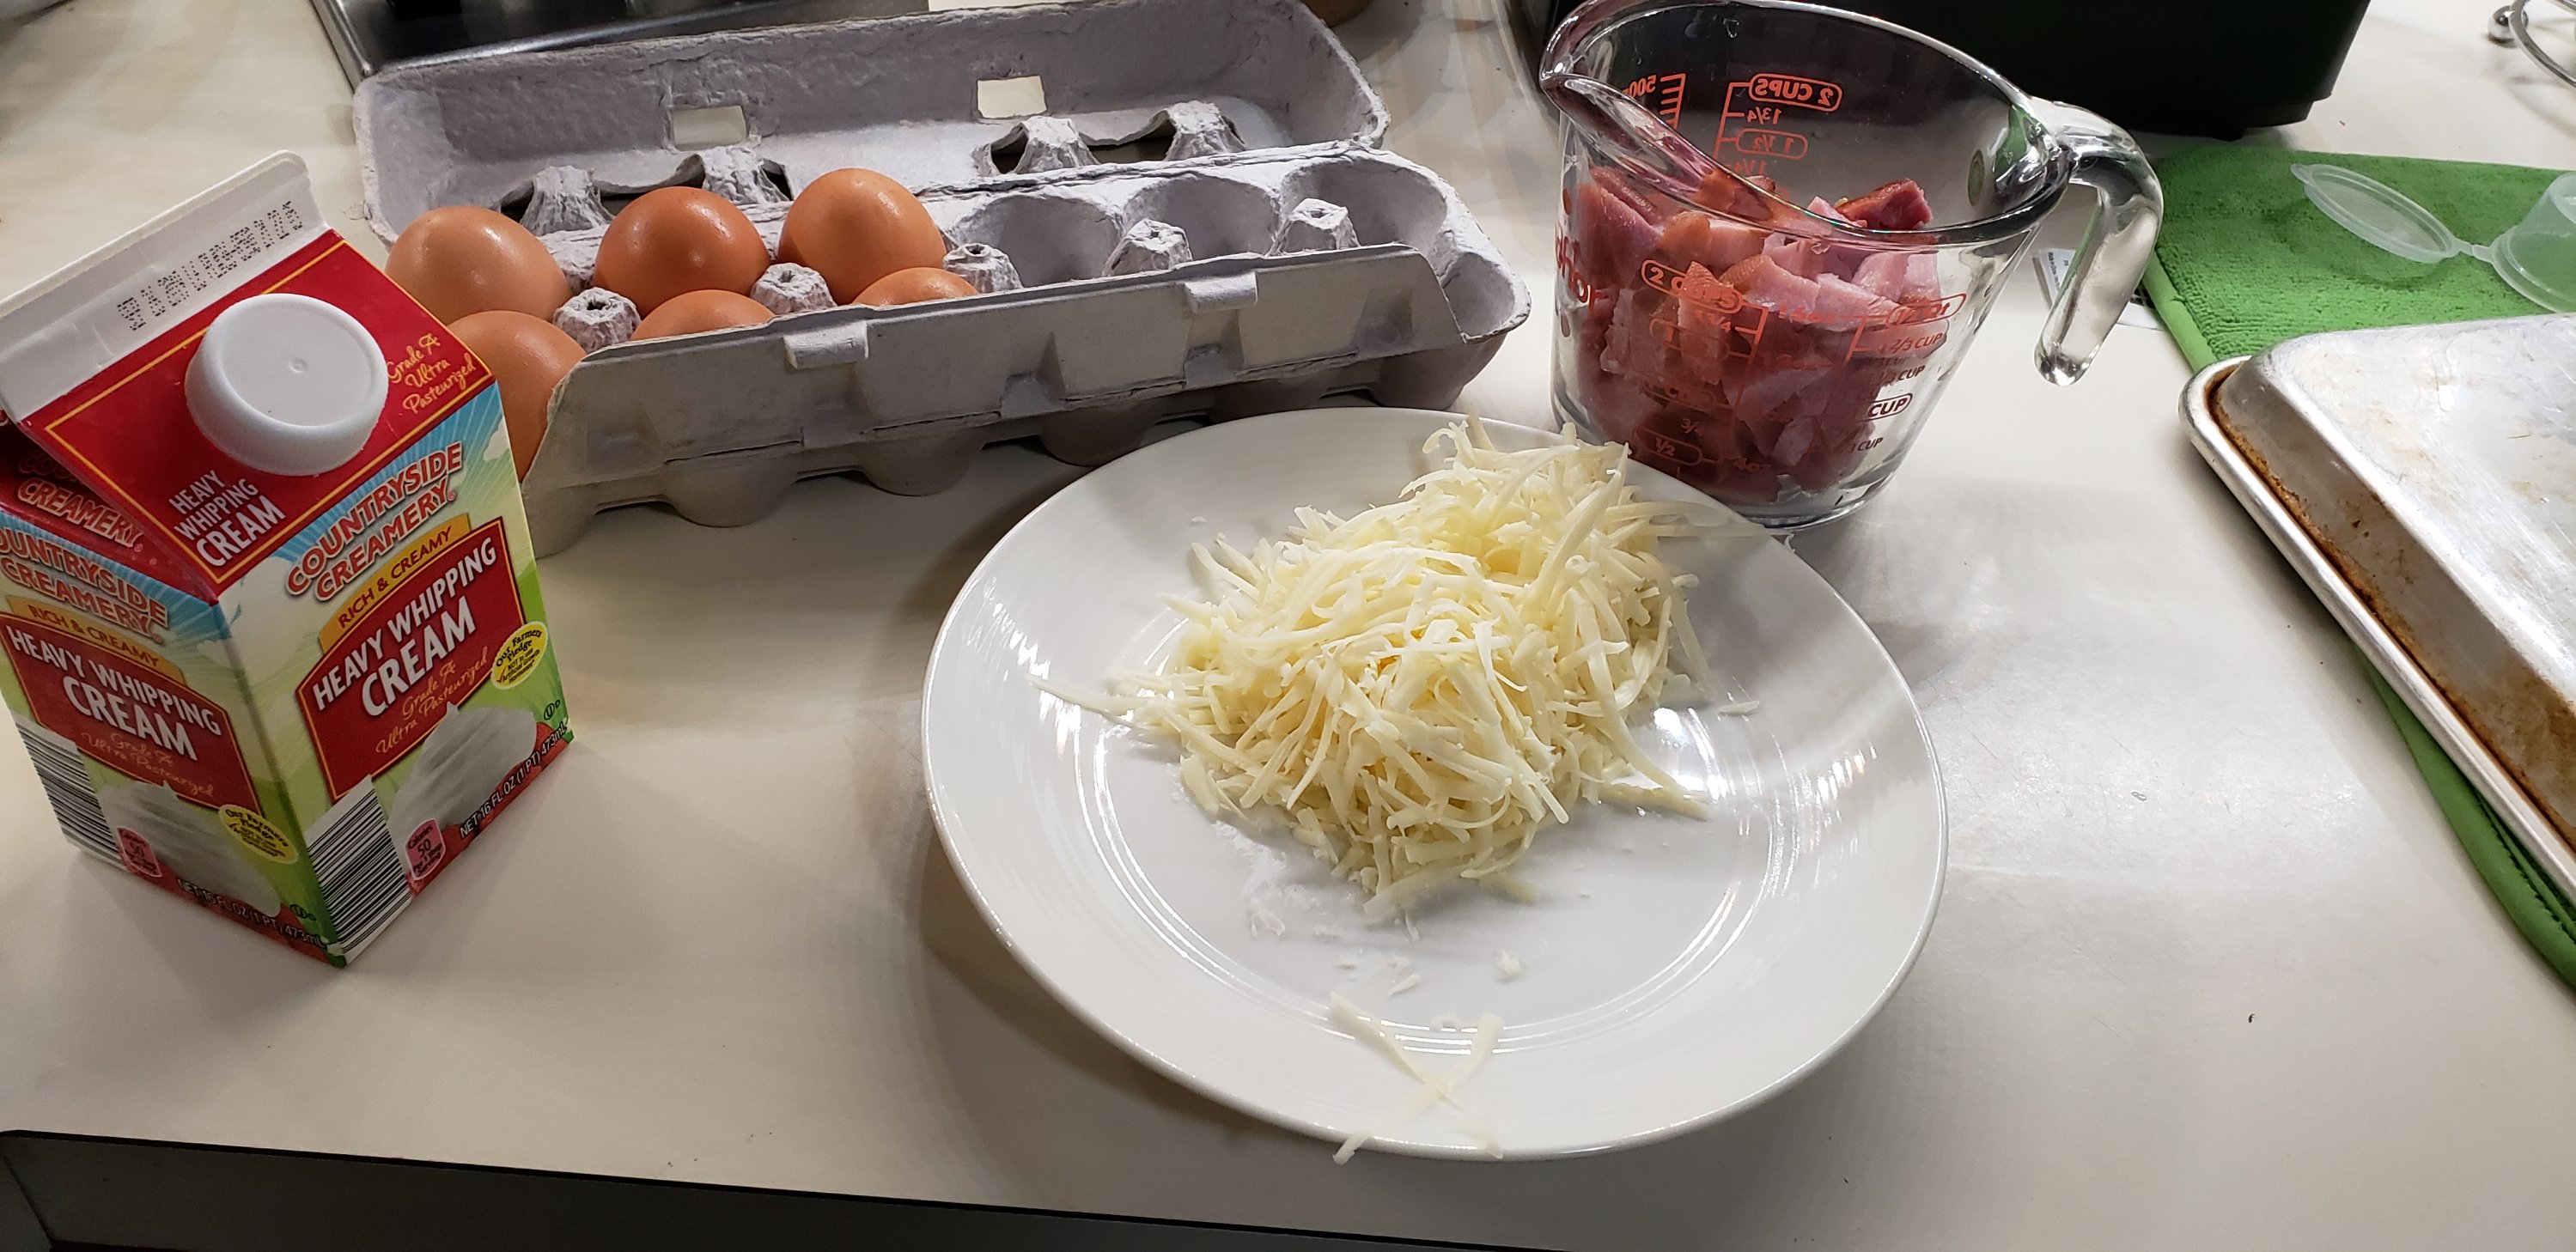
  • 3 large eggs
  • Heavy cream
  • Fillings of your choice – I used ham and cheddar cheese
  • A non-stick pan
  • Cooking spray

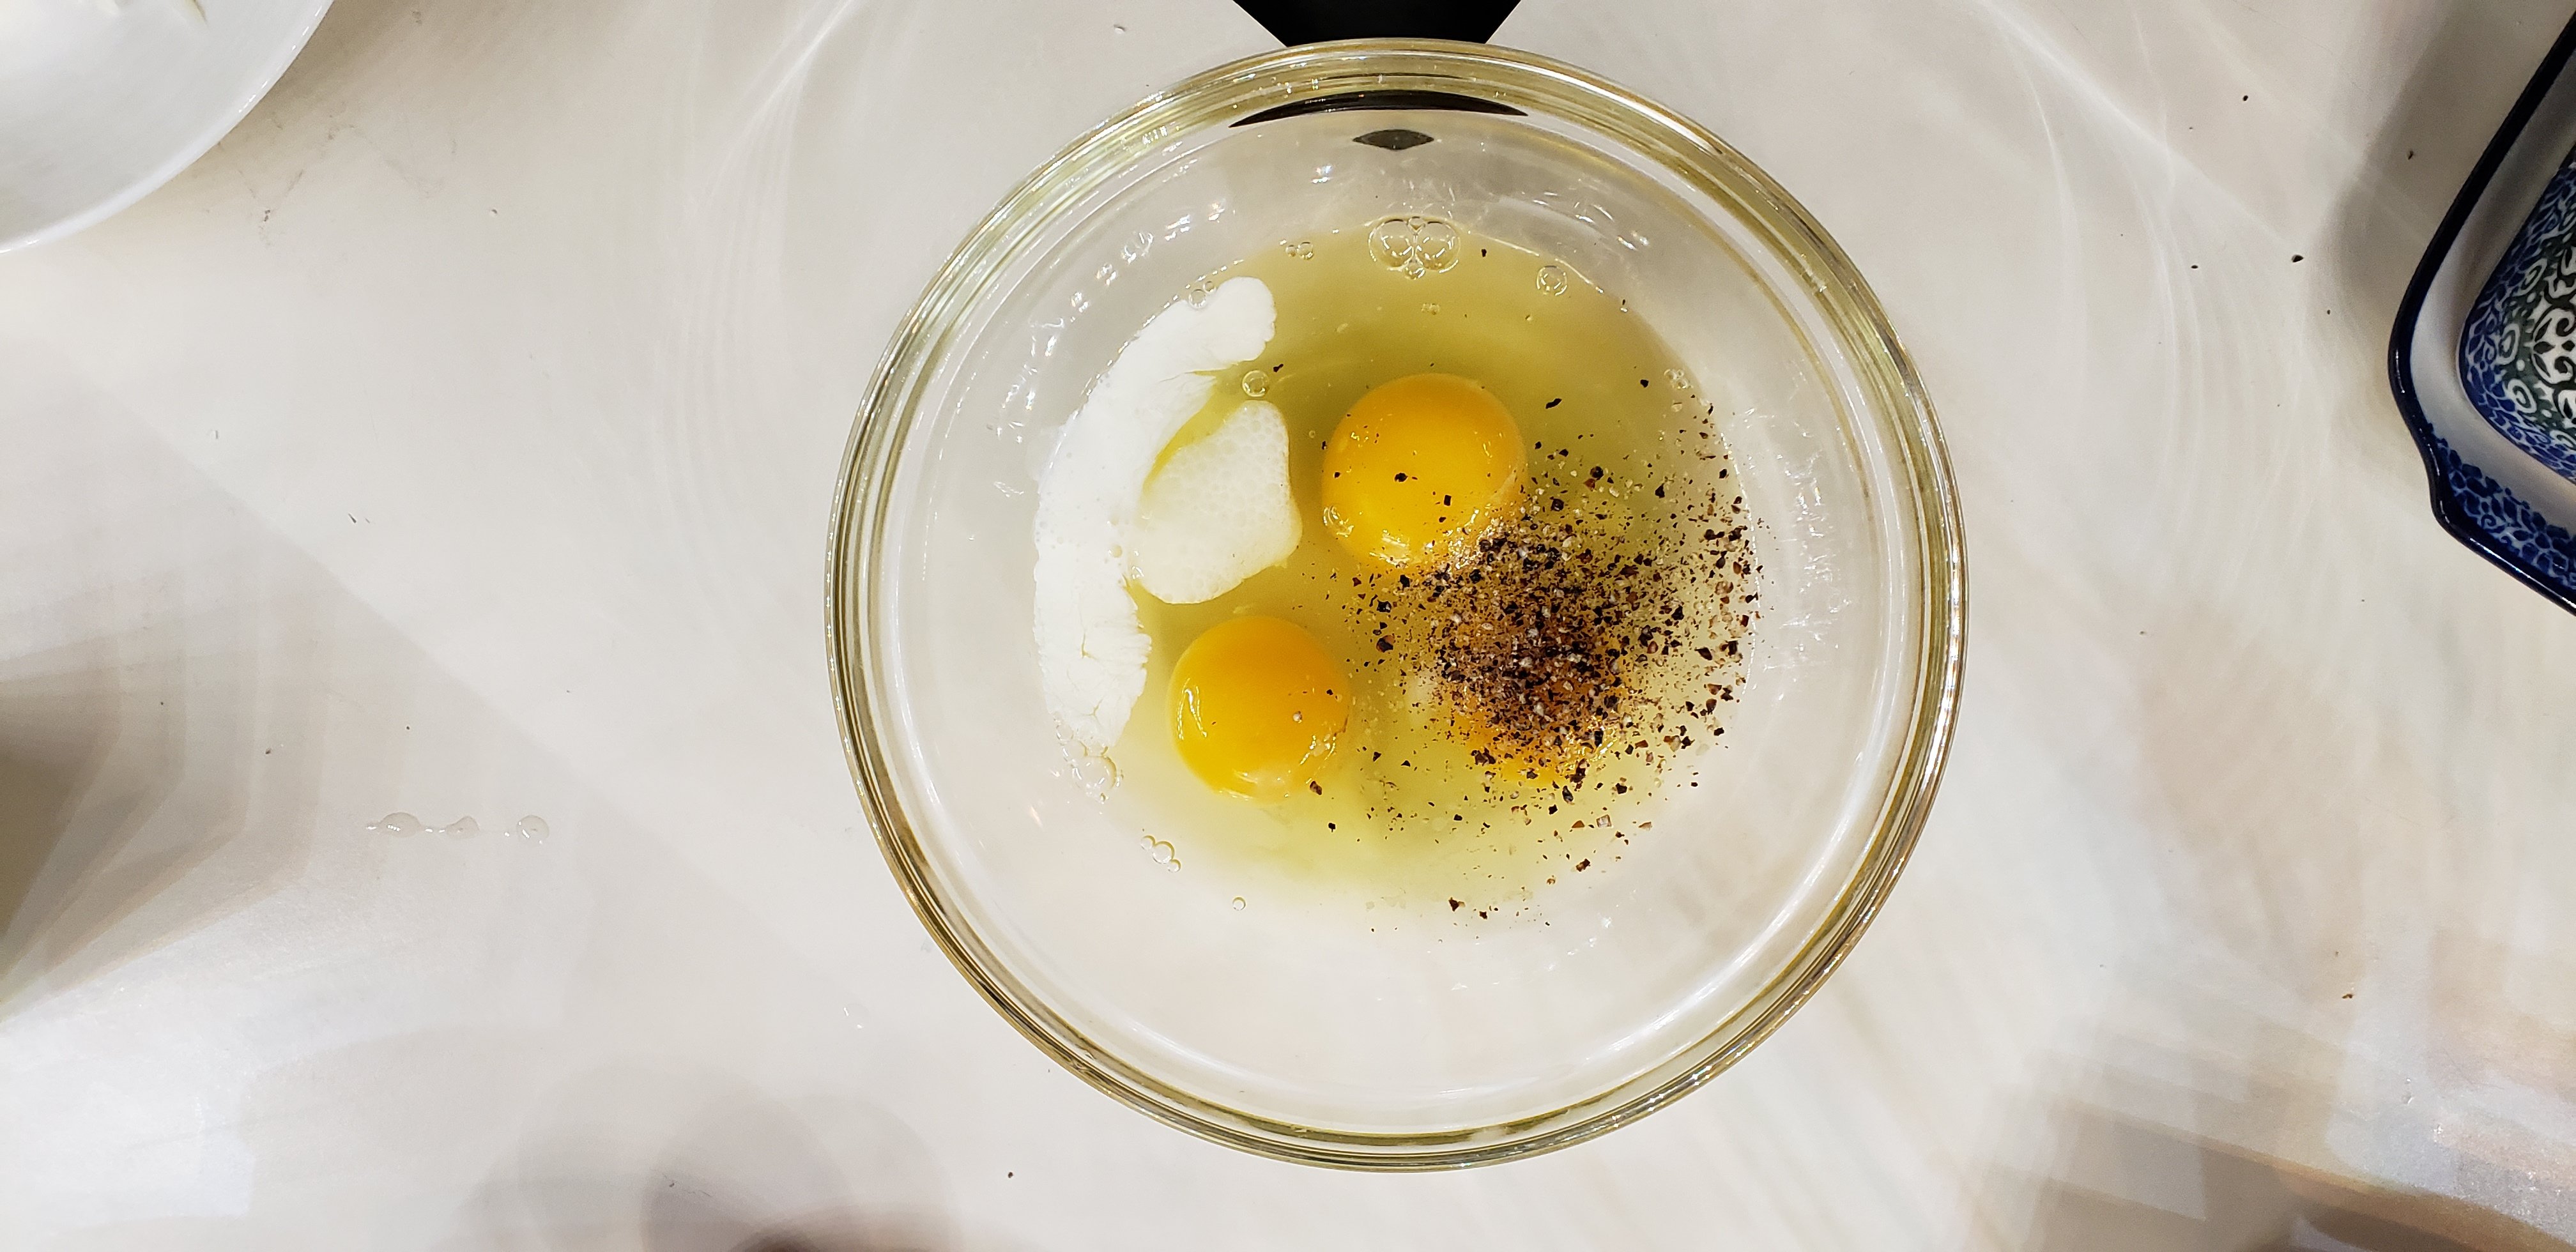
First, crack the eggs into a mixing bowl. Add a splash of heavy cream and salt and pepper to taste.

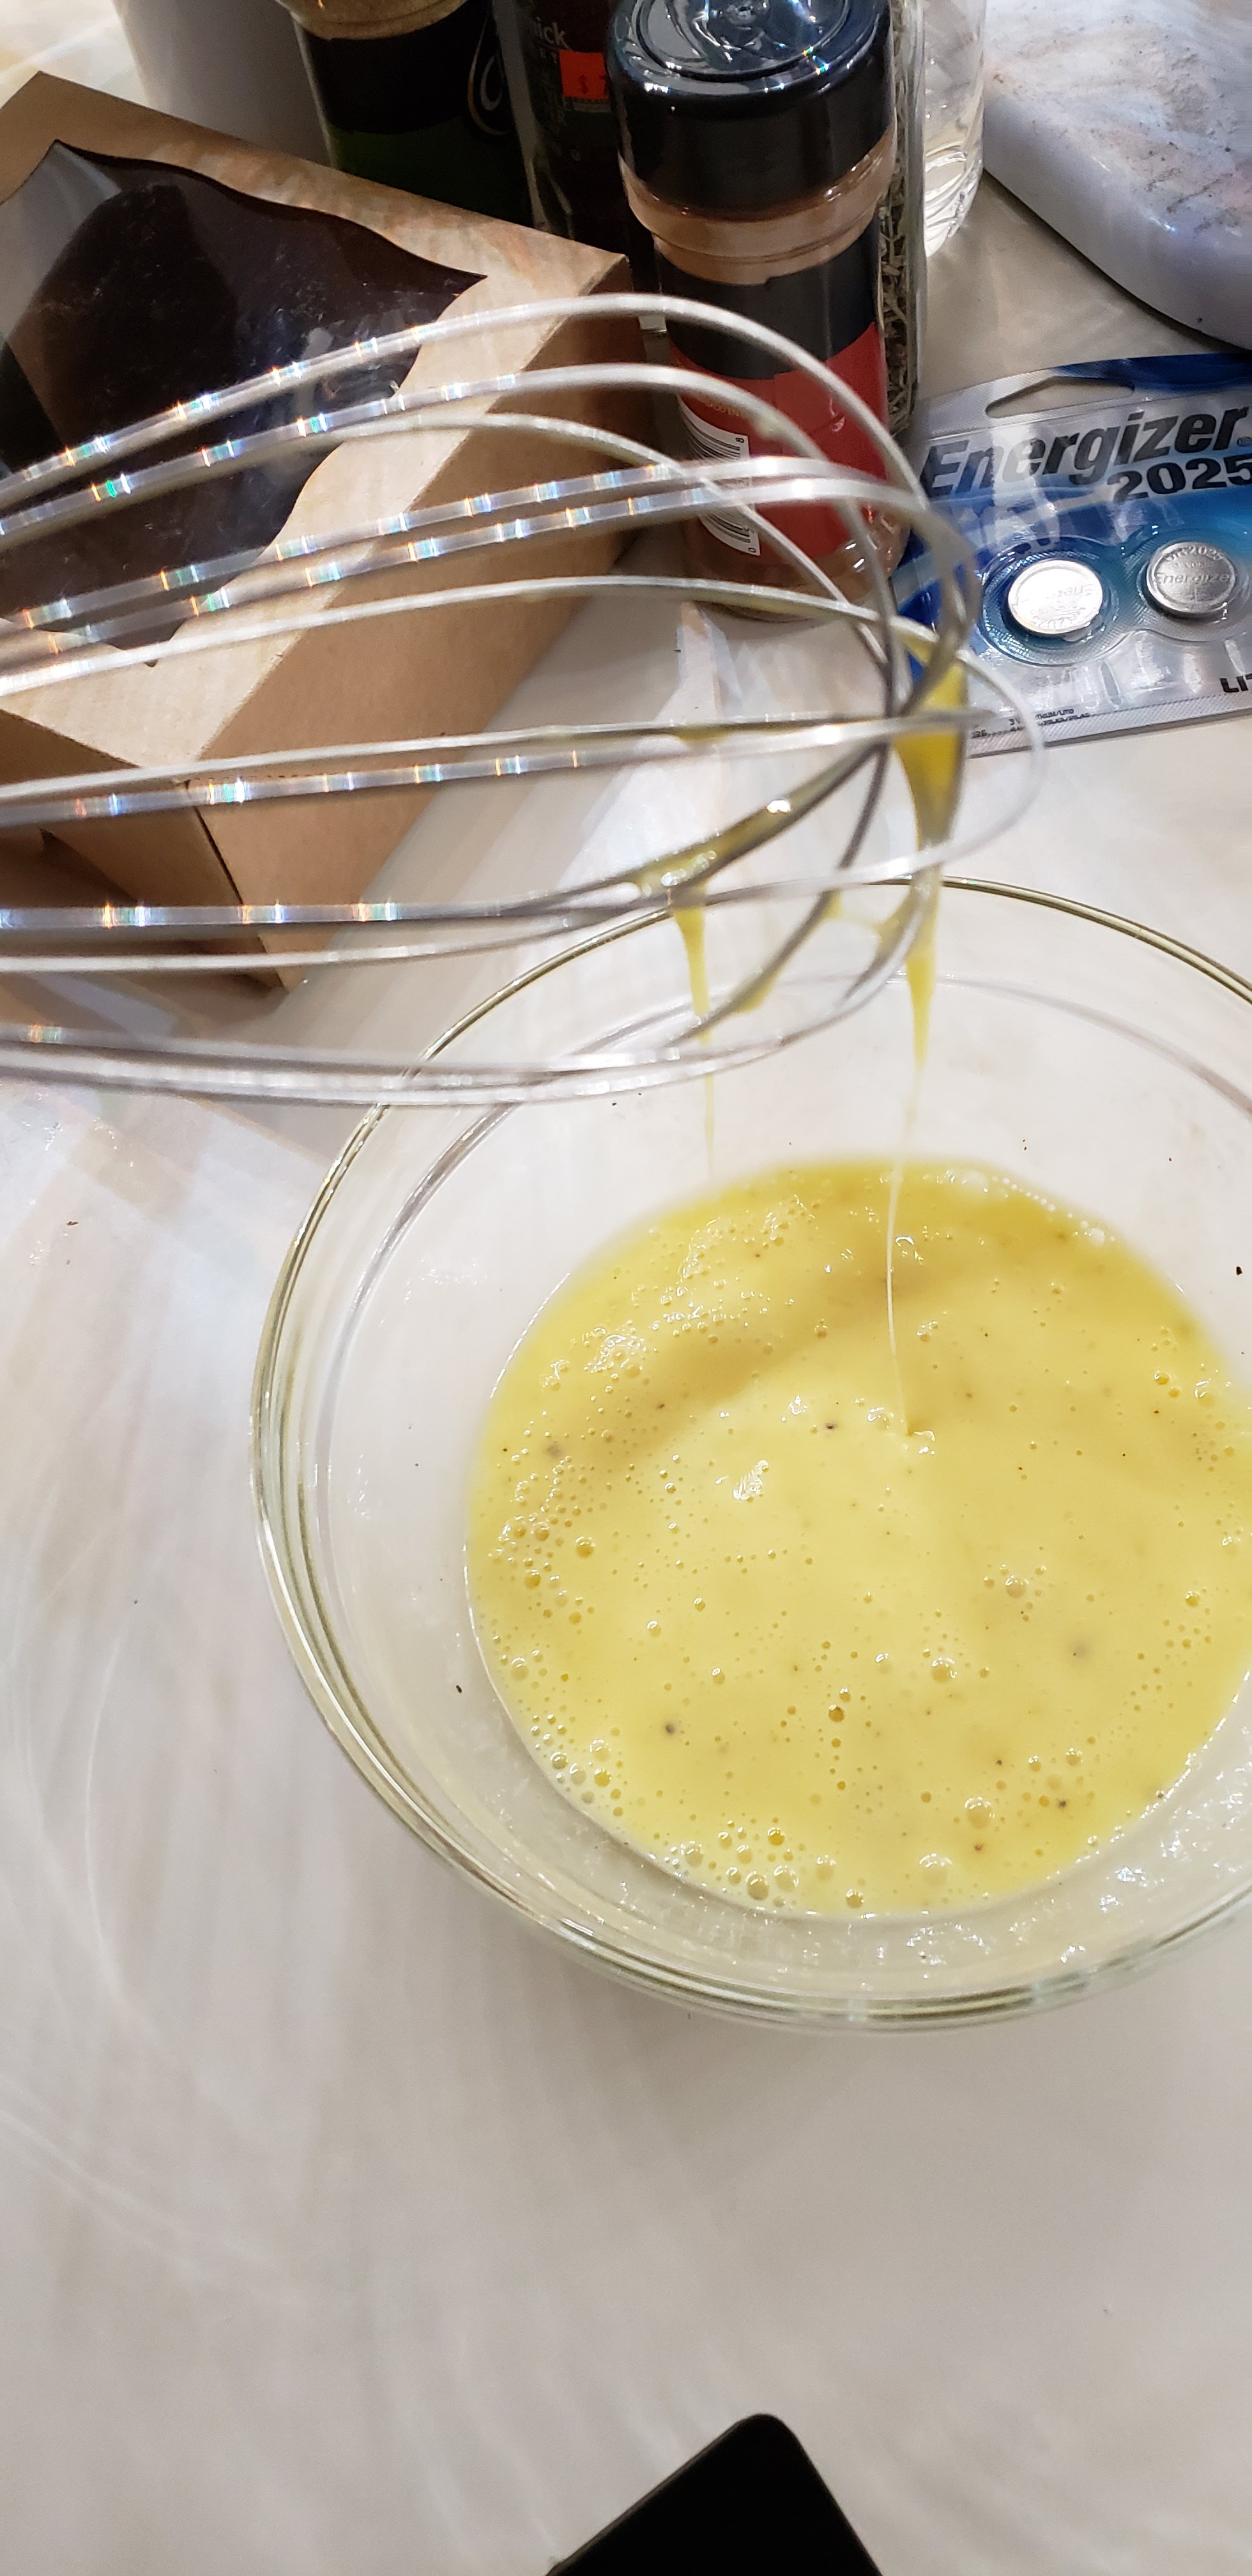
Whisk the eggs vigorously until they are smooth. You don’t want any of those thick goobers.

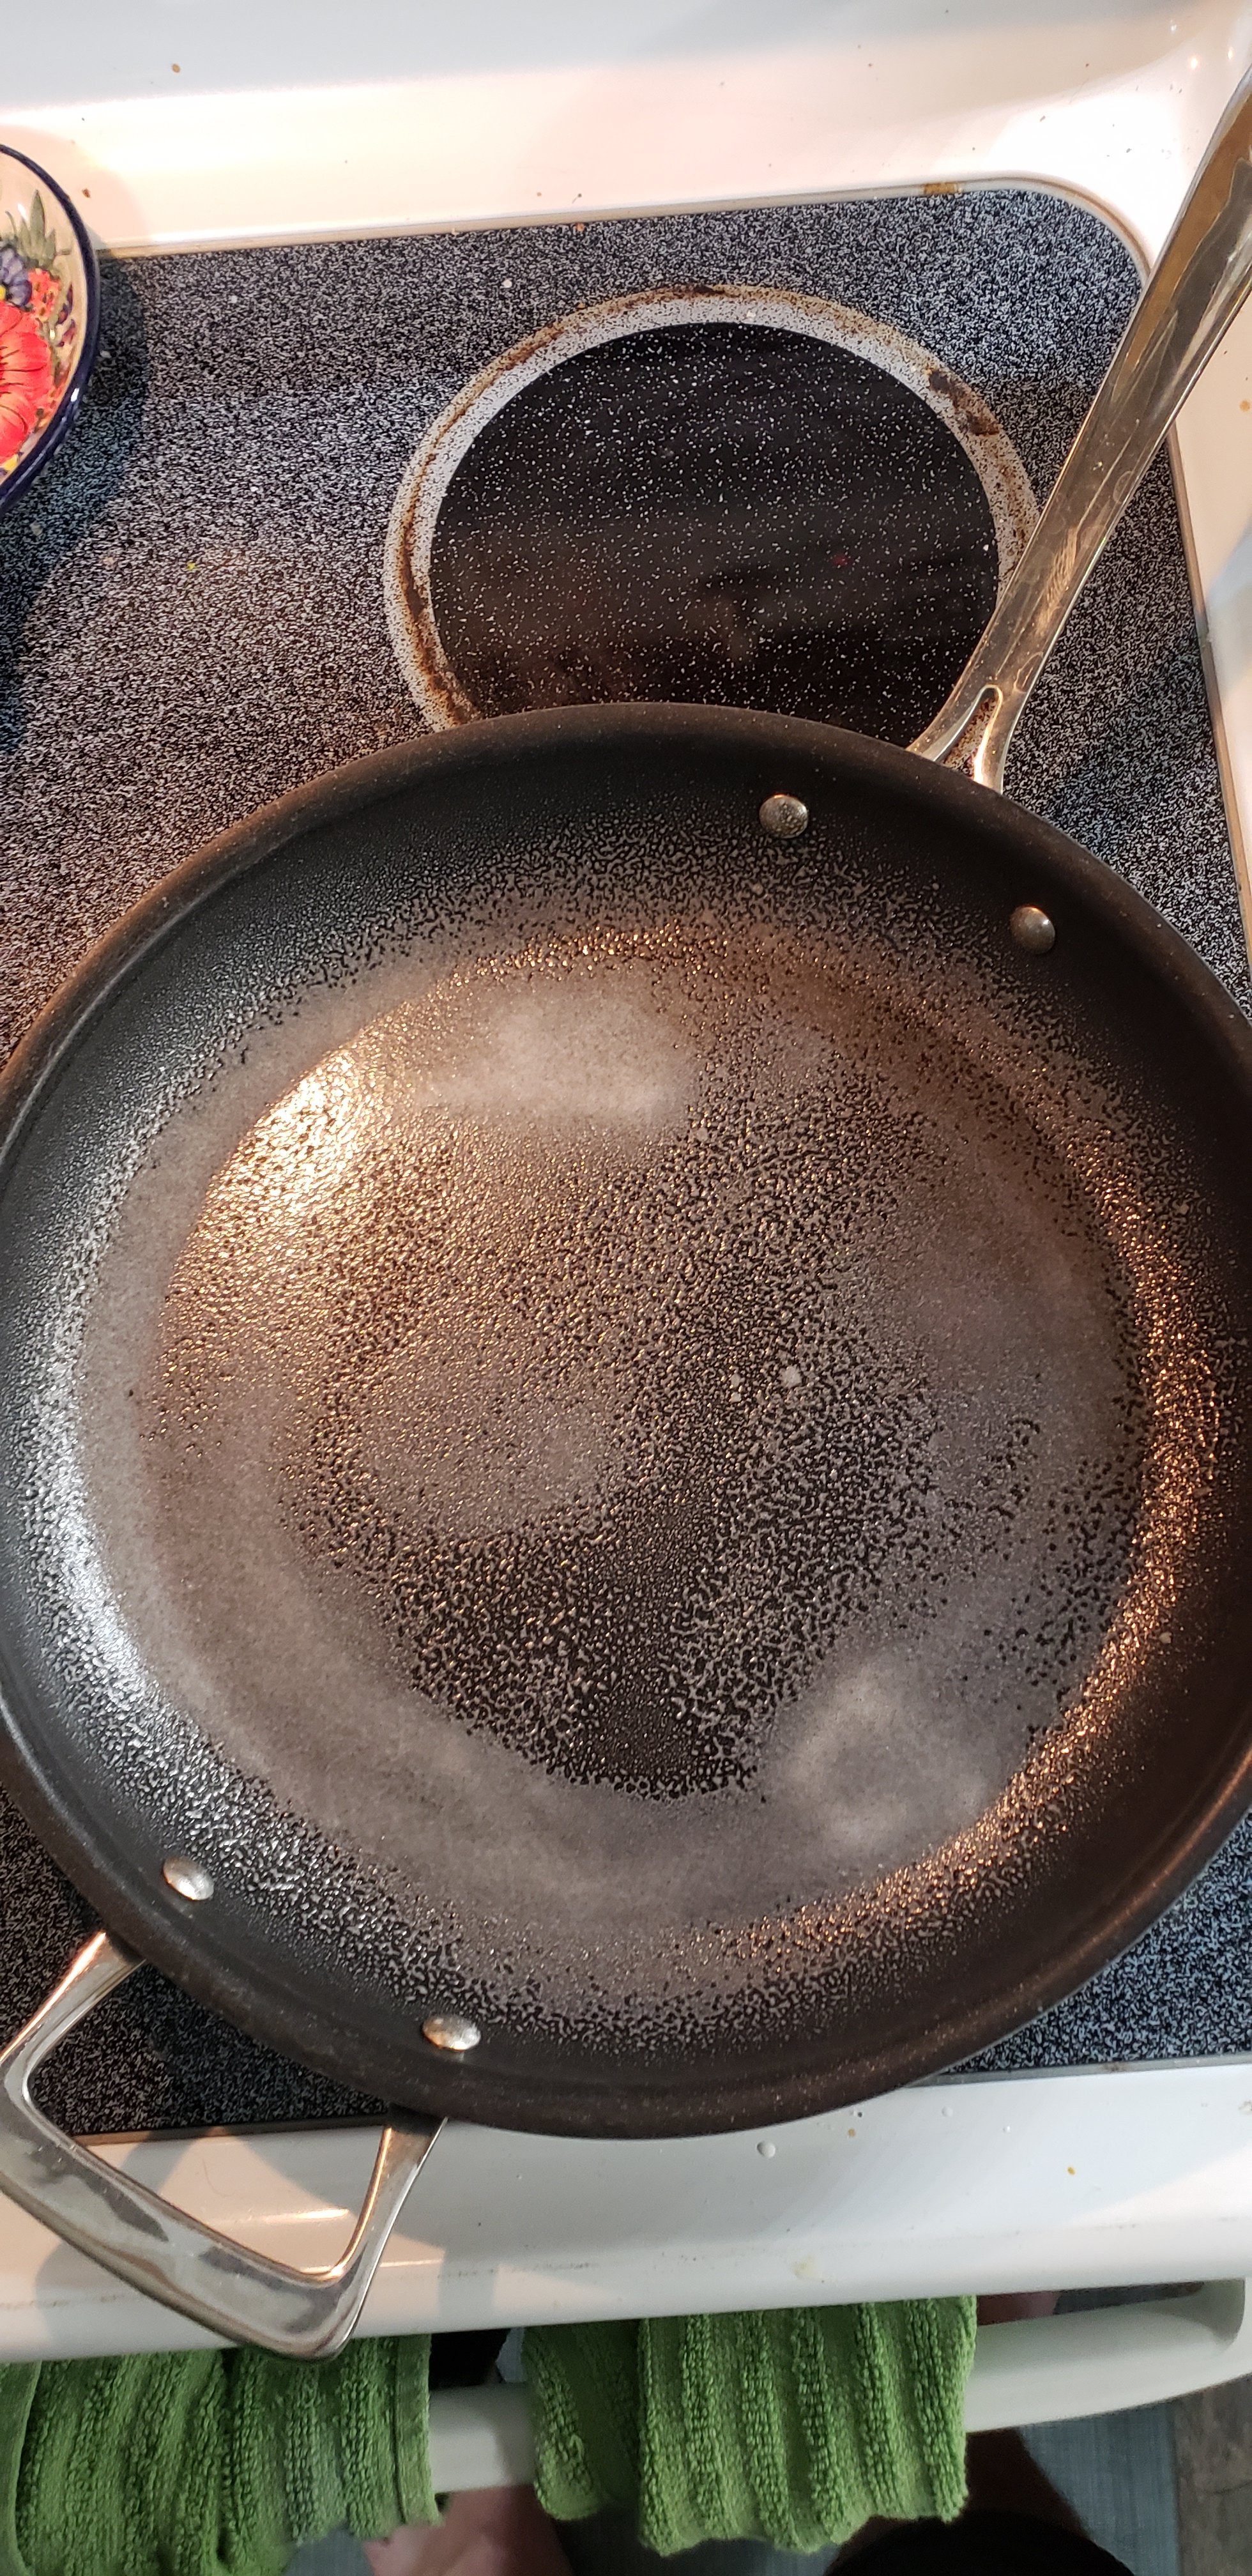
Put your non stick pan on medium high heat and add a generous amount of cooking spray.

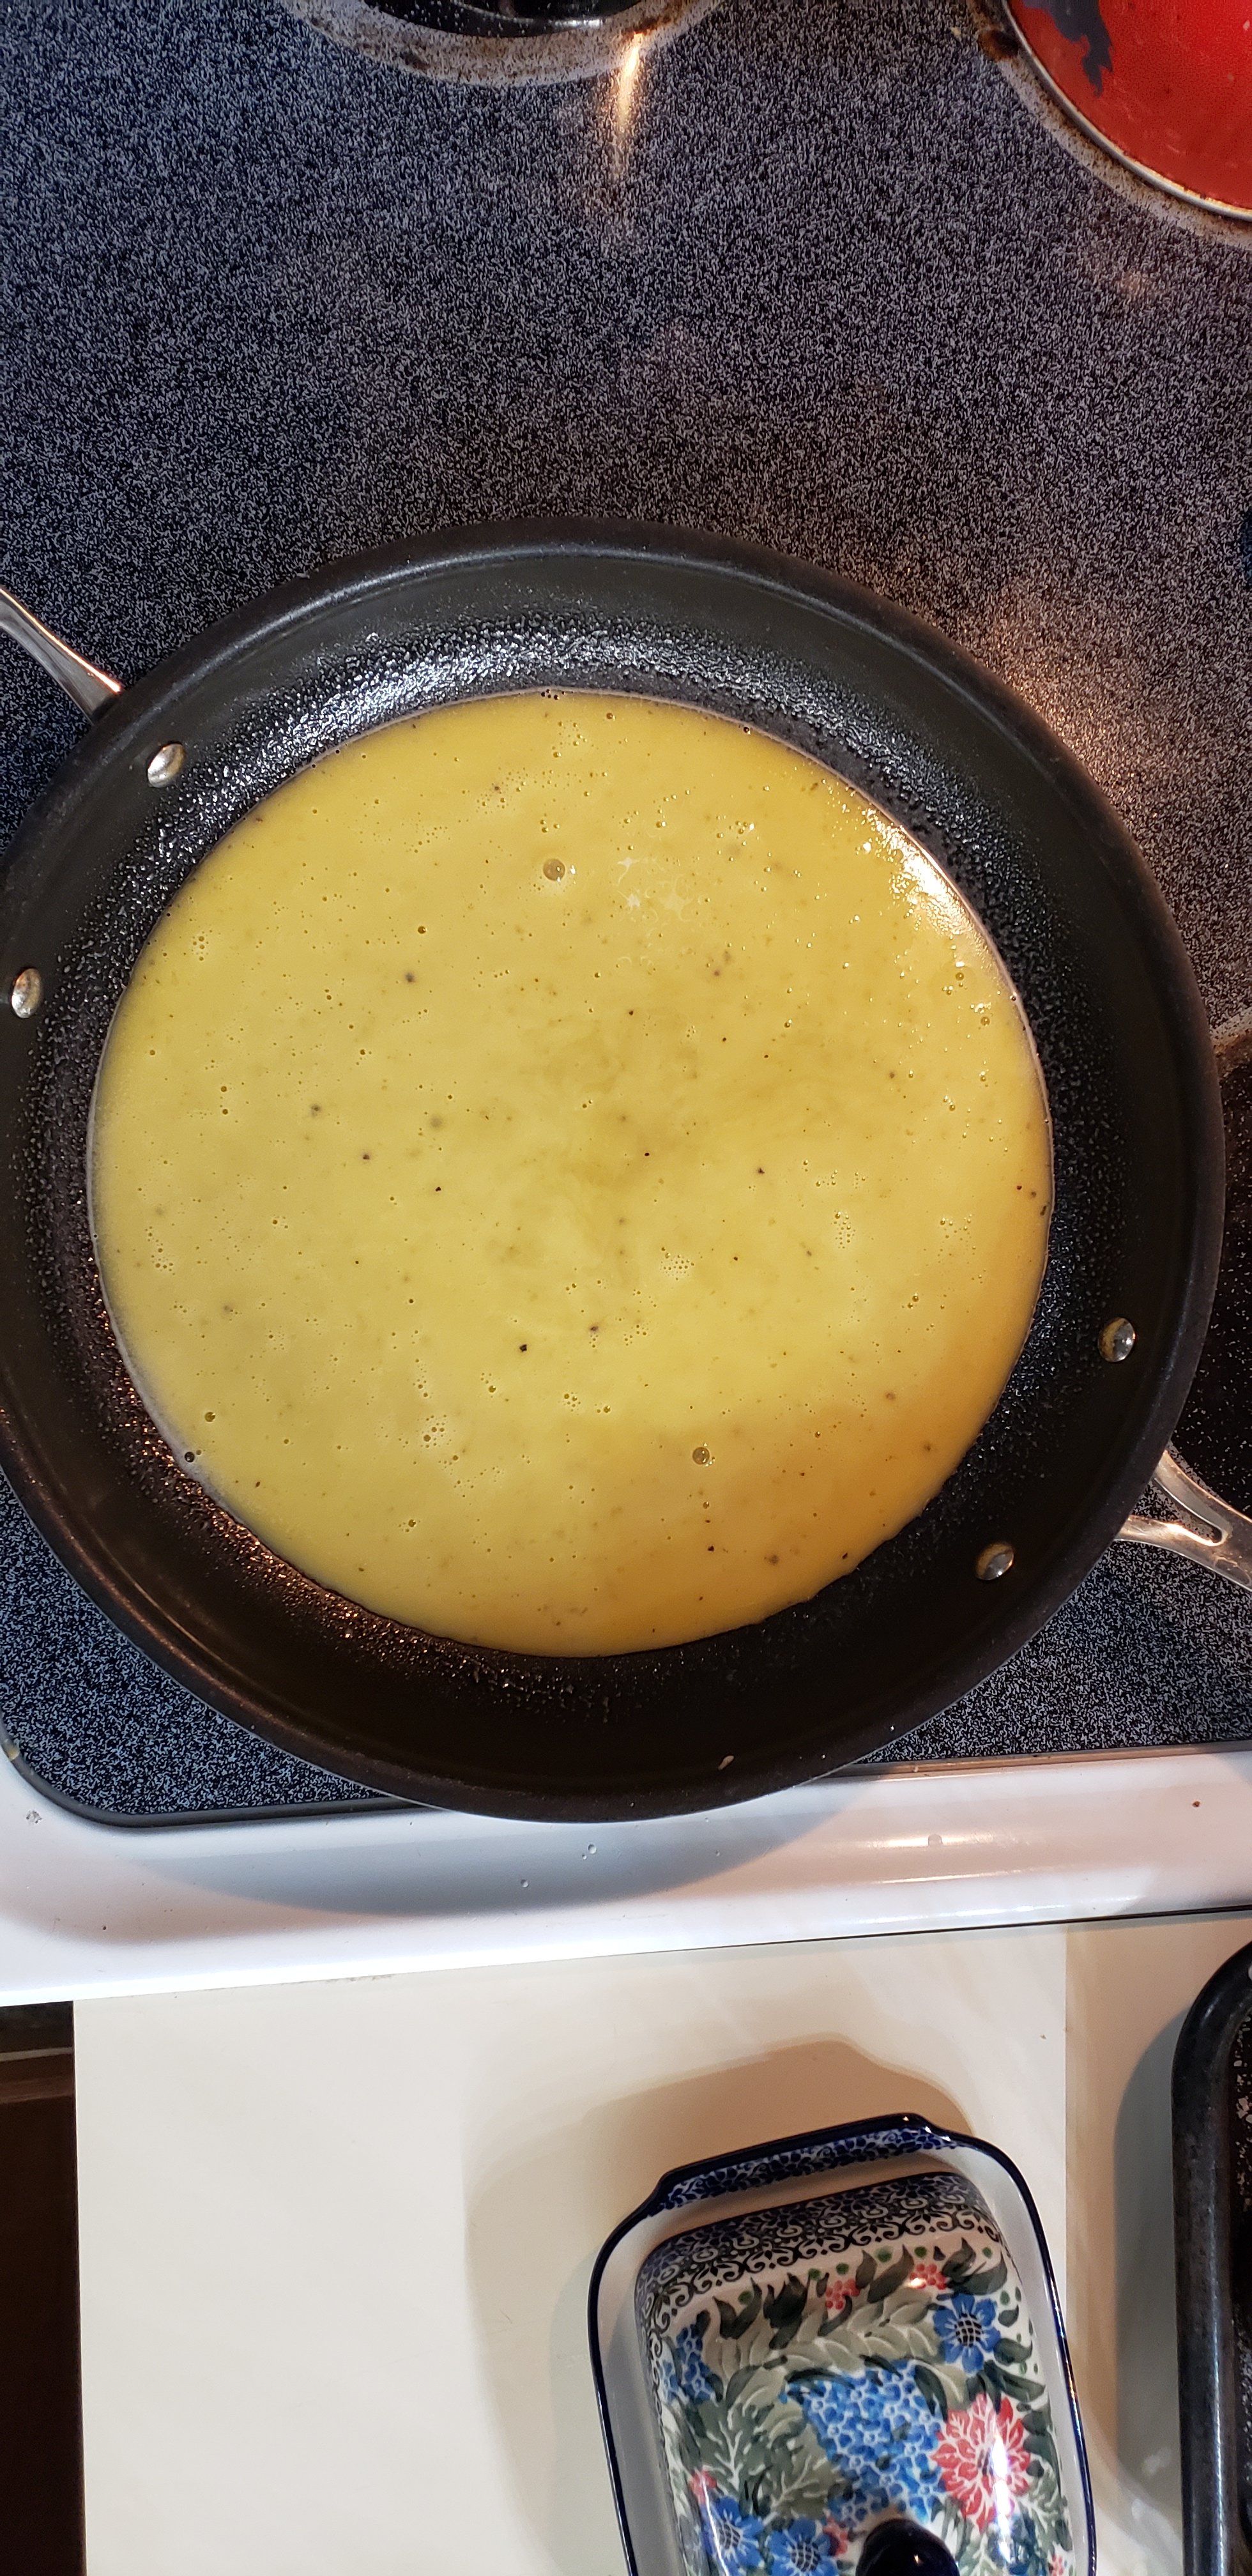
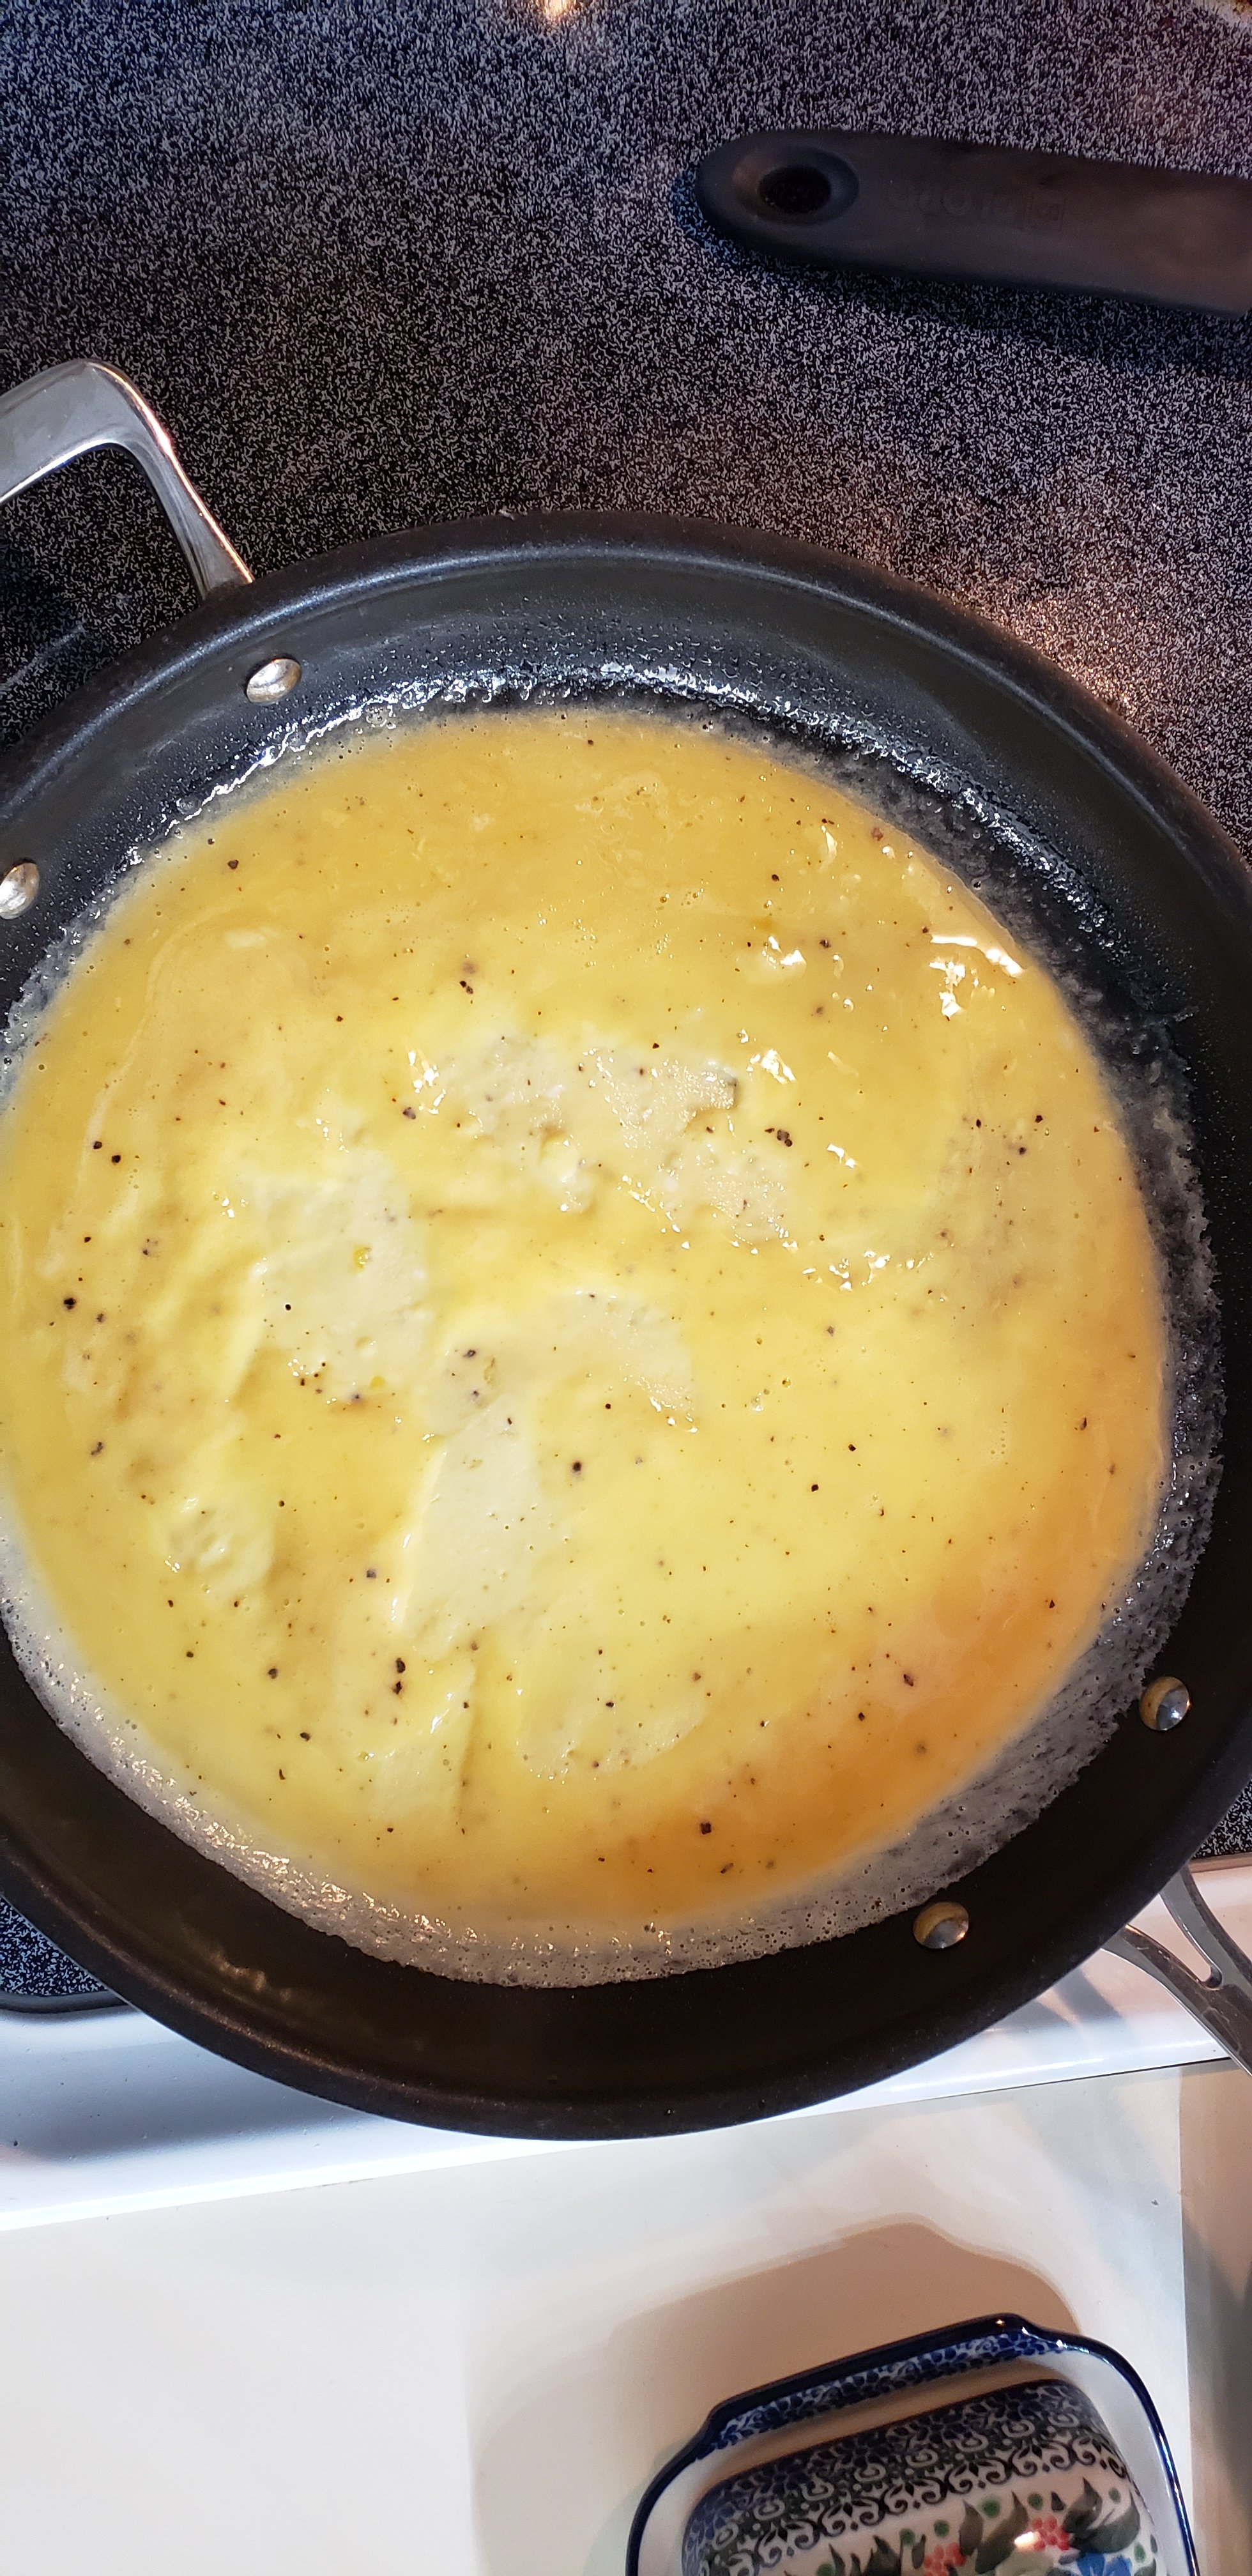
Add your eggs in a thin layer and spread across the whole pan.

As the eggs cook you can start to spread the mixture around to help it along.

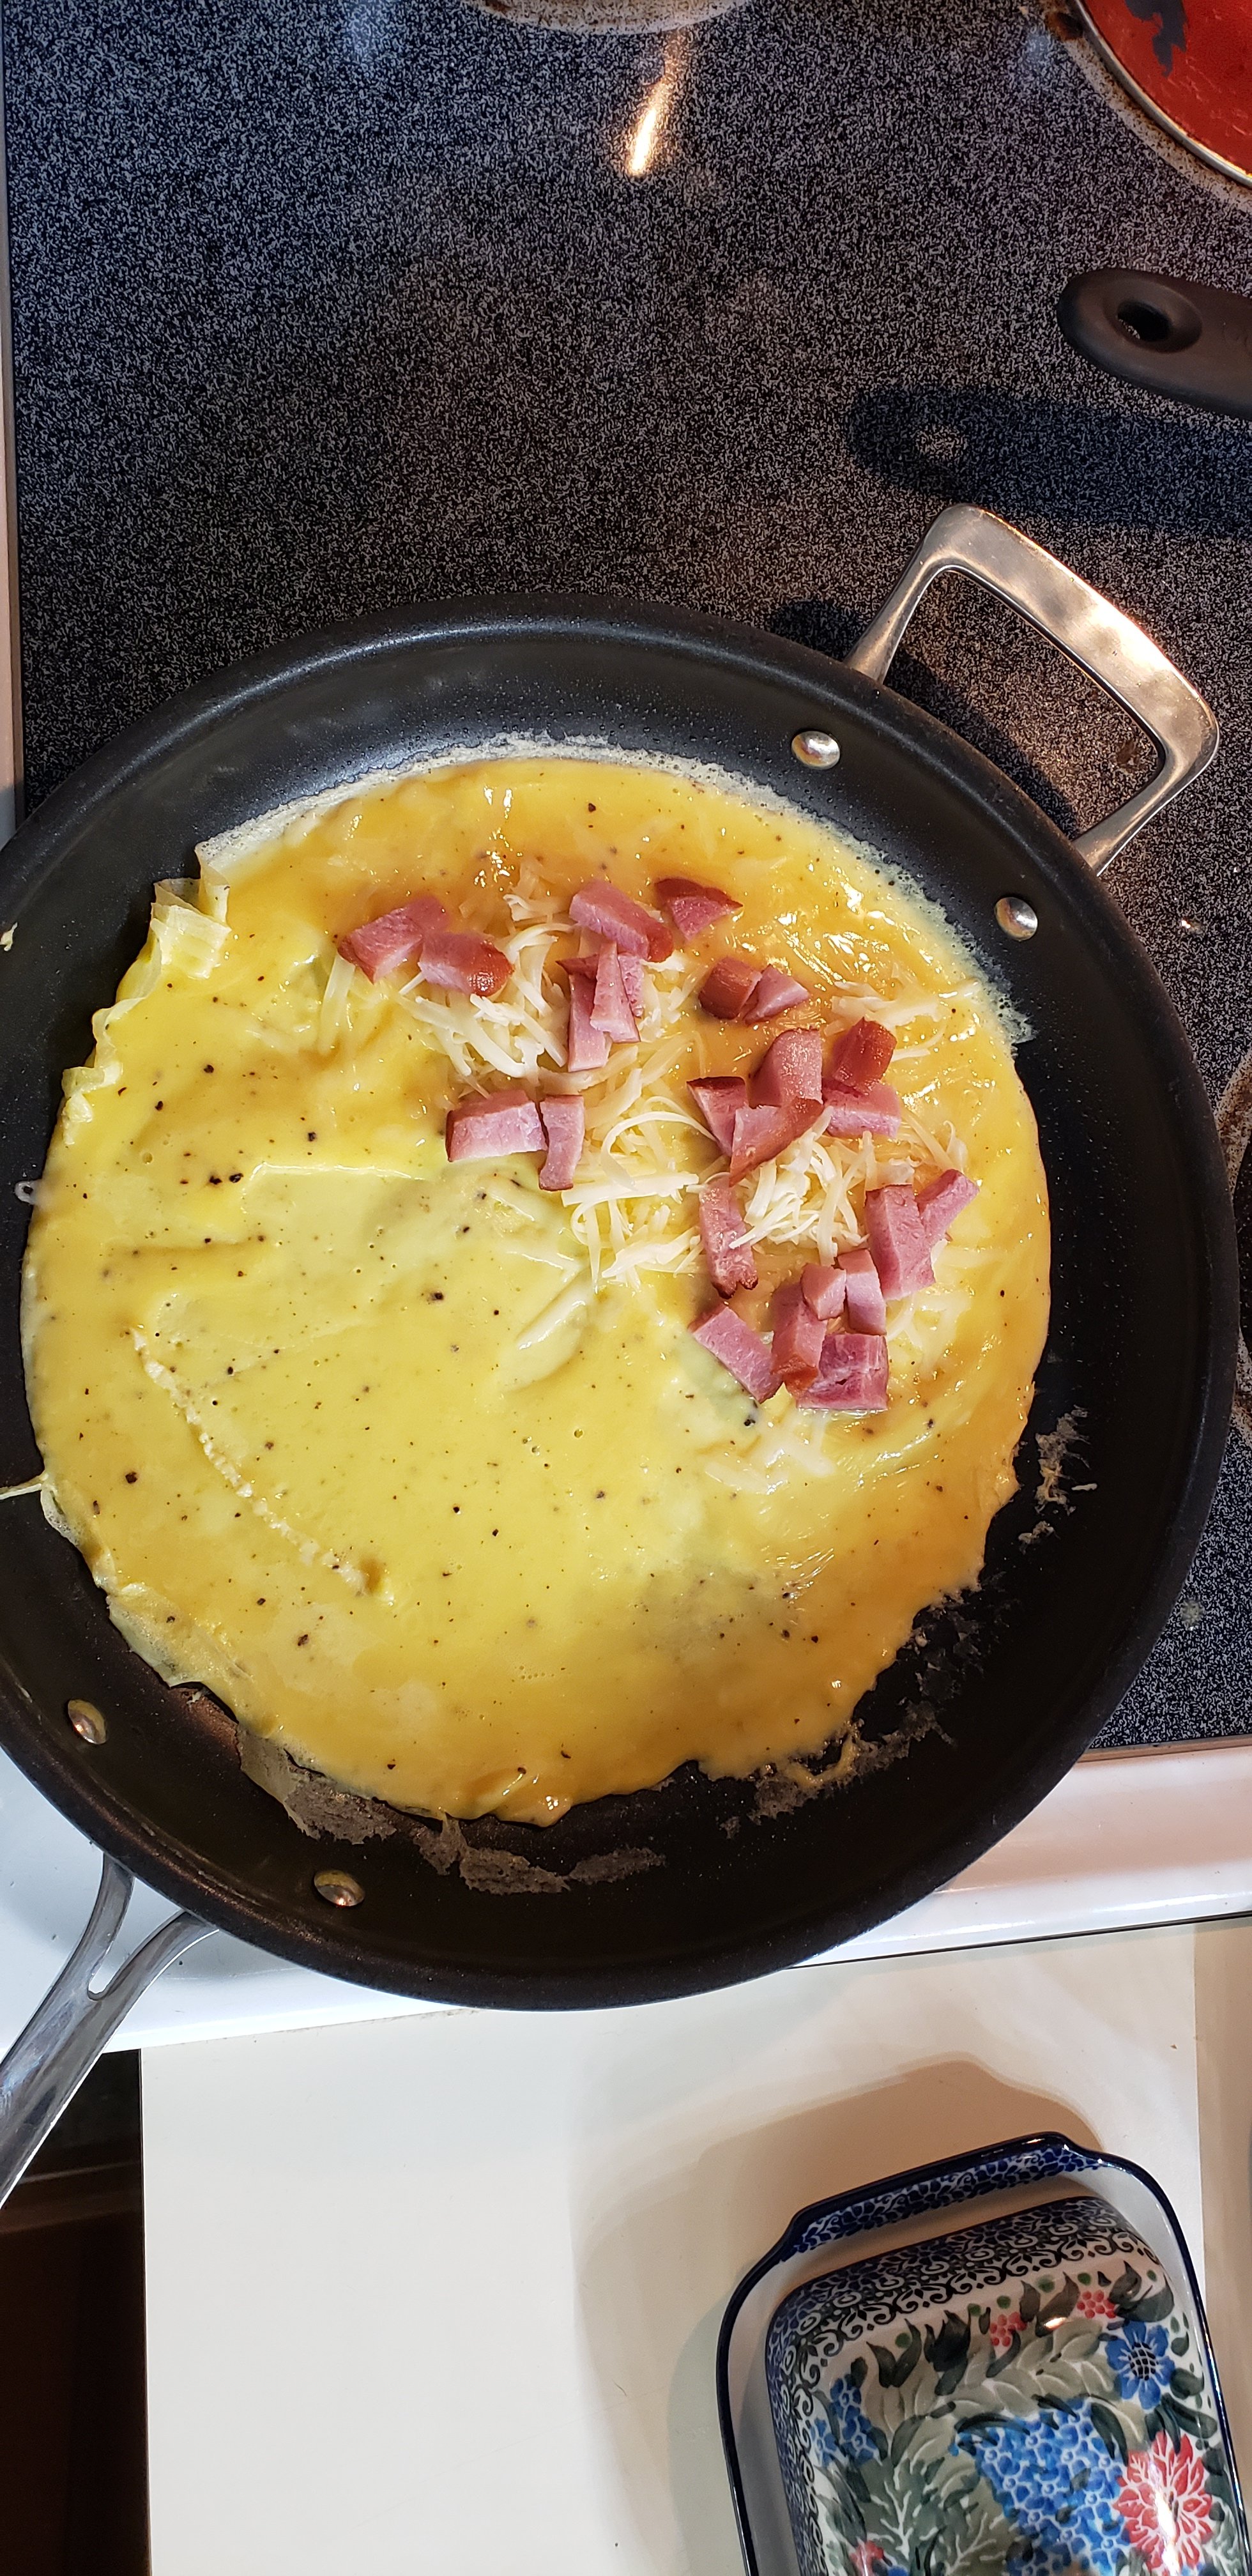
Add your toppings to one half of the omelette and let cook for another minute.

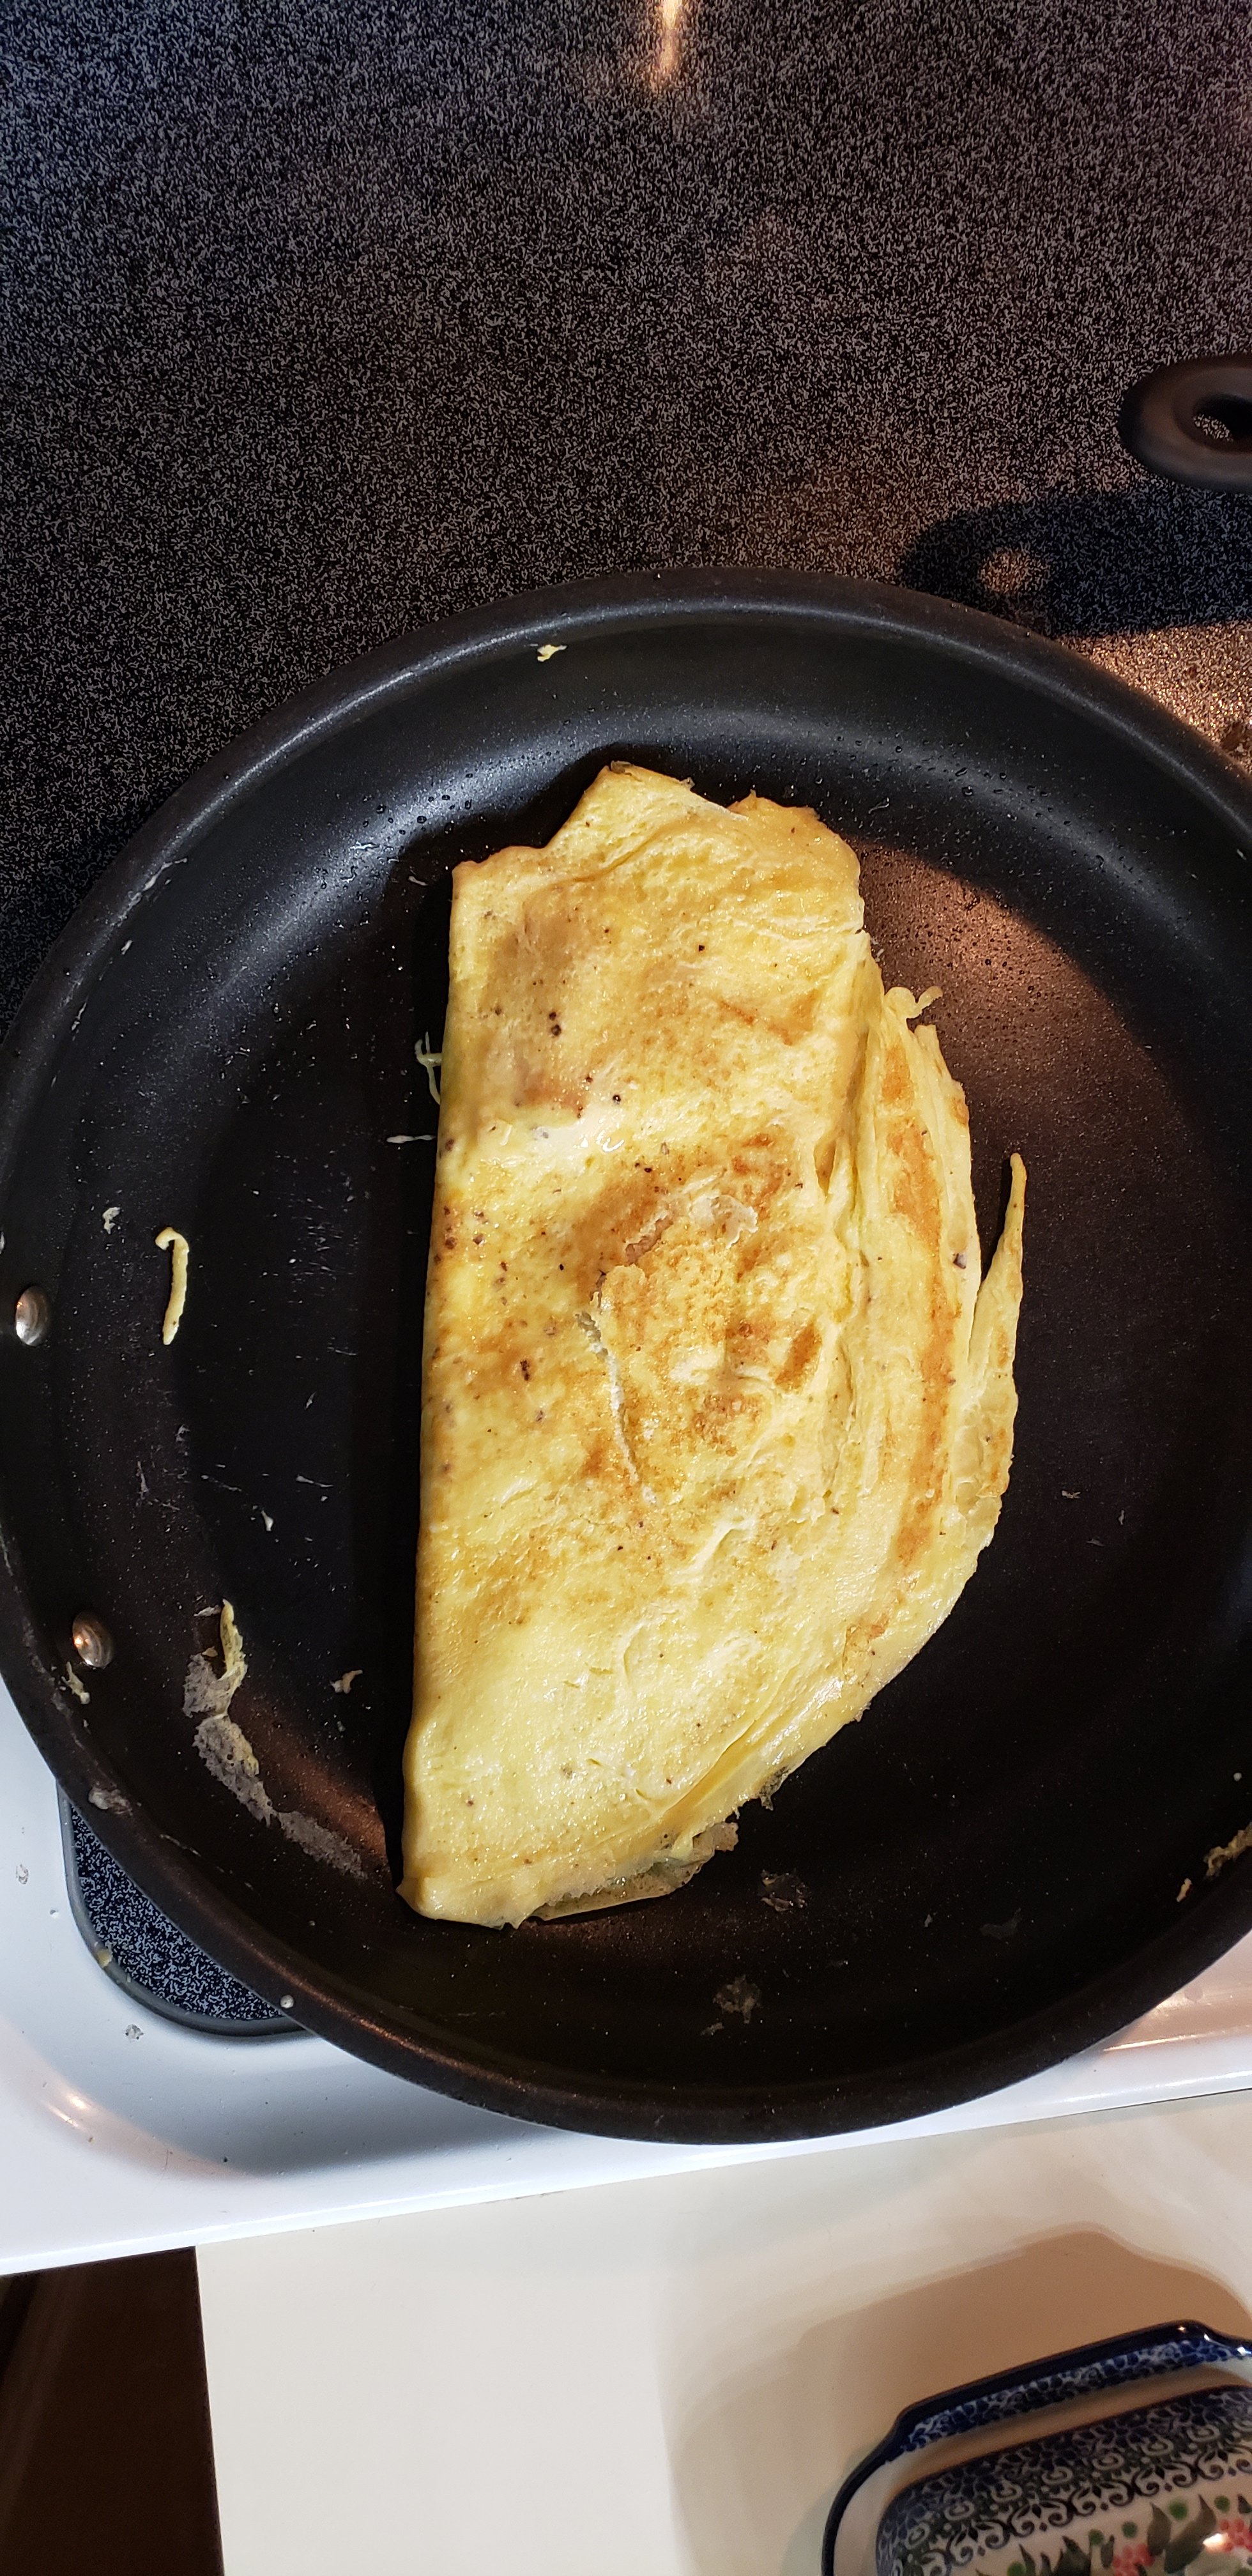
Flip over one side of the omelette.

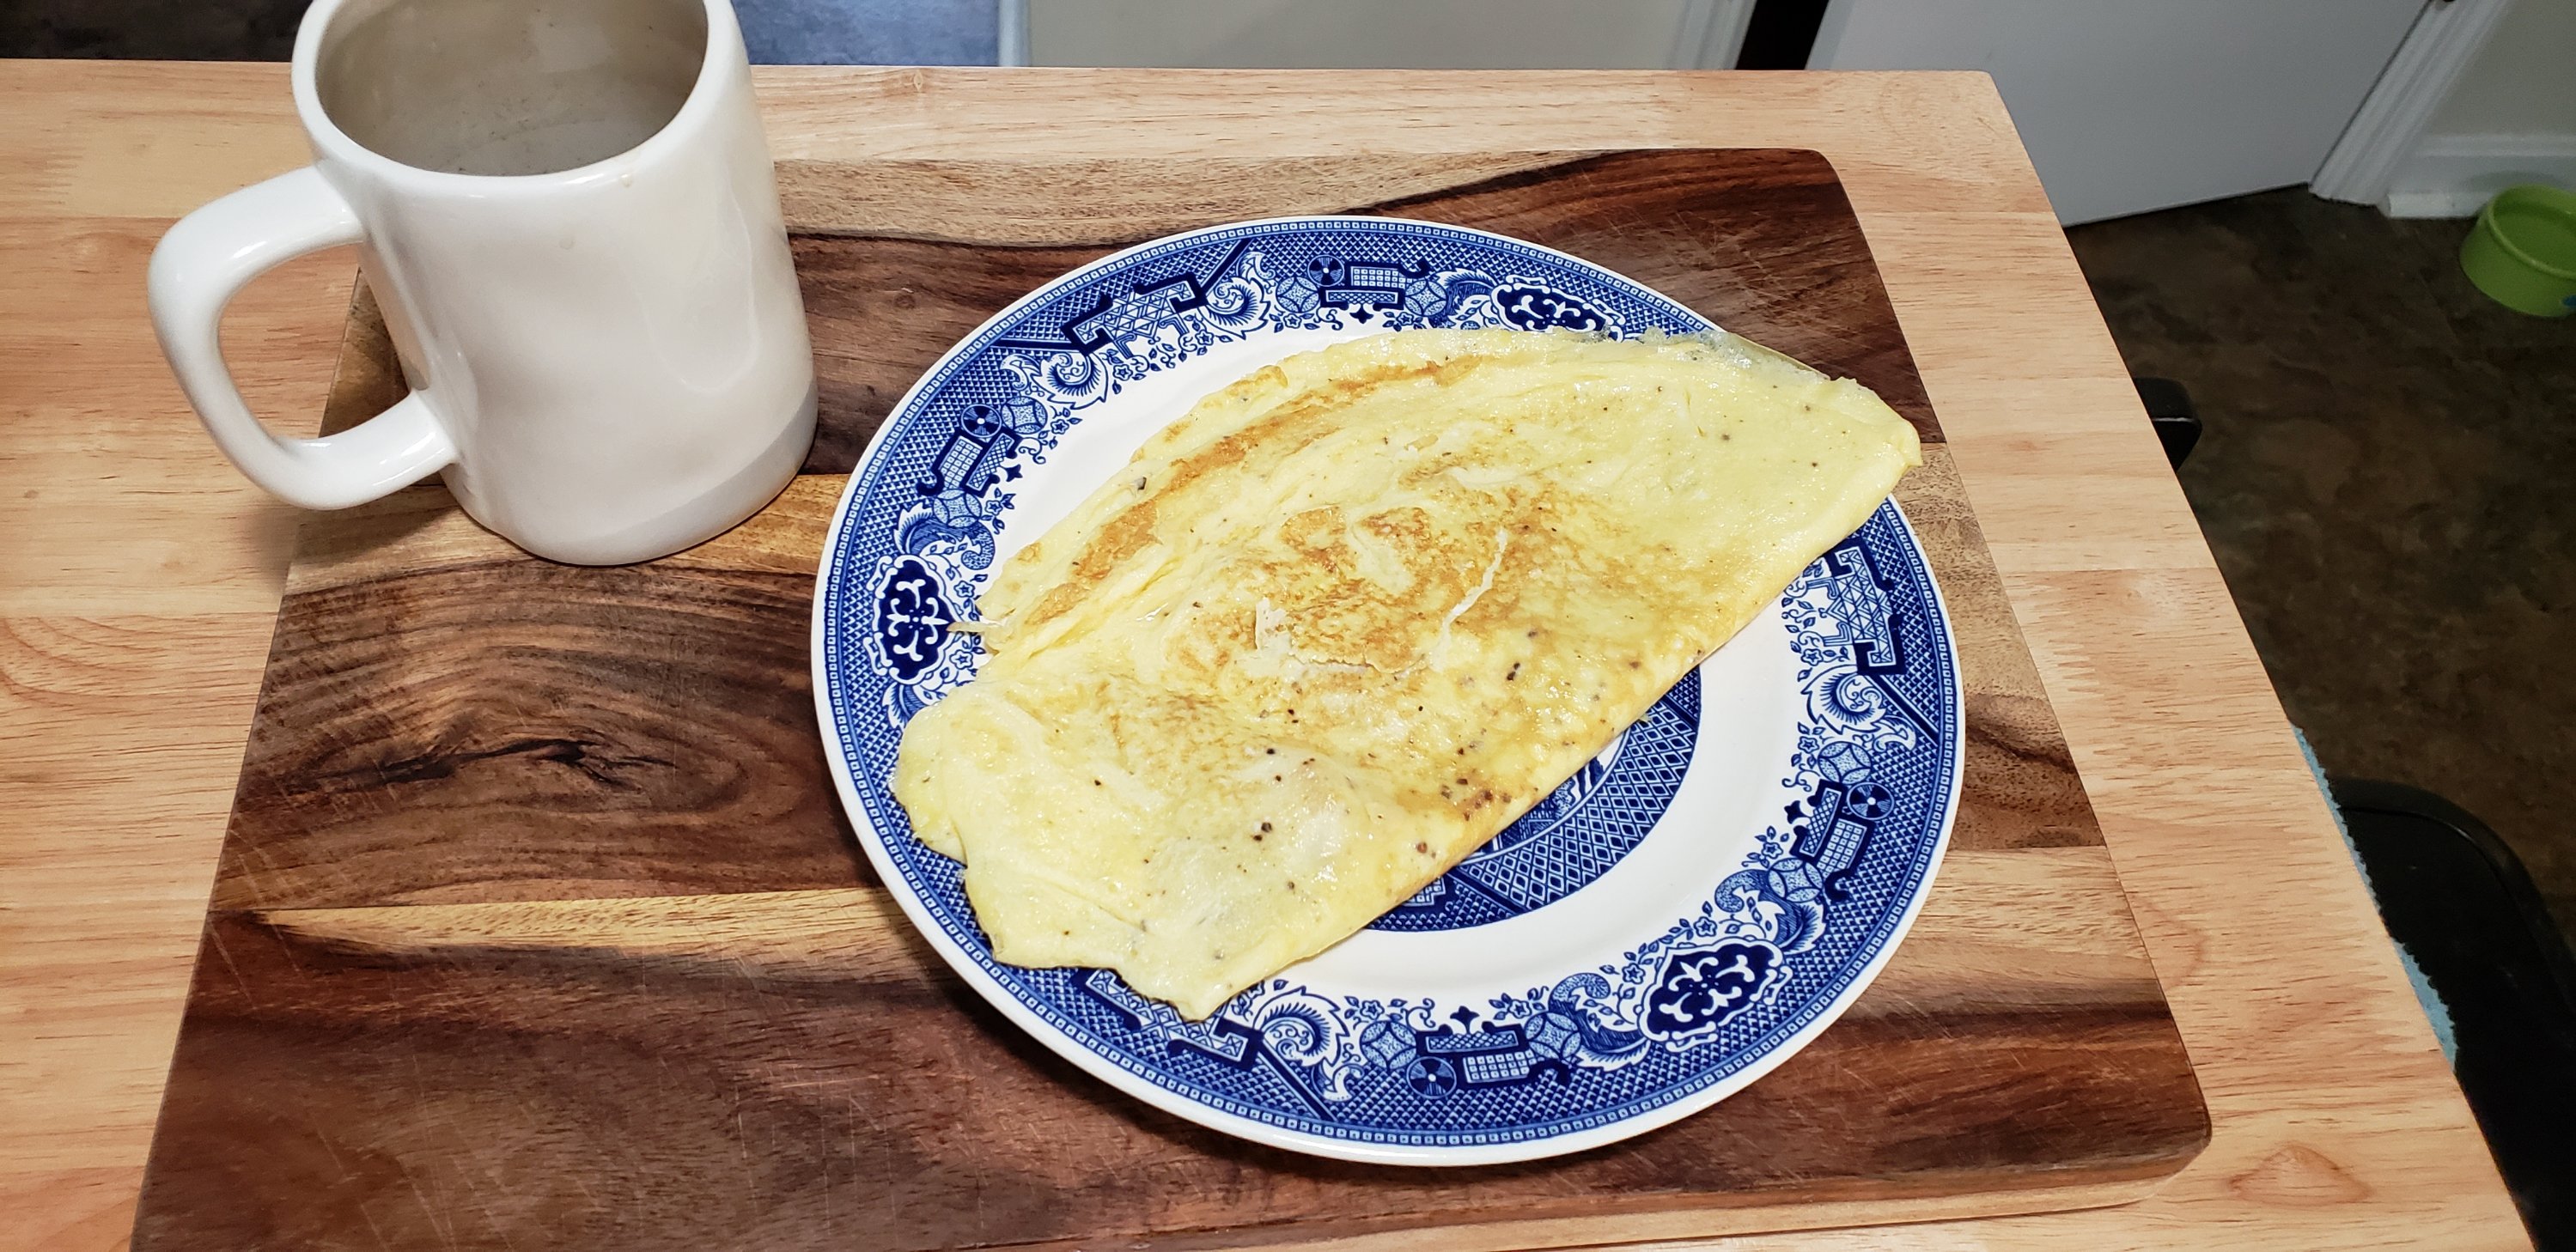
Flip the whole omelette again and let cook for about a minute so the cheese melts. Then transfer to a plate and enjoy!

Let me know what fillings you try out!

Frosted Sugar Cookie Bars (Crack Bars)

I love a good bar cookie, and these have shown to be so preferred by others that they have adopted the name “crack bars.” They are dense, rich, moist, and as satisfying as a pretty cut-out sugar cookie with half the work. I use my favorite frosting here, made with a high ratio of butter to sugar plus heavy cream for that signature whipped creaminess. Decorate however you like and enjoy cookie bliss. 

Frosted Sugar Cookie Bars

Makes 48 squares

For the cookies:

2 cups sugar

1 cup butter

3 eggs

6 tablespoons milk, any percentage will due

2 teaspoons vanilla

5 cups all-purpose flour

1/2 teaspoon salt

3 teaspoons baking powder

For the frosting:

1 cup (2 sticks) butter, at room temperature

2 1/2 cups powdered sugar, sifted if lumpy

Pinch of kosher salt

1 teaspoon vanilla extract, plus more to taste

2-3 tablespoons heavy cream

Food color, sprinkles, etc. for decorating 

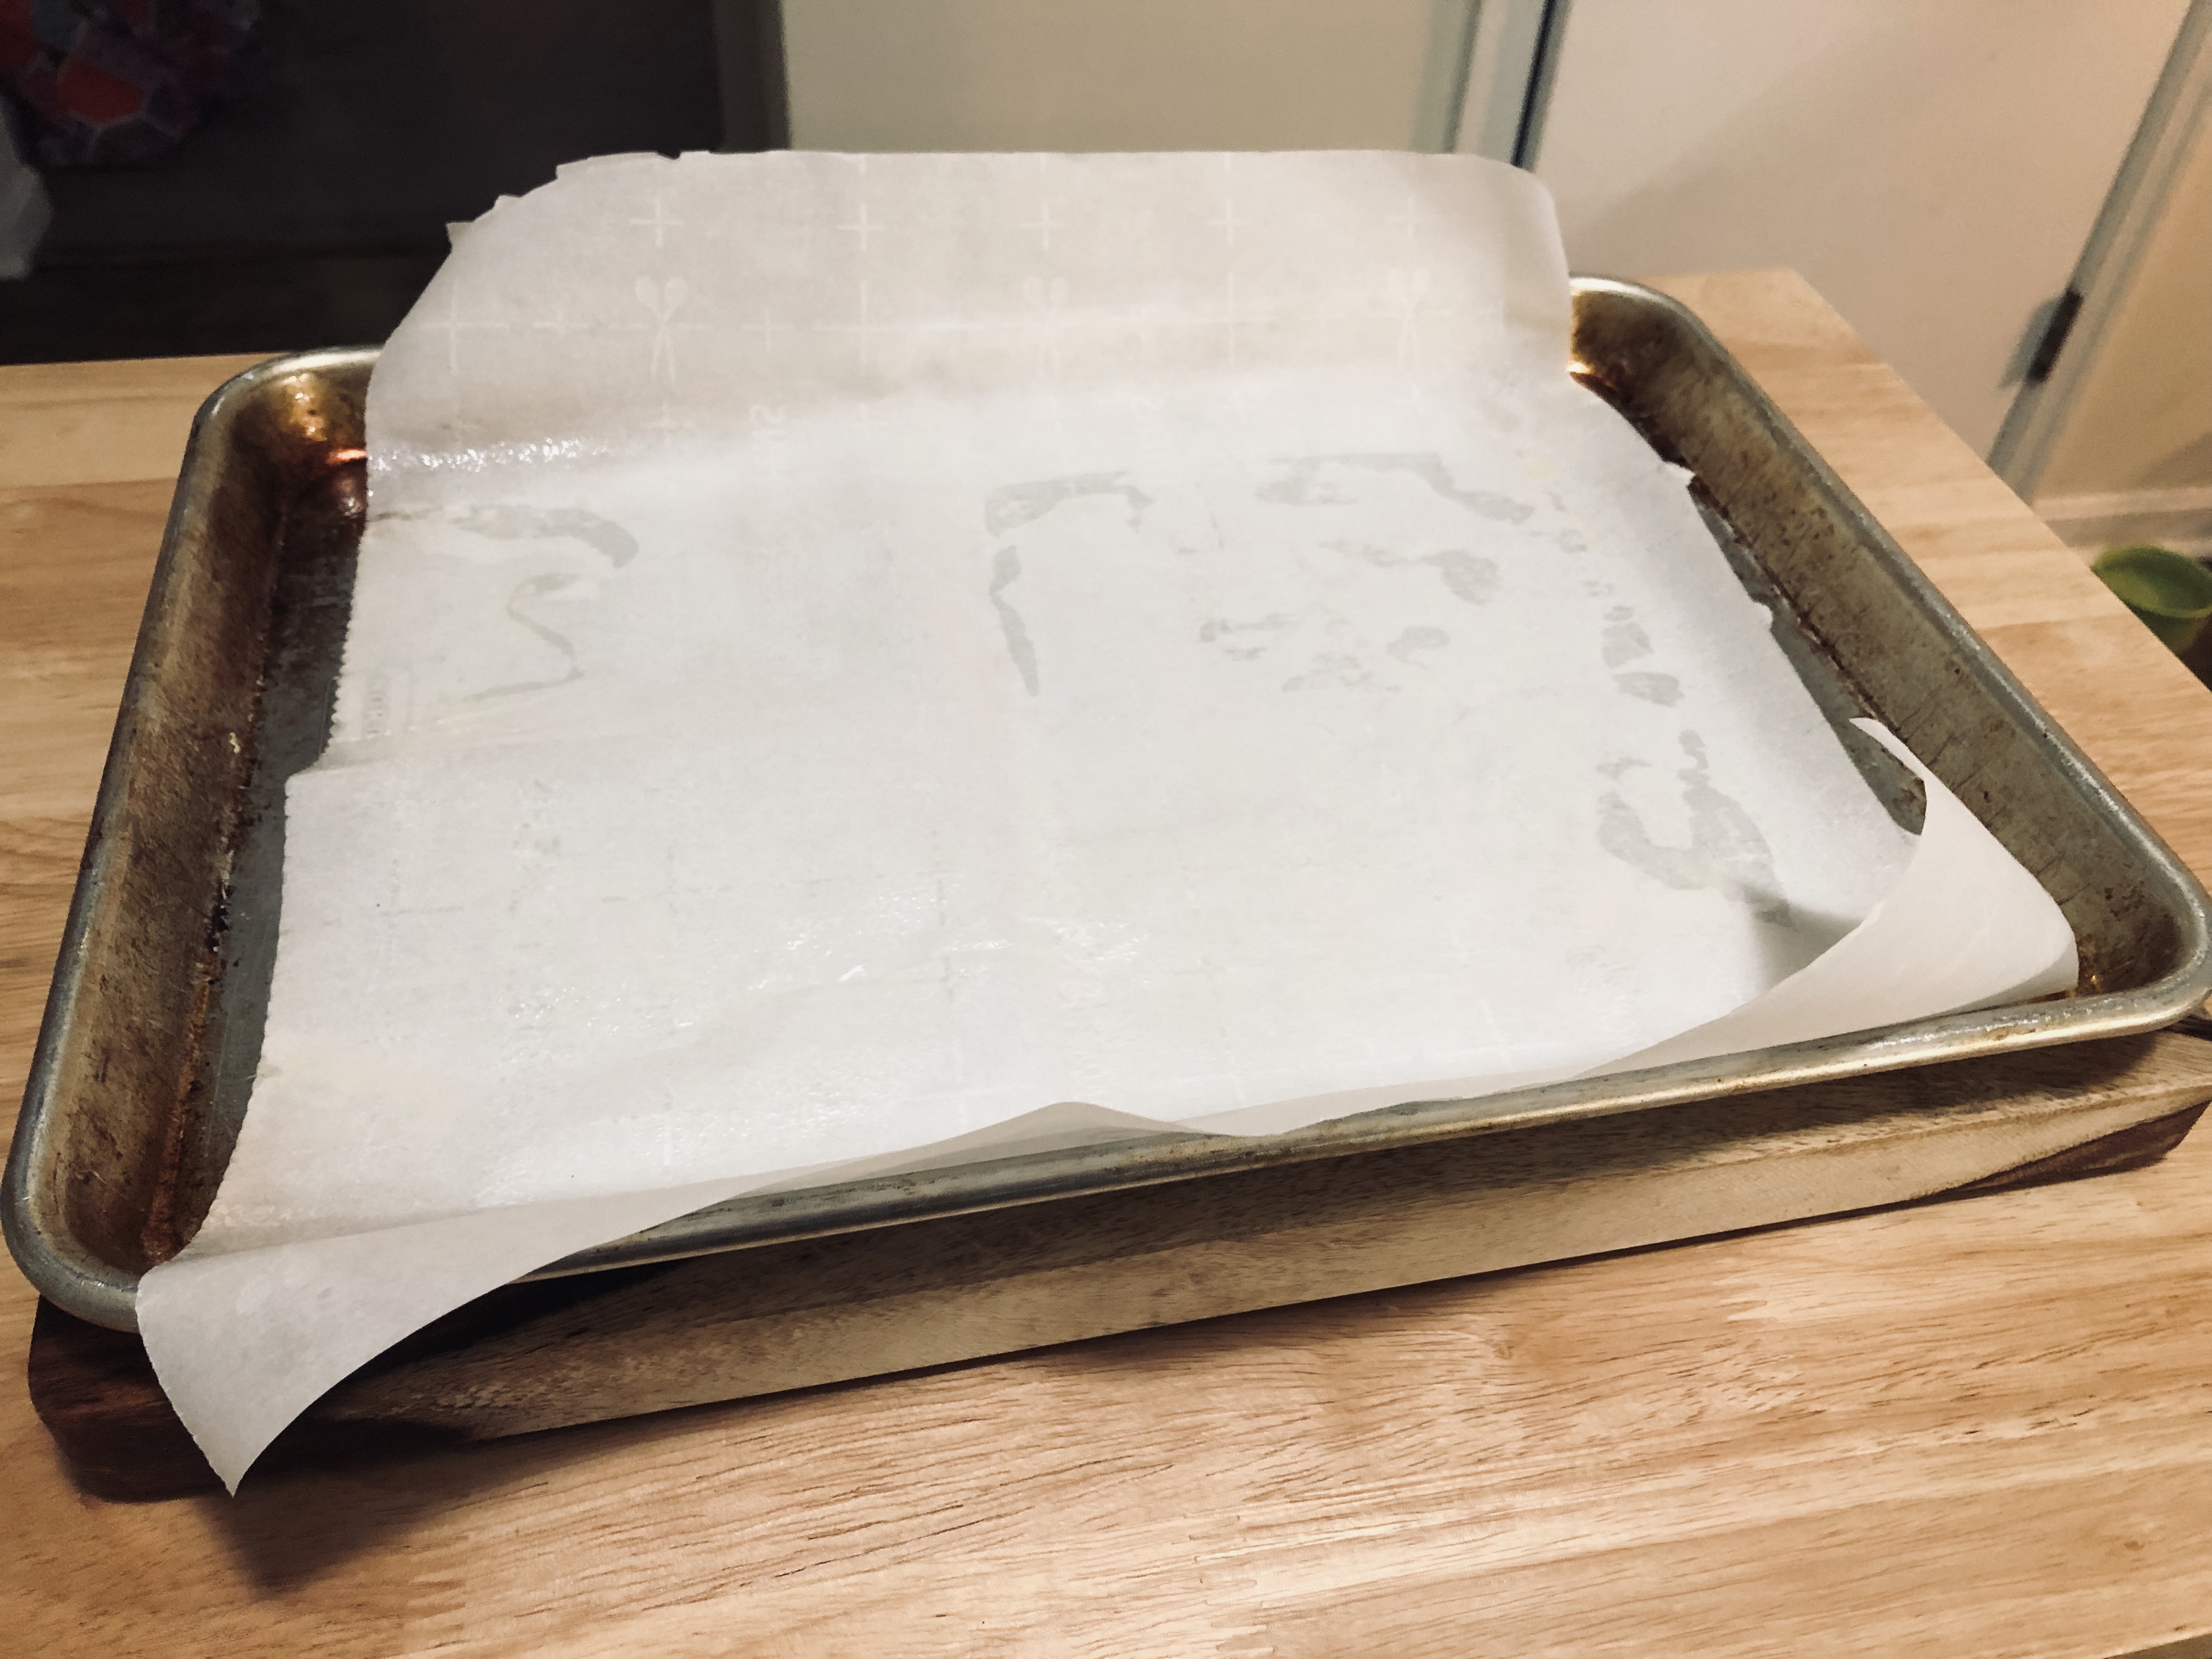
Make the cookie bars. Preheat the oven to 350 degrees. Prepare an aluminum 15” x 10” jelly roll pan by spraying it with nonstick spray, lining it with a sheet of parchment paper that hangs over the sides (for easy transfer), and spraying one more time on the parchment. Make sure to spray the sides well that aren’t covered with parchment. 

A note about the baking pan: If you don’t have a jelly roll pan, you can use something else with the same measurements, i.e. a metal or glass dish with at least a one-inch high side. You can use a pan or dish that has similar (though not the exact) measurements, but be mindful that a different sized pan can result in thicker or thinner bars and different baking times. 

In a large bowl, whisk together flour, salt, and baking powder. Set aside. 

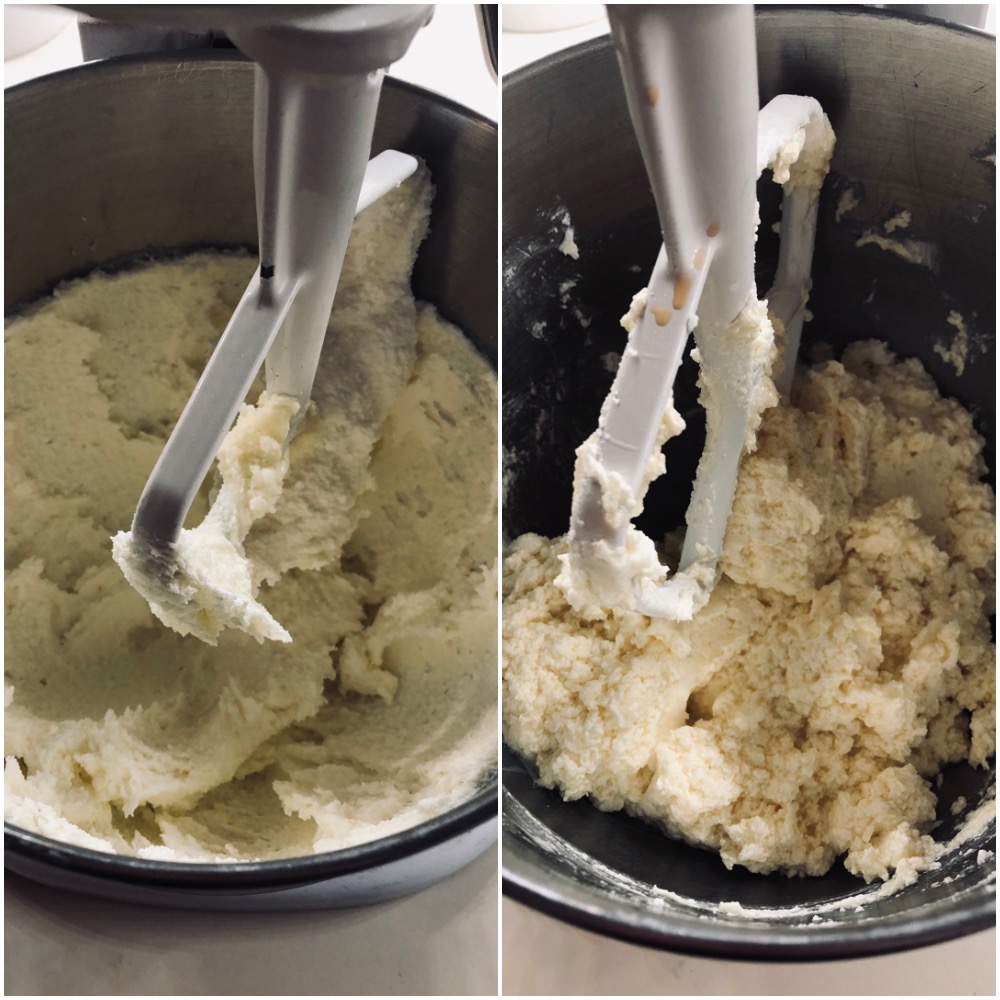
With a stand or hand mixer, cream the butter and sugar together for 3-5 minutes on high speed until light in color and fluffy. Scrape down the sides of the bowl and add the eggs and vanilla. Beat well until combined and fluffy. Beat in the milk until well combined. The mixture might look curdled which is totally okay- it will come together once the dry ingredients are added. 

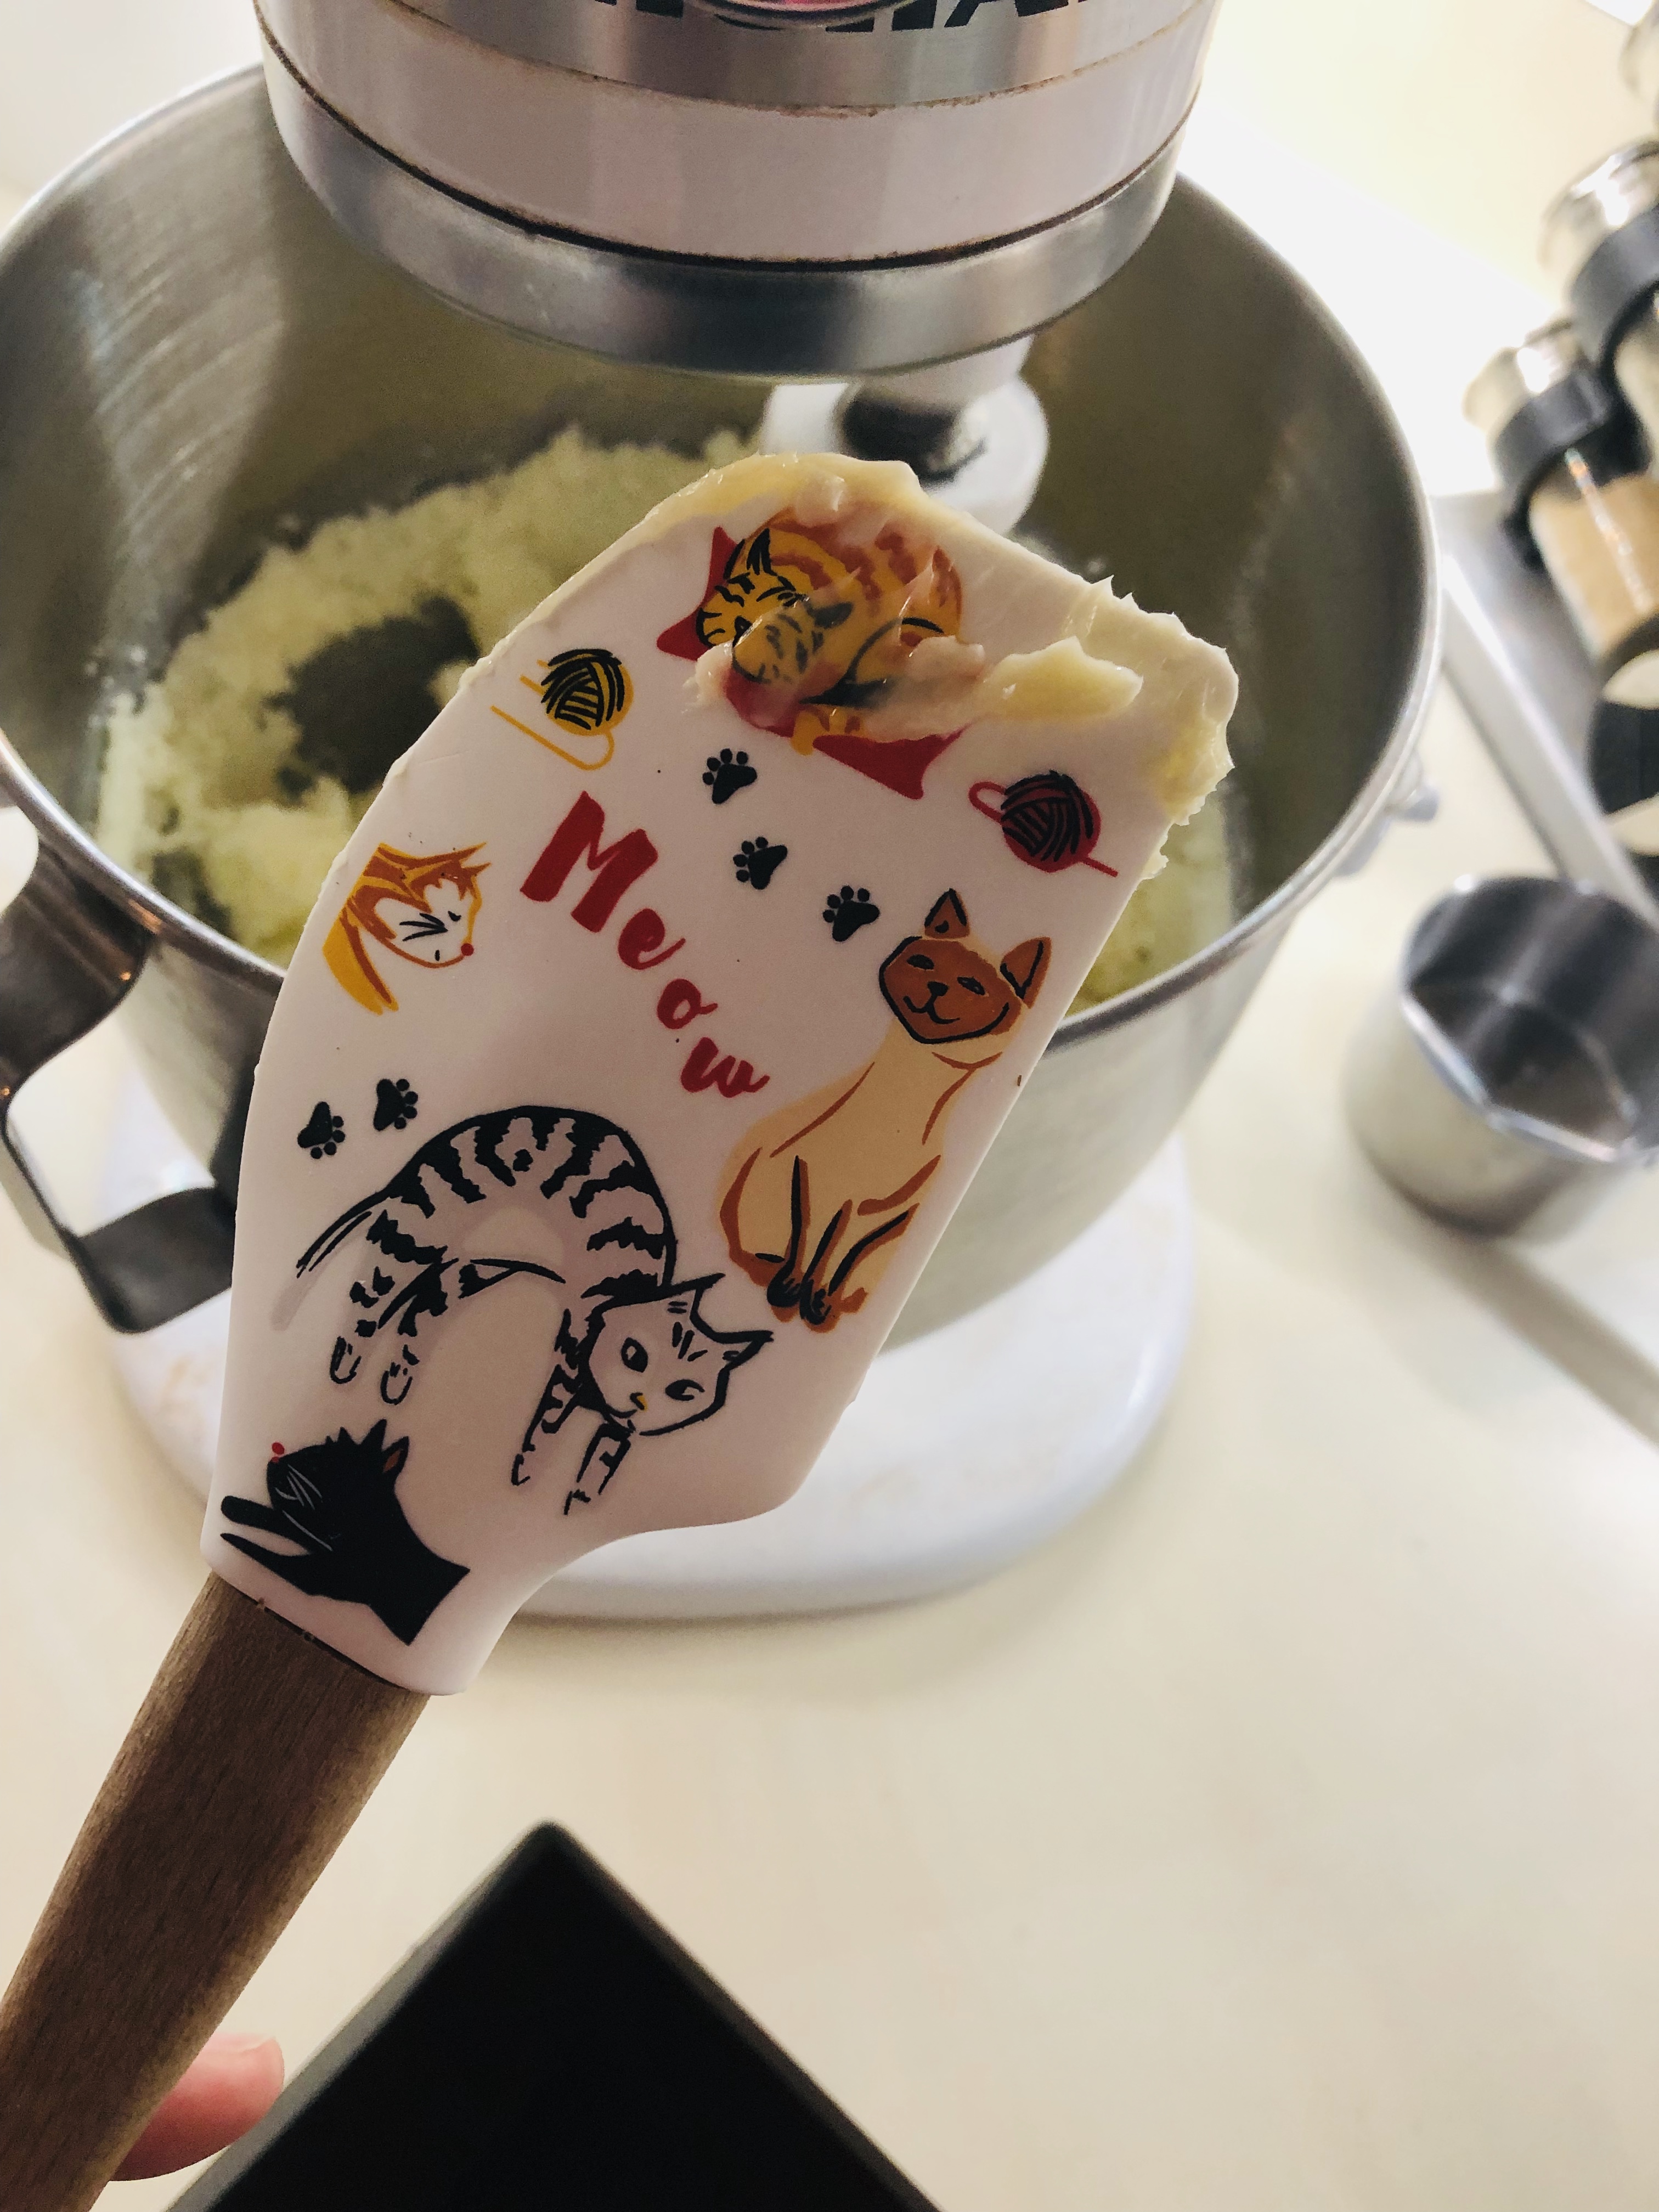
My favorite rubber spatula.

Scrape the sides of the bowl one more time and add all of the flour mixture. There is a lot of it, so pulse your mixer to start to avoid becoming covered in flour. I do this by moving the slider of my KitchenAid back and forth in low bursts to slowly incorporate the flour. Once it looks more combined, you can turn your mixer on low speed and mix the rest of the way, JUST until all the flour is absorbed. Overmixing will make your cookie bars tough. Don’t worry about any bits of flour on the edge of your bowl- you will hand mix those in. 

Give your dough one final mix with a rubber spatula, taking care to scrape the very bottom of the bowl. I often find unmixed butter at the bottom as well as flour on the sides of the bowl, which you can mix the rest of the way by hand. Be gentle and only mix until your dough looks homogenous with no more bits of four or streaks of butter. 

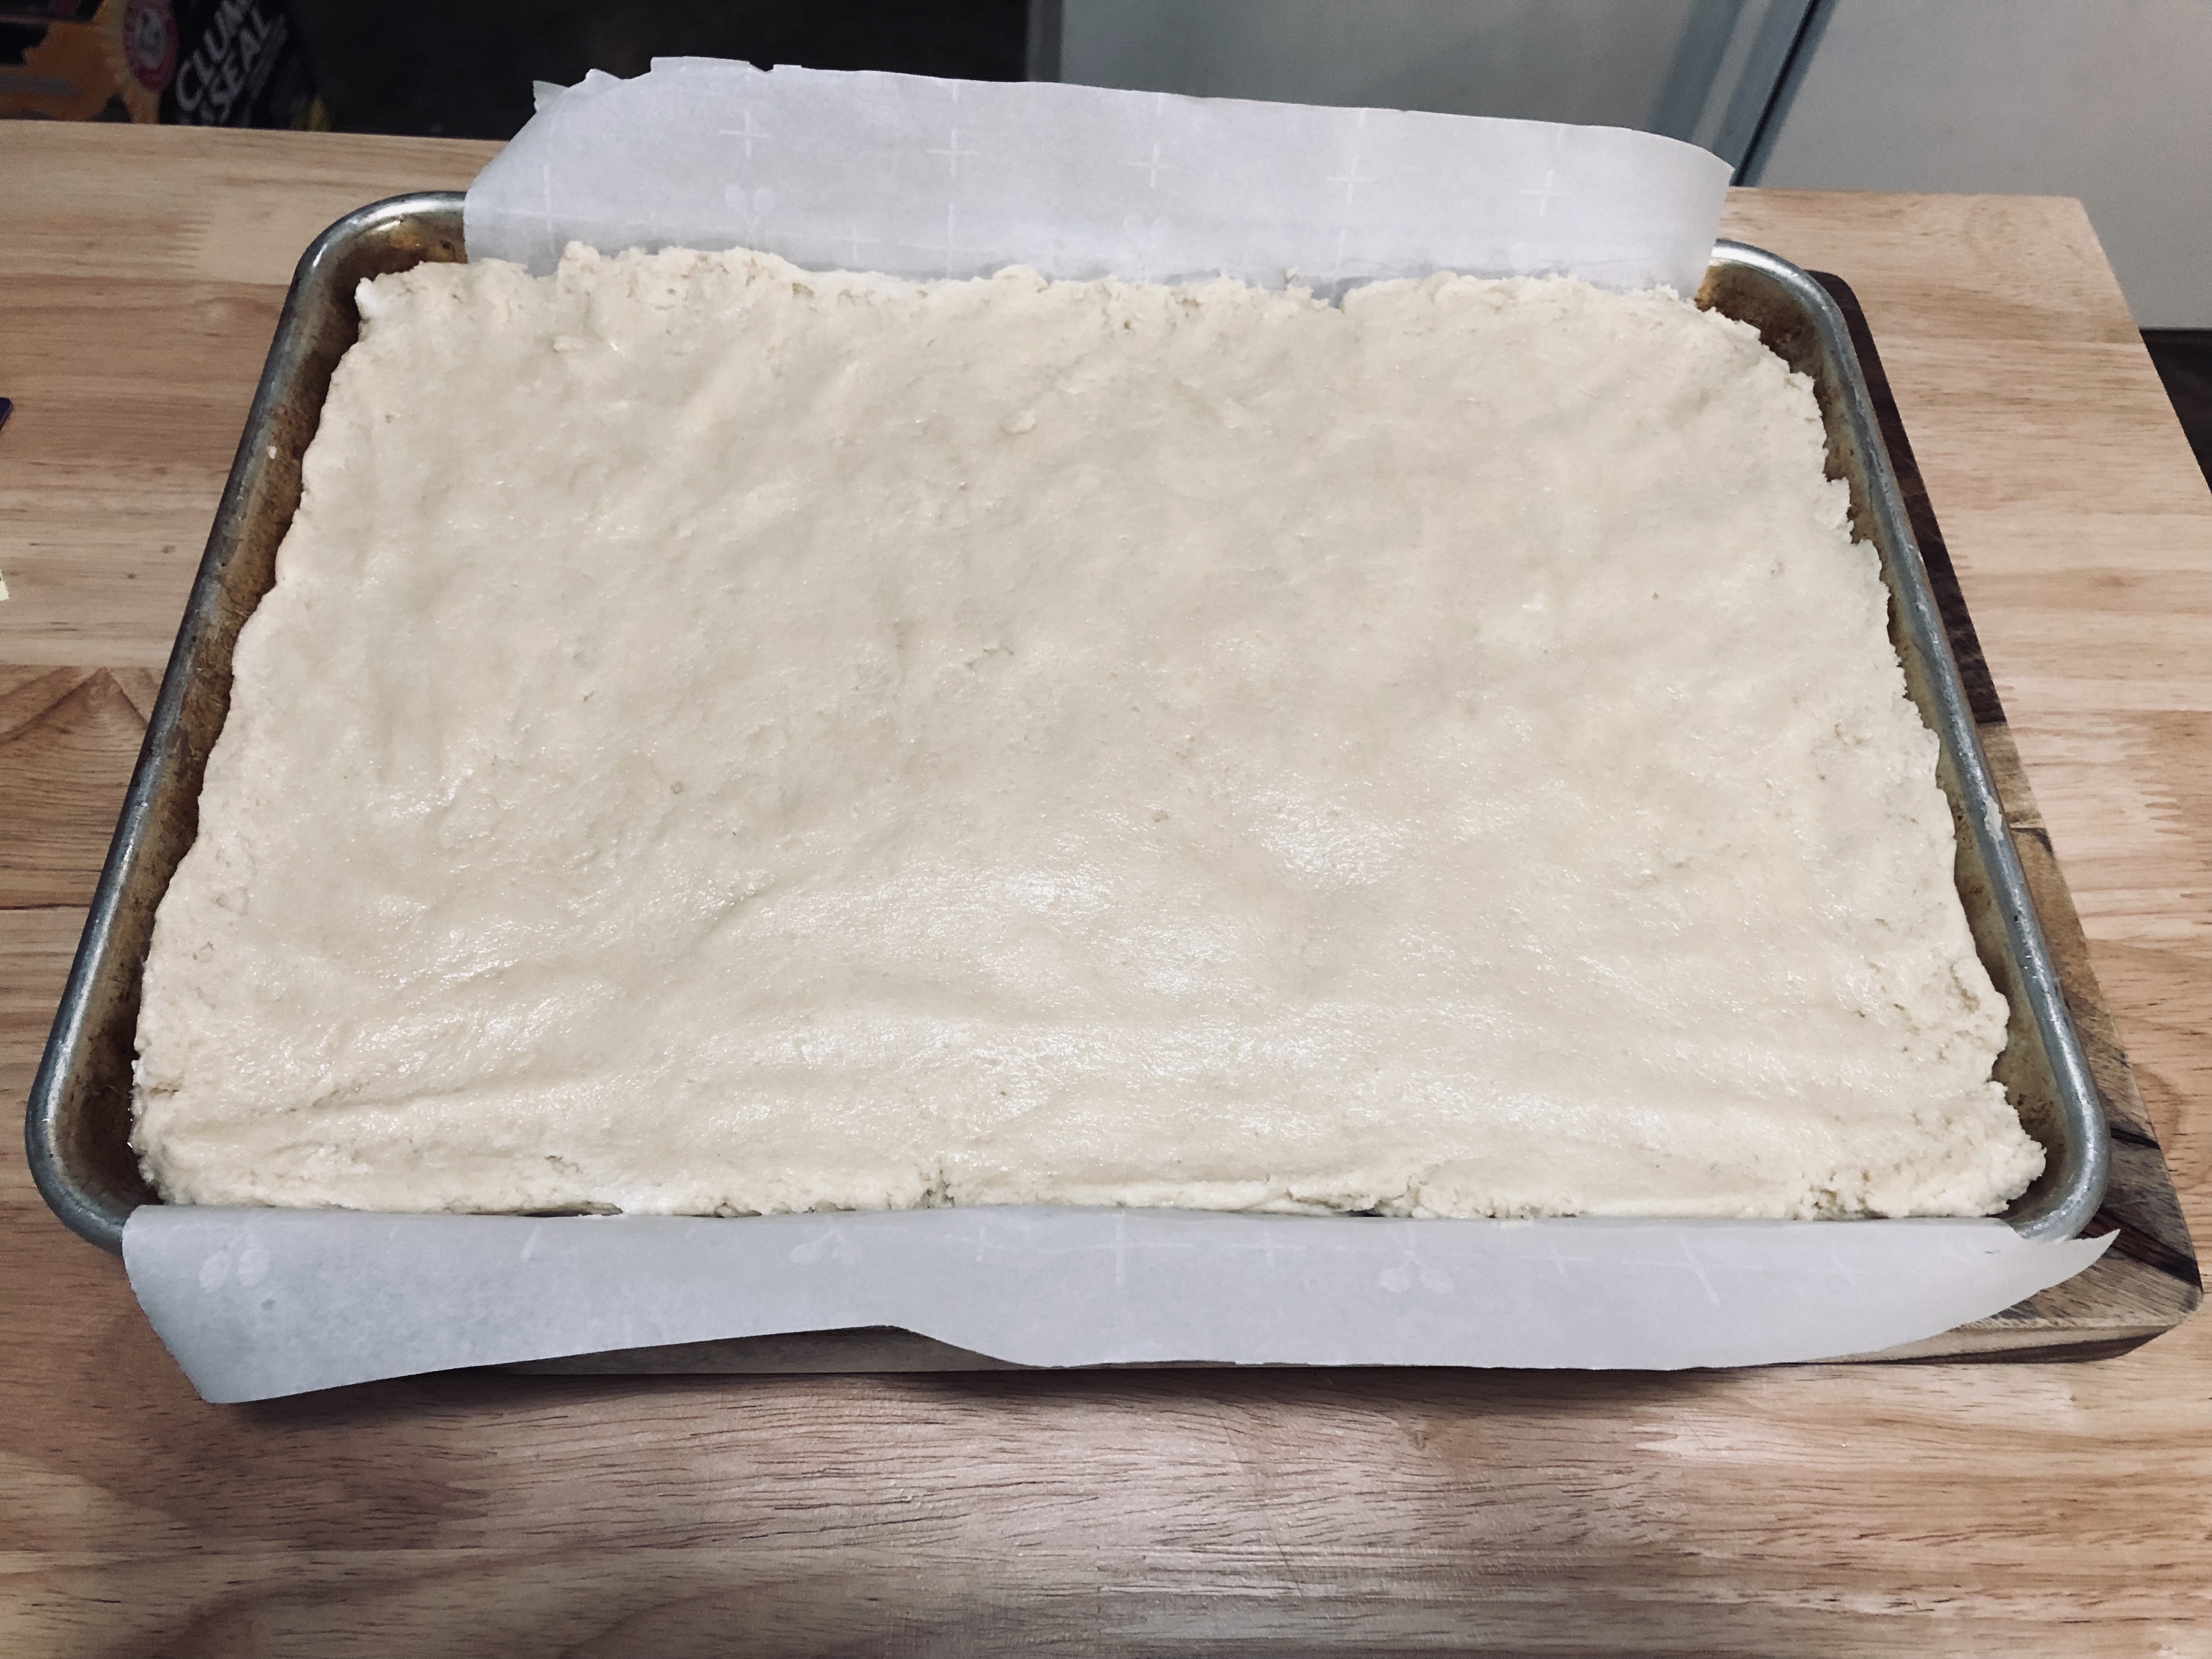
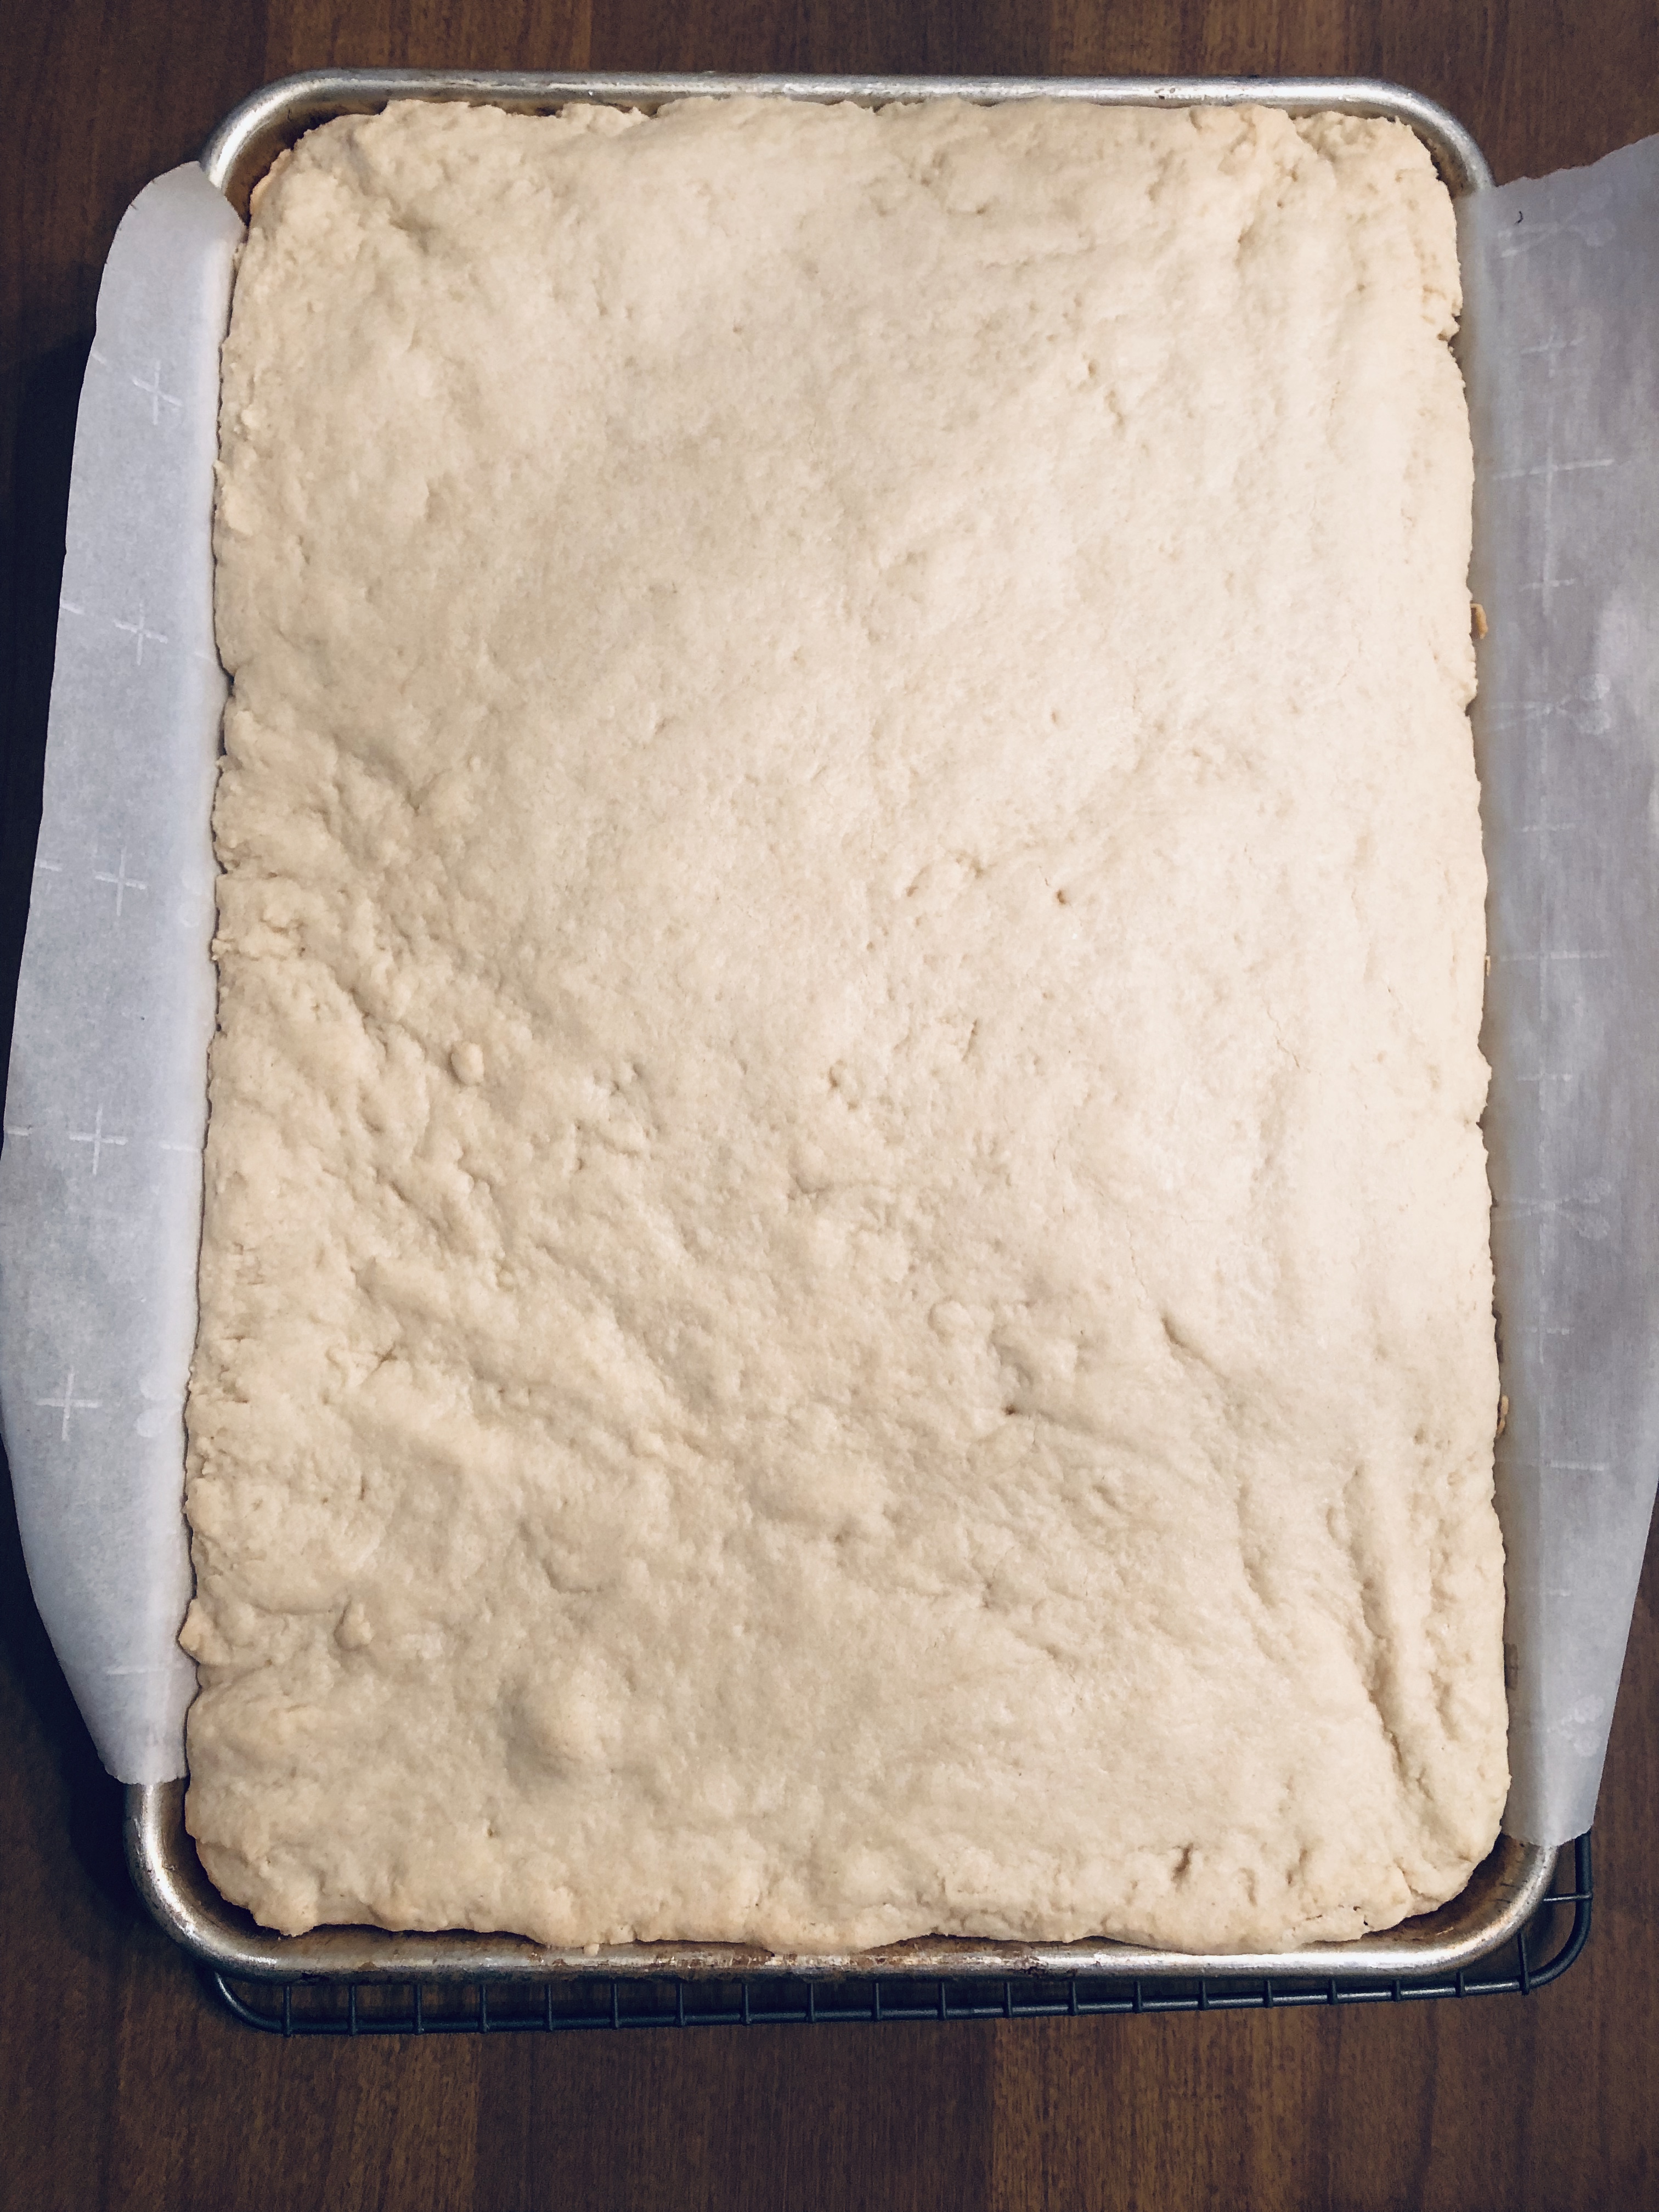
Press the dough into your prepared pan in an even layer using your hands. You can spray your hands with nonstick spray to help with any sticking. Slide the pan into the preheated oven and bake for 20-25 minutes, until they are just barely browned on the edges and the center feels firm and set when gently touched. Overbaking will dry your cookie bars out, so set your timer for 20 minutes to start and keep checking back in 2-minute increments after that. 

Set the cookies on a wire rack to cool completely. 

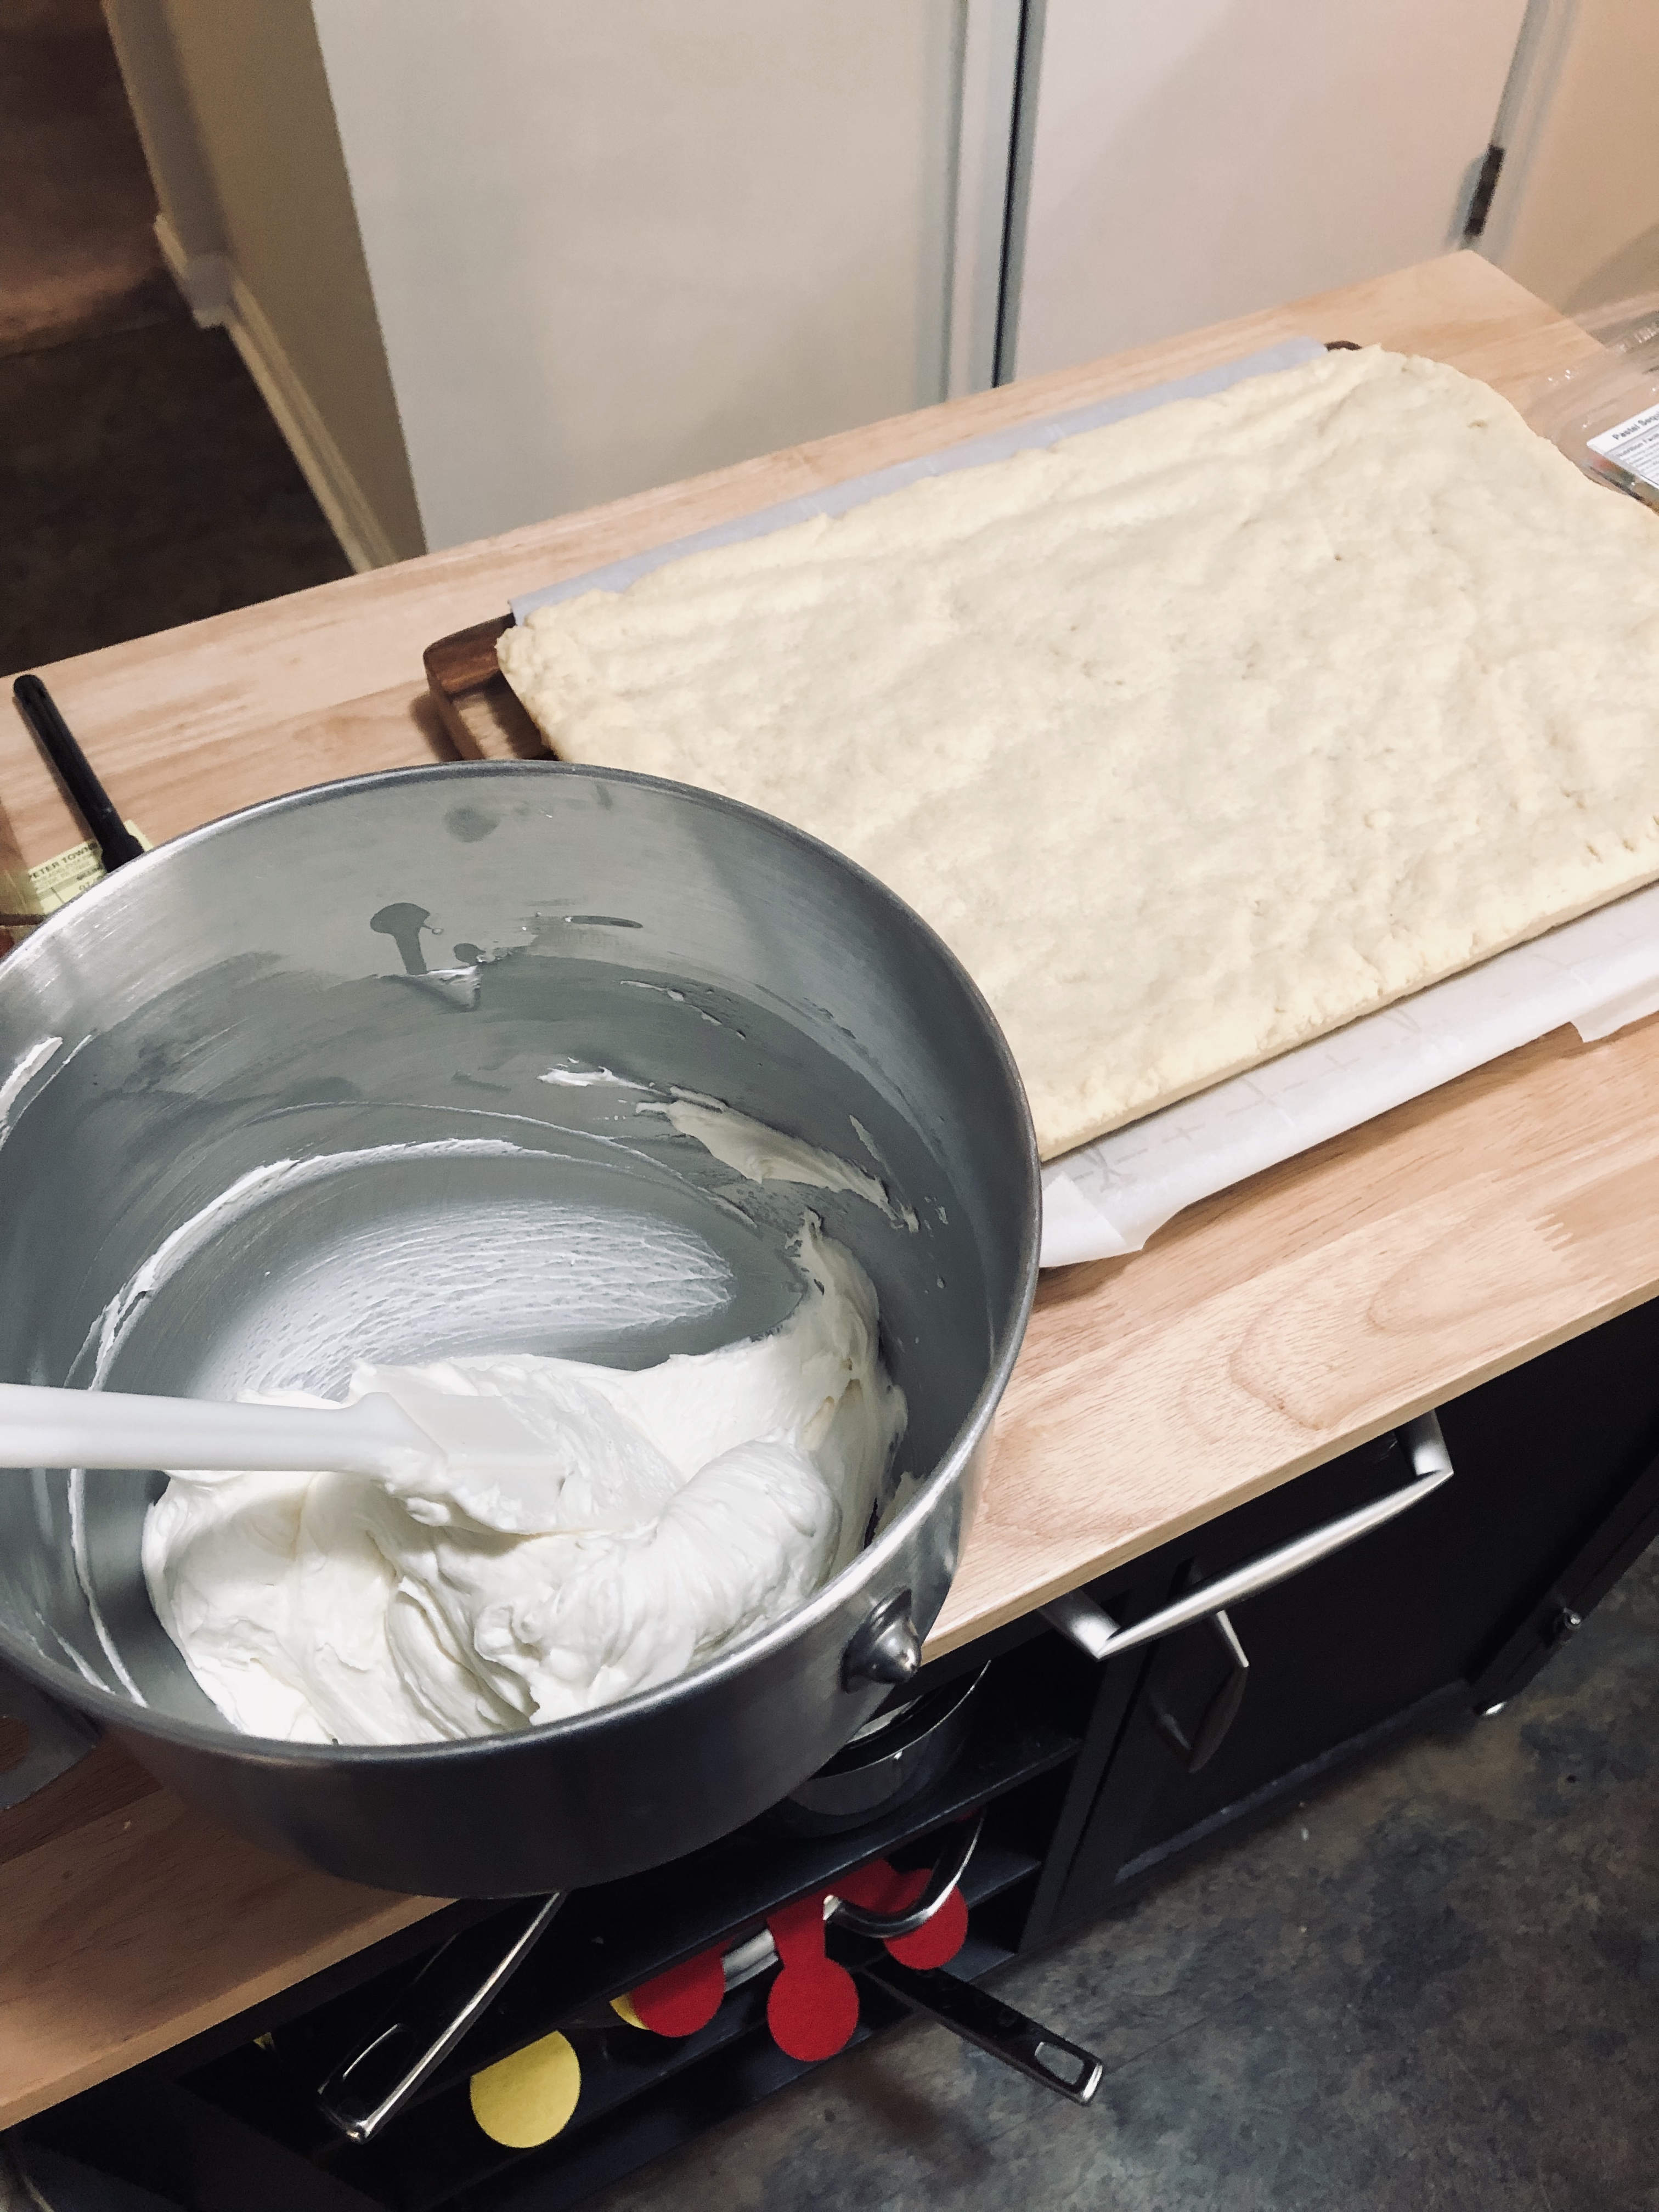
Make the frosting. Beat the butter until creamy, then add the powdered sugar, vanilla, salt, and 2 tablespoons heavy cream. Beat on low speed for around 30 seconds to moisten, then turn the mixer to medium-high and beat the frosting for 2-3 minutes until light and creamy. Taste and adjust vanilla and salt to your liking. Add more heavy cream and beat on medium-high to combine if your frosting seems too thick. Add any food coloring you’d like at this time, beating until it reaches your desired color. 

Gently lift your cookie bars out of the pan using the overhanging parchment, placing them on a large cutting board. Spread the frosting onto the cooled cookie bars, making decorative swoops with an offset spatula or butter knife, and decorate with all kinds of sprinkles. 

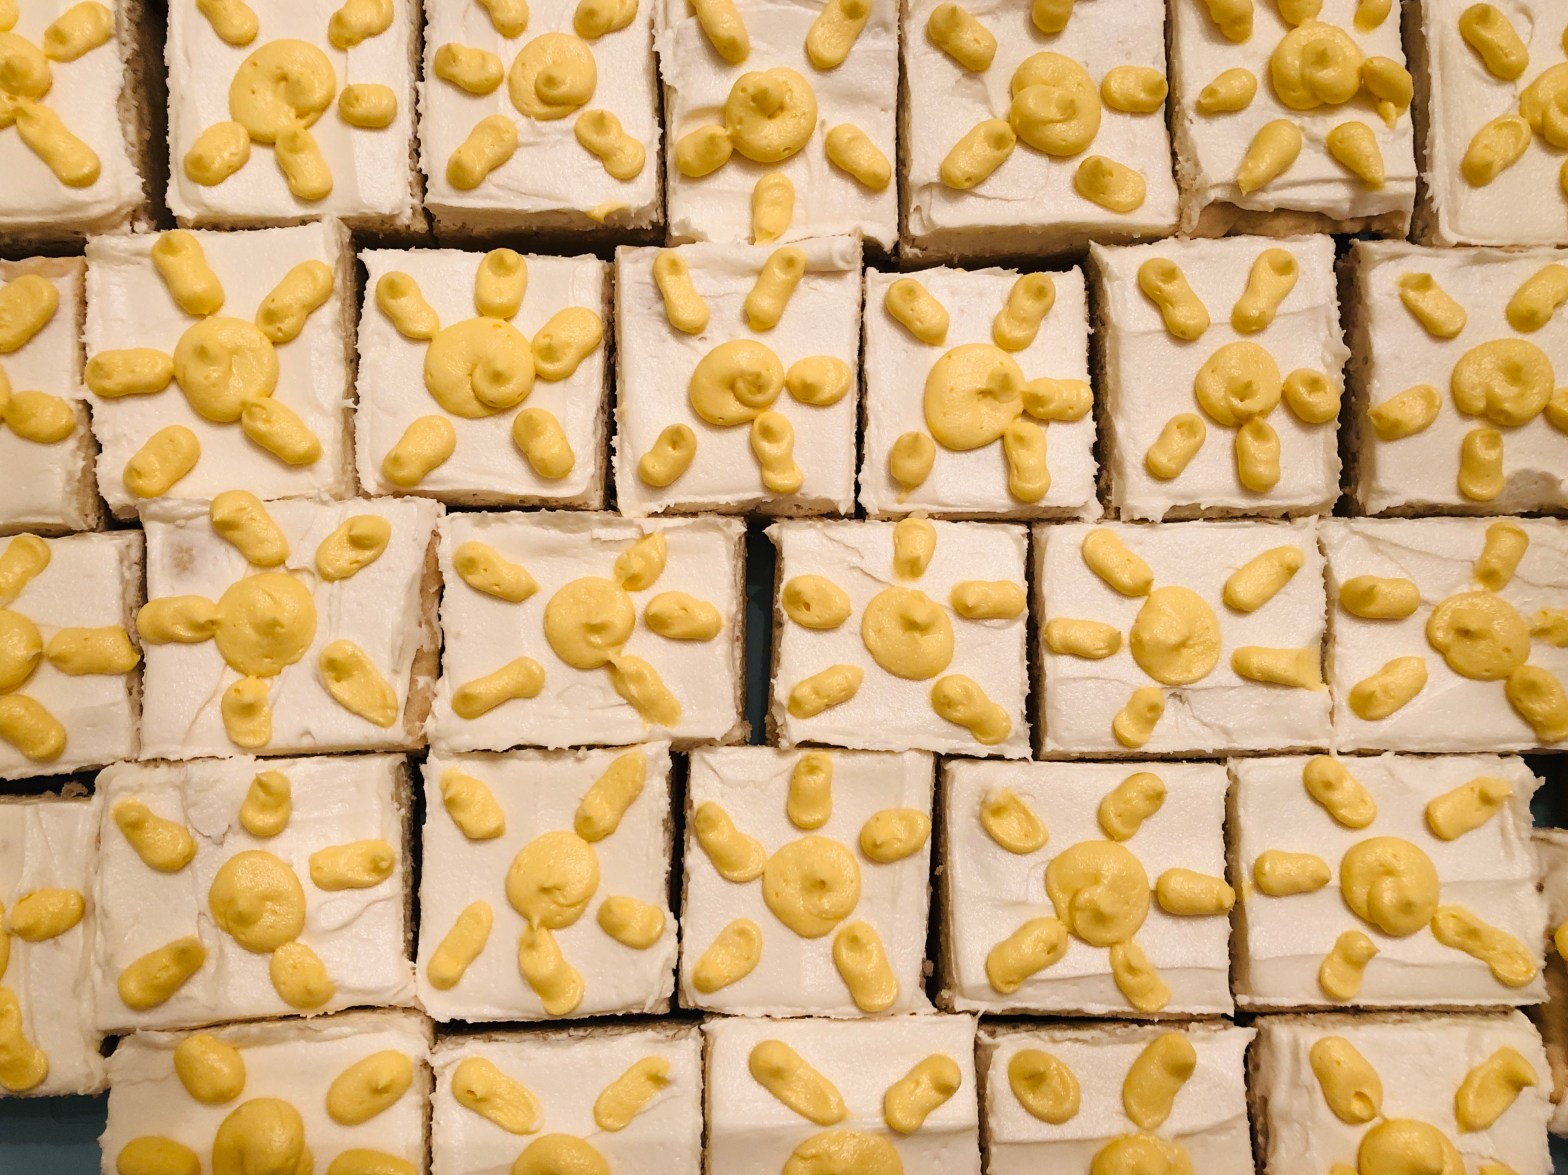
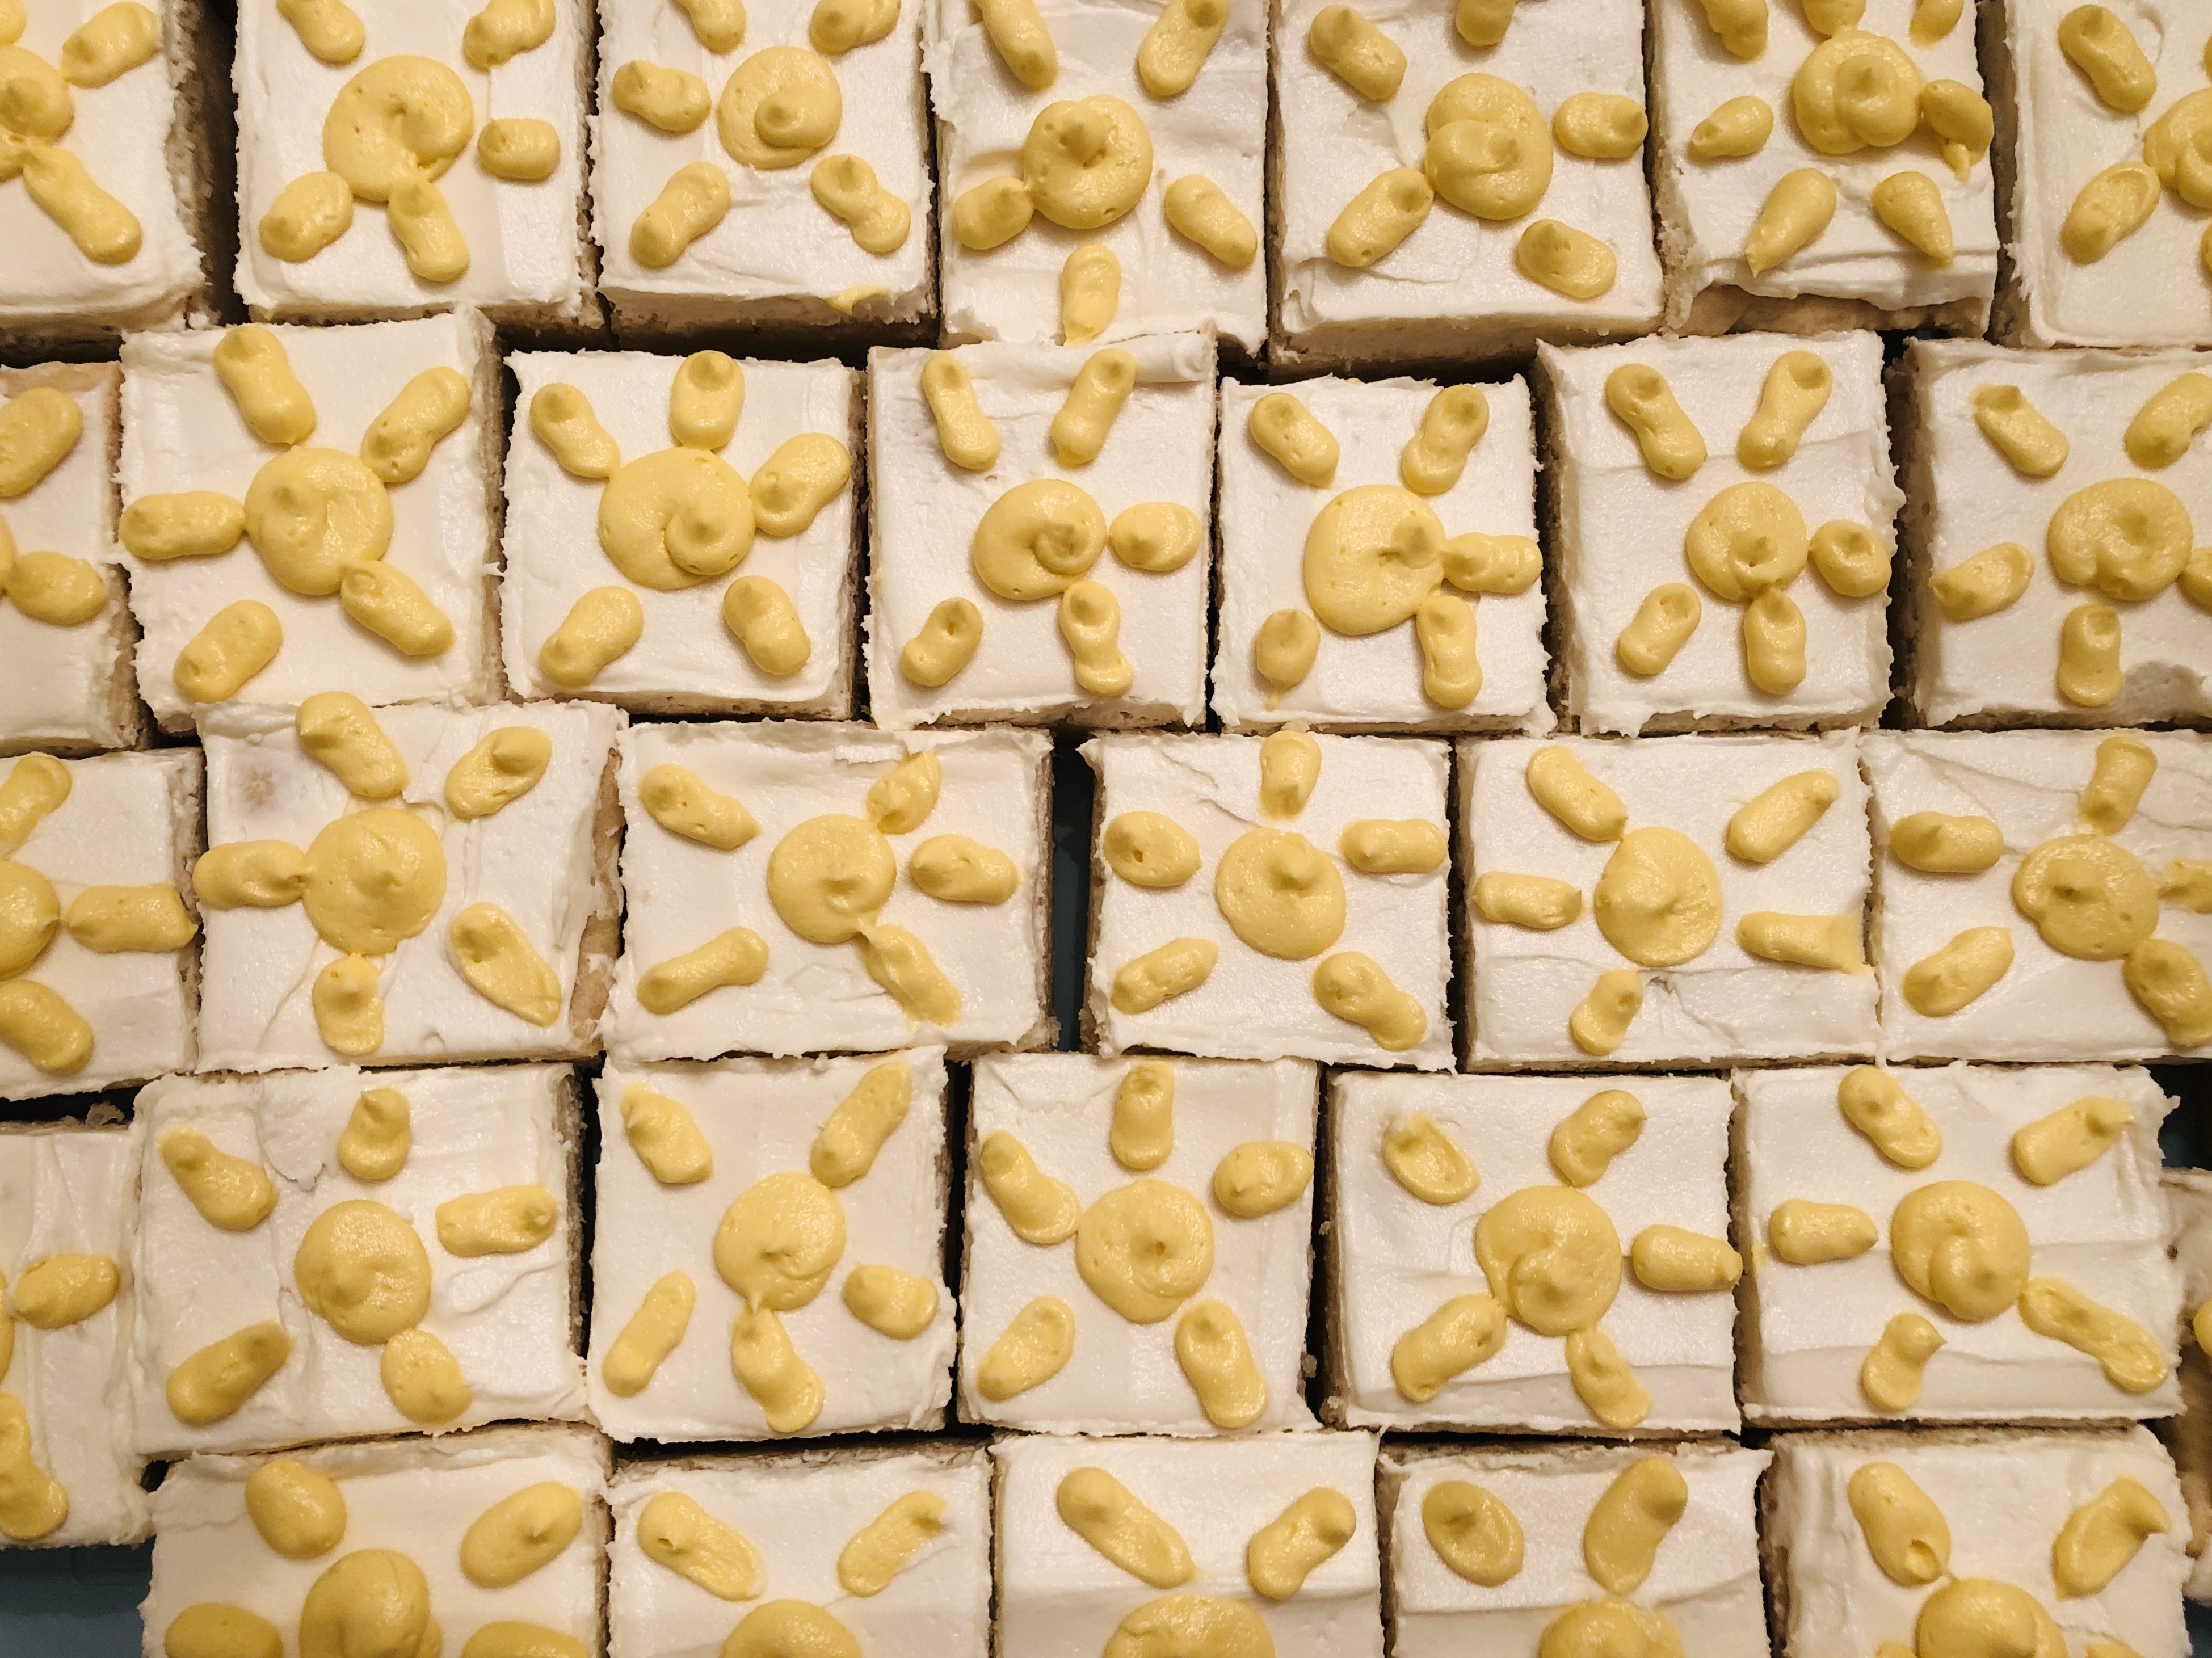
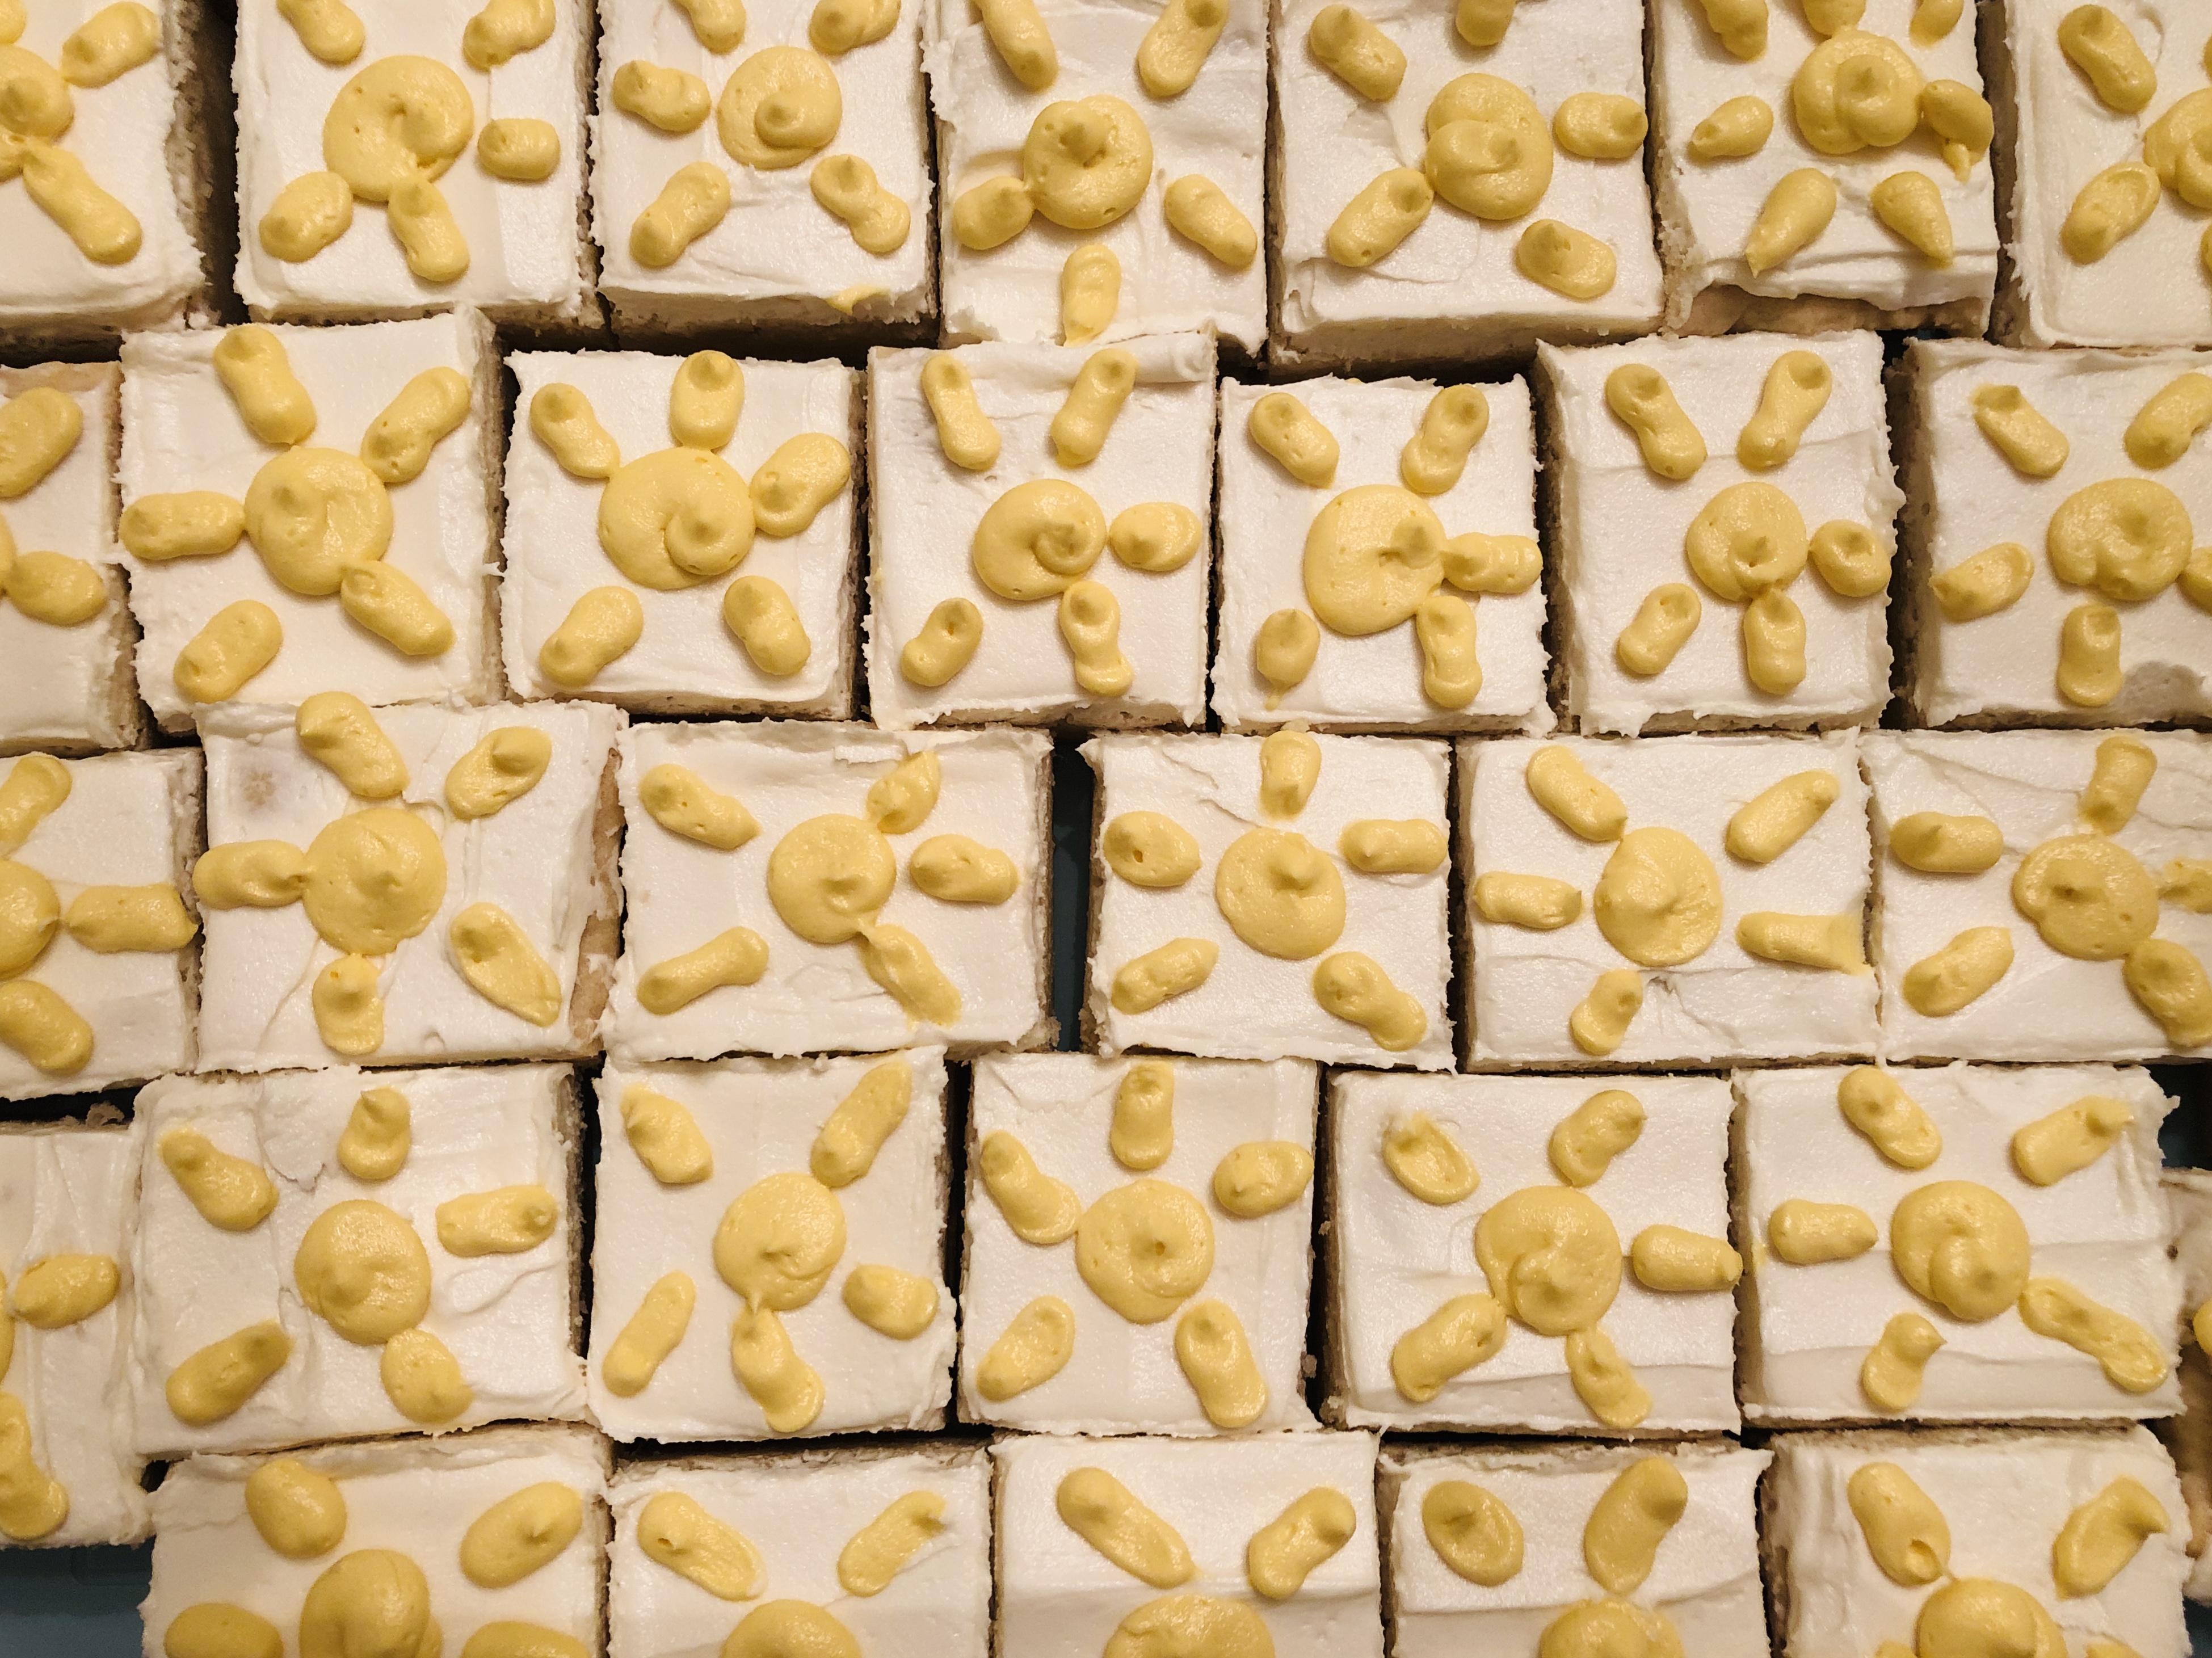
I baked this batch for my last day of my summer job at Sunshine Corners Preschool and Daycare, hence the suns. To make designs like I did, spread a thin layer of white frosting onto the bars and color the rest of the frosting with your desired color. Use a piping bag with a very small round tip to pipe designs onto the bars. To get individual designs on each cookie, cut the cookie bars first, then pipe your designs onto each cookie. 

To get 48 squares, slice the sheet of cookies into 8 columns by 6 columns. This achieves a really nicely sized cookie bar- not too big and not too tiny. 

Note: I have not attempted to halve this recipe because I’m usually baking it for a crowd, and I’m not quite sure what size pan would be best. If you do try this, let me know how it goes! 

Enjoy your work of art, take them to your next party or cookout, and watch them disappear! 

-Jess

Time for a late night snack!

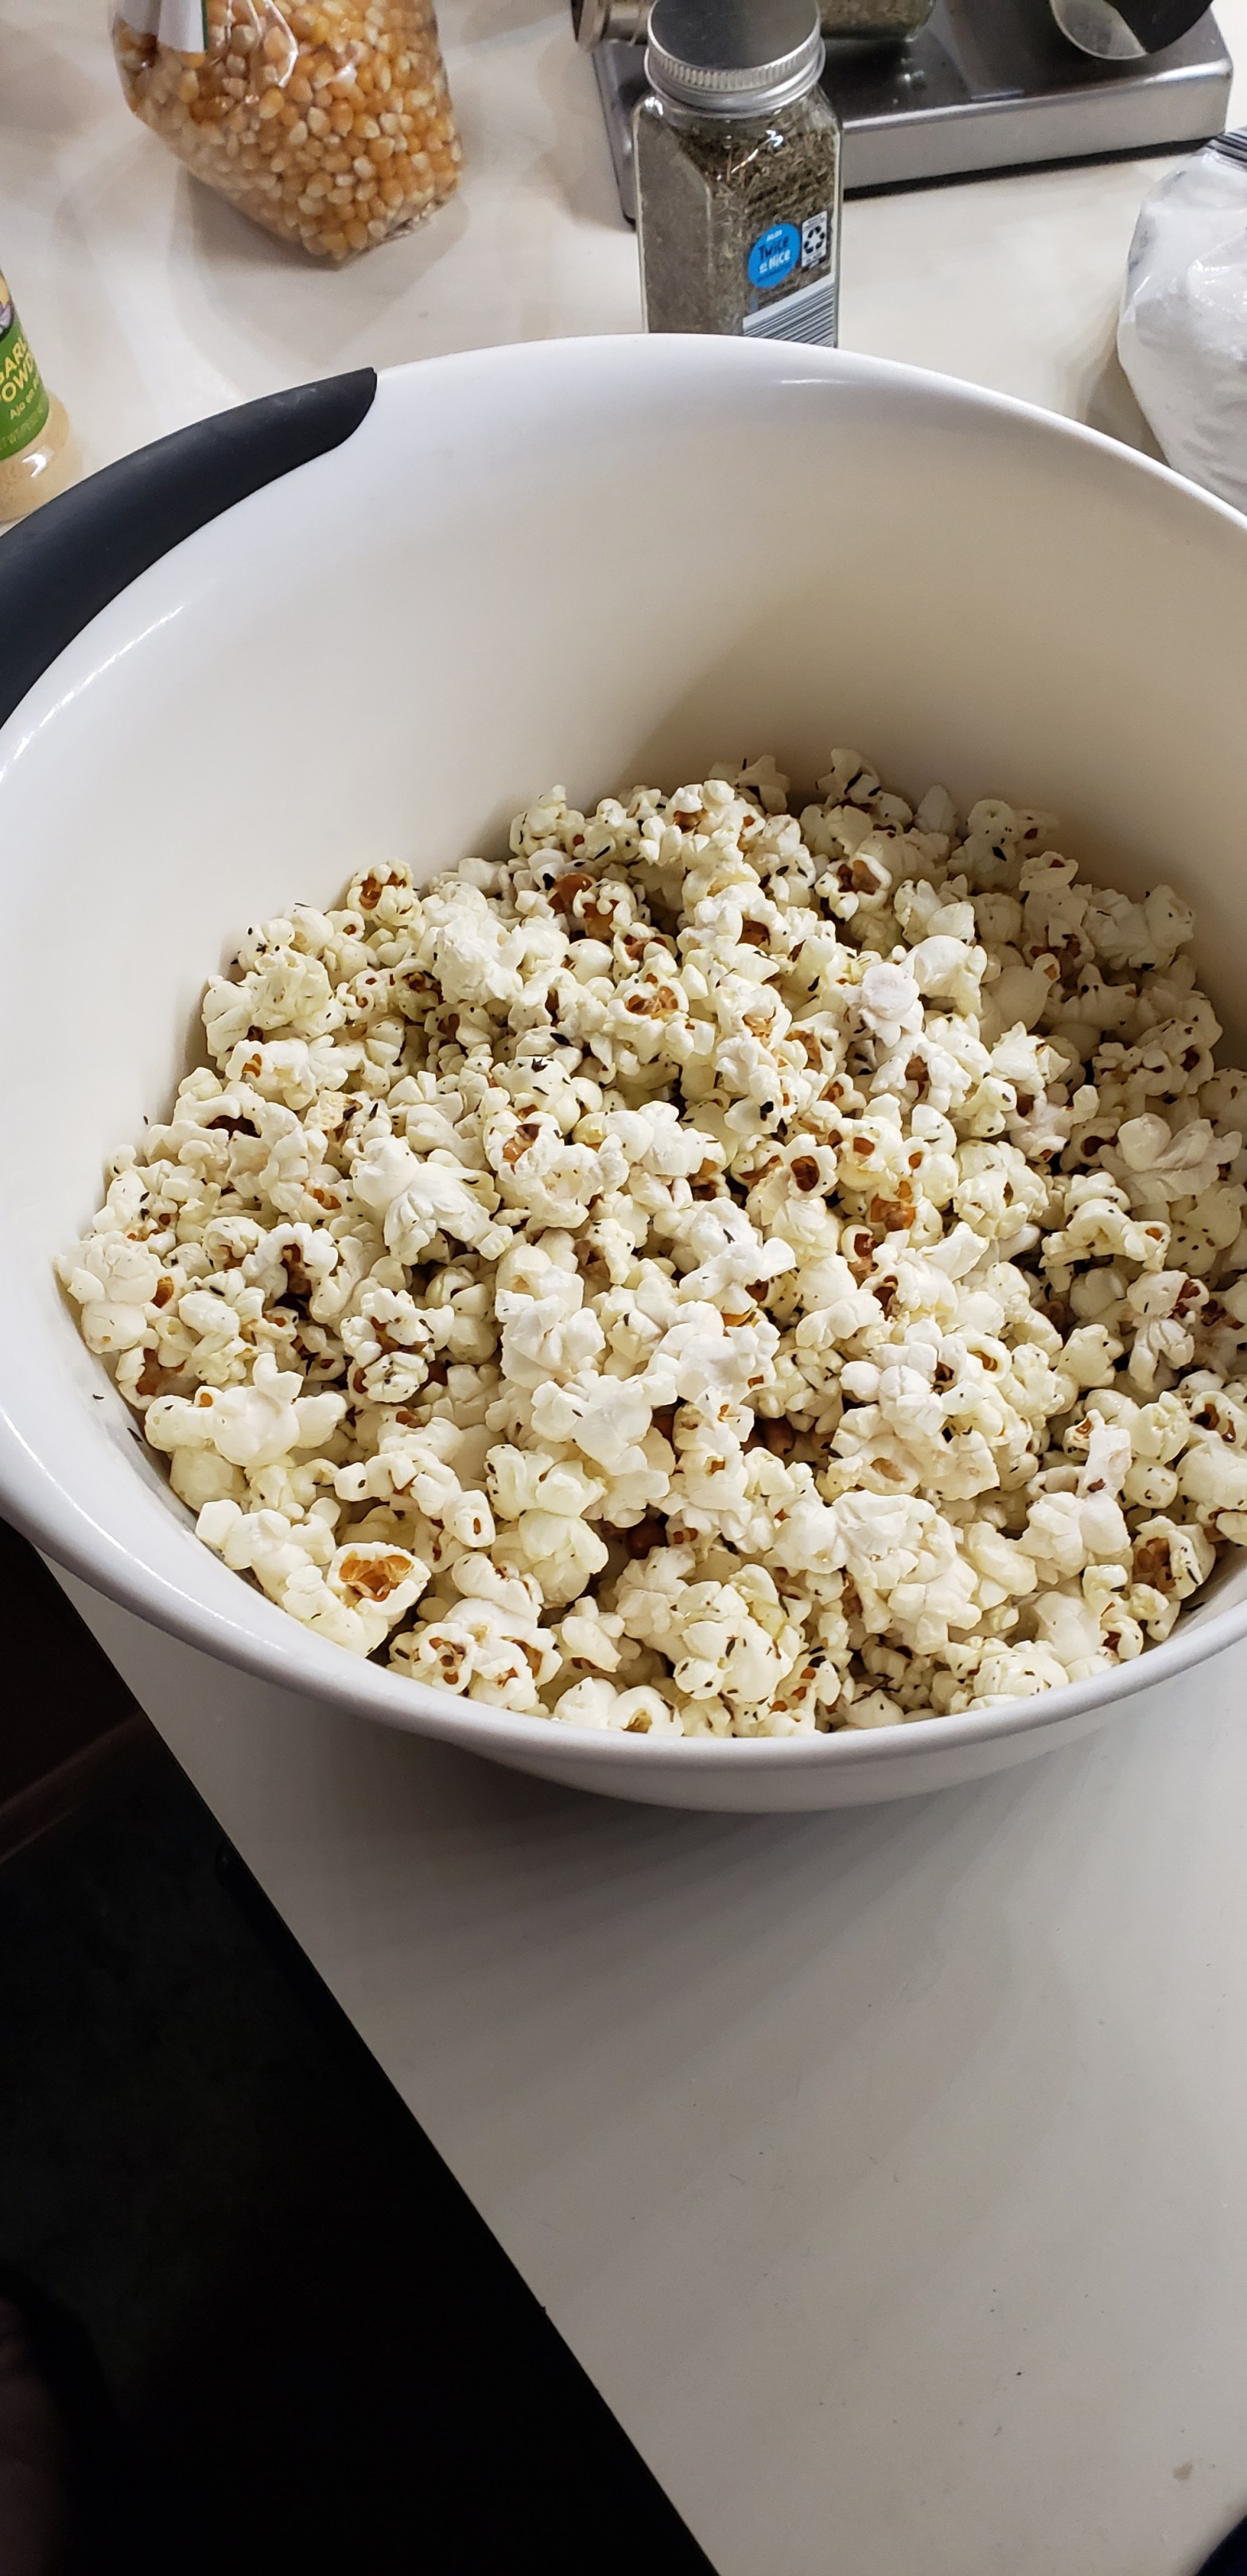
One of our favorite night time snacks is Italian popcorn. There’s nothing better than a big bowl of this herbed perfection!

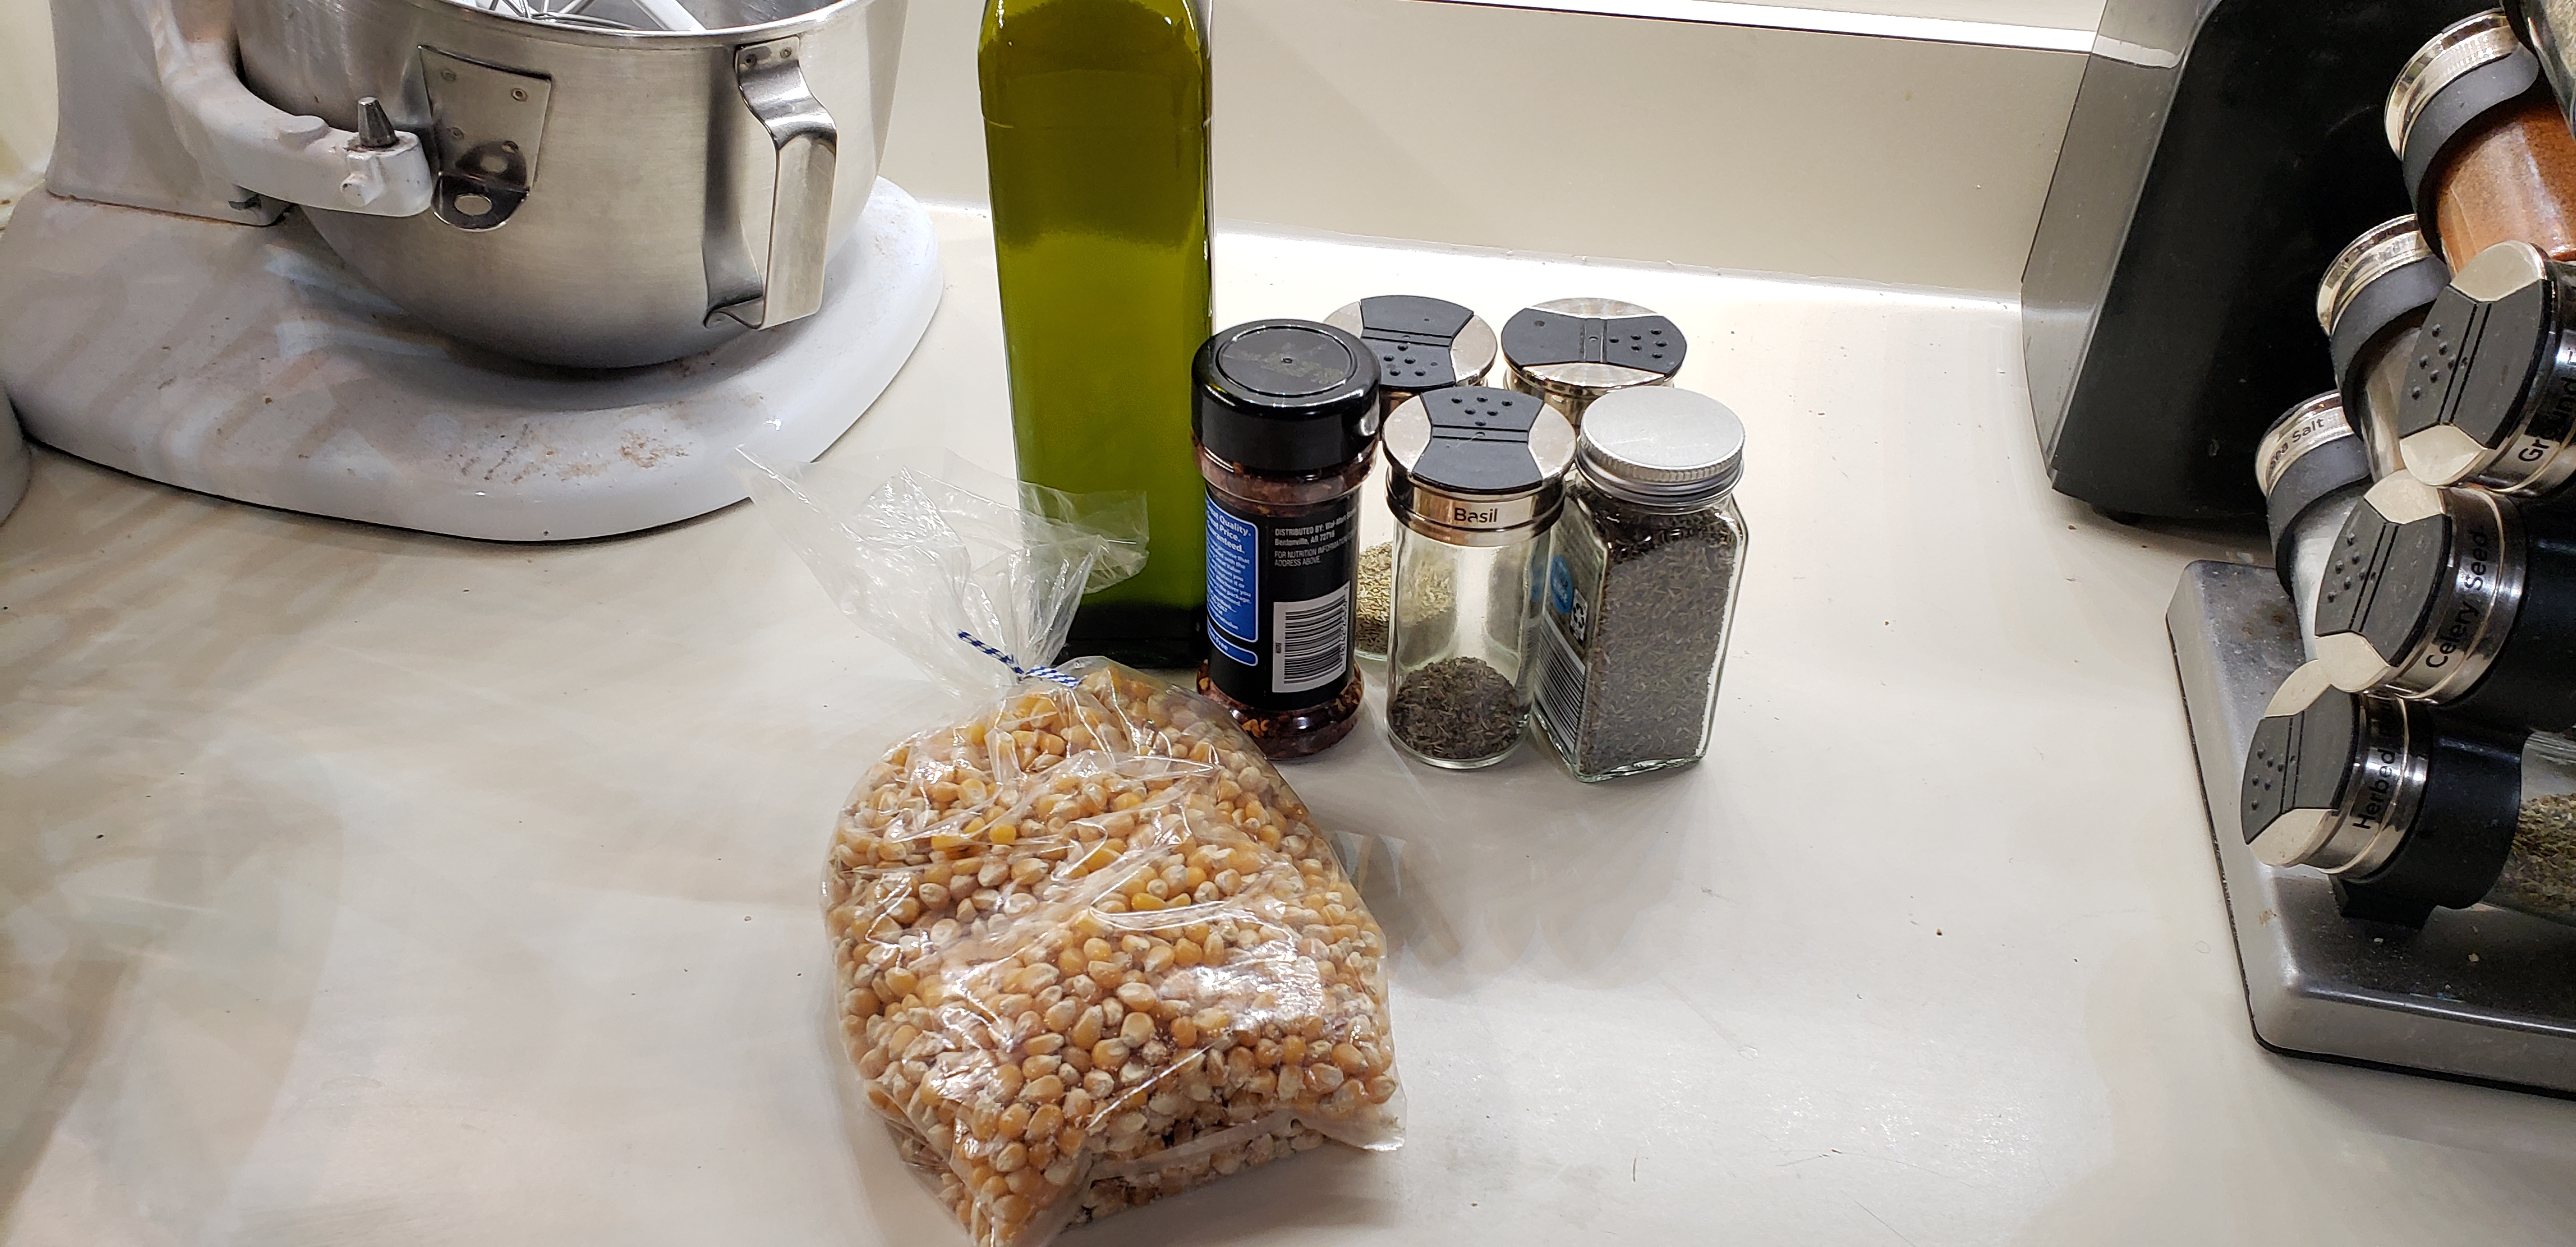
Here’s what you’ll need:

  • 2/3 cup popcorn kernels
  • Olive oil
  • 3 tbsp butter
  • 1 tsp red pepper flakes
  • 3 tsp dried oregano
  • 3 tsp dried basil
  • 3 tsp dried thyme
  • 3 tsp dried rosemary
  • Salt

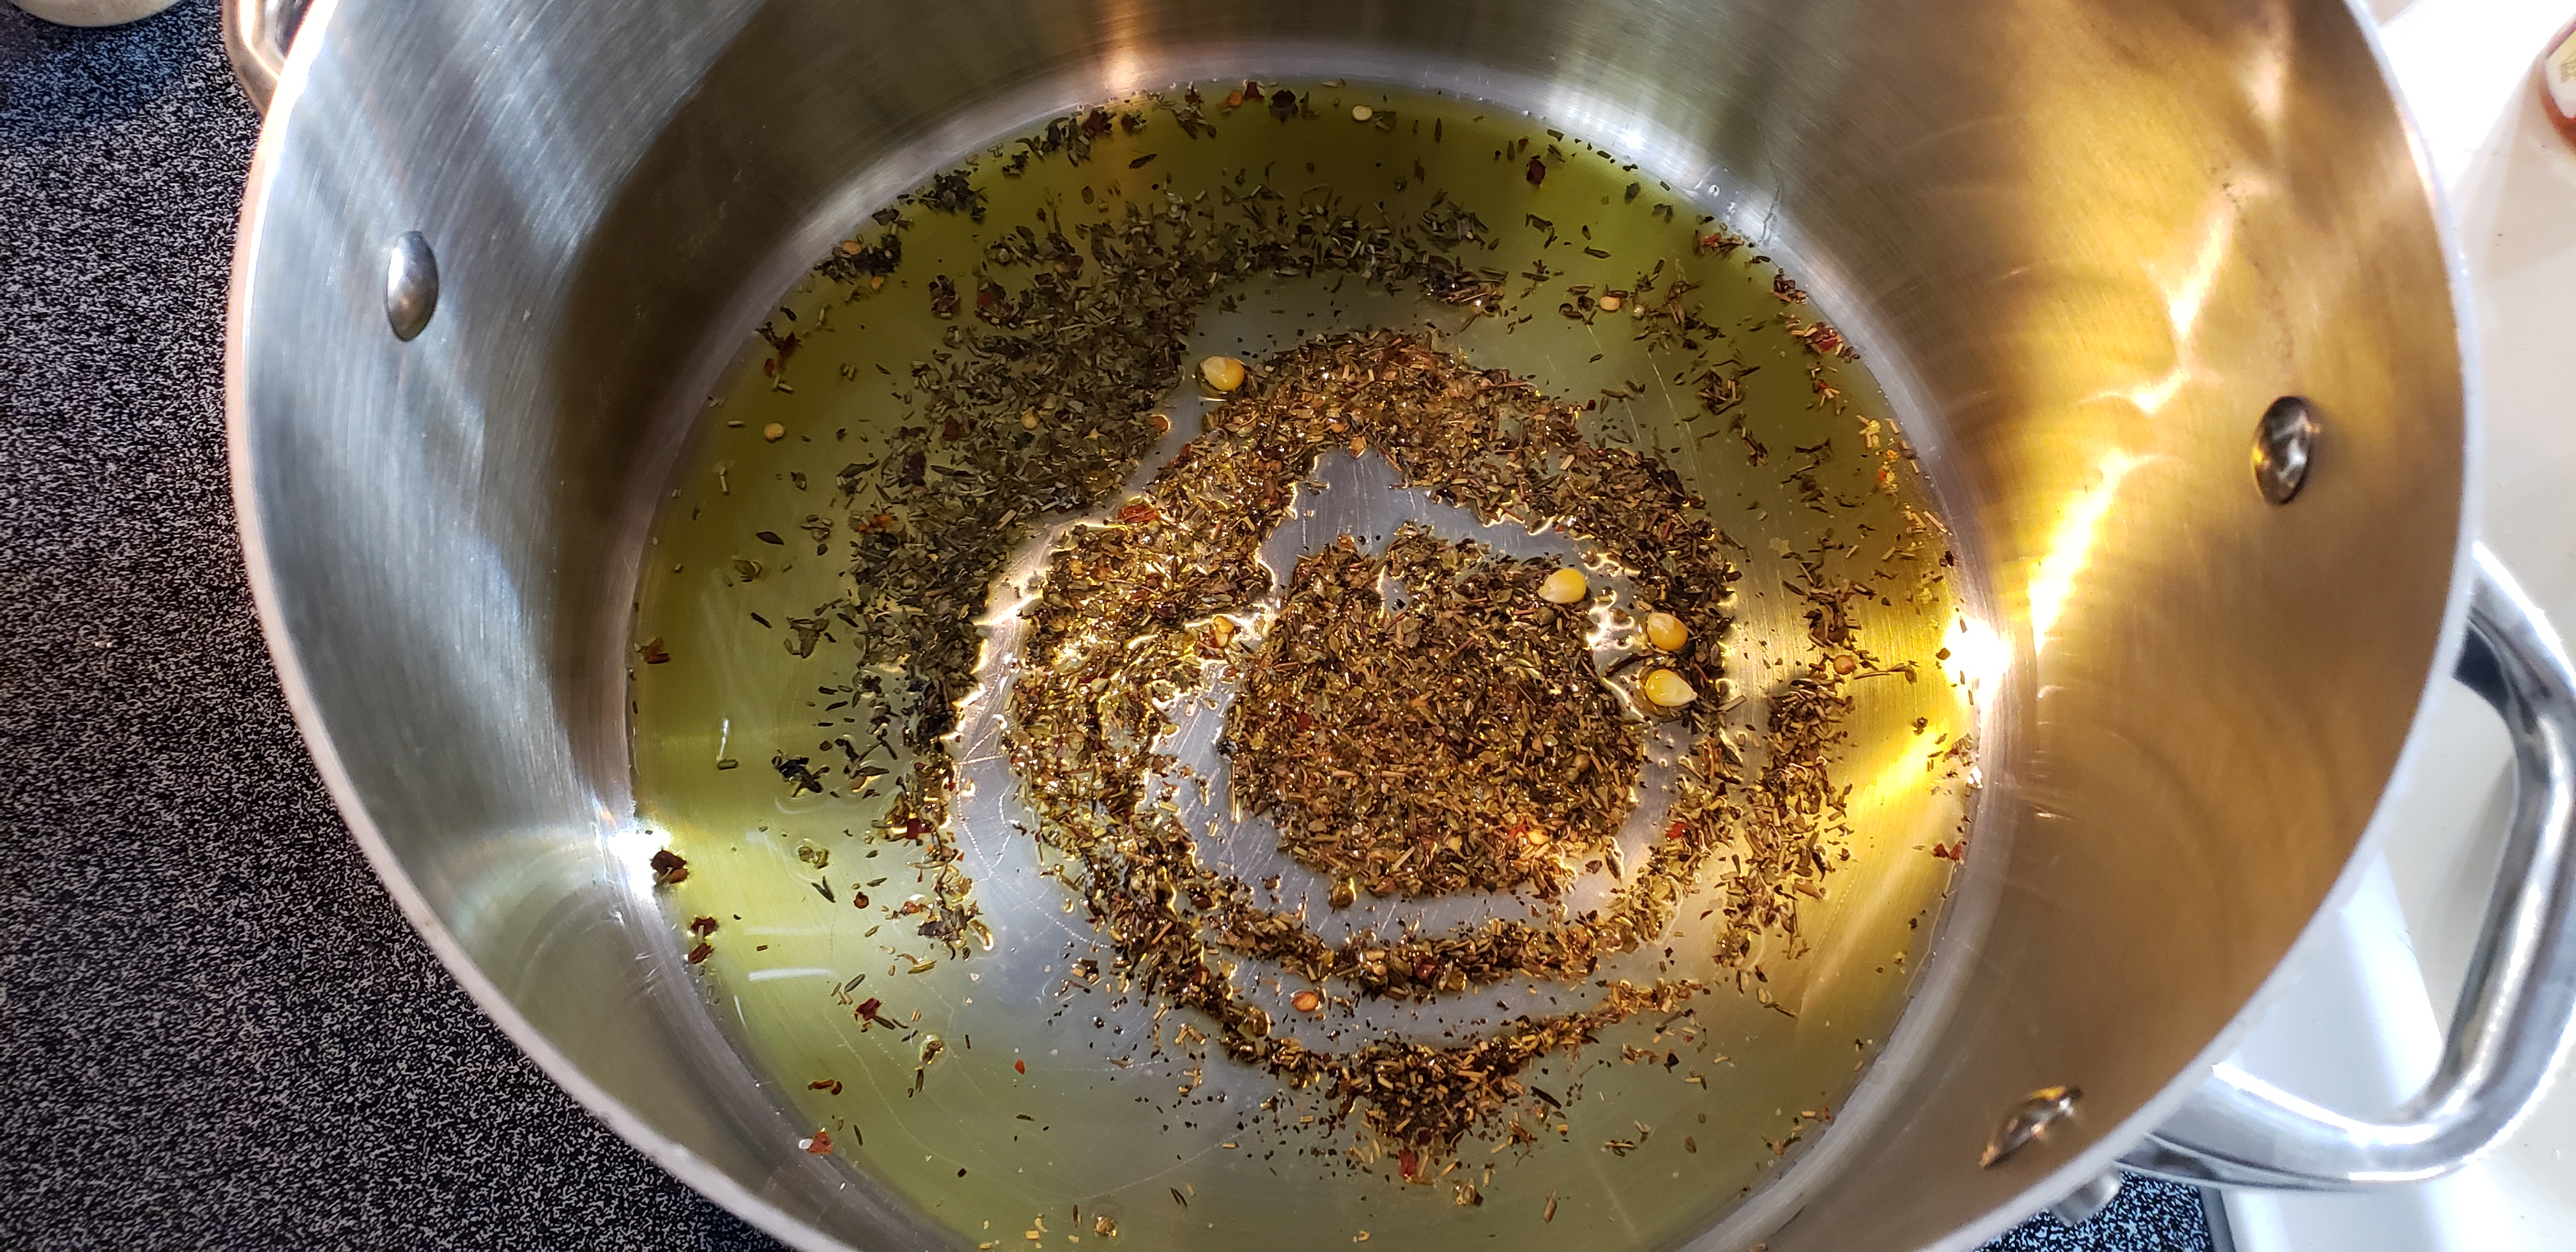
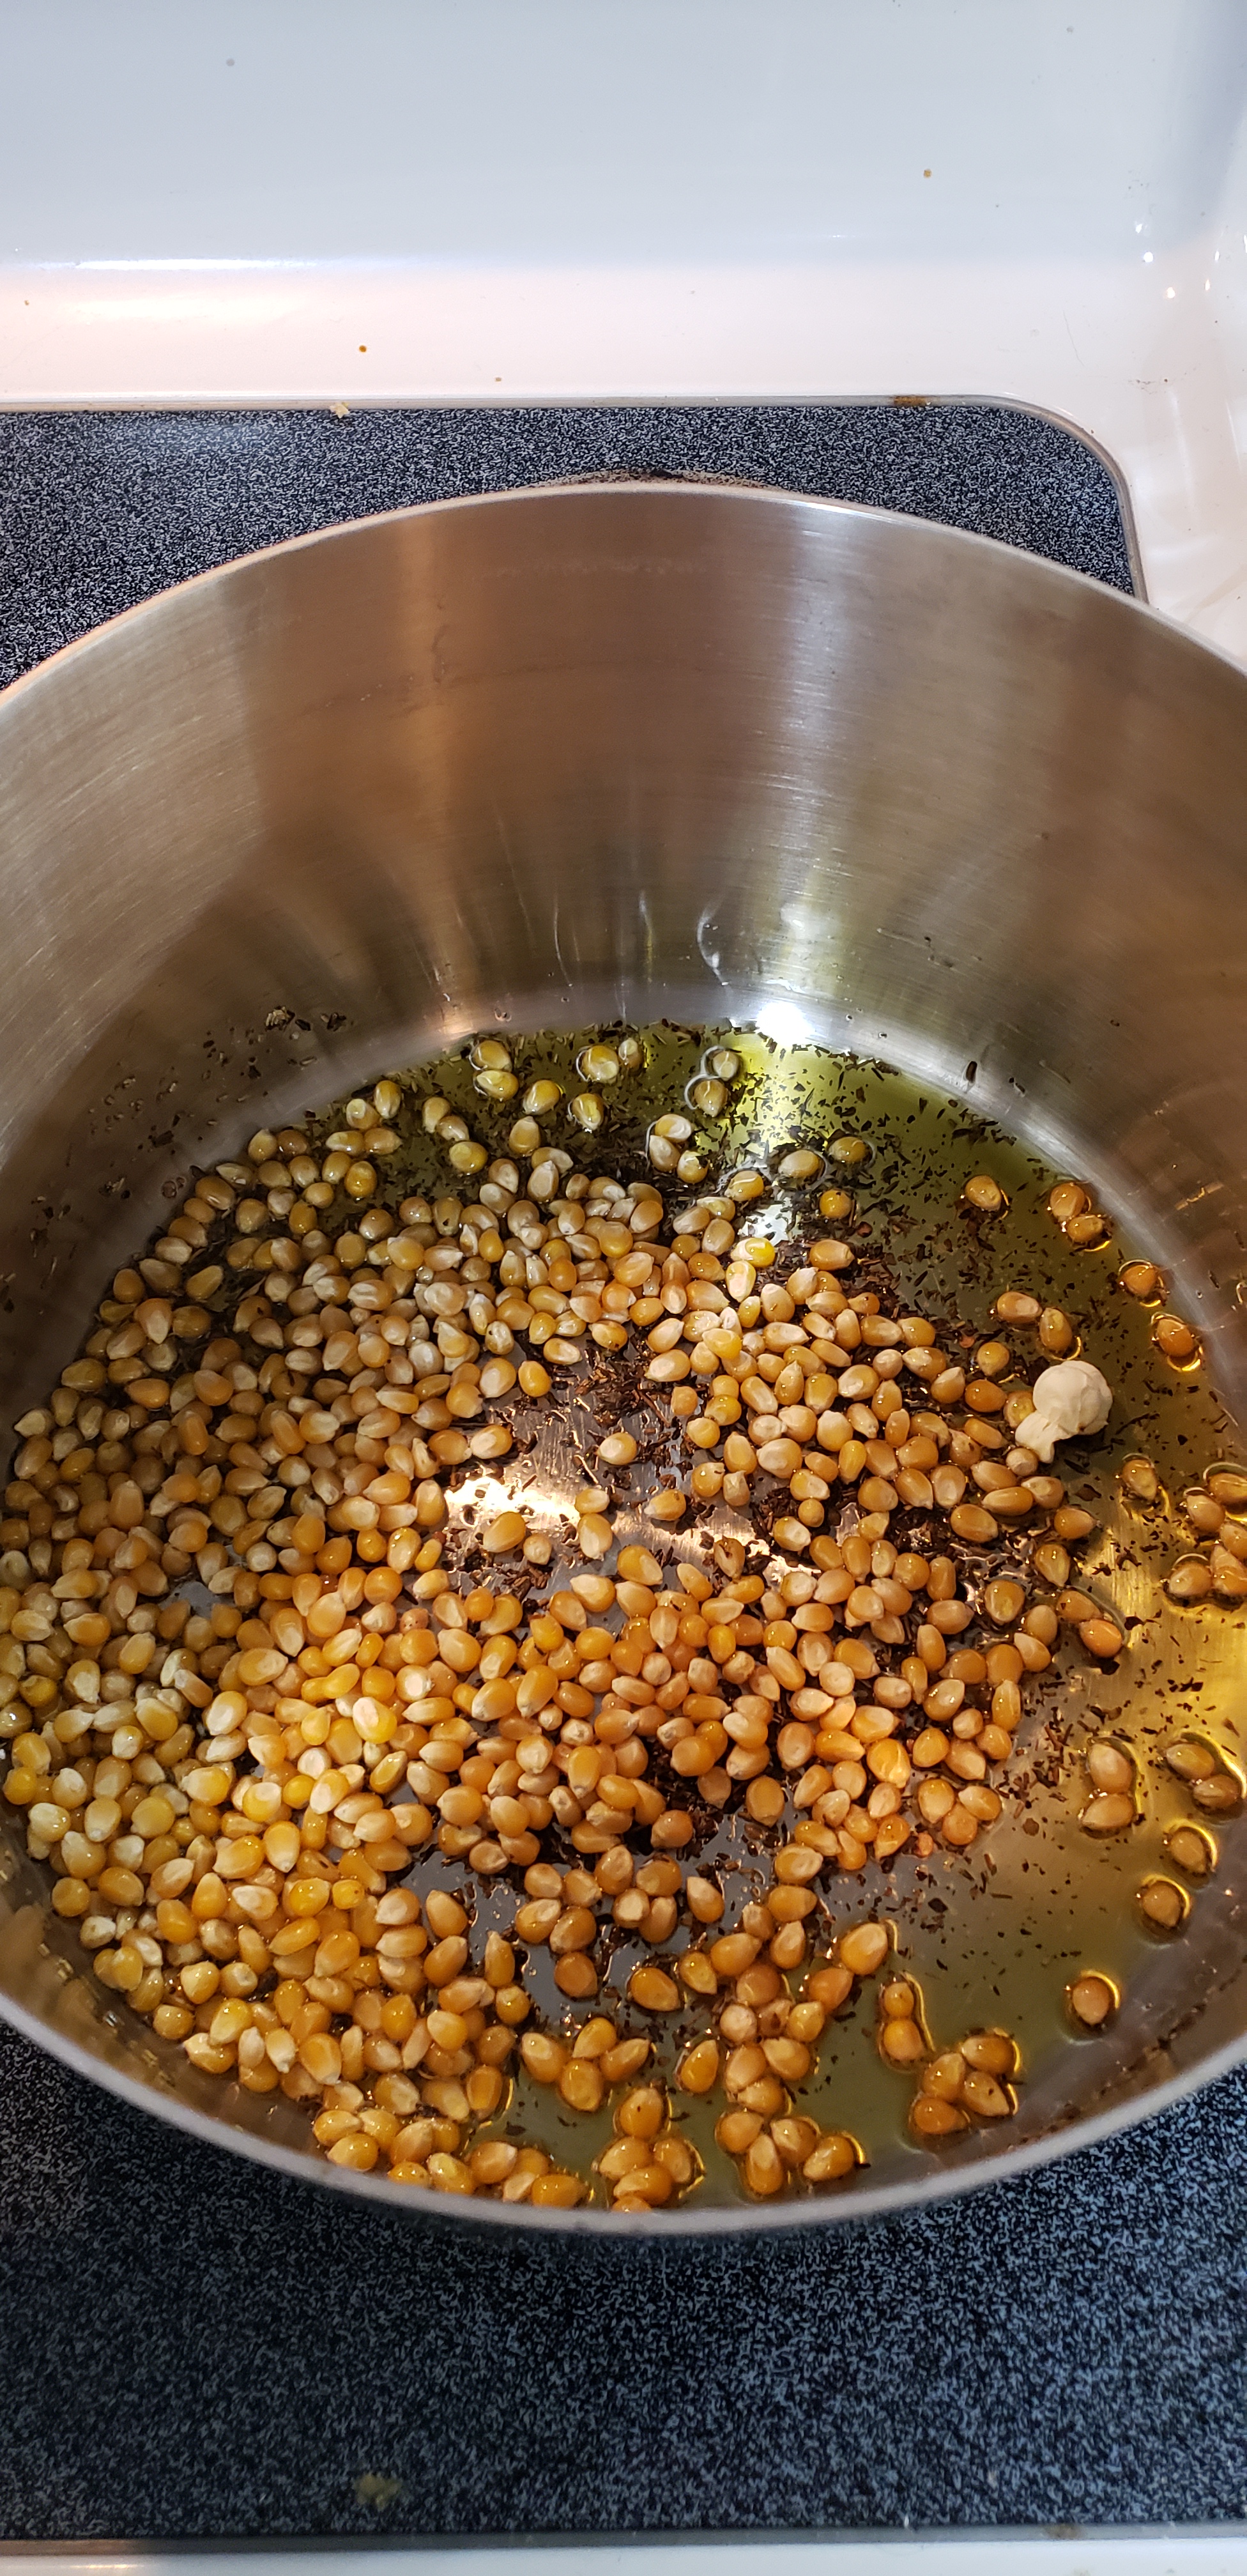
First things first- get a big pot and put it over medium heat. (Make sure you pick a pot that you have a lid for) Add enough olive oil to coat the bottom with about 1/8 of an inch of oil. Add the red chili flakes and 2 tsp of each dried herb to the oil. Also add 2 or 3 popcorn kernels so you can see when the oil is hot enough.

Once the first kernel pops it’s time to add the rest!

Now, put the lid on the pot and keep the pot moving so your kernels don’t burn. You might want to wear oven mitts because once the popcorn starts popping it will get steamy.

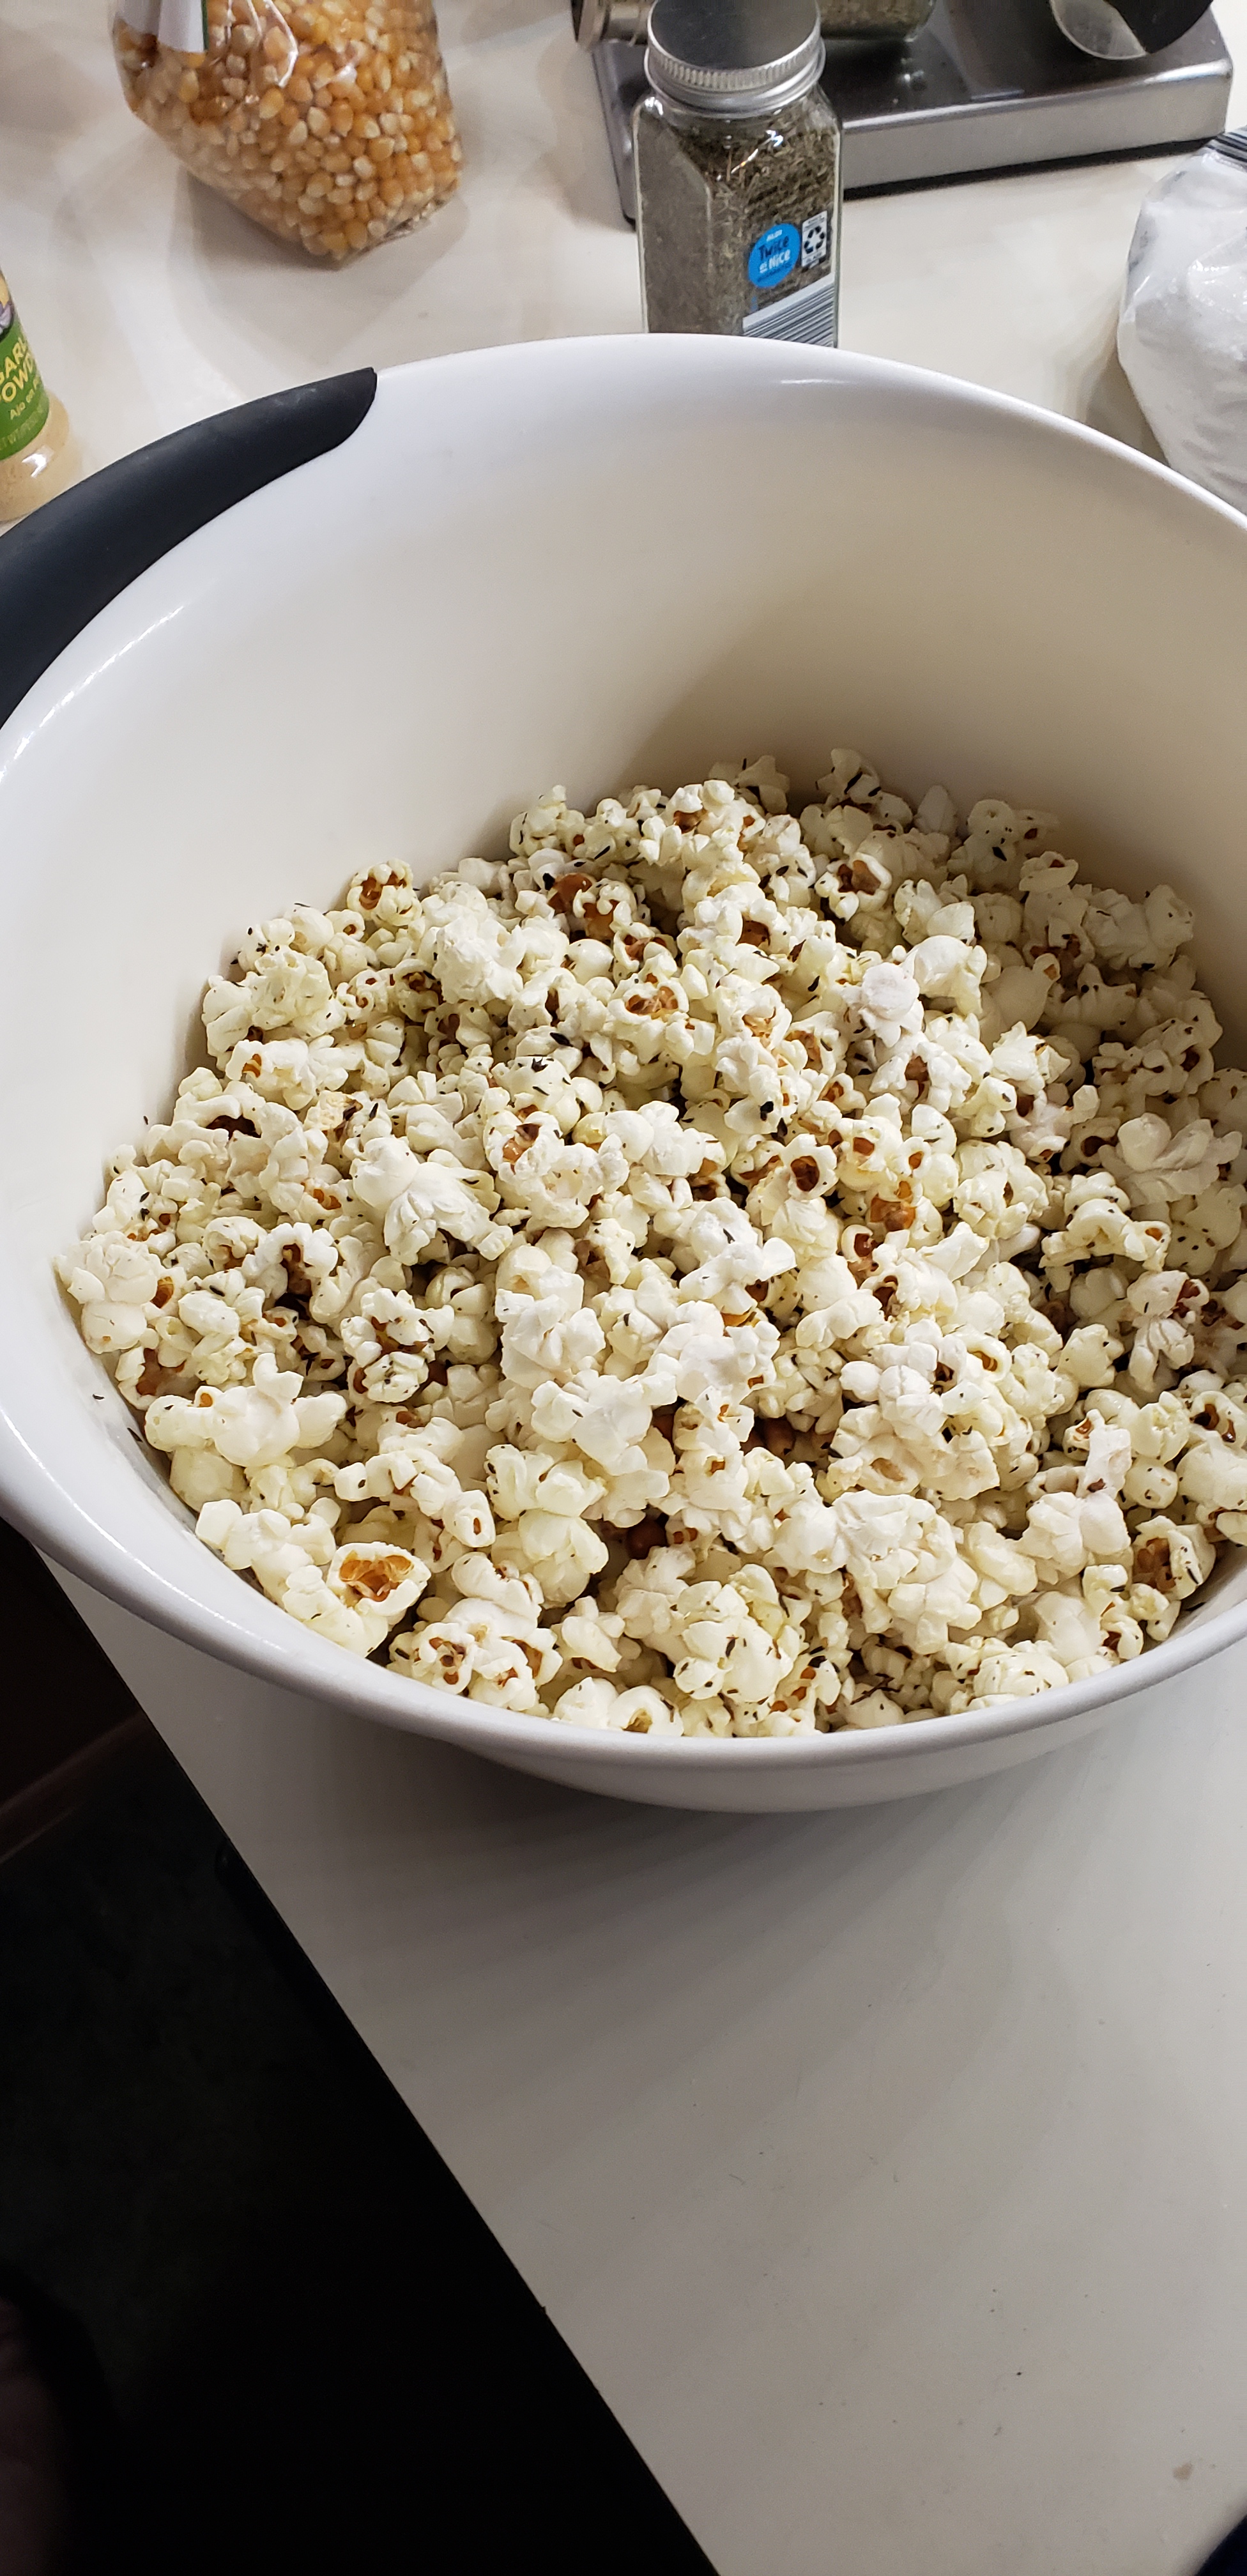
Just like microwave popcorn, once the popping slows down it is time to take it off the heat. Transfer the contents of the pot to a large mixing bowl and season with salt.

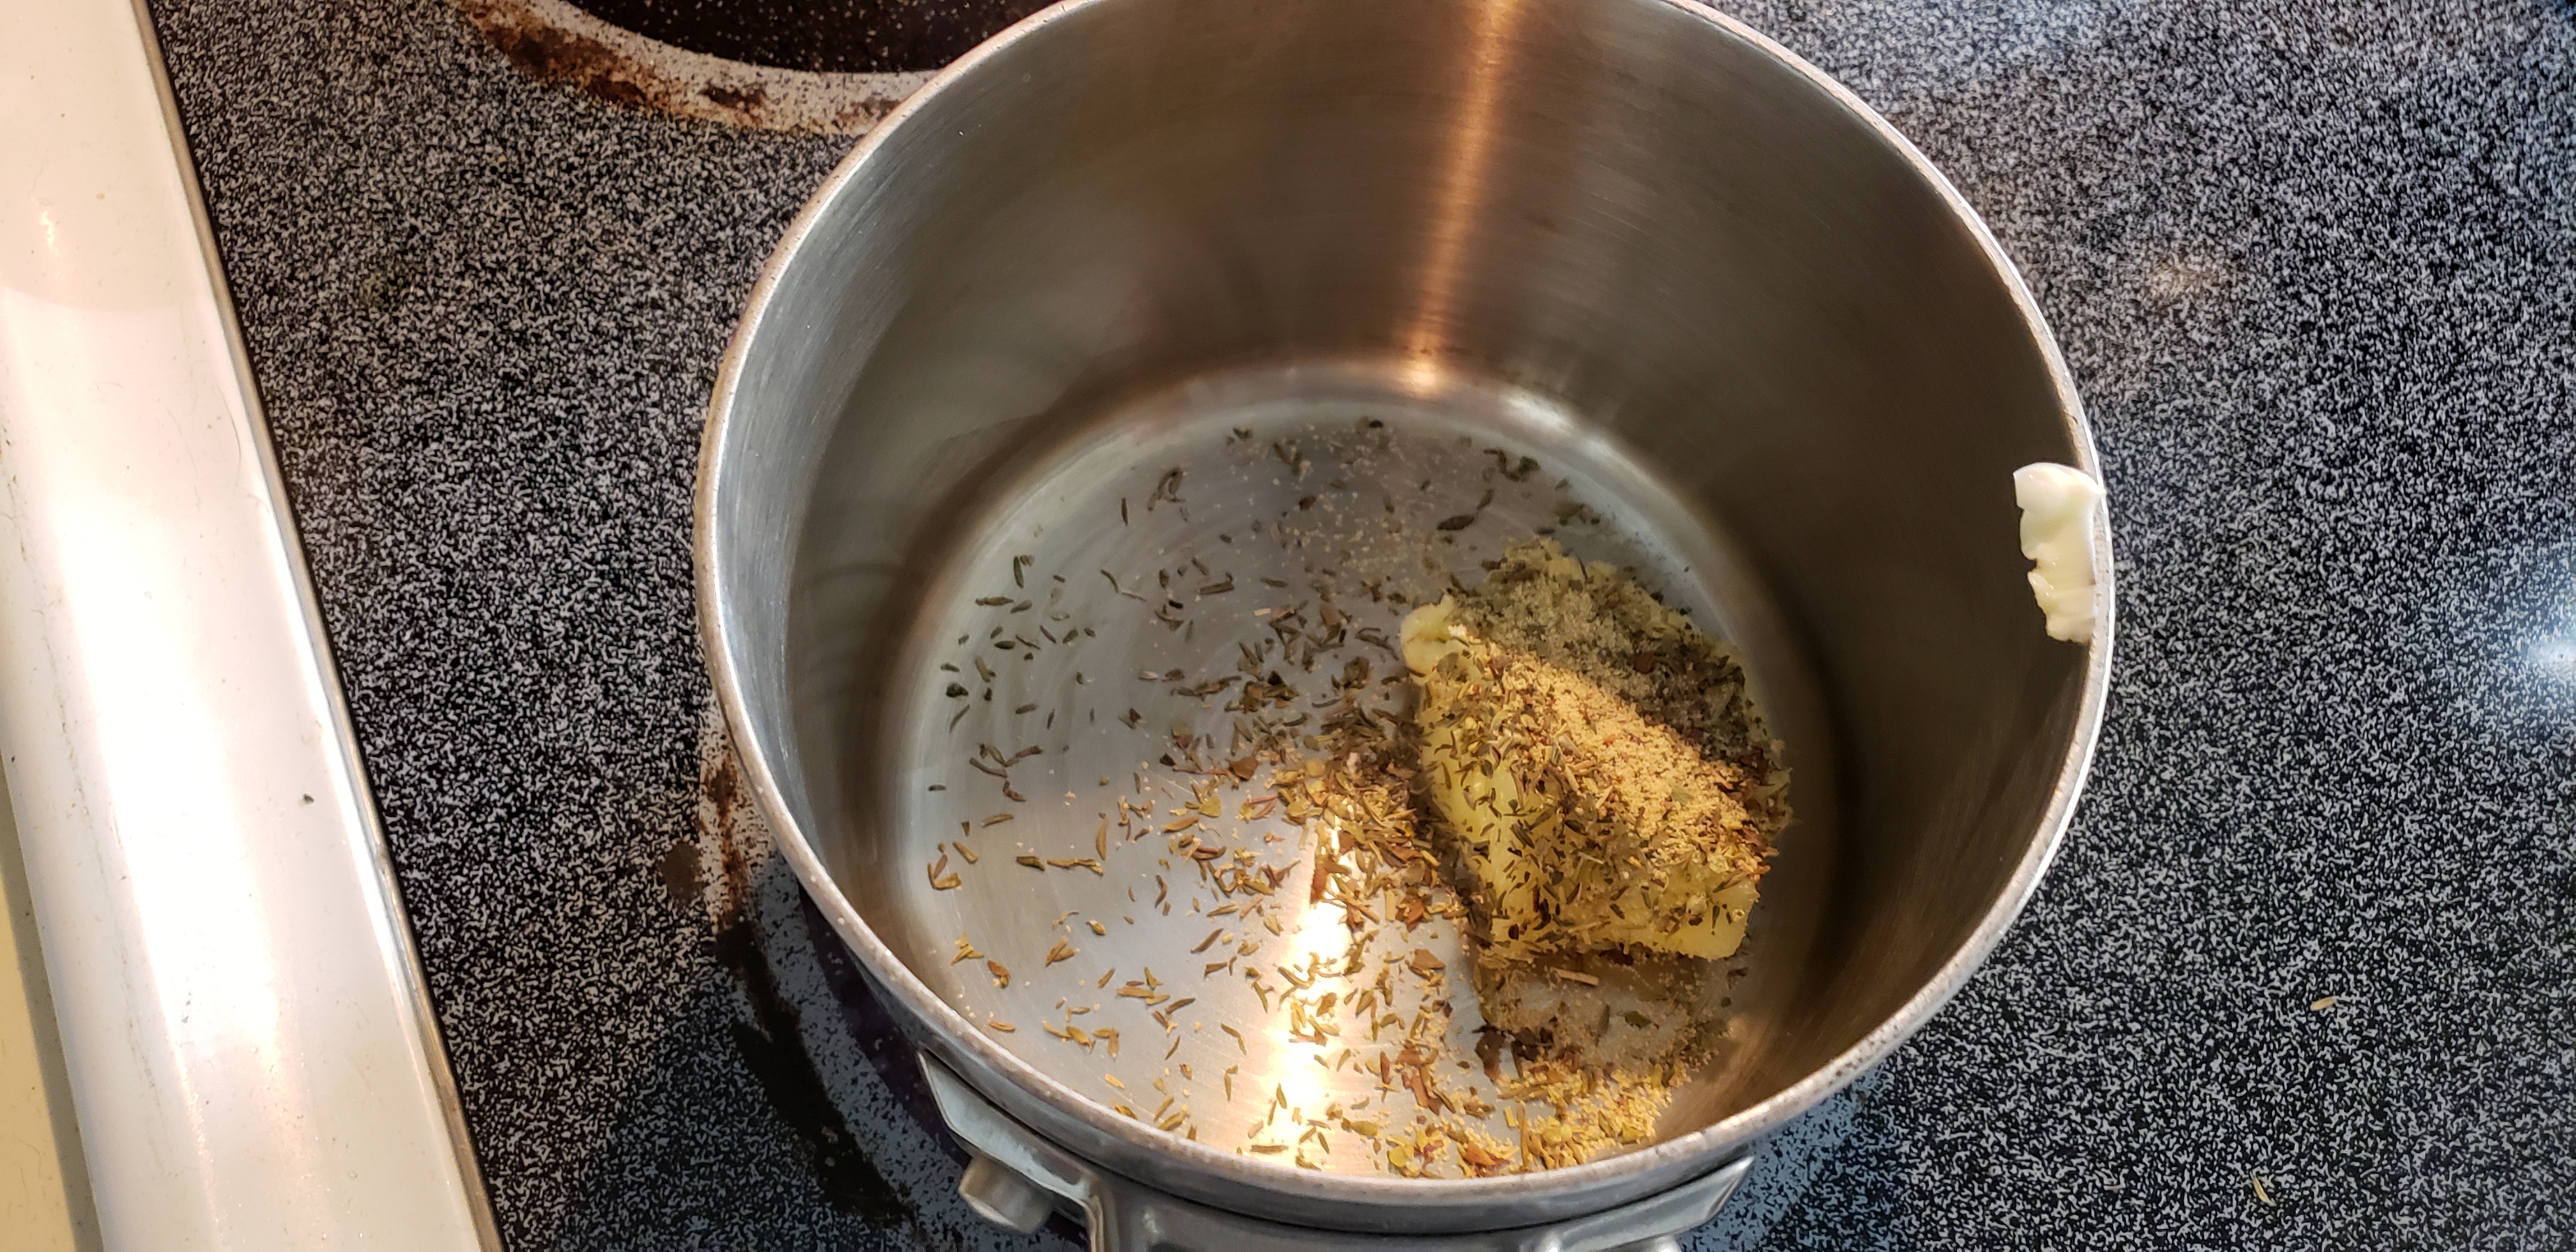
If you’re like us you want to slather this bowl of beauty with butter! Why not make a delicious herb butter?! Take 3 tbsp of butter and put it in a small saucepan over medium low heat. Add the remaining 1 tsp of all the dried herbs.

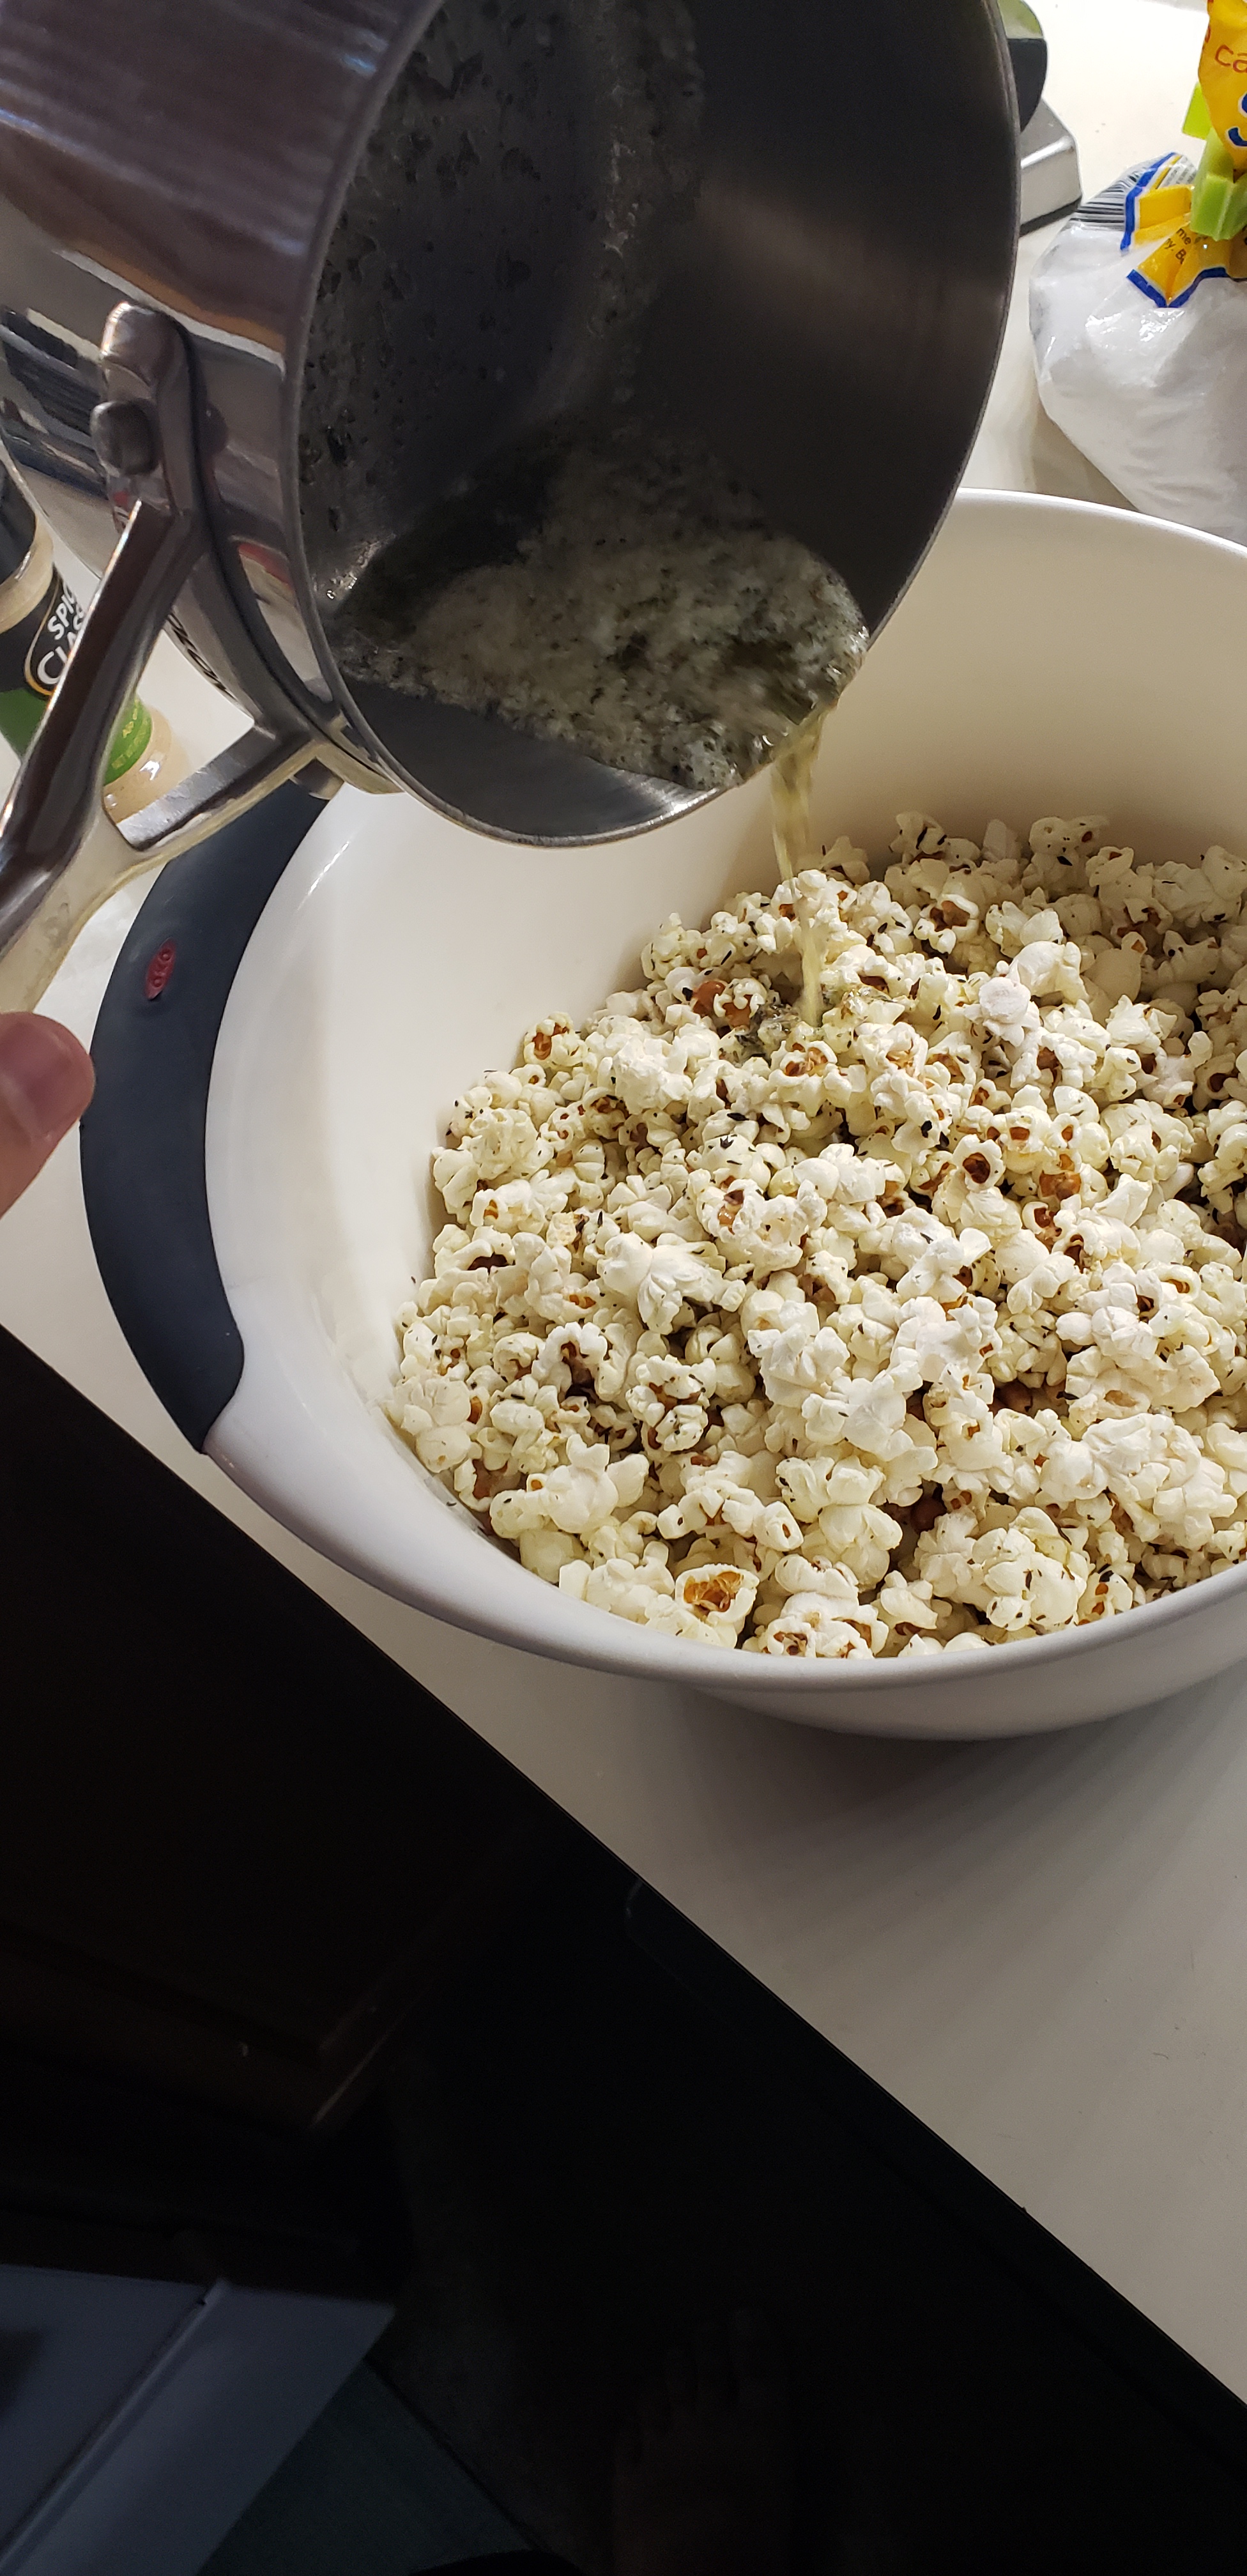
Once your delicious butter is all melted, drizzle it over your popcorn and enjoy.

Try it with any of your favorite spice combinations!

Yum!

Turkey Sloppy Joes

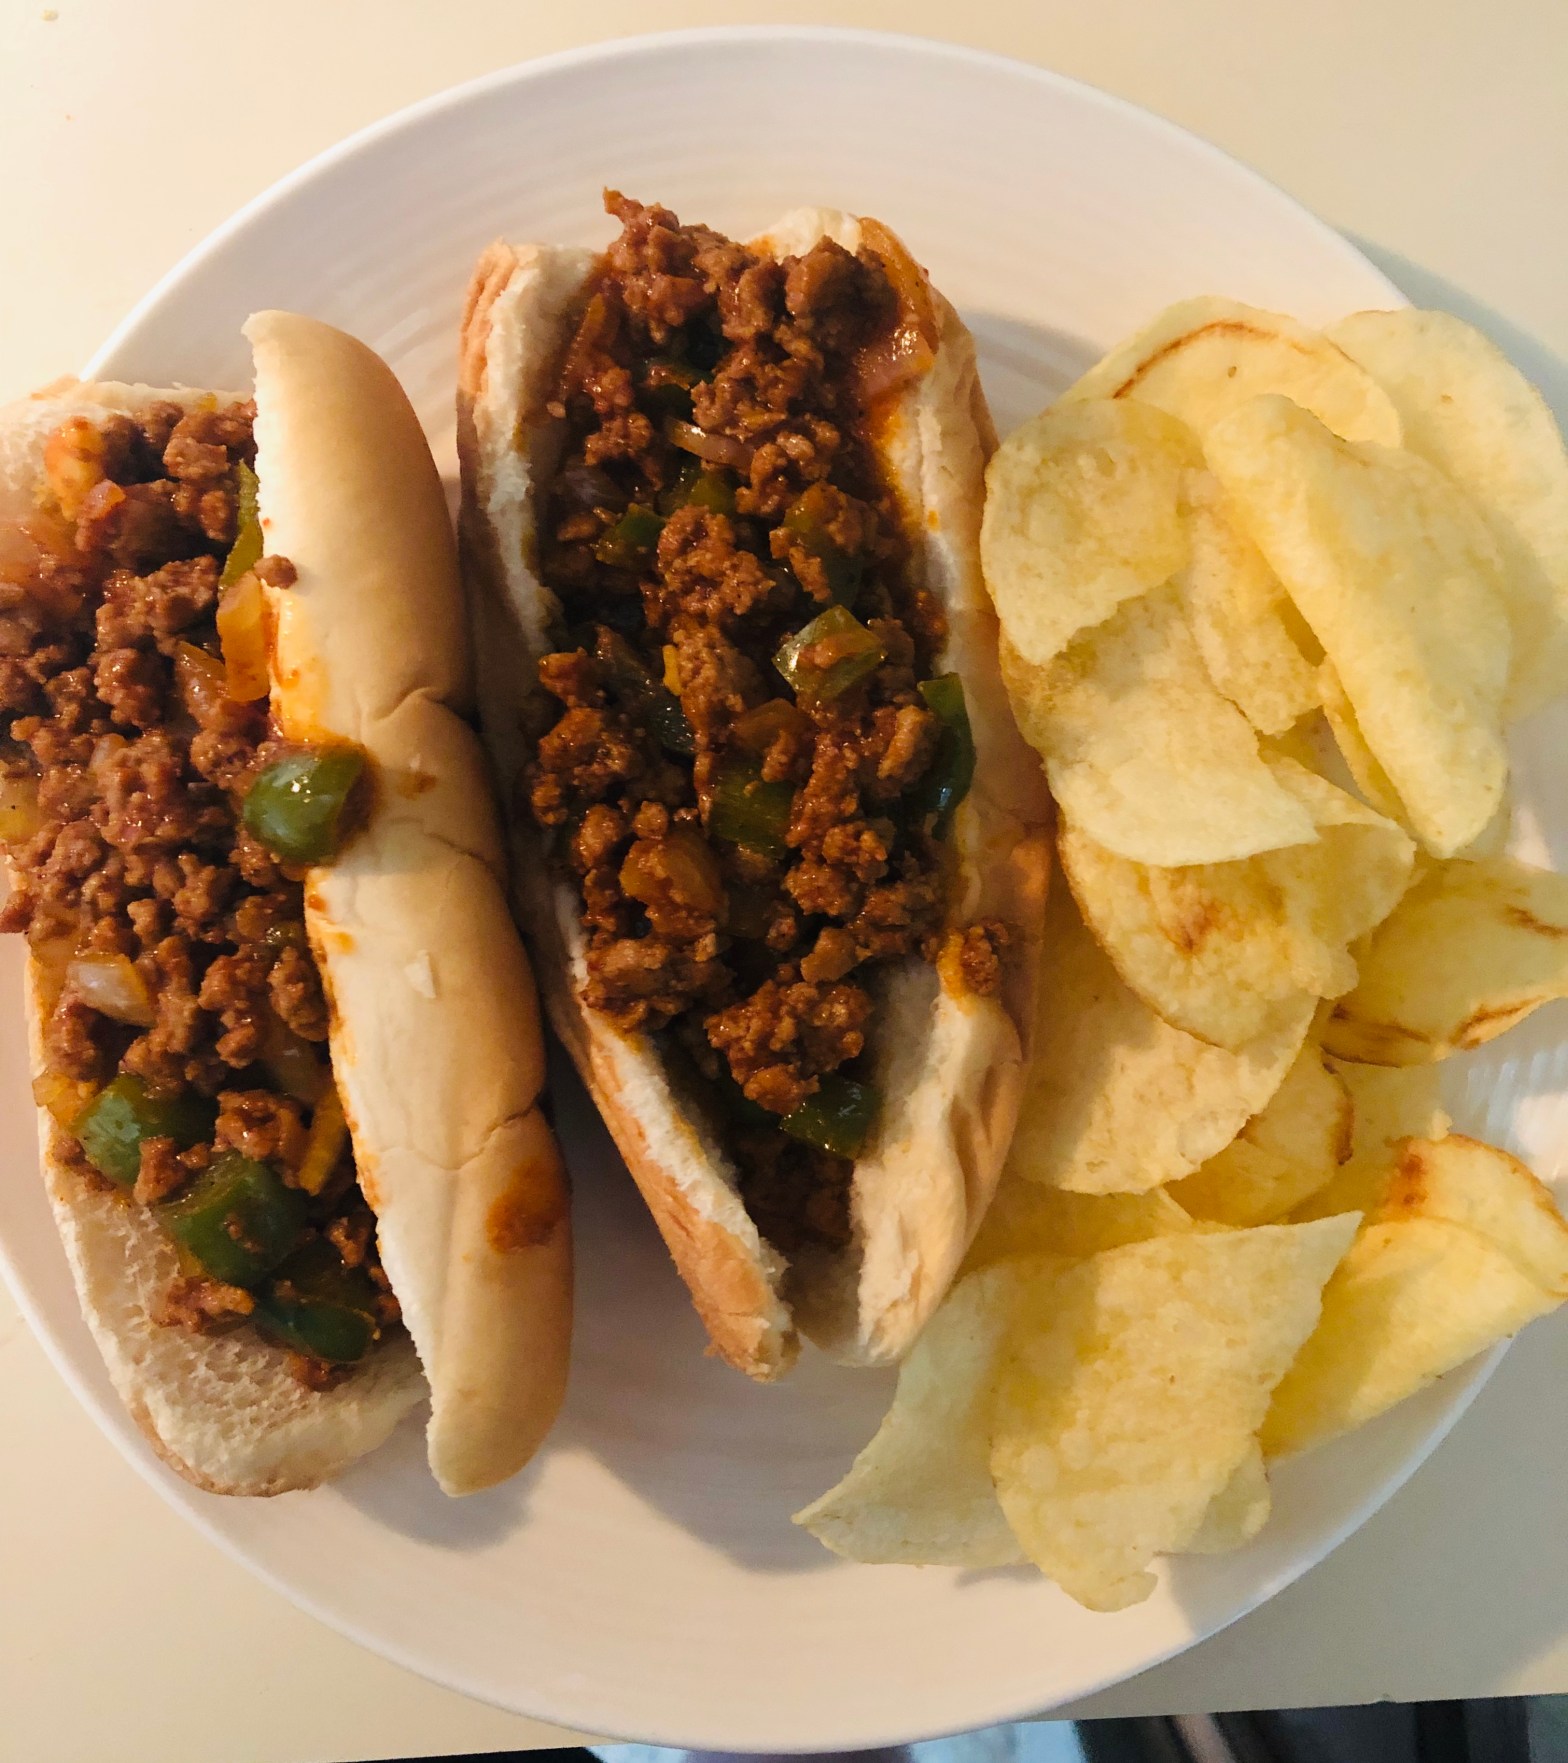
Here’s a weekday quickie that satisfies all of your childhood memories of sloppy joes, or as we used to call them, whimpies. My mom makes the best whimpies, but these come pretty close. Because of my excessive baking, we try to cut back in other aspects of our diet, and we’ve really fallen in love with ground turkey over the years. It’s versatile, lean, and delicious when seasoned well. Like chicken, you can pretty much do anything with it- meatballs, meatsauce, chili, meatloaf, or today’s sloppy joes. 

*I’ll be back eventually to show you how to make some delicious homemade buns for these sloppies.  

Turkey Sloppy Joes

Makes lots for two people plus leftovers

Olive oil, for sauteing

20 oz (1¼ lbs) ground turkey 

Kosher salt and pepper to taste 

1 medium onion, diced

1 medium bell pepper, diced (reds are my favorite, but all we had today was green)

2-3 cloves of garlic, minced

2 tablespoons tomato paste

2 tablespoons chili powder

1 cup barbecue sauce 

1/2 cup ketchup

2 tablespoons yellow mustard 

1 tablespoon brown sugar

2 teaspoons worcestershire sauce

Dashes hot sauce, to taste

Hamburger or hotdog buns, for serving

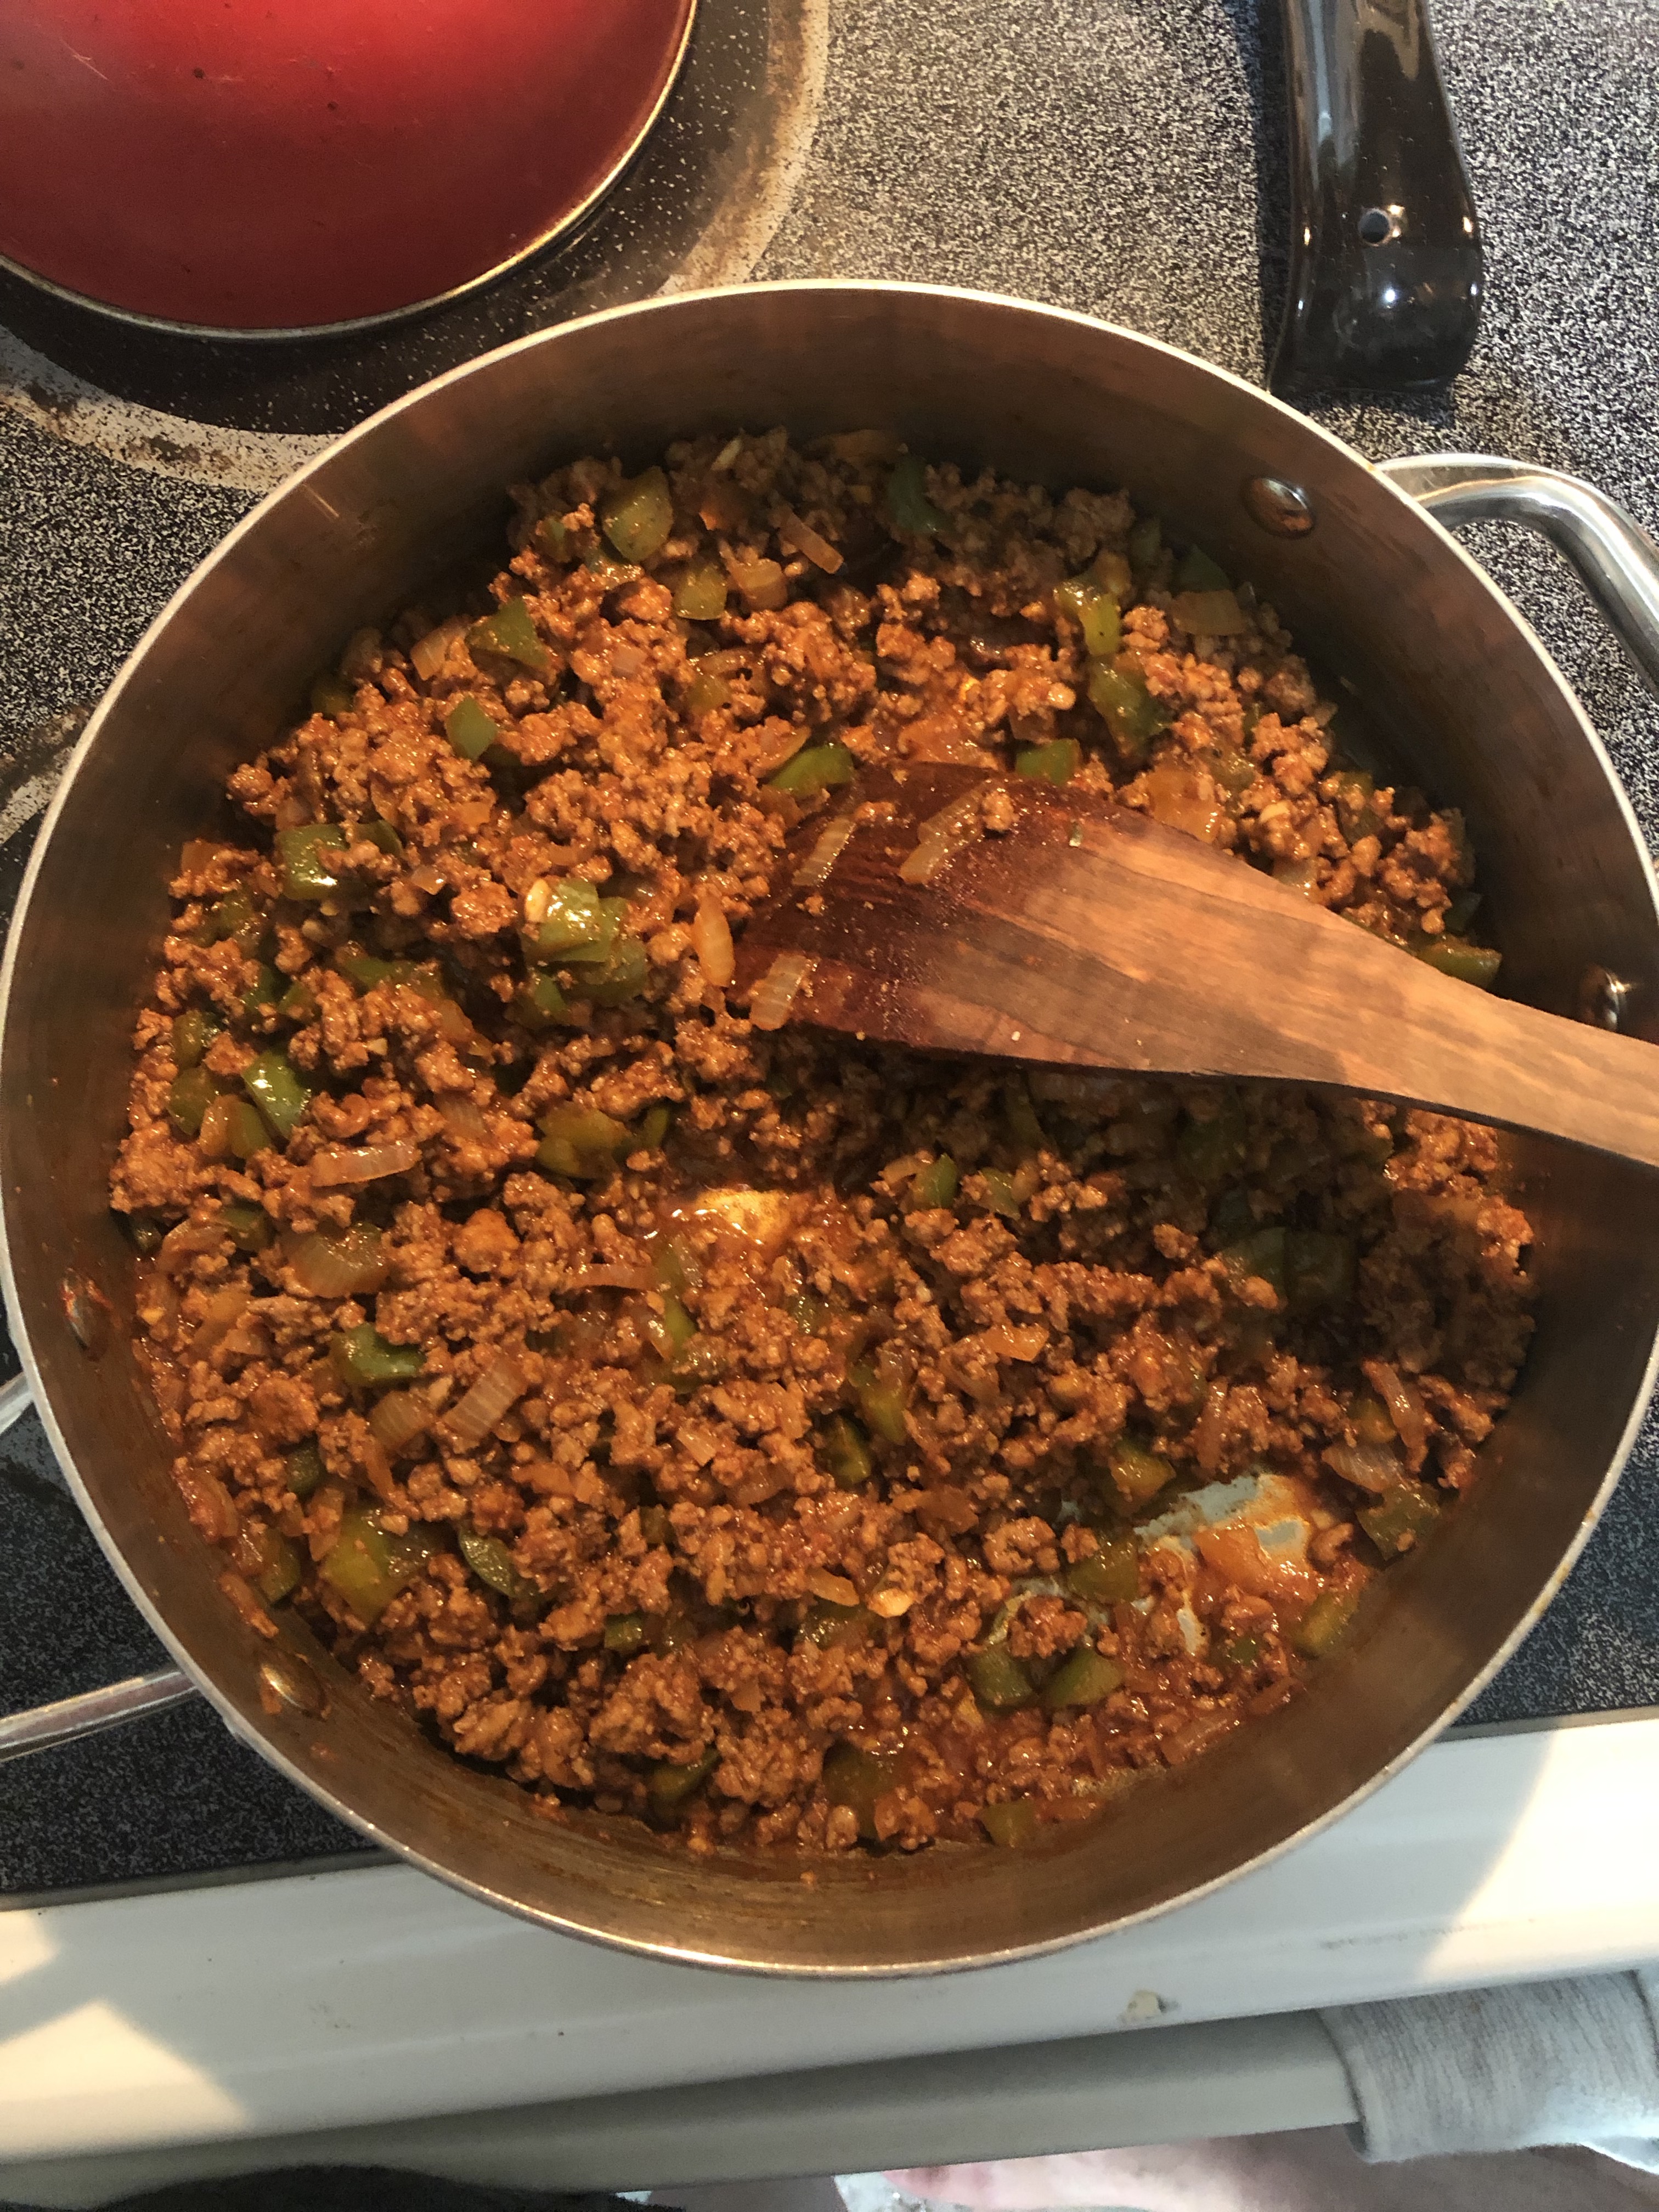
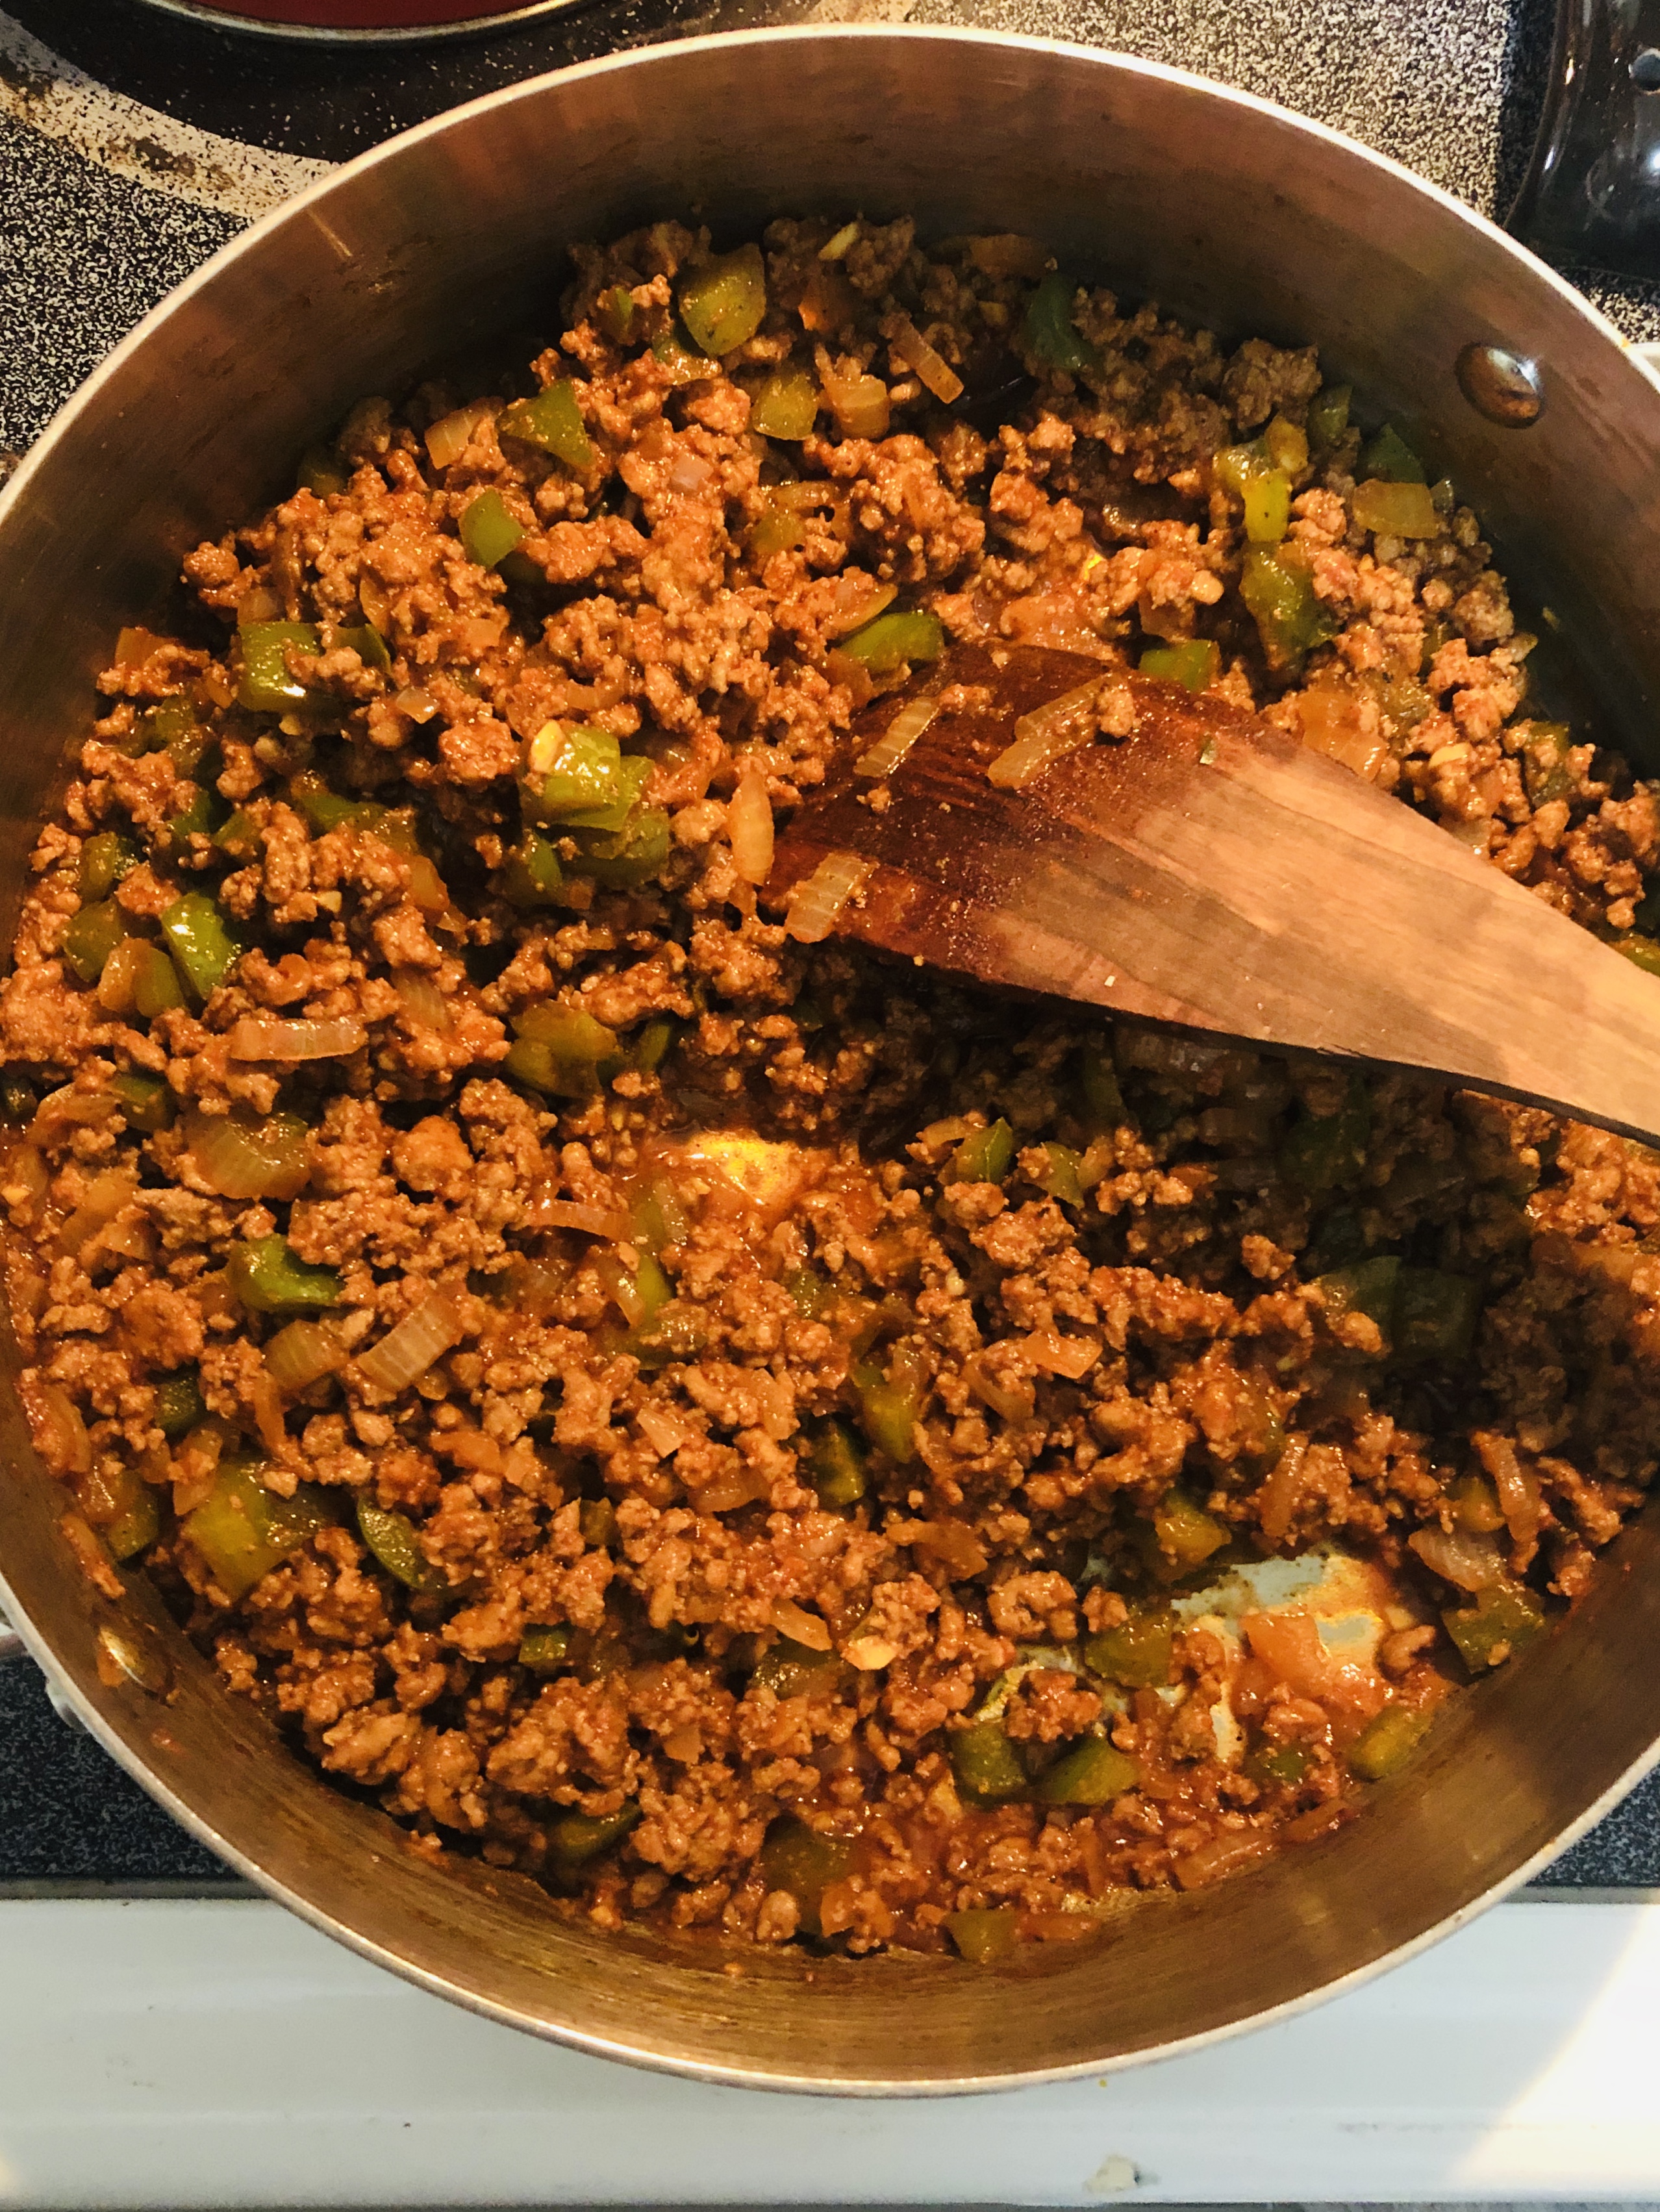
Cook the turkey and vegetables. Coat a large saute pan with olive oil and heat it over medium heat. Once the oil is hot, add the turkey and break it up with a wooden spoon, seasoning it generously with salt and pepper. Don’t be shy! Turkey needs lots of seasoning. Brown the turkey until there’s almost no more pink. Add the onion, bell pepper, and garlic and saute until the vegetables are nice and soft and the turkey is fully browned, about 7-10 minutes. 

Add the rest of the sloppy joe ingredients. Add the tomato paste and chili powder and saute for another 3 minutes to cook the tomato paste a bit. This develops yummier tomato flavor. Add the rest of the ingredients (besides the buns, duh) and mix to combine. Taste and adjust seasonings. This recipe is very forgiving- you can absolutely add more ketchup, barbecue sauce, hot sauce, brown sugar, etc. to your liking. Reduce the heat and simmer the mixture for 5-10 minutes, just to meld all of the ingredients. 

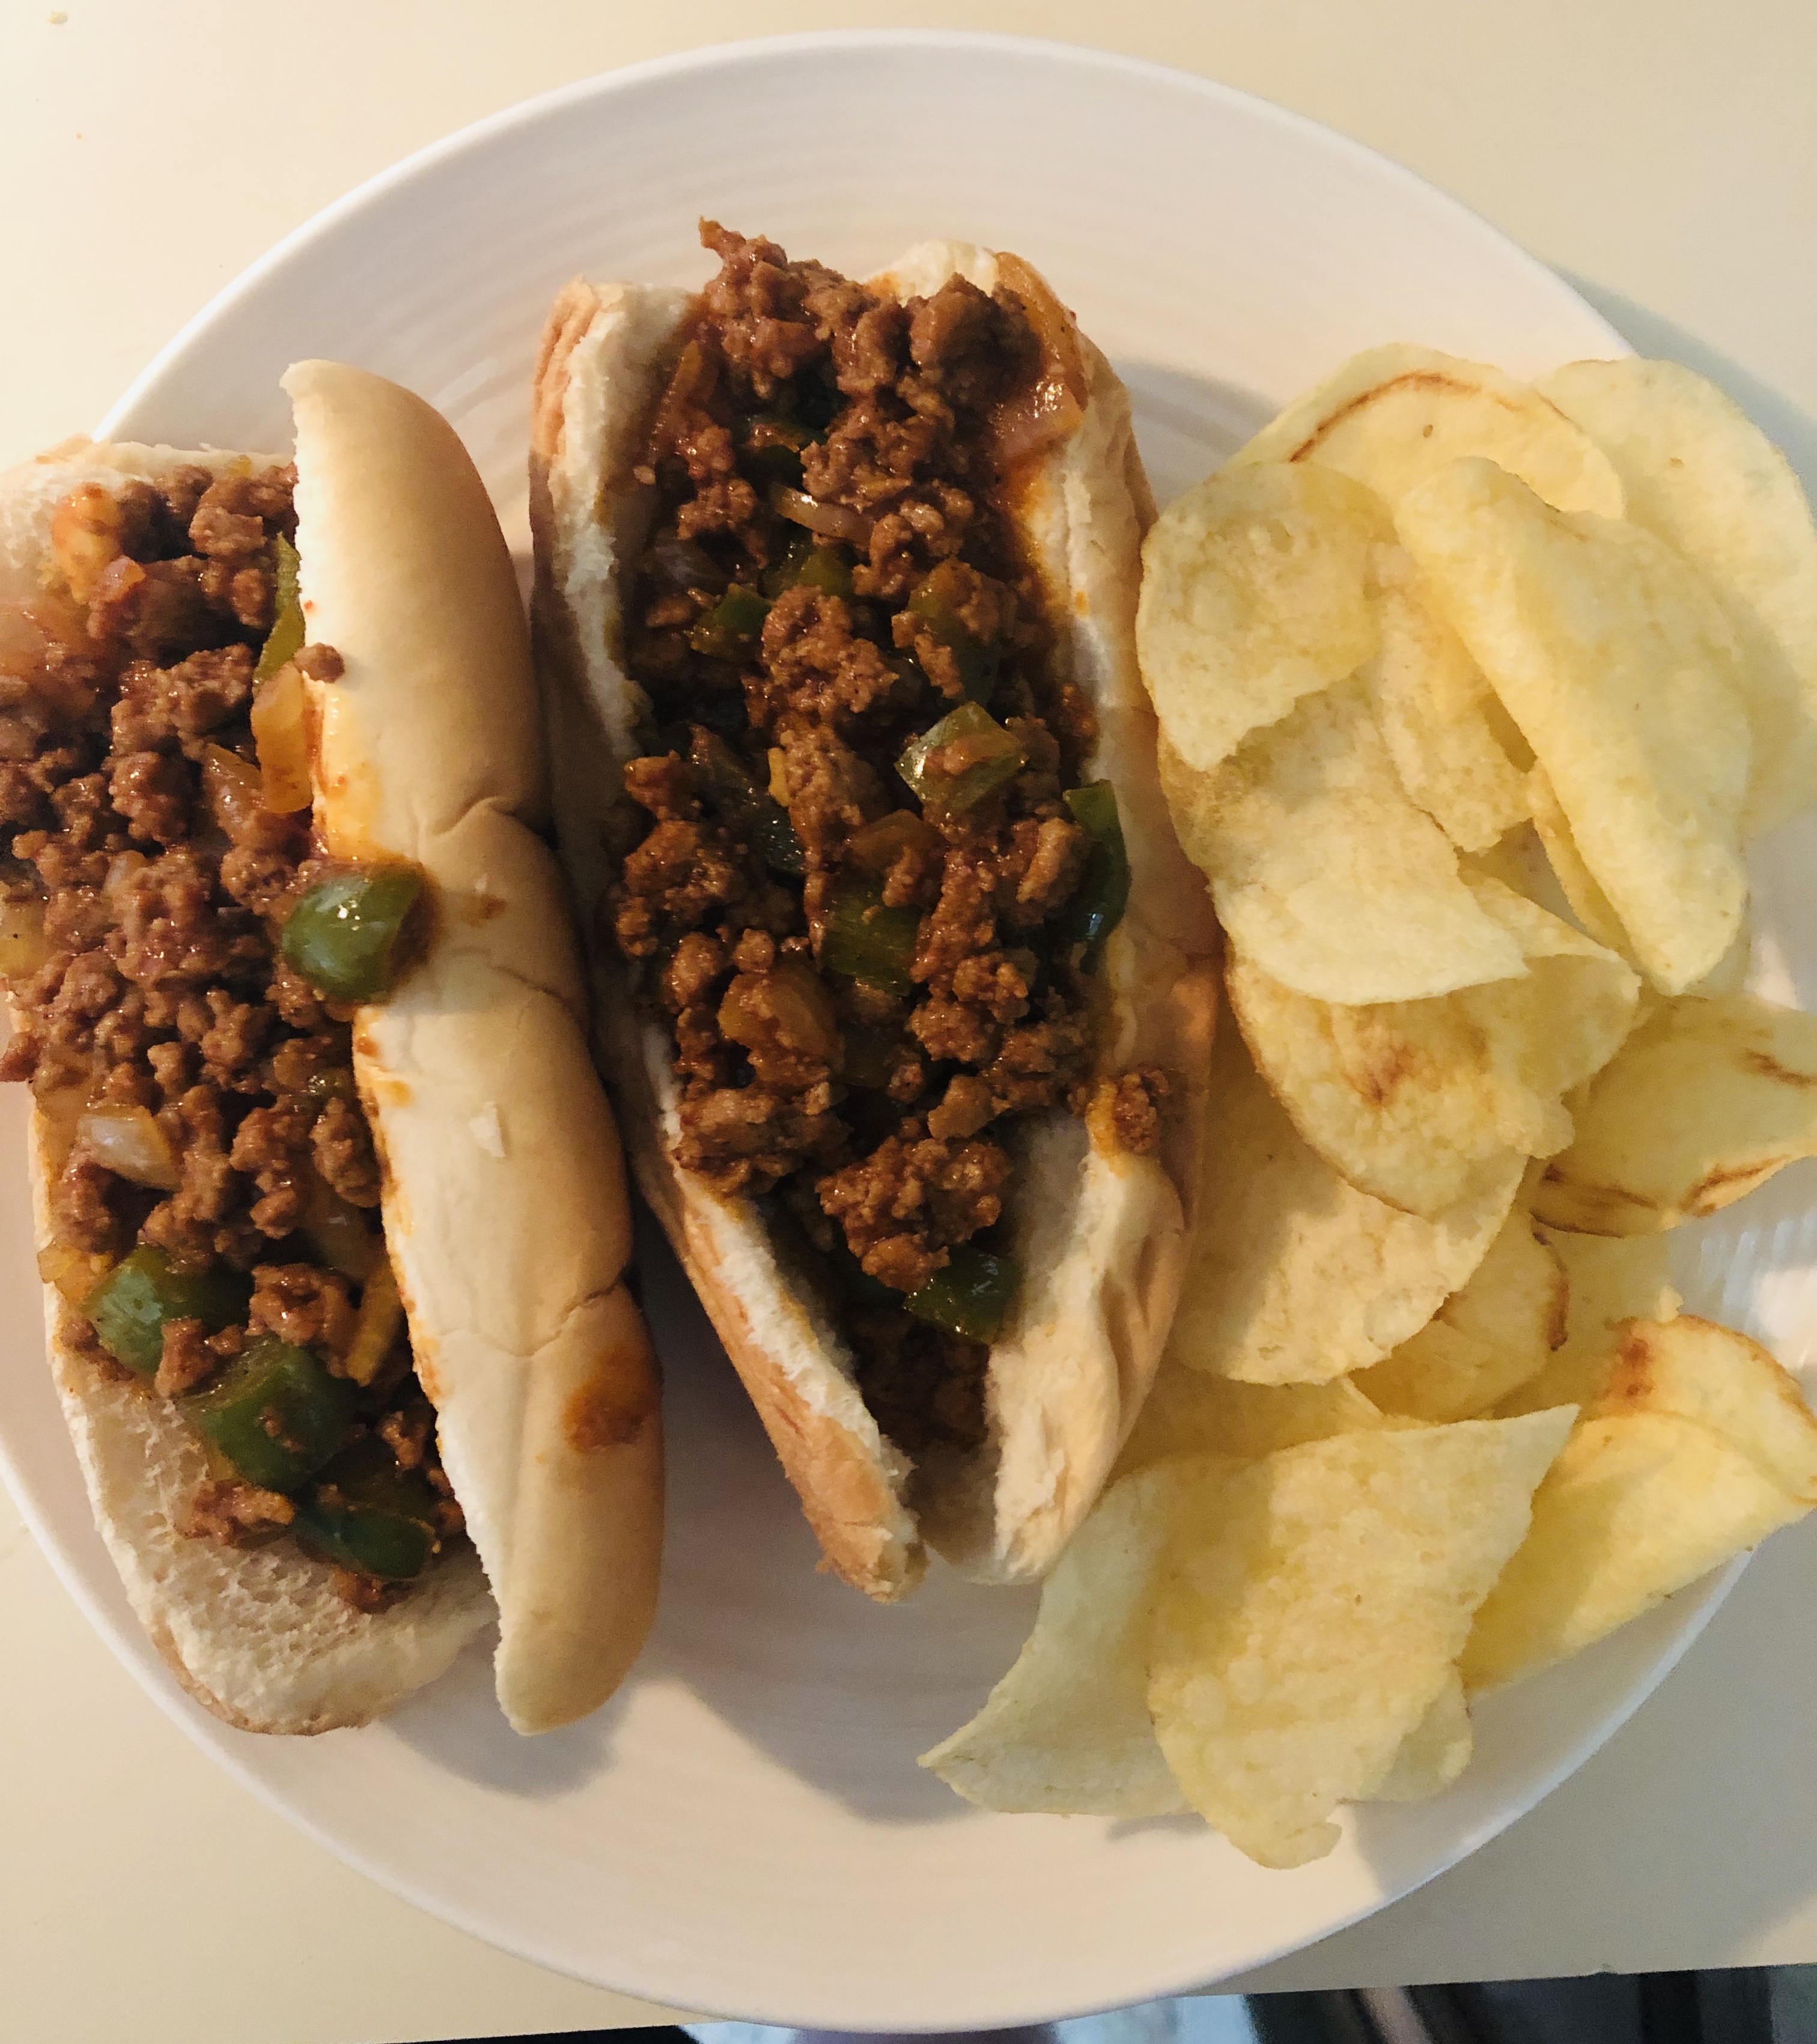
Serve the sloppy joes on hamburger buns (or hotdog buns if you’re like us and that’s all you have). Complete your dinner with some potato chips, because honestly, is it really a sandwich without some kind of fried potato on the side? 

Enjoy these sweet, spicy, tangy, sloppy sandwiches!

-Jess

So you think you hate Brussels sprouts…

I bet almost every one of you has eaten a gross steamed or boiled Brussels sprout at least once in your life and I bet it was pretty nasty. Let me give you a little piece of advice. NEVER DO THAT AGAIN!!!
I used to hate Brussels sprouts until I discovered roasting them with bacon. Yes… BACON!!! Here’s a great recipe that I guarantee you will love!
Here’s what you’re going to need:

  • 1 lb Brussels sprouts
  • 1/2 medium onion
  • 4 strips bacon
  • generous helpings of kosher salt and fresh cracked pepper
  • 1/4 cup olive oil
  • non-stick spray

First things first- lets get our ovens preheated to 425 F.

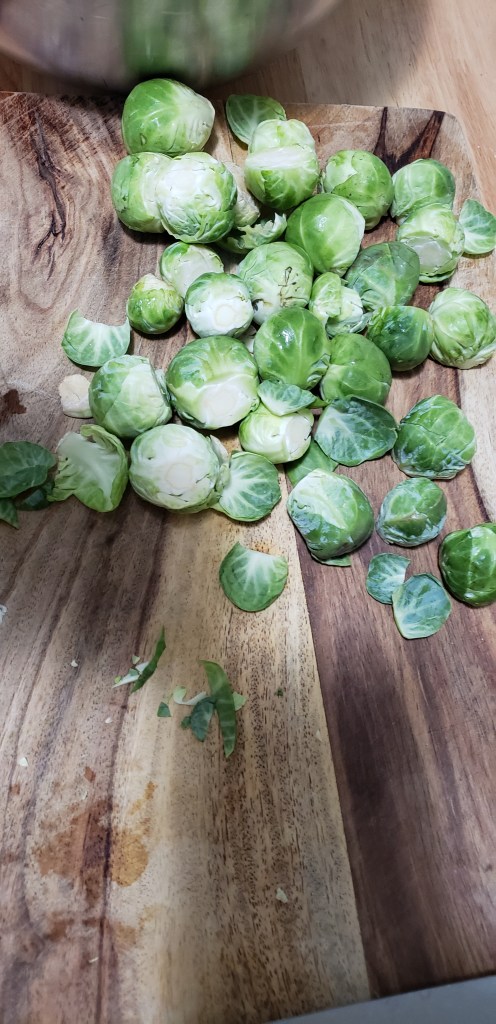
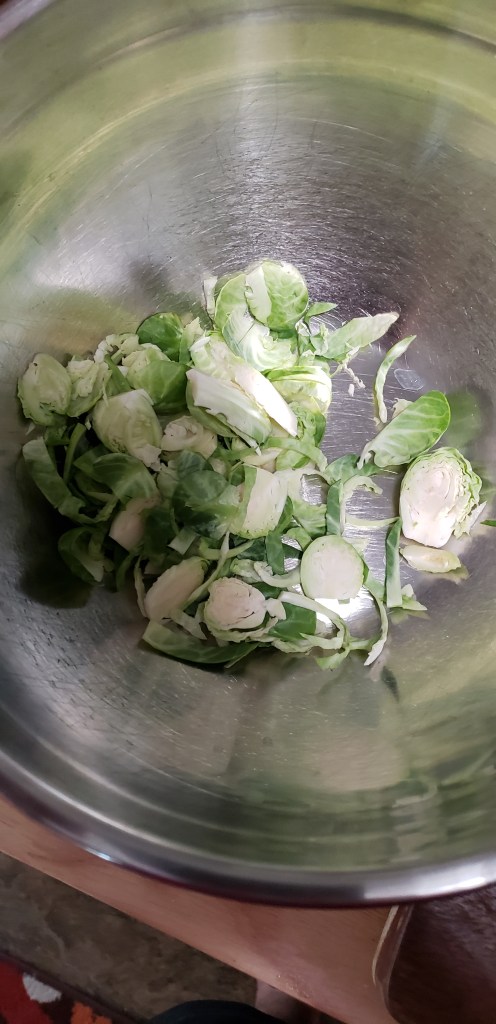
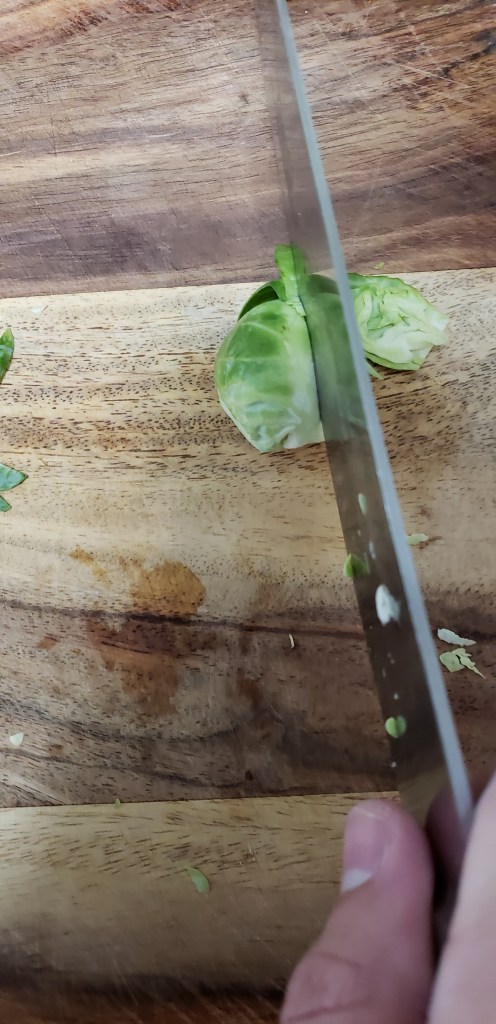
To prep the sprouts, cut the ends off of each one. This seems like a pain but trust me. Once you have the ends removed cut them into thin strips (also known as julienne). Put them in a large mixing bowl.

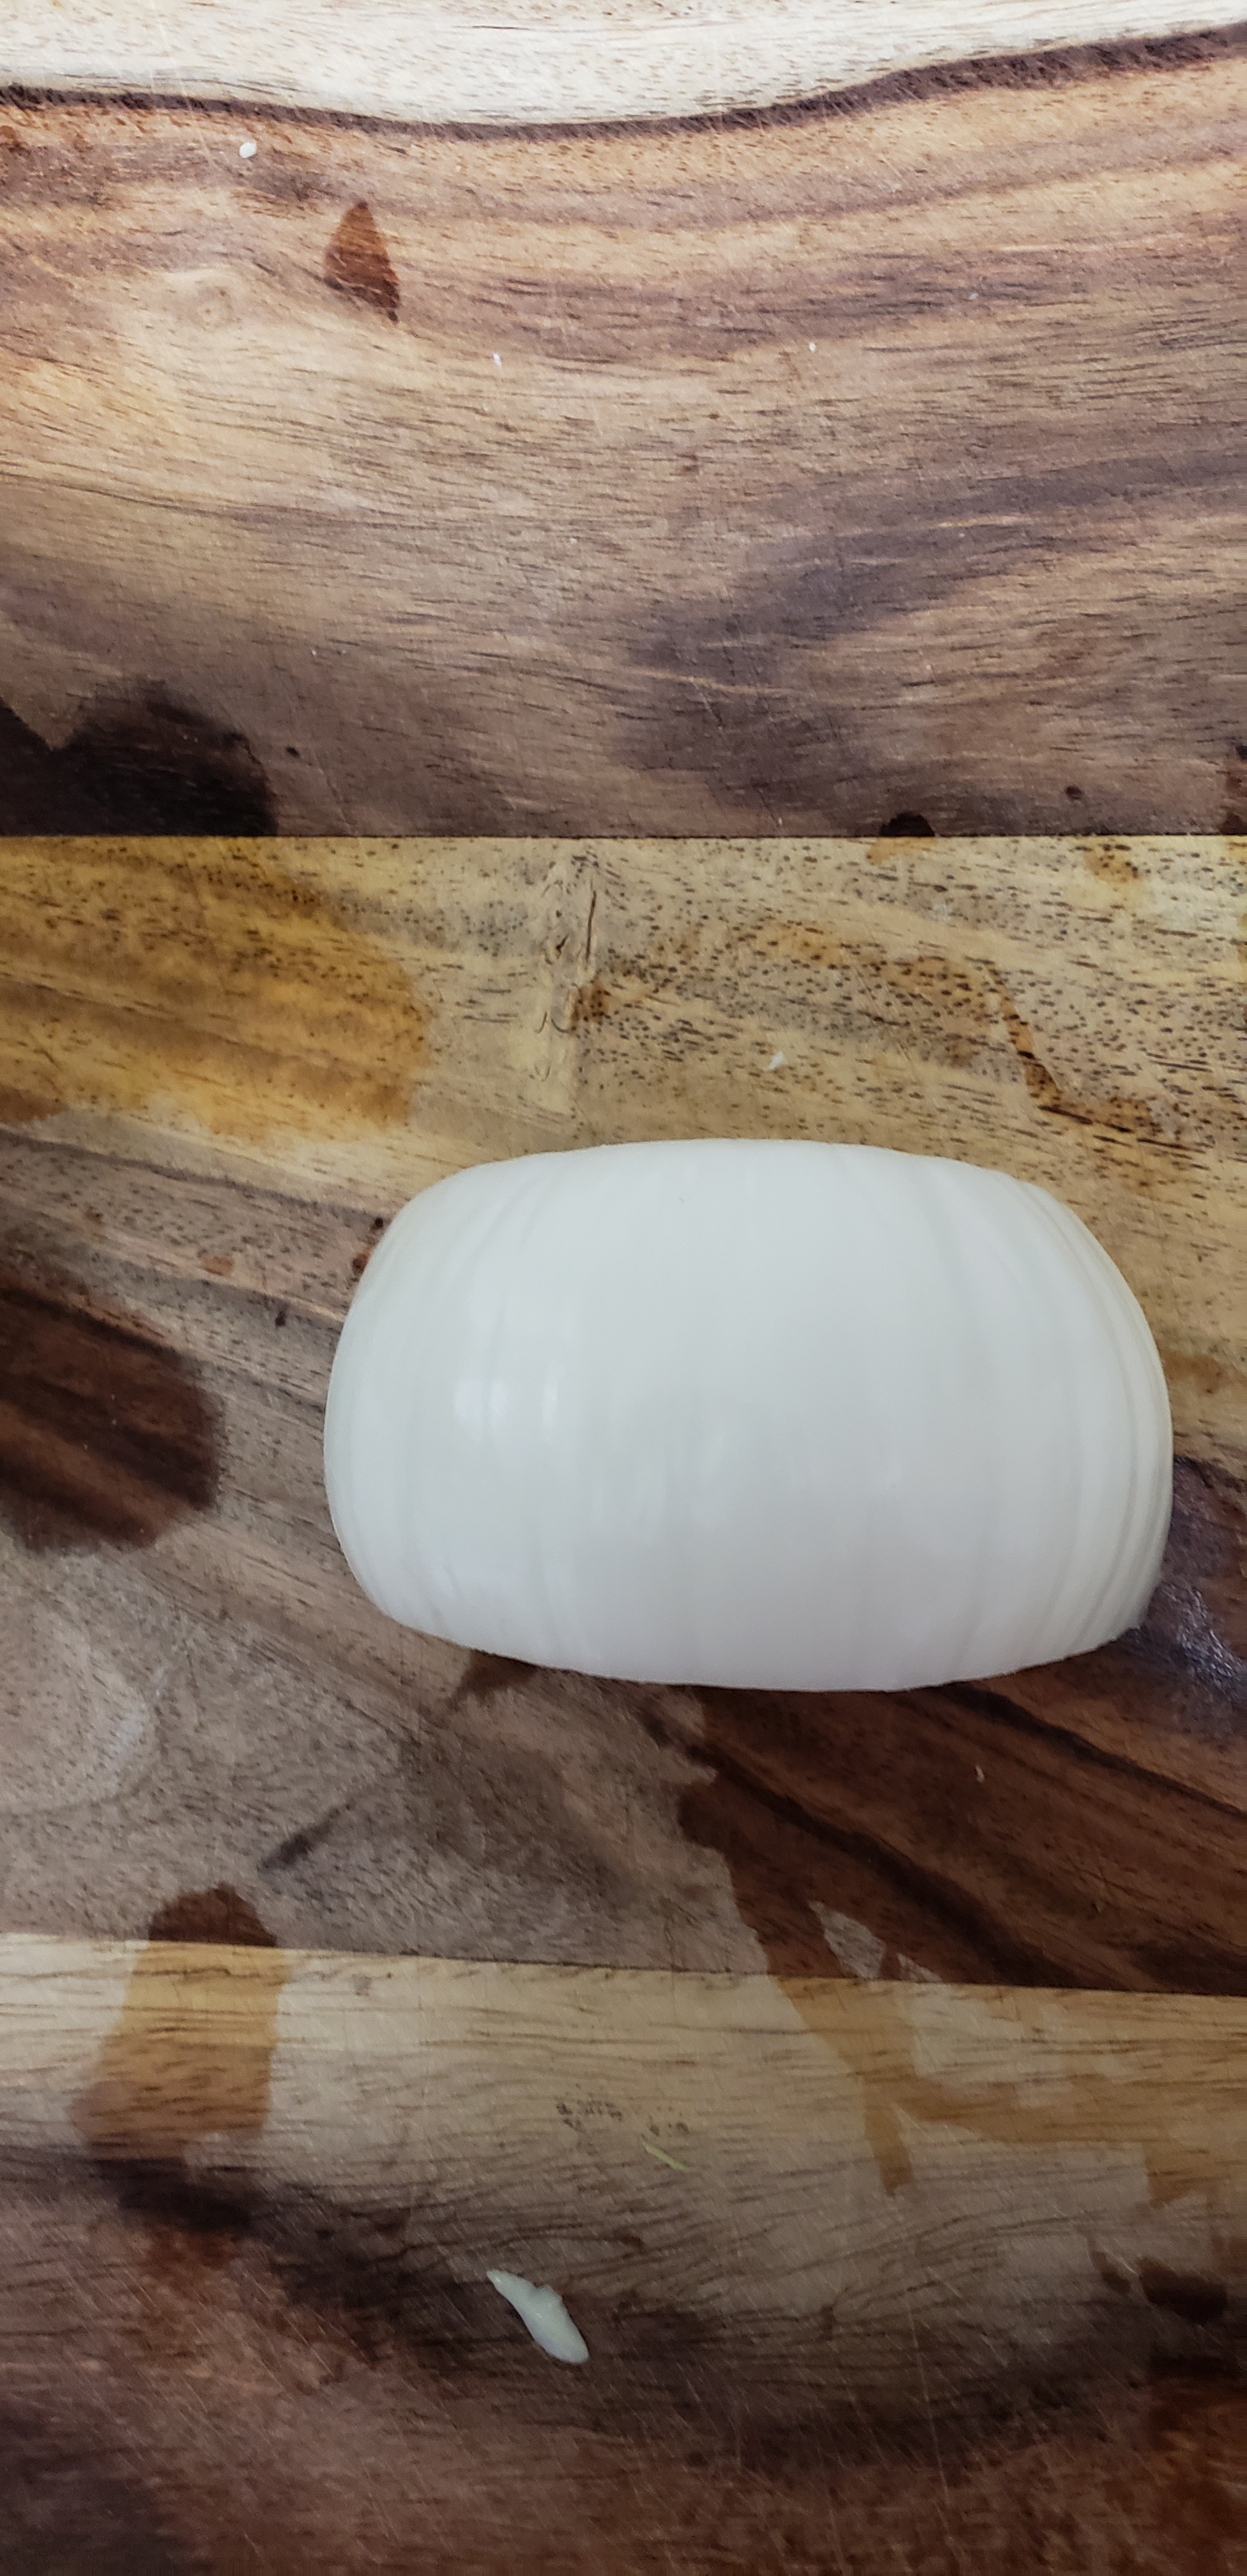
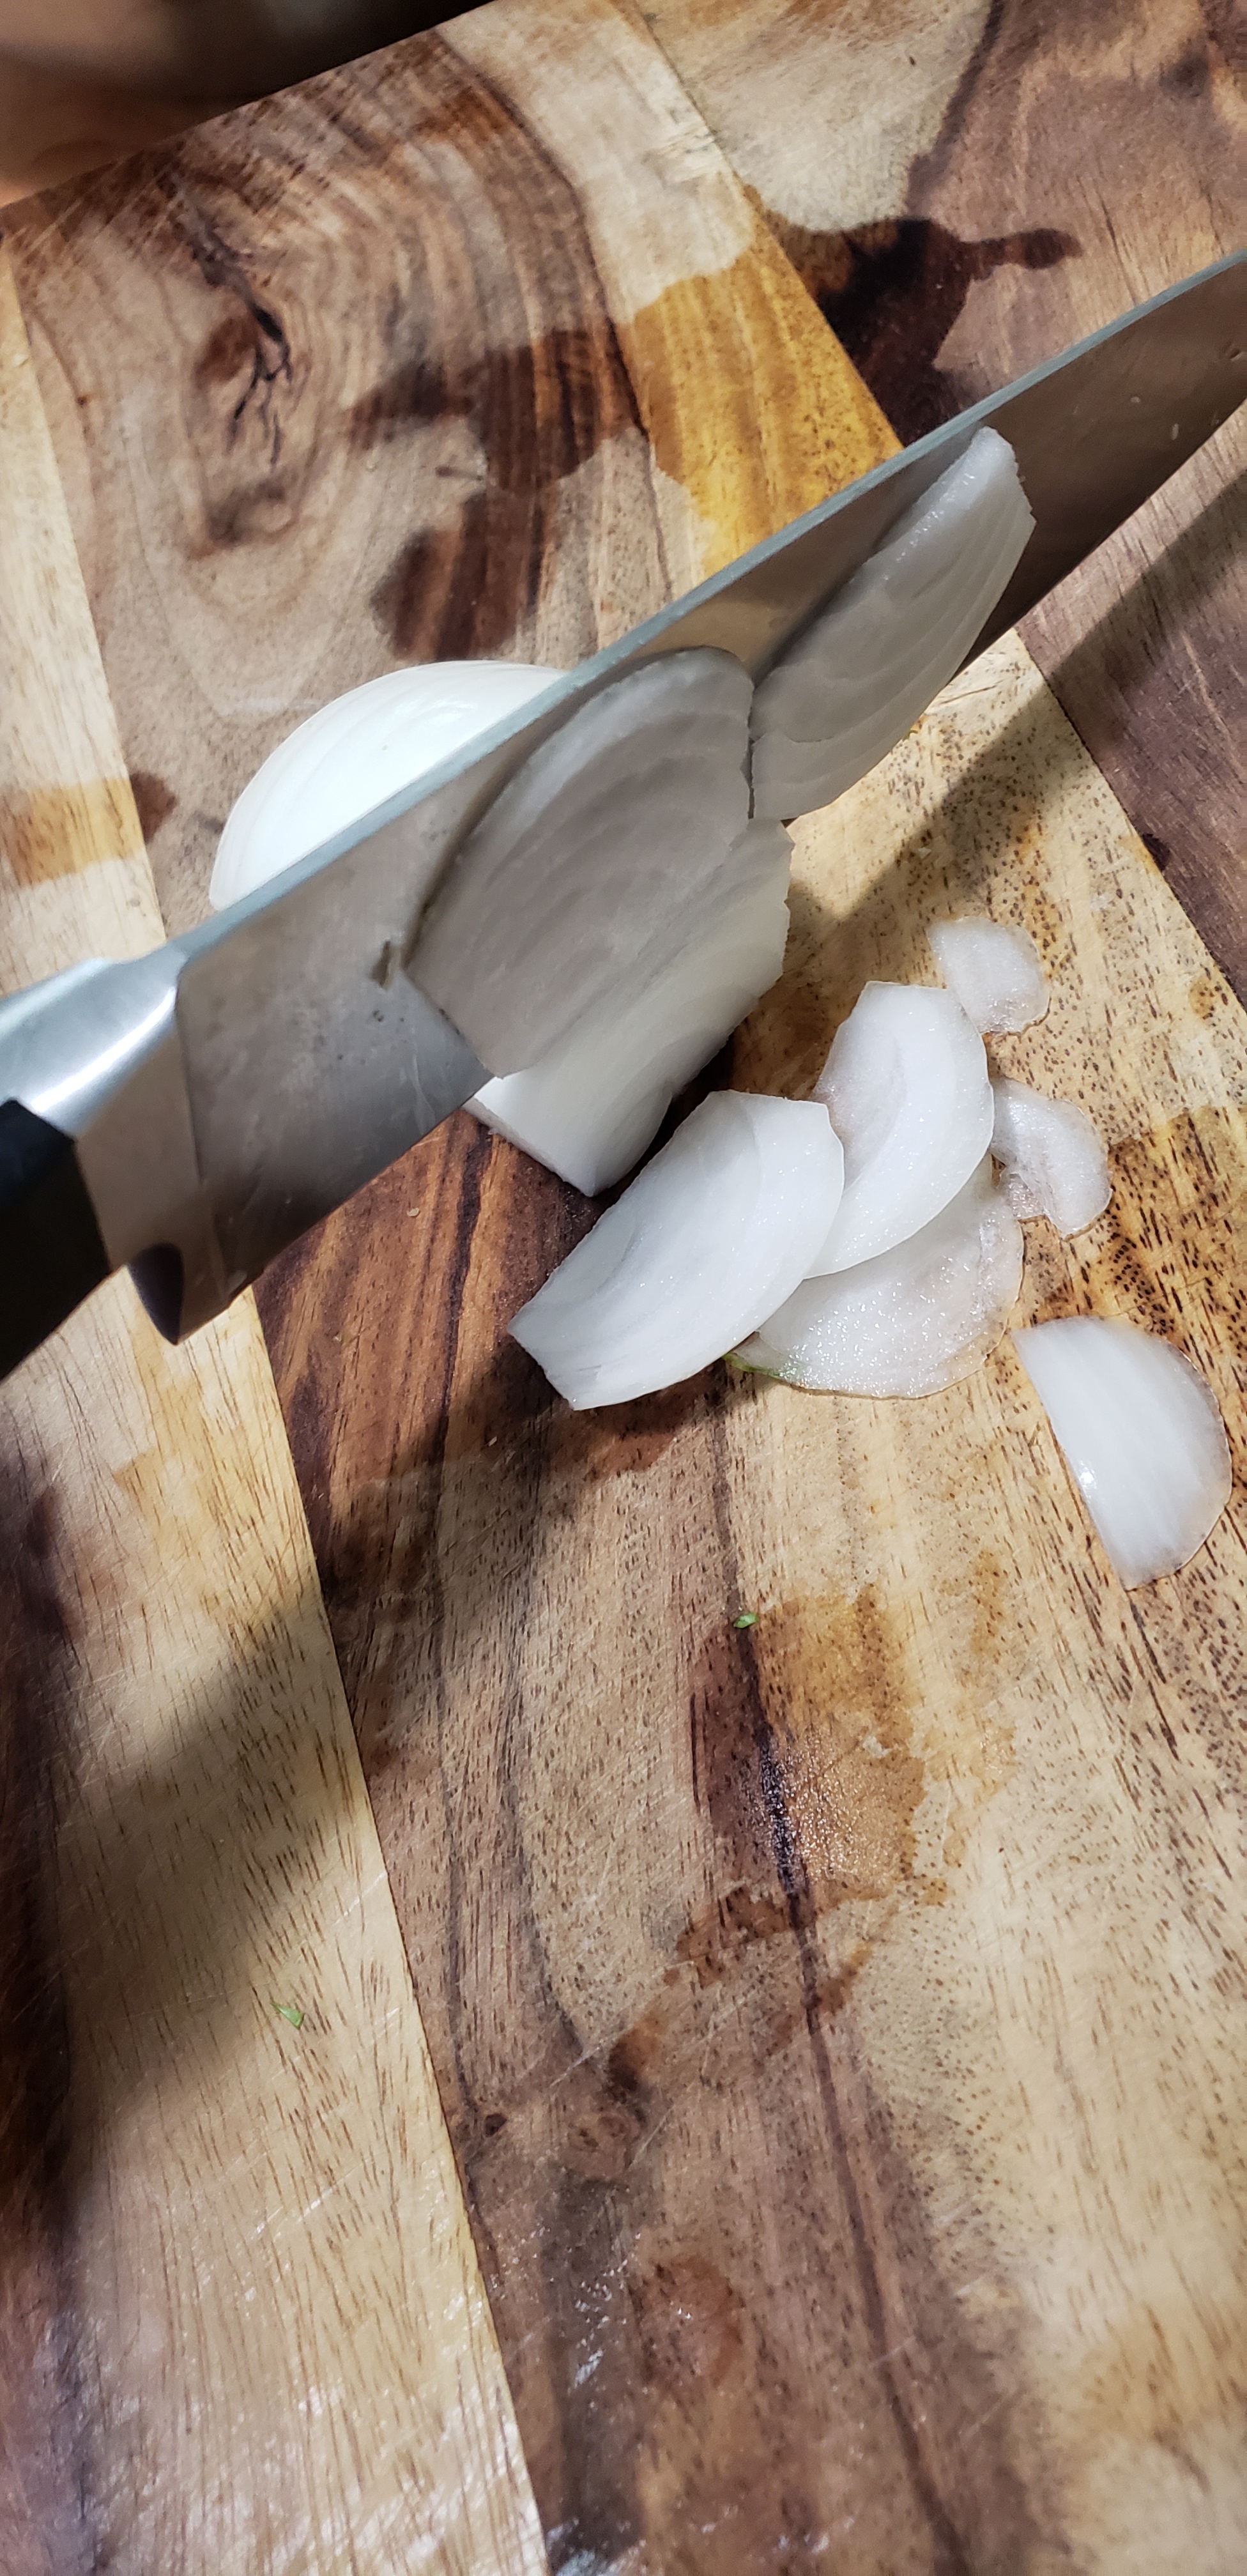
Chop off both ends of a medium onion. We aren’t going to be dicing the onion so we don’t need to worry about taking off the stem. We only need one half so keep the peel on the other half, wrap it in a piece of paper towel, put it in a zip lock bag, and store it in the fridge for no more than 4 days. Peel the second half and put the flat edge down on your cutting board. Cut the onion into strips like you have with a fajita. Add to bowl with sprouts.

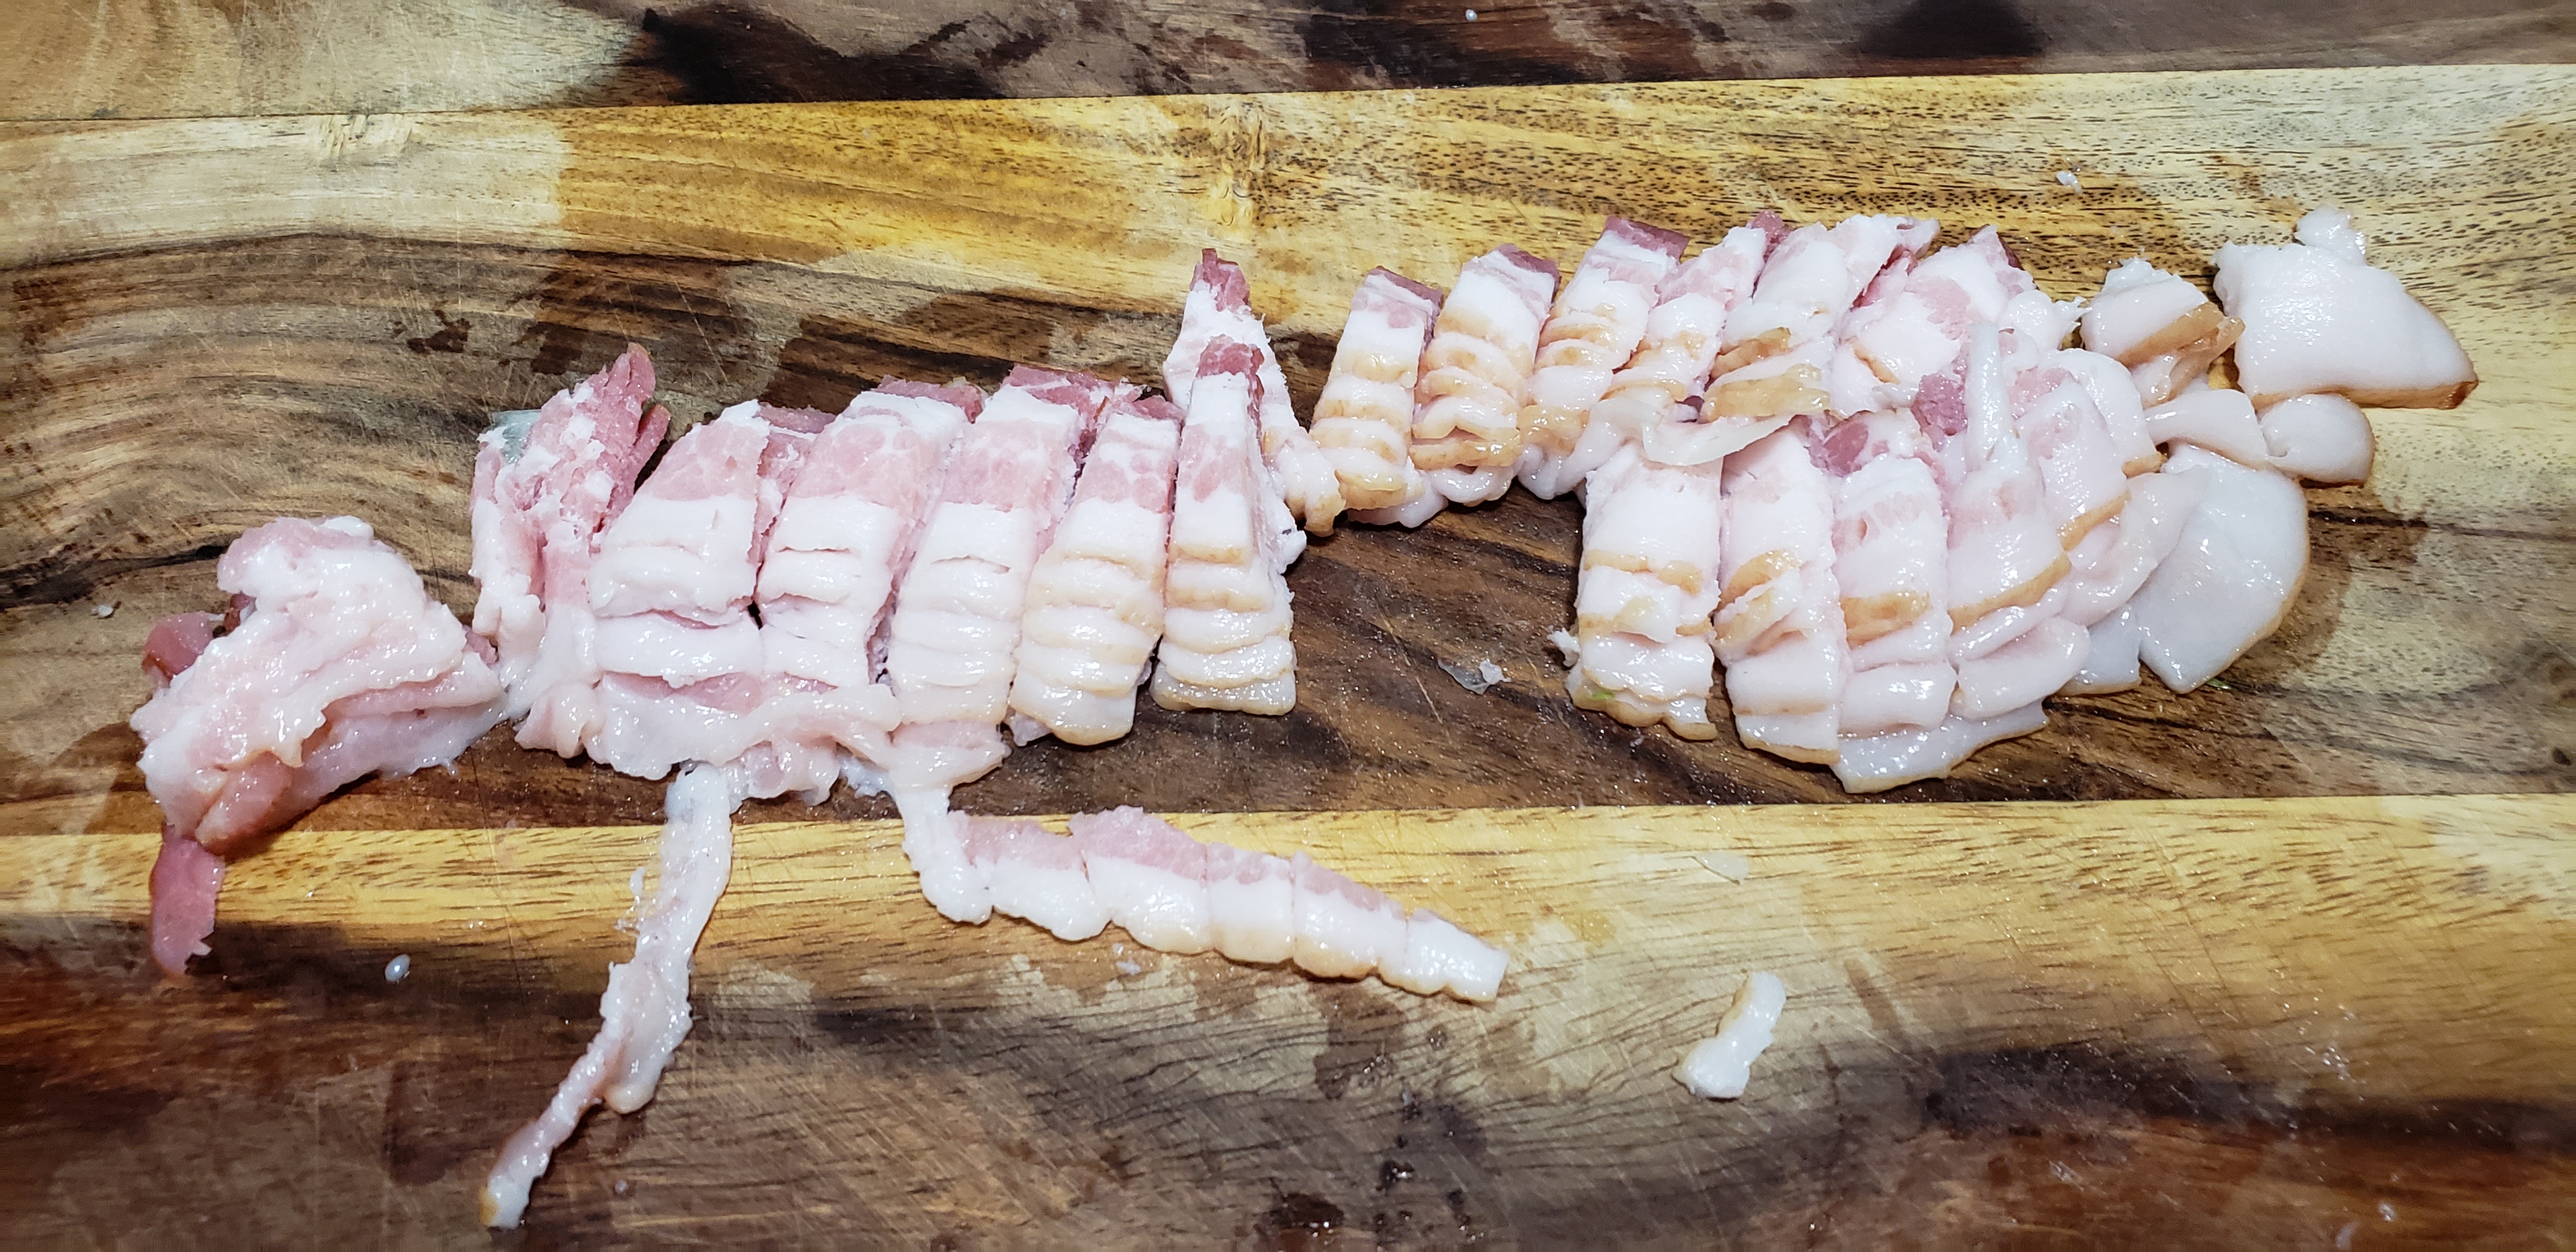
Take four strips of bacon and cut them into strips. You can even use kitchen shears if you want to. Add to bowl with sprouts and onions.

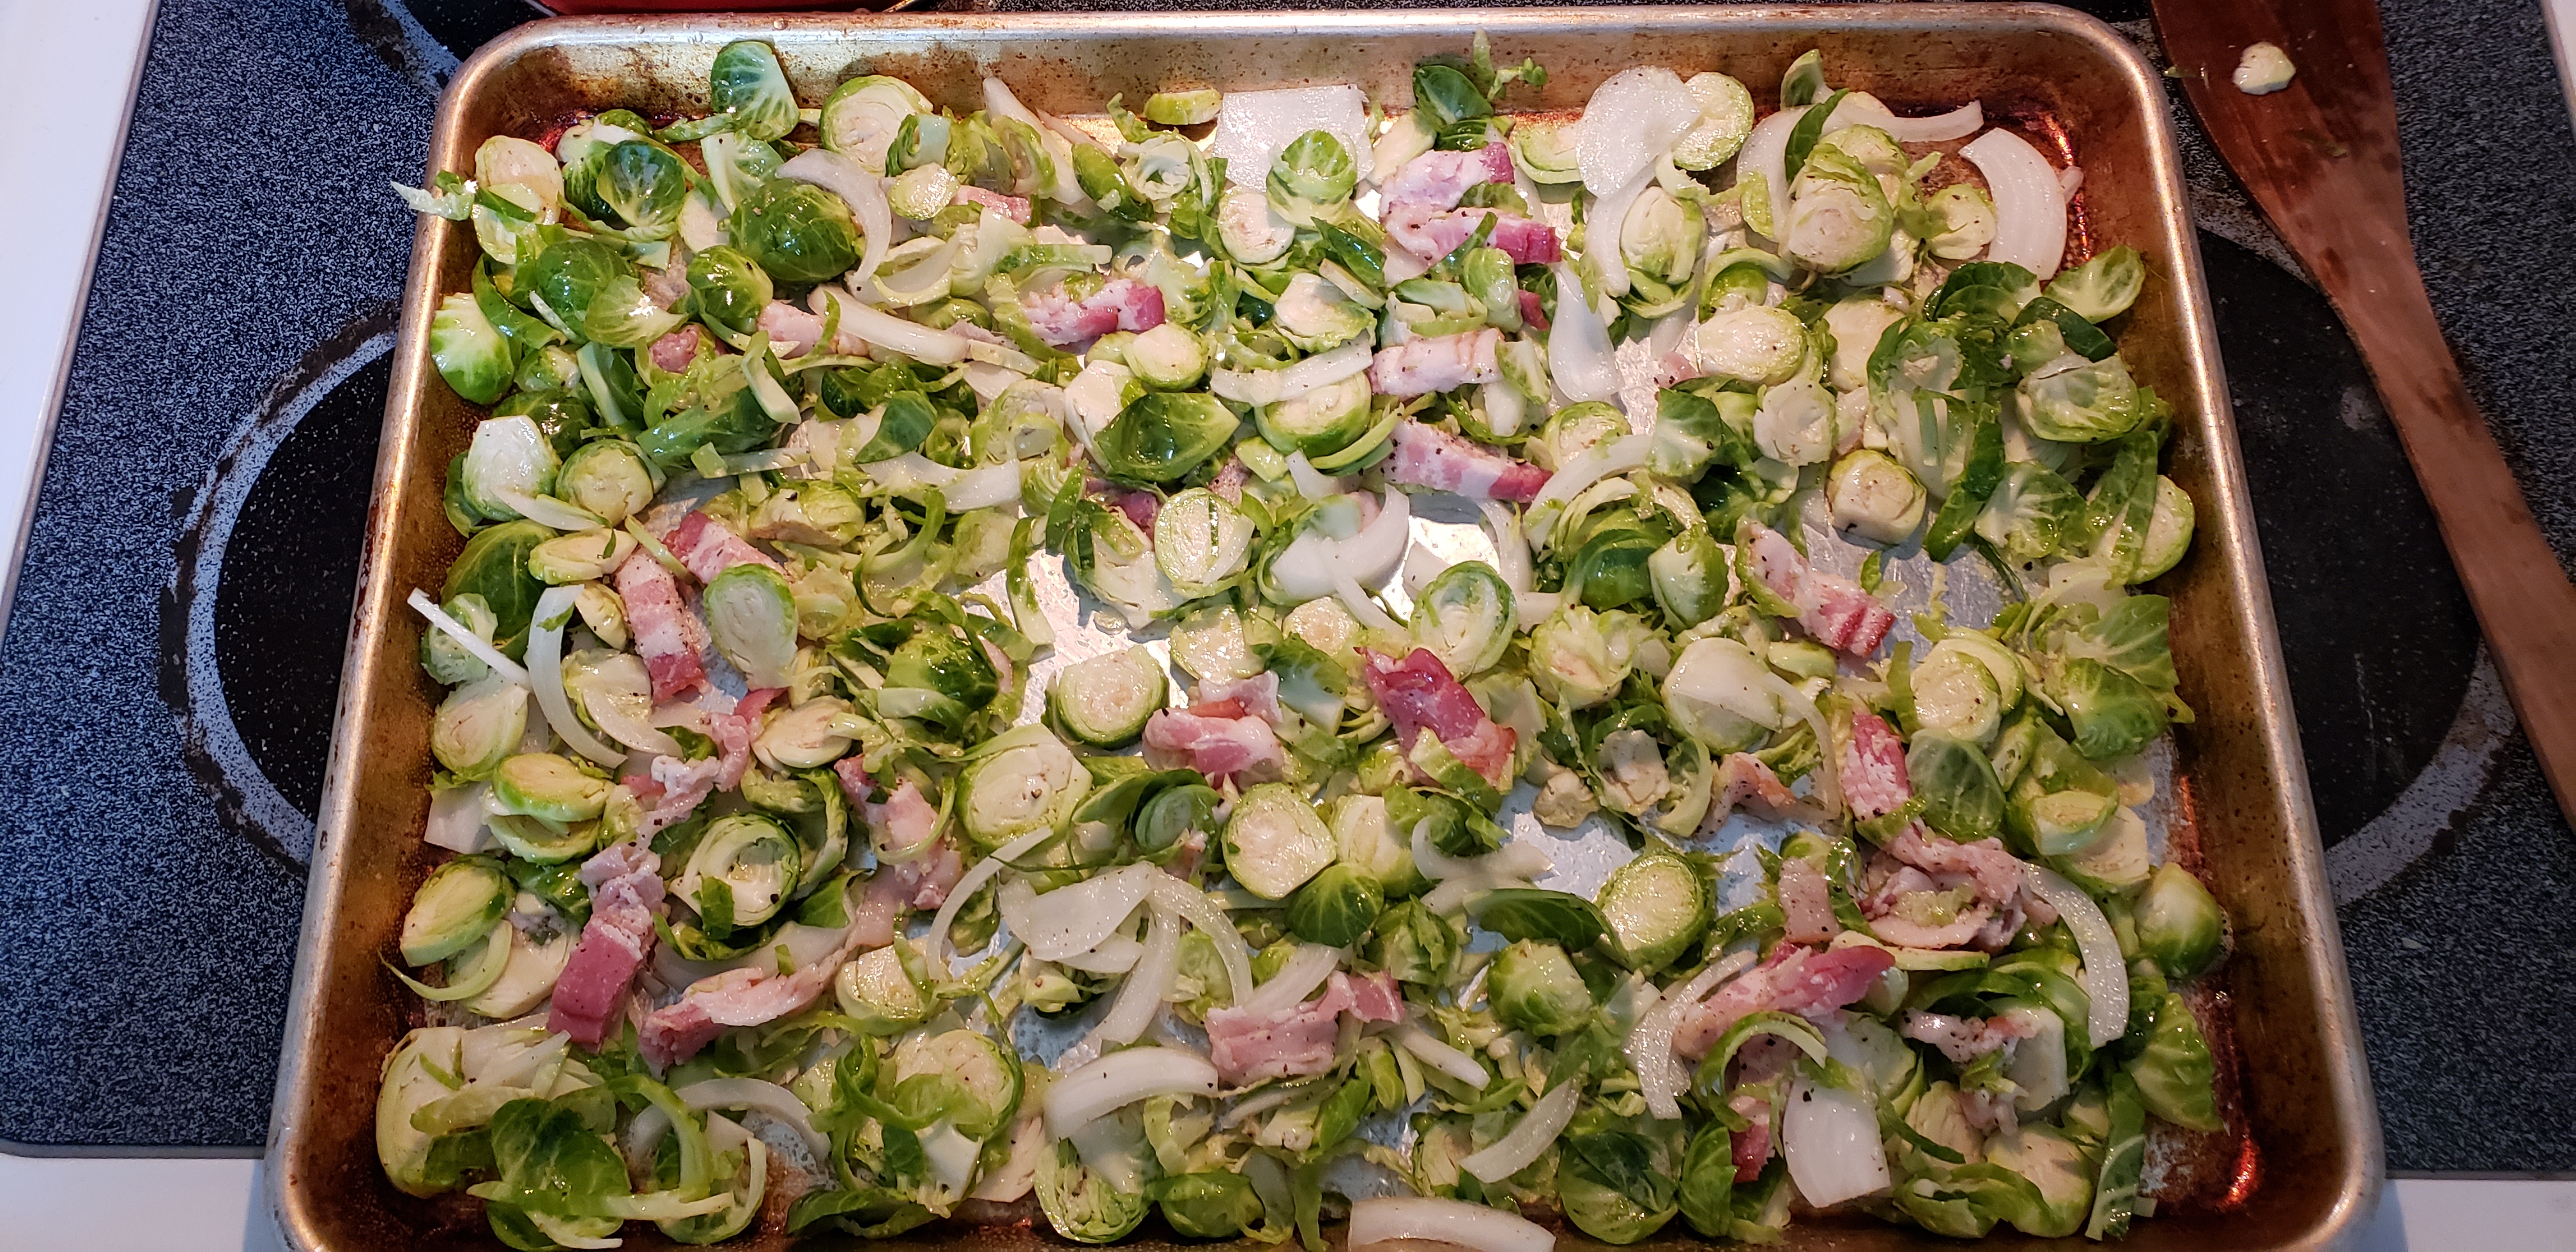
Now that we have everything in a mixing bowl add the olive oil, salt, and pepper and mix until everything is well coated with oil.

Transfer the contents of your mixing bowl to a well-sprayed sheet pan. Make sure all of the Brussels sprouts are spread out evenly on the pan so they aren’t too crowded, or else they won’t get crispy.

It is now time to bake our tasty little friends! Bake the sprouts at 425 for about 35-40 minutes, mixing about half way through.

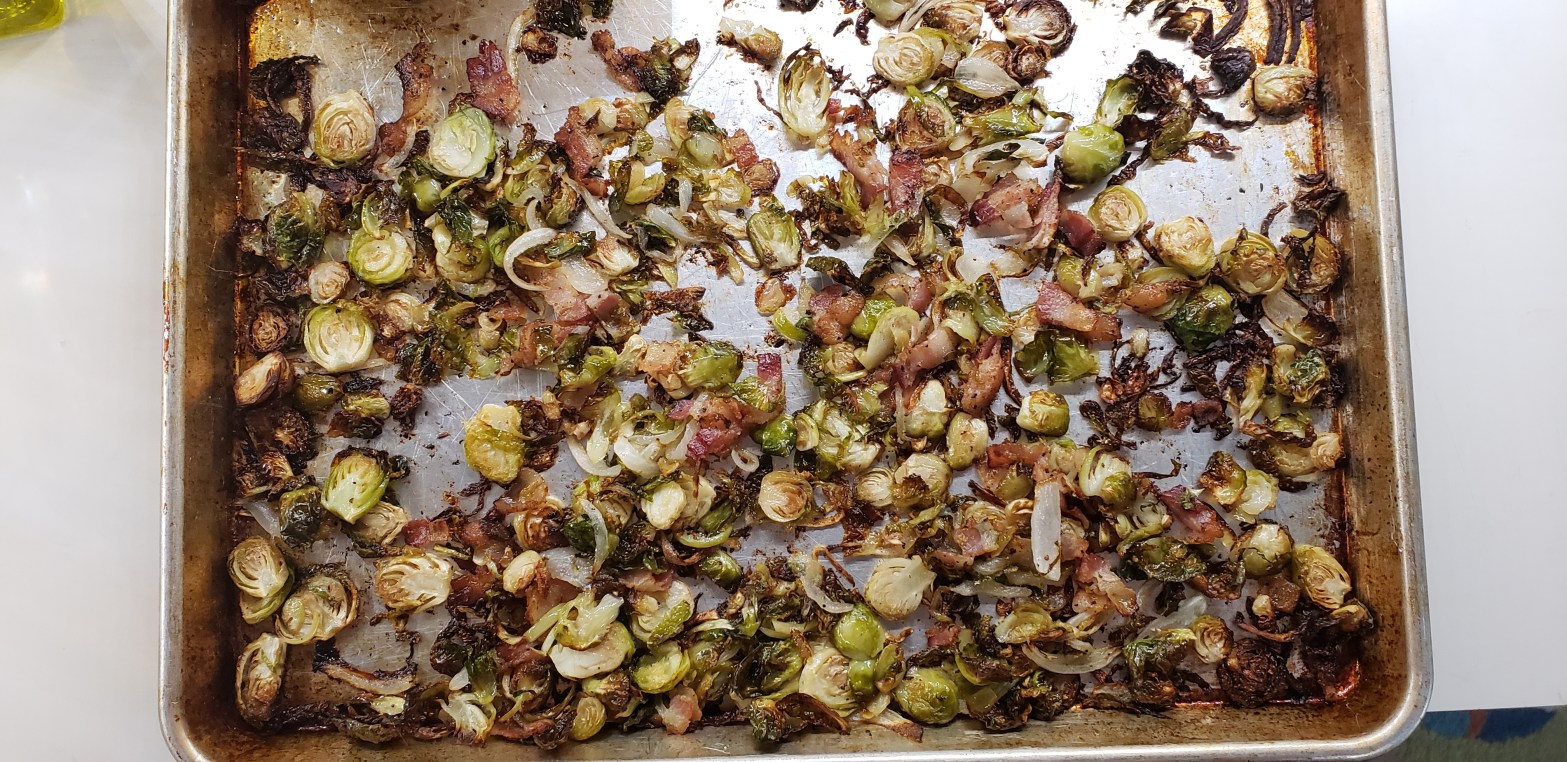
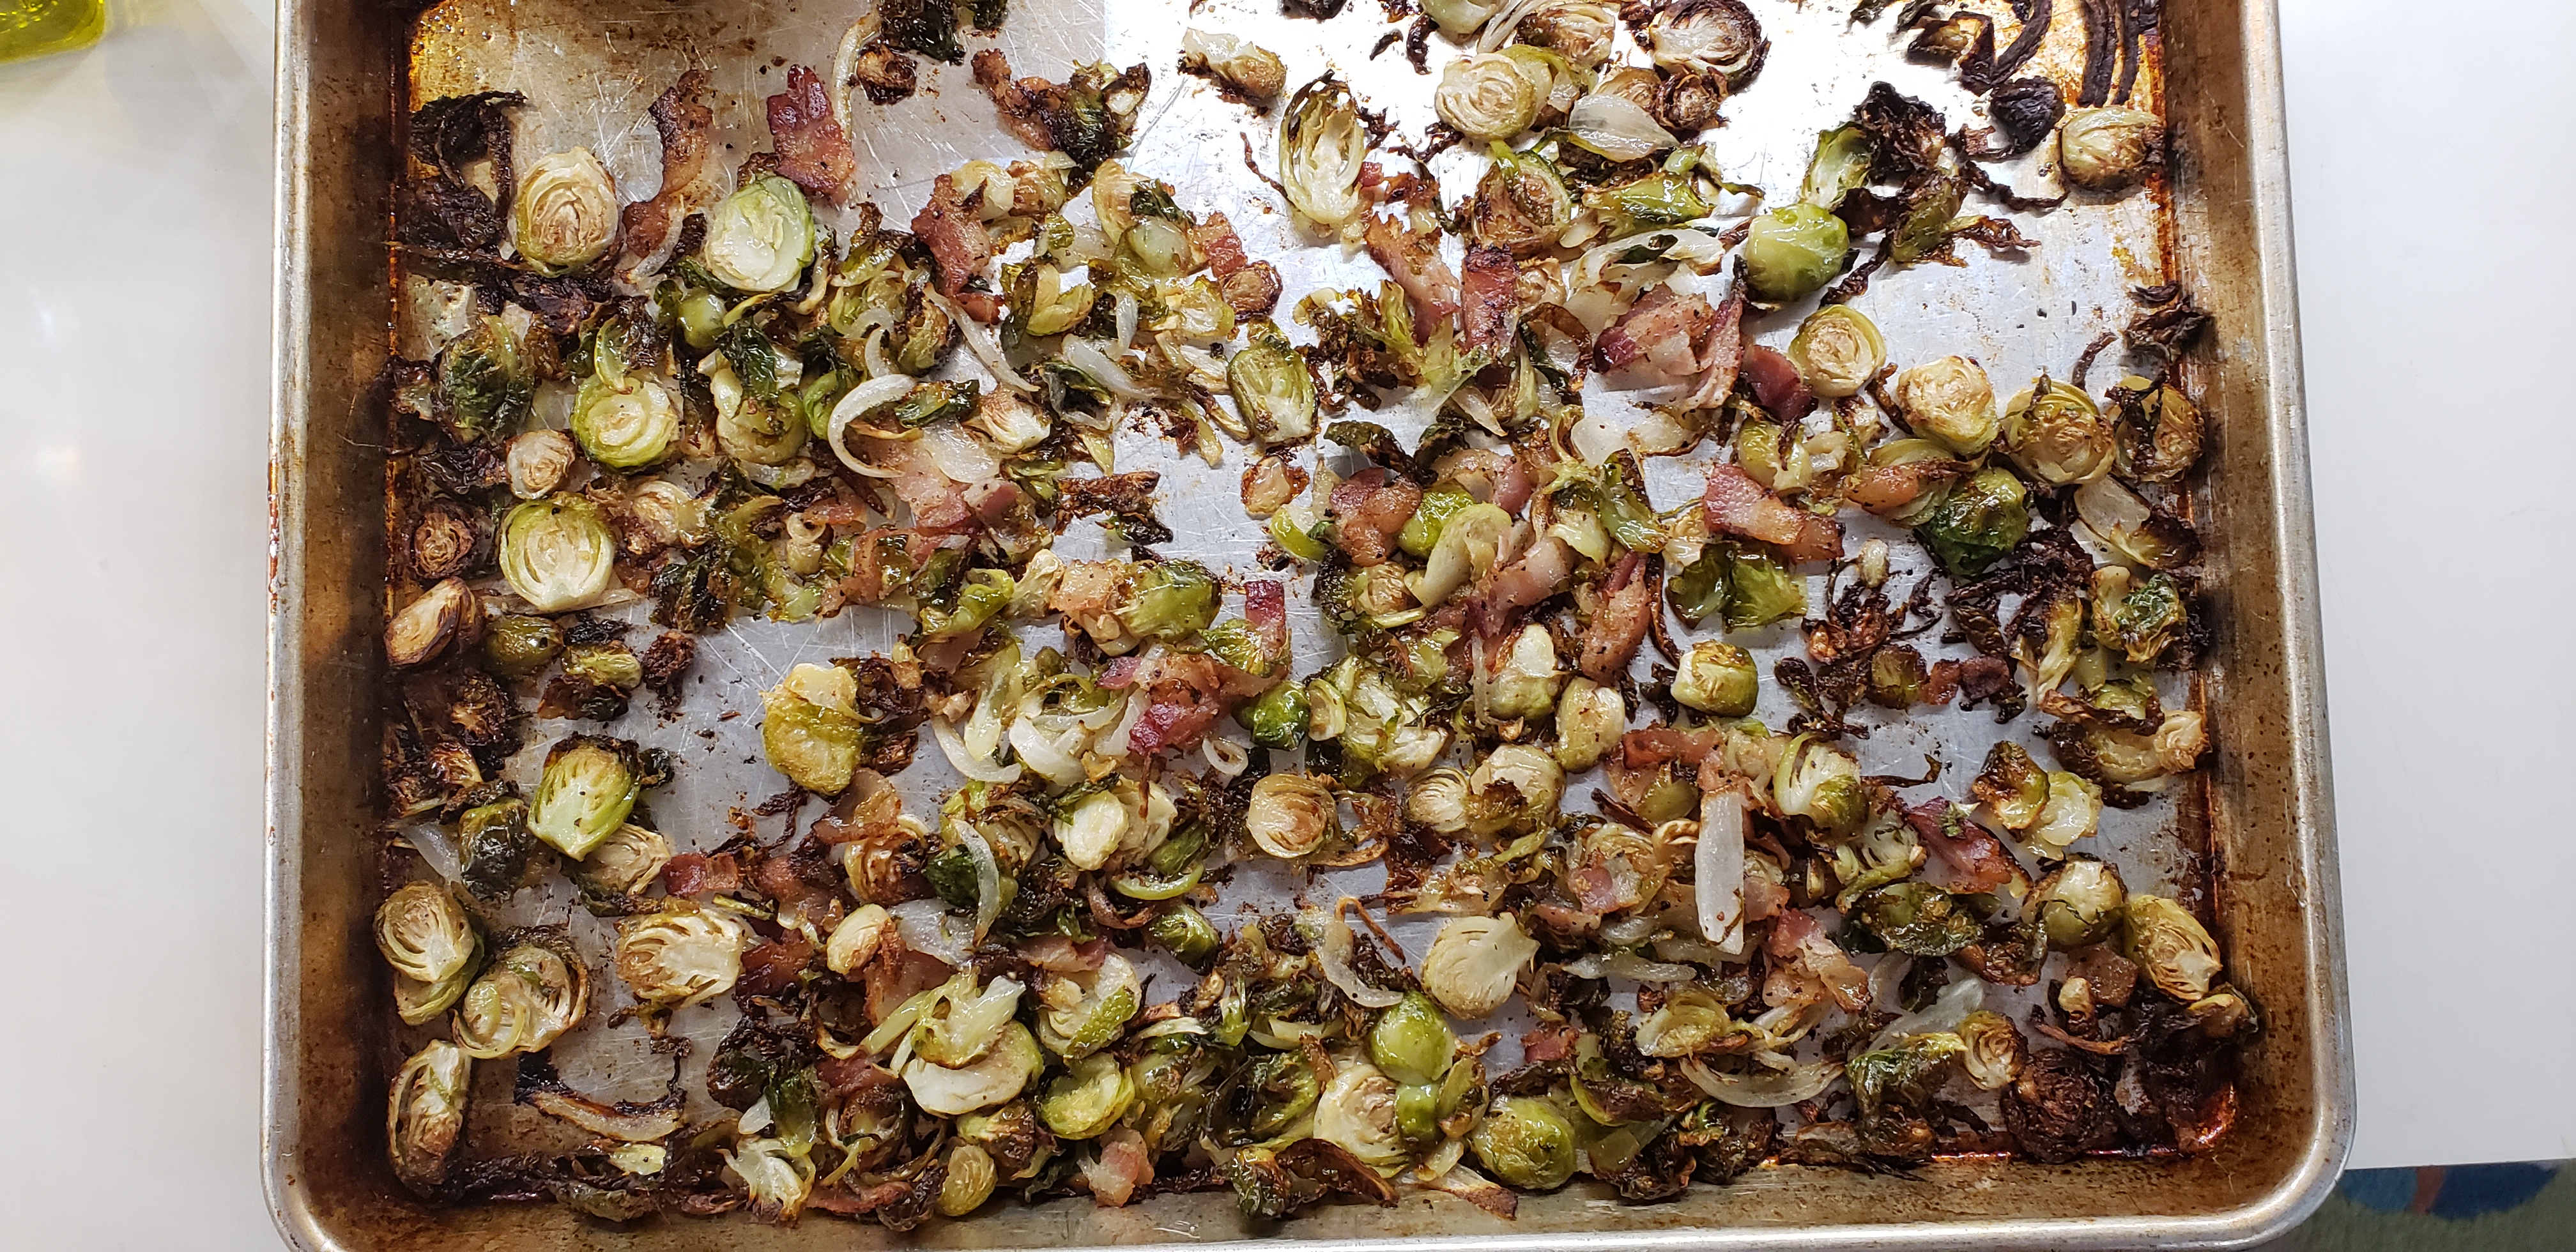
This is what they should look like when they are done!

Give Brussels one more chance. Please… I really think you will like them this way and they would really like it if you STOPPED BOILING THEM!!

If you try the recipe let me know how it came out!

Enjoy!

-Dan